harvey1847
-
Posts
528 -
Joined
-
Last visited
Content Type
Profiles
Forums
Gallery
Events
Everything posted by harvey1847
-
Hello Rob! That aft magazine it´s the tiniest magazine I have ever seen... Did you "interpretate" the plan properly? I might be wrong of course but I cannot imagine anyone working there filling the cartridges. Anyway, beautiful deck beams and scarfs on them. Best wishes! Daniel.
-
Hello Gabe and Welcome Aboard! And me... working on 1:48 Ays!! Beatiful tools and hands. Hope this projesct will satisfied you! welcome aboard again and happy modelling! Daniel. p.s. I made my Harvey back in 2006 and was an excellent ship to make.
-
Surely we have fun reading, looking and studying your posts! I still remember that pic of the bones drying at the balcony... I am like Mark, speechless. Best wishes and happy day! Daniel.
-
Hu Ha!! I thought the brick oven was going to be all the stuff in the kitchen... but Nooo! I forgot about the cupboard...with practicable drawers on 1:48... totally insane, amazing... Best wishes, Daniel.
- 1,215 replies
-
- 1
-

-
- sloop
- kingfisher
- (and 1 more)
-
Are you kidding me!!?? I have never seen a faster build log like yours. Every single piece of work is worthy and keep you moving ahead... Even that "little" job of marking the carlings on the beams is a big and beatiful task of patience and thinking. Don´t know at what stage you´ll be on friday... Keep going! Daniel.
-
Nice and Clear Raymond! First thing I have thought has been where you must be to be wearing short trousers... We are chilling here! Now the fun stuff start! Daniel.
-
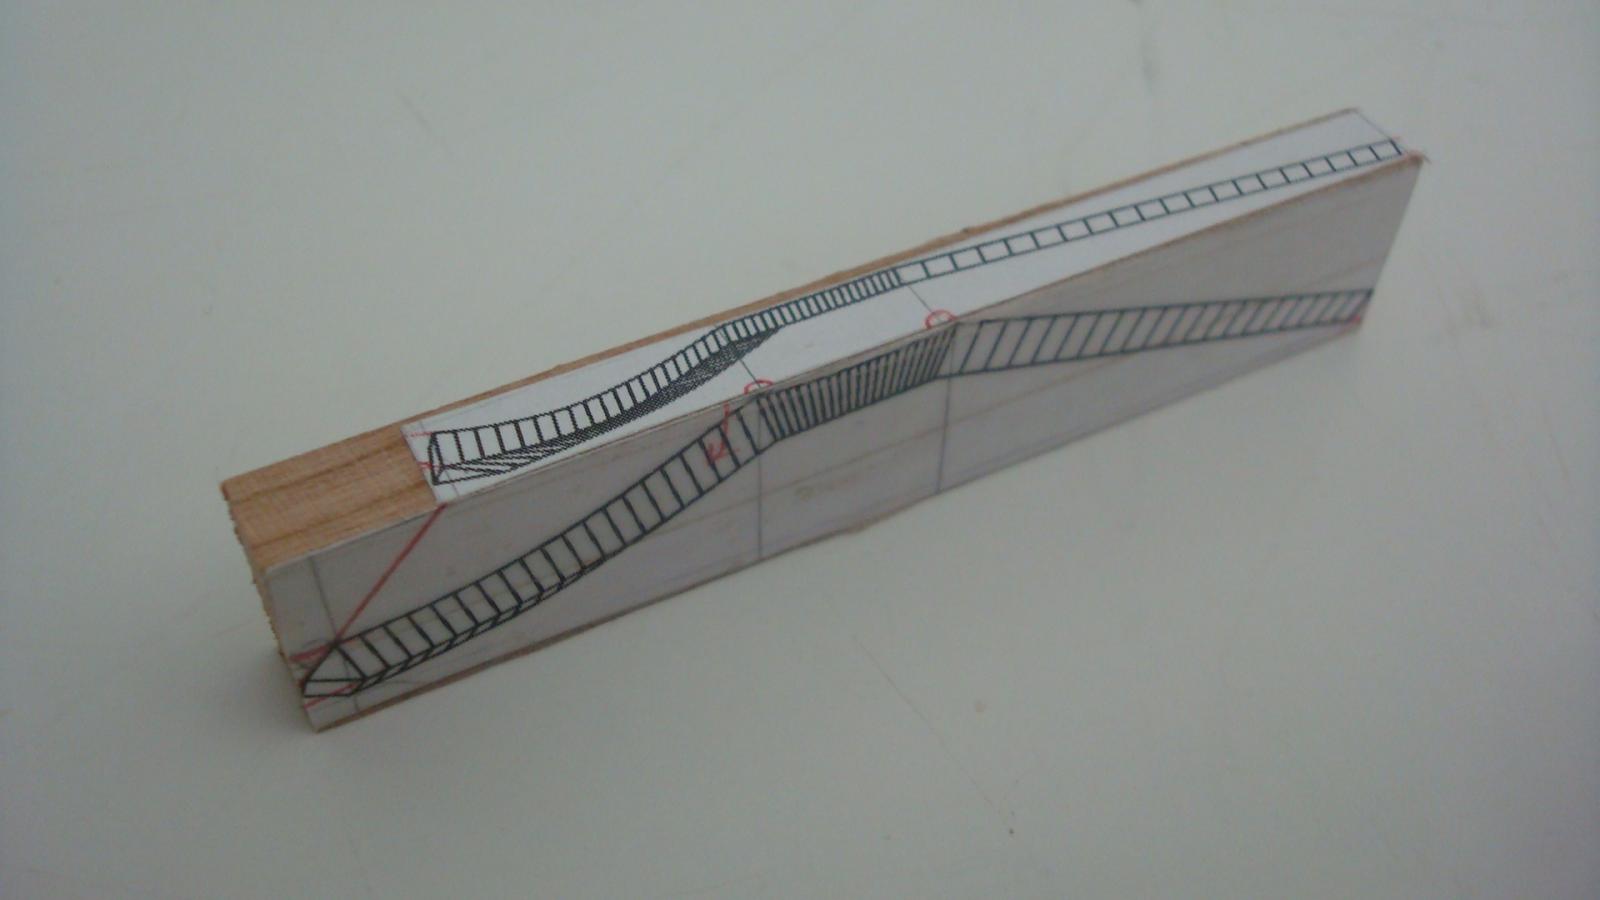
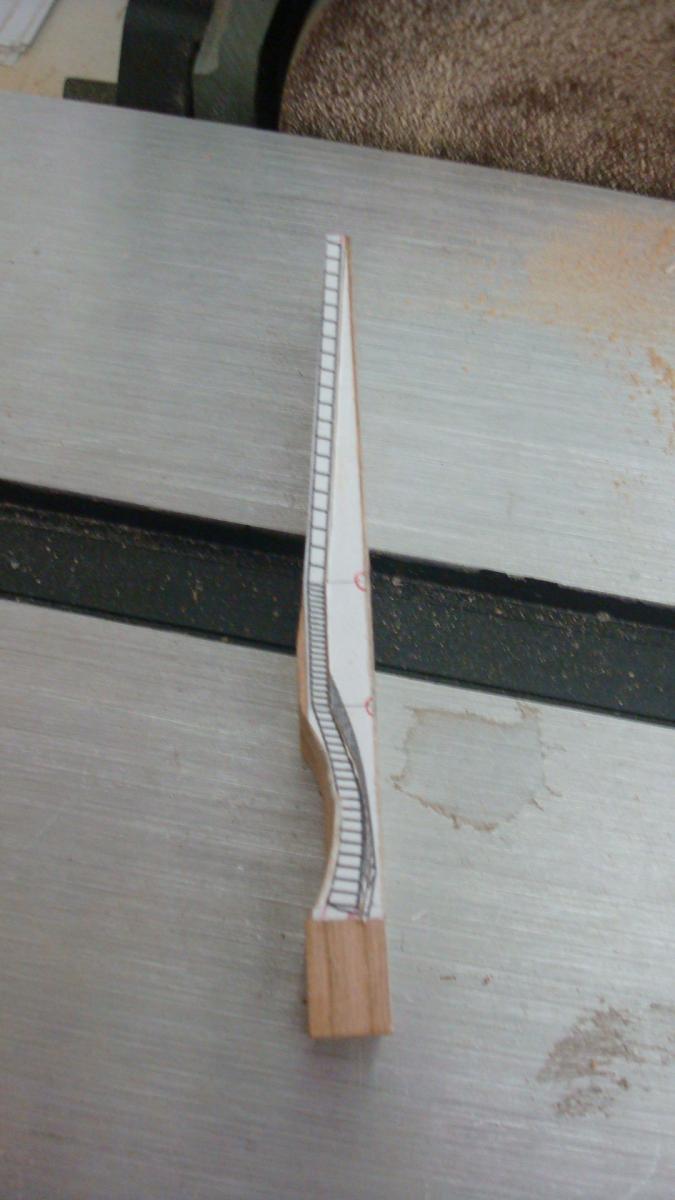
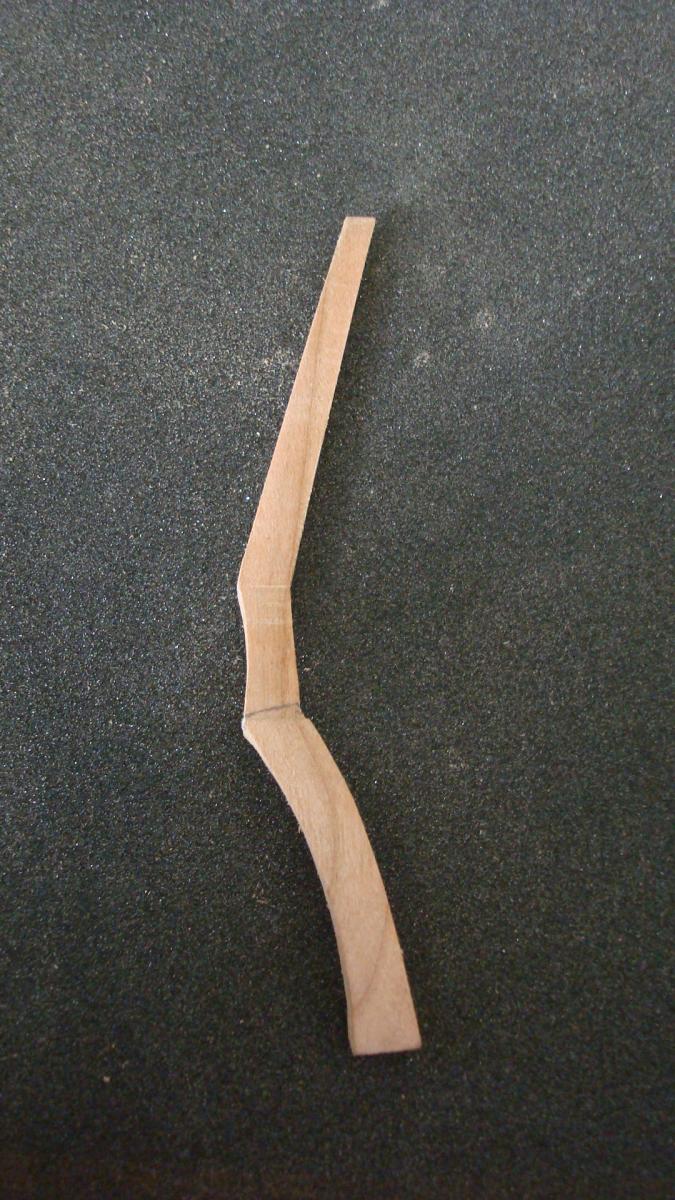
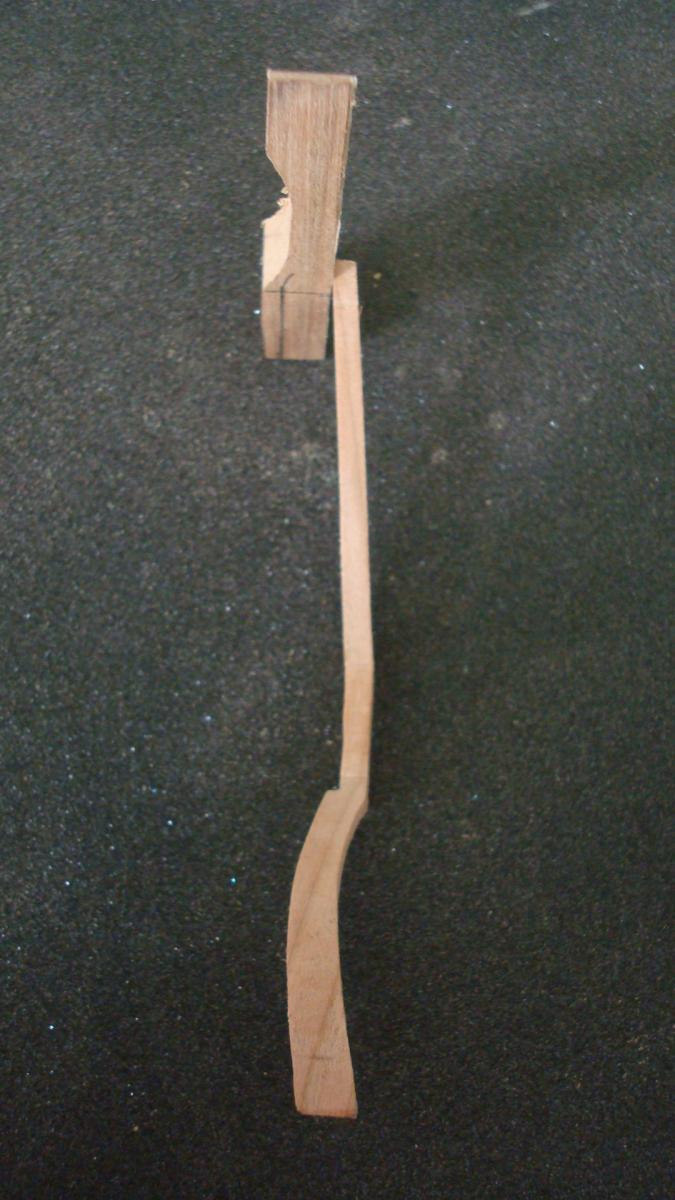
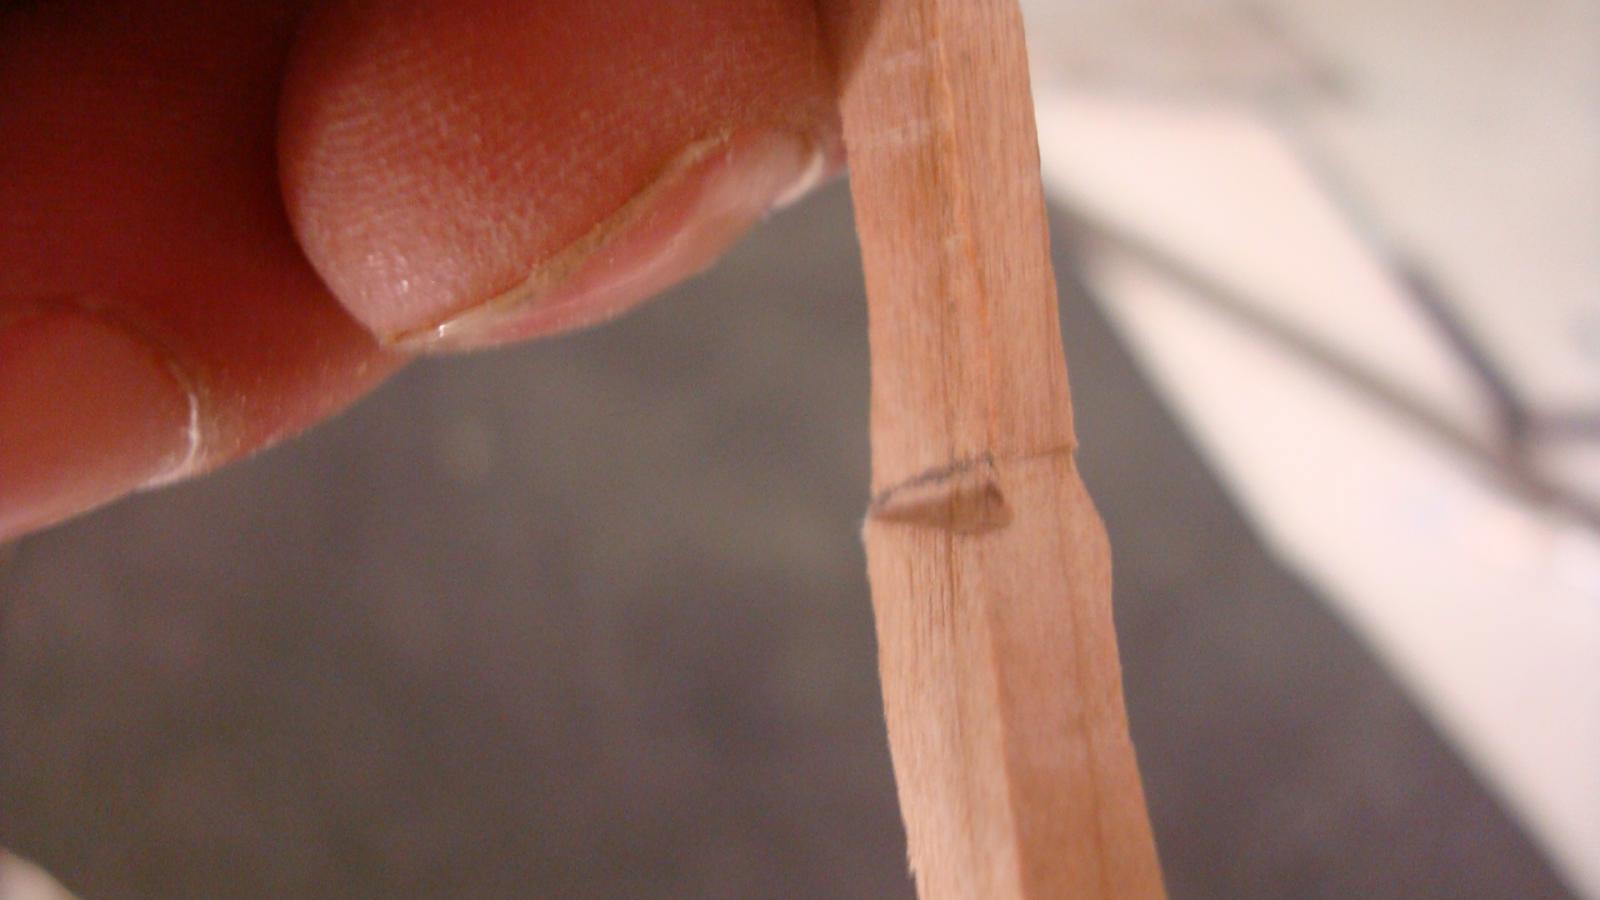
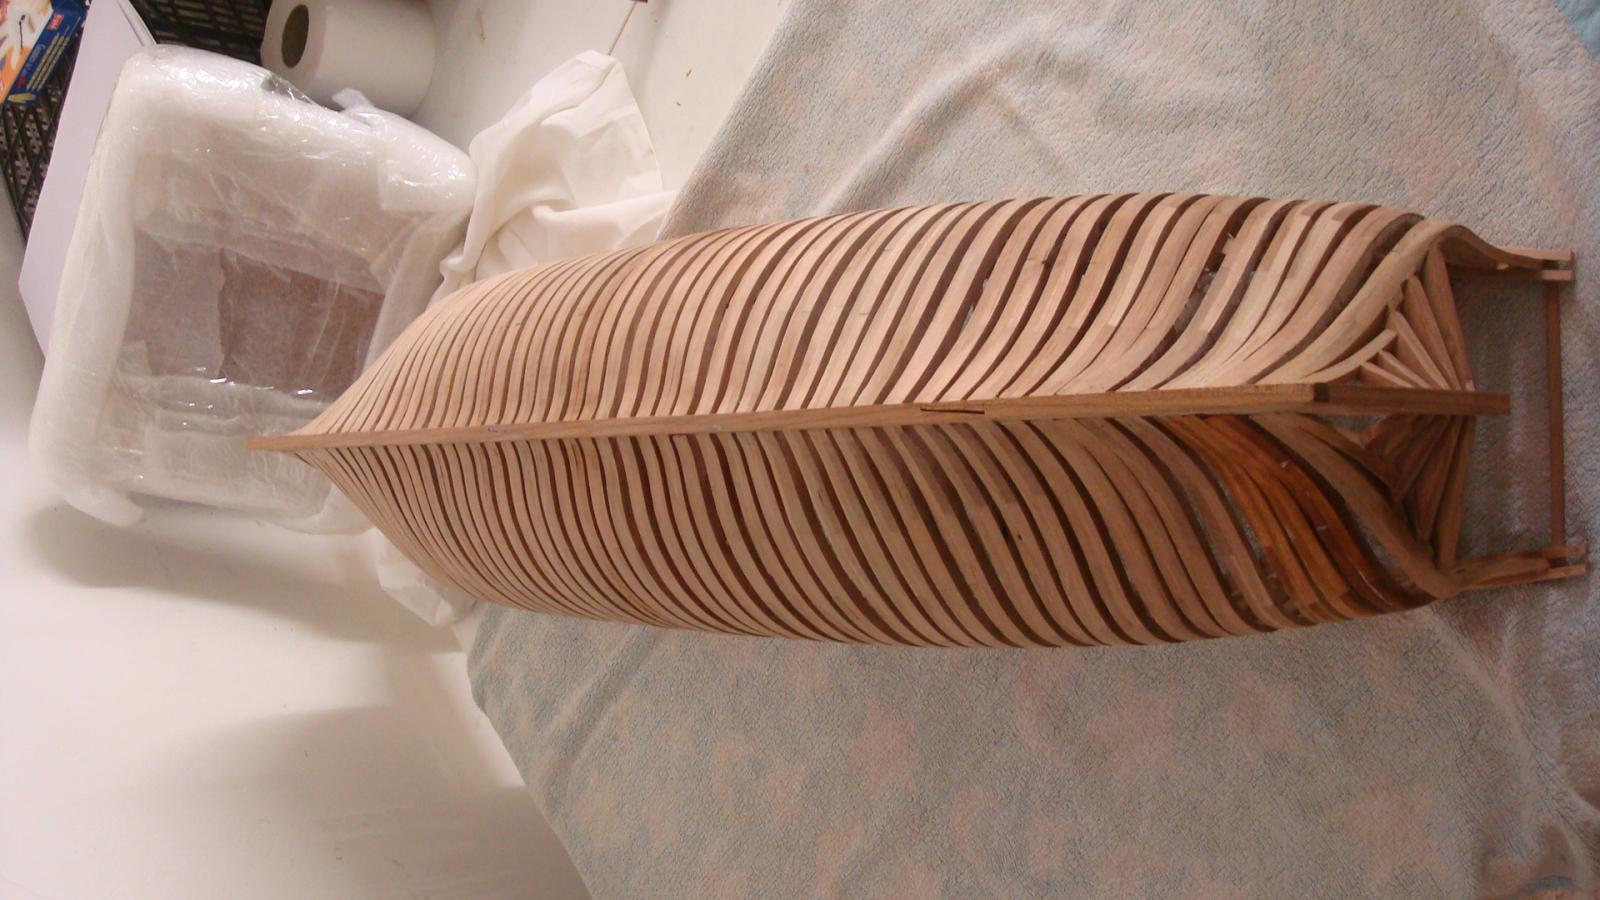
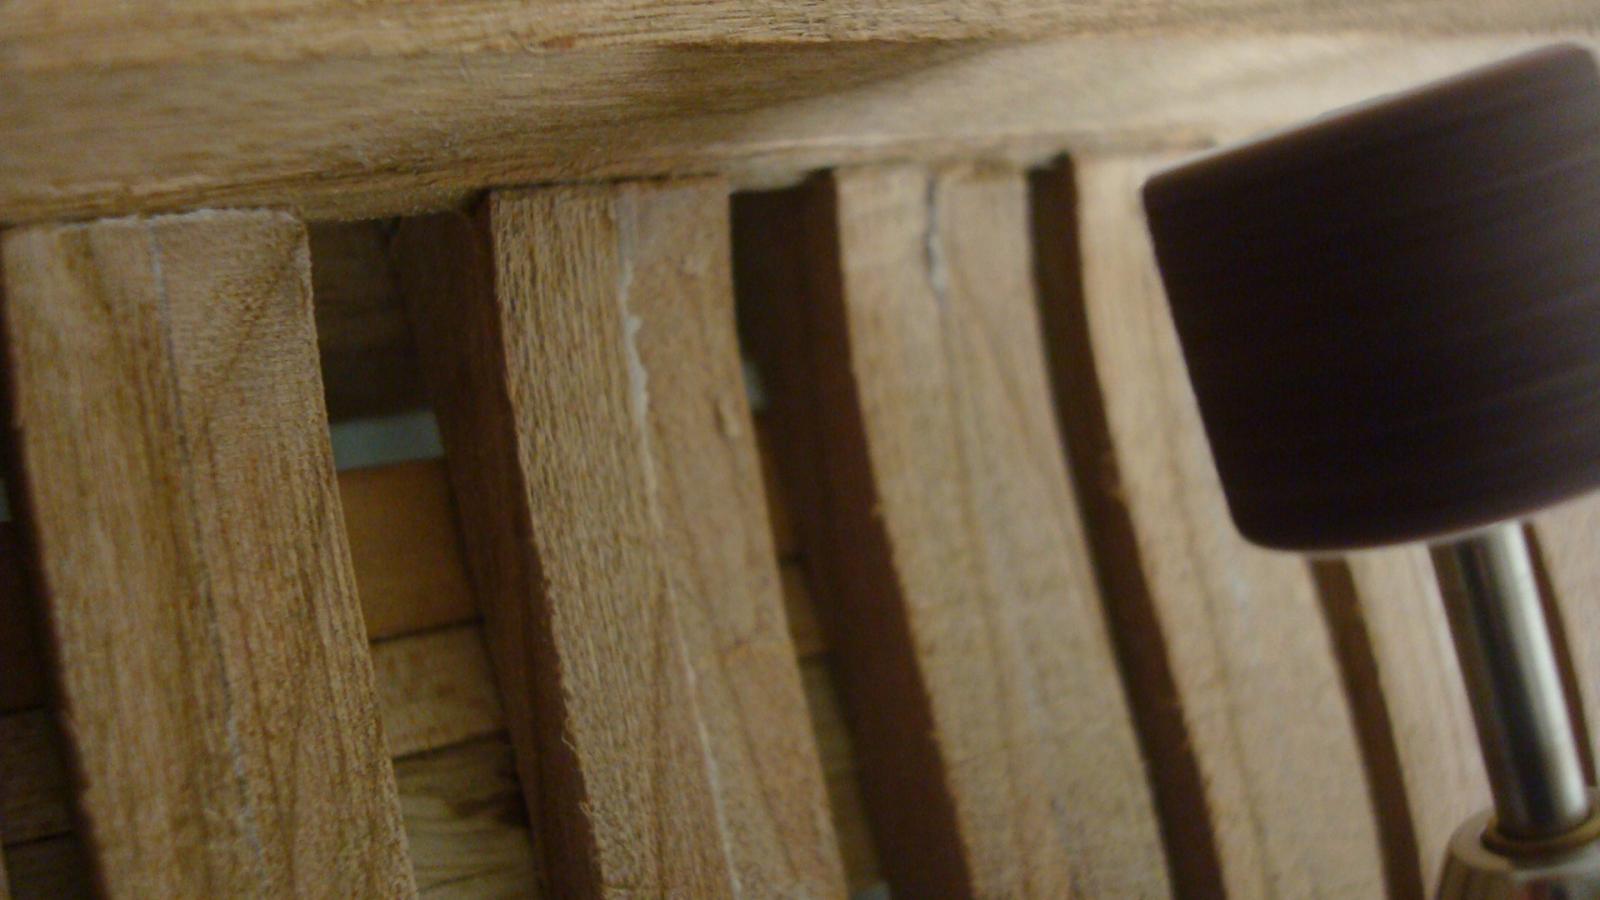
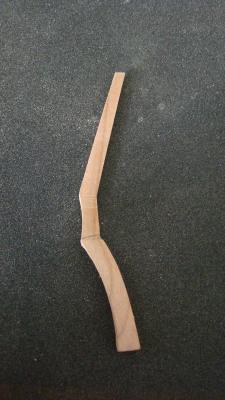
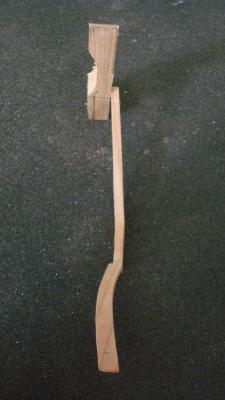
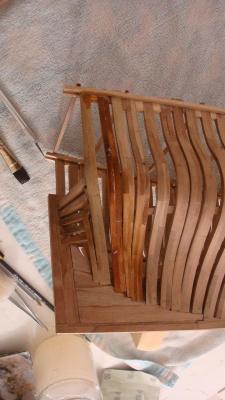
Hello All! Just a small update… Lot of Works around… I´m dealing with the Port Stern timbers. I have started with the piece #3 which I think is the most complex. I have started cutting the patterns and glue them to a piece of wood. Then sand it using the “Stern view” first and the side one (plant) to cut it with the scroll saw. I hope the pics below will explain the process. You can see clearly where is the error. I have been thinking about plastering that joint but I think will be better to repeat the piece. The piece is not correct ( see pics marked with pencil) so I will have to repeat it. At least I have a “reference” piece and now I know how I have to cut it properly sand it more or less… trial and error. Best wishes and happy modelling. Daniel.


-
Good morning Stan! You do not have to enlarge de draw... ! It´s already scaled to 1.24 if you want it to 1:32 just PM me. daniel.
-
Yeah Ray! dO IT your way! what the hek! sicerously after reading your post I have felt kind of ashame from the last post I wrote down. Who we are to judge you or your model skills? Sorry about that. I guess sometimes we all go pretty dramatic here. You have done much more work in a week than others - like me - in a month. some pics of the process would be very appreciated. I mean the sanding of a single frame i.e. best wishes Aaaaand dooo iiiit yooour Waaaaay! daniel.
-
hE hey!!! CONGRATULITATIONS Richard!! Beautiful work with those bollard timber and the hawse pieces completed. Now we are "even". I would say that you are beyond me... You have already done the gun ports and the stem is glued. Good job! Daniel.
-
What about if it has to do with the two pair of "dropping keels". The body plan just show us a rough idea of the hull. There must be more detailed draws from the surveyors that has been lost or simply the draws were in their brain. Way to go!! By using spilines in CAD you can get a pretty good draw again. You can PM me with your mail and send a .pdf or .jpg and I will re-draw it for you if you want. I use AutoCAD 2011. The body plan is crucial. Keep going! Daniel.
-
Hello Raymond! When I have seen your first attempt to do a single frame my brain has said "Arrgggh...!!!" RE-THINK the way your going to build it. I have had lots of fun cutting and sanding every single piece from the plans. I doubt this way would be easier. Tou have to print another plan, cut it, sticker it and cut it or sand it... Anyway, are just only my thoughts. With total respect about your decision... Good luck! Daniel.
-
Harriet McGregor by Boccherini
harvey1847 replied to Boccherini's topic in - Build logs for subjects built 1851 - 1900
Hello Grant! Just discovered your log... I have already click the "follow topic". She looks pretty well to me. Have you considered to scrap a little bit the ends of the frames with a sharp blade? That part is going to be covered with more wood strips anyway... Best wishes. Daniel. -
Hi Mark! I thought was boxwood like Bugra and I guess others. Thanks for the ladder jig practicum! Copy and saved on my "research folder"... Beautiful work! Daniel.
-
Hello Randall! Very acuarate work you have done this weekend. Nice transoms... And lots of pics (the logs I do like). I have been using that glue for the Triton since I started on 2011. The problem I was refering to was the PVA. One thing is to remove a pattern when is a piece by itself on the table an another is to remove it when is glue and in place on the keel. Thanks for the info anyway... Have a good modelling week!
-
Excellent bulkheads Remco! Can I ask for a closer view of that door? (both sides) and a silly question, do you "caulked" or tint the joints of the strips that make together the bulkheads? Happy week ahead! Daniel.
-
Hi Randall! The ends are lower than the joint. I did so because that was what the plans showed. But if I had to do these pieces again, I would make them completely parallel to the keel. It's what I've seen in most of plans since. The truth is that they were a pain on the neck. Repeated a lot of them ... It is not the parts of the ship that I'm most proud of but re-do it now is out of my mind... You can see some pics on my log (1st page post #6)... Best wishes! Daniel.
-
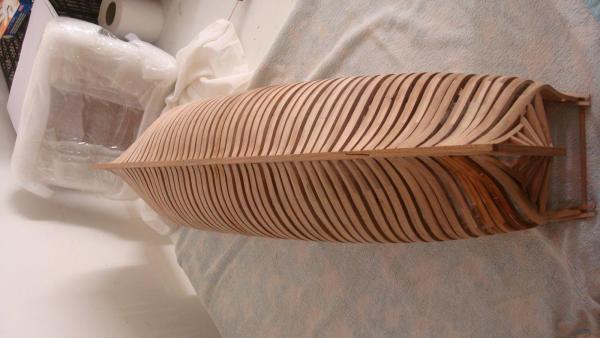
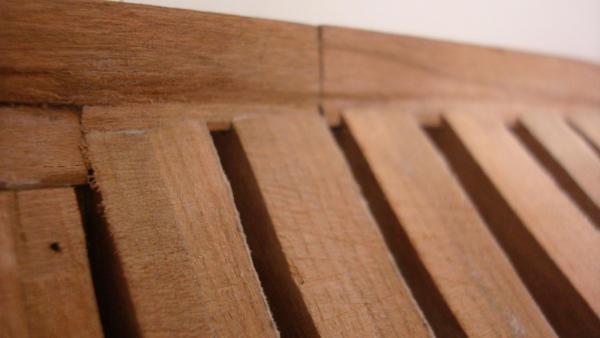
Hola Amigos! (put it mexican accent like in the movies) Well... It took me almost one month. The worst part has been to remove all the patterns and PVA glue from the frames. I did it using just water and a brush wetting the frames (three or four at a time. Then with an x-acto blade I scrapped the glue or the pattern working extremely carefully trying not harm the wood... here are some pics. Not in order. I have printed out the stern timbers and the lights. That´s where I am going to move on in order to make the main wales. I am kind of following Wang´s log. Happy Sunday! daniel.


-
Welcome aboard Ray! Looking at your previous logs... You do go the tough way re-drawing the plans and patterns with pencil... Way to go! I think the moderators will "move" you to our Cave on the "online proyects"... don´t be surprise, "Scratch Build Logs in Progress" is reserved for Masters of the Dark Side of The Universe... Best wishes! daniel.
-
Hi Randy! I can tell you what worked for me. I did not tapered these pieces untill the framing of the stern was done. With the frames raised you will have a "better view" of hull. ( at least the stern, if you glue the aft cant frames) Hope this will help you. Good luck! Daniel.
-
Happy birthday Paul! No home work and no modelling today! Daniel.
-
You are starting from A bit of sh***y plan...(rubbish) Do not want to put you off but there is a lot of questions you are asking for. If the plan is what it is just overwiew some things about it and complete the draft. I spent (waste) three months trying to draw the HMS Bellona fron the AOS book and finally I dropped the whole thing due to the inaccuaraciesss of the plans. Best wishes anyway and good luck. Daniel.
-
Congratulations Ed!! You that write everything... How long took you to complete the hull since you lay down the keel on the dockyard? Five months? Can´t wait to see all the interior work..., a lot of difference between from a Man O War ship I guess. Congratulations again! Daniel.
- 3,618 replies
-
- 2
-
-
- young america
- clipper
- (and 1 more)