KenW
-
Posts
1,231 -
Joined
-
Last visited
Content Type
Profiles
Forums
Gallery
Events
Everything posted by KenW
-
 The bulwarks are planked and painted red. I’m now getting ready to plank the deck. I’ll use the same method as was used by Chuck Passaro on his Cheerful model. I will have to make more tick strips.
- 238 replies
-
- 8
-

-
- sloop
- providence
- (and 1 more)
-
Chuck: I enjoyed your blog and its historical information. I'll enjoy watching your continued build. Cheers.
- 130 replies
-
- 3
-
-
- wütender hund
- hanseatic
- (and 2 more)
-
That green paper copy of the main deck has been removed. Two knightheads were made to match a photo I have of the replica. I added spirketting in walnut. I used walnut because I need to preserve my stash of boxwood and holly. I’ll plank the entire bulwarks in walnut which will be painted red. Then I placed (no glue) the deck furniture and my two test guns as well as a sailor that is supposed to be in the right scale. The windlass is a ‘bastardized’ kit from Syren’s Cheerful model. It had to be made much smaller. The hatch gratings are also made from a Syren kit.
- 238 replies
-
- 12
-
-
- sloop
- providence
- (and 1 more)
-
You workmanship is still the best. Can't wait until we can have club meetings to see models live again. Cheers.
- 607 replies
-
- 3
-
-
- winchelsea
- Syren Ship Model Company
- (and 1 more)
-
Thanks Joe. I used boxwood for above the wales and holly below. The wales are basswood sanded and painted. I have to preserve my boxwood and holly. Cheers.
- 238 replies
-
- 3
-
-
- sloop
- providence
- (and 1 more)
-
Thanks Alan.
-
I sanded down inside of the bulkheads and cut the ends so the hull looks more like a boat. I made a cradle for the boat, although I need to get a wider piece of wood for the base when my arts store is able to open. I decided to have a “false” deck. To do that, I first zeroxed my deck plan and I glued it to two 1/16 inch sheets of wood. I sanded the two pieces down so they fit the deck pretty good. I want to remove the green paper, but I need to map out where everything will be placed before I glue the “false deck” to the bulkheads. I’ve also got to get the warp out of the wood and get the bend so it sits down without pressure. Then I’ll plank the bulwarks and paint them red.
- 238 replies
-
- 14
-
-
- sloop
- providence
- (and 1 more)
-
Hull planking is complete. I added a molding to cover some problems where the hull planks meet the counter. I used a plain molding since the Providence was a converted merchant boat without much decoration. Next, I’m going to add another plank above the wales to ensure the cap rail will pass over the bowsprint.
- 238 replies
-
- 17
-
-
- sloop
- providence
- (and 1 more)
-
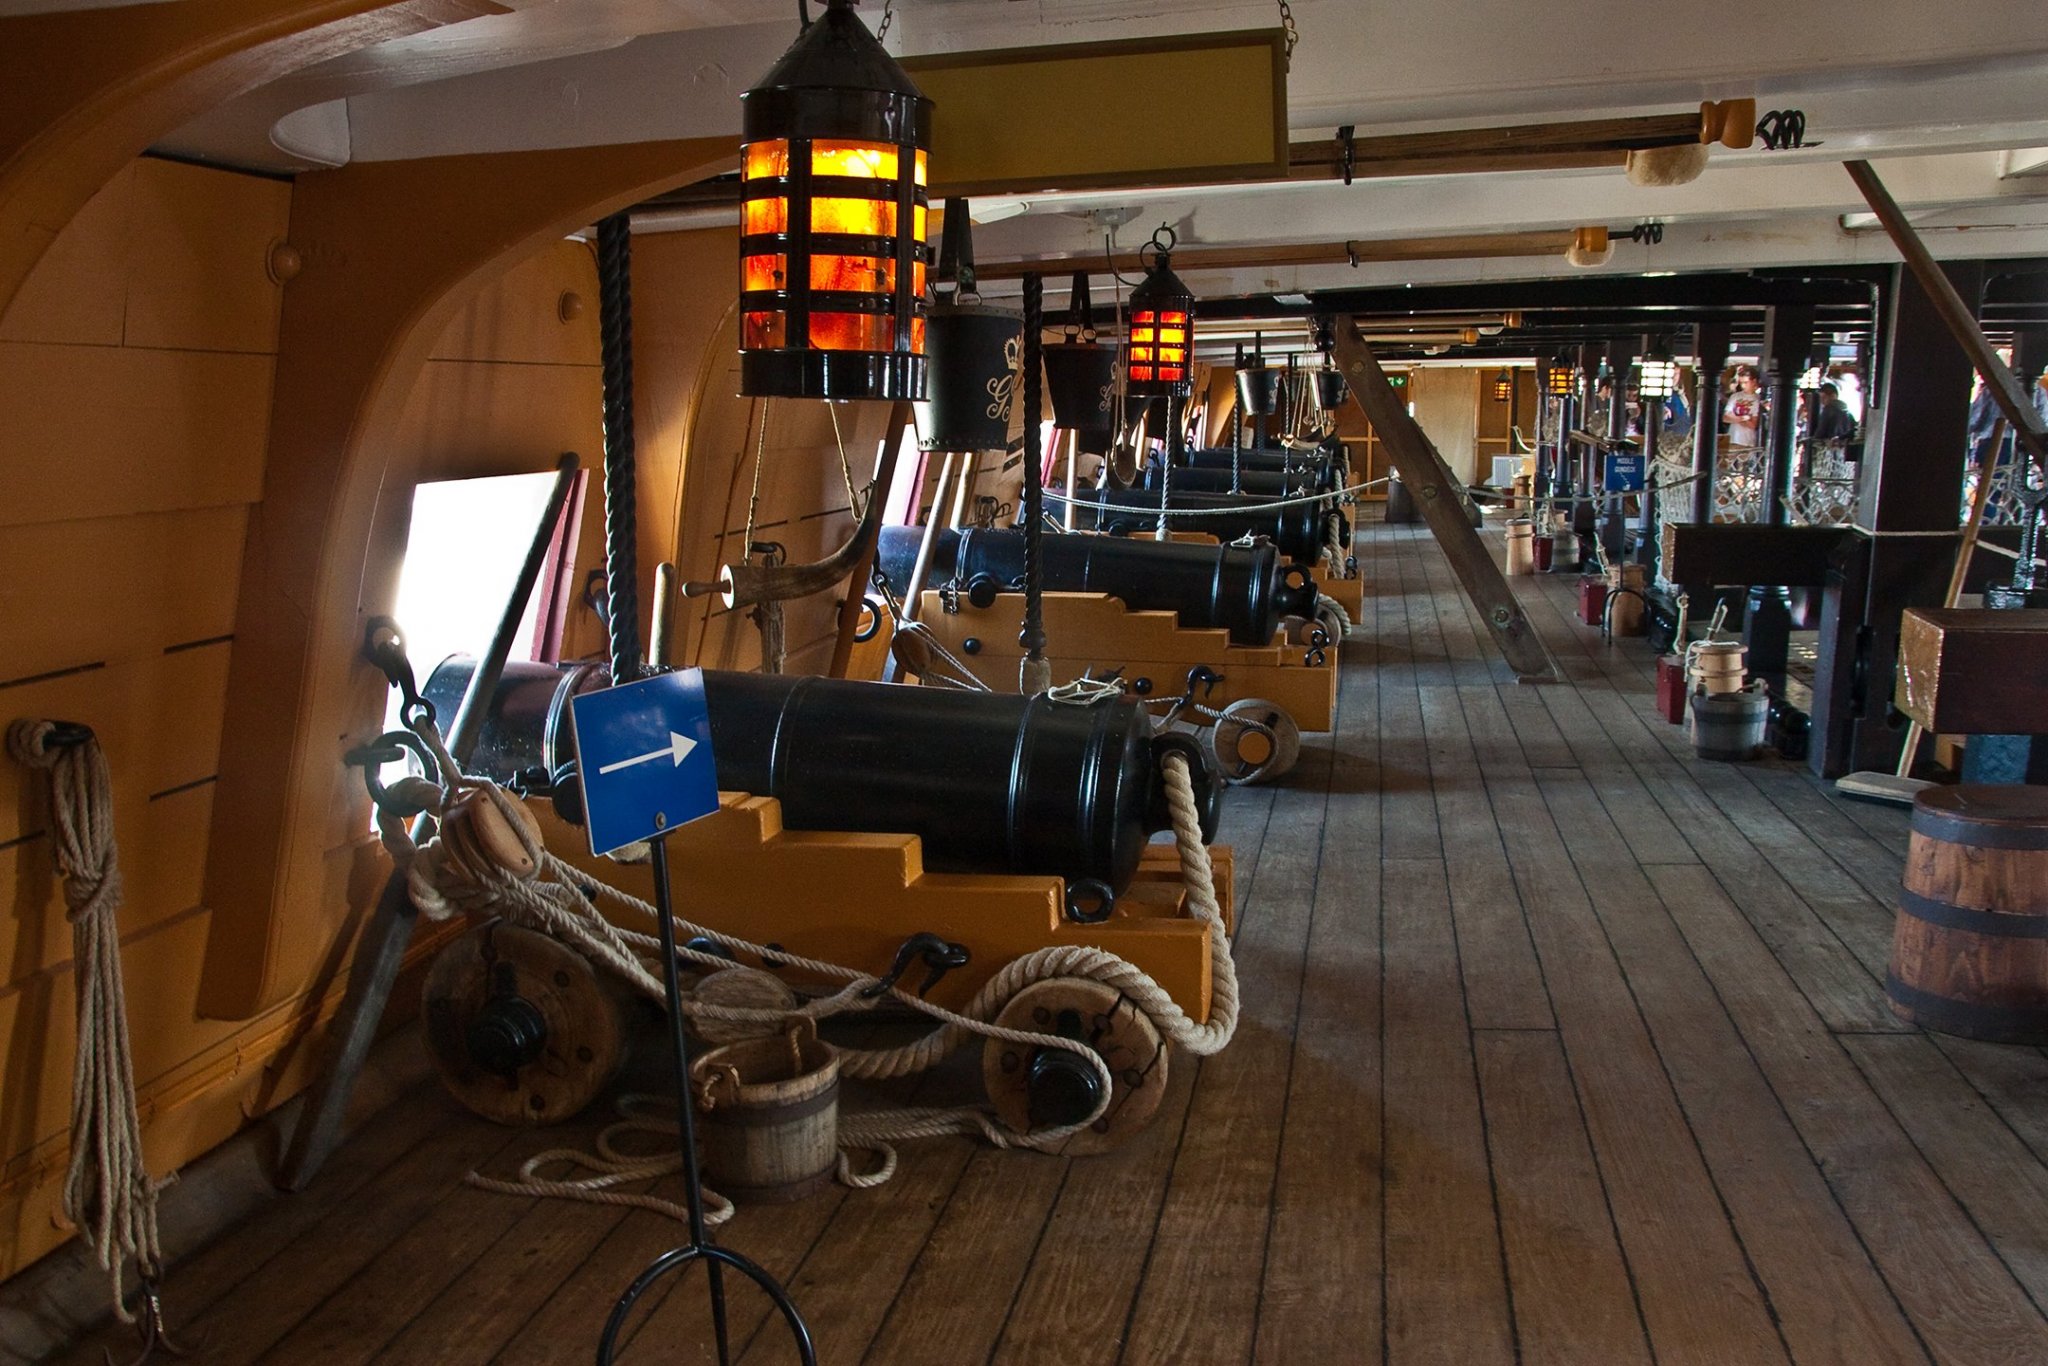
Thanks for your quick reply on spirketting. I checked my photo library and sure enough; there was spirketting on the HMS Victory I visited at Portsmouth back in 2015.

- 1,784 replies
-
- 5
-
-
- winchelsea
- Syren Ship Model Company
- (and 1 more)
-
I love to see your workmanship and to read your "tutorials". I'm probably the only one who doesn't know this, but what is a 'spirketting'? Thanks.
-
The starboard side of the hull has been planked. It looks better than my last model, so I’m making progress. The trick is to properly bend the planks. On the aft part of the hull, two edge bends and one normal bend is required. That makes for a weird looking plank. And this plank will still need some adjustments. Photos are attached and you can see some places where I didn’t do enough adjusting. A lot of patience is required.
- 238 replies
-
- 27
-
-
- sloop
- providence
- (and 1 more)
-
Thanks Mark. I hope to not need stealers or drop planks. So I think I'll alternate; one down and then one up, etc.
- 238 replies
-
- 4
-
-
- sloop
- providence
- (and 1 more)
-
The middle band is planked. It was much more trickery than the last one. Bending the stern planks was a challenge. It had to be edge bent twice in two different directions, and then a regular bend to place it properly next to the keel former. There were several failures and my trash can became full quickly. Again, I’ve sanded with 80 and 120 grade sandpaper. I will sand with finer grades later and then add the Wipe-on-Poly. I’ll also have to do some paint touch-ups on the wales. Next up is that last band that is next to the keel. I don’t know if I should work from the band just completed or from the keel to the already completed bands. If anyone has a recommendation as to which way I should work, please let me know.
- 238 replies
-
- 10
-
-
- sloop
- providence
- (and 1 more)
-
The upper band (next to the wales) has been planked. I did a rough sanding and I think it went well. Now I’m creating new paper ‘tick strips’ to account/correct any variations. I’m definately going to have to do another coat of black paint on the wales when the planking is done. But that’s not really a problem. I’m going to do the middle band next and the band that borders the keel last. Comments, etc., are welcome.
- 238 replies
-
- 15
-
-
- sloop
- providence
- (and 1 more)
-
Hey Mike - hope you're staying healthy. I like your idea to determine the shape of edge bending. I'll have to try it out. Thanks.
- 607 replies
-
- 2
-
-
- winchelsea
- Syren Ship Model Company
- (and 1 more)
-
Hey Dave, Just discovered this log so I’ll be following along. I also have a thing for colonial ships. Your work looks excellent. I don't think I could ever do a plank-on-frame, but yours looks outstanding. So, keep up the outstanding work. Cheers.
-
In order to plank below the wales, I first need to “line off” the hull. I should point out that I consider planking below the wales to be the hardest part of modeling. You need the proper measurements and do all kinds of bending to get the planks to sit properly. Anyway, I completed the “lining off” and can see where I need to make some adjustments. I see the green tape needs to be moved at the stern. Now the fun begins. Stay well and healthy.
- 238 replies
-
- 12
-
-
- sloop
- providence
- (and 1 more)
-
I hope everyone is hunkered down in their shipyards and remains healthy and safe. The planking above the wales is completed. I used a pencil to simulate the caulking and applied one coat of Wipe-on-Poly. Everything went as it’s supposed to with no problems. I added a block under the keel so the model looks ‘level’ and the water line, but I think the block is too much. I’ll work that out when I finish planking and make a cradle later on.
- 238 replies
-
- 17
-
-
- sloop
- providence
- (and 1 more)
-
The wales have been sanded and the gun port measurements verified. So I painted several coats of a red paint that I created to the gun ports and painted the wales with several coats of Mars Black. I sanded between each coat with 320 grit sandpaper and with 600 grit before the last coat. I think it looks good so I’m ready to start planking the hull above the wales.
- 238 replies
-
- 11
-
-
- sloop
- providence
- (and 1 more)
-
Hey Bob. Just discovered this log. You've started off well; keep up the good work. Cheers.
-
I saw the model last night. It looks even better in person. WOW!
- 1,784 replies
-
- 6
-
-
- winchelsea
- Syren Ship Model Company
- (and 1 more)
-
After posting my last entry, I glued the first level of the wales onto the hull. And then I noticed that the gun ports were ⅛ inch higher on the starboard side than on the port side. So I removed both the wales and the gun ports. And then I went back to the measuring routine. I finally got the same results two days in a row and carefully added a batten marking the location of the top of the wales and then re-did the gun ports. Once I was satisfied with that, I painted the ports and re-glued the first level of the wales onto the hull again. In the photos, the wales are not sanded yet.
- 238 replies
-
- 13
-
-
- sloop
- providence
- (and 1 more)
-
Thanks Gary. Coming from you, that is a complement indeed. Cheers.
- 238 replies
-
- 2
-
-
- sloop
- providence
- (and 1 more)