


Maury S
-
Posts
1,490 -
Joined
-
Last visited
Content Type
Profiles
Forums
Gallery
Events
Posts posted by Maury S
-
-
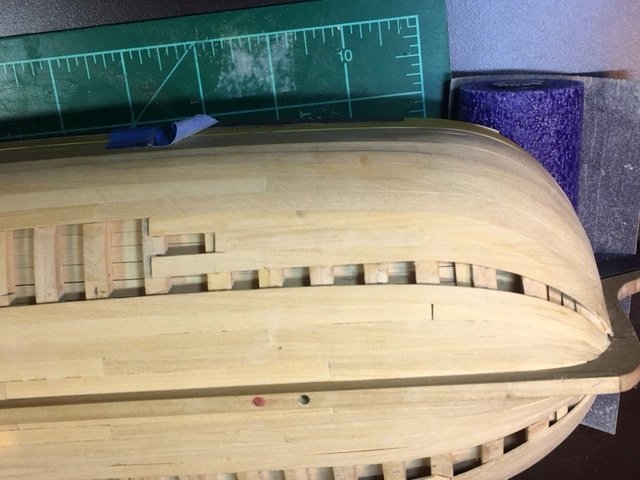
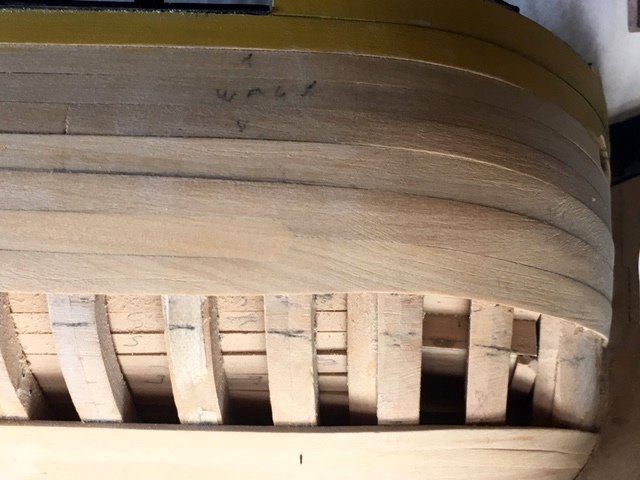
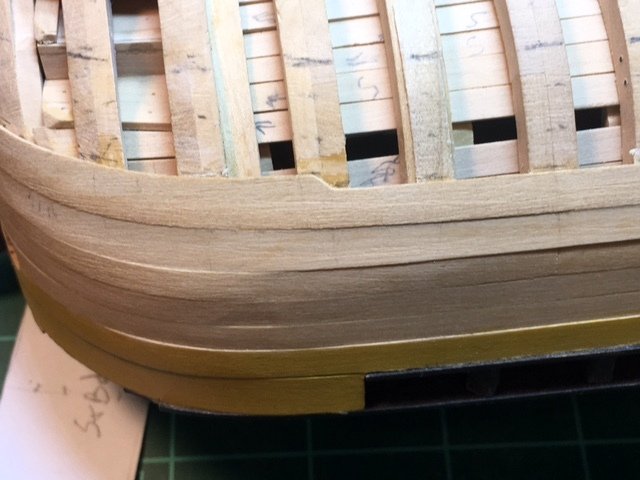
The Whiskey strake is in. I haven't had any "whiskey" since St. Patrick's Day, but I think we'll have some margaritas tonight. Some minor hairline cracks are visible between a few planks and I'll run some very diluted glue into them and rub in some fine sawdust. Some more sanding at the bow and stern and I can start work on the counter and the wales.
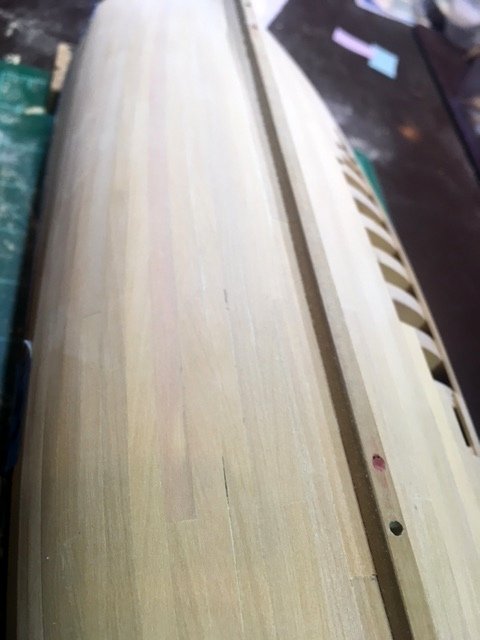
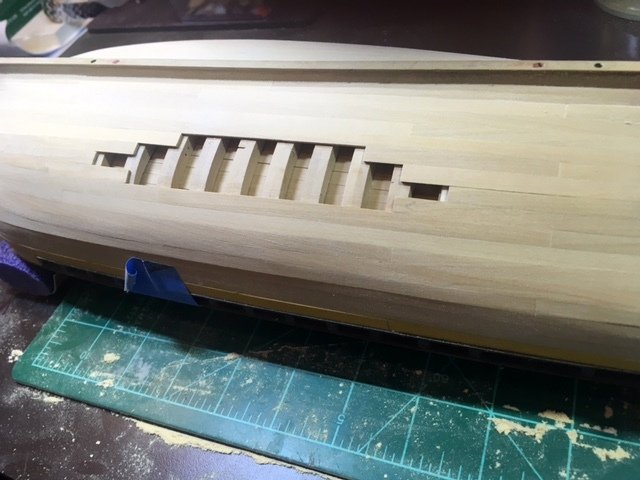
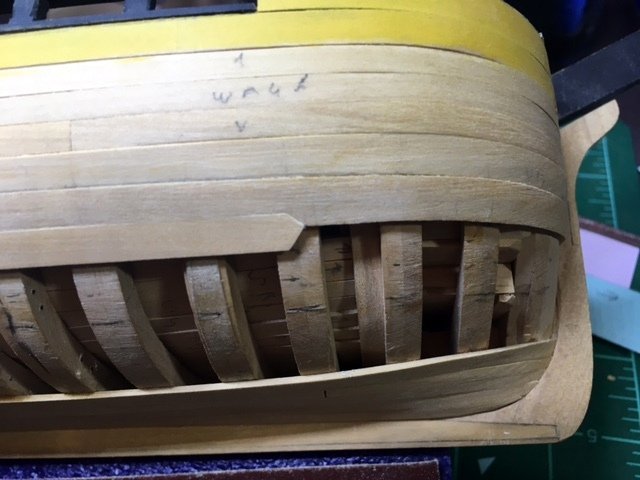
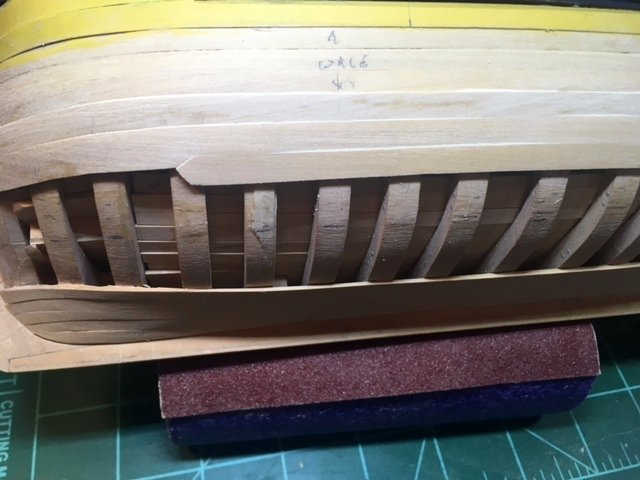
You can see the frames in the section I did not plank.
Maury
- coxswain, Stuntflyer, catopower and 8 others
-
 11
11
-
Thanks for the comments. The hull will be painted and I'm going to give it another shot or two. A two-stage process is necessary.
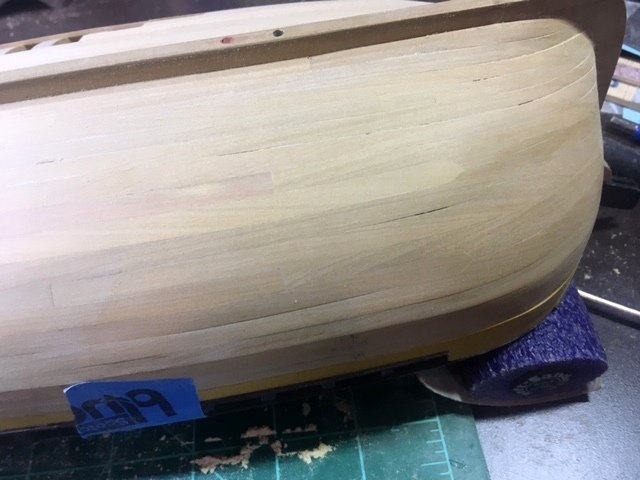
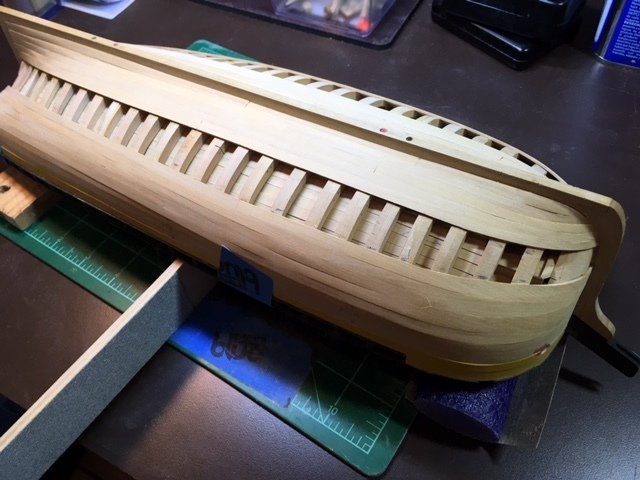
The planking is finished on the port side. More sanding to do, and no bumps or waves.


Maury
-
-
-
-
-
I tried adding pigment and it was never the same consistency. Basic food dyes work great. A little red and green makes dark brown.
Maury
- jay, thibaultron and mtaylor
-
3
-
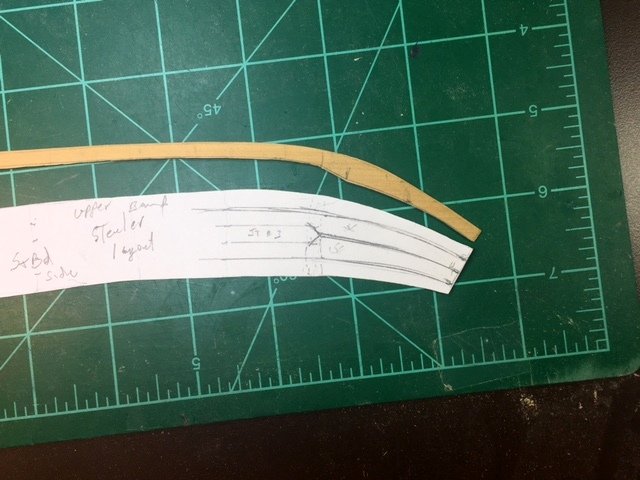
More planking including the lower drop planks. I broke 4 or 5 pieces making the bends around the bow. I used every trick I could imagine to twist and bend the planks. Drop planks are particularly hard because of the "V shaped" end that has to mate with the other plank and fit into the rabbet. Cooking longer and bending / twisting in stages seems to help.
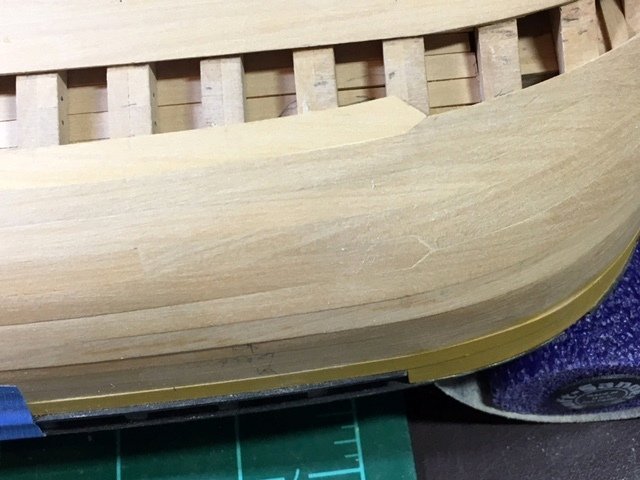
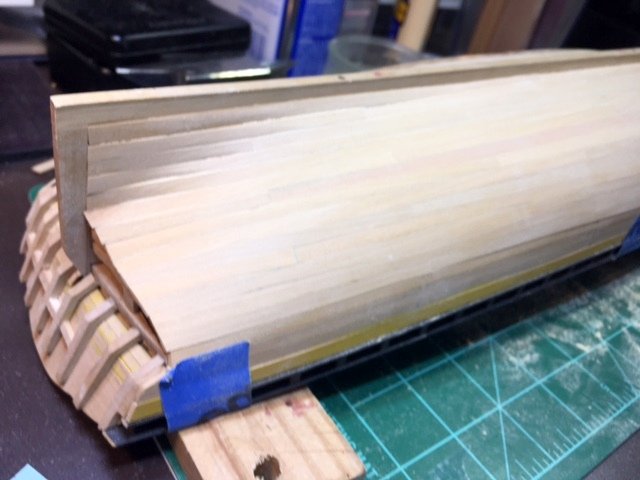
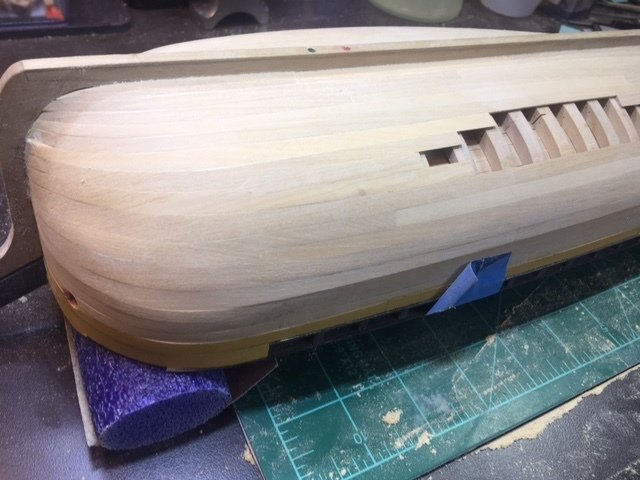
I've decided to leave a portion of the planking off on the starboard side. Just enough to show the frames. The last strake will fill in from the bow the the marked frame.
The changes in humidity have opened up a few very minor gaps in the planking. I think rubbing sawdust into the gaps and then going over with a fine wash of diluted glue will cover the issue. The hull is still going to be painted.
Maury
- catopower, coxswain, Stuntflyer and 7 others
-
10
-
great start.
Maury
- Stuntflyer, mtaylor and Canute
-
3
-
The second of three planking bands is done. Any thing that looks like a gap in any joint is probably a shadow. The third (middle) band contains one drop plank at the bow. Looking forward to the "whiskey strake". I've yet to decide if I leave a portion of the planking off on one side to show the frames.
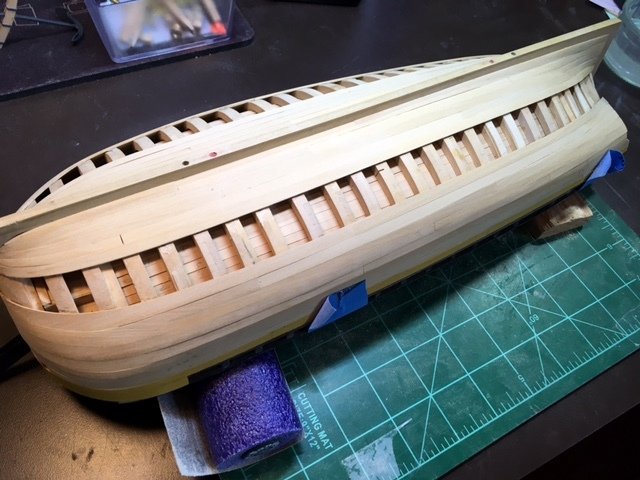
The wales will be planked over the existing planking as defined by the three strakes below the yellow painted planks.
- shipcarpenter, Tim Curtis, dvm27 and 8 others
-
11
-
Someone must clean it every day!
Maury
- Omega1234, mtaylor, Bishophobbies and 1 other
-
4
-
-
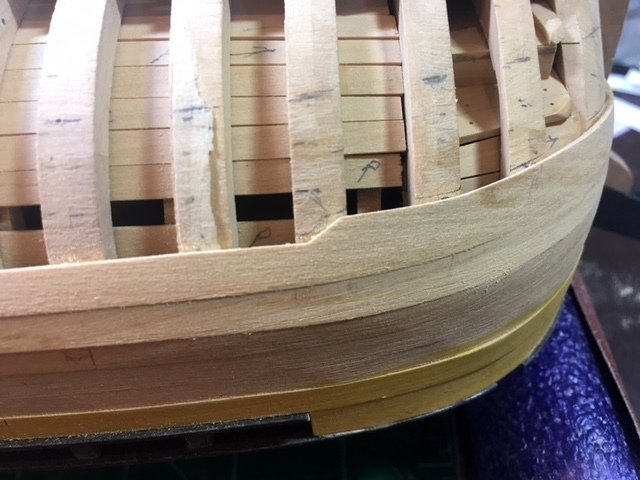
With a bit of sanding and twisting, the drop plank on the stb. side went in well. It was tough getting it to fit into the rabbet and matching the angled butt.
Almost impossible to see the joint. Lots of finish sanding to do once all the planks are in place and the joints are tight. Best I've done so far. Every piece is a project unto itself and I'm getting better. Thanks to all those who've commented (and the likes).
Maury
- Canute, Stuntflyer, dvm27 and 8 others
-
11
-
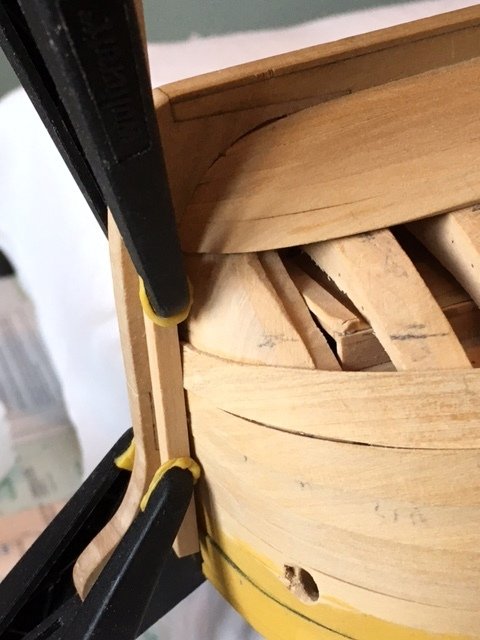
I've talked about the difficulty of bending the planks around the bow. Here is how I hold the stem-end in the rabbet while bending the piece. I clamp a piece of scrap to the stem and it holds the plank as it sets in the rabbet. On the harder-to-bend pieces, I had to use stronger clamps. The back end of the plank is held in place with some high-tech rubber bands.
-
-
-
I've broken 4 or five planks getting them shaped around the bow. Spiled first of course. Top edge sanded to fit the strake above. At first I tried heat bending and that made the piece so brittle at the forward end a corner broke off (twice). I went to the microwave, then to boiling and back to the microwave (3 different pieces) before I got one to shape. A few days later the first "drop planks" are installed. This is my first attempt at drop planks. The top one (boat is inverted) was easy. Matching up the mate and the joint will be a challenge. All of it was planned out on paper (see earlier post). The joint lands where butt joints were earlier laid out.
Plenty of sanding left to even out the thicknesses but the seams are tight. Some water stains remain, and it gets painted.
Maury
-
-
There is a posting issue with the site. I'm editing this on a Mac using Chrome.
The first stealer plank is being setup. At the frame where the stealer meets, I carefully laid out both four and five strakes and roughly cut the plank. It's going into the microwave now to get bent...another problem...clamping the plank in place to dry is an issue. Nowhere to put a clamp. I'm resorting to rubber bands. More later.
Maury
-
Very nice. More inspiration for us all.
Maury
- Canute, Stuntflyer, mtaylor and 2 others
-
5
-
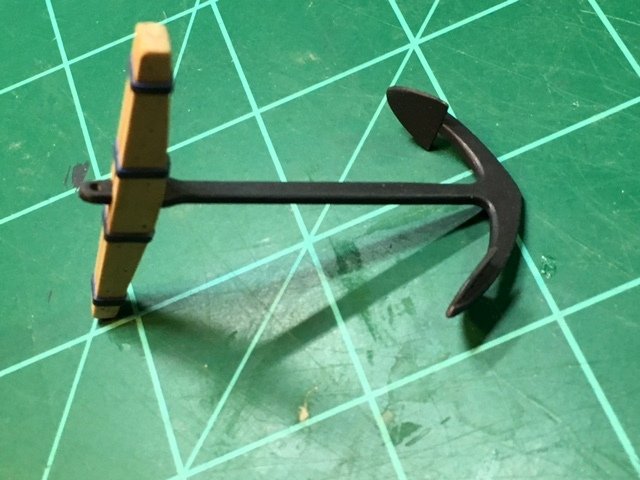
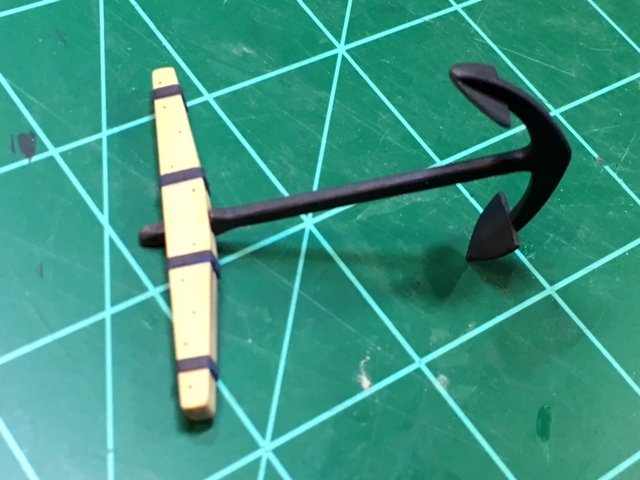
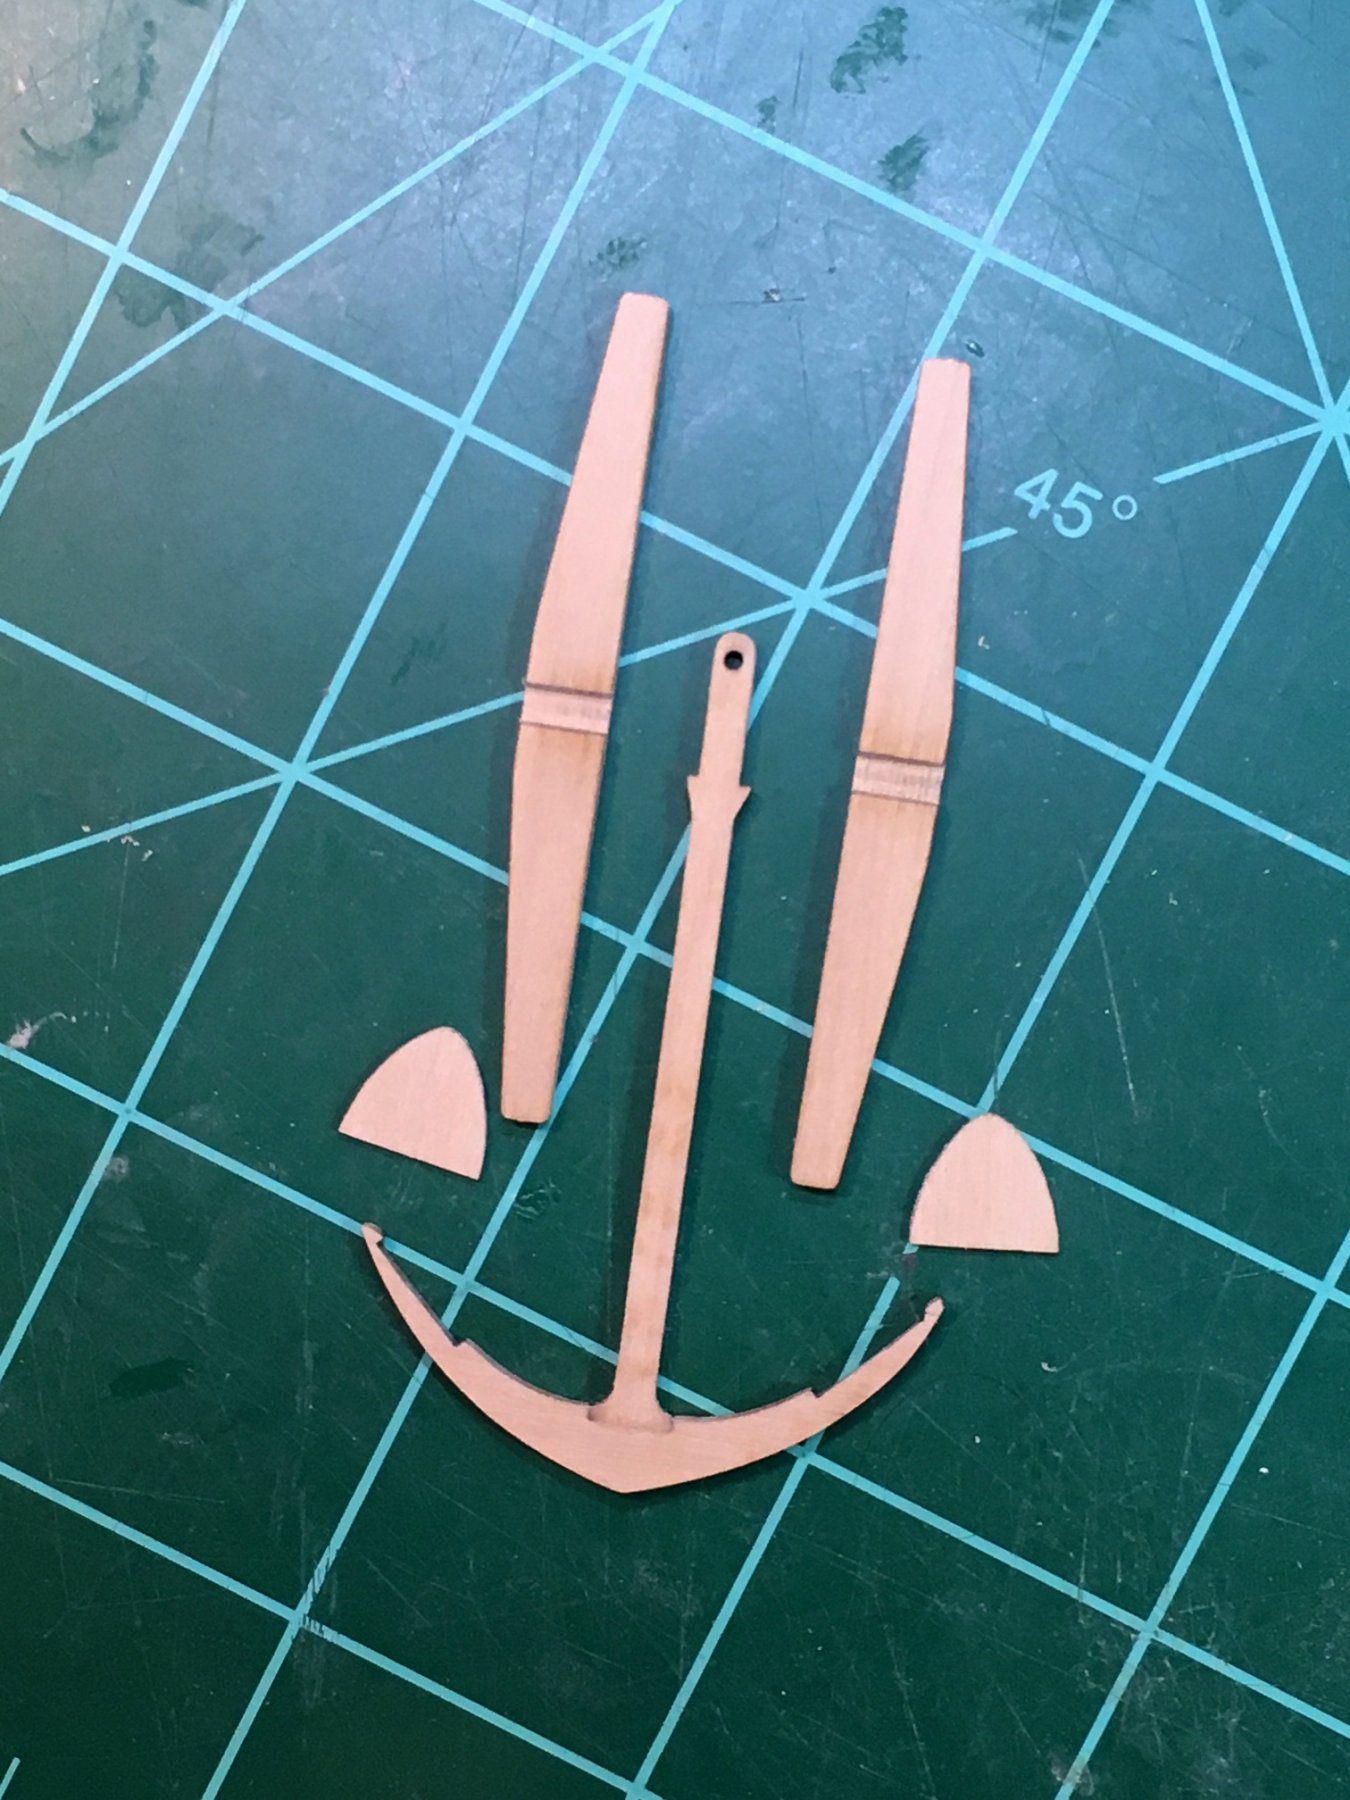
I took a break today from the planking and built up an anchor from the Syren ShipModel Co. kit. What a great little product!
I need a larger one for hanging off the great cat, but this will
be acceptable for one of the regular anchors on the hoy.
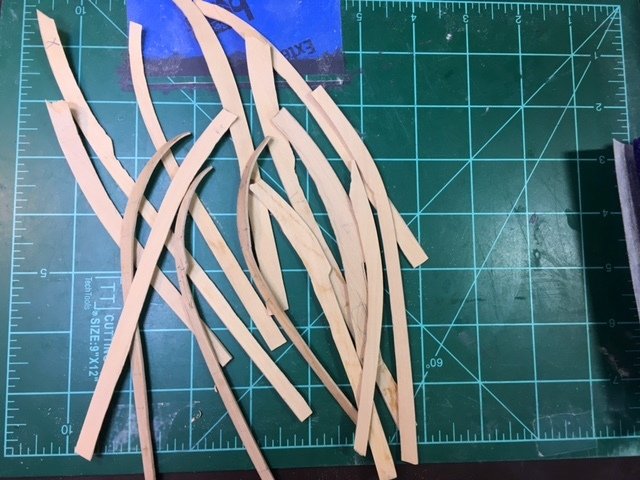
Parts in the first pic.
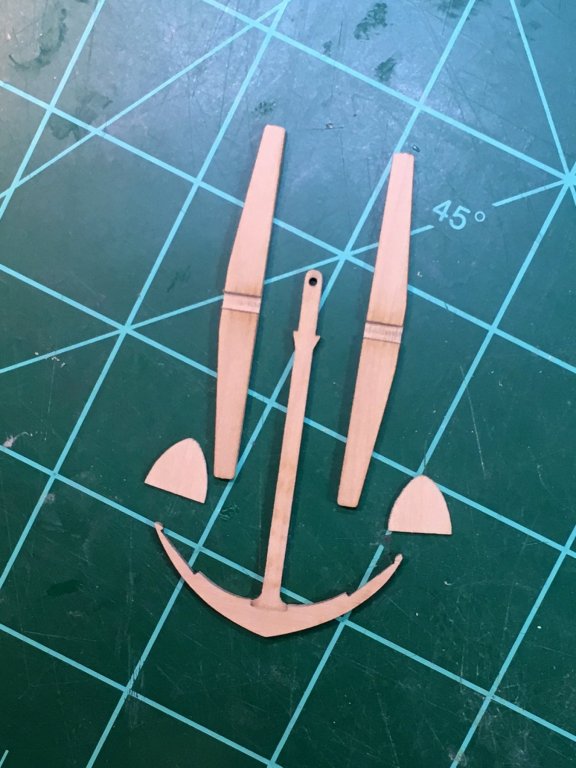
Finished except for the ring. Paint is ModelShipways Iron canon Black..4 coats well diluted. Bands are Scotch Blue painters tape, painted the same and sliced to size. I may try using some rust powder on it. One more thing to learn.
 Maury
Maury
-
-
-
Mike,
Welcome to the non-warship side. It should be a great POF project. I'm looking forward to your progress.
Maury
- Stuntflyer, Tigersteve, mtaylor and 2 others
-
5
Anchor Hoy c. 1825 by Maury S - FINISHED - 1:48 - Harbor craft - POF
in - Build logs for subjects built 1801 - 1850
Posted
It's all about buoyancy.
M