-
Posts
115 -
Joined
-
Last visited
-
No worries, mostly fair comments, but I never suggested kits shouldn't be modified... they should be! That is entirely up to the individual builder. You expressed repeated confusion over some of the design choices of the kit, I wanted to explain them, that's all. Sounds like mostly a misunderstanding over the intent of the kit as a beginner's model vs. an advanced one. I should have also stated I am not part of ME. I was only hired to re-work the existing Phantom to 1:48, make it POB and generate some illustrated instructions. I did the brass work, but the other fittings, plans, marketing, etc... were beyond my scope of work and I have no interest in the kit's sales, other than hoping for the continued success of a respected ship model company. Like I said; your work is beautiful and I can't wait to see the finished model. Cheers! Jarod. www.historicshipmodel.com
-
 juhu reacted to a post in a topic:
Phantom 1868 by Greg Davis - Model Shipways - 1:48 scale - New York Pilot Boat
-
Seems there is quite a bit of confusion over the design choices in this kit, so I figured I should try to defend it. I designed the 1:48 scale Phantom as an easy Plank-on-Bulkhead model based on the old solid-hull 1:96 version. Yours is the first online build of the Phantom and your workmanship and technique is flawless, but your build is nowhere near a beginner's level. I am afraid your build log unfairly taints the kit and might give it a bad reputation before anyone has given it a chance and built it "out of the box". I will explain some of the decisions made in producing the 1:48 Phantom, a beginner's level model. The planking as described in the kit is not run the way it would have been on the real ship, but it is very easy to complete successfully, and that is the primary goal of a beginner's kit. IMHO, spiling planks like you have so expertly done is beyond what most first-timers would be able to do. The Phantom will be covered with paint and copper anyway, and for a beginner a nice looking completed model is the most important goal. The transom not being planked follows the same design philosophy. Similarly, for the deck houses I used brass because it would be easier for a beginner to get a nice looking result. I don't like Basswood for complex structures like these because it is hard to sand and fill and get a nice finish on it. I'm sure the Pear or Box you use will look terrific, but those materials and the tools and techniques you use are well beyond a beginner's kit. There must be some scaling errors in the production laser-cut kit parts. For example, the molds with alignment holes were drawn once in CAD, then copied and rotated so the holes are in exactly the right position. Model Expo made me a few iterations of the wood parts and I built and modified the files several times to ensure an easy assembly. The alignment holes were perfect in all of those physical examples. I appreciate the build-log, but I just don't think it's fair to buy a beginner's kit, and then build it as a master-level scratchbuild, and then complain about all the reasons that beginner's kit doesn't produce a masters-level scratchbuild. If you were to "kit" your masters-level Phantom, it probably wouldn't make sense to point out all the reasons it doesn't make a good beginner's kit. With all due respect and admiration, your workmanship is certainly beautiful and I can't wait to see the finished model. Cheers!!! Jarod www.historicshipmodel.com
-
 Canute reacted to a post in a topic:
Brig USS Enterprise 1799 info gathering
-
 uss frolick reacted to a post in a topic:
Brig USS Enterprise 1799 info gathering
-
Brig USS Enterprise 1799 info gathering
HSM replied to CharlieZardoz's topic in Nautical/Naval History
-
 Egilman reacted to a post in a topic:
3d printing crew figures
-
 GrandpaPhil reacted to a post in a topic:
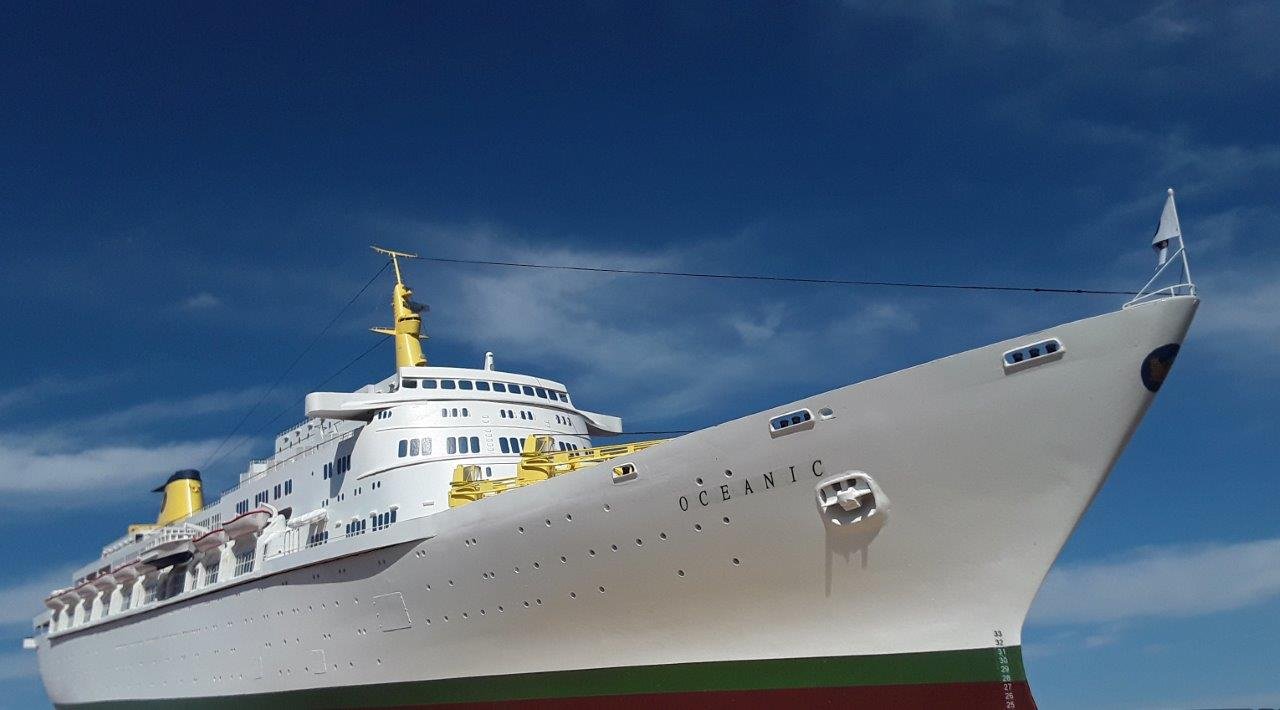
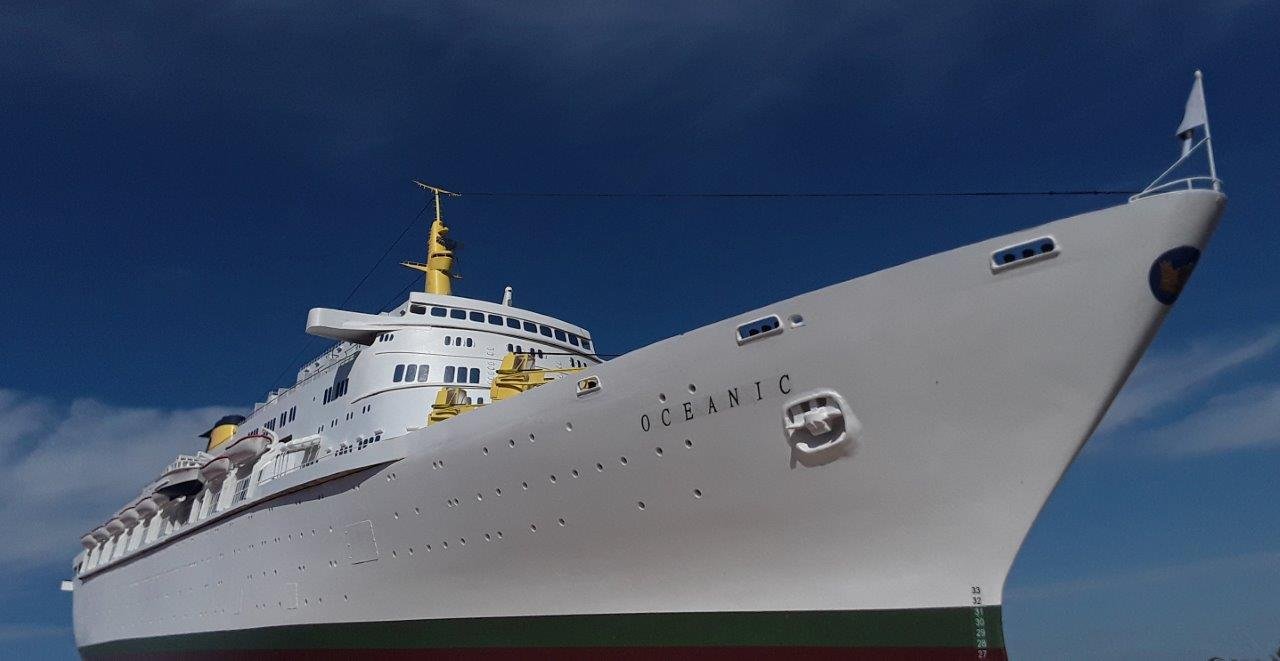
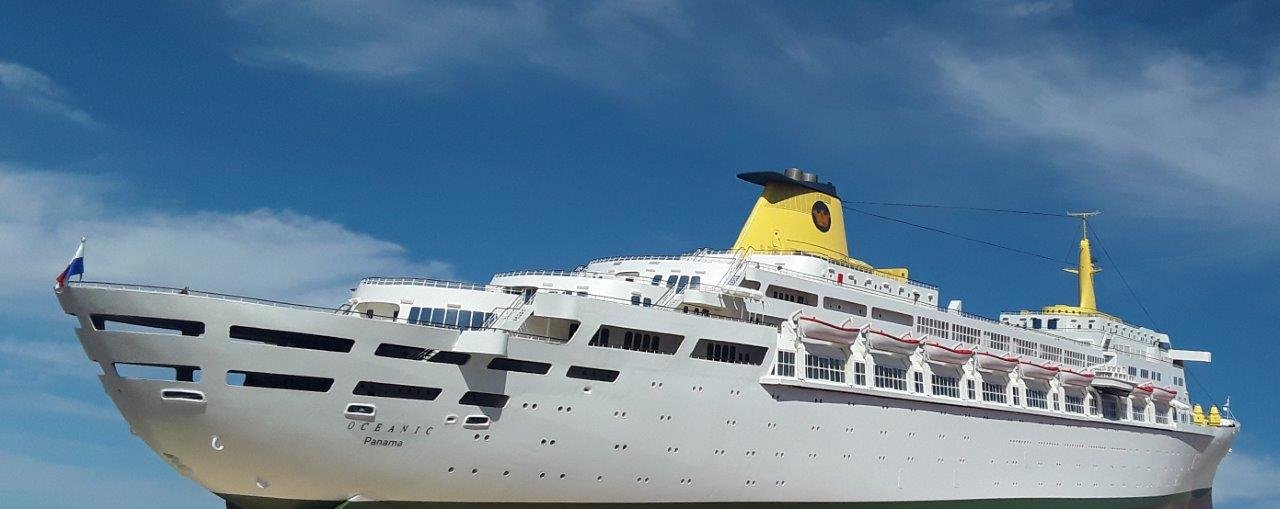
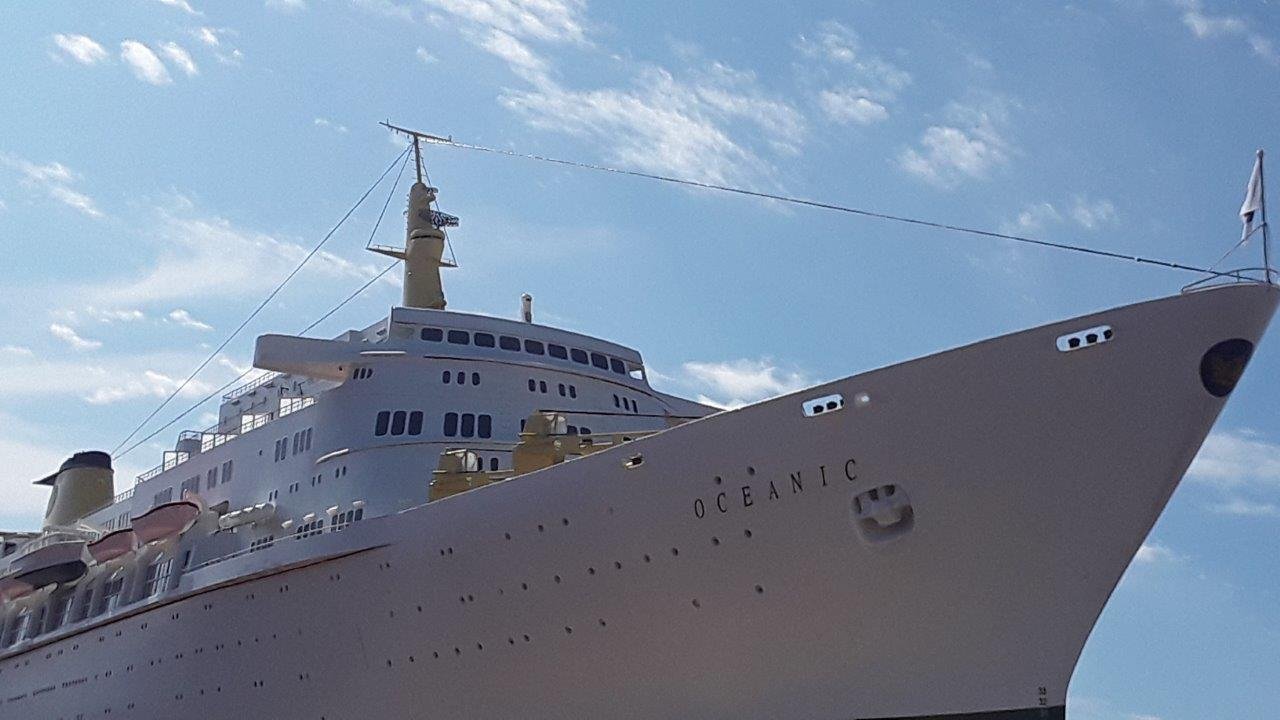
Oceanic by HSM - FINISHED - 1:144 - mixed media
-
 JerryC reacted to a post in a topic:
Photo-etching, soldering and other metalworking tutorial
-
 JerryC reacted to a post in a topic:
Photo-etching, soldering and other metalworking tutorial
-
 thibaultron reacted to a post in a topic:
3d printing crew figures
-
 Merriann B reacted to a post in a topic:
Photo-etching, soldering and other metalworking tutorial
-
 ERS Rich reacted to a post in a topic:
Photo-etching, soldering and other metalworking tutorial
-
- 2 replies
-
- photo
- photo etch
- (and 7 more)
-
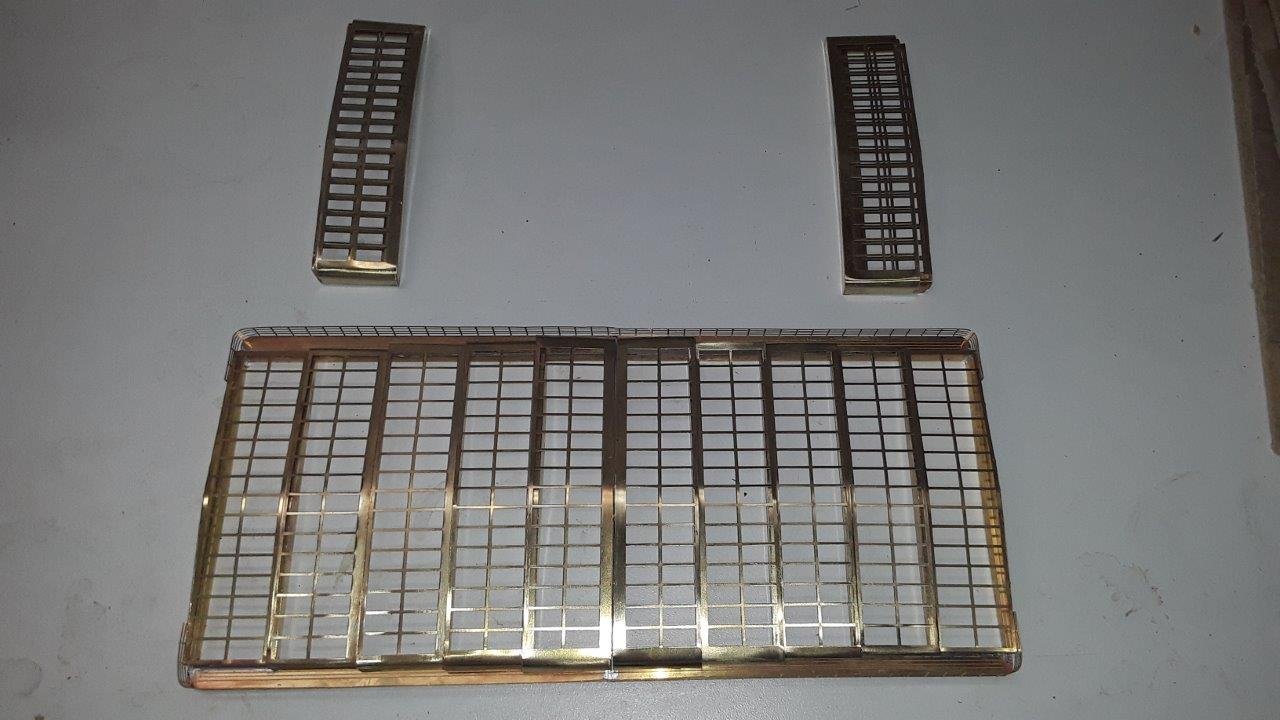
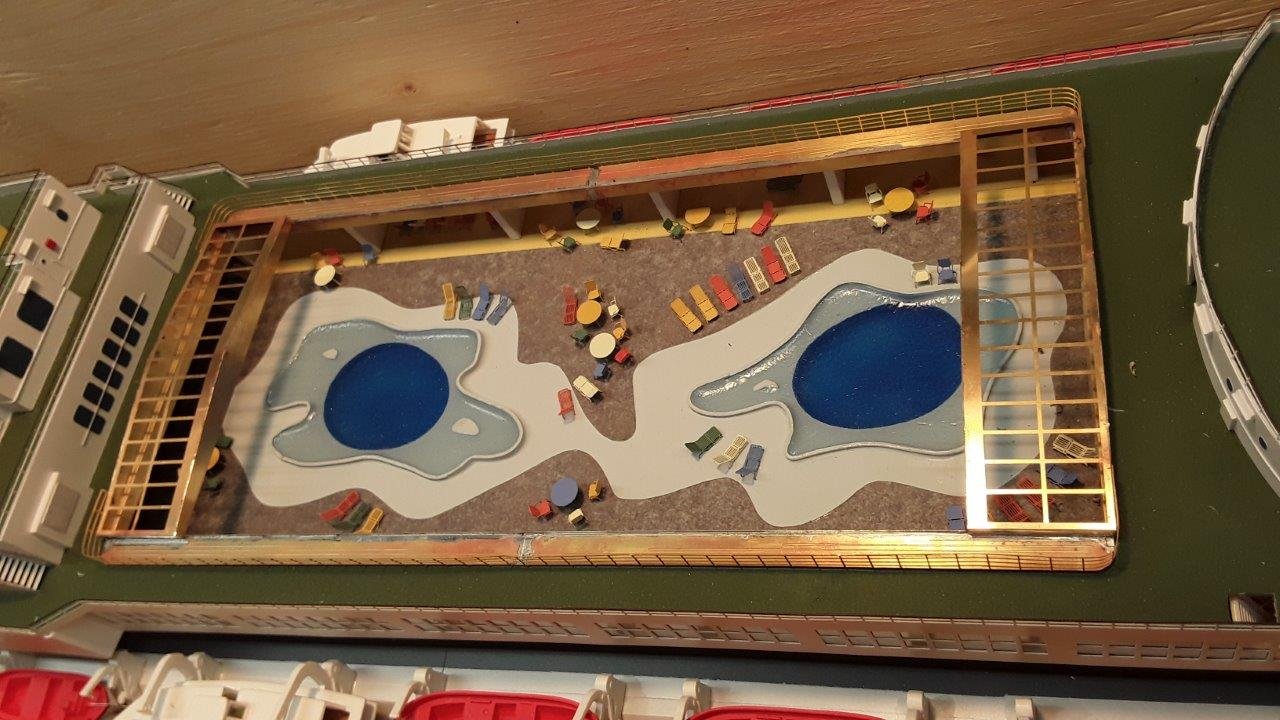
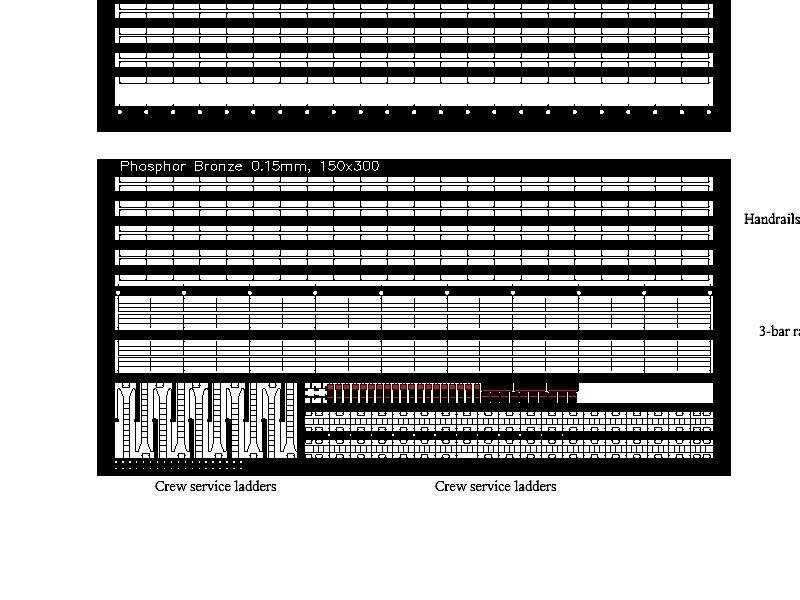
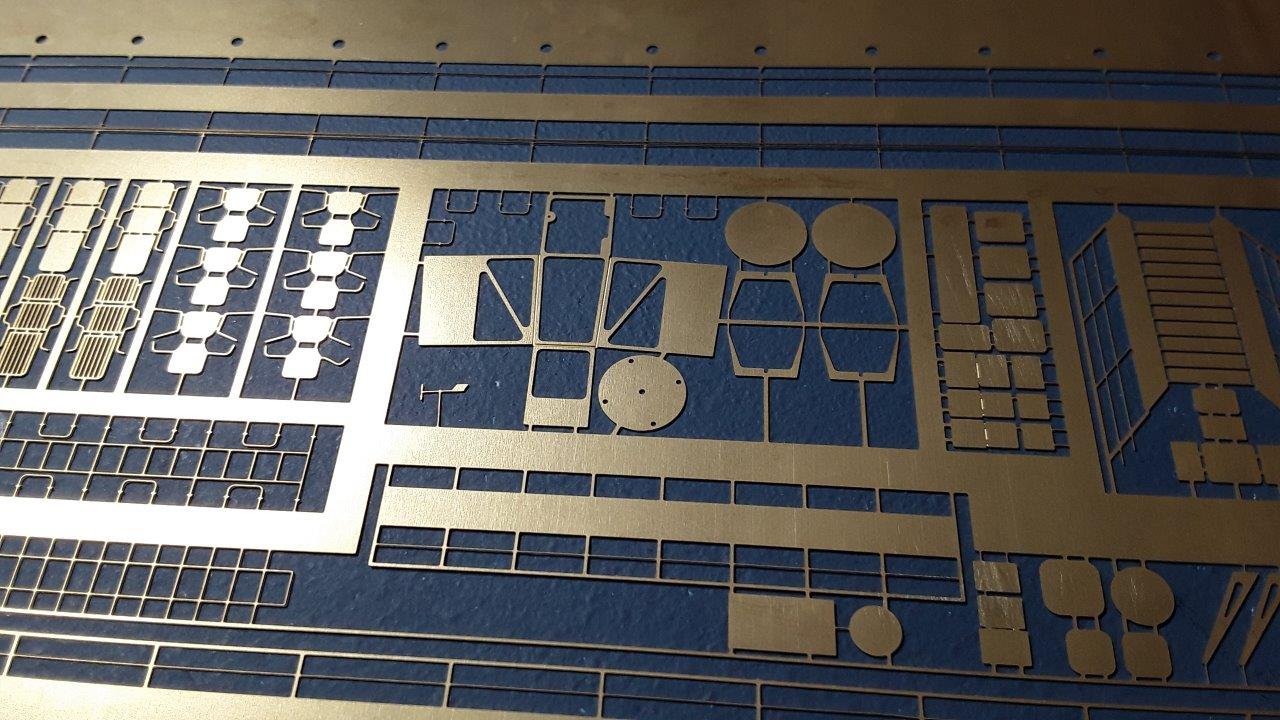
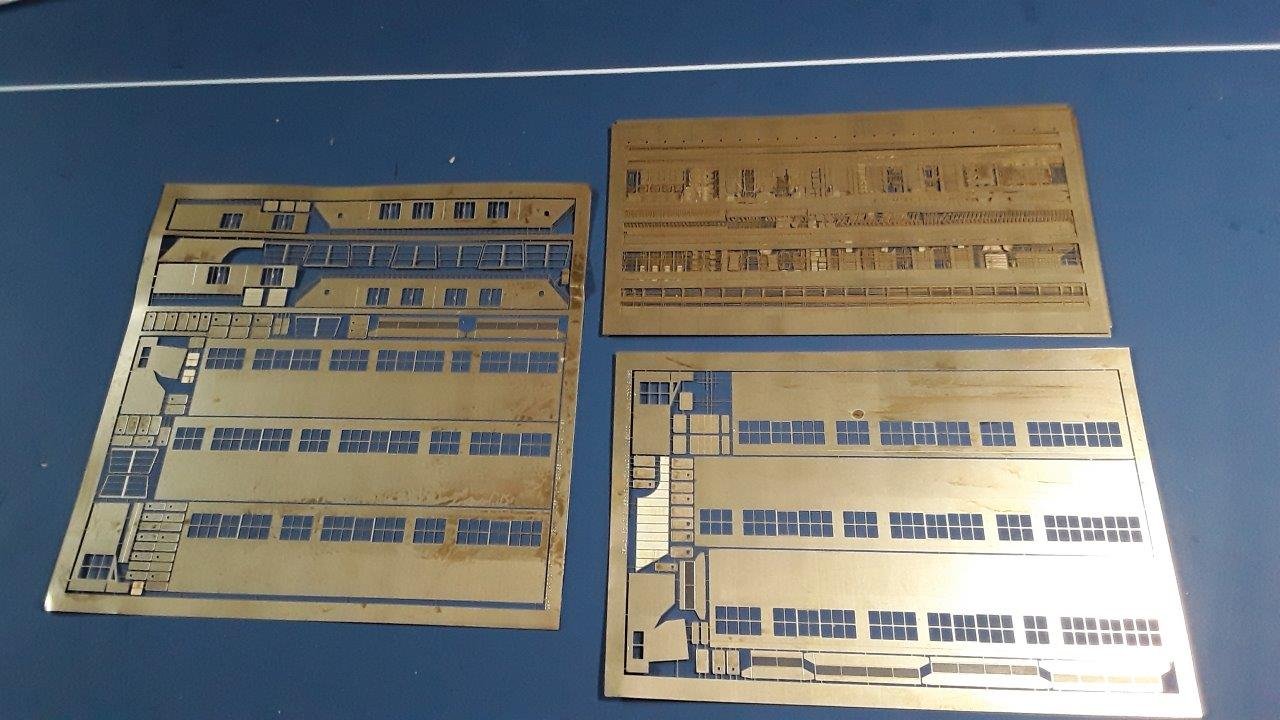
Hey all, I just published video 5 on making custom photo-etched parts and soldering. Hope it helps someone, or at least is mildly entertaining! https://historicshipmodel.com/how-they-are-made Next-up I will be making some custom photo-etched brass sheets! Any small, thin details you see on the model such as ladders, railings, window frames, antennas, radars, etc... etc... are photo-etched brass. I will show you how I did it from planning and drawing the parts in CAD to sending the files for fabrication to folding the parts to soldering them together and painting. Lots to cover here, but it makes such a difference in the model!!!
- 2 replies
-
- photo
- photo etch
- (and 7 more)
-
Yes Allan you would be right! I am in Winnipeg, Manitoba just North of where North Dakota and Minnesota meet. Your accent identification is impressive! As far as the fibreglass, I'm happy you enjoyed that segment but I'm sure there are much better videos on the subject out there. What I did worked but the radio controlled model airplane guys do that all the time and likely have better explanations.
-
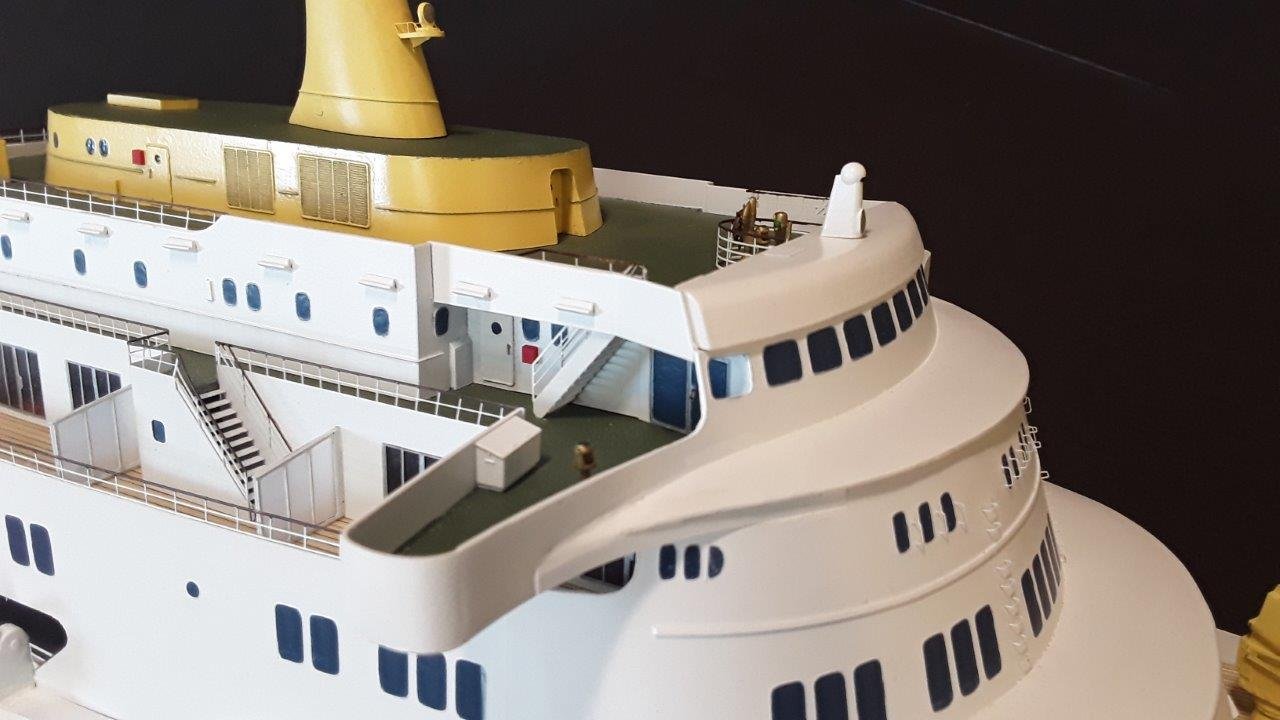
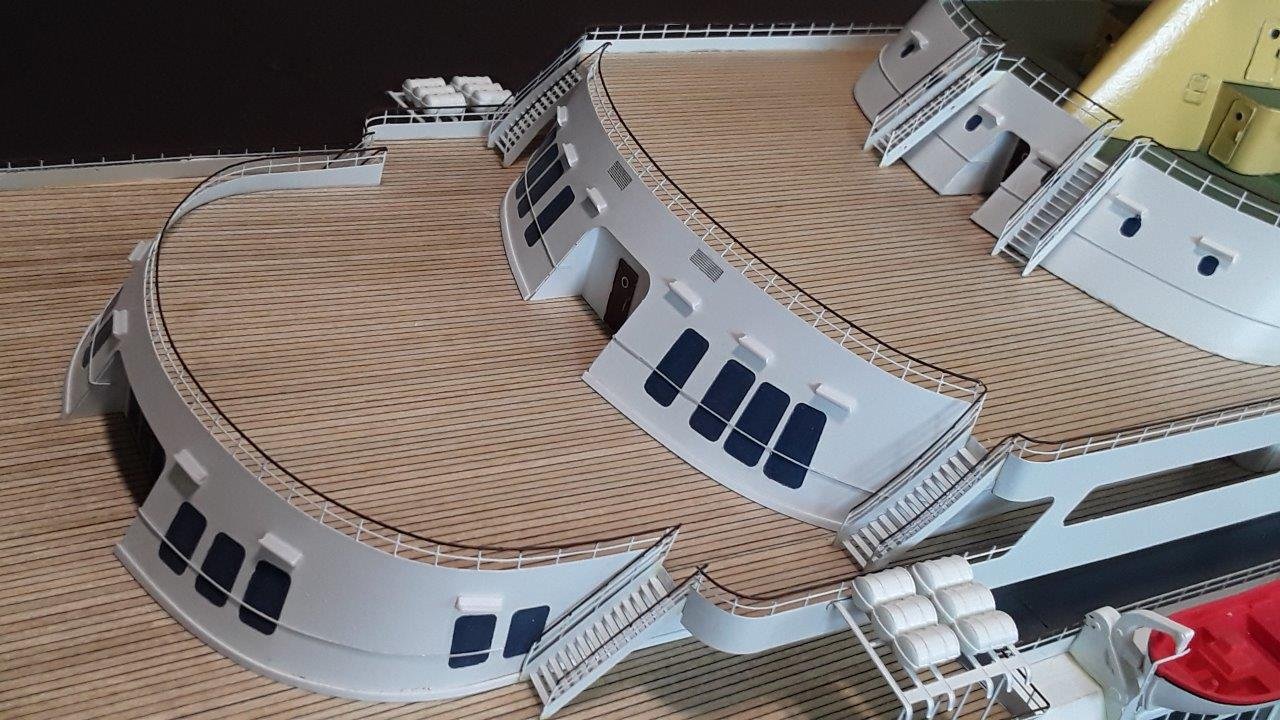
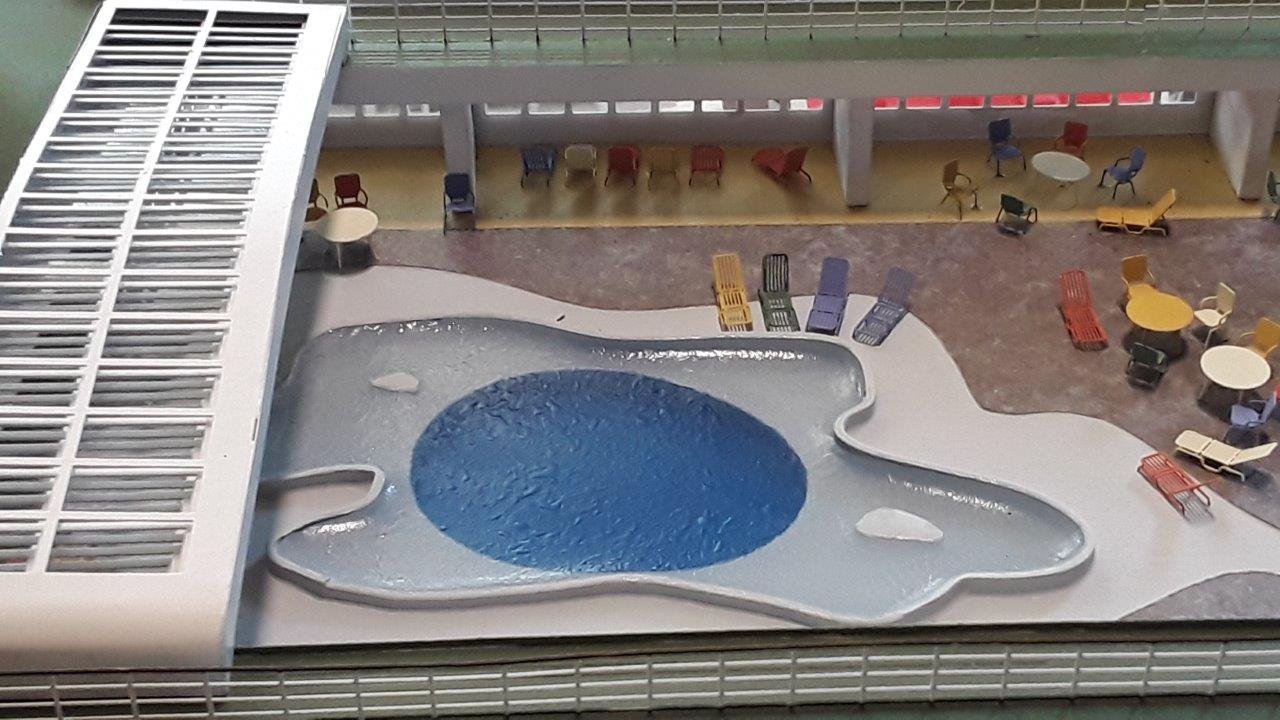
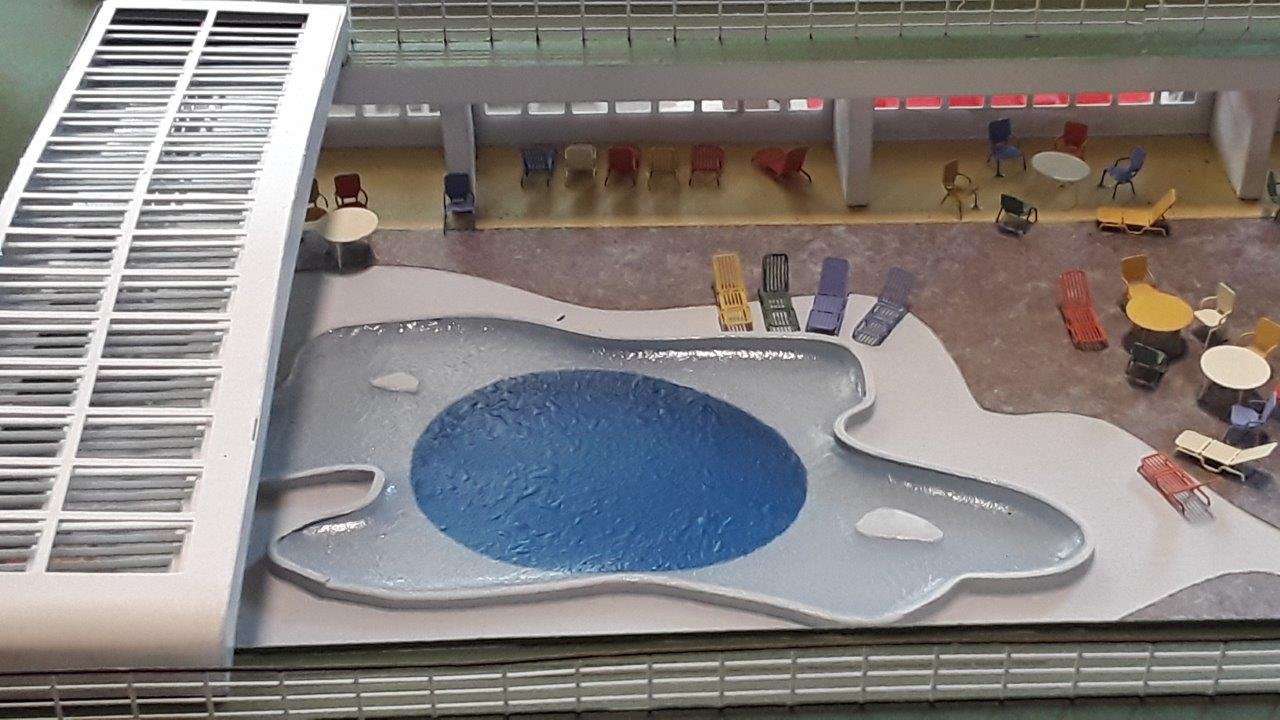
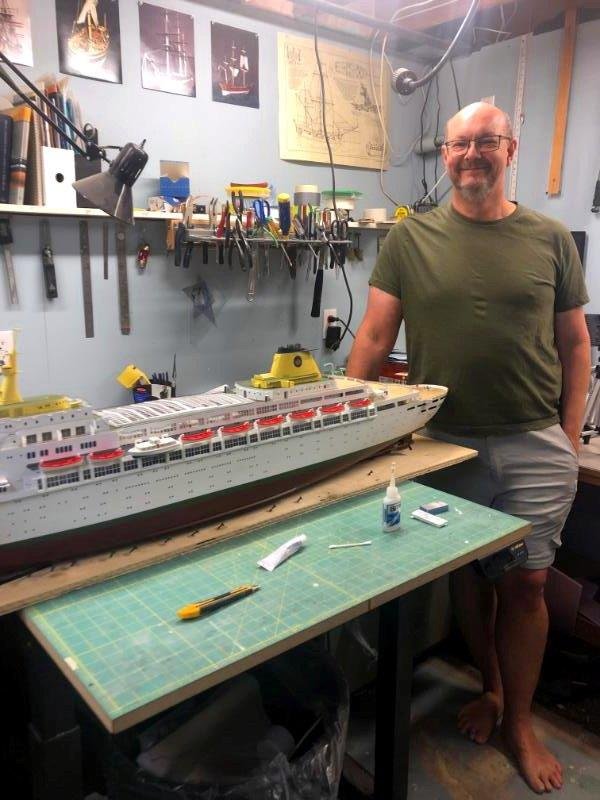
This isn't really a build log in the classic sense, it is more of a video build log of my recently completed scratchbuilt 1:144 scale cruise ship Oceanic (1963). I documented the build and have edited it into several videos on the design and construction and figured some here may be interested in seeing how it was done. Hope you like the pictures and videos! https://historicshipmodel.com/how-they-are-made
-
I recently bought the same printer you have and have used it to make davits and lifeboats for a cruise liner I am making. It produces amazing results doesn't it? Being a newcomer to 3-D modeling I am impressed with your figures. Can you briefly tell how you made the computer models?
-
I have a 3D printer (Anycubic Photon) and use it for making multiple complex parts (propellers, anchors, davits, lifeboats, etc... for a scratchbuilt ocean liner I am working on). but for masts and spars you are better off with wood. The 3D parts are amazingly detailed and look awesome when properly processed, but they are still plastic. Making correct tapers, etc... is certainly possible, but you have to have a good 3D modeling package and know how to use it.
-

Workshop Essentials - Favorite Features
HSM replied to Justin P.'s topic in Modeling tools and Workshop Equipment
About a year ago I bought this motorized adjustable height table legs. Have wanted something like this since my first model (am working on number 46 now) and its changed the way I work. No more bending at awkward angles and trying to work carefully while uncomfortable! Consider adding it underneath a portion of your workbench. -
I bought this one a few months ago with the intention of pushing it under my work table and pulling it out when I work on an awkward area like high rigging or whatever. For the $200CAD that it costs (tabletop is extra) it is very well engineered and high-quality. I have since moved my chair out of the workshop because everything I do I can now do standing up. I can set the table height to wherever I want it to be comfortable and go to work. I have not gotten rid of the chair yet but I could see doing so in the future. If you spend lots of time in the shop these things are great!
-

Photo Etching - do it yourself
HSM replied to Dziadeczek's topic in Metal Work, Soldering and Metal Fittings
It is always fun to experiment, but I have been there and done that and I don't do it anymore. I had the Micromark PE kit and used it for several projects. It works, but is very time-consuming and finicky. About 75% of my attempts were unusable for one reason or another but with lots of work and practice I did use it to make decent parts for maybe 4-6 projects before I gave up. Now I send .DXF files to https://ppdltd.com/ and a week later receive perfectly formed parts. Cheers and good luck, however you decide to make your parts! -
 HSM reacted to a post in a topic:
Straightening thin brass wire
-

Straightening thin brass wire
HSM replied to vossy's topic in Metal Work, Soldering and Metal Fittings
You have lots of responses, but I am wondering why stretching does not work... As suggested by xken, put it between 2 pliers, or a vice and pliers and pull on it until you feel it stretch a bit. This is called the yield-point. If you release it carefully it will be perfectly straight. I much prefer this method to any of the others, but do whatever works for you. -
I bought an 8050 (thanks again for the recommendation John!) and love it. I haven't used my old flex-shaft dremel in months. The battery seems to have sufficient run time, at least for me. I have never had it go flat or slow down during a job and I use it daily. The fact that it doesn't remember your last set speed is the most significant drawback to this tool. It can be quite annoying when you are doing lots of slow speed work and have to continually be pushing buttons. I put a jacobs chuck on it and it blocks the lights in such a way that there is light everywhere EXCEPT where the blade meets the work! On the possibility of the battery getting weak over time, I have had mine for 6 months and if it were to die right now I would spend the money to buy another one. I like it that much. It is not perfect, but is well worth the money for the cordless convenience. I don't think you would regret buying an 8050.
-

LETTERING
HSM replied to timjina's topic in Painting, finishing and weathering products and techniques
The Bluenose is a perfect subject to use white decal paper on because the hull is black. I have made 2 MS Bluenoses and drew the name and scrollwork in Turbocad, with the yellow and black printed, leaving the letters white. It worked great and the decal was all but invisible.
About us
Modelshipworld - Advancing Ship Modeling through Research
SSL Secured
Your security is important for us so this Website is SSL-Secured
NRG Mailing Address
Nautical Research Guild
237 South Lincoln Street
Westmont IL, 60559-1917
Model Ship World ® and the MSW logo are Registered Trademarks, and belong to the Nautical Research Guild (United States Patent and Trademark Office: No. 6,929,264 & No. 6,929,274, registered Dec. 20, 2022)
Helpful Links
About the NRG
If you enjoy building ship models that are historically accurate as well as beautiful, then The Nautical Research Guild (NRG) is just right for you.
The Guild is a non-profit educational organization whose mission is to “Advance Ship Modeling Through Research”. We provide support to our members in their efforts to raise the quality of their model ships.
The Nautical Research Guild has published our world-renowned quarterly magazine, The Nautical Research Journal, since 1955. The pages of the Journal are full of articles by accomplished ship modelers who show you how they create those exquisite details on their models, and by maritime historians who show you the correct details to build. The Journal is available in both print and digital editions. Go to the NRG web site (www.thenrg.org) to download a complimentary digital copy of the Journal. The NRG also publishes plan sets, books and compilations of back issues of the Journal and the former Ships in Scale and Model Ship Builder magazines.


