

Mike 41
-
Posts
439 -
Joined
-
Last visited
Content Type
Profiles
Forums
Gallery
Events
Posts posted by Mike 41
-
-
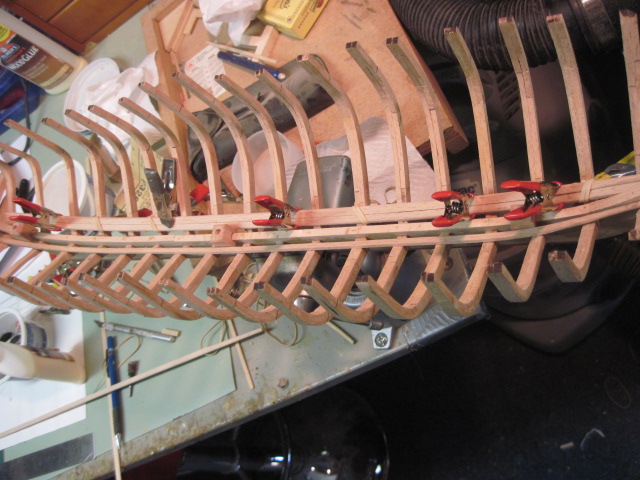
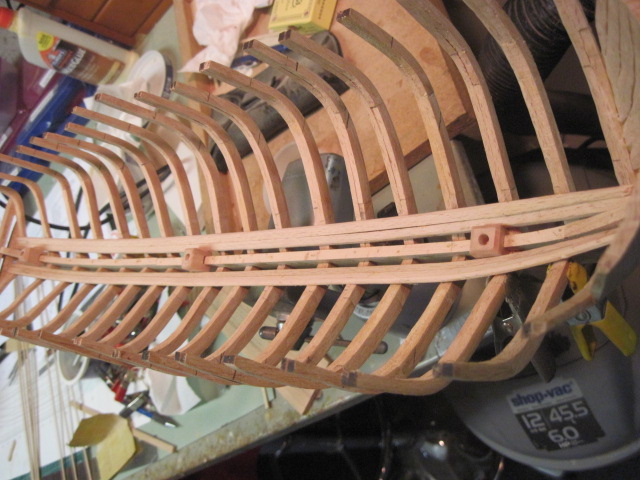
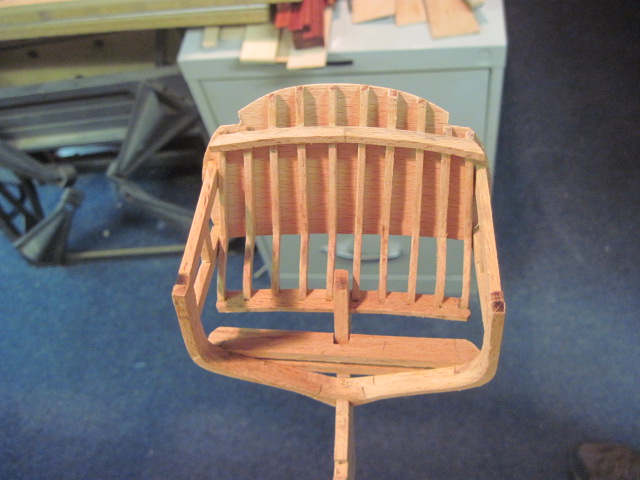
I installed the sheer strake top side planks and trimmed the frames to the proper height. This set of photos shows the addition of the upper and lower deck clamps.

- Beef Wellington, Mike Y, Jeronimo and 8 others
-
 11
11
-
Thanks Gary and John,
This should be an interesting project. The Beagle is a lot more complex than the Galley Washington I will be simplifying a lot of the joinery my old eyes are not what they use to be. Lol
Mike
- FriedClams and mtaylor
-
2
-
-
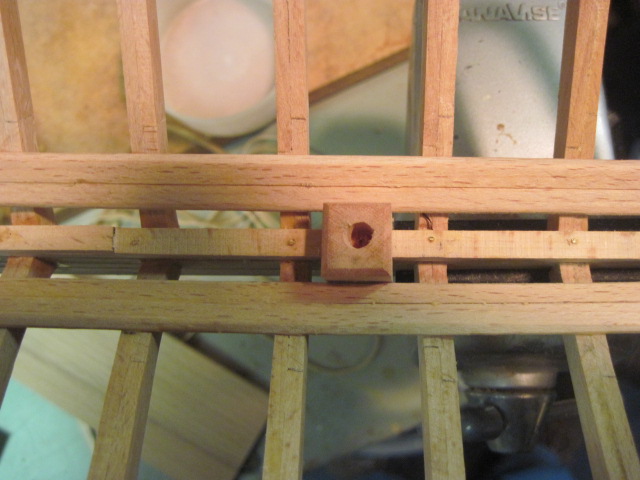
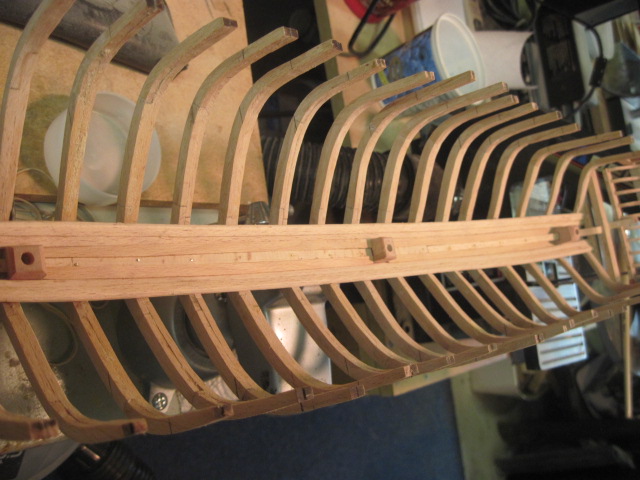
The mast steps, limber strakes and limber boards are shown in this set of photos.

- Mike Y, Gregor, Beef Wellington and 9 others
-
12
-
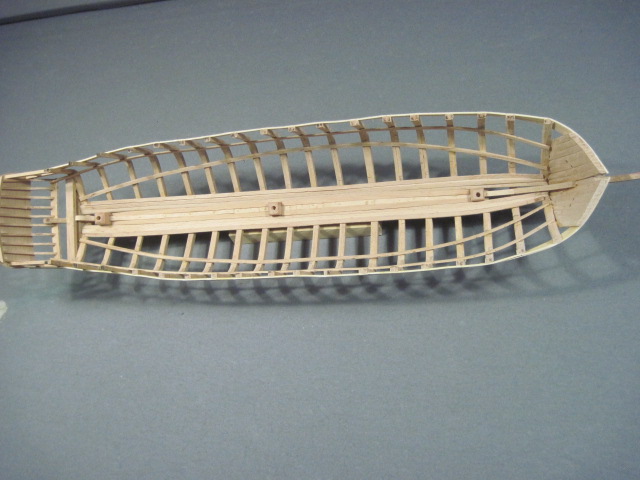
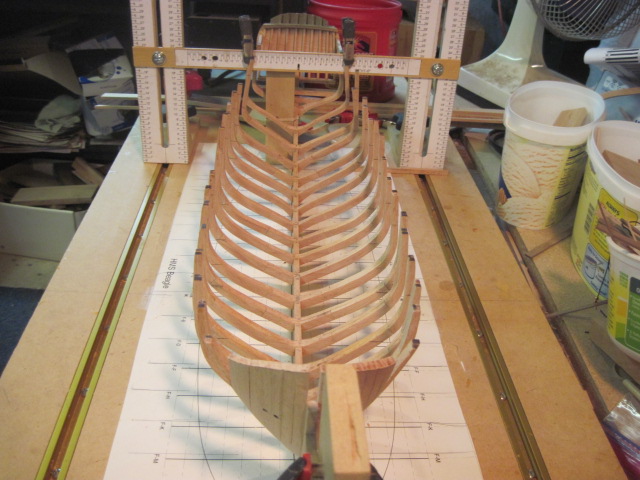
All the frames and the keelson went together without any problems.
I will be adding the breast hooks and deck hook next. The only place they are shown in the drawings is an elevation view of the keel and stem assembly so the patterns will be fun to make.
This is a few photos of the frames and keelson being installed.

- FriedClams, Mike Y, Jeronimo and 9 others
-
12
-
-
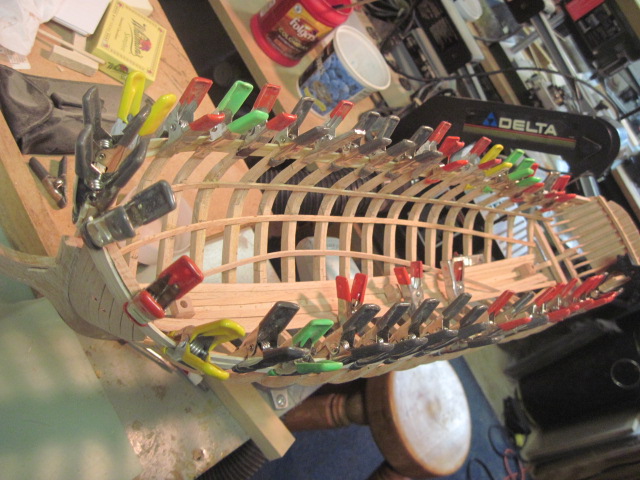
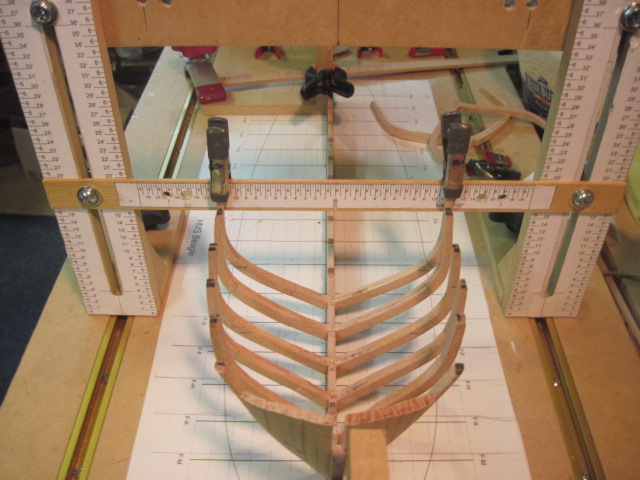
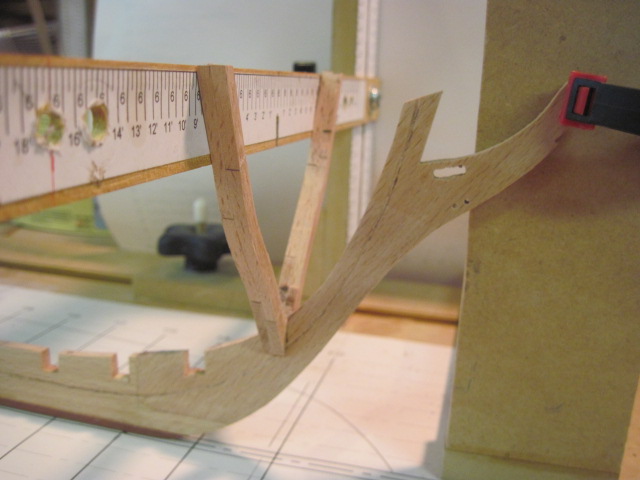
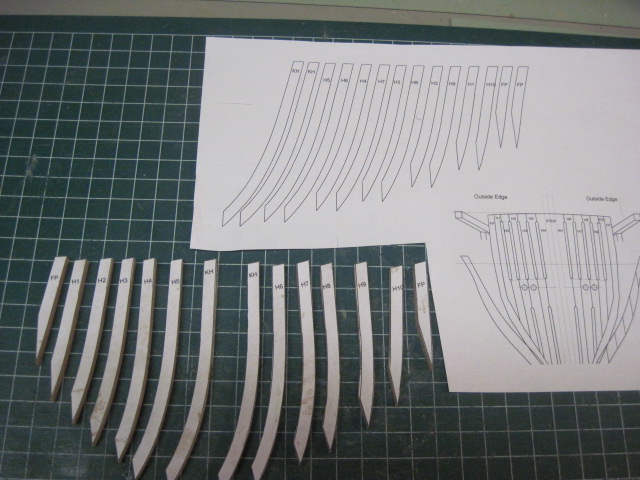
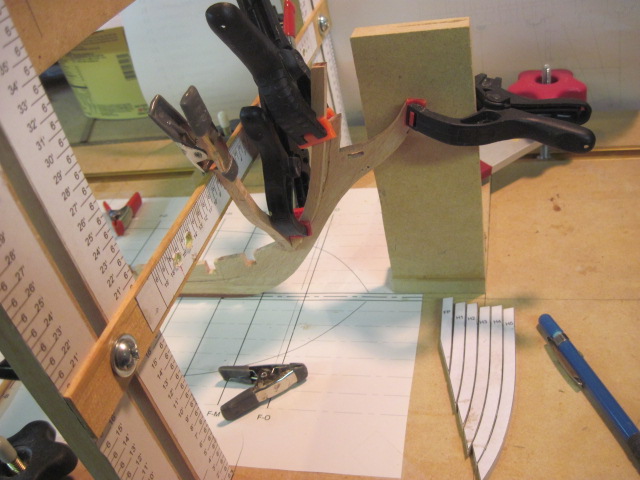
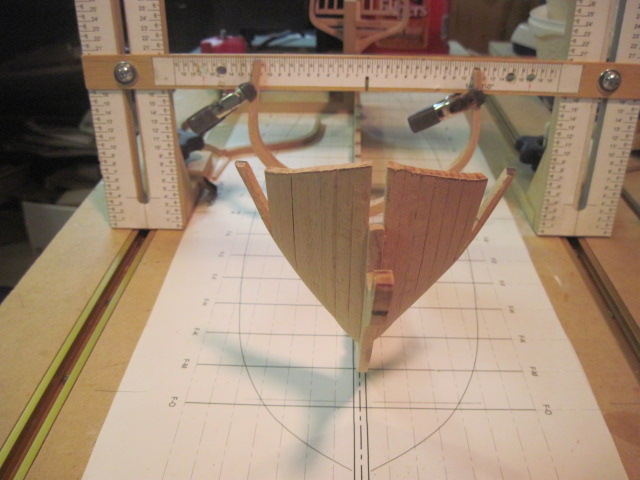
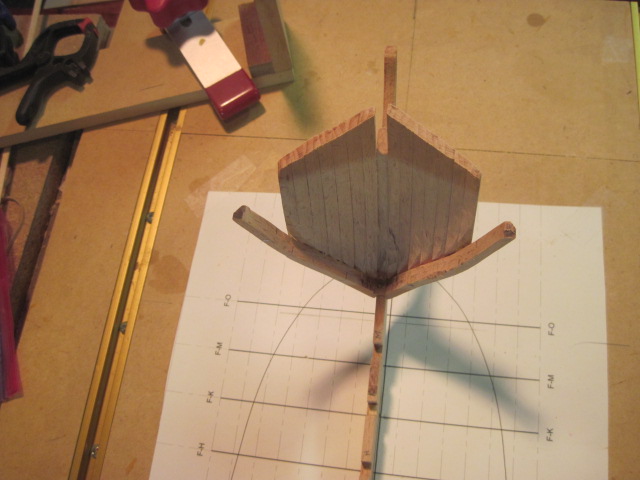
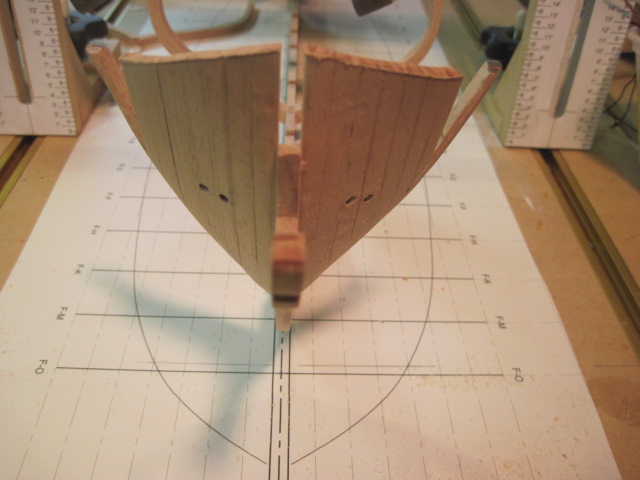
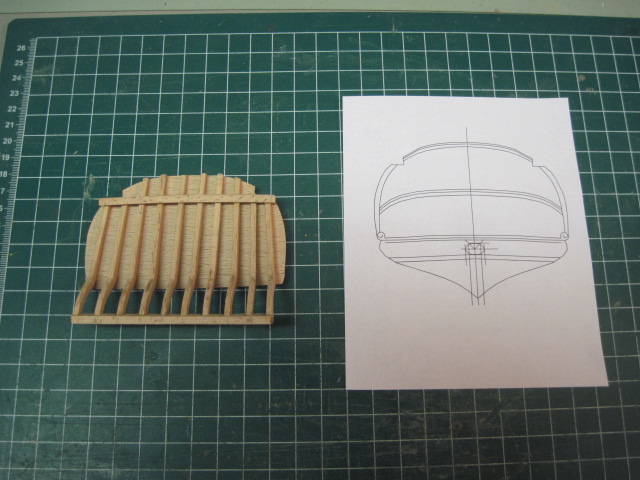
The bow framing started with the installation of the most forward frame ‘O’. I generated patterns for the Hawse pieces from the existing drawings after the pieces were cut out I glued them to the frame bread and butter style. I trimmed the timbers to the proper height and sanded the interior and exterior smooth. The last step was to drill the hawse holes.
I will be adding the rest of the frames and Keelson next. Thanks for the likes and comments.


- mtaylor, capnharv2, FriedClams and 14 others
-
17
-
-
Thanks Michael,
I like to use Beachwood for the framing it looks a lot like Oak but is softer with close grain and is easy to work.
Mike
- mtaylor and FriedClams
-
2
-
-
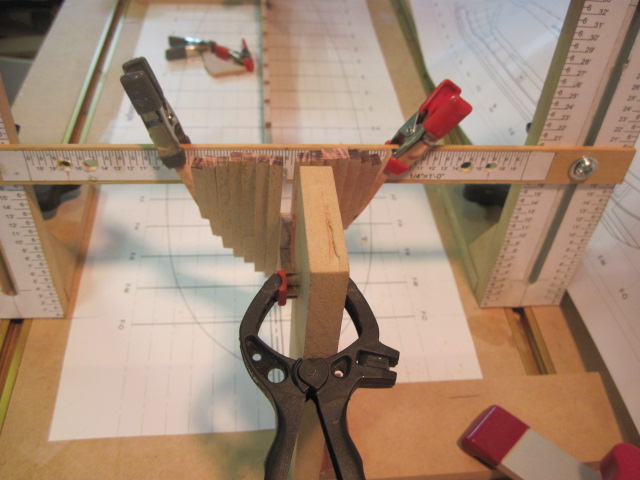
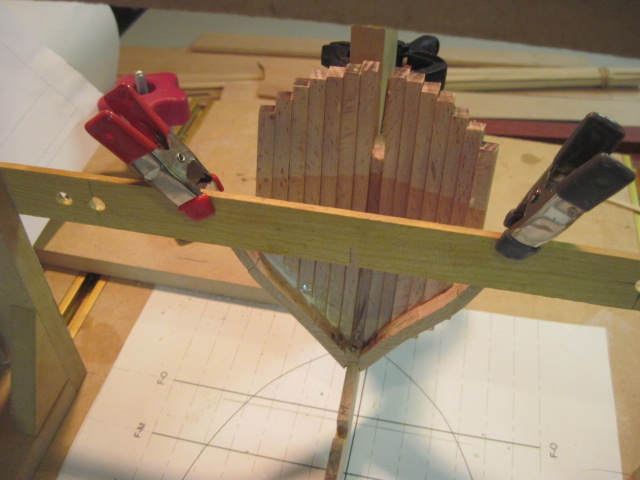
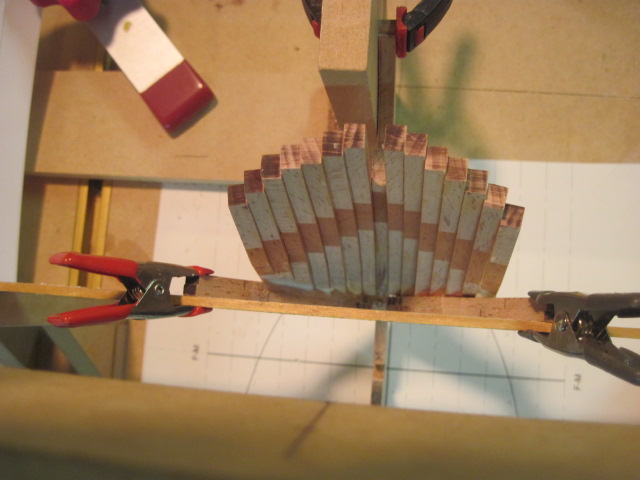
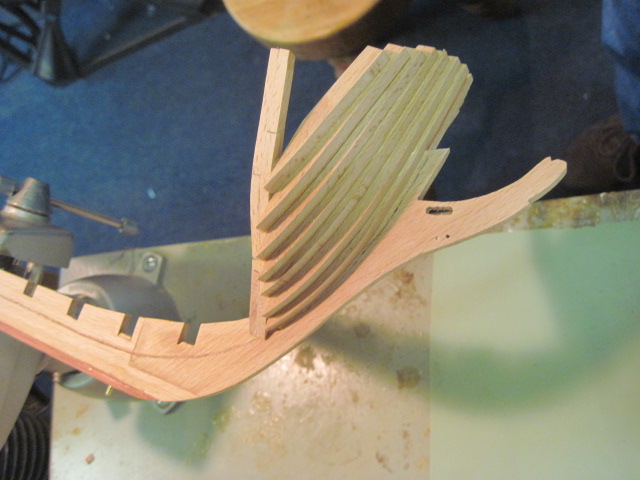
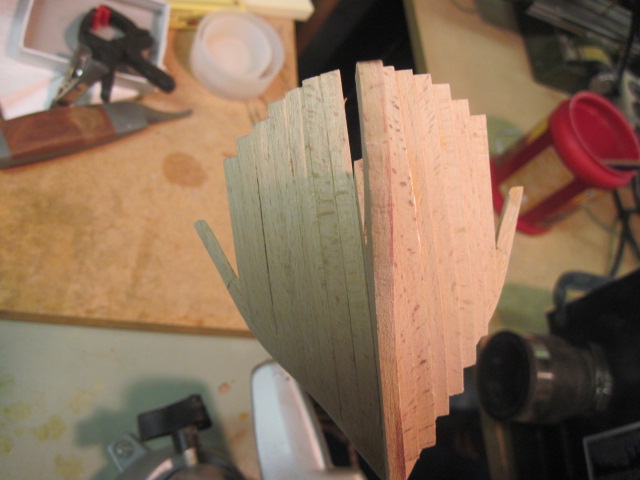
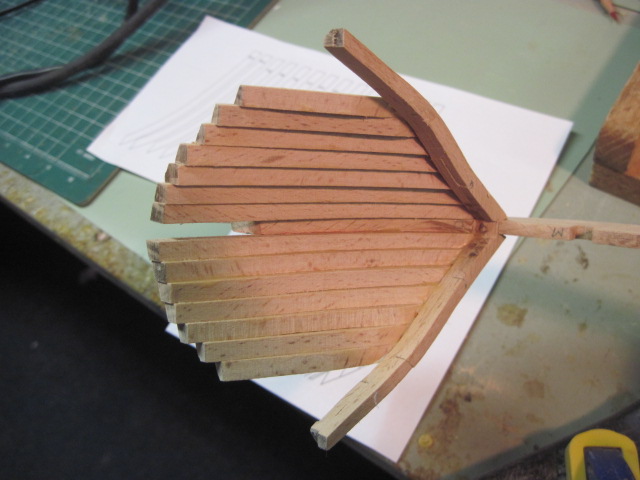
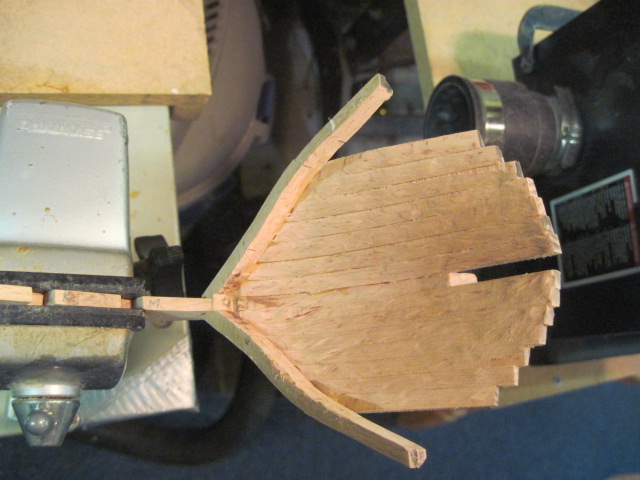
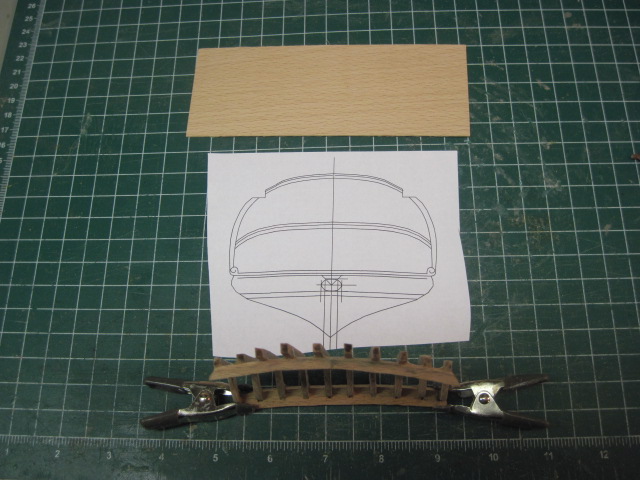
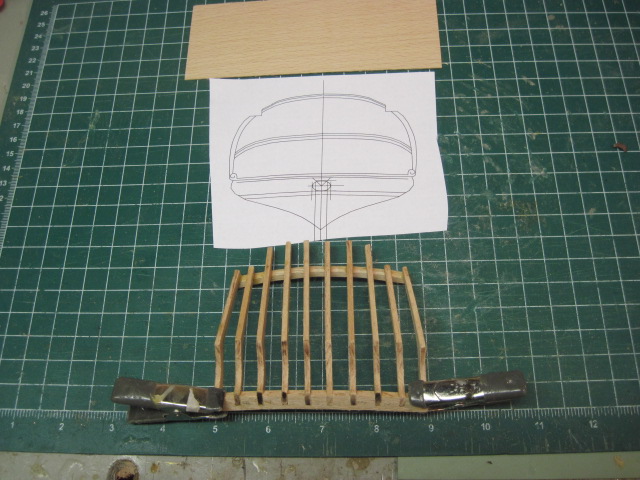
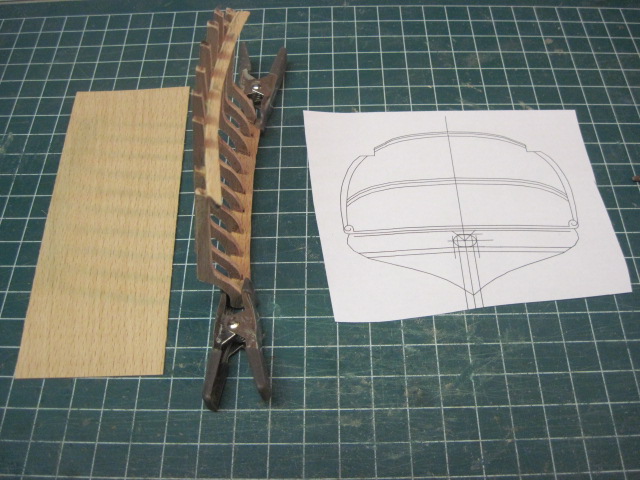
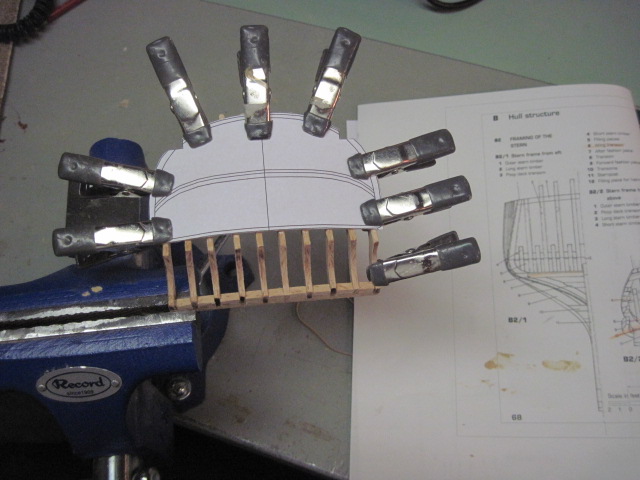
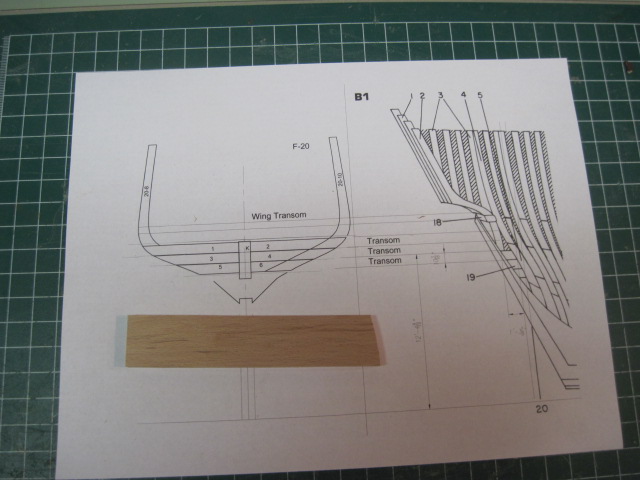
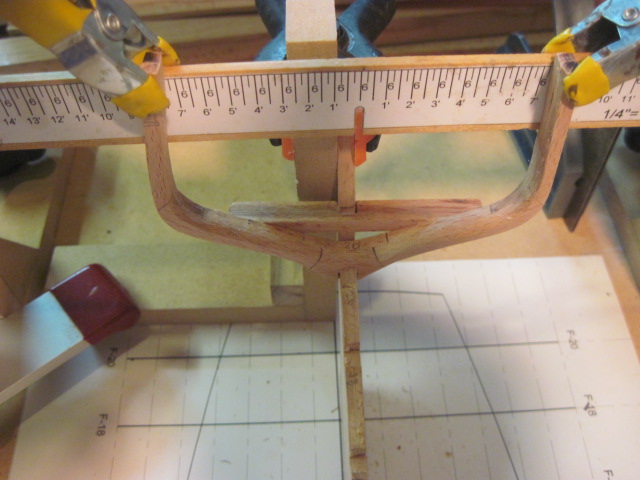
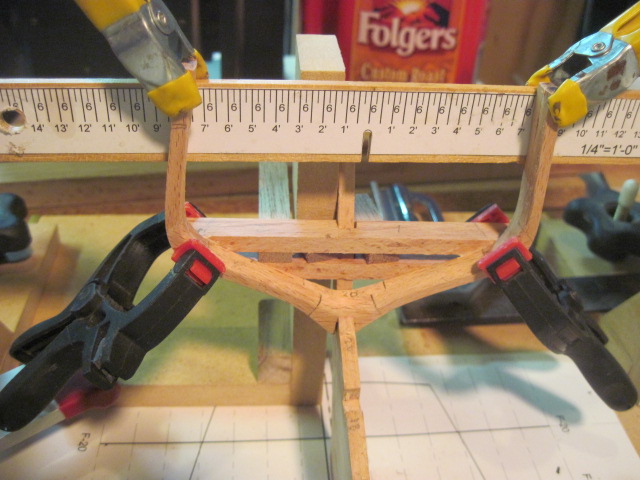
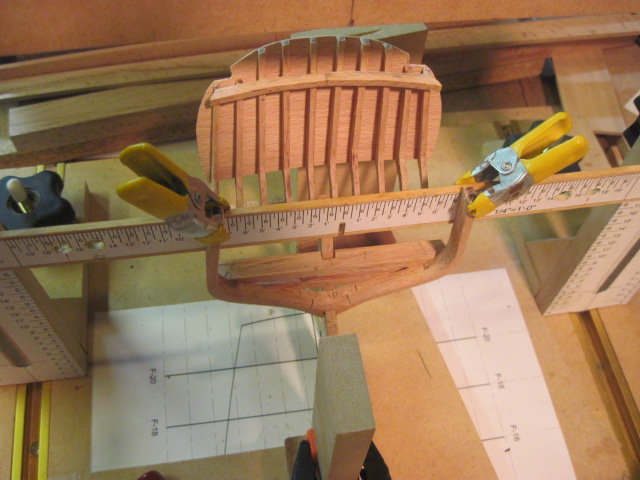
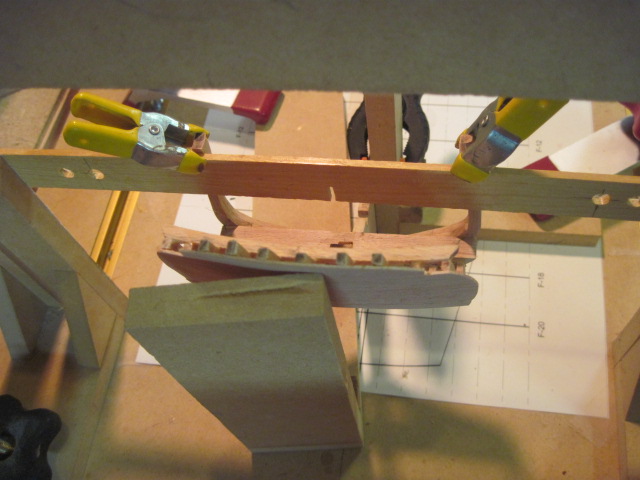
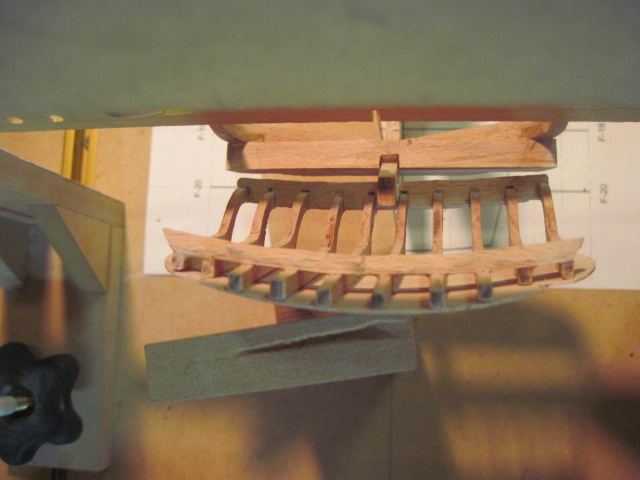
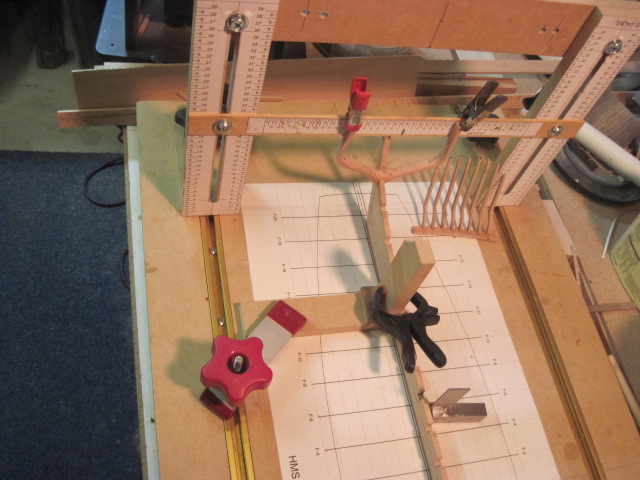
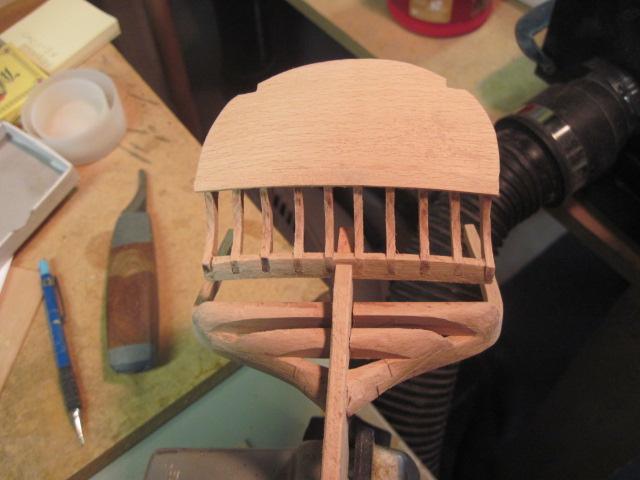
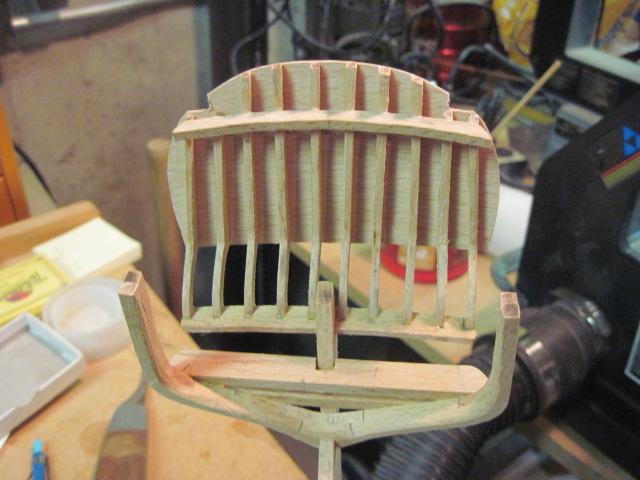
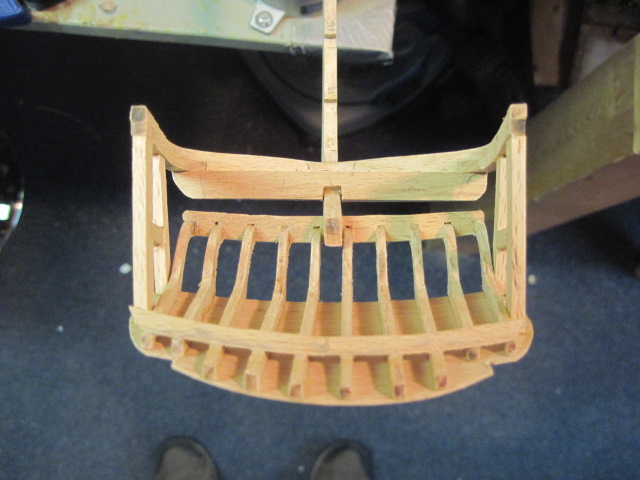
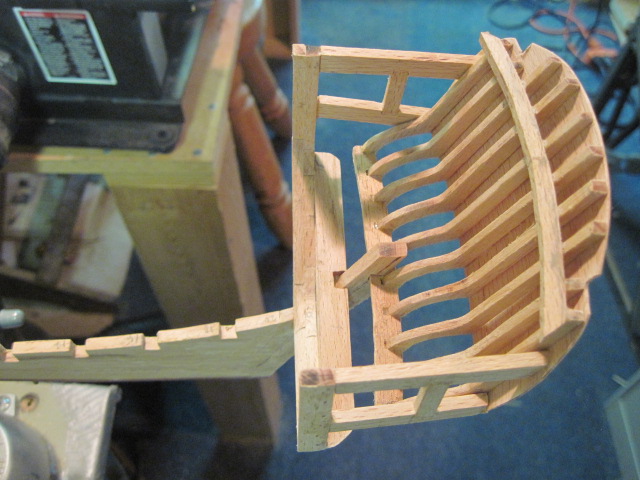
This is a few progress photos of the stern framing. The first photo shows the addition of the poop deck transom.
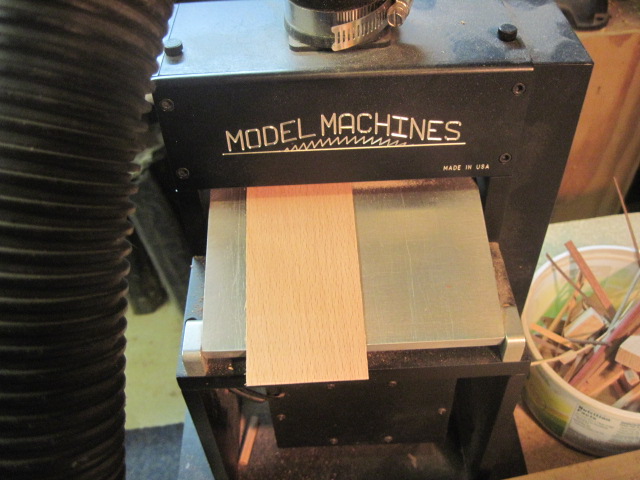
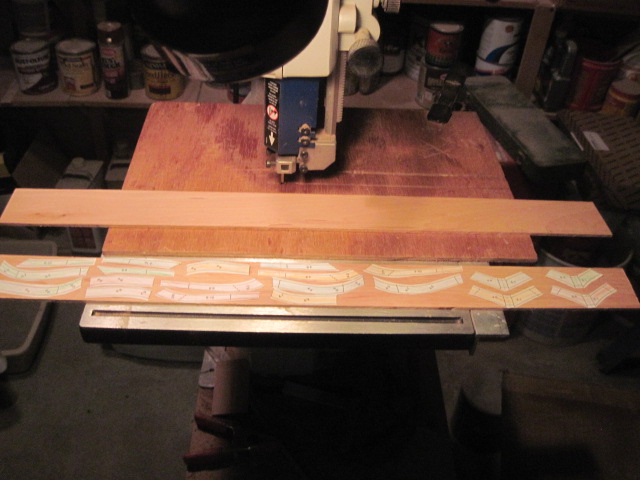
The stern has a 1/32” thick solid Beachwood core that will be planked on both sides I added a photo of my thickness sander it does a great job on very thin material.
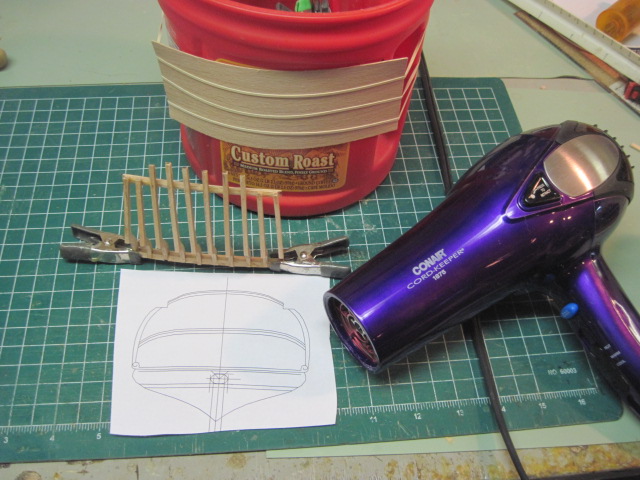
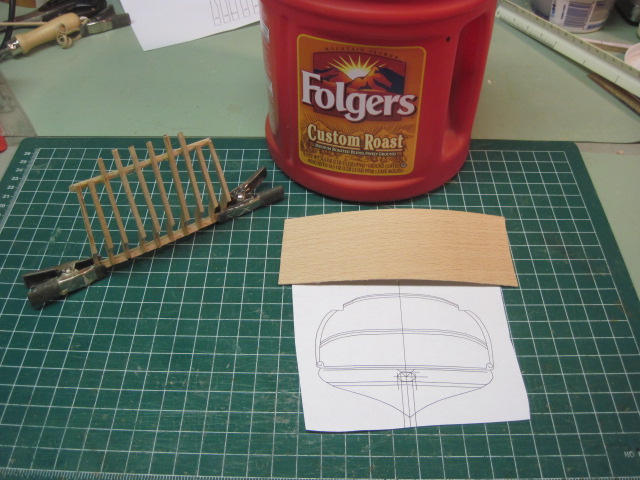
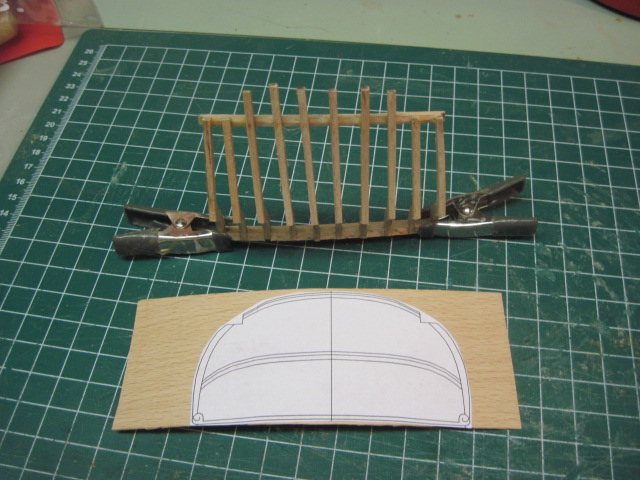
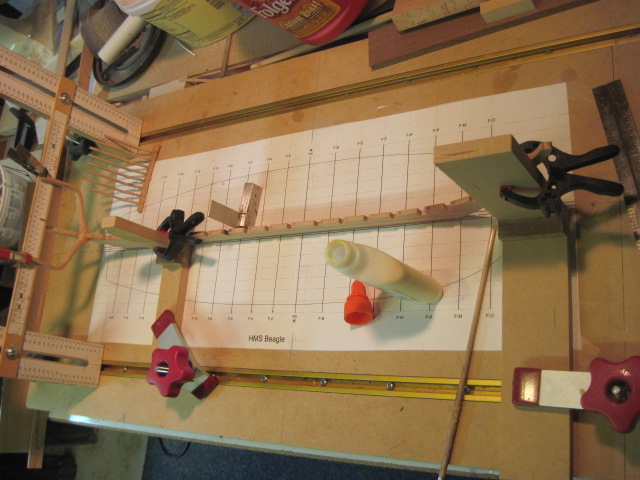
The next set of photos shows my Folgers sheet bender with the wife’s hair dryer for the heat supply. It is faster than bending the wood wet and waiting for it to dry out. Many other people have been using this system it was not an original thought.
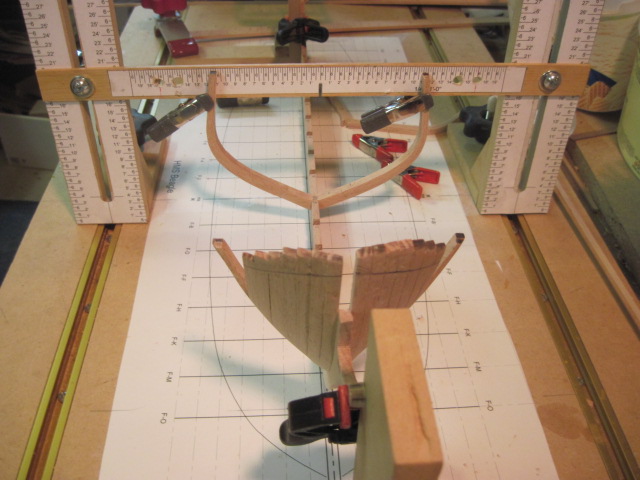
The next photos show the lower transoms and stern being installed on the keel assembly.
After the timbers on the outer stern timber are installed and the transoms below the wing transom I will start the Knightheads and Hawse pieces.
Any comments or questions are welcome.

-
-
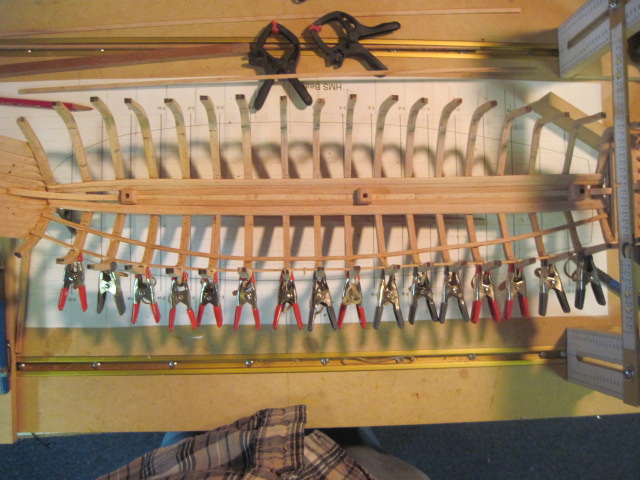
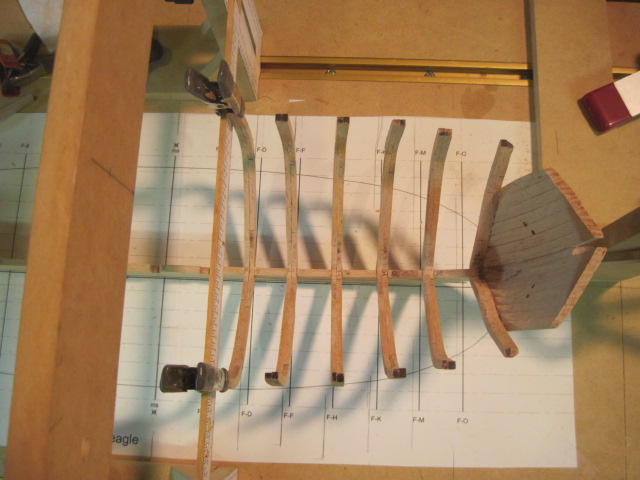
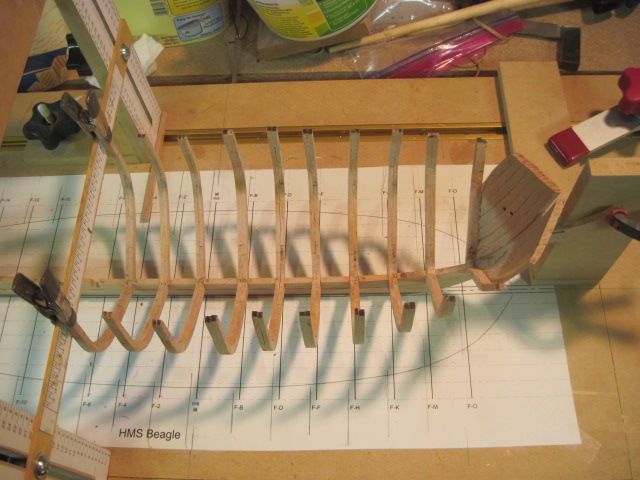
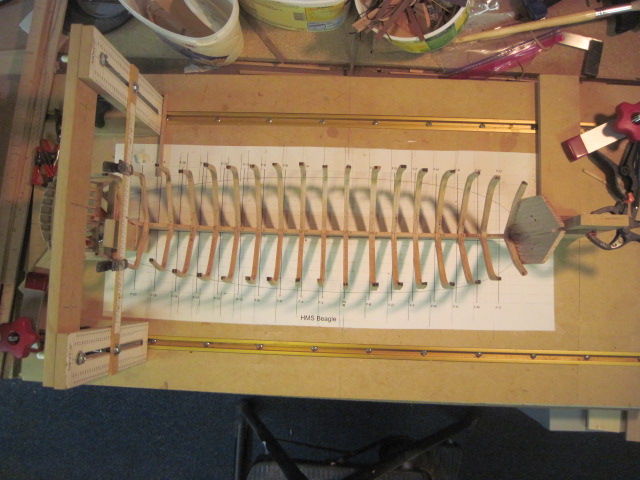
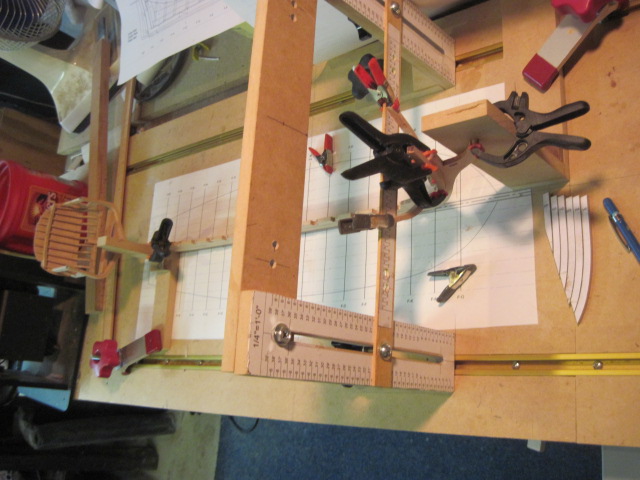
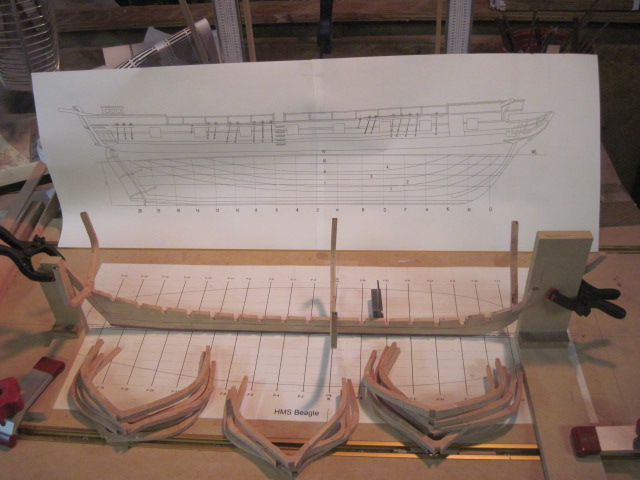
The frames have all been cut out and fitted to the keel. This is a few photos showing the frames and building board.
The gantry style building board I am using has been through several previous builds and is holding up well. A description of the board is posted under Jigs & Things as ‘Building Board Gantry Type’ and explains why I like to use it. http://modelshipbuilder.com/e107_plugins/forum/forum_viewtopic.php?5571
I am currently working on the stern framing after than is in place the bow framing is next I have found it is easier for me start on the ends and work towards the middle of the model.

- michael mott, davec, Jeronimo and 18 others
-
21
-
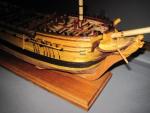
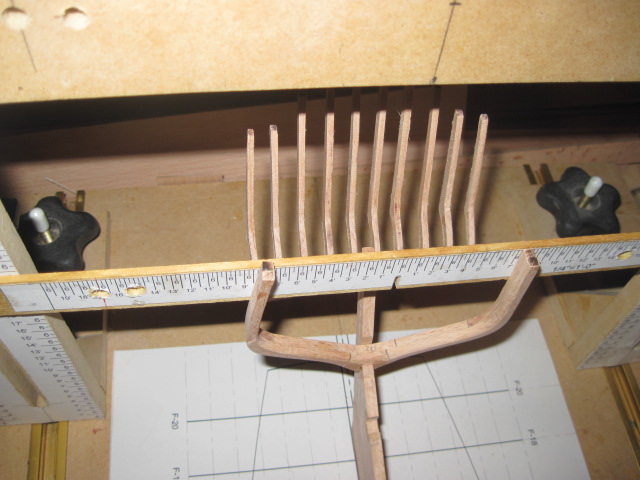
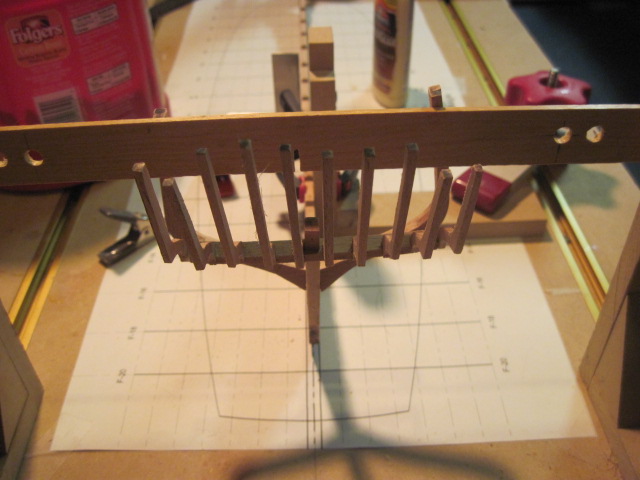
The HMS Beagle served as Charles Darwin's floating laboratory on his historic voyage to the Galapagos Islands.
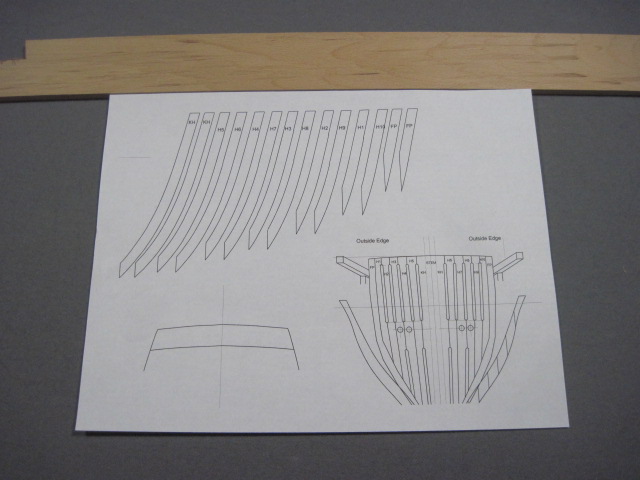
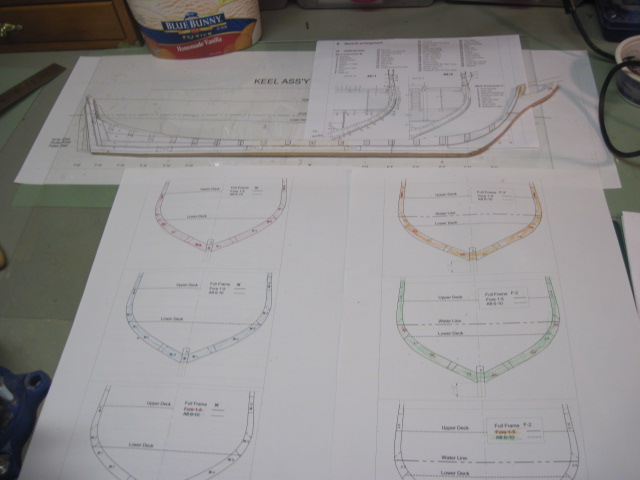
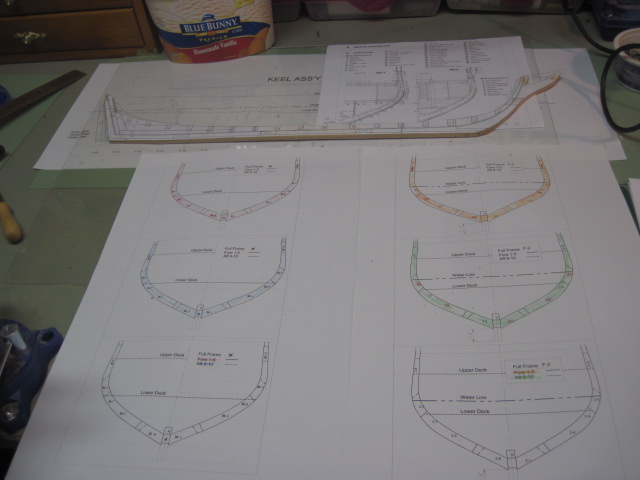
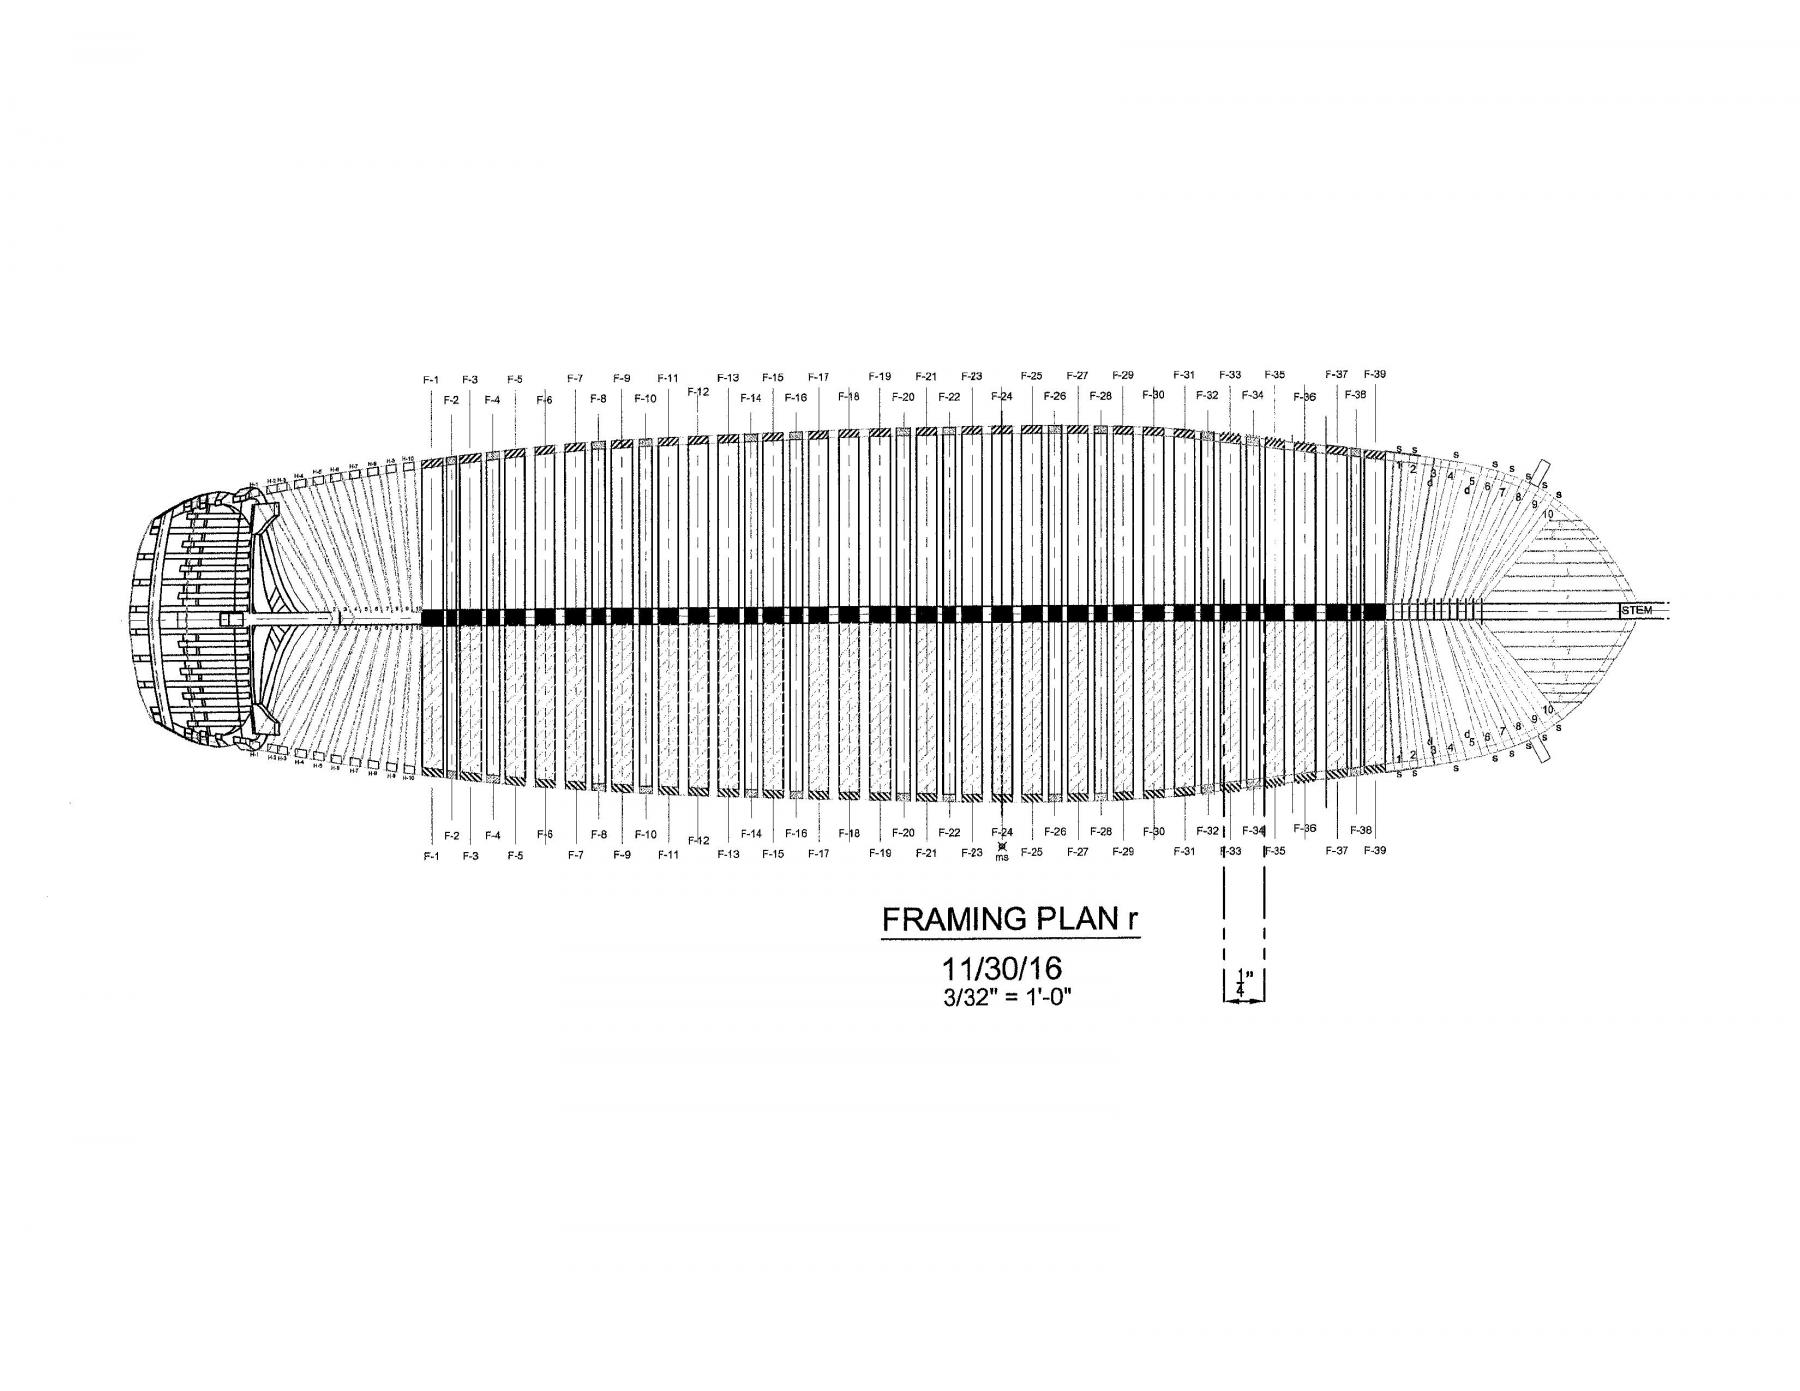
Drawings:
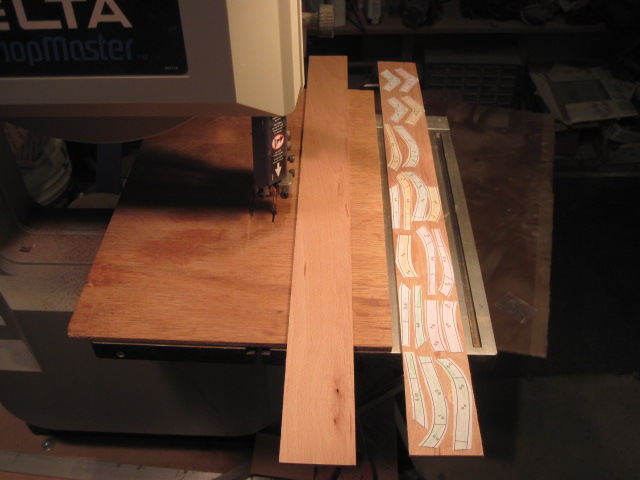
I traced the drawings I needed to generate the modeling plans from the book Anatomy of the ship HMS Beagle using AutoCAD.
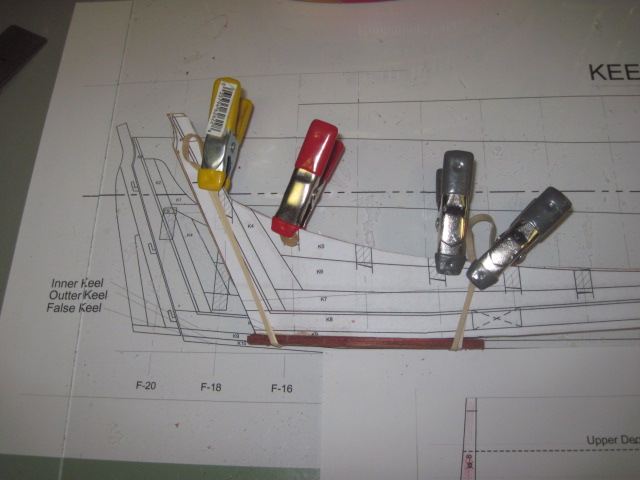
The Keel Assemble
The Keel Assembly is 24 ½” long x ¼” thick European Beachwood. Since this is going to be a Navy Board type model I simplified the keel and framing.
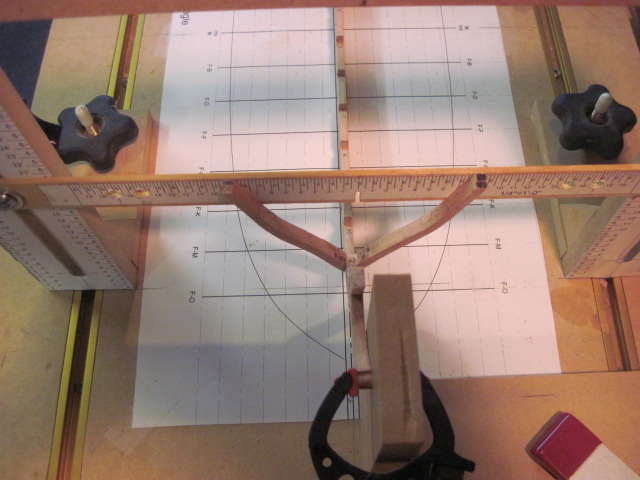
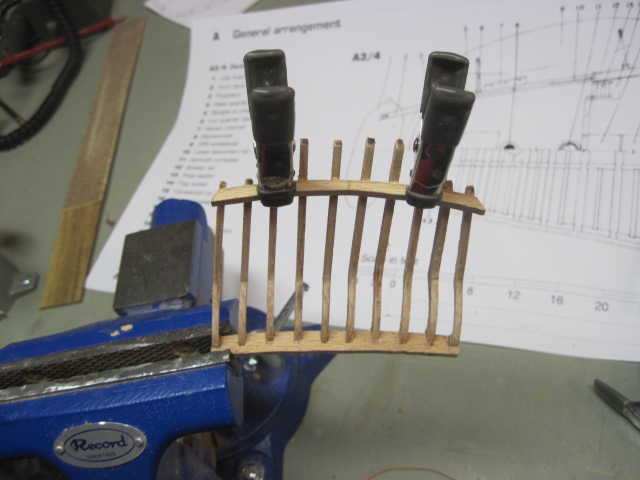
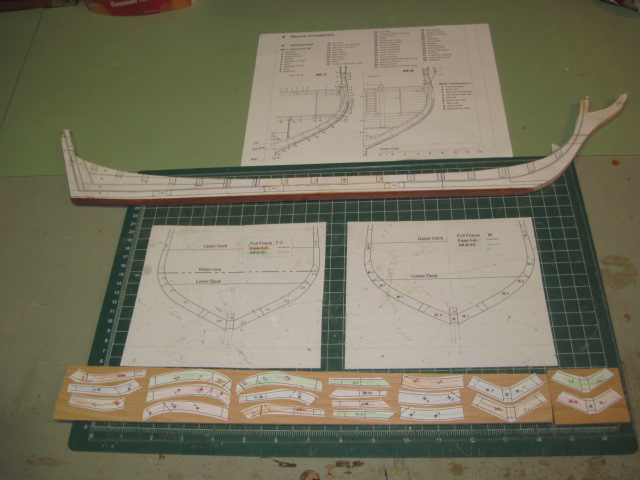
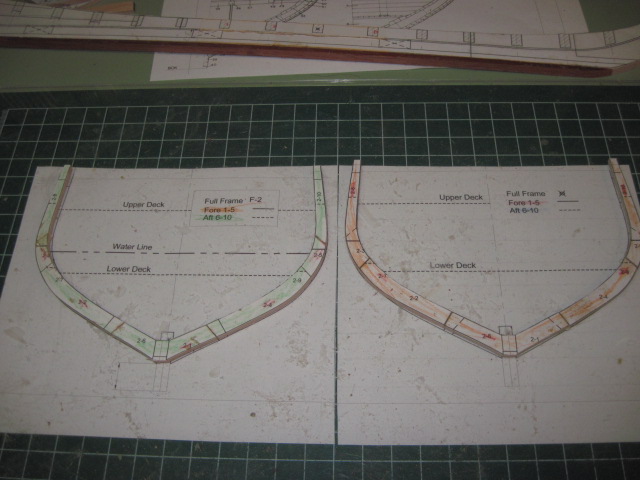
This set of photos shows the keel assembly and the first two frames. All the frames are double and consist of ten individual sections each.
- FriedClams, kees de mol, frankwil and 6 others
-
9
-
-
Your frames are looking really good. They do get easier as you gain experience and having fun is the important part of the build.
Mike
- mtaylor, Canute and FriedClams
-
3
-
Hi John, welcome to the site. The Beagle is on my future build list and I am looking forward to watching your progress on this build. You have made a good start on your interesting design concept. There is plenty of help here if you have questions or problems. Good luck with the build.
Mike
-
Hi Mike,
I am sorry it took me so long to get back to you. I am in Myrtle Beach on vacation avoiding the computer as much as possible lol.
You did a fine job fitting the bow pieces together. Another way to show caulking in the joints is to use a dark colored wood glue it results in a good line and is easy to do. You are off to a good start with your build.
Mike
-
Hi Lacy,
I am sorry it toke me so long to respond. I was on vacation in Portland for a few weeks.
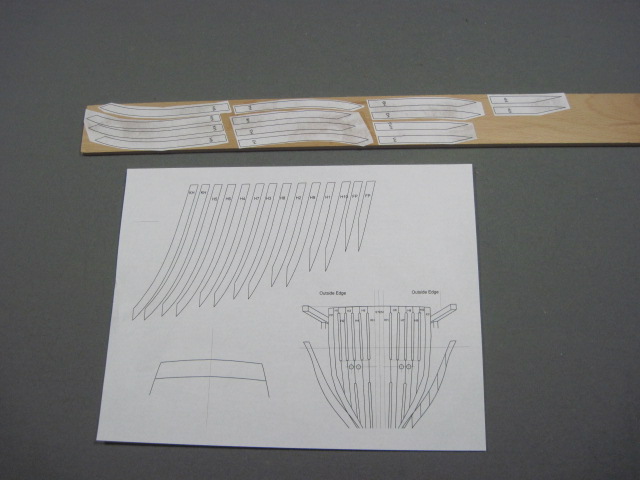
I use a repositionable spray adhesive to attach the patterns to the wood. When you remove the pattern from the parts it sometimes leaves a residue that will wipe off with a rag with a little mineral spirts without leaving a stain and dries quickly.
I hopes this helps.
Mike
-
-
Hi Mick,
Thanks, the Washington is a nice small ship to model.
I am not sure what Jeff used for a reference to show the keel scarfs his main reference drawing did not show any scarfs or the room and space of the framing. I used the dimensions Jeff indicated on his drawings for the scarfs and room and space for the frames. I am sure there were some variation in the actual ship but for modeling purposes ¼” thick frames and 1/8” spaces makes a very sturdy assembly. It would have been nice to have ‘as built’ drawings to work from but we could not find any.
Good luck with your build.
Mike
-
Hi Lacy,
I am glad you found the pictures helpful. The 20 gauge brass wire is simulating bolts. I drilled holes and inserted the rods with Elmer’s white glue. It does a good job holding the rods in place and if you have to take the part apart all you need is water. I like using Danish oil, it is easy to use and leaves a nice finish. Good luck with the Washington she is an enjoyable project.
Mike
-
Hi Dan,
Thanks, the stove was fun to make. The number of gunports is an interesting question. I know Jeff used Chapelle’s plans for his principal source of information to design his plans but I do not know if he has or has seen a copy of the contemporary watercolor by Charles Randle.
One possibility for the discrepancy is after she was captured and taken into British service the additional gunports could have been added at a later date.
Jeff’s drawings and monograph was reviewed by Chuck Passaro and the NRG board of directors before they were published. They made a few changes but the number of gunports stayed the same.
I hope this helps.
Mike
-
Hi Lacy,
Welcome to the site, building the Washington is a very enjoyable project.
You could use maple and it takes a nice finish using Danish oil. I like to use European Beachwood for the framing it is easy to work with hand or power tools and looks like oak when finished with Danish oil. Read through the build log I identified the different woods used for this build.
If you have any questions I will be glade to help. If you start a build log in this forum you can get advice from other members that are starting their builds of the Washington.
Mike
HMS Beagle 1820 by Mike 41 - 1:48 scale - Cherokee-class brig-sloop
in - Build logs for subjects built 1801 - 1850
Posted
This set of photos shows an access platform below the lower deck which have two ladders and the shot locker. All the lower deck framing is in place. I’ll be working on the deck items next.