Nirvana
-
Posts
5,458 -
Joined
-
Last visited
Content Type
Profiles
Forums
Gallery
Events
Everything posted by Nirvana
-
 My laptop died with poof and smoke yesterday with all the pictures on the hdd. This is the build of flooring for the aft.
-
Augie, I am pouring me a glass of milk to drink in order to celebrate this magnificent milestone and event. Beautiful done. Are you keeping a seperate time log for the build? Like the log provided in the instructions?
- 2,191 replies
-
- 3
-

-
- confederacy
- Model Shipways
- (and 1 more)
-
Mark, thank you The extra boxwood from Jeff (HobbyMill) has been a good source for the testing.
- 335 replies
-
- 1
-
-
- 18th century longboat
- Finished
- (and 1 more)
-
However, Many of the bandsaws I have going through during past night, this are the ones in the range of 9" and 100-150 USD I found that all had the same type of motor - 120/240V, 2.5AMP comes with a 6TPI blade. Mostly what differs is the outer shell design, some has less volume (less resonance and vibrations) while other has a bulkier/squarer shape volumes. No matter when it comes to buy a saw in this size, replace the blade to better grade and screw down the unit (using water levelers) through a 1/8" rubber mat to a solid bench to eliminate vibrations and noise. Attach noses for vacuum extraction. Start sawing and hopefully you will have good outcome!
-
Looking at the picture uploaded verses the physical, this time the true one has a better shine. In the picture the coating has a rather flat finish. Once the friezes are added along with the molding strip I think this will shape up rather nicely.
- 335 replies
-
- 2
-
-
- 18th century longboat
- Finished
- (and 1 more)
-
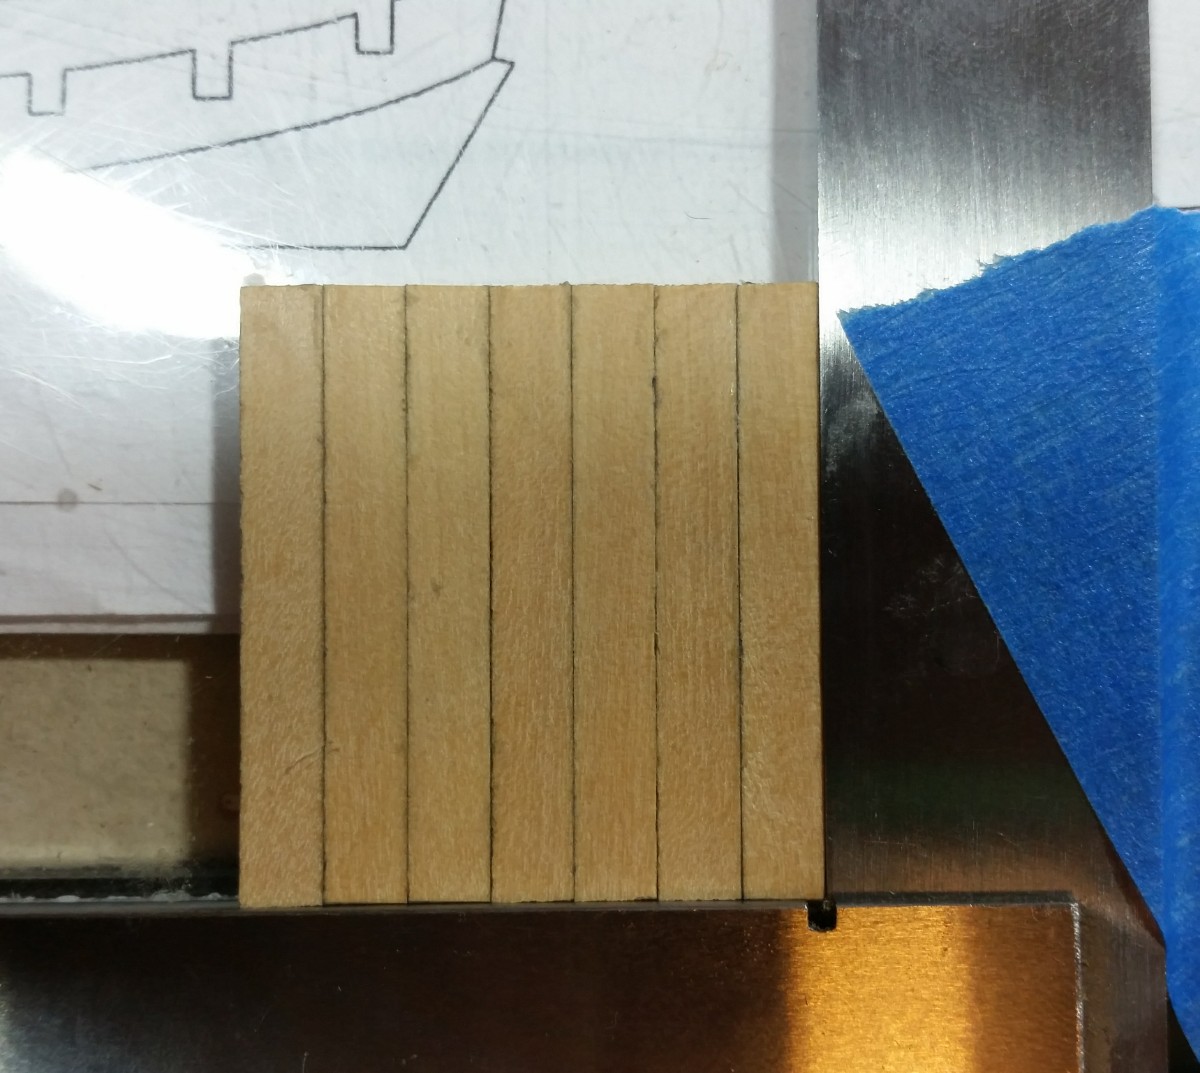
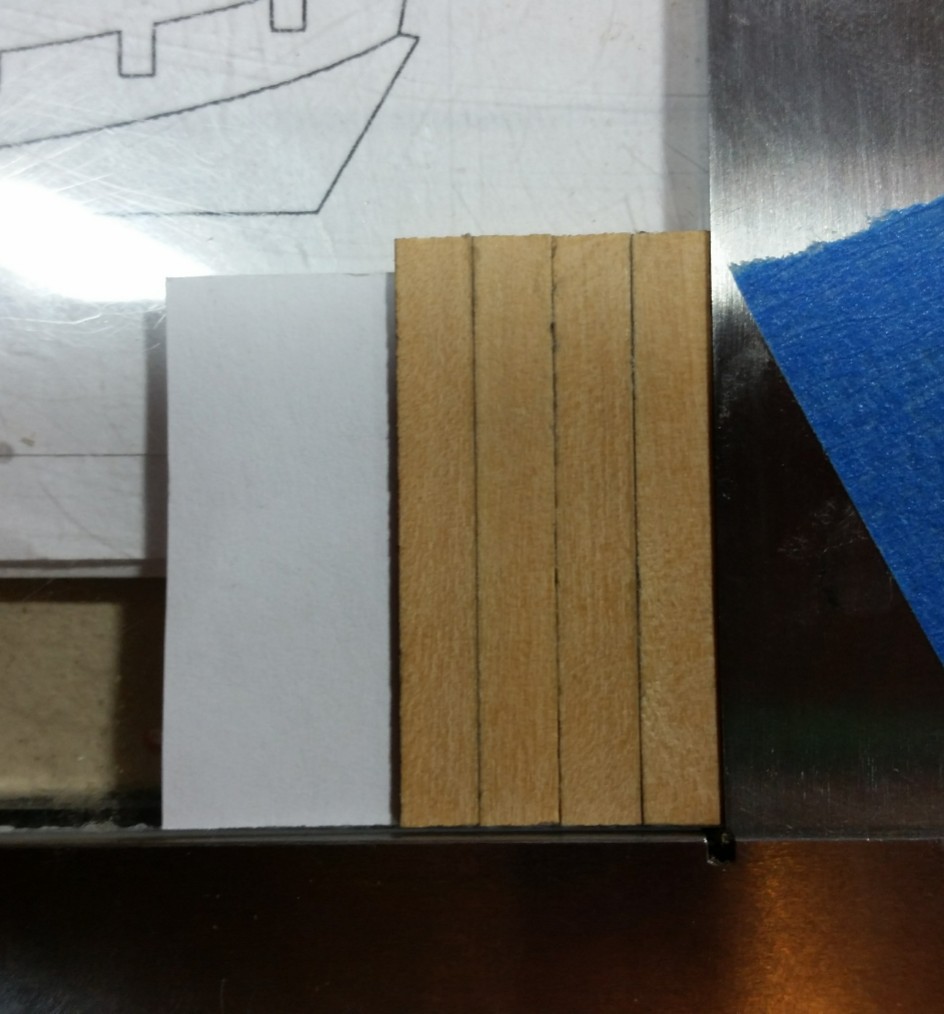
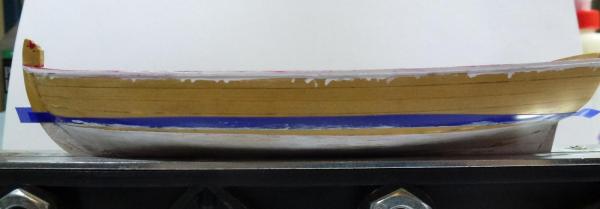
I have added another layer of varnish had it dried - and removed the tape. In this picture you will find the difference on the planking. The top plank is regular boxwood untreated while the rest has the 75/25 ratio of my varnish. I like this as it gives the longboat some weight feeling. I could be wrong, but as Chuck mentions in the manual, this kit is based on one of so many thousands made. And I think no matter how we will do ours, in one or another way - all are right.

- 335 replies
-
- 7
-
-
- 18th century longboat
- Finished
- (and 1 more)
-
Essex - Process and corrections to the new Model Expo Kit
Nirvana replied to samueljr's topic in Wood ship model kits
Stu and all that are building Essex, There is an amazing book available, I have this one in my library. The book belongs to the series of "Anatomy of the Ship - The 32 Gun Frigate Essex" Author is Portia Takakjian. I found this book at Amazon at a price of 12 dollars plus 4 dollar for shipping and handling. Maybe a book to solve a lot of the mysteries around the kit or even better - to do from scratch. Some of the drawings are in scale - some in perspective (no scale) I.e explaining spar plan, oversized scaled plan of the capstan - 1:24 scale with all details. Even a line plan and structural arrangement along with frames is provided for the 30' barge she carried. I am not considering buying the Essex kit, as I have the Confederacy waiting. -
Jim Byrnes Model Machines
Nirvana replied to Mahuna's topic in Modeling tools and Workshop Equipment
Keith, I take it your are using Mac?! Jim is a frequent reader of this website and might contact you reading your message. However, you can reach him by mail through this website as well, in the upper right corner you will find a search feature. Change to member, and enter Jim Byrnes and you will have his pm (direct msg) and email. Good luck and yes, Byrnes machines are amazing, I have the thickness sander. Very pleased! -
America by Nirvana - Constructo
Nirvana replied to Nirvana's topic in - Kit build logs for subjects built from 1851 - 1900
Hmm, I haven't been paying attention to this amazing yacht in a long time. So bizarre I haven't done the finishing things. It's more about all the lines that is need to o be attached. Don't know why it bother me so much I guess I have at most some 10 hours of working to finalize S/Y America...... -
It has been awhile since my last posting. To much work around the house and an up-coming vacation in June that does require some studying. Priority 1 as this is seaman ship related. Pictures will posted later this summer. On top of that studies for certification of Windows Server 2012 is added. Those studies has the priority 2 almost P1. Bottom white done since long. After that I trialed with different mixtures for the staining, and found my own staining versions. For the outer-hull I mix MinWax Natural 75% with 25% Mahogany. The scribed parts will get a mix. Enhanced scribed 50/50 Golden Oak and Mahogany, then sanded to enhance those lines. Toping with 50/50 Golden Oak and Natural. The trial was to my liking. Ps. Any staining should be done after regular painting, the regular paint will work as a mask.
- 335 replies
-
- 6
-
-
- 18th century longboat
- Finished
- (and 1 more)
-
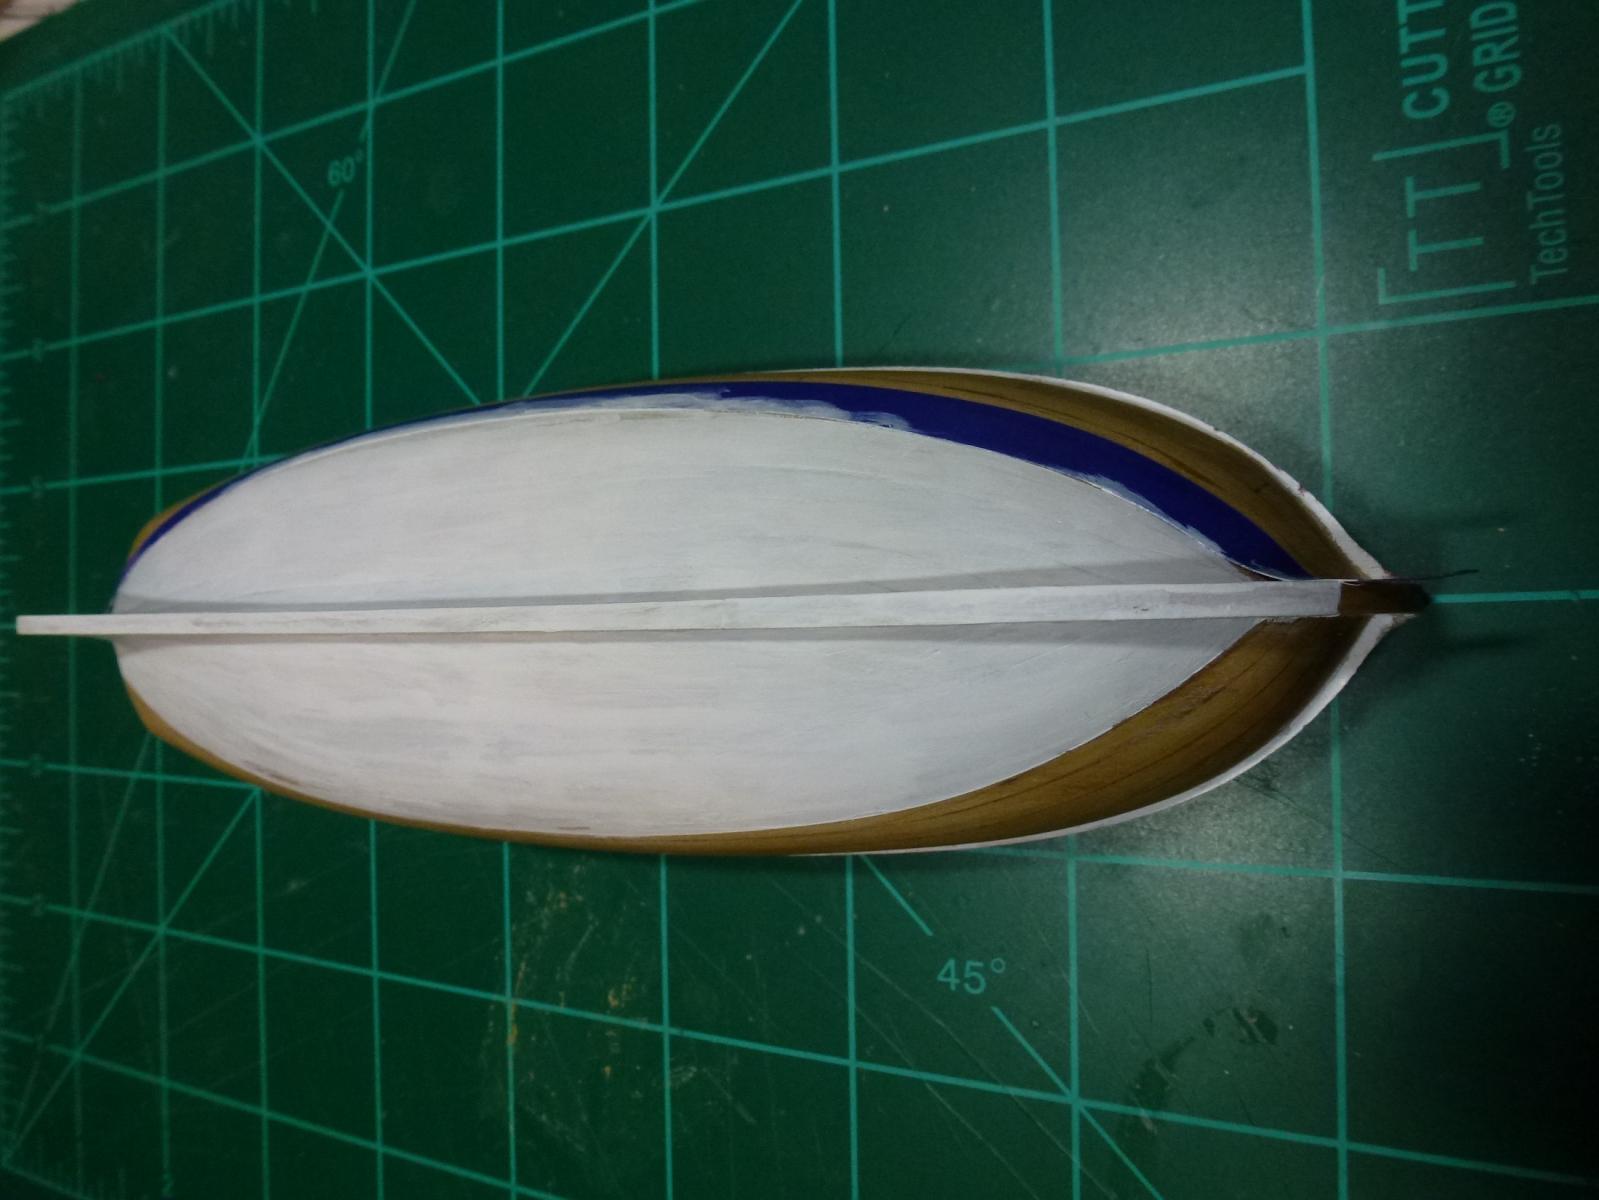
May I suggest to make a template of the deck, then make a thinner version of Birch Plywood and maybe adding deck planking. Not only it will give the strength needed but also look good. But then again it's only my 2 cents.
-
Pete, excellent job! So glad to see this modern yacht.
- 220 replies
-
- 1
-
-
- finished
- volvo open 70
- (and 1 more)
-
Gripen 1591 by NAZGÛL (Matti)
Nirvana replied to NAZGÛL's topic in - Build logs for subjects built 1501 - 1750
Aah, another Swedish ship. I won't pull up a chair, but the couch and pop corn -
Update regarding Woodcraft (local), I approached the store owner, whom I know, and he said that what I am looking for is better done by Chuck. So again, Chuck further down the road you will get another order from me.
-
Puckotred, Bohuslan is turning out beautiful. Great job. Did you sew the curtains?
-
Hubbla!!... Yes it's a new word Airbrusing is something more to explore............ and deeper. This type of painting is not hard but very delicate. Knowing the paint head pattern will help. Never realized how many layers is required. But this is a great way to paint. Love it!
- 335 replies
-
- 1
-
-
- 18th century longboat
- Finished
- (and 1 more)
-
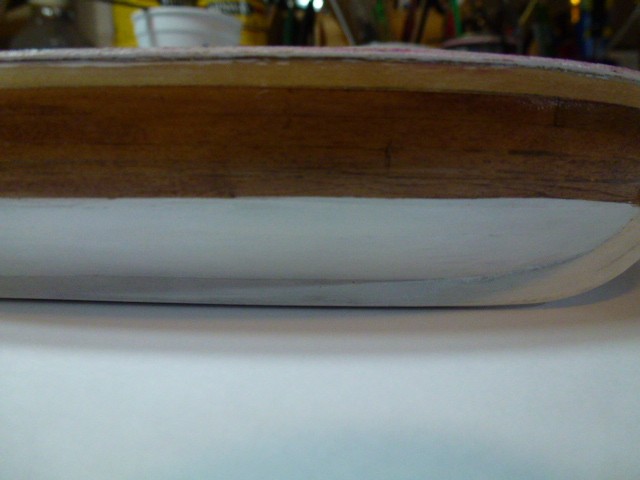
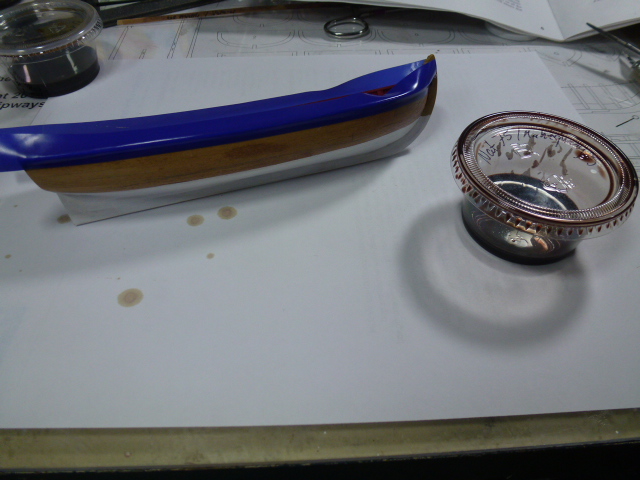
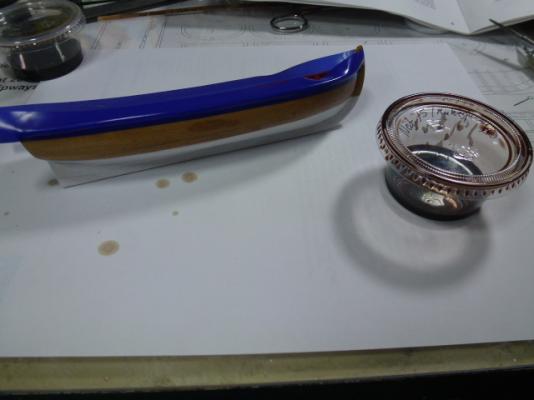
One month has passed since my last input. Searching and more searching for the waterline for the longboat took me to the adventure of figuring it out. At the end using my eyes worked out fine........ I think With just eye lining it I got the waterline right in the middle between keel bottom and top of cap rail. Thinking this would be the right level for an fully occupied longboat. She would sit rather deep due to her sail capacity. This is not a racer (lighter), but holding crew and some cargo. Also if only as a rowing long boat she would be lighter.

- 335 replies
-
- 4
-
-
- 18th century longboat
- Finished
- (and 1 more)
-
Just found your build of Chucks longboat. Very nicely done. Especially the shaping of the sails. I have had the similar idea but using a hair dryer but your idea is better due to the uni-formation of the sails. Will use it for another ship in the yard.
-
Vallejo and Humbrol paint is my two cents Vallejo for it's extreme good coverage for airbrushing. Humbrol for it's extreme good coverage with regular brush. But again, just my two cents.
-
Thank you Chuck, I will certainly have you in mind, besides the blocks and other items I have purchased from you are out of this world. Amazing with other words.
-
This thread gave me an idea. I know that Woodcraft (only in America), has laser cutter in their workshop classroom. As I am about to pay them a visit in near future, I will ask if they would help me and to what cost they would help me to get parts laser cut. I know their machine takes the DWG/DWF- along with CDR-files. If they do, I think there could be some great savings as a laser cutter won't be used to such extent that you will save any money. As Chuck stated his machine was at 5500 dollars. That's a lot of laser cutting using some one else, with a pro-machine. Ps. Just because this machine from MM could be a dangerous shouldn't stop one from shopping from them. They have lots of other items to great prices.
-
Mike, I add my little contribution as well the combination of the mini-vac with air brush compressor. Pressure setting is around 60 psi, good enough to remove the dust but nothing else. I use this this feature and it works well. Good luck to find your solution.
-
Augie, I am still amazed, what you are doing and the way you are presenting this log will surely help everyone who will build Confederacy. Certainly me, once I get to her.
- 2,191 replies
-
- 3
-
-
- confederacy
- Model Shipways
- (and 1 more)
-
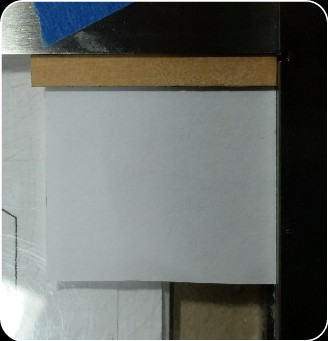
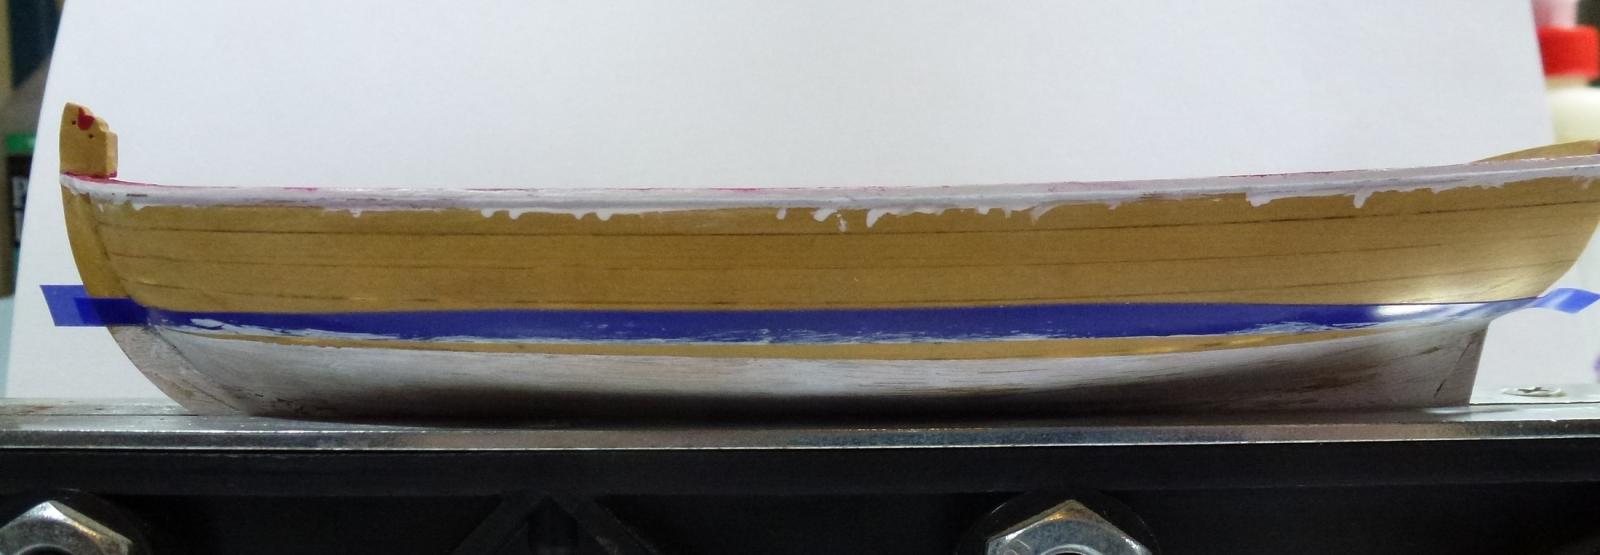
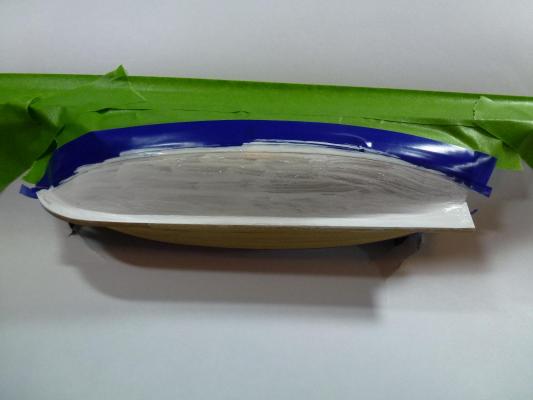
So I did a cover paint job with the first line, this paint comes easily off. Saw the line way to low. This is painted and then adjusted line. And this with a white base before sanding and painting white color.
- 335 replies
-
- 6
-
-
- 18th century longboat
- Finished
- (and 1 more)