Nirvana
-
Posts
5,457 -
Joined
-
Last visited
Content Type
Profiles
Forums
Gallery
Events
Everything posted by Nirvana
-
 Puckotred, nice development and progress. That light lifts the whole ship to another level.
- 113 replies
-
- 1
-

-
- bohuslän
- nordic class boats
- (and 1 more)
-
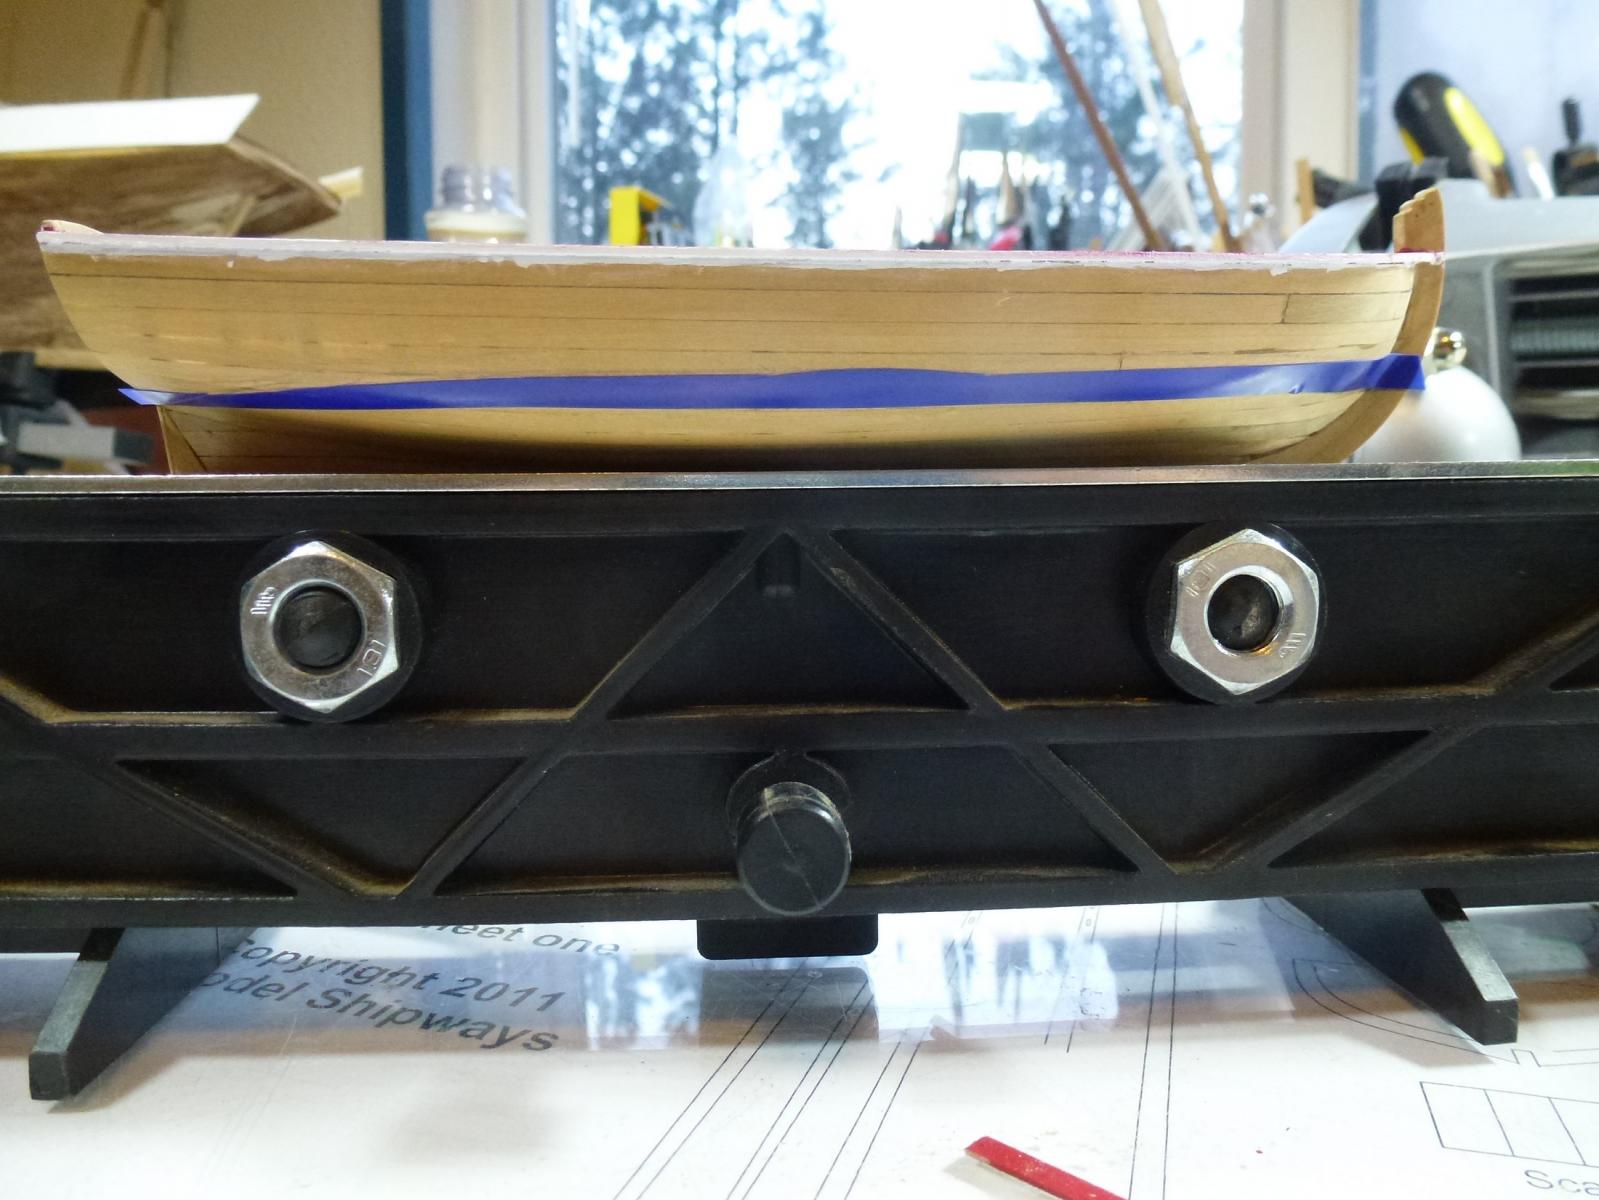
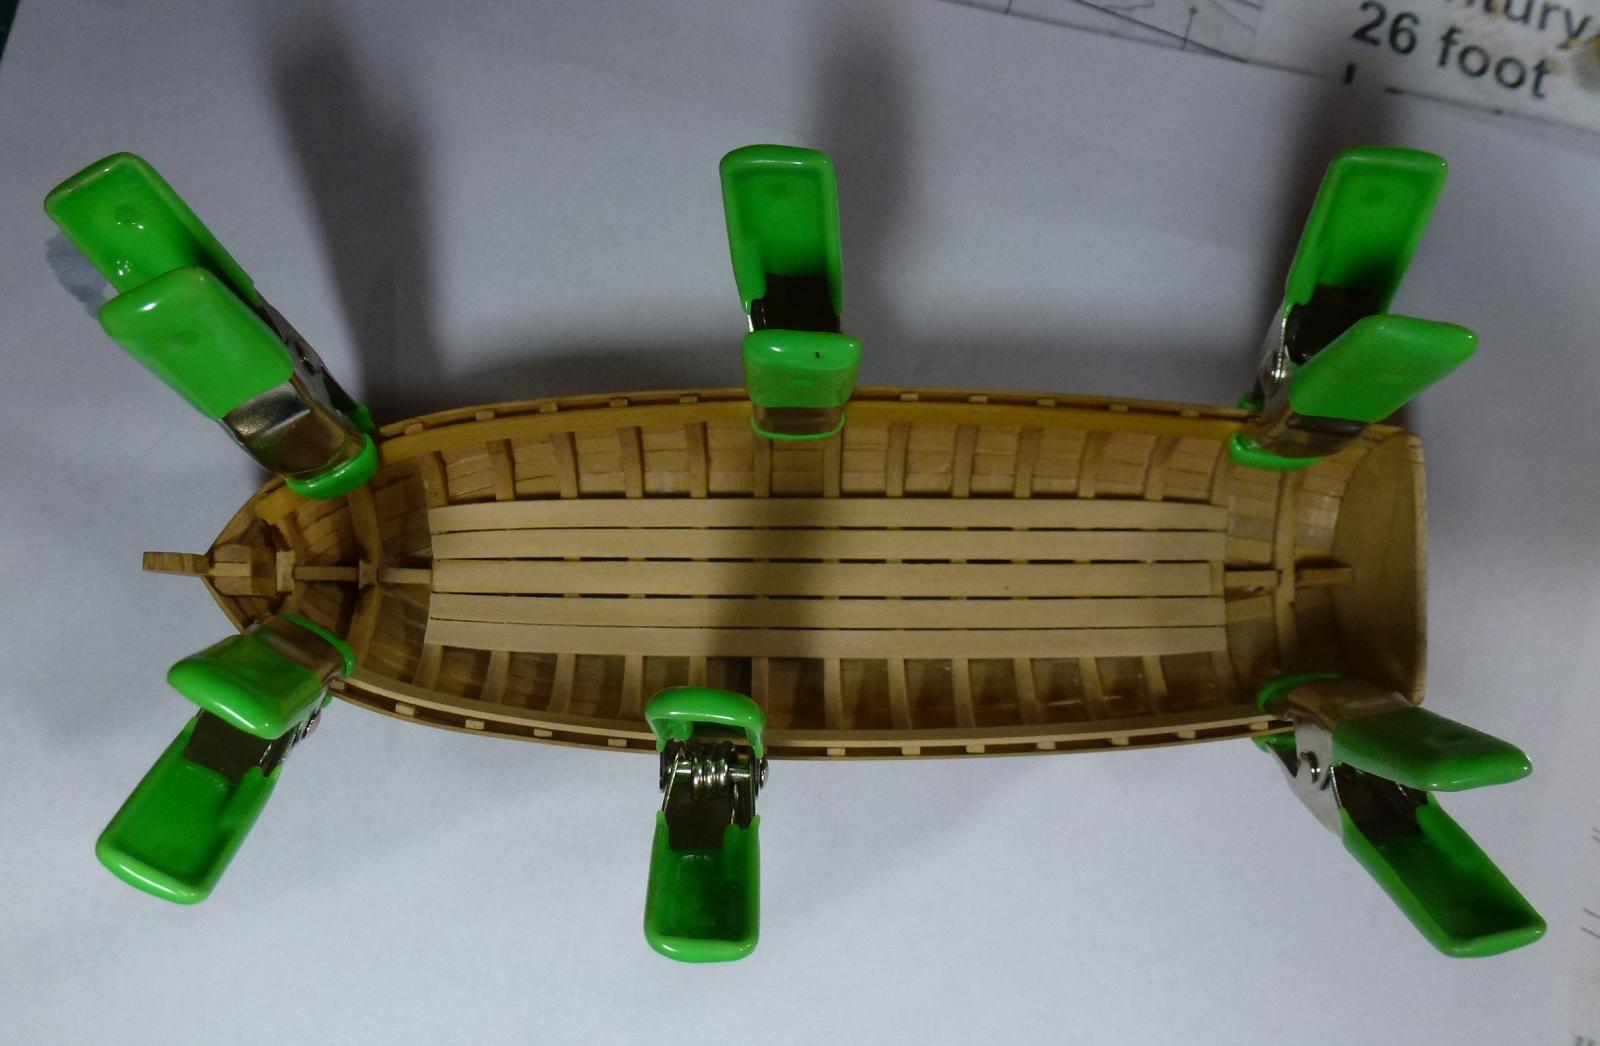
I got tired of trying to get the waterline done with pencil. Didn't seem to get it right, so I approached it with eye sight and tape. This is the first try.
- 335 replies
-
- 3
-
-
- 18th century longboat
- Finished
- (and 1 more)
-
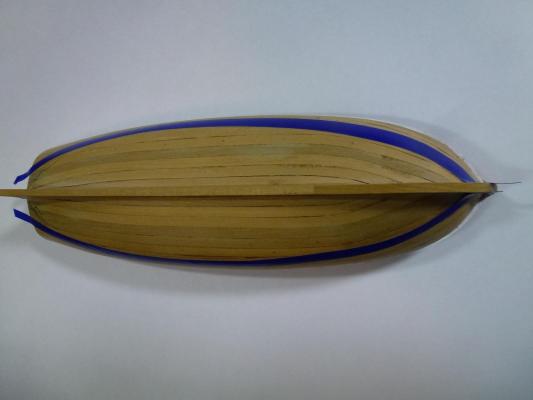
I have a hard getting waterline correct, feels like I get it to low. I did use regular pencil, taking the distance from the cap rail on plans and transferred. Had the boat leveled and had the pen set on a wood block to draw the line. See attached picture, and please guide me to get this right.

-
I would warmly suggest MS Bluenose, I have this kit waiting for the keel to be laid. It's a great second kit and first kit for planking. A warm
-
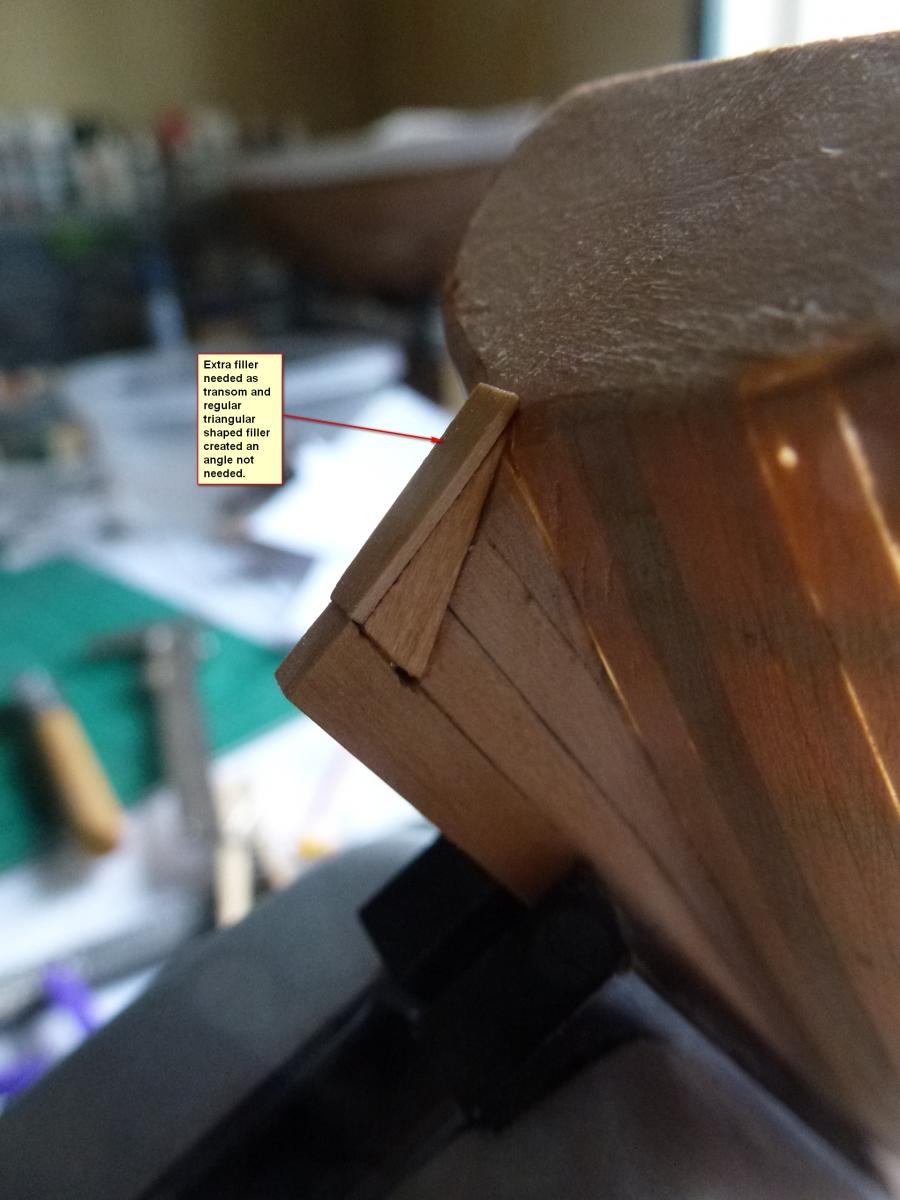
After adding the stern post I used a steel ruler to compare angle with transom and post. Hmm, sure enough there was an even gap of 1mm. Another filler (trimmed) glued in place and some extra sanding and it will be good.

- 335 replies
-
- 7
-
-
- 18th century longboat
- Finished
- (and 1 more)
-
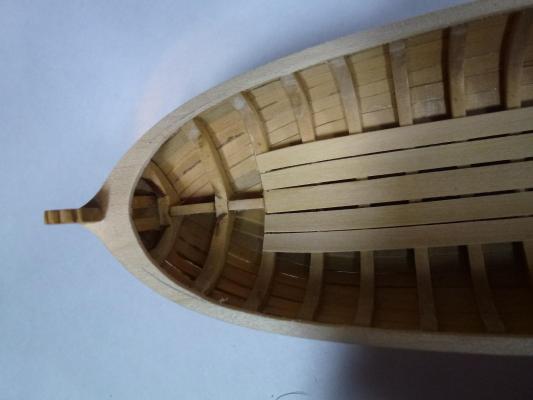
And here the frieze is in position but not glued.

- 335 replies
-
- 9
-
-
- 18th century longboat
- Finished
- (and 1 more)
-
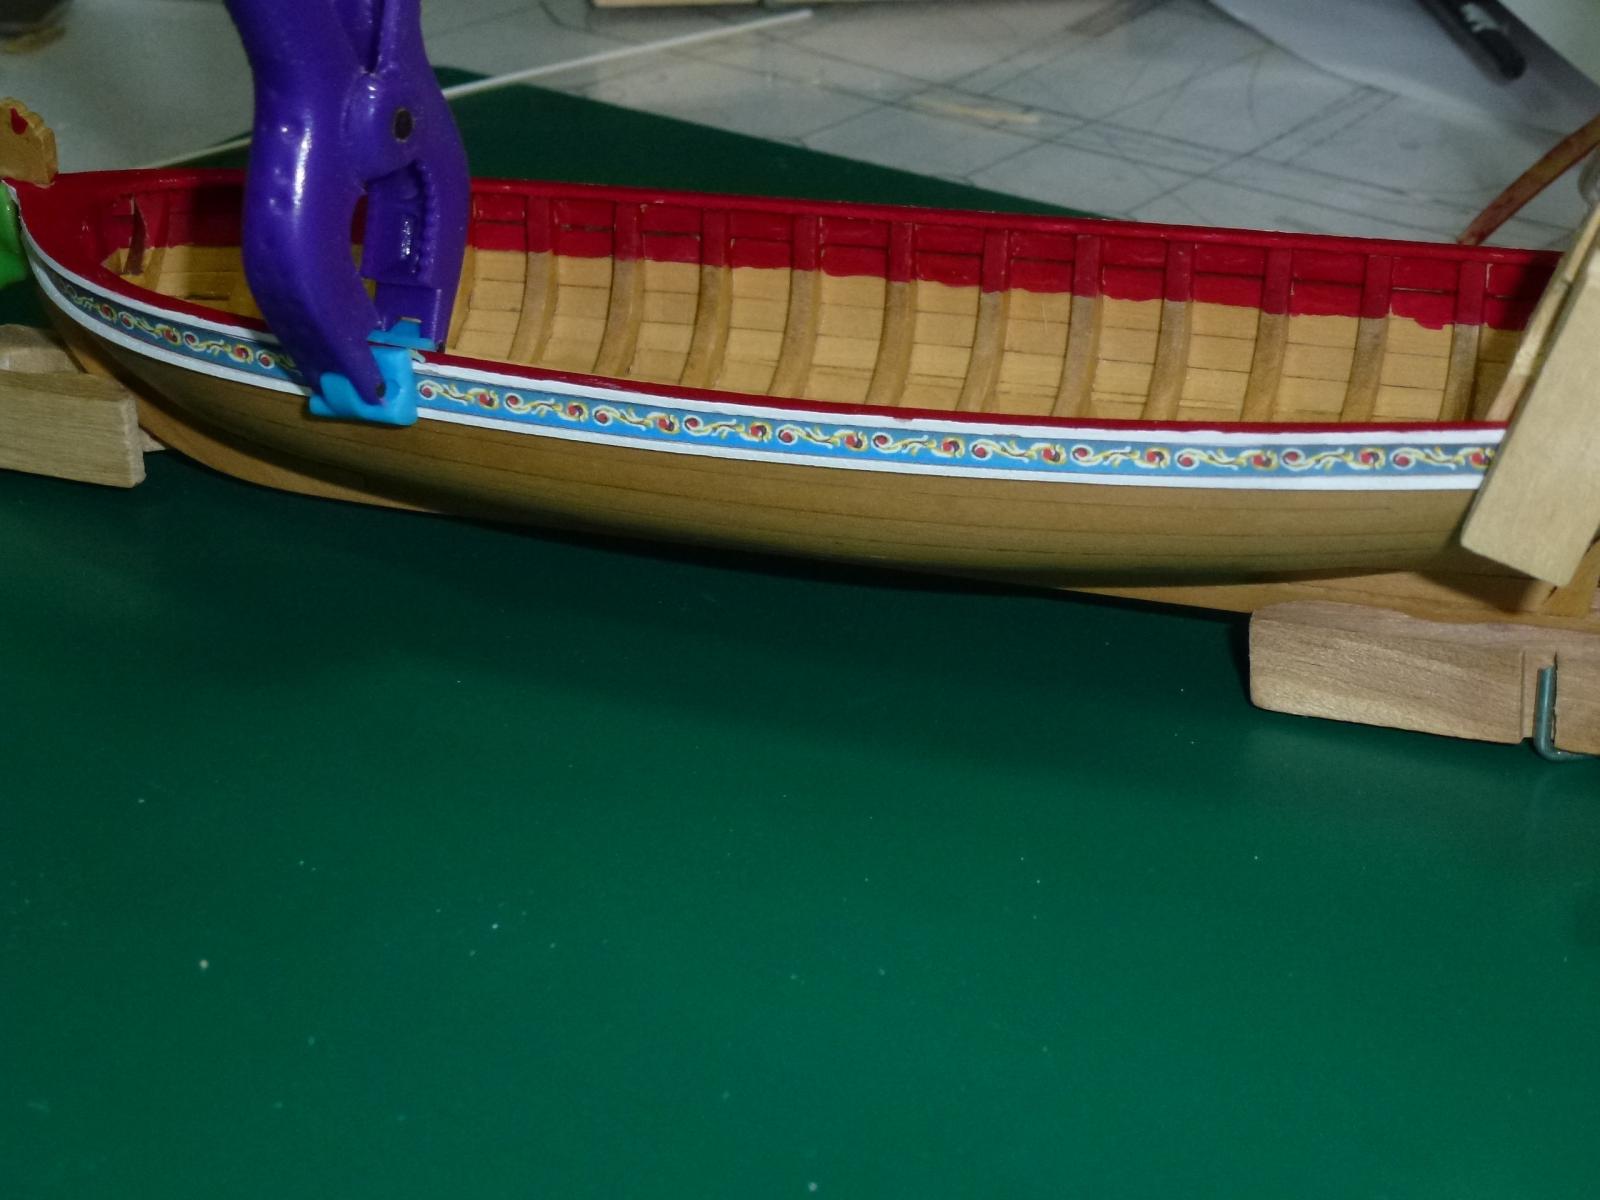
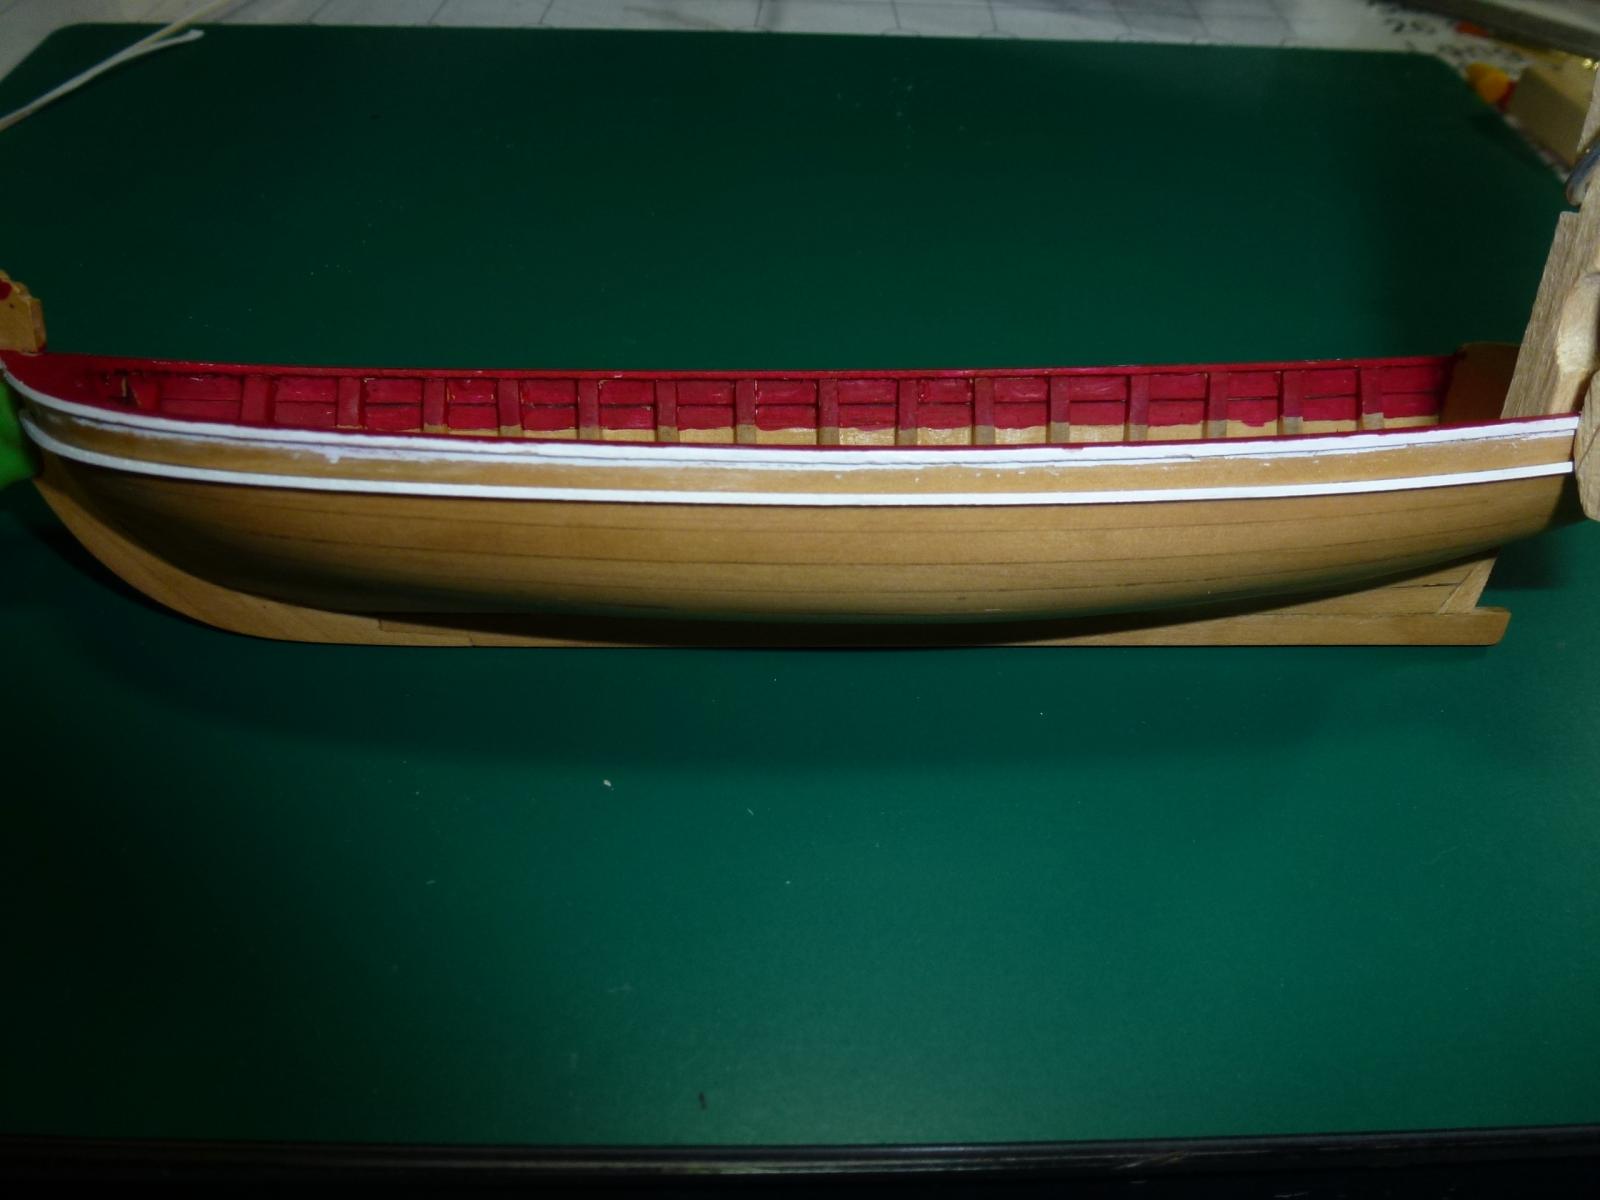
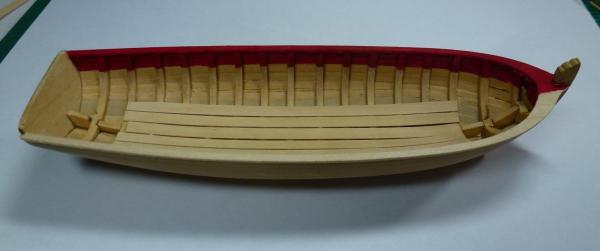
Just a picture revealing the white paint job done to the cap rail and rub strakes.

- 335 replies
-
- 7
-
-
- 18th century longboat
- Finished
- (and 1 more)
-
Looking good Burnside, S/S Mariefred is a little ship. I was thinking about the "light leakage" you were worried about. Now it's to late but one idea that came to mind was to black paint the interior of the hull, or carefully use expansion foam. Another way to had done this would had been using blue insulation foam (not to cover everything) between the bulkheads, see attached picture. This was a quick draft I did in SketchUp 2015 Pro

- 50 replies
-
- 1
-
-
- mariefred
- nordic class boats
- (and 1 more)
-
I think others has mentioned it already, but I would suggest to paint the white side of the cap rail and the molding underneath the frieze, before attaching the frieze. This way you will have a clean frieze once installing it.
-
Cap rail and inner-board painted! First layer and I like it as the grain of basswood (just the cap rail) is coming through.

- 335 replies
-
- 8
-
-
- 18th century longboat
- Finished
- (and 1 more)
-
For painting the inboard plank (to second down) I choose (after several test) Valejo RED RLM 23. This particular paint is intended for air brushing but turned out very nice with regular brush too. I like it because it's not bright red, but of it's natural dirt red. This is the first layer, some 600 grit sanding and another layer and I think I have the color I want. Second picture shows the brush I been using, made the mistake using a regular one in the beginning,

- 335 replies
-
- 6
-
-
- 18th century longboat
- Finished
- (and 1 more)
-
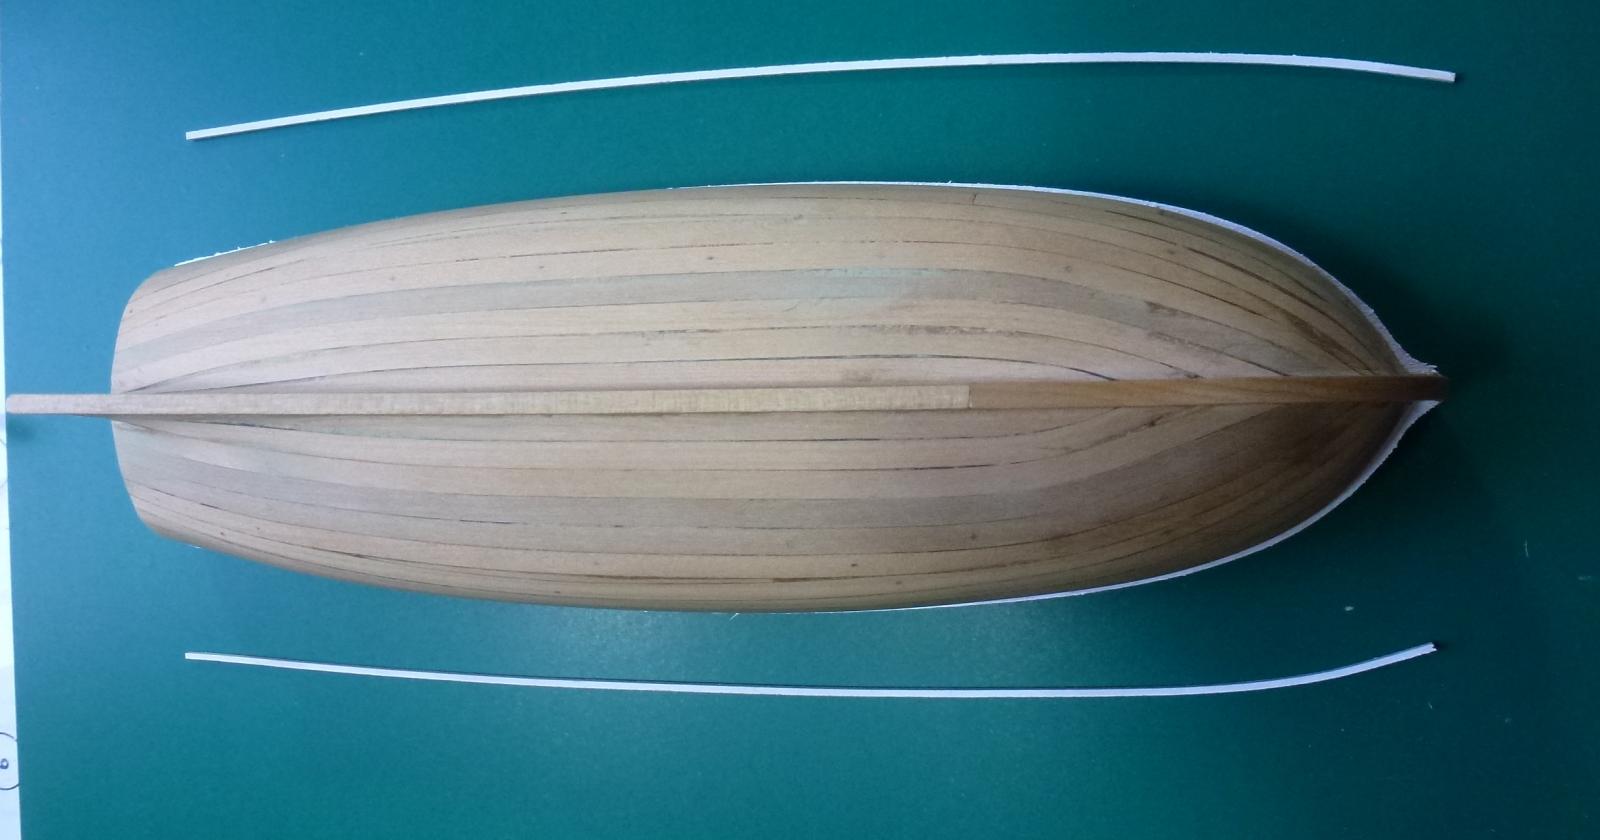
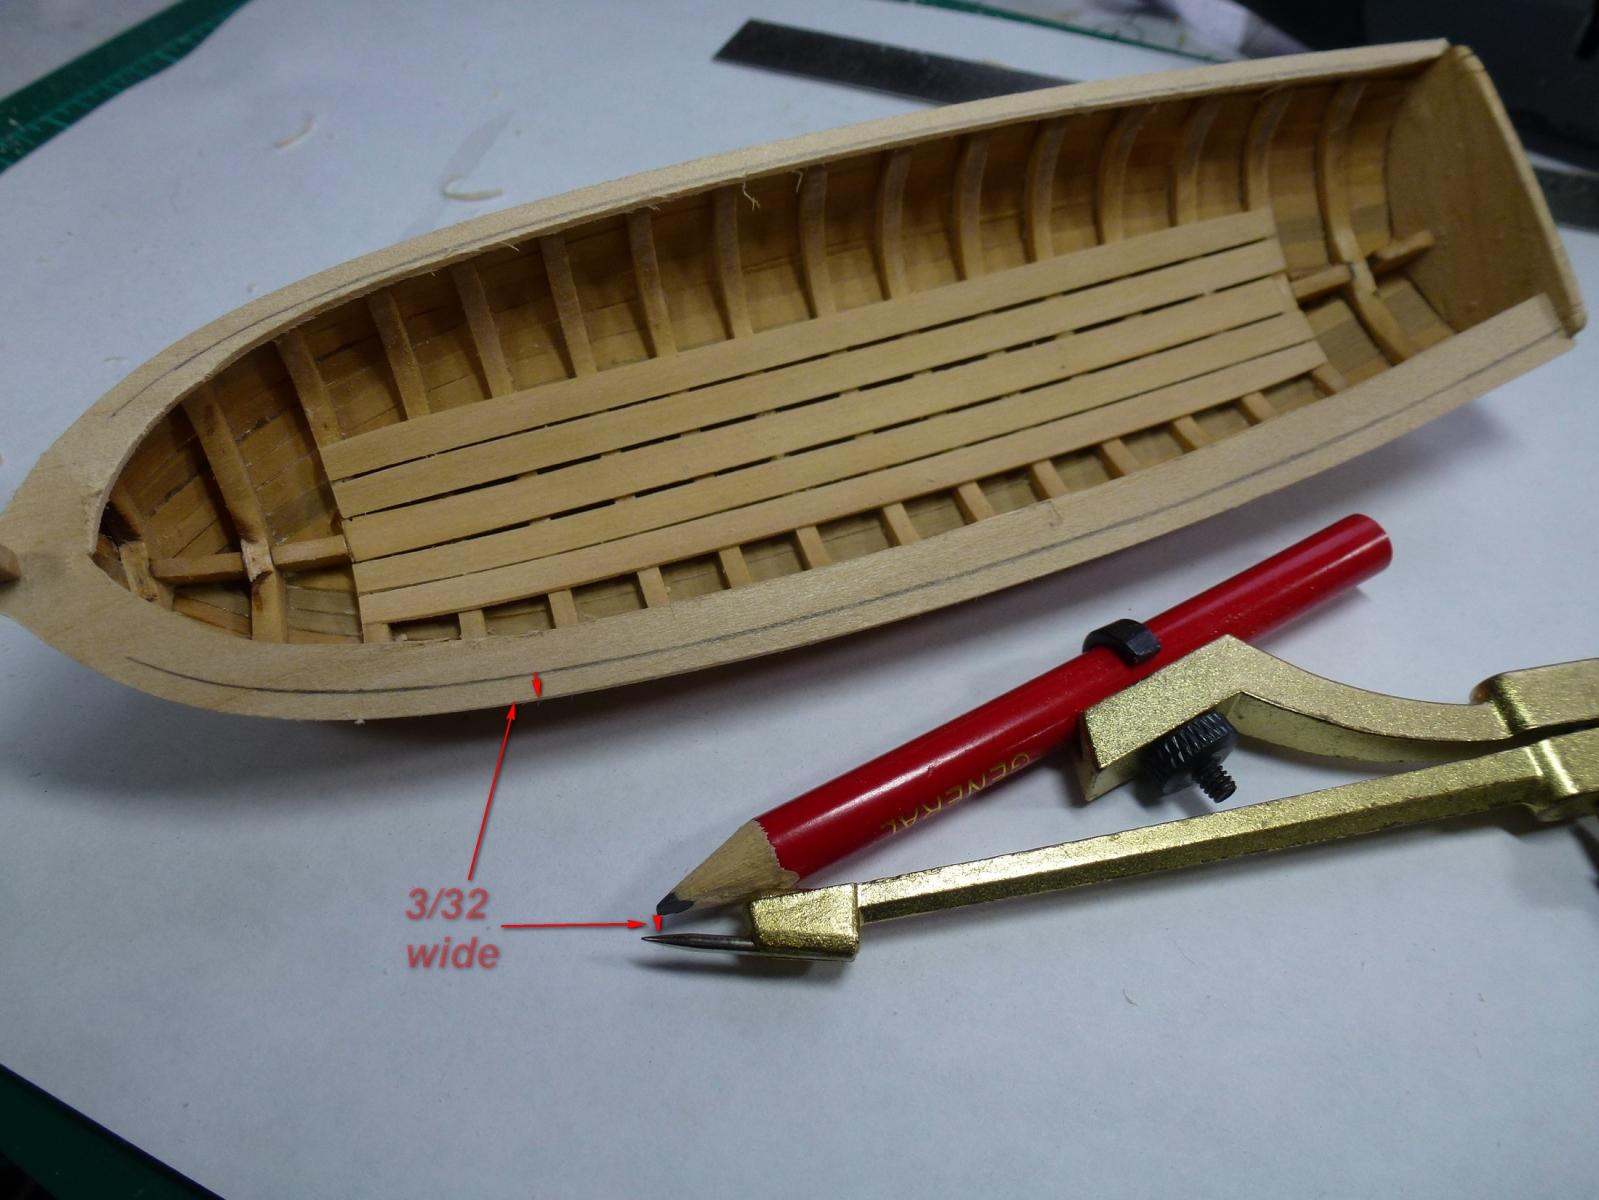
Using the compass to get the 3/32" width I trailed from the outside, creating the sanding line. Using the caliper I am very close to the correct measurements, some extra sanding might be needed. The connection of starboard and port cap rail at the stem is an area I am happy with. So far I am satisfied with the out come. Still there is a lot of wood fuzz I need to get rid off. Basswood is not a friend of mine when it comes to sanding. Painting is getting close.


- 335 replies
-
- 10
-
-
- 18th century longboat
- Finished
- (and 1 more)
-
Augie, your build log is going to help me tremendously, once I get going with my conf. Thank you for all the great pictures. Superb job you have done.
- 2,191 replies
-
- 2
-
-
- confederacy
- Model Shipways
- (and 1 more)
-
The shaping of the cap rail especially at the stem area is a slow work. Wonder if anyone has come up with an ingenious way to have them shaped the same?
- 335 replies
-
- 4
-
-
- 18th century longboat
- Finished
- (and 1 more)
-
Burnside, I am afraid the foil will give to much reflections from your light source unless you dim it. Why not try to attach the floor to the cabin, so when removing the cabin you take the floor along with it? When my father built the Bohuslän he made alternation. Just my two cents. Btw, my head office (for work) is located where you are.
-
So, it turned out that the conversion chart provided with my new digital caliber (birthday gift) is wrong. All the numbers are correct down to 3/64 vs. the metric, no wonder I thought the 0.04 seemed a bit off. 1/64" is equal to 0.3967 (not 0.03967 according to the chart) or easier measured 0.4mm I am glad I found out before I didn't have any cap rail lip left.
- 335 replies
-
- 4
-
-

-
- 18th century longboat
- Finished
- (and 1 more)
-
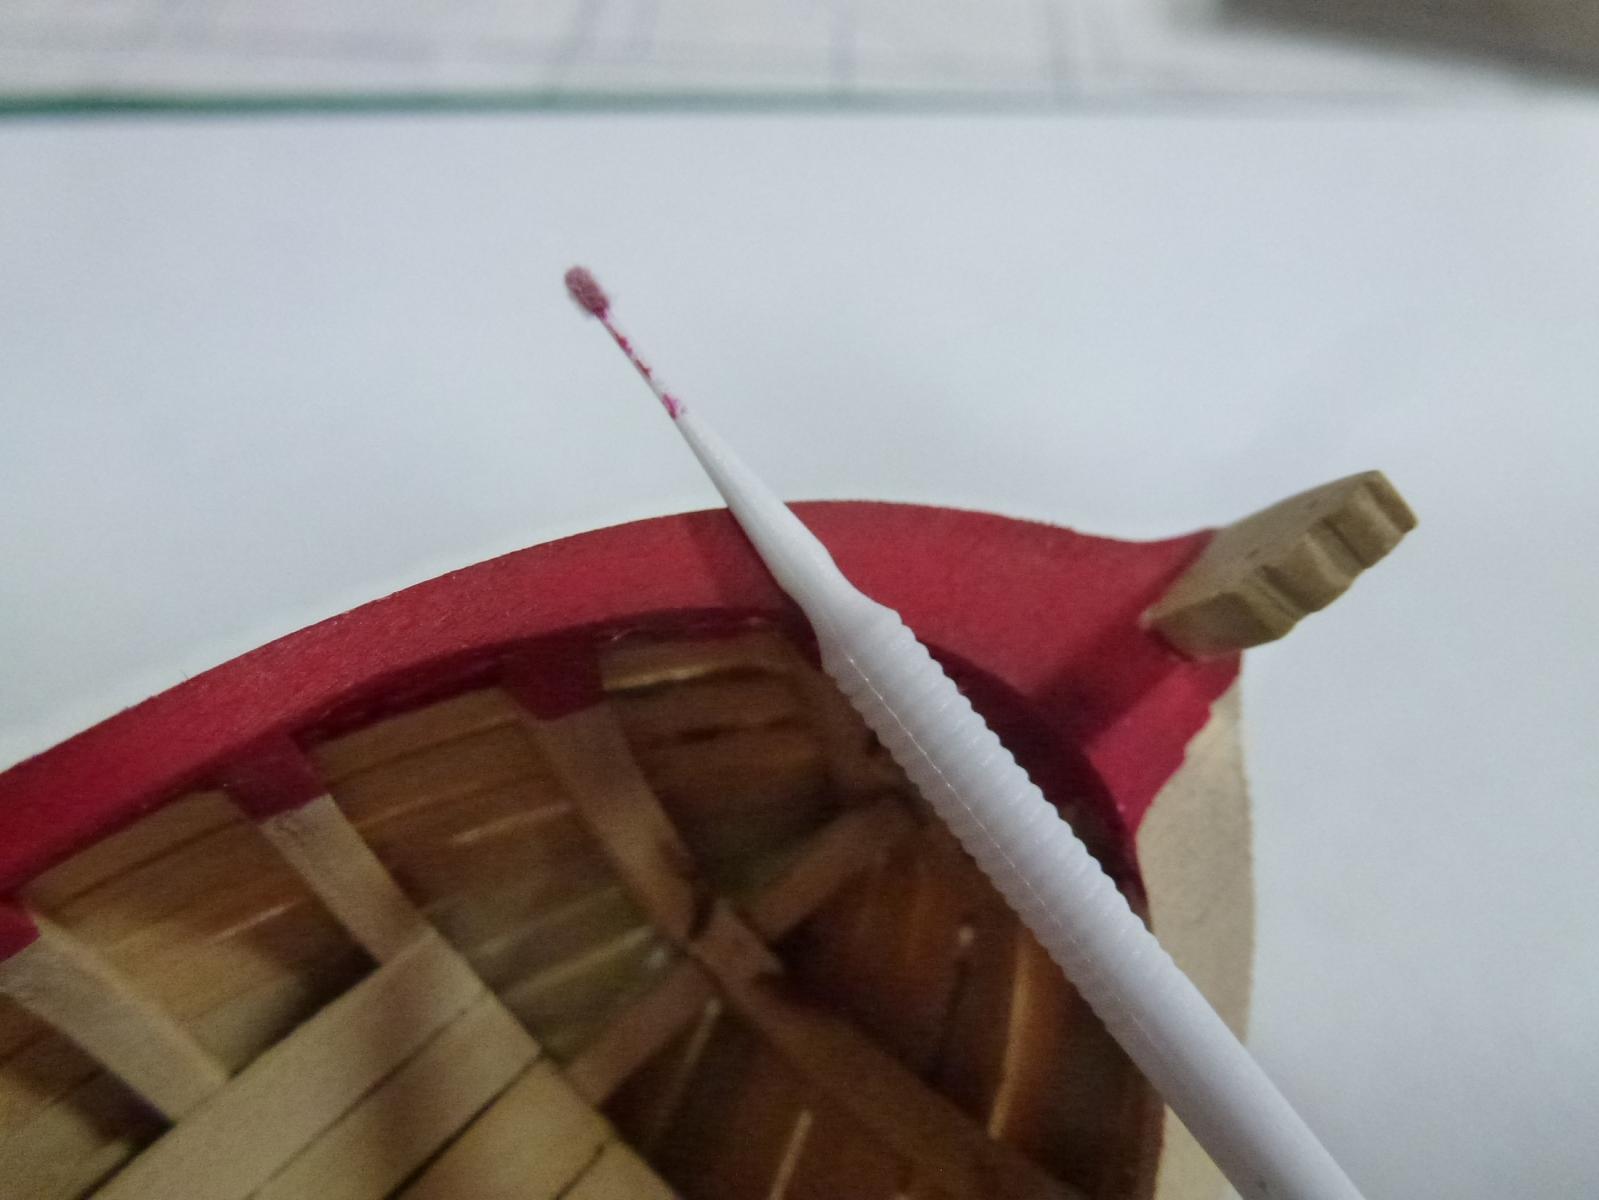
Holy moly, Sanding the cap rail and for them to have an 1/64" ( 0.04mm) lip, that is almost next to nothing visible. I think the frieze has the same thickness.
- 335 replies
-
- 3
-
-
- 18th century longboat
- Finished
- (and 1 more)
-
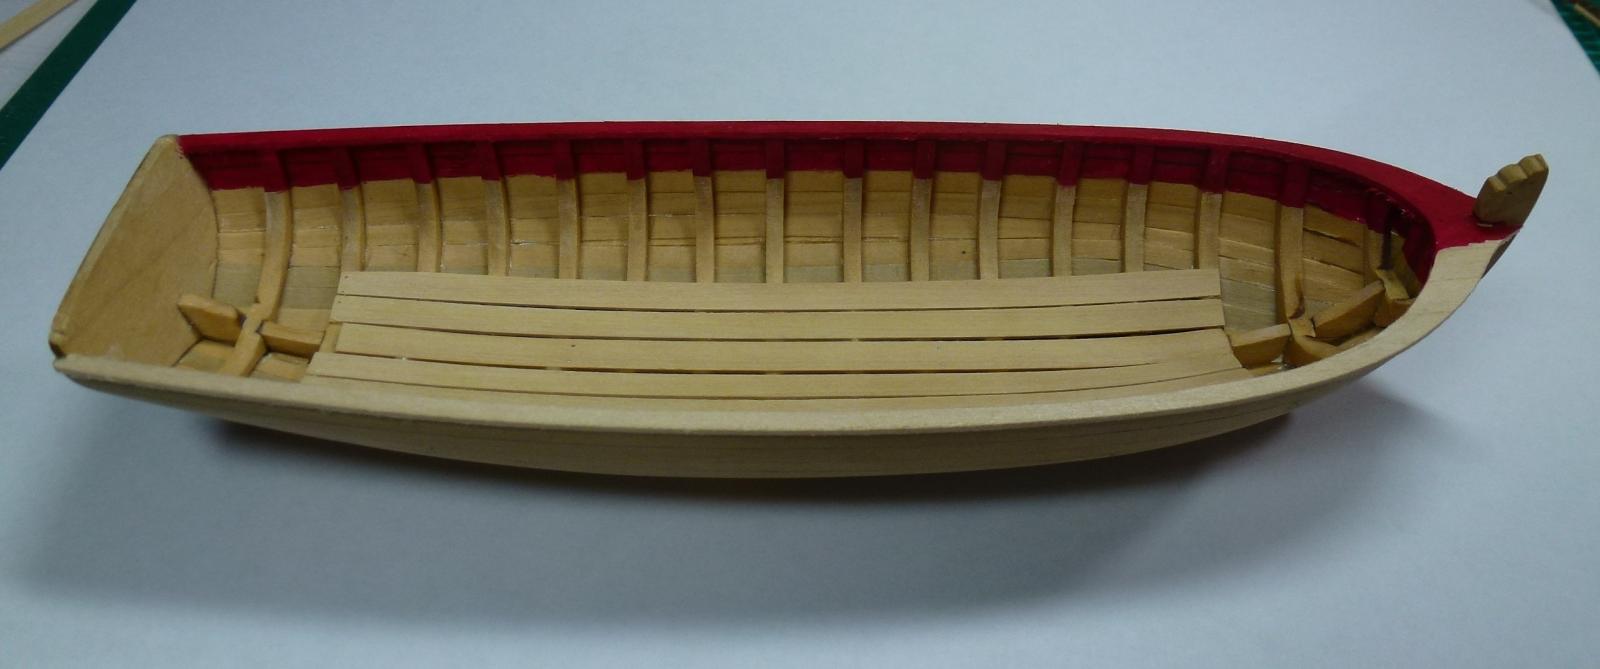
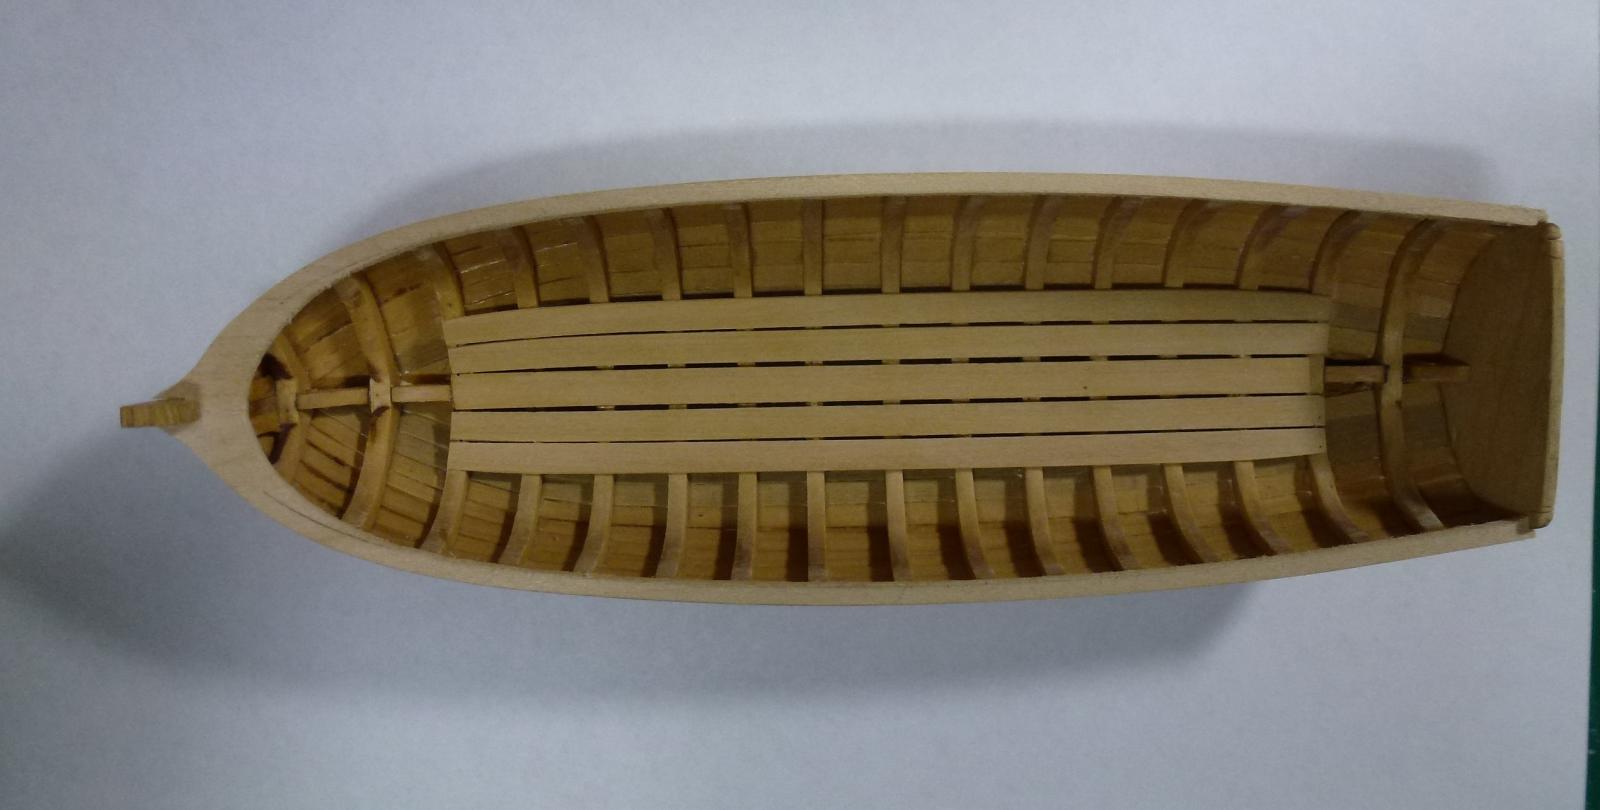
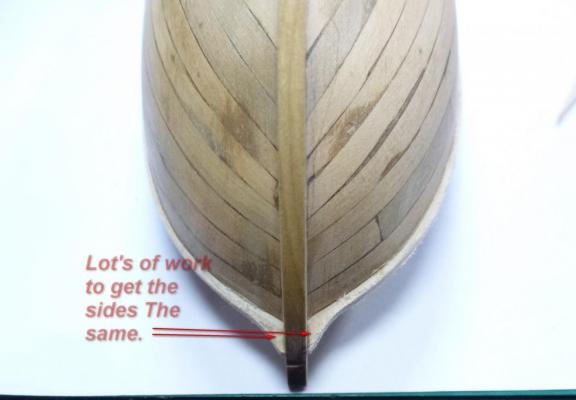
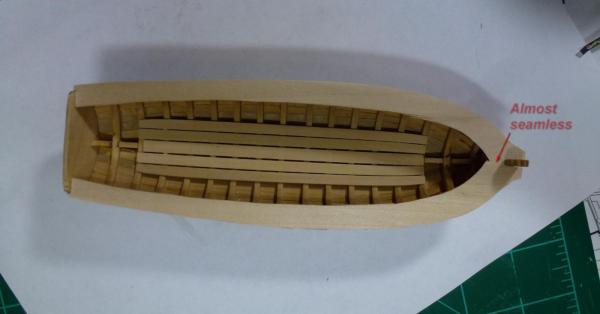
After many adjustments with the starboard cap rail (and yes I didn't get it right towards the stem, still there is a gap) I have the rail in place. The connection between port and starboard is almost invisible.
- 335 replies
-
- 10
-
-
- 18th century longboat
- Finished
- (and 1 more)
-
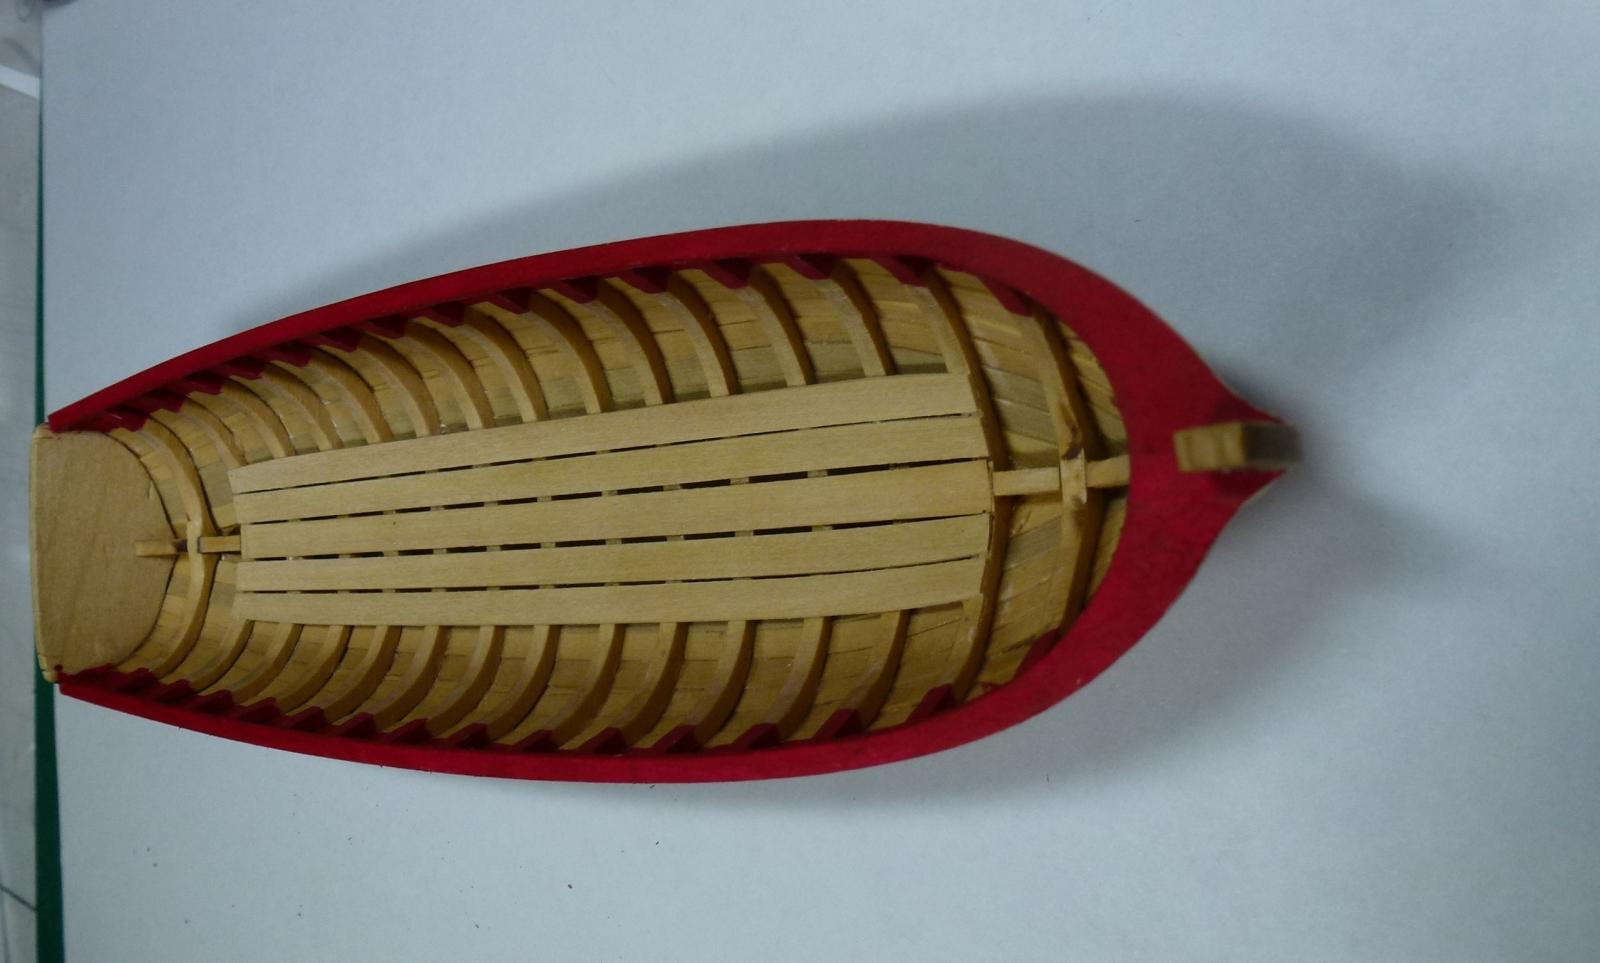
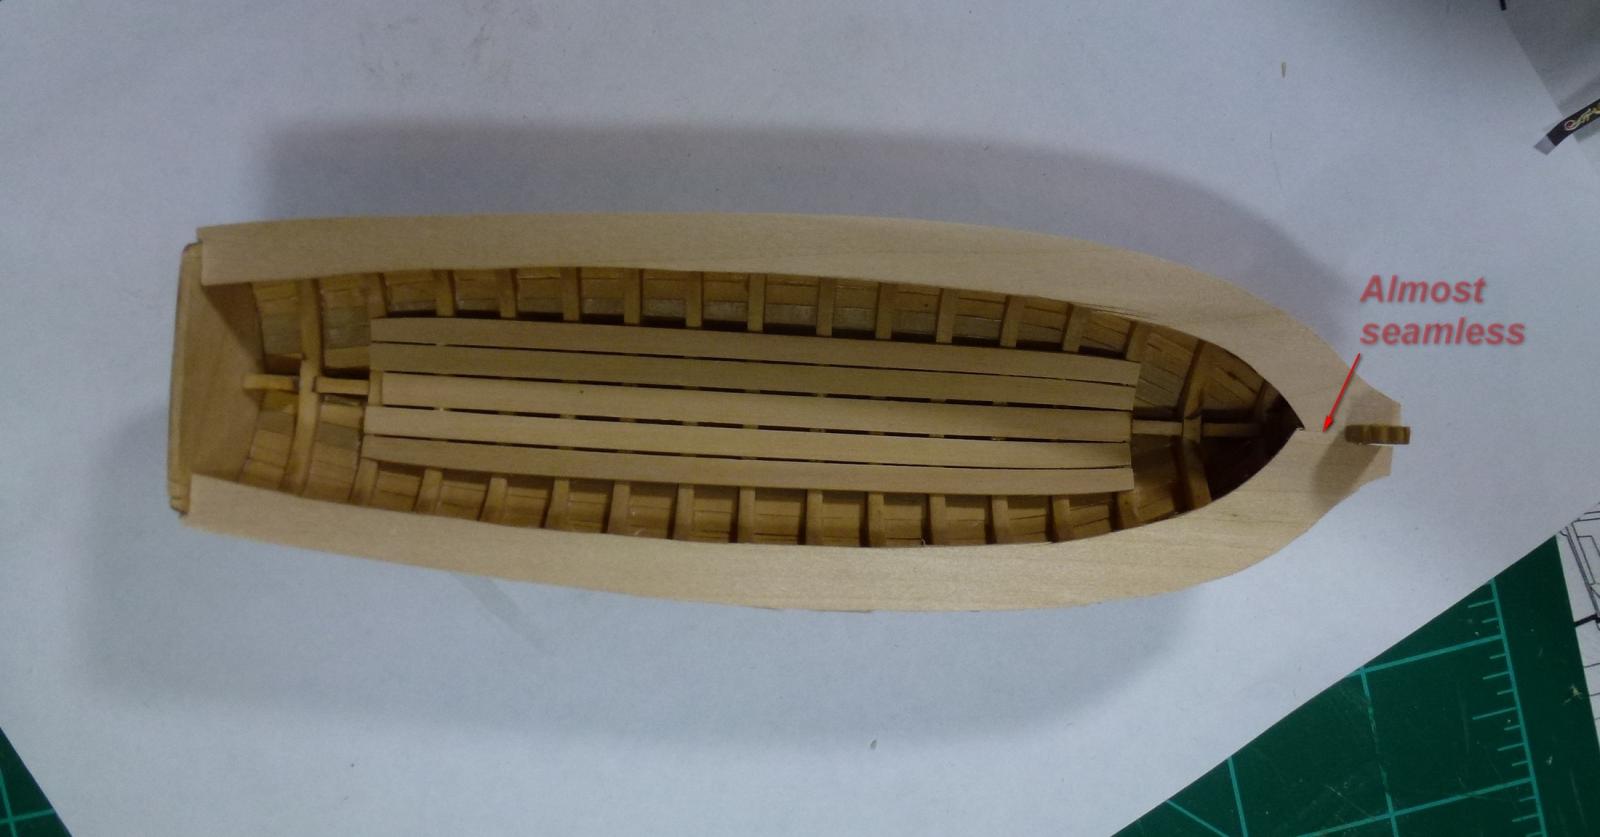
I am behind schedule, according to my planning the cap rail should had been attached and with hull painted. Anyway, I am back at the yard, hopefully some work will be done this weekend as there is no important football going on. Don't know if I went against my better judgement but I decided to attach the cap rail before doing any painting. Here the port side with "lots of extra meat" has been "white glued" into place. Very little of the wood of the cap rail at the stem will be trim to fit the starboard side. Hopefully I will be able to create a "seamless area".

- 335 replies
-
- 6
-
-
- 18th century longboat
- Finished
- (and 1 more)
-
Ps. I have been trying to find a Dremel work table for a long time!
- 2,191 replies
-
- 2
-
-
- confederacy
- Model Shipways
- (and 1 more)
-
Augie, First of all..... just amazing! This is to both of you Augie and Chuck, is there any way to open the deck to reveal the interior of captains cabin? However, I guess both of you have considered this matter already.
- 2,191 replies
-
- 1
-
-
- confederacy
- Model Shipways
- (and 1 more)
-
Farbor Fartyg, First of all, a late Happy New Year - ett sent Gott Nytt År! I am so glad to see you back at this setting. I know how it is being away from the "yard" for a while, then coming back..... looking at it, taking a deep breath and letting out the same deep sigh. At the same being re-inspired and getting into it. Looking forward the see more..... of the wreck in deep.
-
Divarty, Thank you for the question. No, the inners will first be painted then the cap rail will be attached. This way I have the risers their "shape", while doing the rest. Thinking that having the risers done prior painting and cap rail would ease the later installation. If it works then I am happy. Pictures will tell.
- 335 replies
-
- 1
-
-
- 18th century longboat
- Finished
- (and 1 more)
-
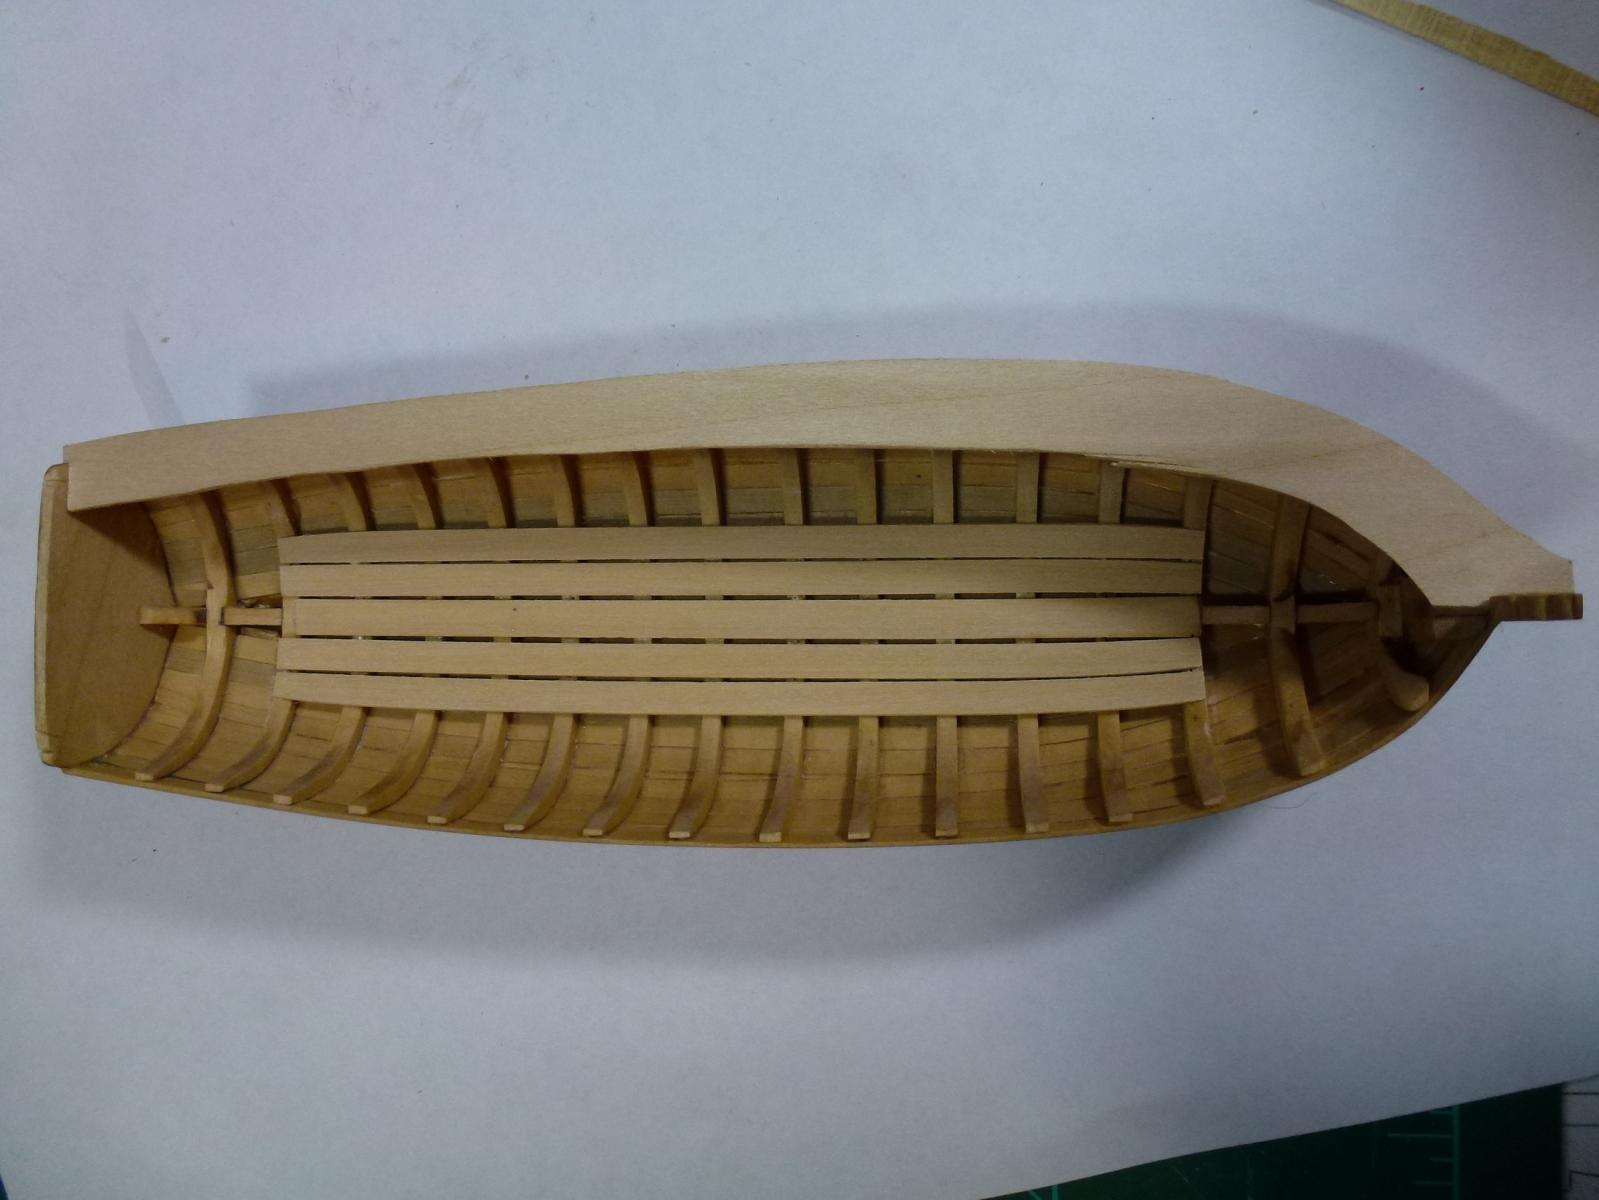
Here are the two risers profile drying, the lighter one (on the port) is almost dry.

- 335 replies
-
- 7
-
-
- 18th century longboat
- Finished
- (and 1 more)