Nirvana
-
Posts
5,452 -
Joined
-
Last visited
Content Type
Profiles
Forums
Gallery
Events
Everything posted by Nirvana
-
 Mike, you have a great daughter that certainly will become a shipmaster and beat us all with her skills. Daria, enjoy your time with your grandparents.
 -
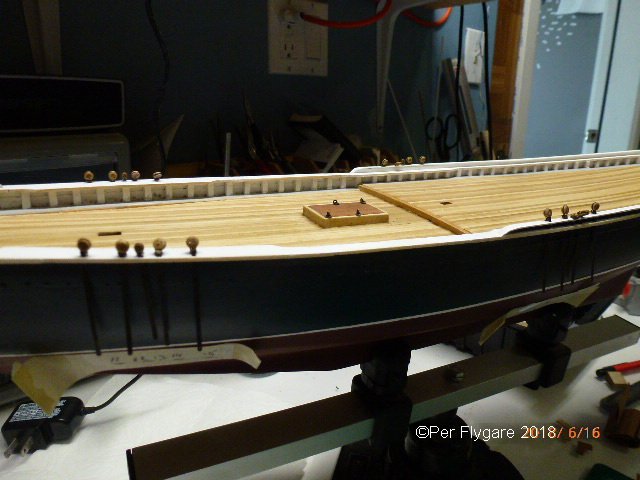
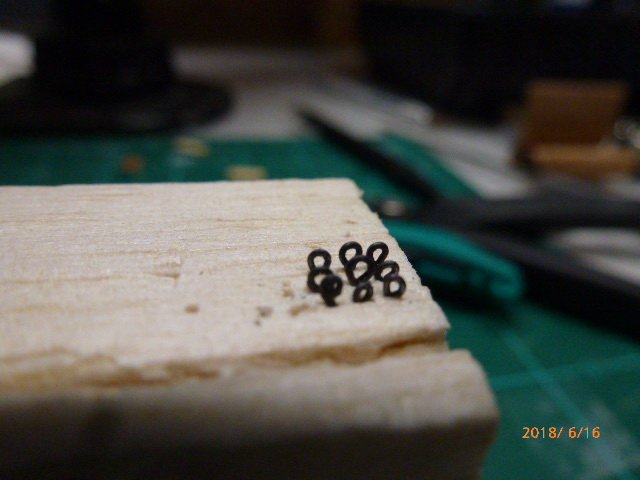
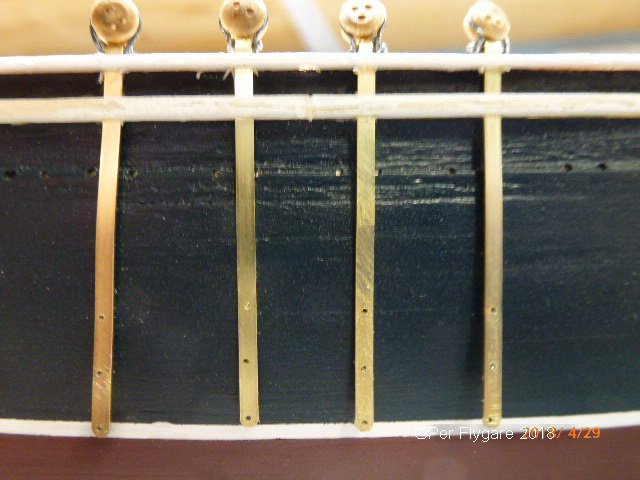
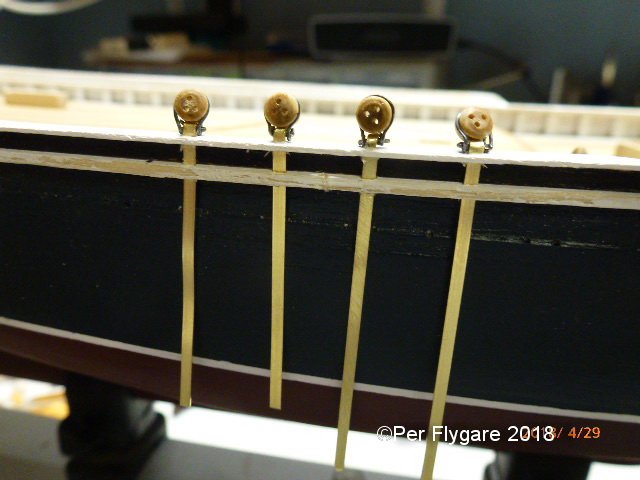
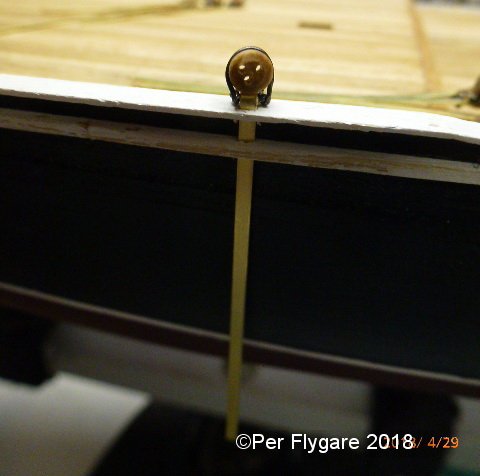
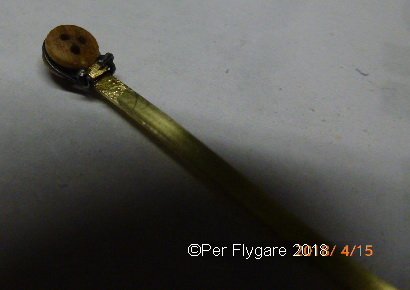
So the brass chain-plates were treated with the Brass Black and came out to my liking. All the plates has the deadeyes installed. Next is to figure out nails to be installed in the small holes. I also made the block-eyes from the 28 gauge wire. At this stage I am looking at the plans and instruction regarding the build up of the masts and booms. There is still a lot of work when it comes to the deck furniture and other parts.
-
Enjoy Cyprus, I love that island. Eat and drink well.
-
Binder clips are cheap to buy as well! Have plenty of them.
- 90 replies
-
- 1
-

-
- syren
- model shipways
- (and 1 more)
-
Brass Black
Nirvana replied to Nirvana's topic in Painting, finishing and weathering products and techniques
Mark, Now I wonder what other materials it will work on. -
Brass Black
Nirvana replied to Nirvana's topic in Painting, finishing and weathering products and techniques
Yes, it's Birchwood Casey Brass Black. -
The product is used to blacken brass, since a lot of material in our kits are made out off britania metal I played around with this chemical. Turned out beautiful, the final finished metal looks like true wrought iron. After letting it rest for 24 hours it the surface is quite scratch resistant.
-
Being persistent pays off. Very smooth and beautiful hull.
- 162 replies
-
- 1
-
-
- america
- BlueJacket Shipcrafters
- (and 1 more)
-
Brian, Now I am really confused, are you using the paint that came with the kit or the paint you bought on-line? Either way, it's not even close to the color code related to Bluenose upper hull.
-
Wire update, no luck at Hobby Lobby. I did get wires, but the look awful in combination with the deadeyes. Will try other sources for it. But I got myself two new fine pliers.
-
Laying out plans in a smaller workshop
Nirvana replied to alde's topic in Modeling tools and Workshop Equipment
Al, why not take the plans to a copying place, then you have one set original and one you can cut into pieces along the way. -
Patience and slowly, but progress is being made. I will paint the brass before putting in place permanently.
-
My HobbyTown store is also located 45 minutes away. But worth the drive, as I can see the paint before buying.
-
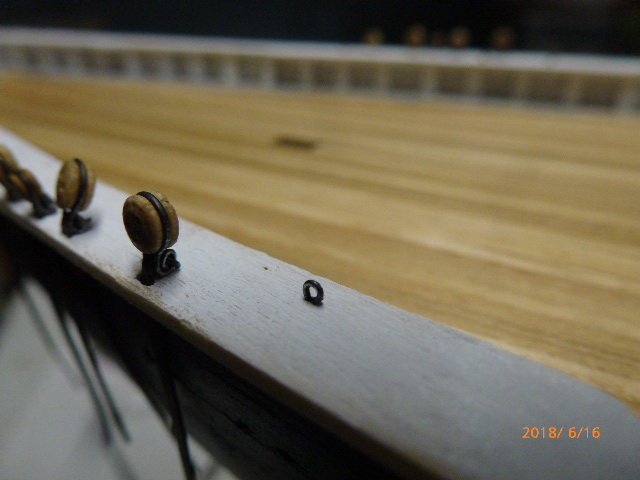
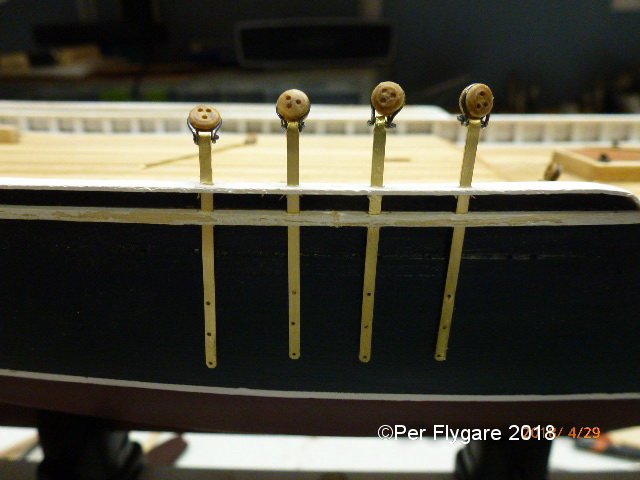
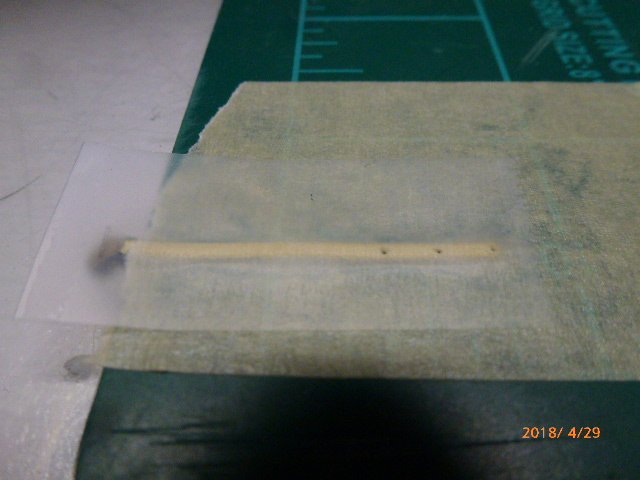
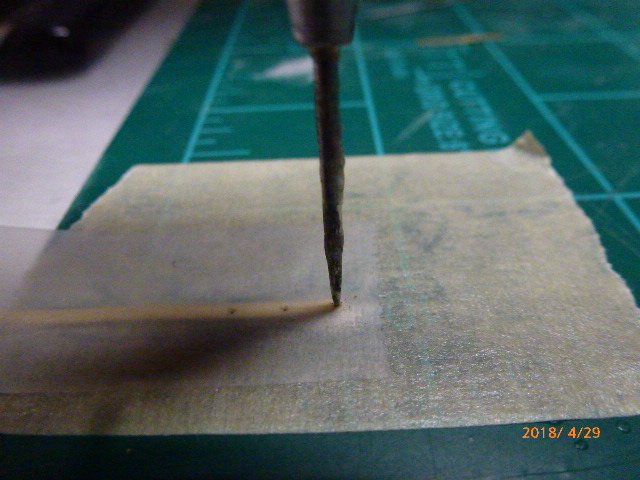
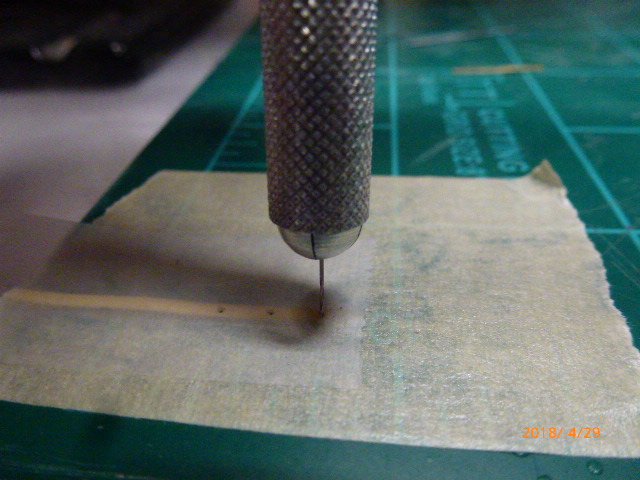
A quick update, I am now into the detailing before rigging, with other words - dead eye manufacturing. I followed the instructions of not gluing or soldering. Kind of tricky with all loose parts but very rewarding. The material is black wire from the build of the Longboat. Unfortunate I ran out before all is made. Michaels Craft (the big chain) has material for continuation so I will be fine. The black looks better than the brass. So far I have assembled 12 of the 16 big deadeyes, still have to make the four small ones. As you see I haven't made any wholes in the chain plates. Dry-fitting of parts are always good. Gives me a good indication of where adjustments are needed. In order to get the holes done, I am working on chain-plate at the time. First getting the length right, then round the bottom off. Using clear tape on the plans I lifted the hole patterns. Before any drilling, I taped the "plates" down using masking tape. Applied the strip with hole pattern. With an awl and a hammer I transferred the holes before starting drilling. This way the drill won't wander of the part. I am hand drilling the holes.


-
Brian, Why didn't you just buy regular base colors, you are going to spend so much time on mixing along with the loss of paint. Any hobby store has the colors you need even for air brushing.
-
Brian, Bluenose is the first model I have airbrushed.
-
Brian, according to the forecast you have perfect air brush conditions as your high's should be in low to mid 80's and humidity at 0% as mine will be in the mid 60's and humidity at 40%. But before you airbrush Blue, do many trials on separate parts not attached to Blue.
-
So crisp and clean! Do you pre-treat your wood?
-
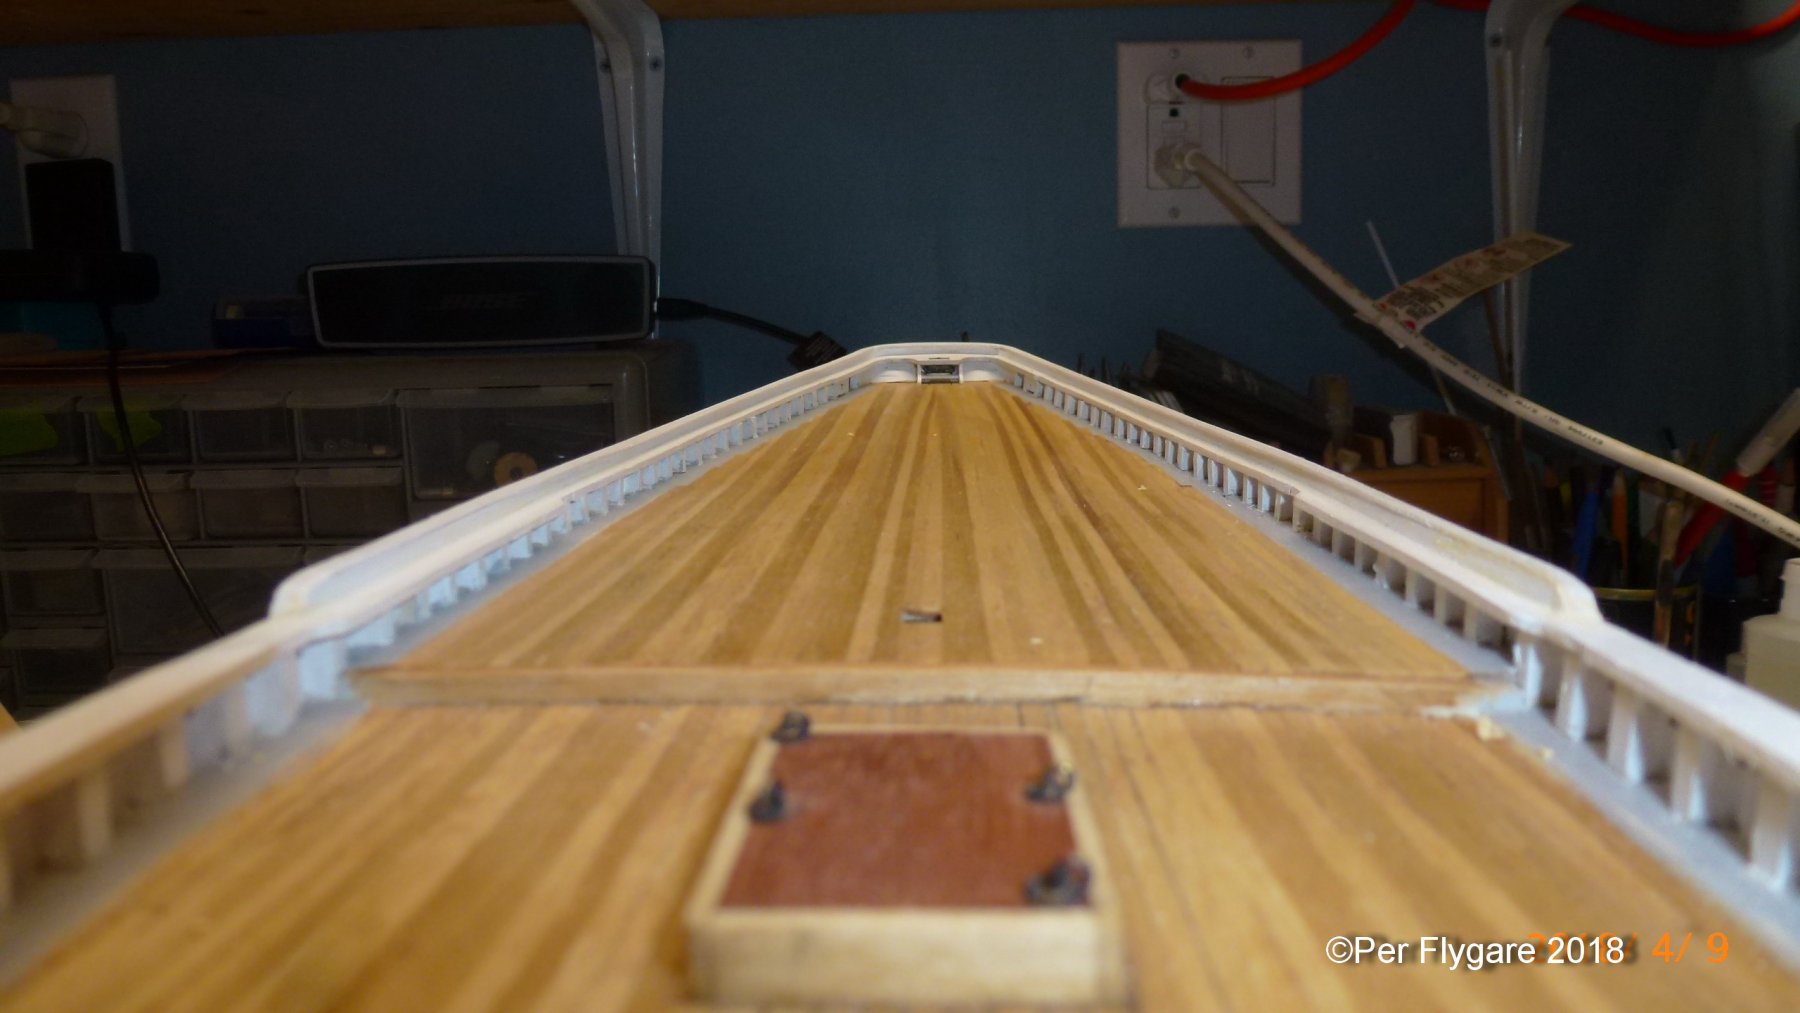
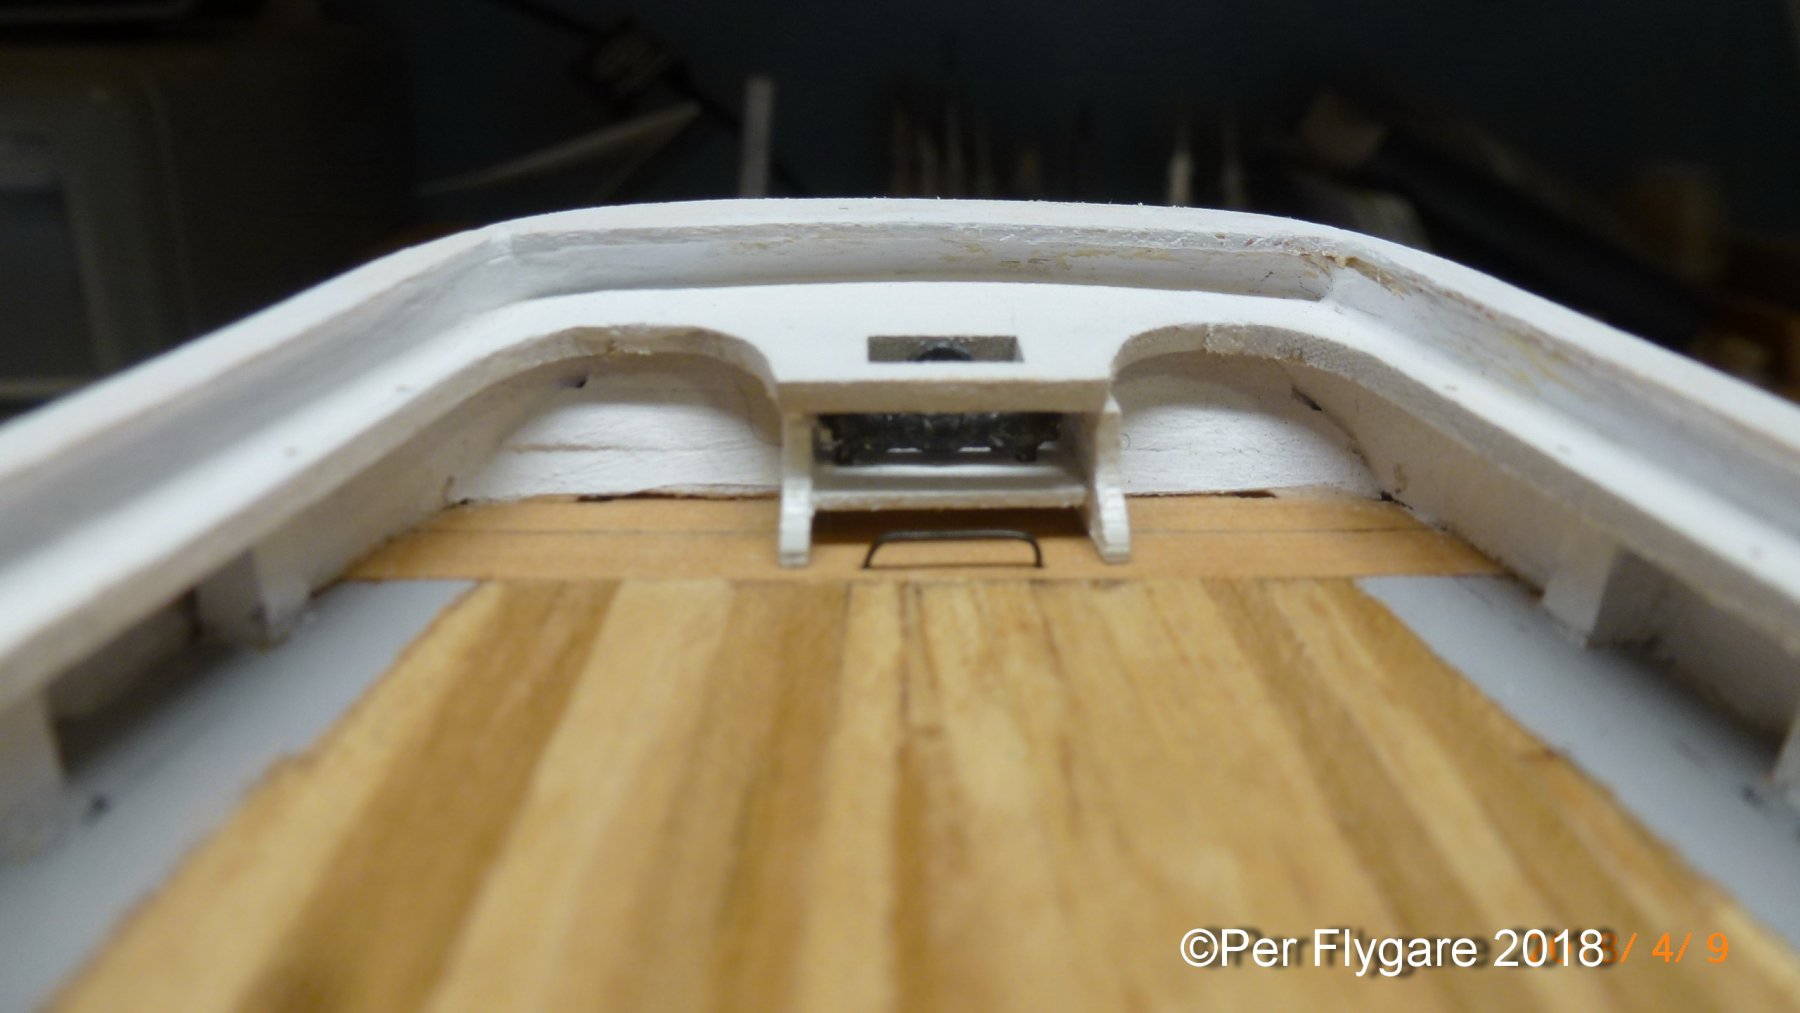
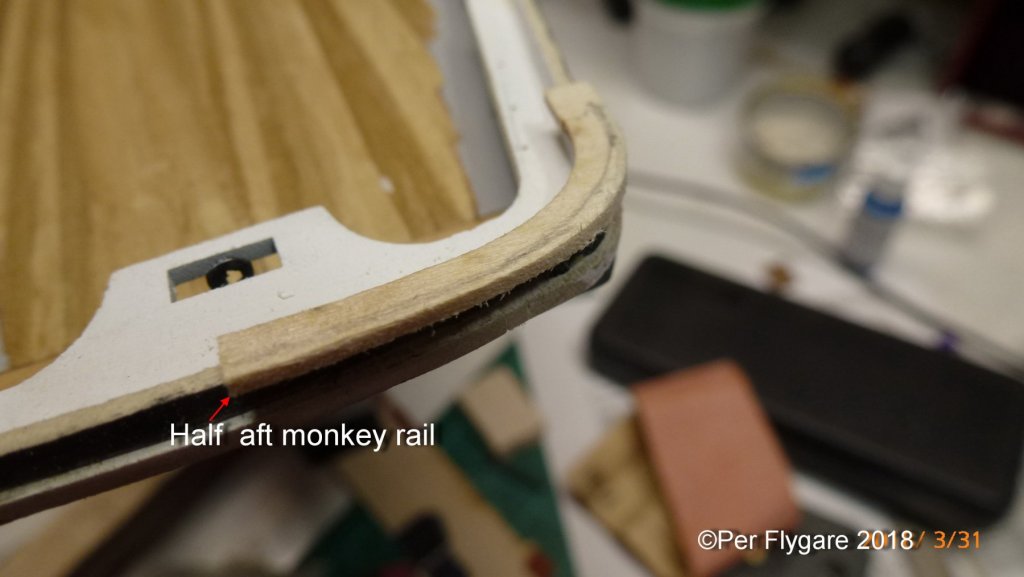
I have had some monkey time, Sometimes parts aren't matching at all and then once you have a matching one it breaks. At the very end I got what I wanted, my monkey board and monkey rail in place. It took some trial and error in this matter, but again I am please with the outcome. I am to do some final touches with this part before I call it good. Forgot to mention but I reduced the rail of the monkey to half the height. The original parts made her look "chunky". Now I am to focus on the Buffalo area.


-
As for ME paint, they can't be diluted for air brushing. Go with paint from HobbyTown or other hobbystore.
-
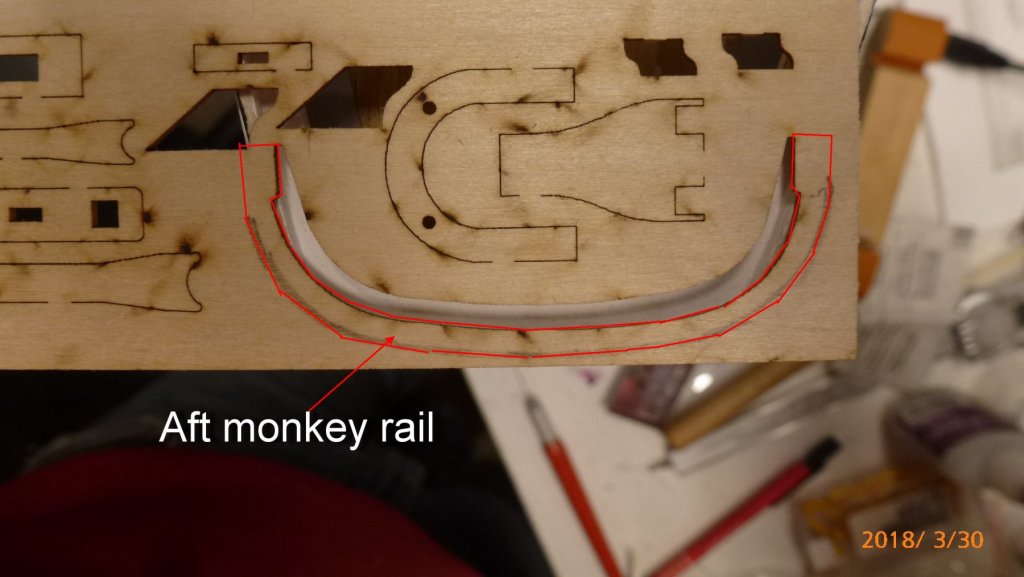
Sorry, for not posting anything lately. The shipyard came to a stand still for some time. However, every time I go out to the garage I am met by Bluenose asking for attention. After spending the day with the Admiral and Sadie (our oldest dog), I got time with Blue...... The monkey board has been installed and now is the rail time. As before the rail has to be altered, the laser cut piece was to small and then I realized that the empty space became the perfect base for a new rail. After cutting out the new piece I saw it's slightly to large, just perfect. This will help me to create the part I need. To make it easier on me, I am making this in two parts. Before final sanding and shaping I will pre-treat the wood for painting.
-
Brian. take a look at my build and you will see the adjustment I had to make. Mine was just minor, I have no idea what you have done in the construction of your stern area.
-
Sorry for our foul language....
-
Williamo, It does a F360 does a great job. F360 is a cloud based program, takes less space on your 'puter so it does saves automatically. Here is a great link for you.