Nirvana
-
Posts
5,452 -
Joined
-
Last visited
Content Type
Profiles
Forums
Gallery
Events
Everything posted by Nirvana
-
 Sorry for the grainy resolution, but painting has been achieved. Don't touch still wet!
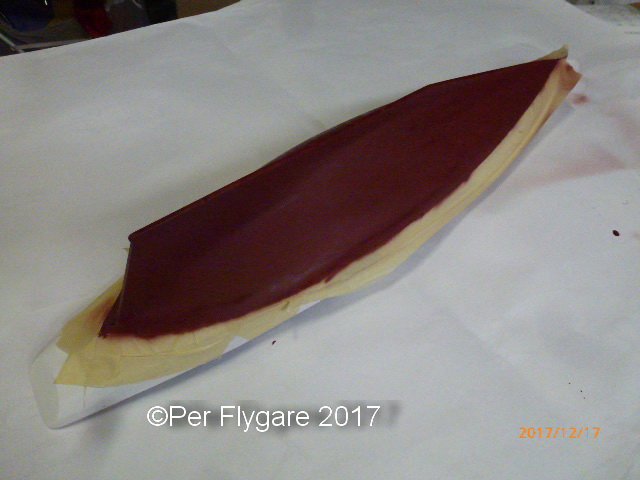
-
Air Brush Paints
Nirvana replied to Worldway's topic in Painting, finishing and weathering products and techniques
I have only used Valejo paint both the regular and the air version. Both can be thinned a lot without loosing pigmentation. I learned something new about the Valejo bottles (a reason not to throw them away once depleted) I was to open my red one and the top came off. Which was perfect as the paint was clogging up in the tip. Rinsed it under warm water and the top was as new. This way I can blend my colors to my own liking and store it without drying out. The thinner from Valejo is not compatible with MS paint and other acrylics. Tried and the outcome was extremely bad.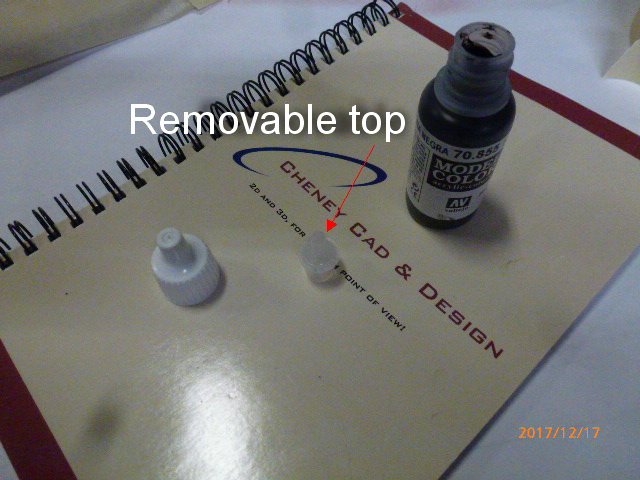
-
Doug, Very nice coppering, now I think what I am in for when it comes to my Syren.
-
Mike, Very nice restoration; now I have a question, where is this lovely ship going?
-
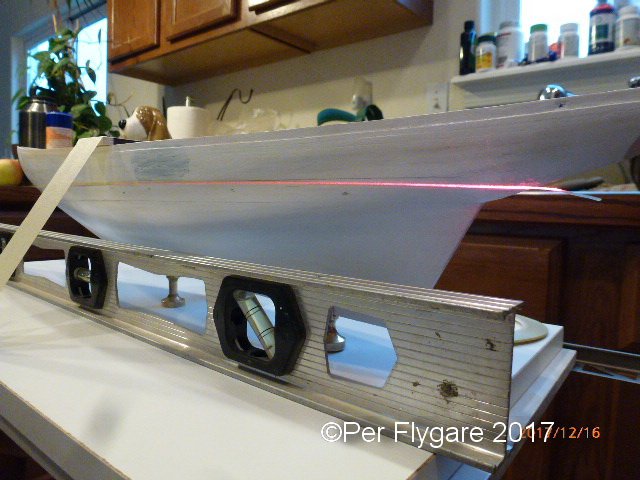
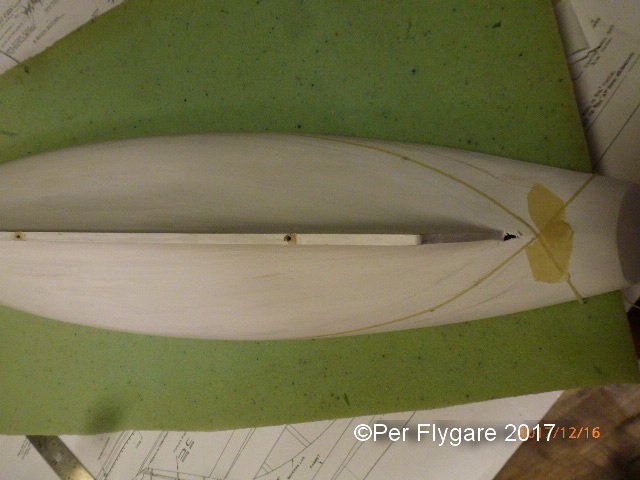
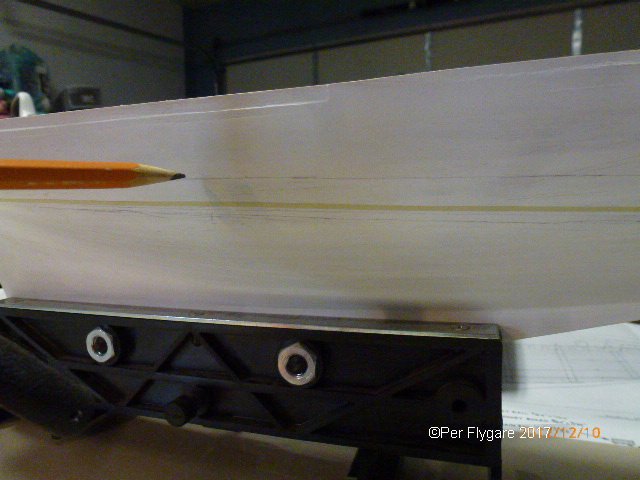
I took a step back and reviewed my lines........ and no way I am to use them. My setup was too simple and inaccurate. I had heard about using laser for the purpose and after a lot of tweaking with the setup bench I was ready. And after this I am to get my own laser as this worked out so fine. To get this correctly I used a mdf board normally used for shelving and added the pedestals as I had marked out on plan and boat. This setup would ensure proper waterline. Next was to secure her and align it all with water levelers. Once I had this done, aligning the laser was the next step. Once that was done, lights on and I had a perfect waterline. Using a regular pencil I marked it off. For some reason of which I can't recall I had narrow masking tape from the auto painting, best part it had the perfect width for the waterline. Applying it and then masking of the top area of the hull I will paint the lighter colored hull part. I learned this long time ago always paint the lighter colors first then the darker. What is extremely important before painting is to use a round edge tool to have the tape having a proper contact with the surface. Happy with this I started experimenting to get a proper anti-fouling red tone. I didn't like the one recommended from MS, so I gave my Vallejo paint a shot. Turned out really nice.
-
Gregory, that's very close to what my kit from Constructo has provided.
-
John, Welcome to MSW or can I say Terve to you? Found this info regarding the Grace Harwar.
-
Wow, Daria and scarfing, nice done!
-
My simple setup for waterline marker. Now time paint the white waterline area.
-
Gary, Here is another view of the stem piece. This is from America II.
- 162 replies
-
- 1
-

-
- america
- BlueJacket Shipcrafters
- (and 1 more)
-
question for sketchup users
Nirvana replied to hamilton's topic in CAD and 3D Modelling/Drafting Plans with Software
Sailor, Look into this youtube clip, I think it has the answer you are looking for. The parts has to be solids before any such "trimming" can done. -
Here is a link to the Generals website, click buy now and your screen will be populated by various retailer, stock situation and price.
-
Mike, one is a single action, bottle underneath and a dual action cup on top. The single action is a paasche airbrush, but the connector is wrong towards the compressor so I haven't used it yet.
-
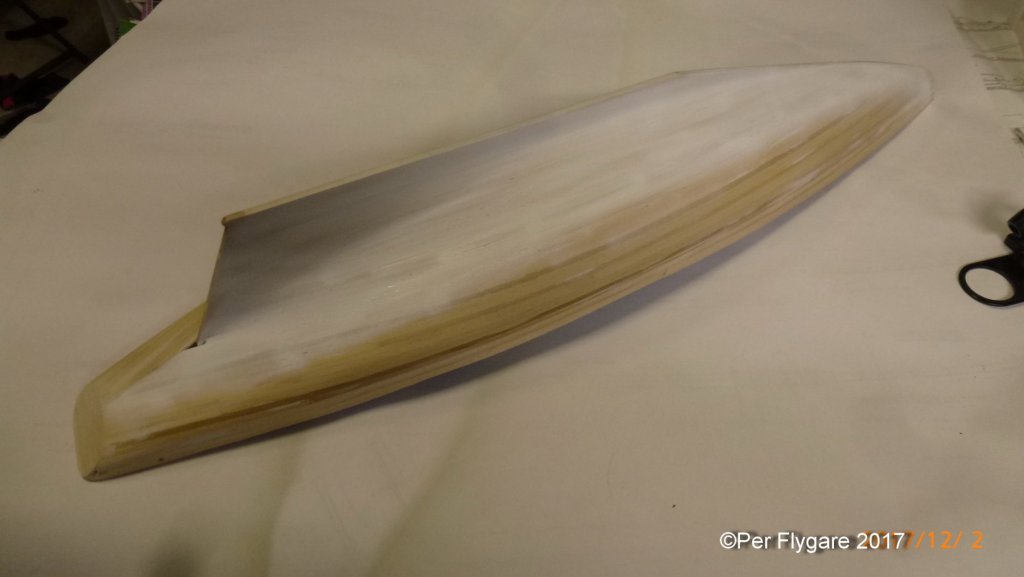
Mike, I am using exclusively Vallejo paint. Had a long talk with a gentleman at HobbyTown yesterday, regarding the three brands they carried at their store. When it comes to pigments Vallejo is the one to go with. Thanks for your comment regarding thinner, I did purchase that too. The last picture is showing Bluenose non-painted starboard side. It only has a foundation and added "filler". Am to try the automotive blue filler someday as someone in here has vouched the easiness of working it.
-
Preac Thickness Sander
Nirvana replied to zinfigman's topic in Modeling tools and Workshop Equipment
And go with a higher end of bearing, don't let a cheap price tag get you. If you can find a SKF bearing, you will be set for many years to come and make sure it is sealed. To avoid dust getting into it. -
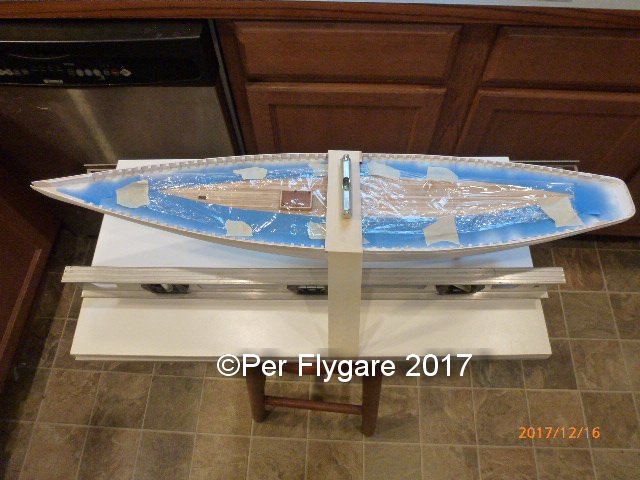
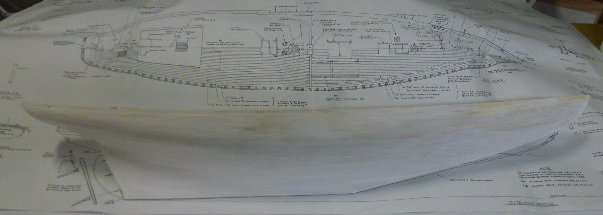
I am preparing the hull for the major painting...... there are a lot of small holes that are in need of care before the final paint. During the session of air brushing, one of my brushes is not doing its job properly, it's not spraying paint but only air..... which is weird, as I have cleaned the whole unit. Anyway, despite of that I am getting ready for more painting.
-
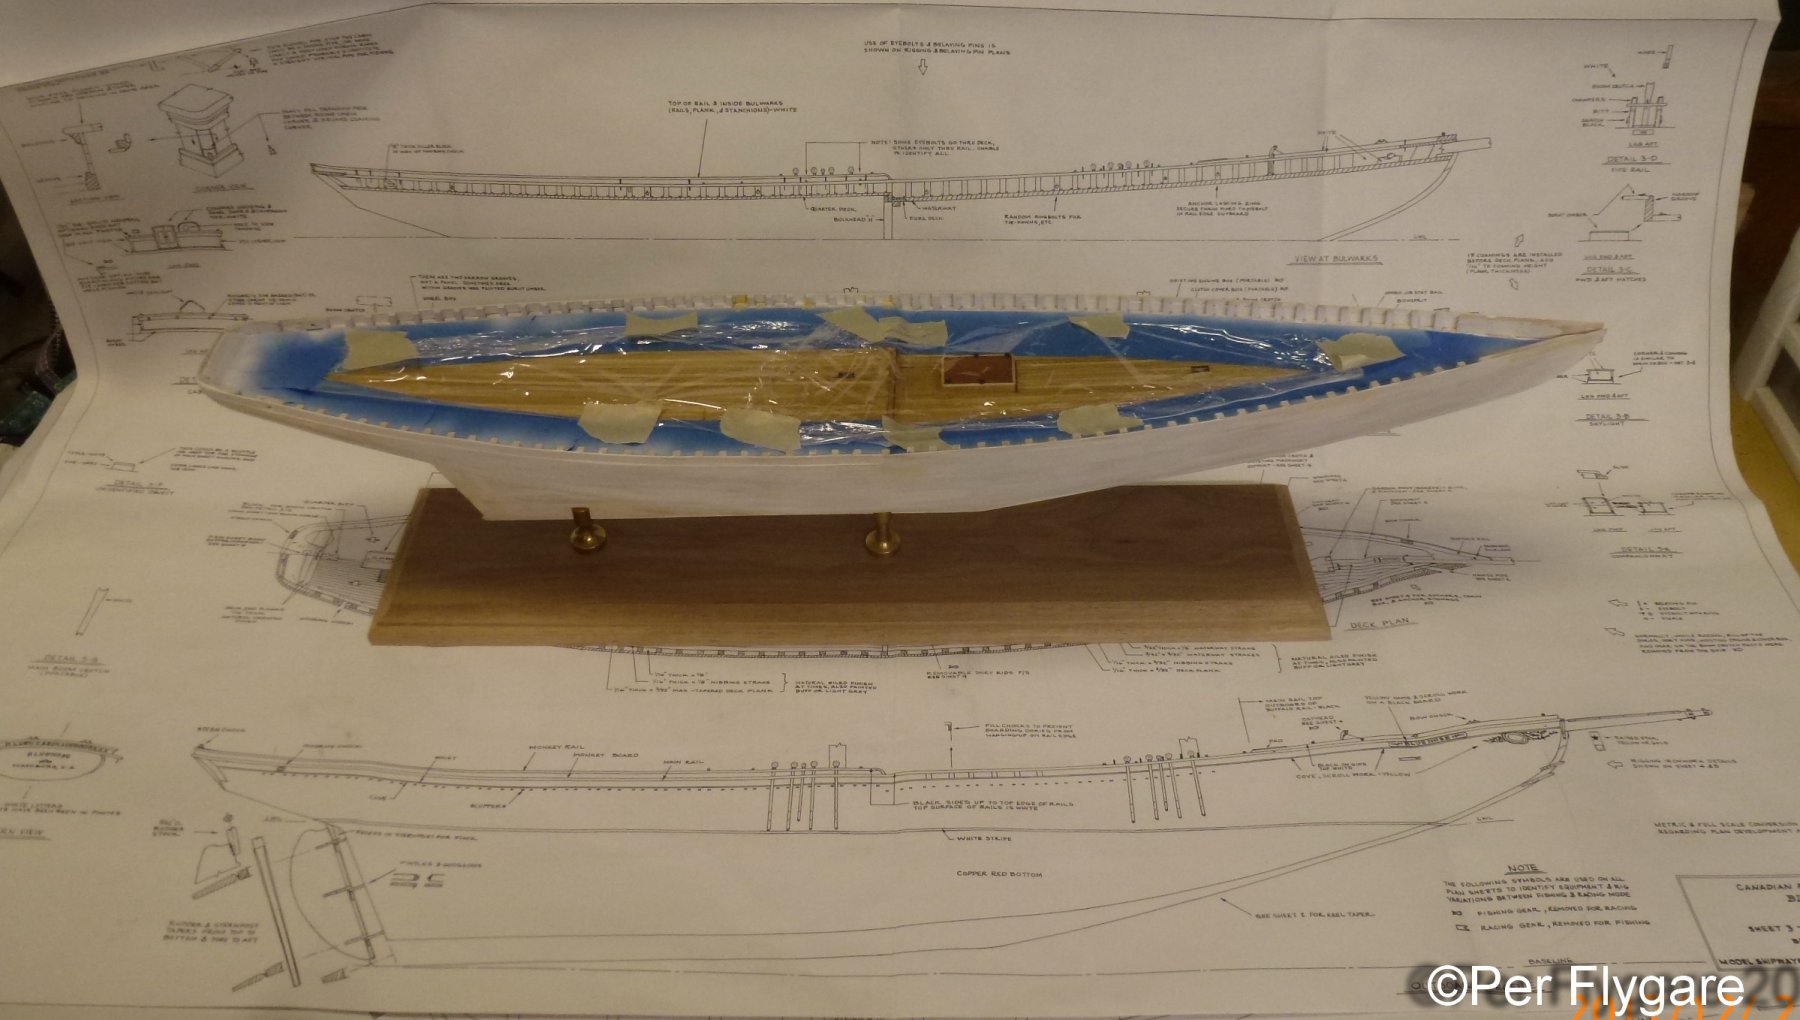
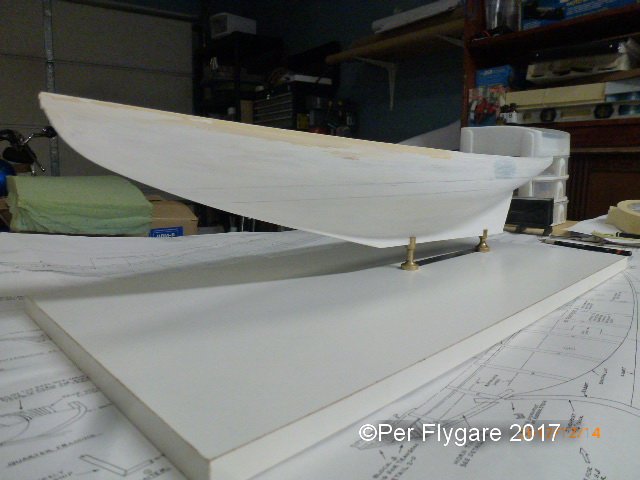
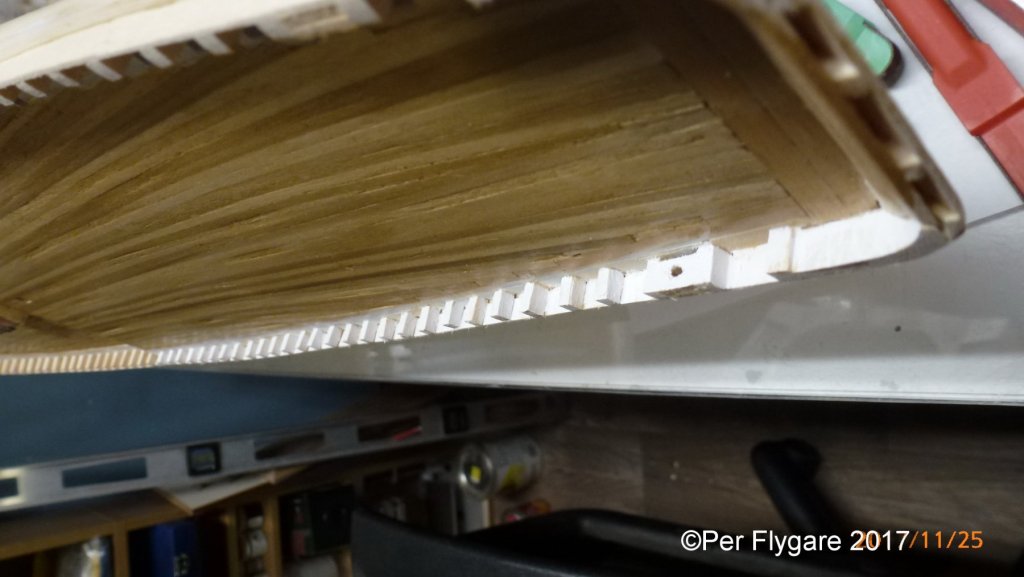
Before I am getting ahead of myself it's time to find the location for the pedestals. I measured the inside height of each pedestal and used the plan to determine the locations for them. Now I have to figure decide whether to go with the board I have or mount the it all on a single board. Using the board the Bluenose is sitting on right now will off-center it in a case. I think that will make it look strange. With the pedestals and a single board display case Bluenose will be centered properly. Thoughts and ideas are highly valued in this matter. If any has pictures I like to see them, just link them in your reply.

-
My first trial of air brushing, doing this on the hull. And it turned out so much better than I expected, no running paint at all. So I proceeded with painting the inside of the waist with the airbrush. So easy and the coverage great as well. Looking forward doing more airbrushing. I will do more white airbrushing of the hull for the next step of black/blue and the dull red for the bottom.
-
That slight bow you have in your frame will straighten up with filler blocks, make sure they are accurate sized, so they do a proper job. Once out of that, things will be easier. By the way, warm welcome to the Syren land.
- 90 replies
-
- 3
-
-
- syren
- model shipways
- (and 1 more)
-
Mike, Seems like you are enjoying your restoration adventure. But using only glue at the hem, it will hold for the moment but not in the long run. I would go with sewing as well, specially inserting the metal rod to create the effect of wind filled sails.
-
Vallejo has a white foundation paint, which I used on the waist and stanchions at the port quarter area. Good or bad I don't know but I have a feeling this base might good enough for a single layer regular white. It's bright but probably a good contrast as well.
-
What brand of #11 blades do you use
Nirvana replied to bigcreekdad's topic in Modeling tools and Workshop Equipment
Just checked out Amazon for this purpose and there are options, look into the reviews and do not read the 4 or 5 star ratings , read the 2 or 1 and base your purchase on that. Prices are good all over board so it wouldn't be to hard to get some for trial purpose. Check out surgical tools as they can be useful for our building adventures. Edit: best part for us, even though you buy a 100 pack for some dollars they will last a long time as we can use them over and over again. And not dispose after one usage. -
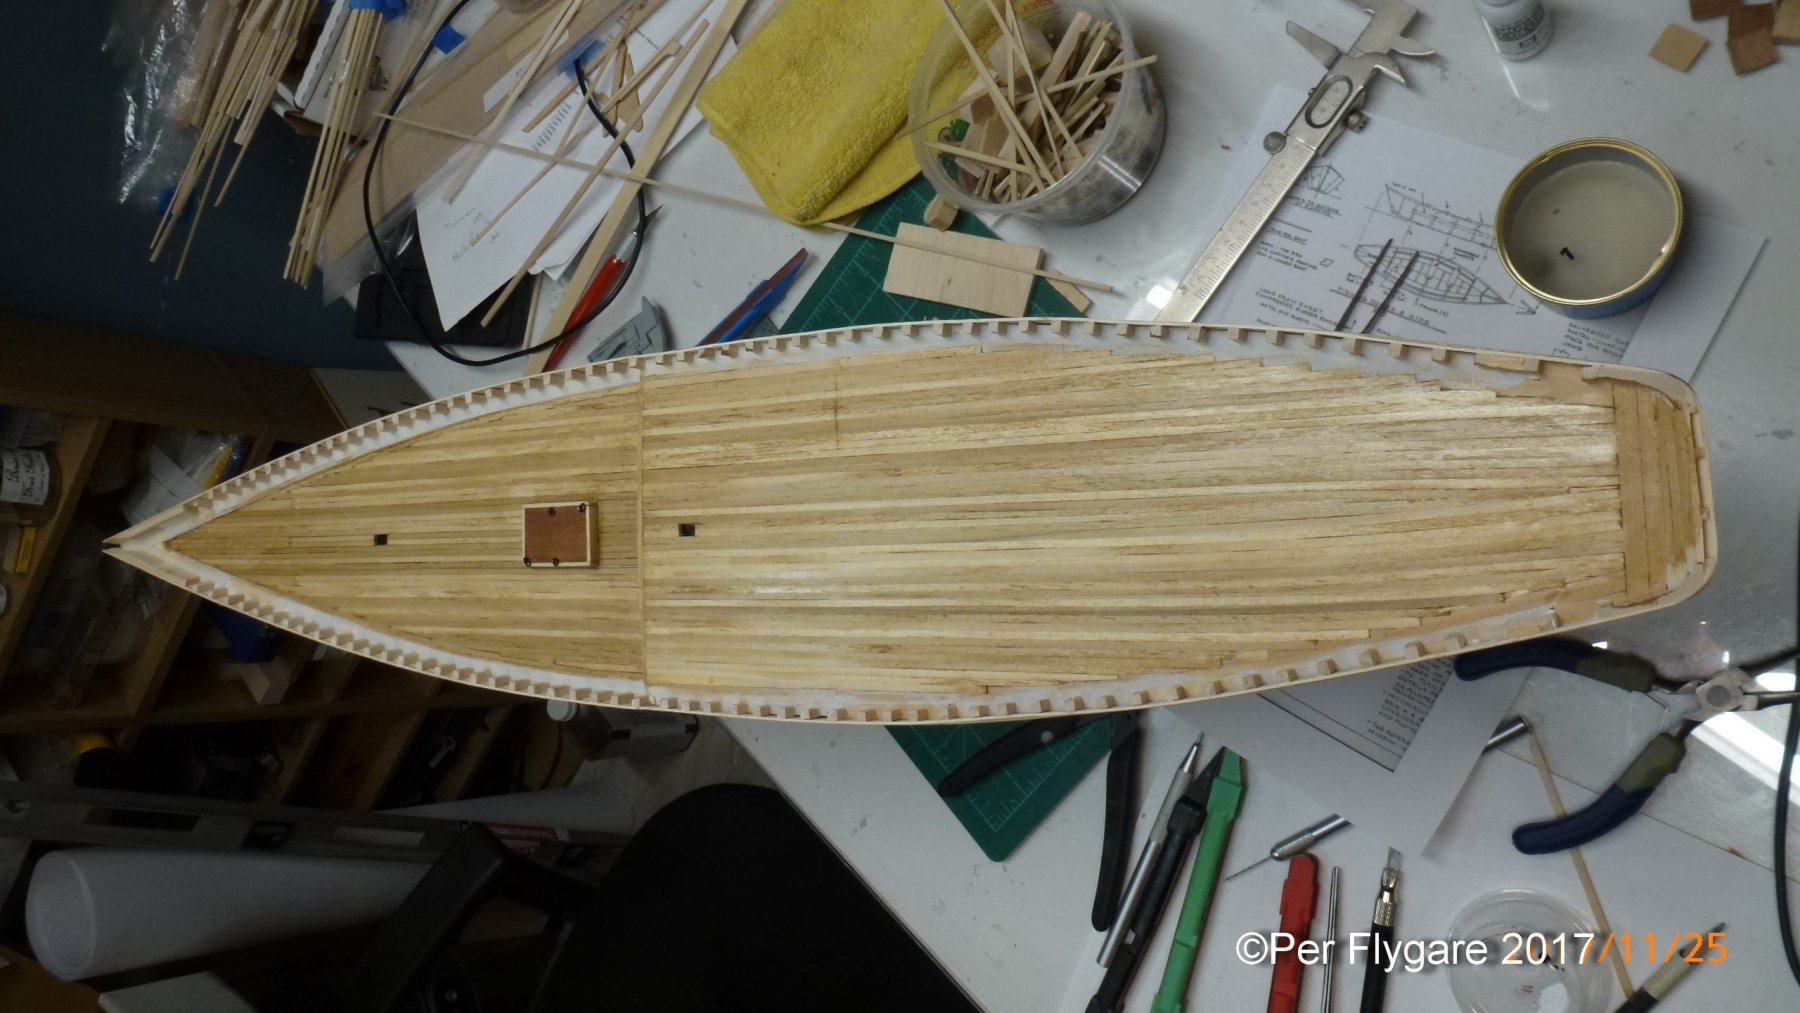
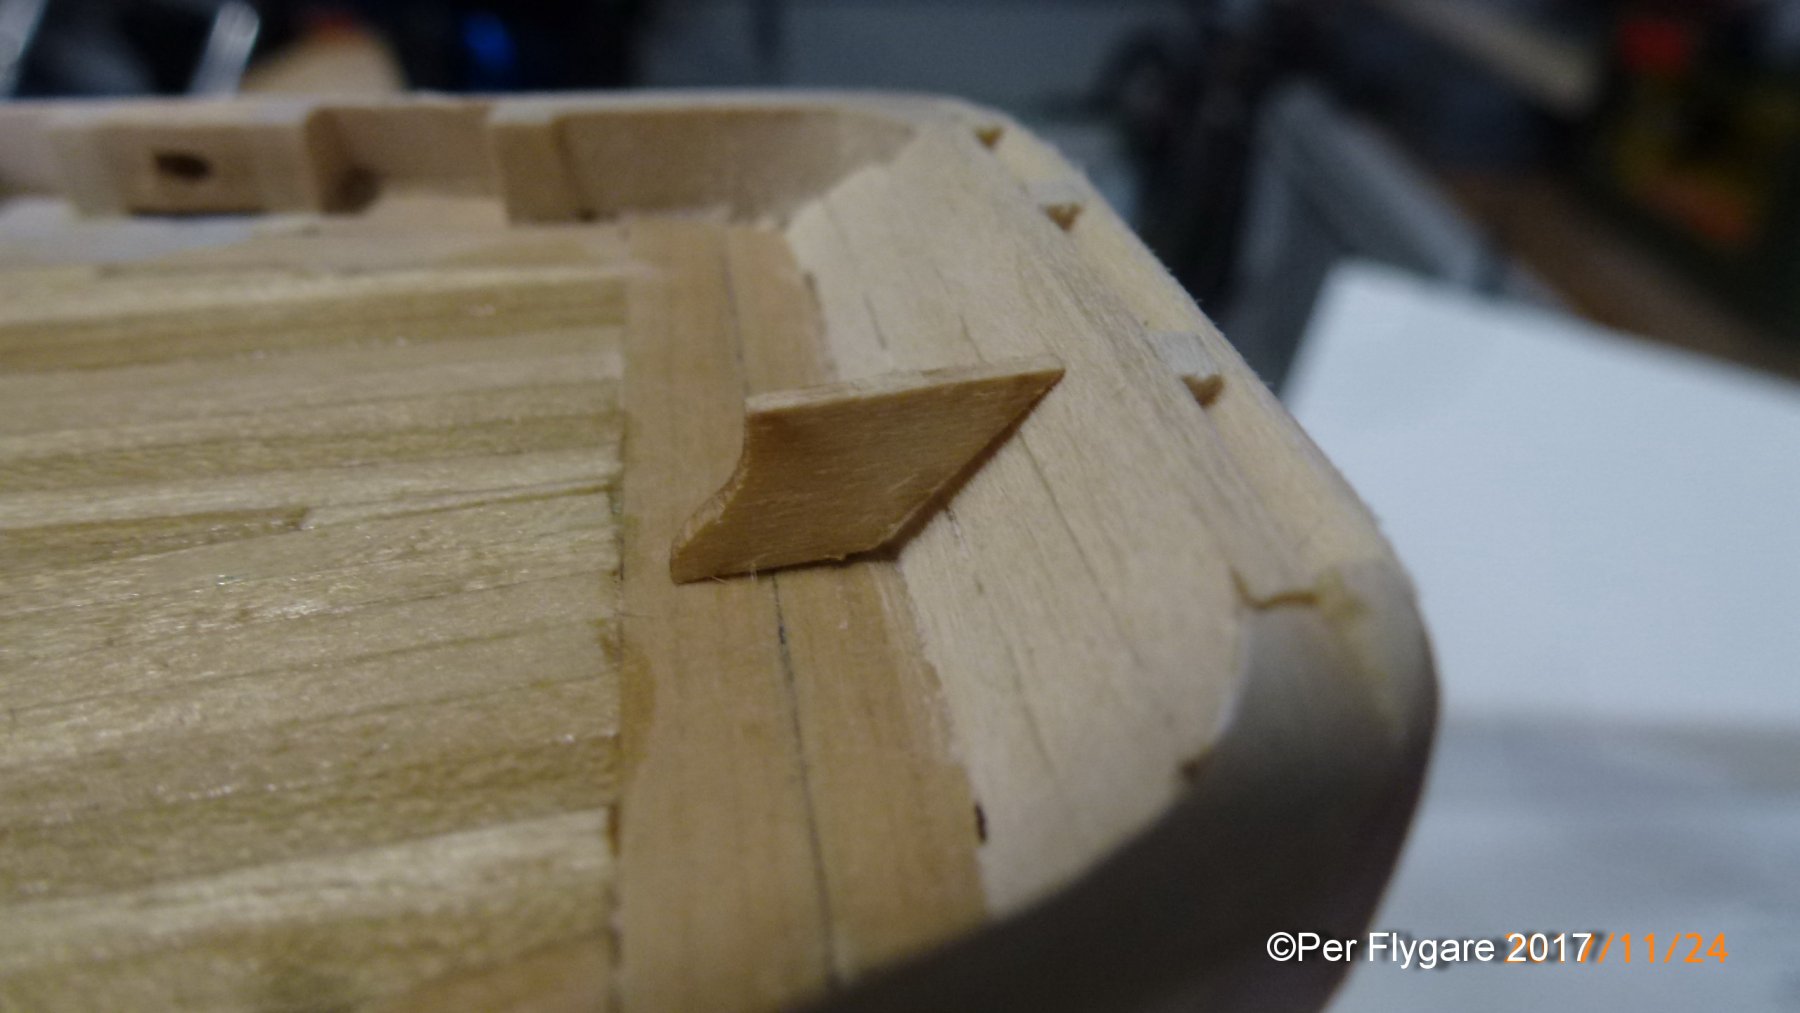
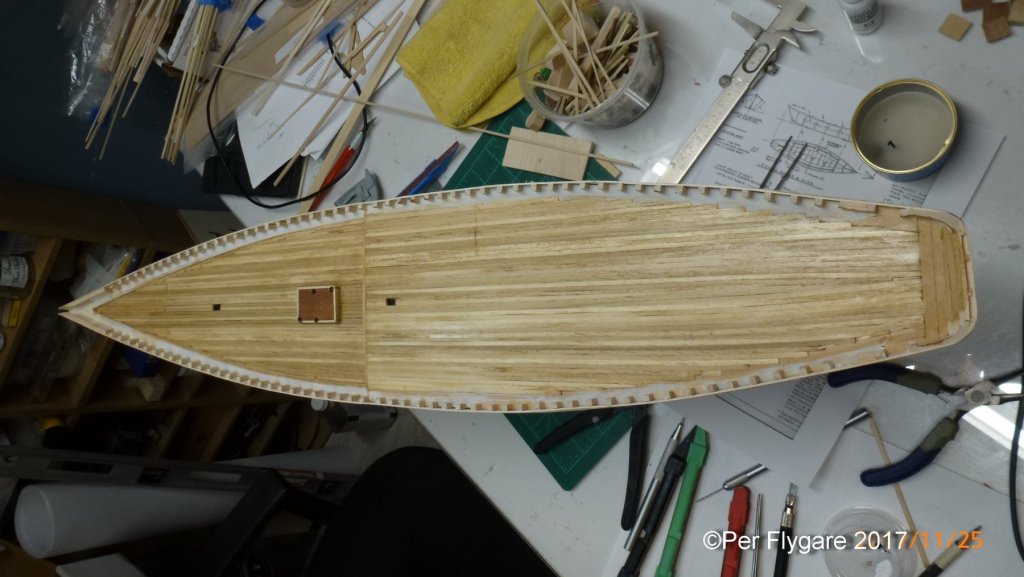
The buffer house is now completed with the buffer inserted, some touch up paint is in need. The part along with the rail is not glued into place yet, but I am pleased with the result. The over view of the decking is showing the second layer of varnish, I used golden oak which is very universal varnish. It's now drying and waiting for more add-ons.
-
Doug, then after battle there would be less to clean up........
-
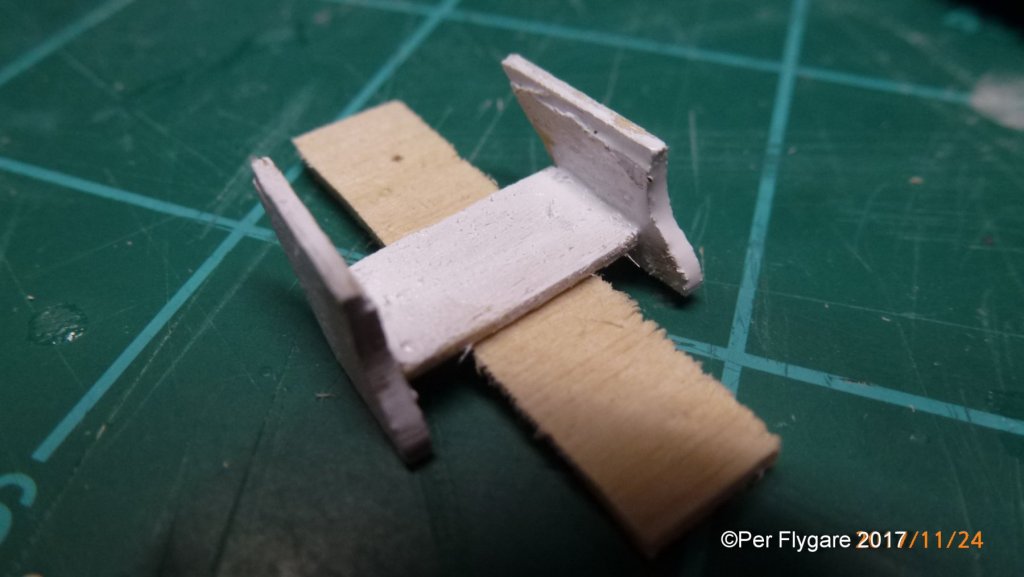
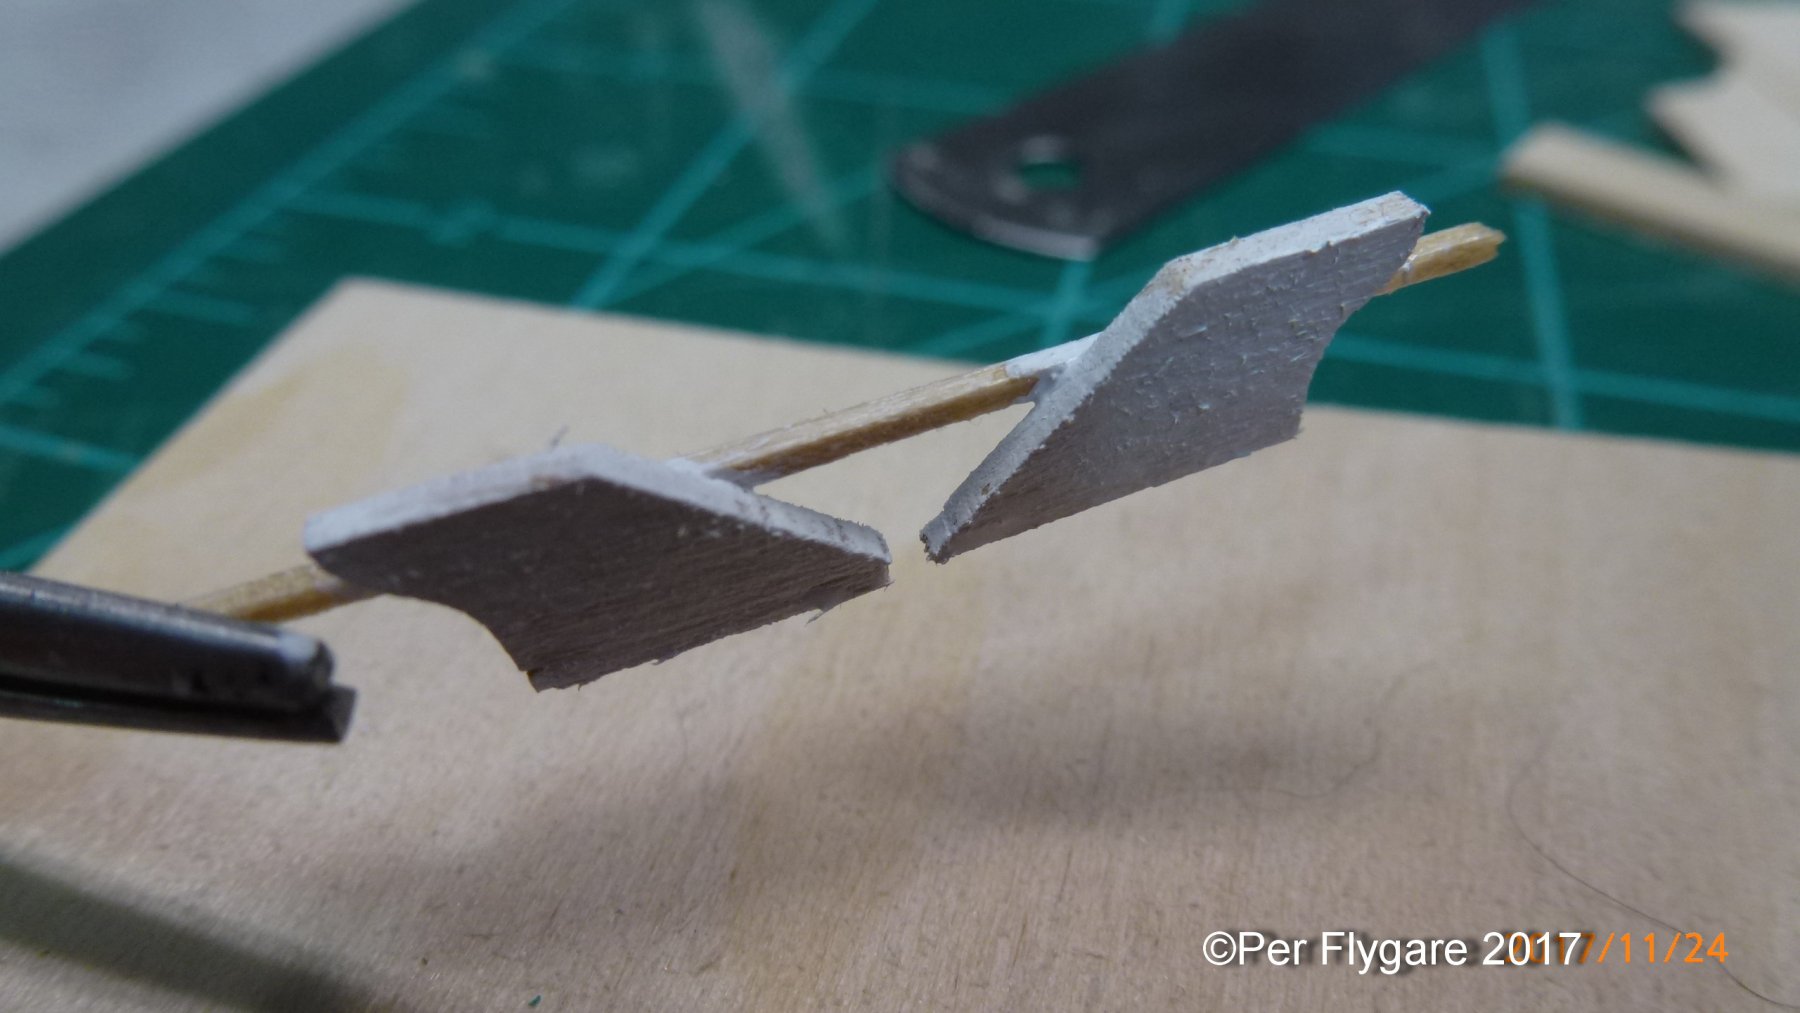
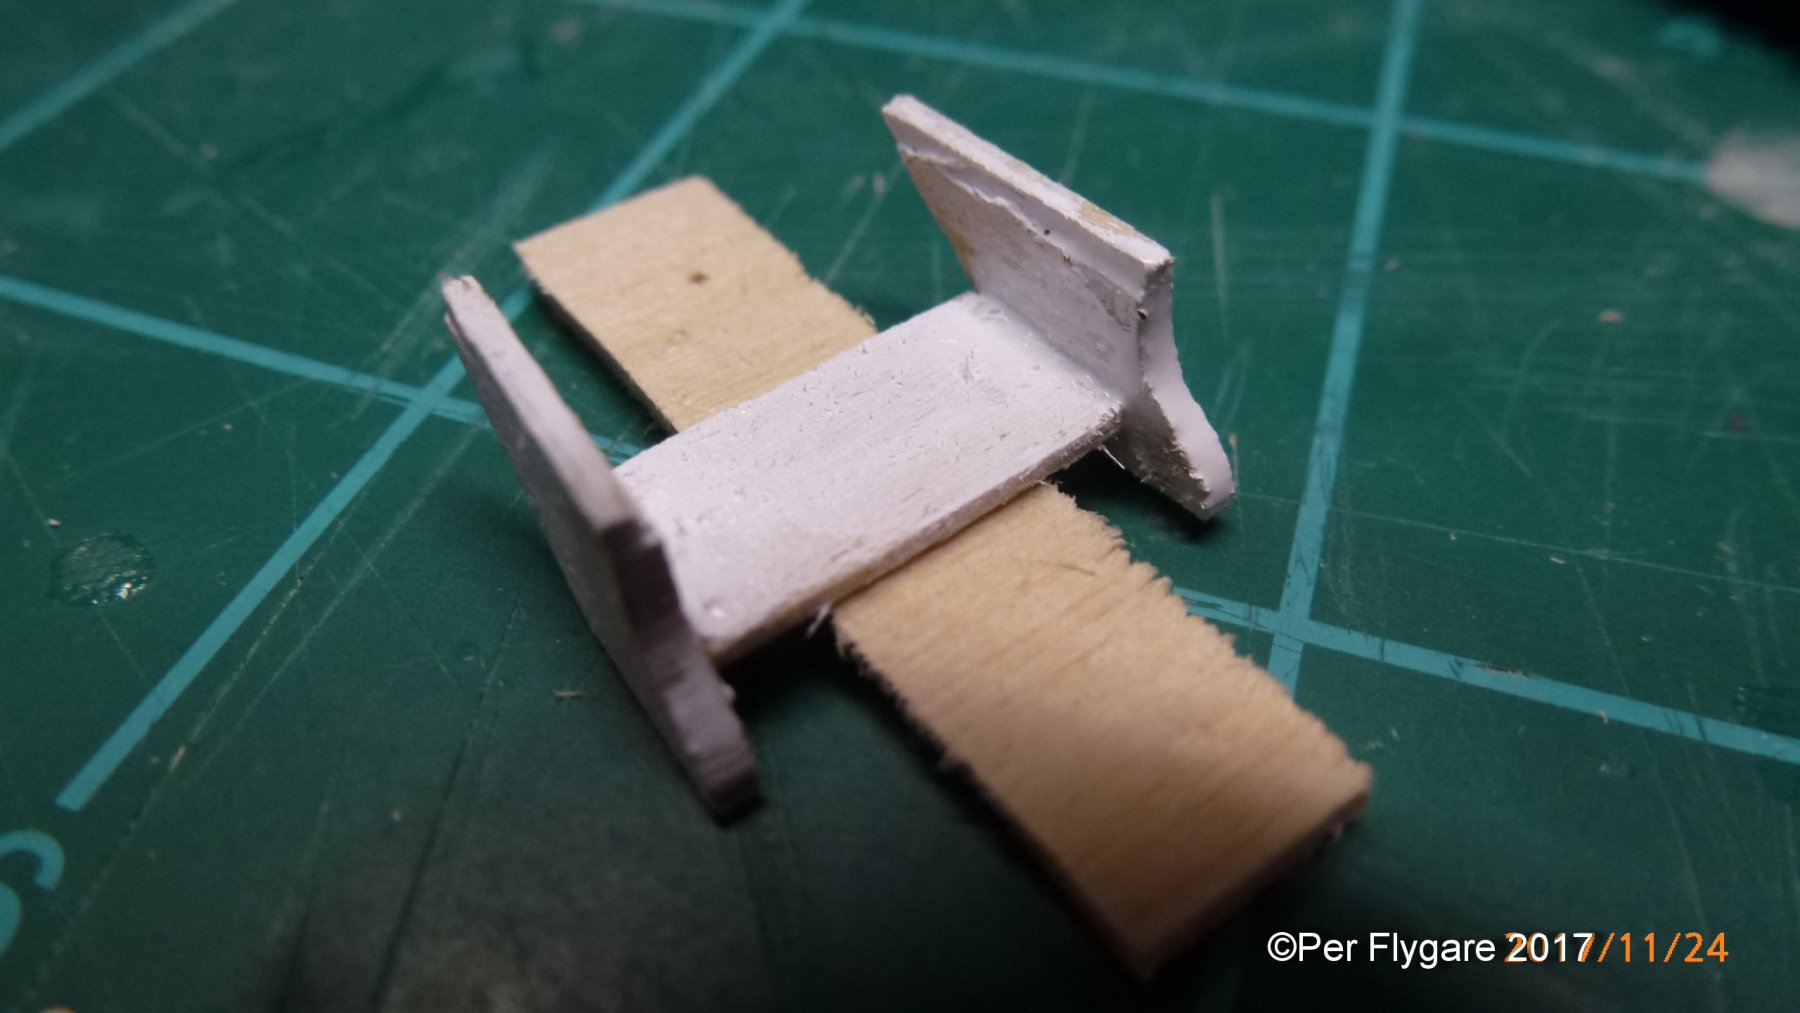
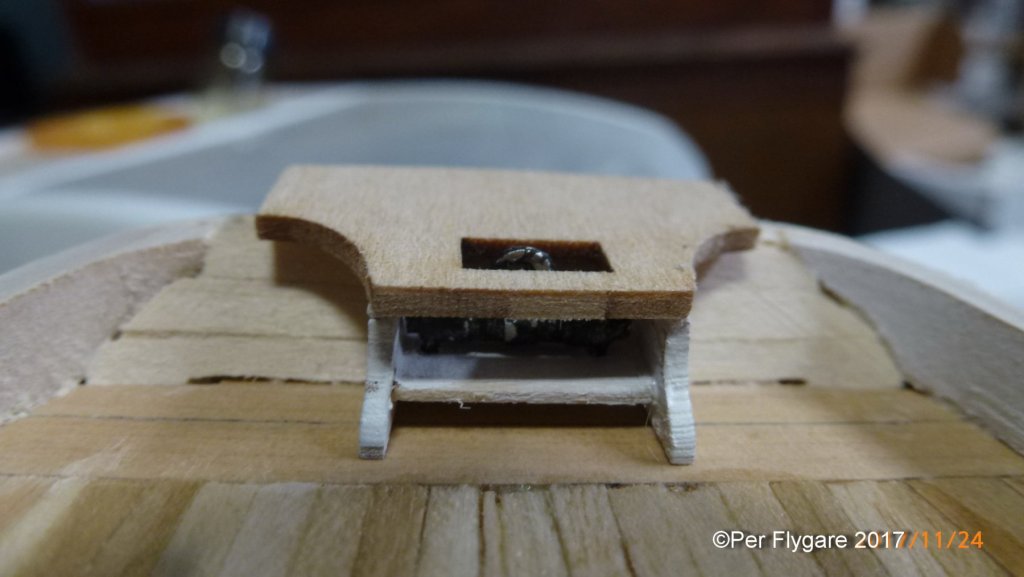
So there is always curve-balls thrown at us ship-modelers, and this ball at the stern has really got me going. For a while I was on my own creating my own boom sheet buffer. But I couldn't get it right so I stayed with the metal piece provided in the kit. However, the legs weren't long enough to have them sticking down into the deck as the plans were showing. Again, the think hat had to come on. And this is the outcome. Some extra sanding is needed and final painting too. Oh, I had to add some extra material on top of the side parts as they were shorter than the stern piece.