Nirvana
-
Posts
5,028 -
Joined
-
Last visited
Content Type
Profiles
Forums
Gallery
Events
Everything posted by Nirvana
-
 I am certainly going to pick up the idea of shaping the booms and yards.
 -
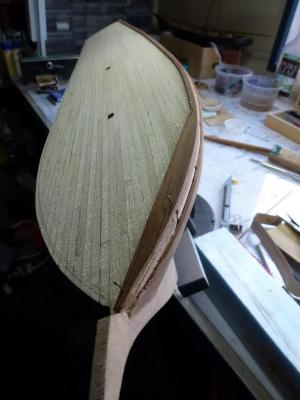
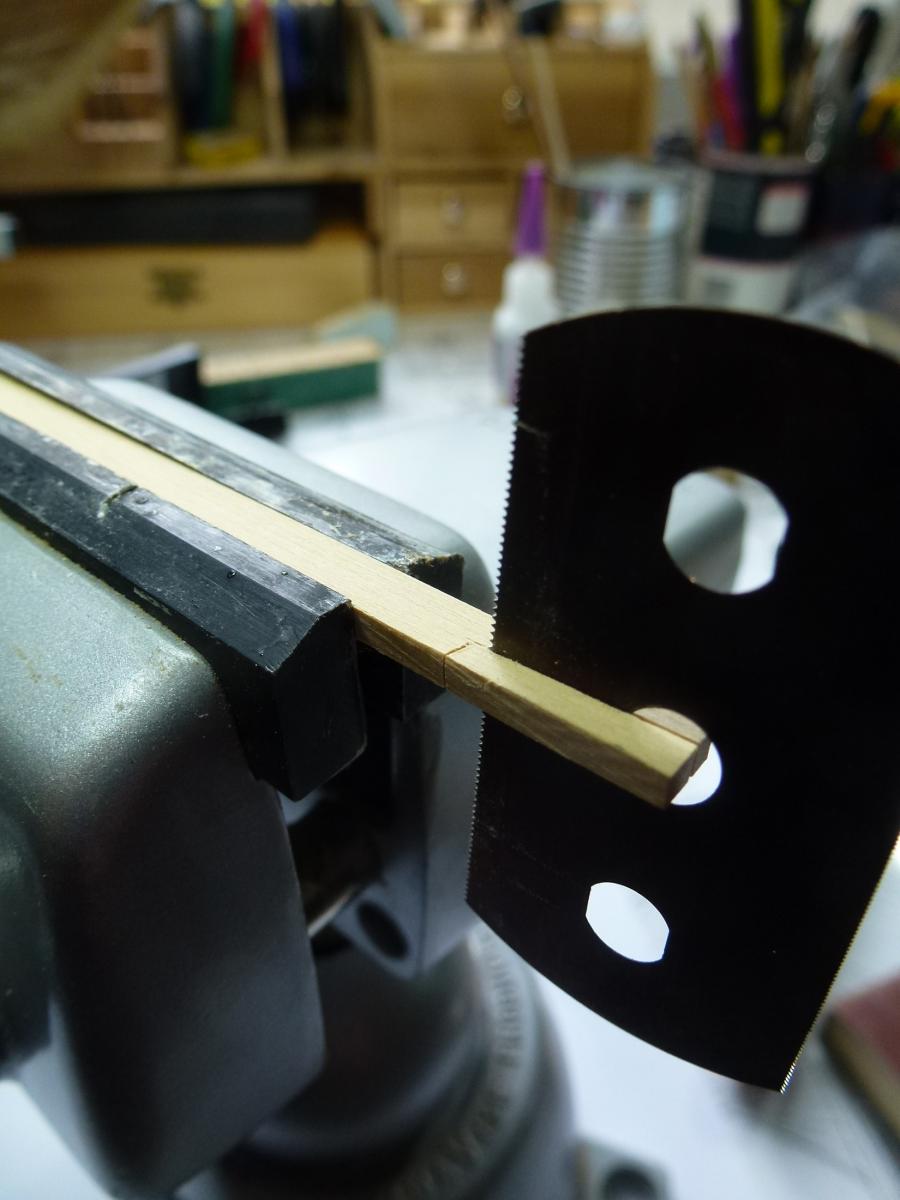
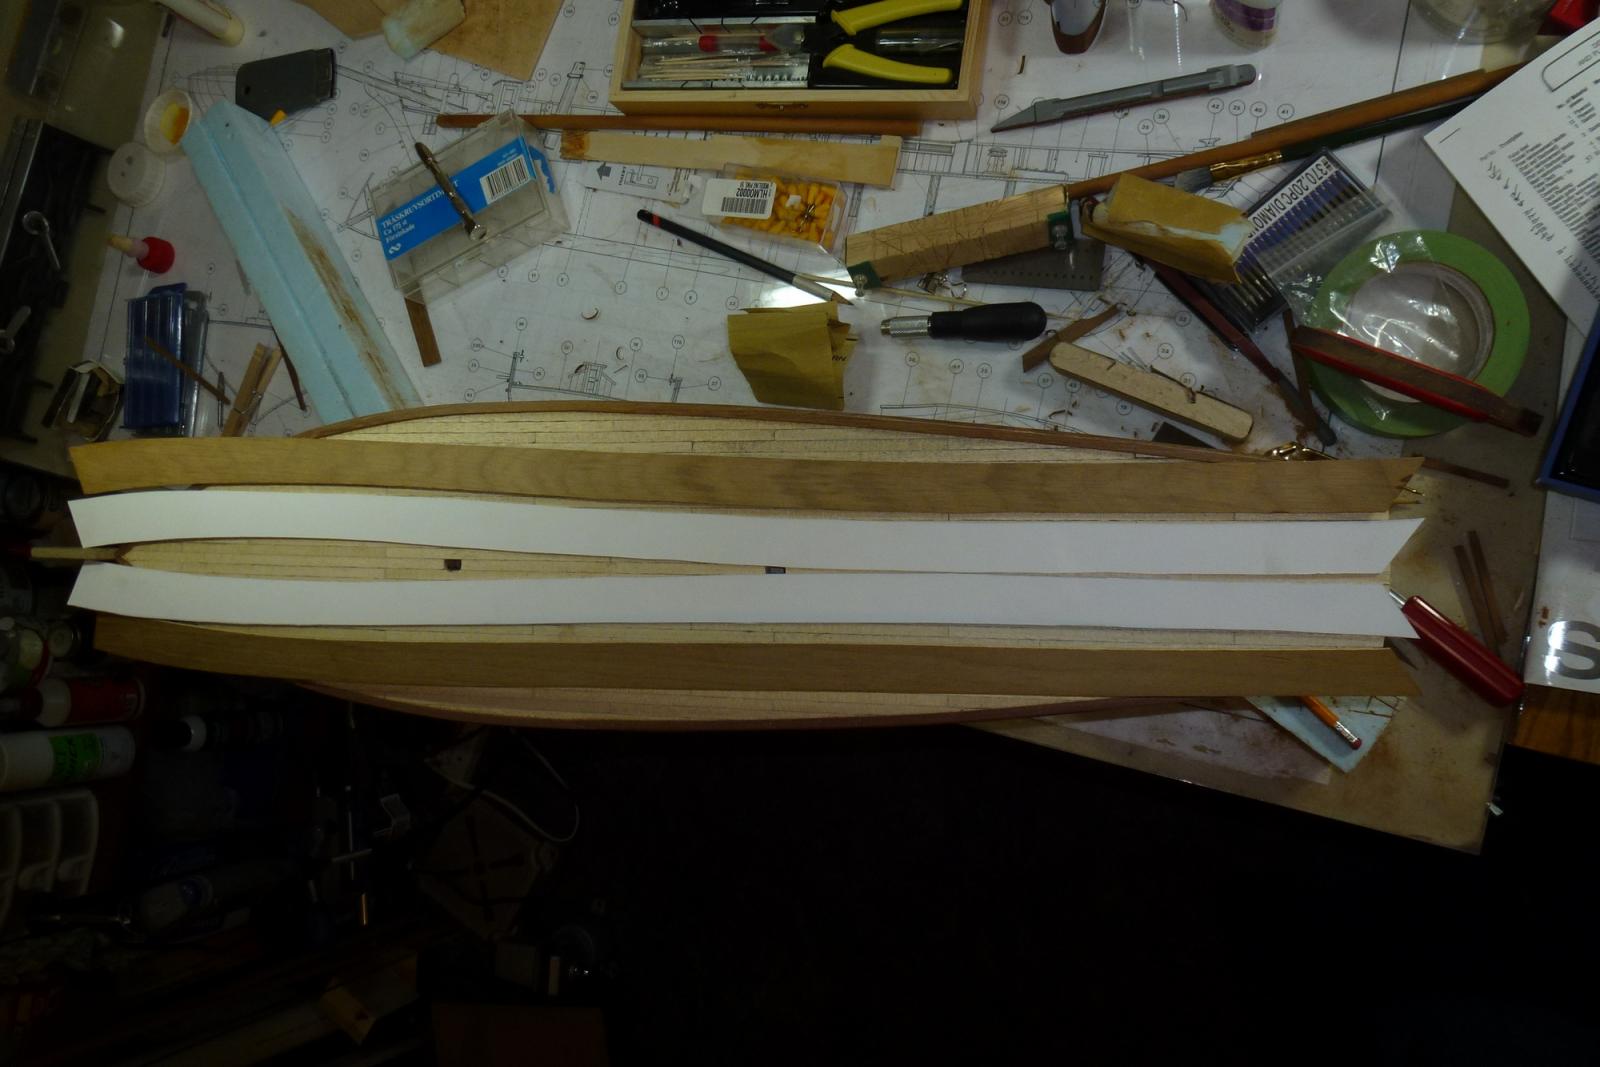
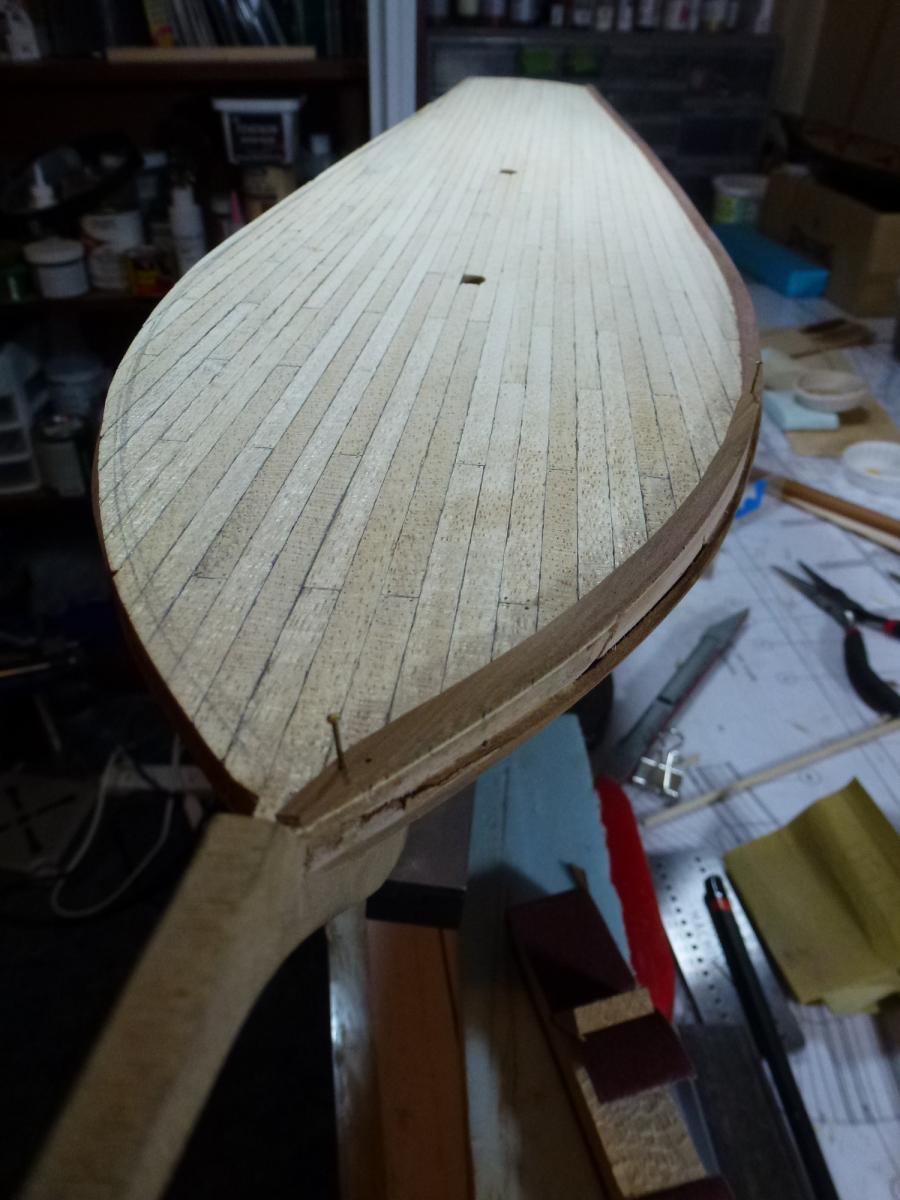
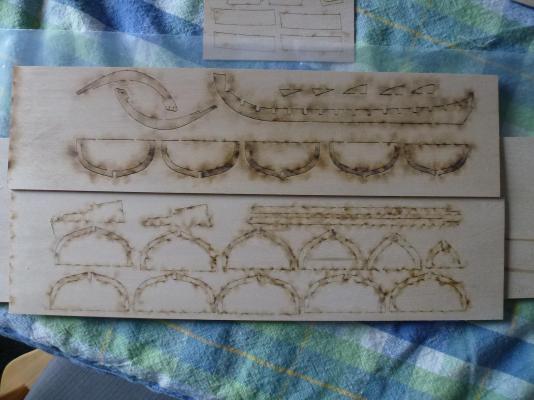
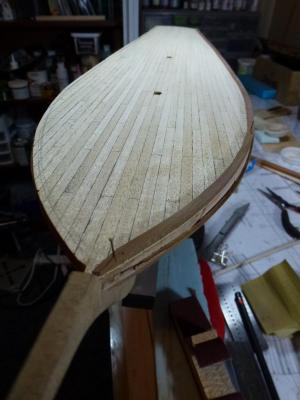
I followed the advice working with a coarser sandpaper to begin with and followed up with 400 grit. The sheets came out very nice. The discoloration is natural in the wood. Nothing I can do about. The upper sheet hasn't had the removal of dust attended yet. The keel and stem piece will be from HobbyMills longboat boxwood upgrade. I scanned part of the plans and cut out the keel template, attached it to the boxwood sheet and saw it. The connection notch on the keel was cut out using my very new fine-tooth saw. And the final outcome, this without sanding at all.

- 335 replies
-
- 5
-

-
- 18th century longboat
- Finished
- (and 1 more)
-
Floyd, hope you sanded the false keel to the 1/32" dimension mentioned in the instructions, before you added the boxwood keel and stem?
-
mike, I don' t want to go over this surface with to coarse sandspaper. But I will try out on other area, before applying your method. Thank you Sent from Nexus7 tablet
- 335 replies
-
- 1
-
-
- 18th century longboat
- Finished
- (and 1 more)
-
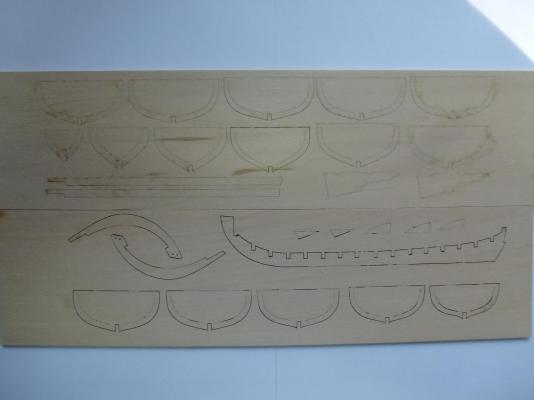
Group, I have all the material for the build of the longboat, even the nice boxwood from Jeff Hayes and HobbyMill. However, I have a question with this before I get head into it. The sheet holding bulkhead and keel is very heavy chard from the laser cutting. In the attached picture I have gone over the sheets with a 400 grit paper, don't want to do to much. But the chard remains. Has anyone else experienced this and how was your approach to get a clean surface? Thank you
- 335 replies
-
- 1
-
-
- 18th century longboat
- Finished
- (and 1 more)
-
Michael, all you need is a minimum of 12" constant depth and you are set. Check the city pond, great place to attract others interest as well.
-
Augie, That rudder turned out amazingly! Very Nice Seems like you followed the instructions to the very detail. Looking forward to get my "beast" (weight wise) in the beginning of next week. She will not be the next in line though. Have the 18th century longboat first. But still a Passaro kit. With the upgraded wood from Jeff Hayes at Hobbymill. Talking about Jeff at HobbyMill, did you order any material from him and if so would it be possible for me get the list of changes? If so, please pm that one.
- 2,191 replies
-
- 1
-
-
- confederacy
- Model Shipways
- (and 1 more)
-
BTW, this is what I like with this forum, feedback from other members, even when you don't ask for it. Blackie, thanks again.
-
Blackie, Thank you for the information. Hmm, one side of the bulwarks was divided in two pieces just as you mentioned while there were other "try-outs" of the same. Truth, the kit is not original at all, bought it with many non-factory parts. As an example, the walnut hull planking didn't even reach the full length as stipulated in the material list, all came out 2cm shorter. The false keel and bulkheads When it comes to gunports, I am to relocate them, to the time era. The "potty-houses" will not be added at all. No ship as I have found has had them at the stem area. "Just think about it, you need to go and here we dive into a wave, that flush would be more than anyone need" I hope it will work out as I intend.
-
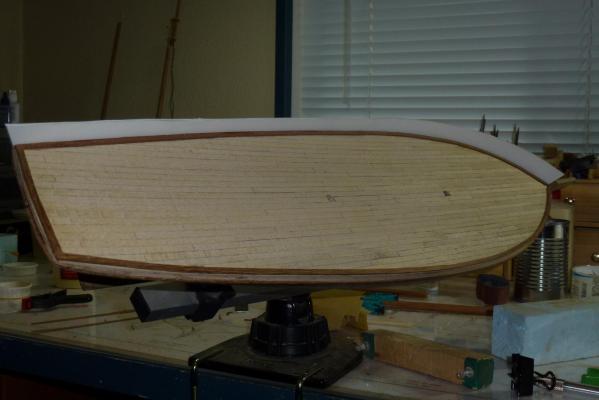
JB, Bulwarks is a challenge because there is no even spot. As I mentioned before in my log I replaced the stiff plywood bulwark pieces with card stock, and since this piece is to be covered anyway, I gave it a go. The inside planking and caulking works fine I think.
-
Bulwark planking and using the "eye-liner" method for caulking.

-
This may sound strange, but while doing the simulated caulking of the deck on my Harley almost a Harvey, I started wondering if the eye-liner products (for women) could do the same job as a graphite pen. I have found that both the products are smearing if not being careful, but the eye-liner will do a better covering in one stroke. Will update later with pictures. But this truly works! And considering all the Admirals in our Forum it's time for you to open up the make-up boxes. You have a great tool nearby!
-
I have done my testing with different brands of paint and found the Vallejo paint outstanding, now I wonder how its' gold would stand out? Testing will tell.
-
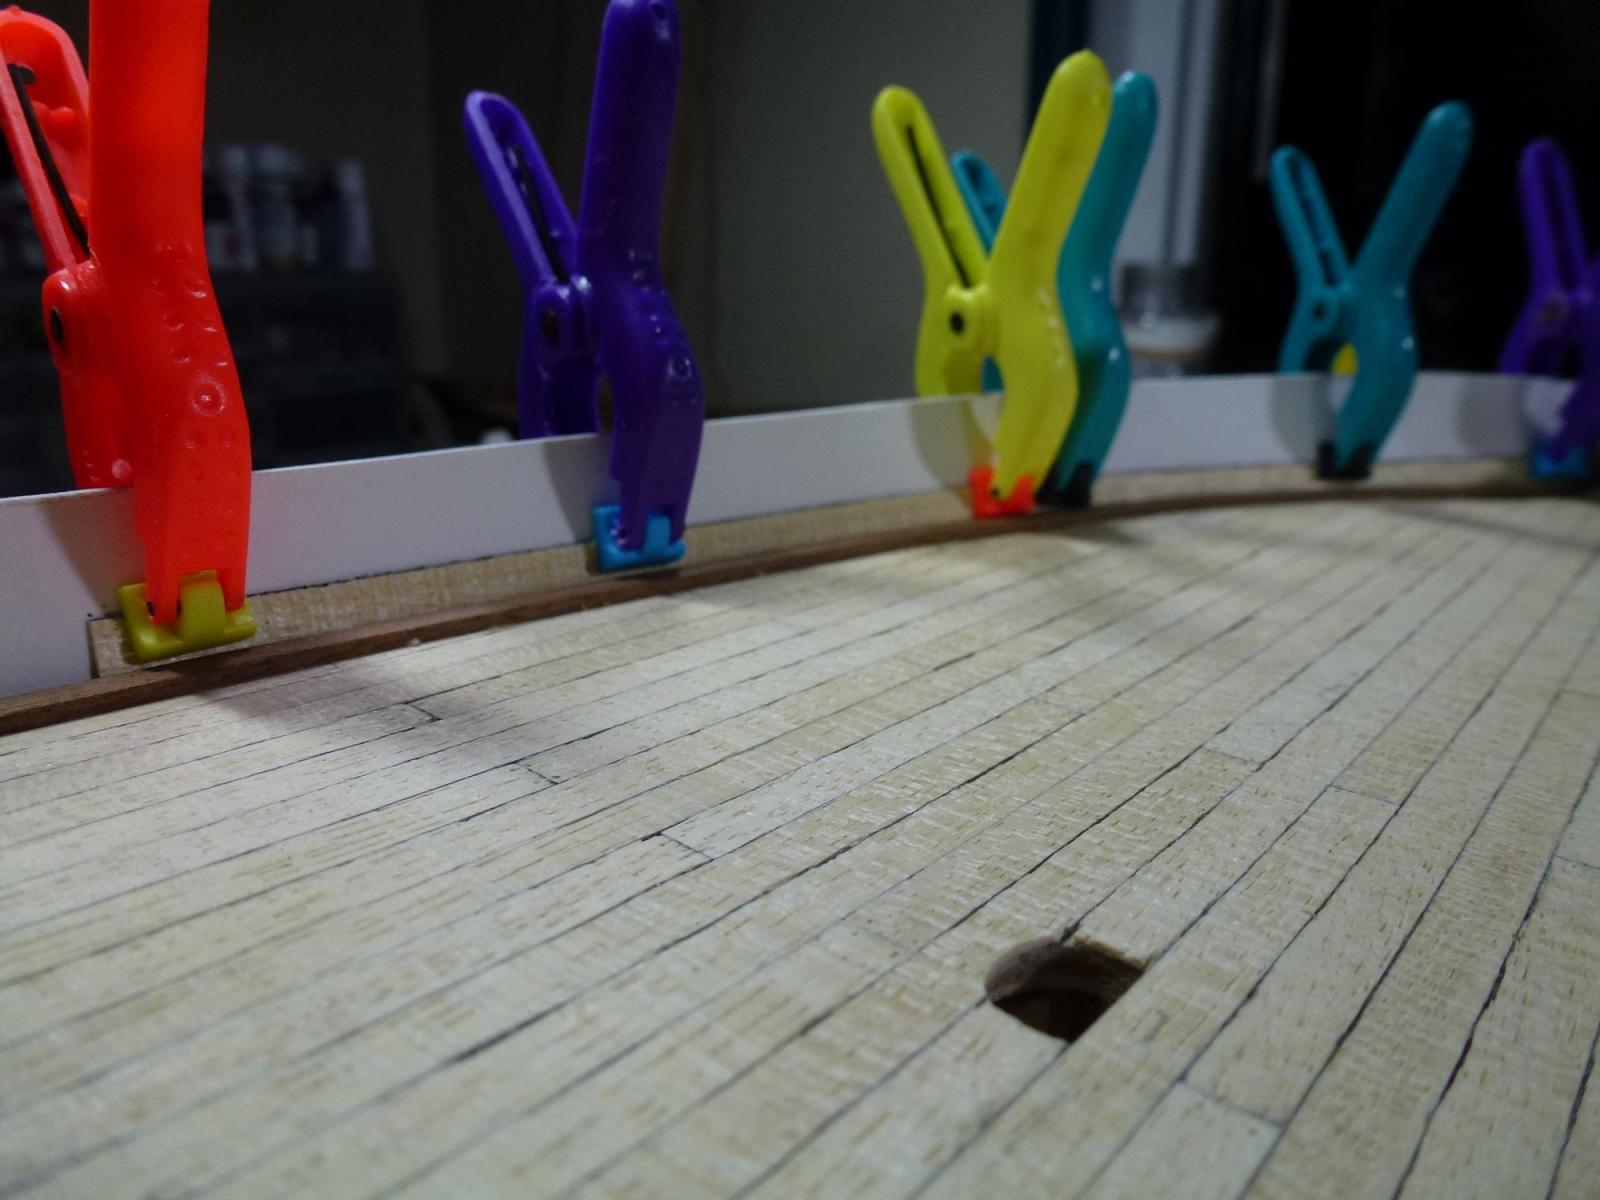
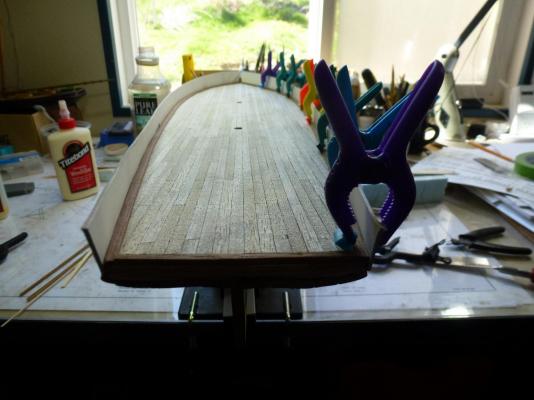
The starboard bulwark installed. Planking the inside and outside is next.
-
Port Bulwark in place. The card stock came out very nice. Regular wood glue put it in place. Now the starboard side.
-
Amazon is the source, for many books.
-
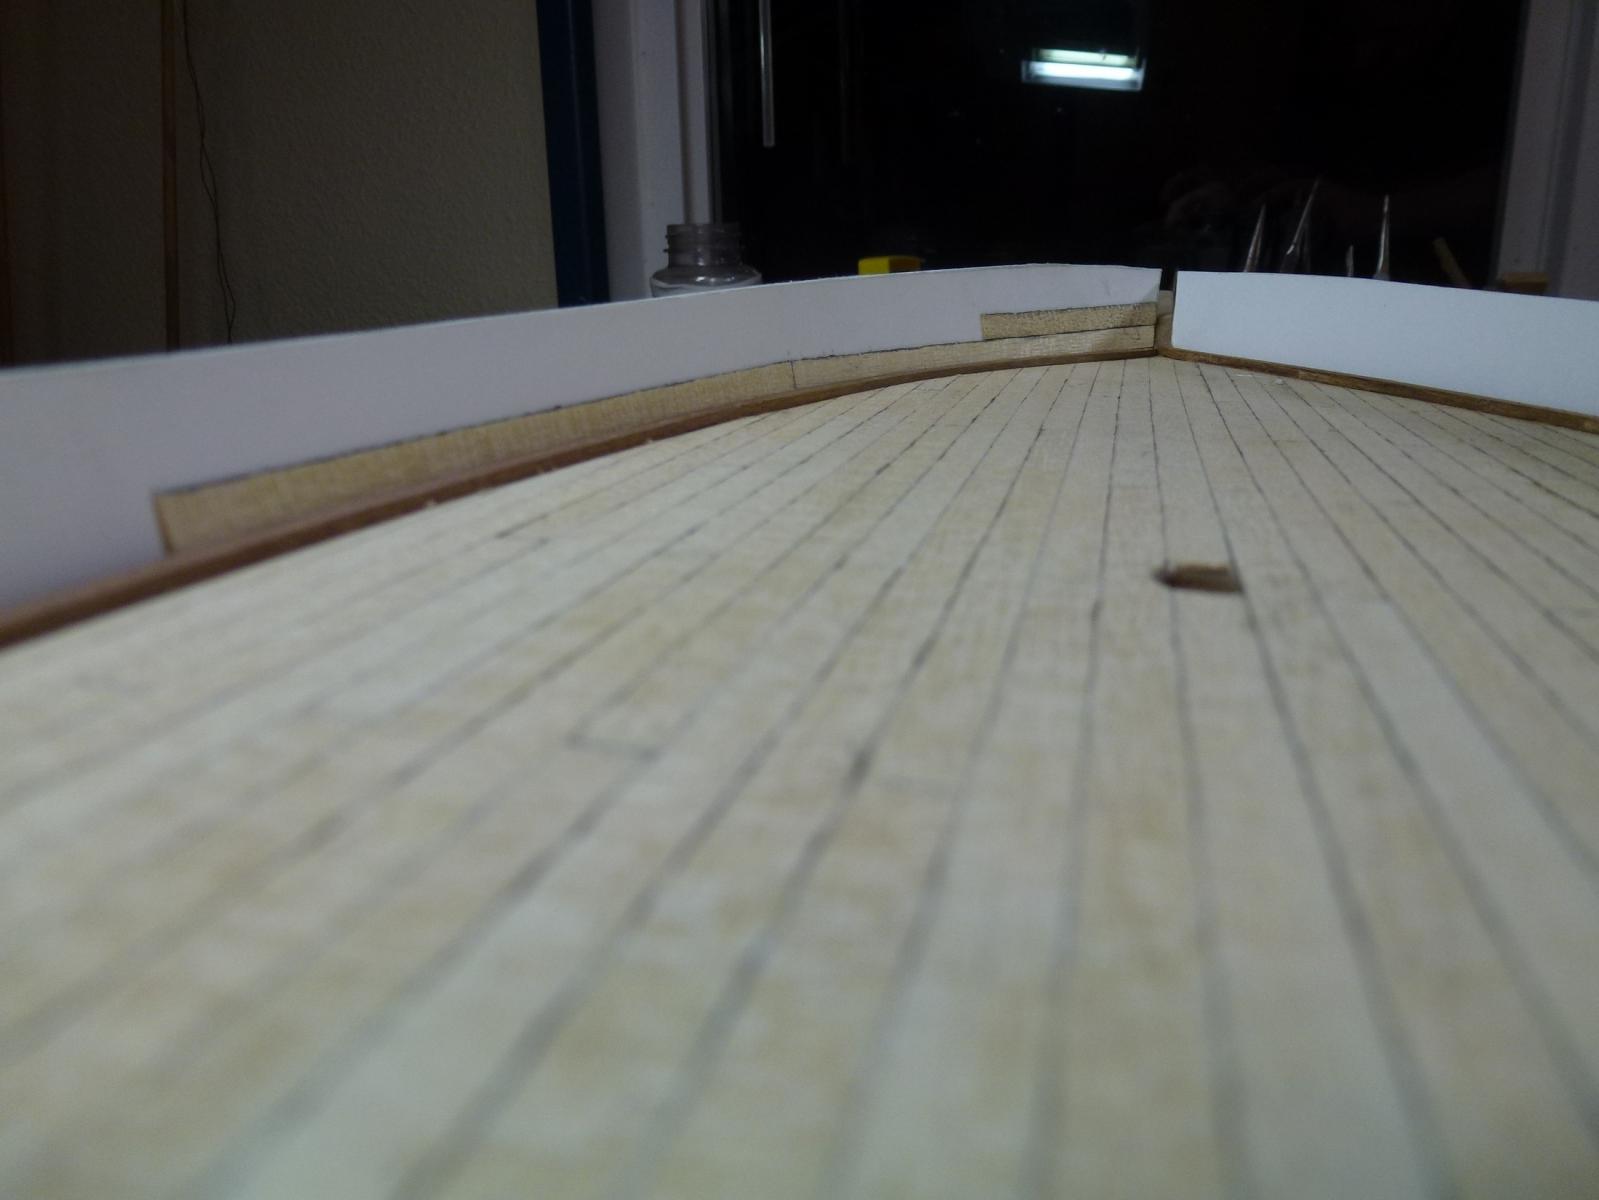
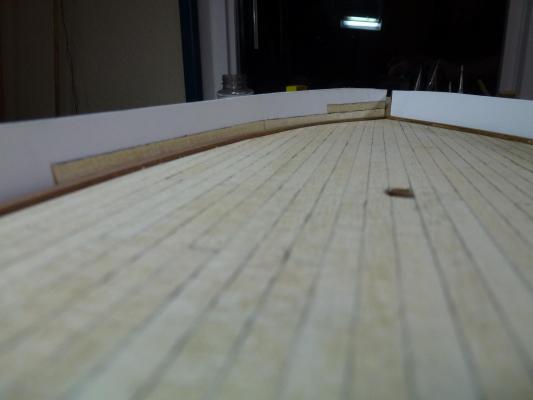
The waterways are in place. The material for the bulwarks in the kit is 1.5mm plywood. I didn't like how the shape turned with that. Besides it is really hard to bend and get a nice shape. But I did have 1mm card stock, using the bulwarks as templates I cut out two exact copies. Shaping will be so much easier. Besides the in and outside will be covered with thin walnut veneer. Sorry for the messy table.

-
Jim Byrnes Model Machines
Nirvana replied to Mahuna's topic in Modeling tools and Workshop Equipment
Byrnes thickness sander: I have acquired such one, and tried it out for the first time today. Since I don't have a proper workshop I did it outside in the nice weather. Now joining the chorale for the amazing machines of Byrnes. My hat off to Donna and Jim. -
Casey, nice progress though. as for the removal of the appendix, I had mine removed back in late 90's. Same day as I came I decided to watch a movie. The movie I got was the Brittish "The Full Monty", bad choice as the movie is hilarious and laughing made the aching worse. Stay away from laughing in the closest future, and coughing, sneezing as well. Hope to see you back on your feet soon, get well.
- 98 replies
-
- 1
-
-
- baltic ketch
- corel
- (and 1 more)
-
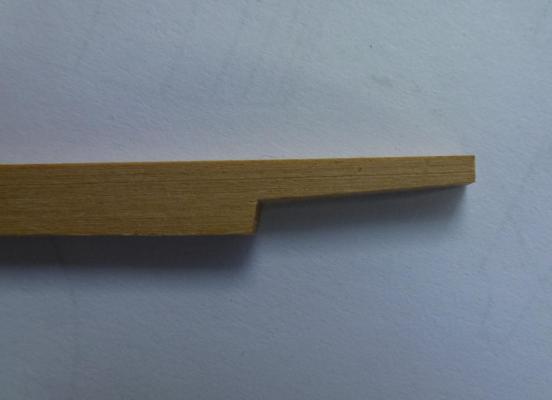
I would say I am pretty pleased with the trimmed piece. no need for lateral bending anymore.
-
And more precise accessories as well.....
-
JVO, unfortunate when it comes to the tolerance you are looking into, the only table saw I would recommend is the Byrnes table saw. Don't have one myself, but one day.
-
Walnut in its' general material, has a nice smell when sanding while shaping. And it does obey you to certain degree when it come lateral way as well. Have had good experience with the material. Pre-watered and high temp steaming does the job...... to a certain degree. When you reach the limit it will snap directly, even wet.
-
Hah, found my way around the waterways, and no doesn't involve removing them. The part to the stem is a three-piece glued walnut to be shape accordingly.