

alde
-
Posts
967 -
Joined
-
Last visited
Content Type
Profiles
Forums
Gallery
Events
Posts posted by alde
-
-
17 minutes ago, mtaylor said:
That was a tough decision, Al. But the right one, IMO. I think you'll be much happier now. BTW, will you be using that cast stern or scratching it?
Now that all the planking is off including the shear plank I know it was the right decision. My plan is to try to carve all the decorations including the stern, figurehead and side lights in boxwood. I figure I’ll just keep trying until I get it right. Its the only way I’m going to learn.
- mtaylor, Chuck Seiler and John Allen
-
 3
3
-
-
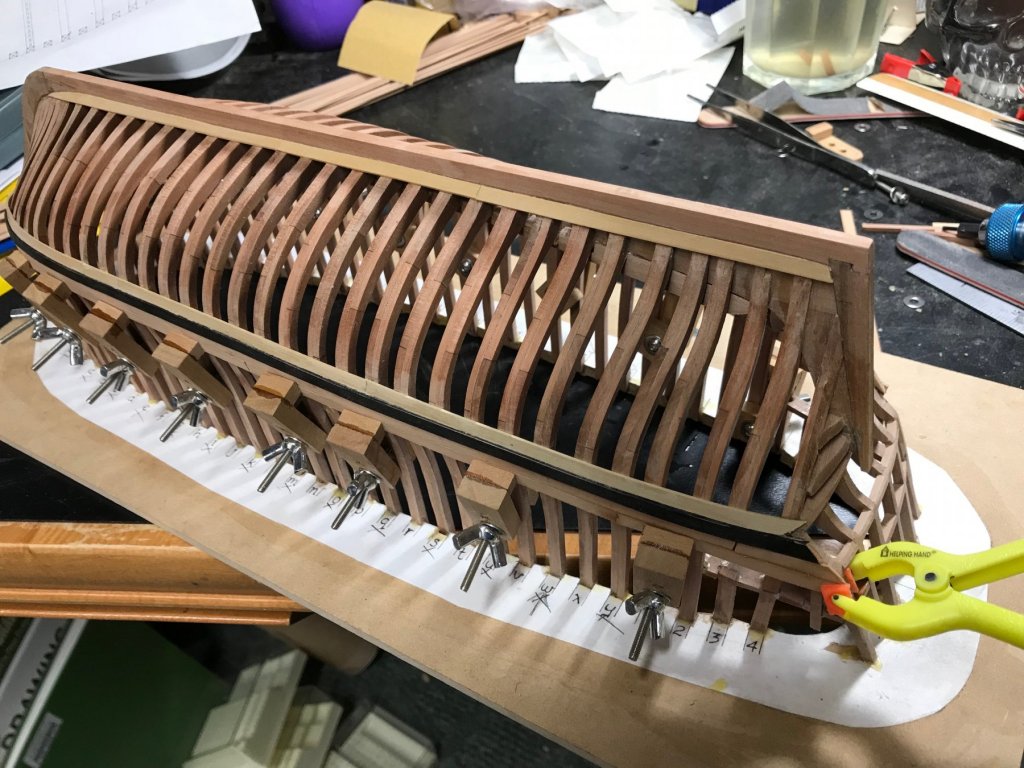
I went ahead and did it. I ripped off the planking to the wales. I could have faked it and made it look OK but it just would not have been right. This time I'll think a few moves ahead before I redo it and lay it out correctly. I know I would never be happy with it the way it was. It will probably take a couple of days before it's cleaned up enough to lay in some planks. It was a tough decision but I know I'll be glad I did it.
- Chuck Seiler, mtaylor, Elijah and 1 other
-
4
-
17 minutes ago, Dowmer said:
Al,
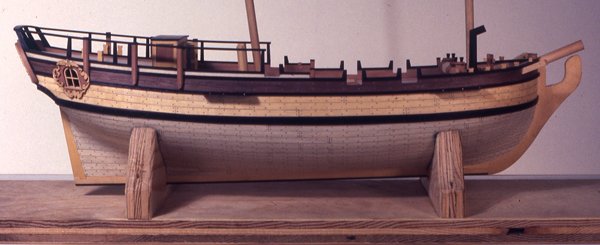
I guess I don't understand the issue. Here's a pic of the stern of the Halifax
Under the windows are some decorative molding strips and counter planking. Also, look at where the stern post enters under the windows on the counter. It looks fairly close to what you have. The wales seem to end in about the same place as well. What am I missing?
If you are talking about the planking above the decorative stern, it looks like the model has an open rail aft on the quarterdeck and you planked the rail. Is that it?
![slide-halifax1[1].jpg](https://modelshipworld.com/uploads/monthly_2018_07/5b58d1d69b961_slide-halifax11.jpg.29a28d94e31f04c59faa68c9aa02447f.jpg)
The more I look at your planking, the more I think you have your sheer rail in the wrong spot along with your planks too wide. Look at where the planks and rails terminate at the transom compared to yours. The Wales look OK and the decorative resin stern piece could possibly move up towards the taffrail slightly but the other planking and rails seem to be out of place.
I'd get some more opinions first, but if that is the case you will need to remove the planking above the wales and reset the sheer and re-plank with correct width planking.
You are seeing what I'm seeing. The more I look at it and think about it I will have to take everything off down to the wales as you suggest. I am taking this model as a learning tool anyway so may as well make corrections and do it as best I can.
- lmagna, GrantGoodale, Elijah and 1 other
-
4
-
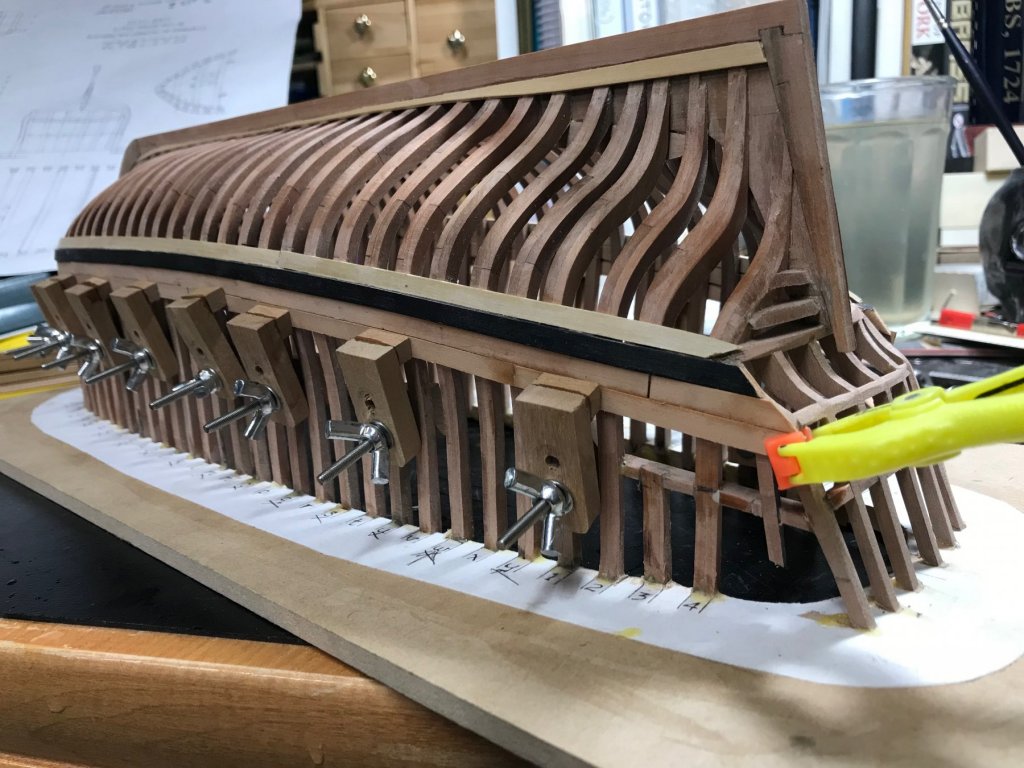
I told you guys about my problem with starting the planking too far from the keel or maybe using planks that are too wide. In any case my biggest problem is the stern. The picture shows where the casting should go but the as you can see the planking is much too high.
The way I see it there are two things I can do. First is redo the planking by ripping it all off and starting over. The second is to build my own stern decorations and windows with elongated windows or more empty space between the windows and carvings. Do you guys see any other choices or have any suggestions?

-
-
-
Your doing a fine job on a very interesting ship.
-
-
Beautiful Piper Cub. Thanks for posting your pictures.
- popeye the sailor, mtaylor, lmagna and 2 others
-
5
-
-
-
-
48 minutes ago, rafine said:
Al, I think it would be better and certainly easier to work on the interior after the hull is free of the jig. The hull should be quite strong with all of the planking on. I didn't even fair the interior until after I cut it loose. There was no problem.
Bob
Thanks Bob. I'll plank up the stern and cut her loose.
-
1 hour ago, mtaylor said:
Looks good from here, Al. It was (to me anyway) a very tense time cutting the hull loose, keeping it supported so not to break the frames and generally not making a mess of things. One bit of advice given to me was "cut long" and adjust the frame heights after it's free as it's hard to cut accurately in the position it's in
I appreciate that Mark. I think the camera hides some of the flaws. I think I should be able to compensate for starting the planking too far from the keel with no problems. The only thing that may cause trouble is where the bowsprite exists the hull. Everything else should be fine.
I think I'll build some of the internal structure before I cut it loose. I really don't want it to fall apart though it seems pretty strong.
-
On 7/18/2018 at 4:44 PM, rafine said:
She's looking great Al. Almost ready to cut her loose from the jig.
Bob
Thanks Bob. It's gonna be a little stressful but I'm looking forward to cutting it loose
- mtaylor, John Allen and lmagna
-
3
-
-
-
-
-
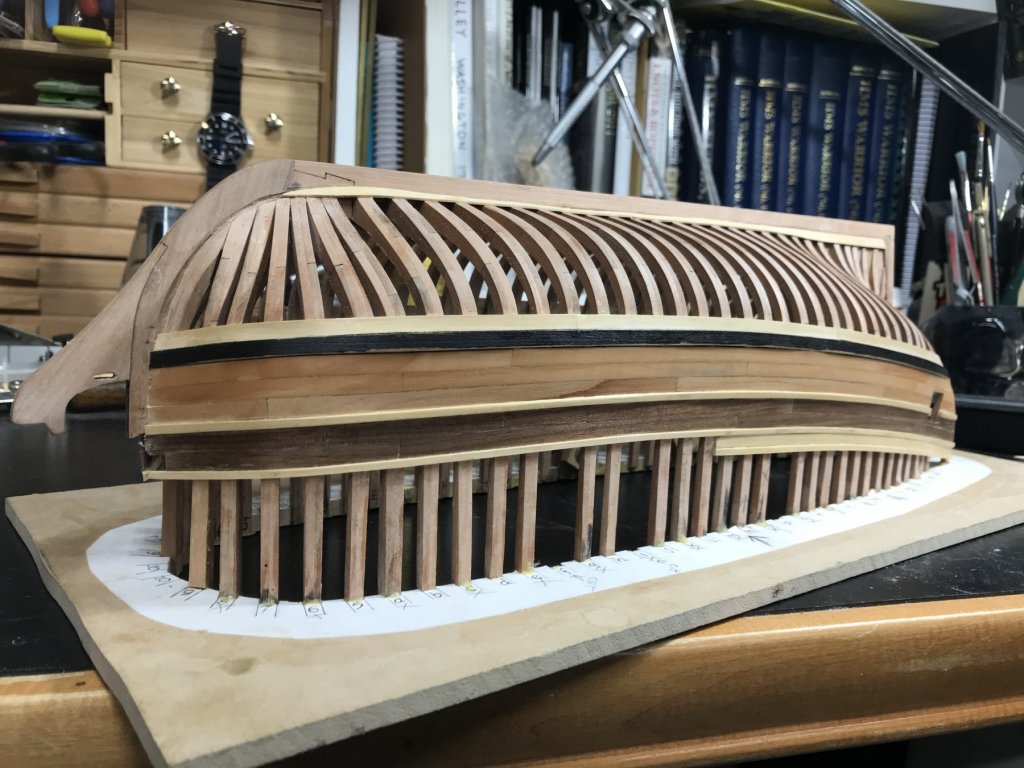
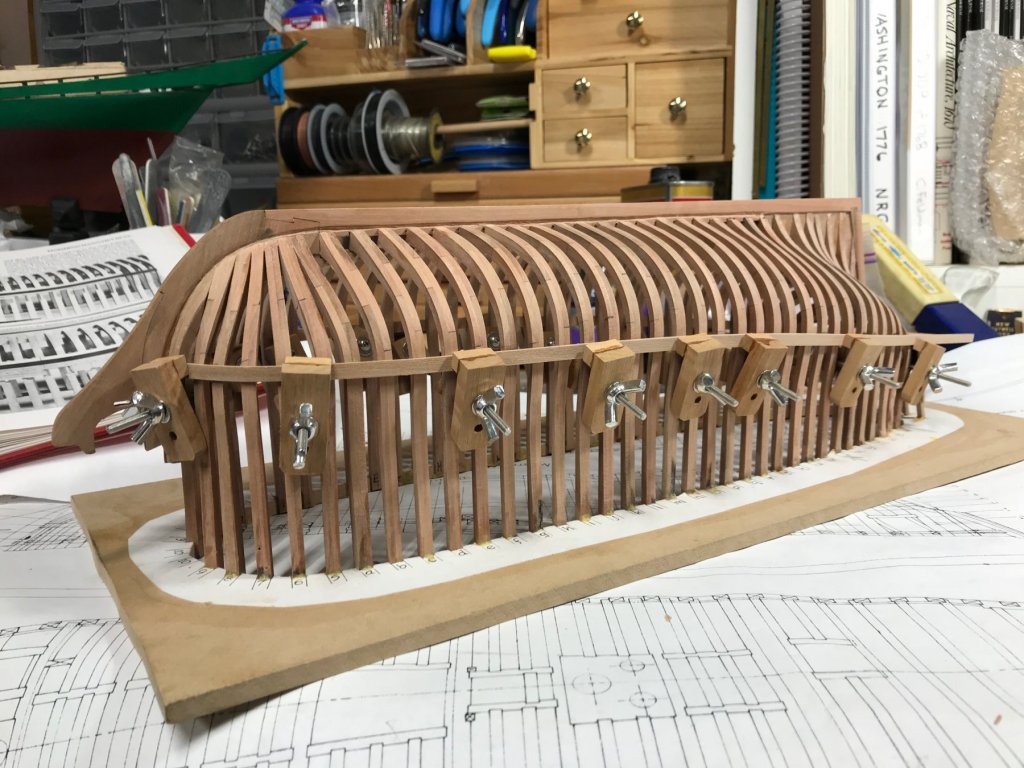
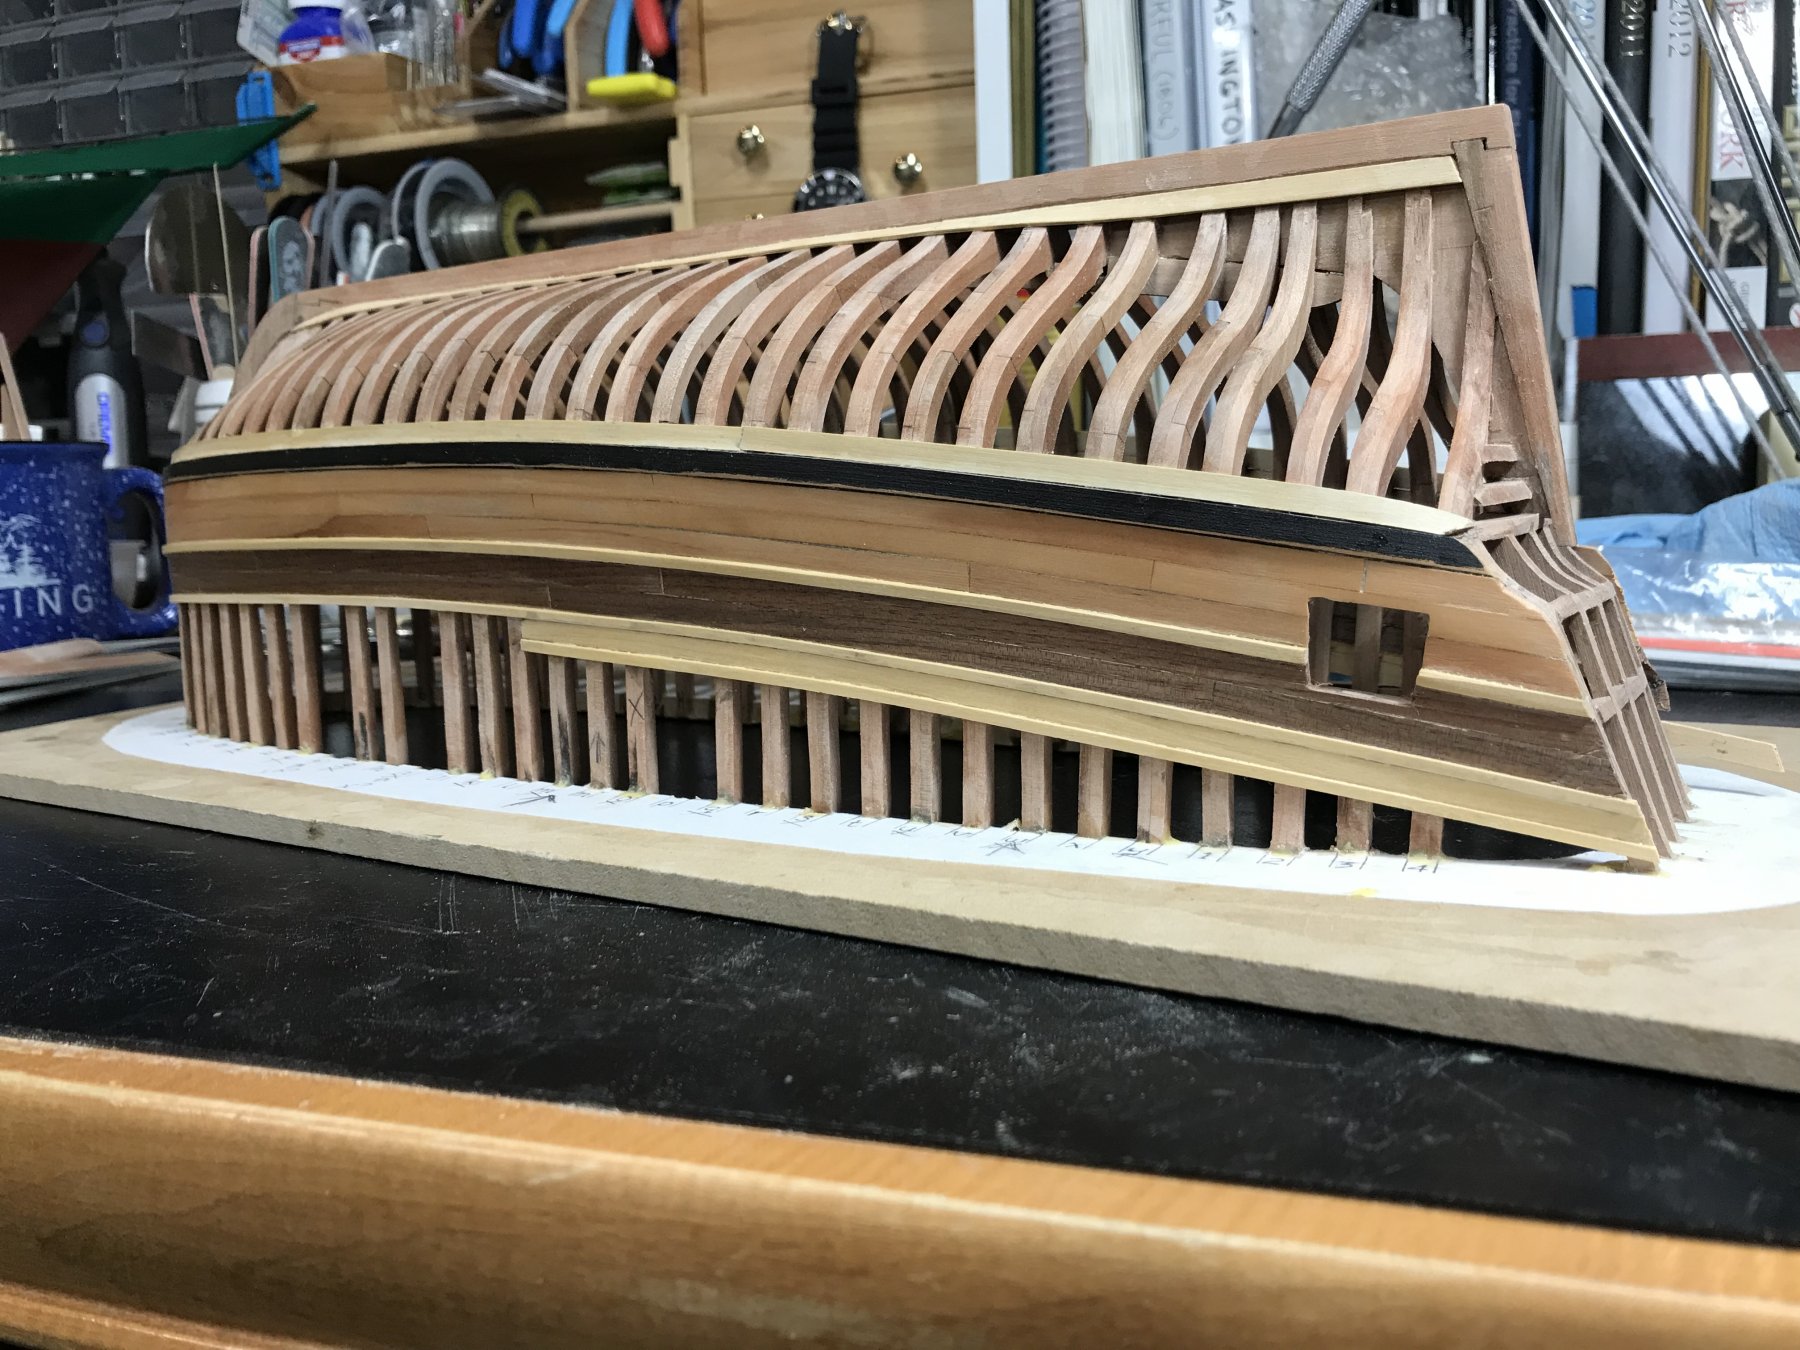
I nearing the end of the external planking and it’s ok except for one error. I started the planking too far away from the keel so it’s all about 1/4” or so too high. I don’t think it will cause any major problems but the stern carving won’t be able to go on until it’s off the building jig. I’ll do the obligatory aircraft carrier picture soon. That’s seems to be a requirement of a Hahn style build.

-
-
Thanks for the planking lesson Chuck. You have a way of describing things that make them easier to understand. Please do continue on with it for us beginners. This is going to end a great project.
- MEDDO, Canute, thibaultron and 2 others
-
5
-
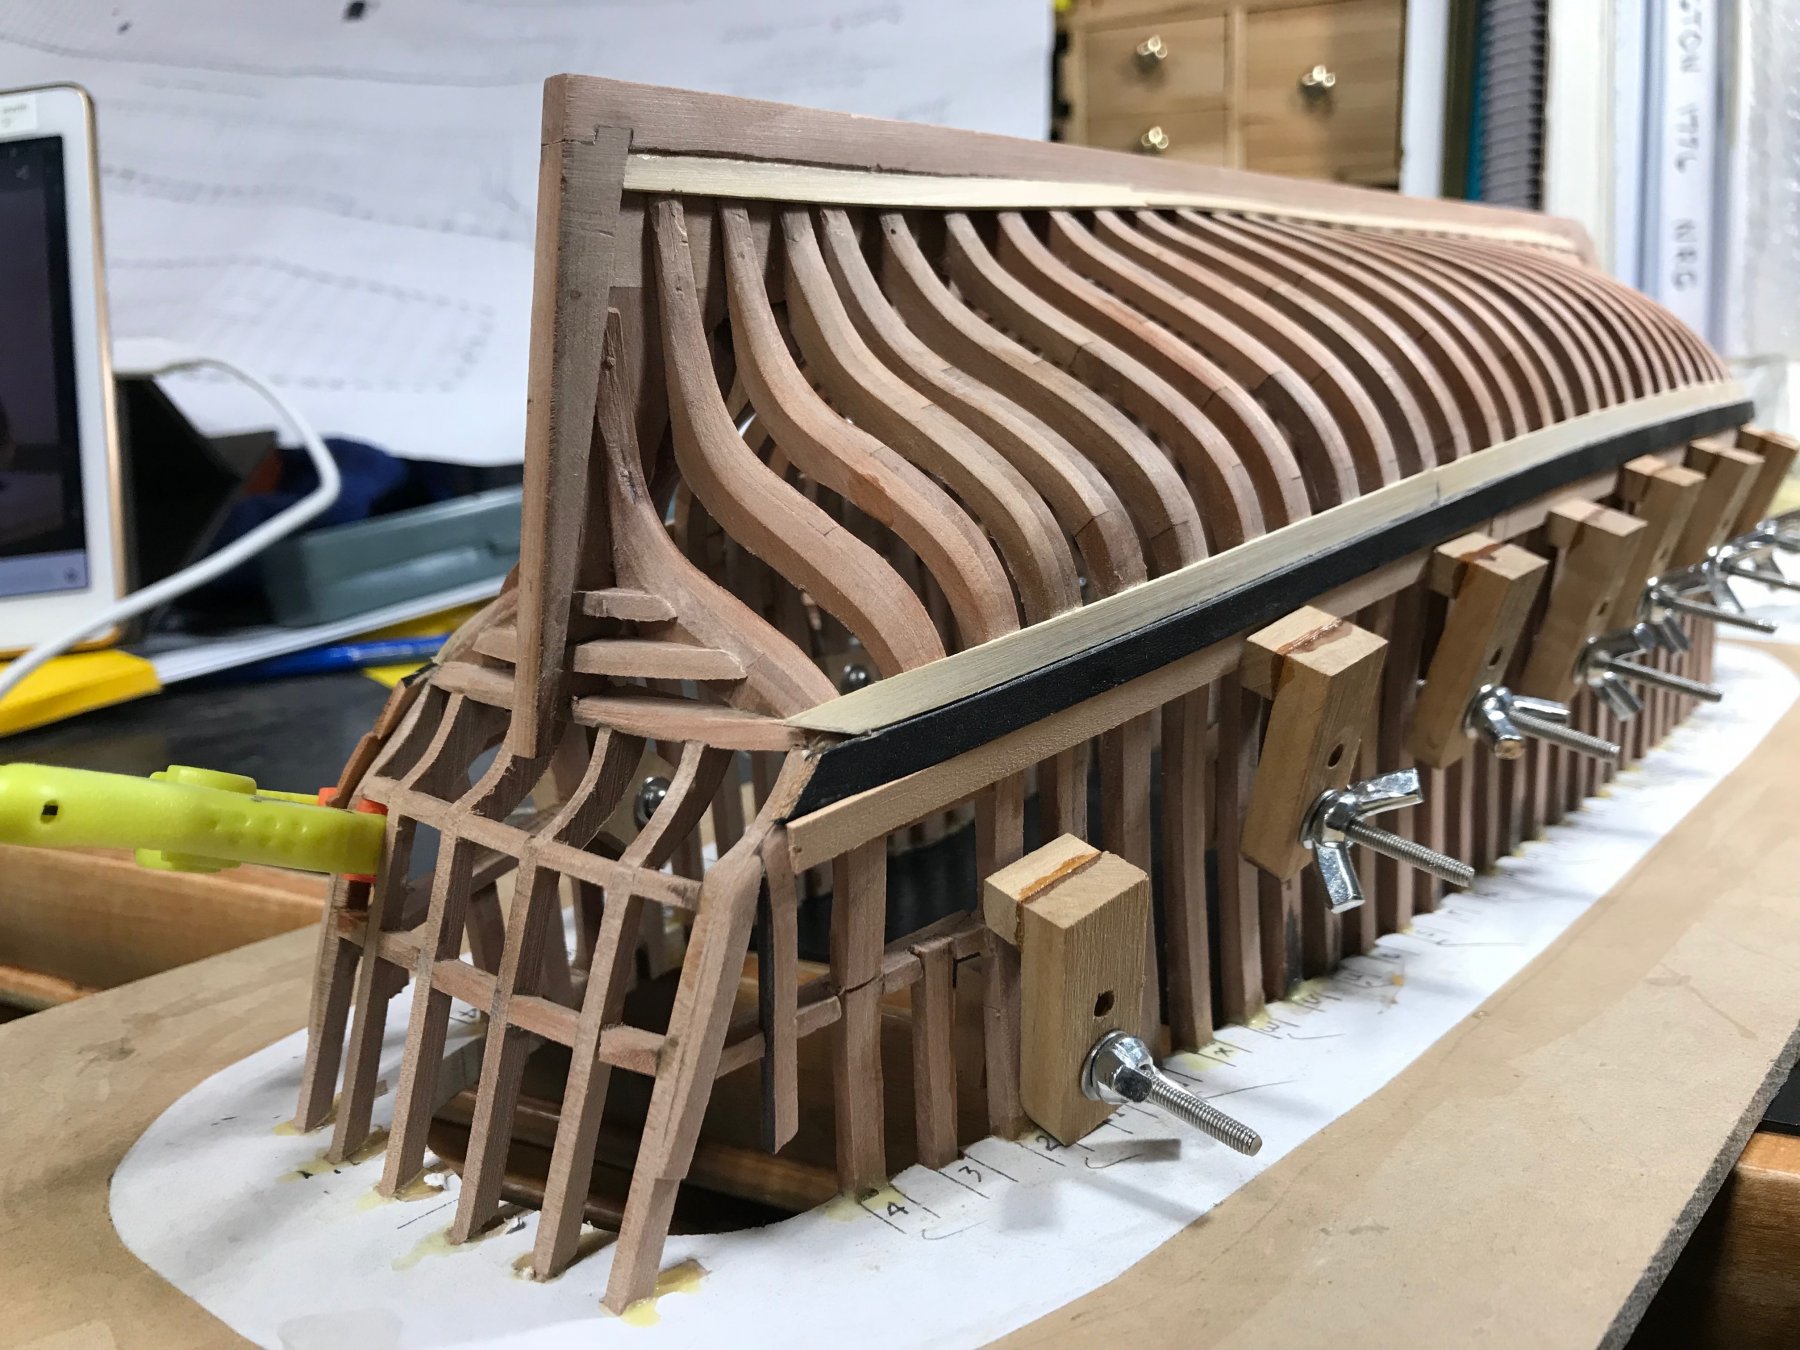
I've started making some progress on the planking. It's not perfect but not too bad either. I'm sure learning as I go though.


- John Allen, Ryland Craze, lmagna and 4 others
-
7


HMS Halifax 1768 by alde - Lumberyard Kit - 1/48 scale - Based on Harold Hahn Drawings and Book
in - Kit build logs for subjects built from 1751 - 1800
Posted
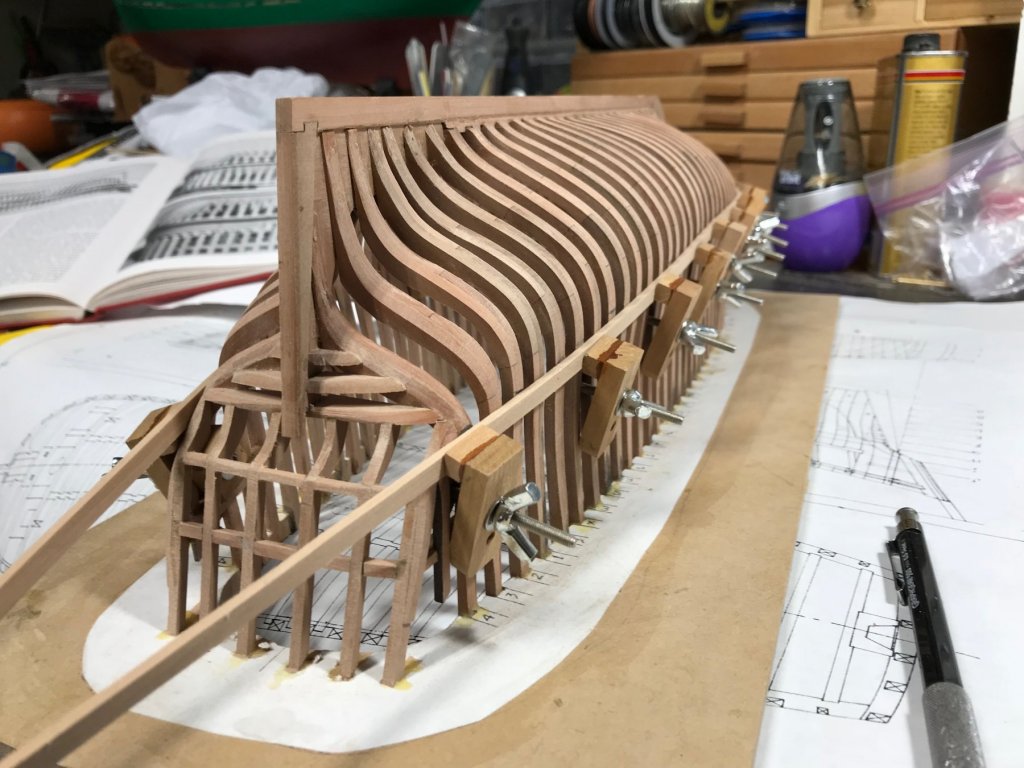
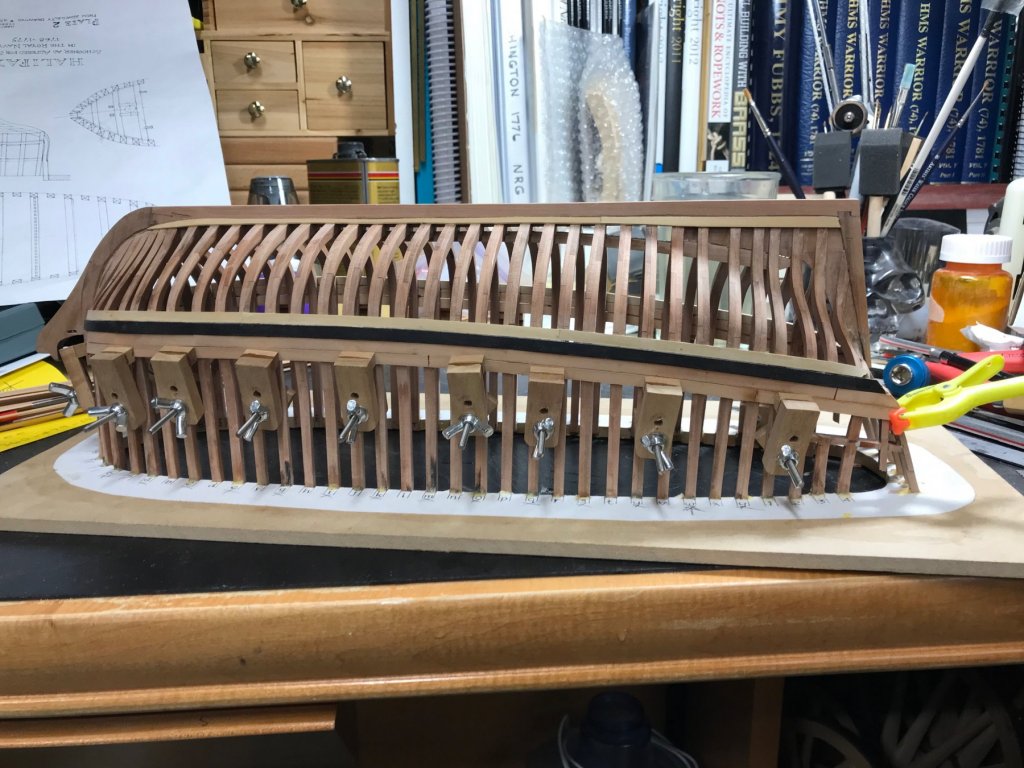
Here is the method I’m going to use to get accurate elevations from the plans. I picked up a tri-fold foam board and used plastic drafting angles to fix it at 90 deg. Then I folded the plan on the top surface of the building board. Now accurate dimensions can be taken and transferred right to the hull. I wish I had done this the first go around.