All Activity
- Past hour
-
 You and me both.
 -
 GrandpaPhil reacted to a post in a topic:
New BlueJacket Shipcrafters kit in development: West Coast lumber schooner
GrandpaPhil reacted to a post in a topic:
New BlueJacket Shipcrafters kit in development: West Coast lumber schooner
-
PaddyO reacted to a post in a topic:
US Brig Syren by WalrusGuy - FINISHED - Model Shipways - Scale 1:64 - Second wooden ship build
-
PaddyO reacted to a post in a topic:
US Brig Syren by WalrusGuy - FINISHED - Model Shipways - Scale 1:64 - Second wooden ship build
-
PaddyO reacted to a post in a topic:
US Brig Syren by WalrusGuy - FINISHED - Model Shipways - Scale 1:64 - Second wooden ship build
-
ERS Rich reacted to a post in a topic:
PHOENIX 1787 by ccoyle - Master Korabel - 1/72 - Russian brigantine of the Black Sea Fleet
-
PaddyO reacted to a post in a topic:
US Brig Syren by WalrusGuy - FINISHED - Model Shipways - Scale 1:64 - Second wooden ship build
-
 ERS Rich reacted to a post in a topic:
PHOENIX 1787 by ccoyle - Master Korabel - 1/72 - Russian brigantine of the Black Sea Fleet
ERS Rich reacted to a post in a topic:
PHOENIX 1787 by ccoyle - Master Korabel - 1/72 - Russian brigantine of the Black Sea Fleet
-
ERS Rich reacted to a post in a topic:
Admitting some kits are now beyond me.
-
Rustyj reacted to a post in a topic:
HMS Winchelsea 1764 by John Murray - 1:48
-
 Looking good. I have also been experimenting with tin foil for the water though in my case I am going to be using it directly on the base. I have found at least so far it really helps in getting a dynamic base working.
 -
Rustyj reacted to a post in a topic:
New Sponsor - Epic Engravers - Intro/News
-
 And well-deserved!
 -
Admitting some kits are now beyond me.
ccoyle replied to bigcreekdad's topic in Wood ship model kits
Sounds like smallcraft are the way to go, especially since many of them exist in kit form in larger scales and, being aimed largely at beginners, often offer considerable scope for super-detailing. Take a look at the kits produced by BlueJacket Shipcrafters and the Midwest Products line at Model Expo. -
Determination and ingenuity are a modeler's best friends!
-

Martindale blades for Byrnes saw...
niwotwill replied to CPDDET's topic in Modeling tools and Workshop Equipment
Great information about how and where you got your bladed. With the two names listed I was unable to find how to contact them, could you explain how you were able to contact them? How many blades did you have to order? Thanks -
Which is good, cuz the designers are Russians, so one would hope that they are familiar with their native tongue! On the flip side, there are plenty of native English speakers who ain't so good at readin' and writin' their Muttersprache! 😬
-
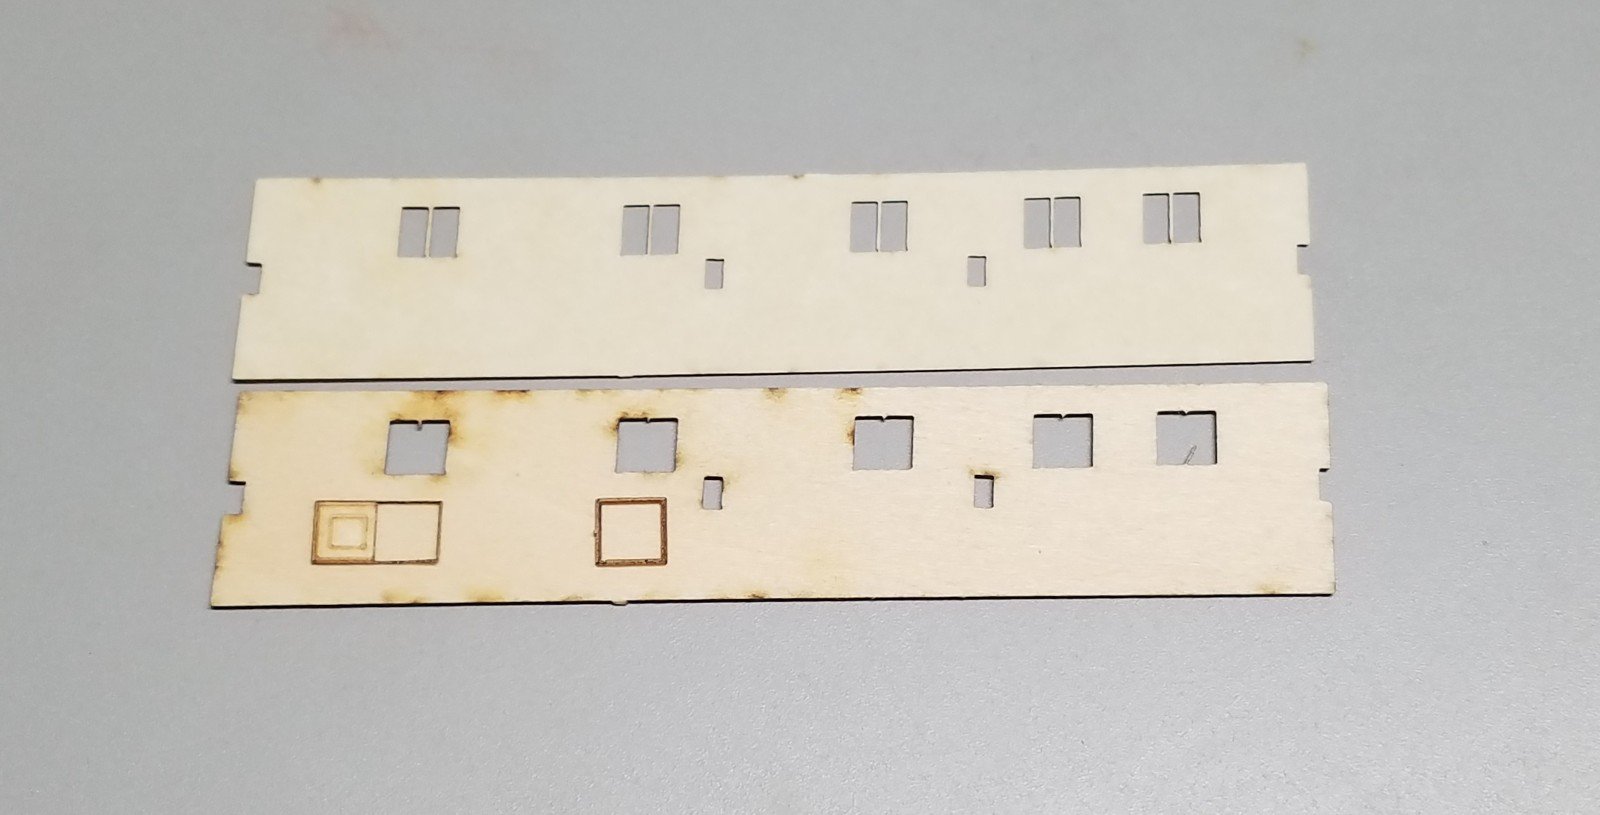
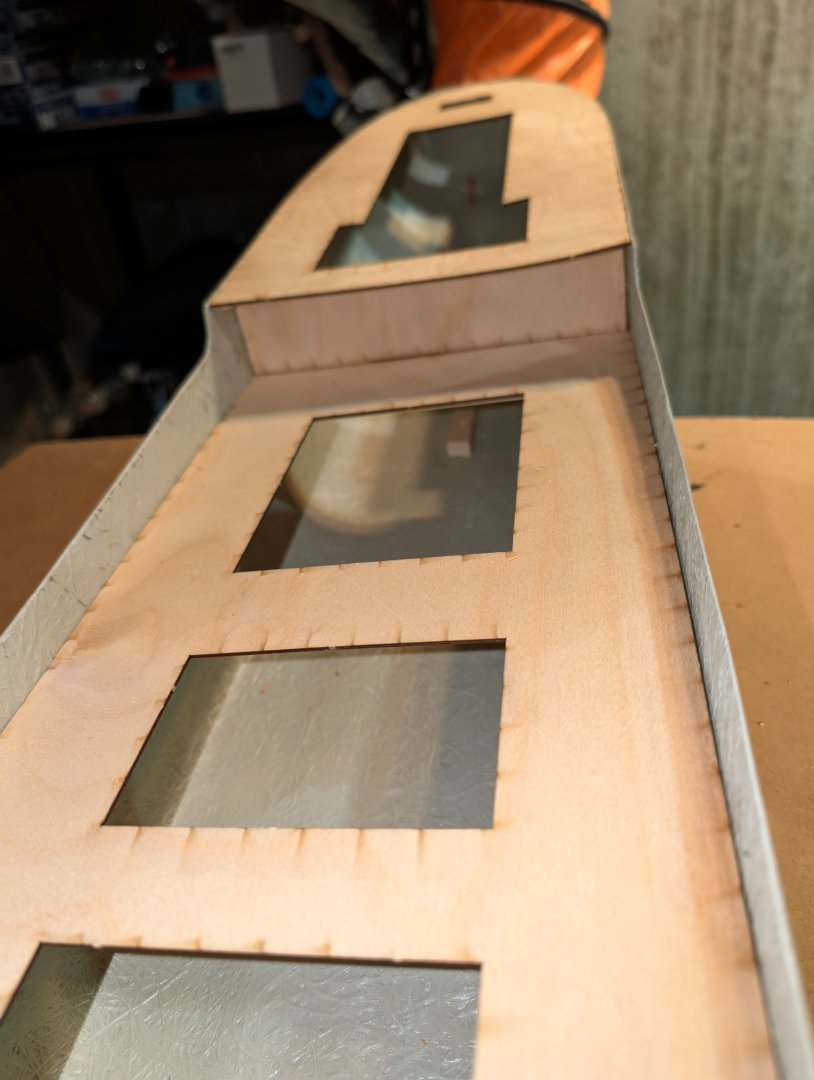
 I love our laser. This is one side of the forward house. The top piece is .015" laserboard and has the mullions for the windows. It will be laminated to the inside of the bottom piece which is 1/32" basswood. The square and rectangle on the bottom piece are the window frames which are .015" laserboard. When the house is completely built and painted, .010" clear styrene with its back side painted black will be glued to the inside of the inner lamination. Both houses will be built this way.
-
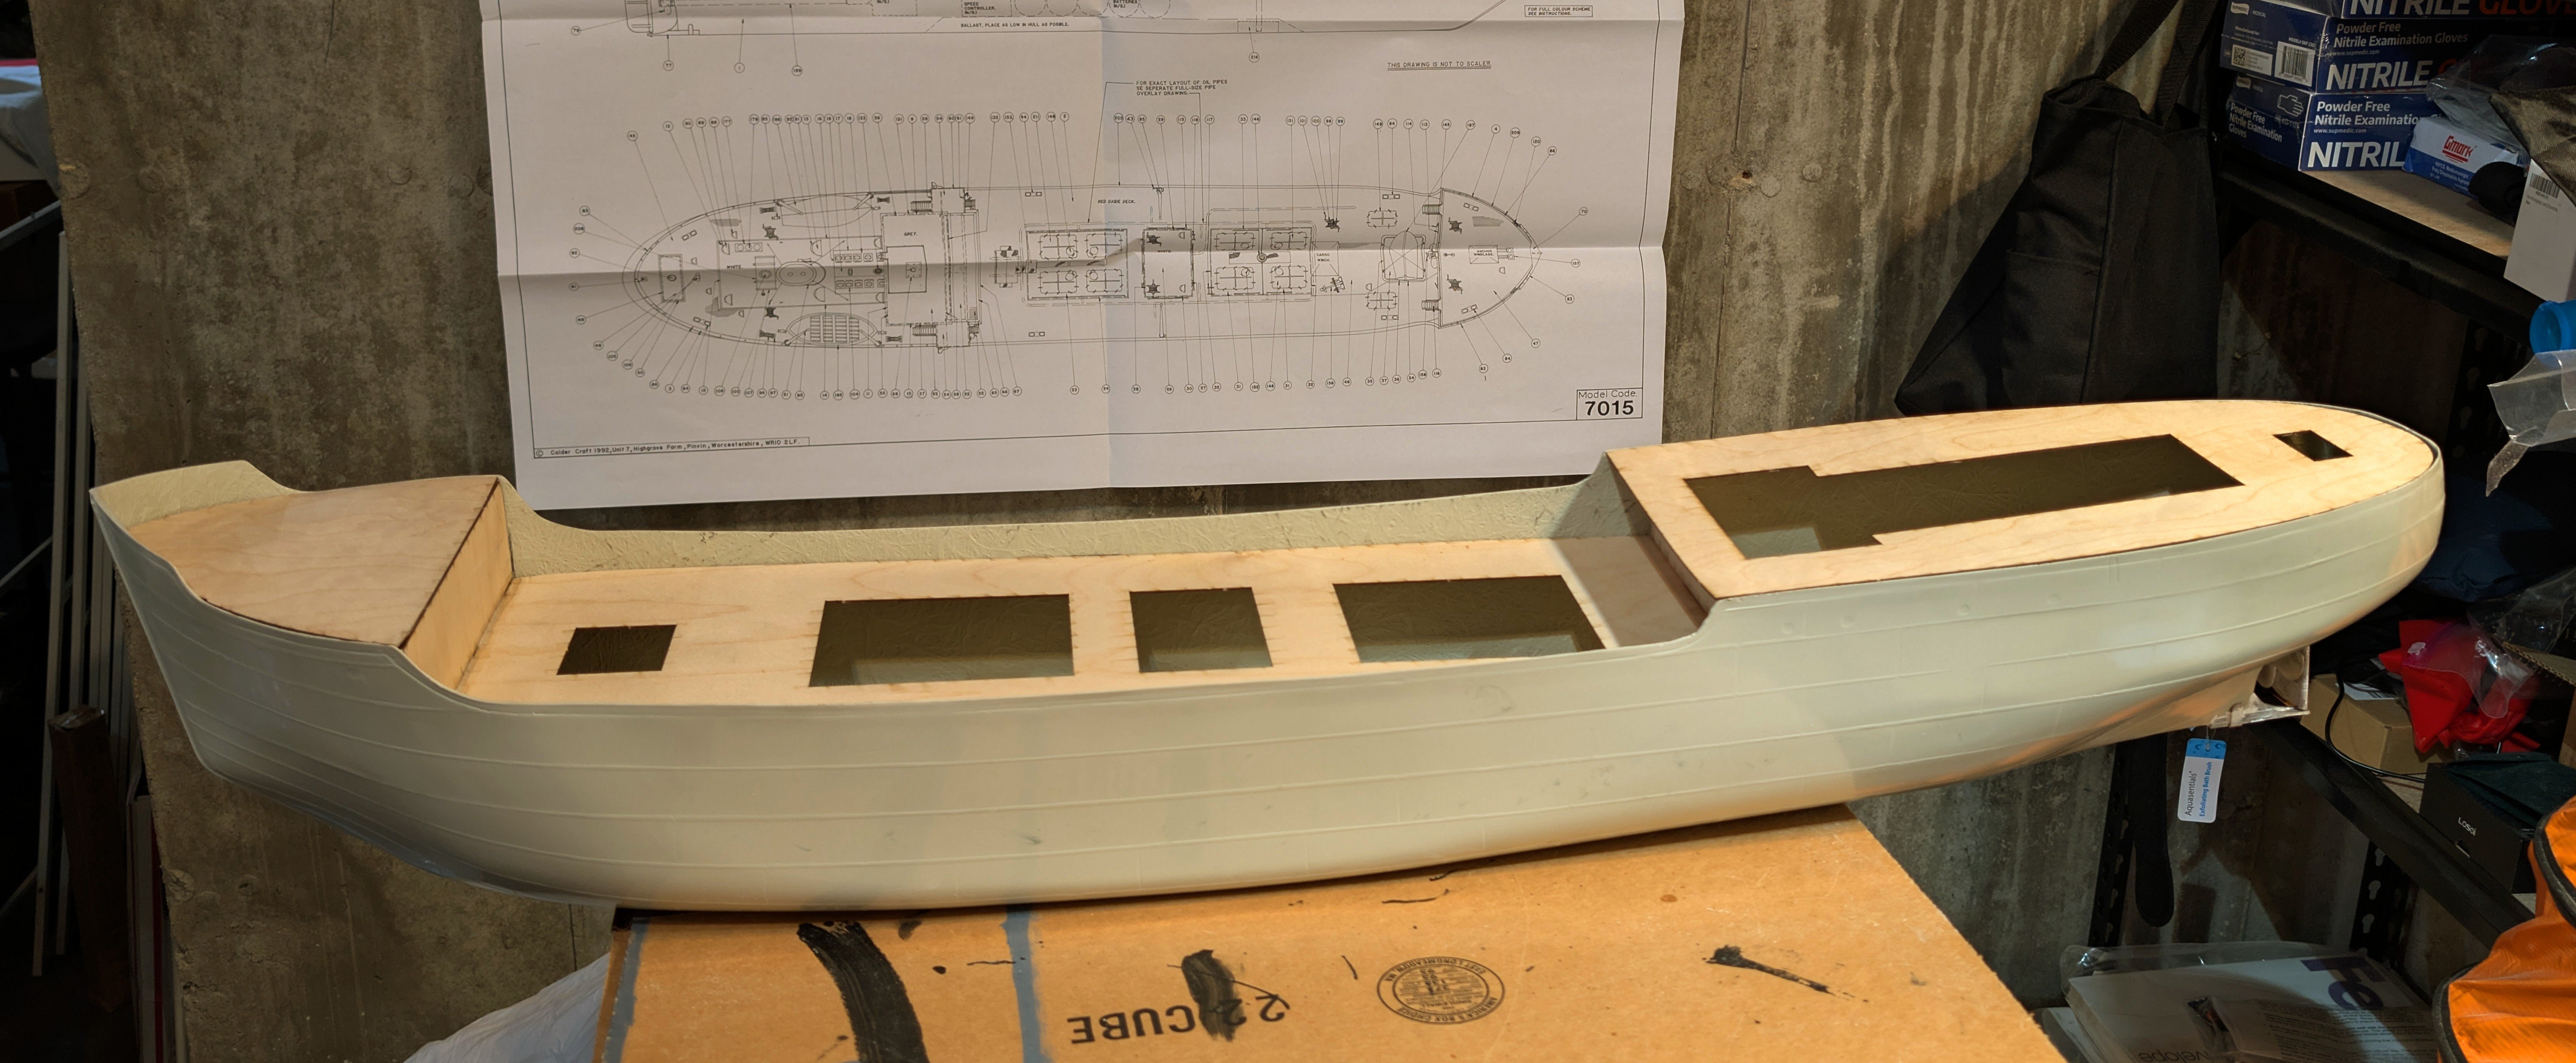
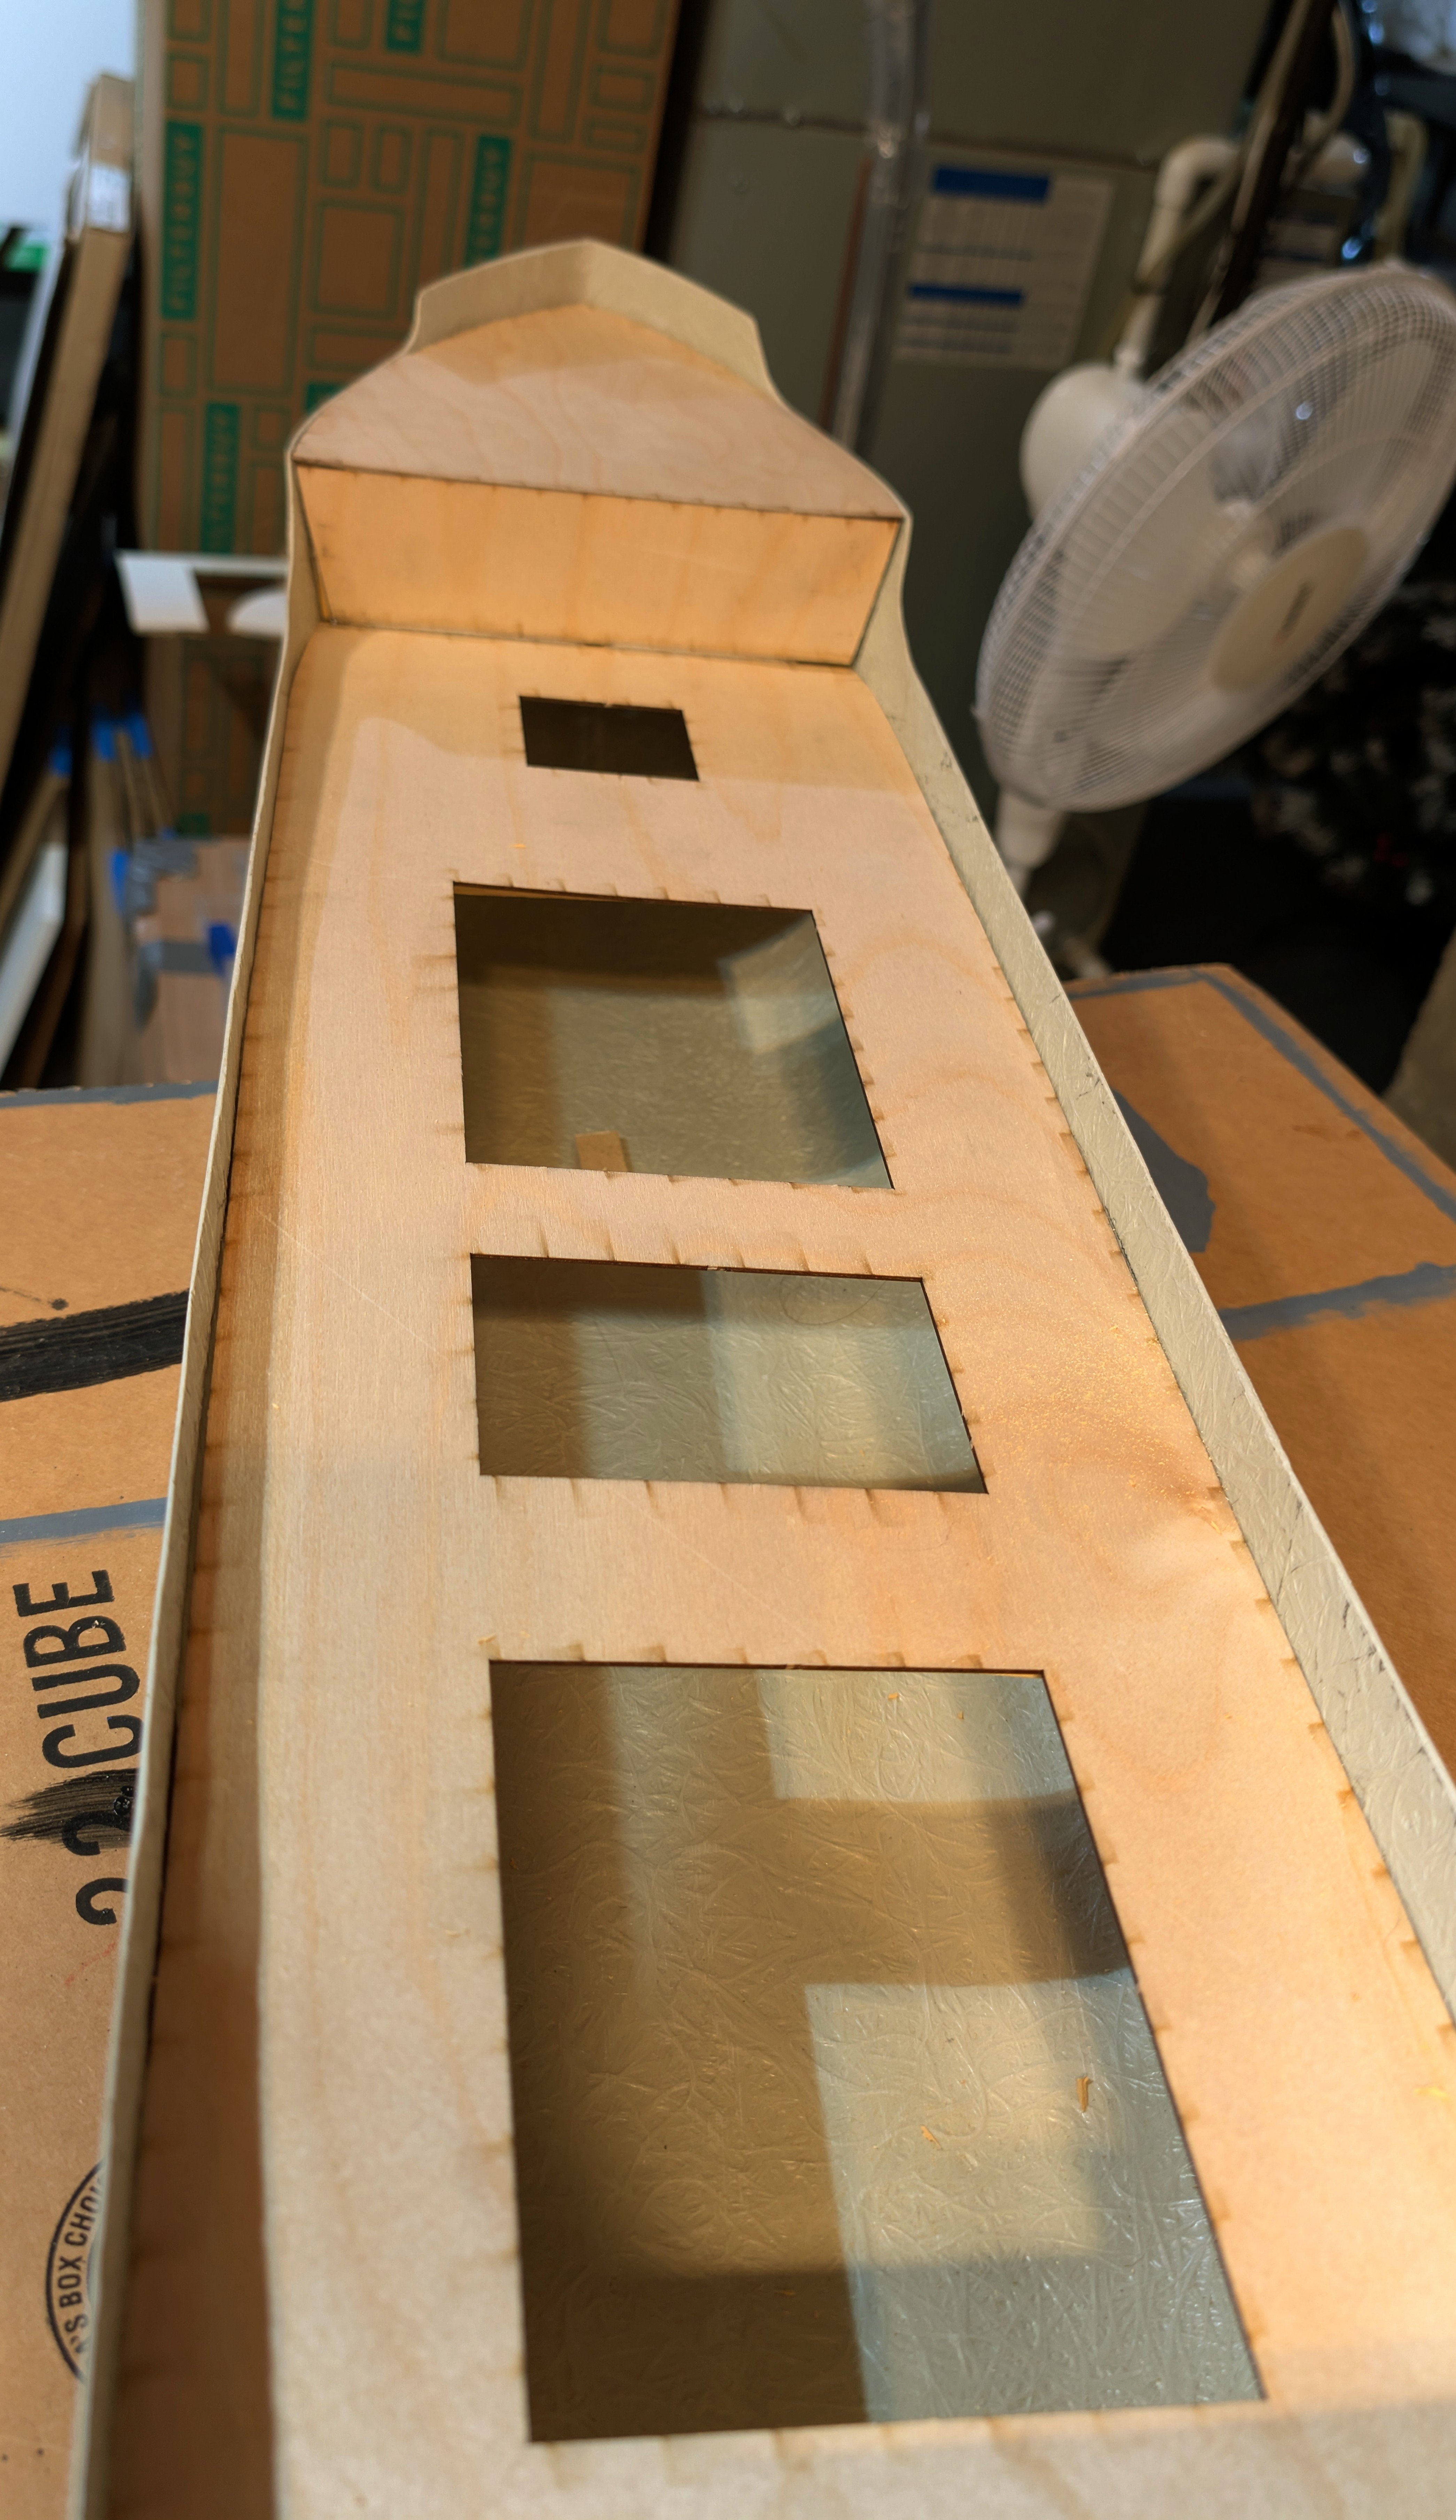
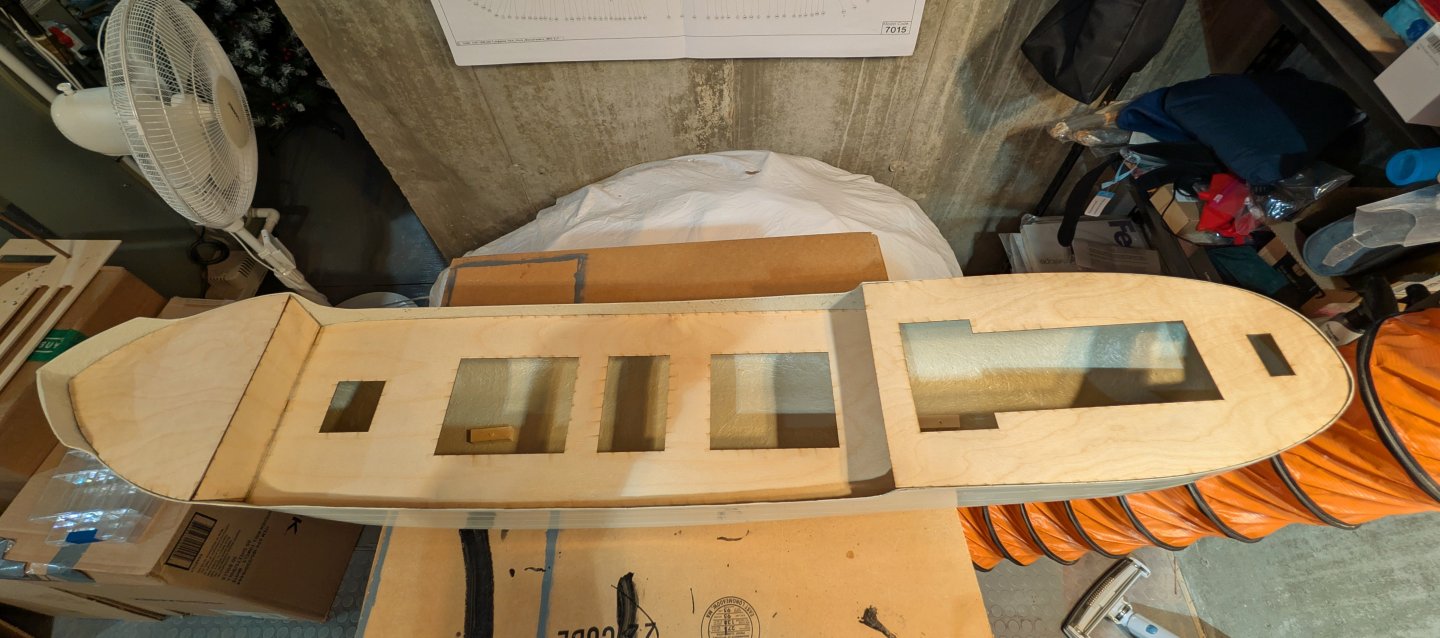
 All of the decks are now in. It's something of an adventure given the limited instructions. The decks take some shaping to fit the hull. You also have to figure out where the stern bulkhead goes -- finally I measured on the main plan and converted its scale to the main ship's scale. The main deck went in last, and I positioned it (after shaping) and then installed fillets through the openings from bow sternward, measuring height from the top of the side bulkhead as I went along. I also added cross beams under the main deck to keep it from sagging in the middle. Regards, David

- Today
-
Hello Kevin,
went onto Cornwall model web shop, I took your advice and bought the HMS HOOD plan 1/192. so i was looking at 1/350 0r 1/200 so that is a start now to get the materials, have a few books for reference. Have a few 1/700 and 1/600 to do then will get on and in between building the HOOD will still do the 1/72s full of stash about 100 kits.
Regards
Stephen
-
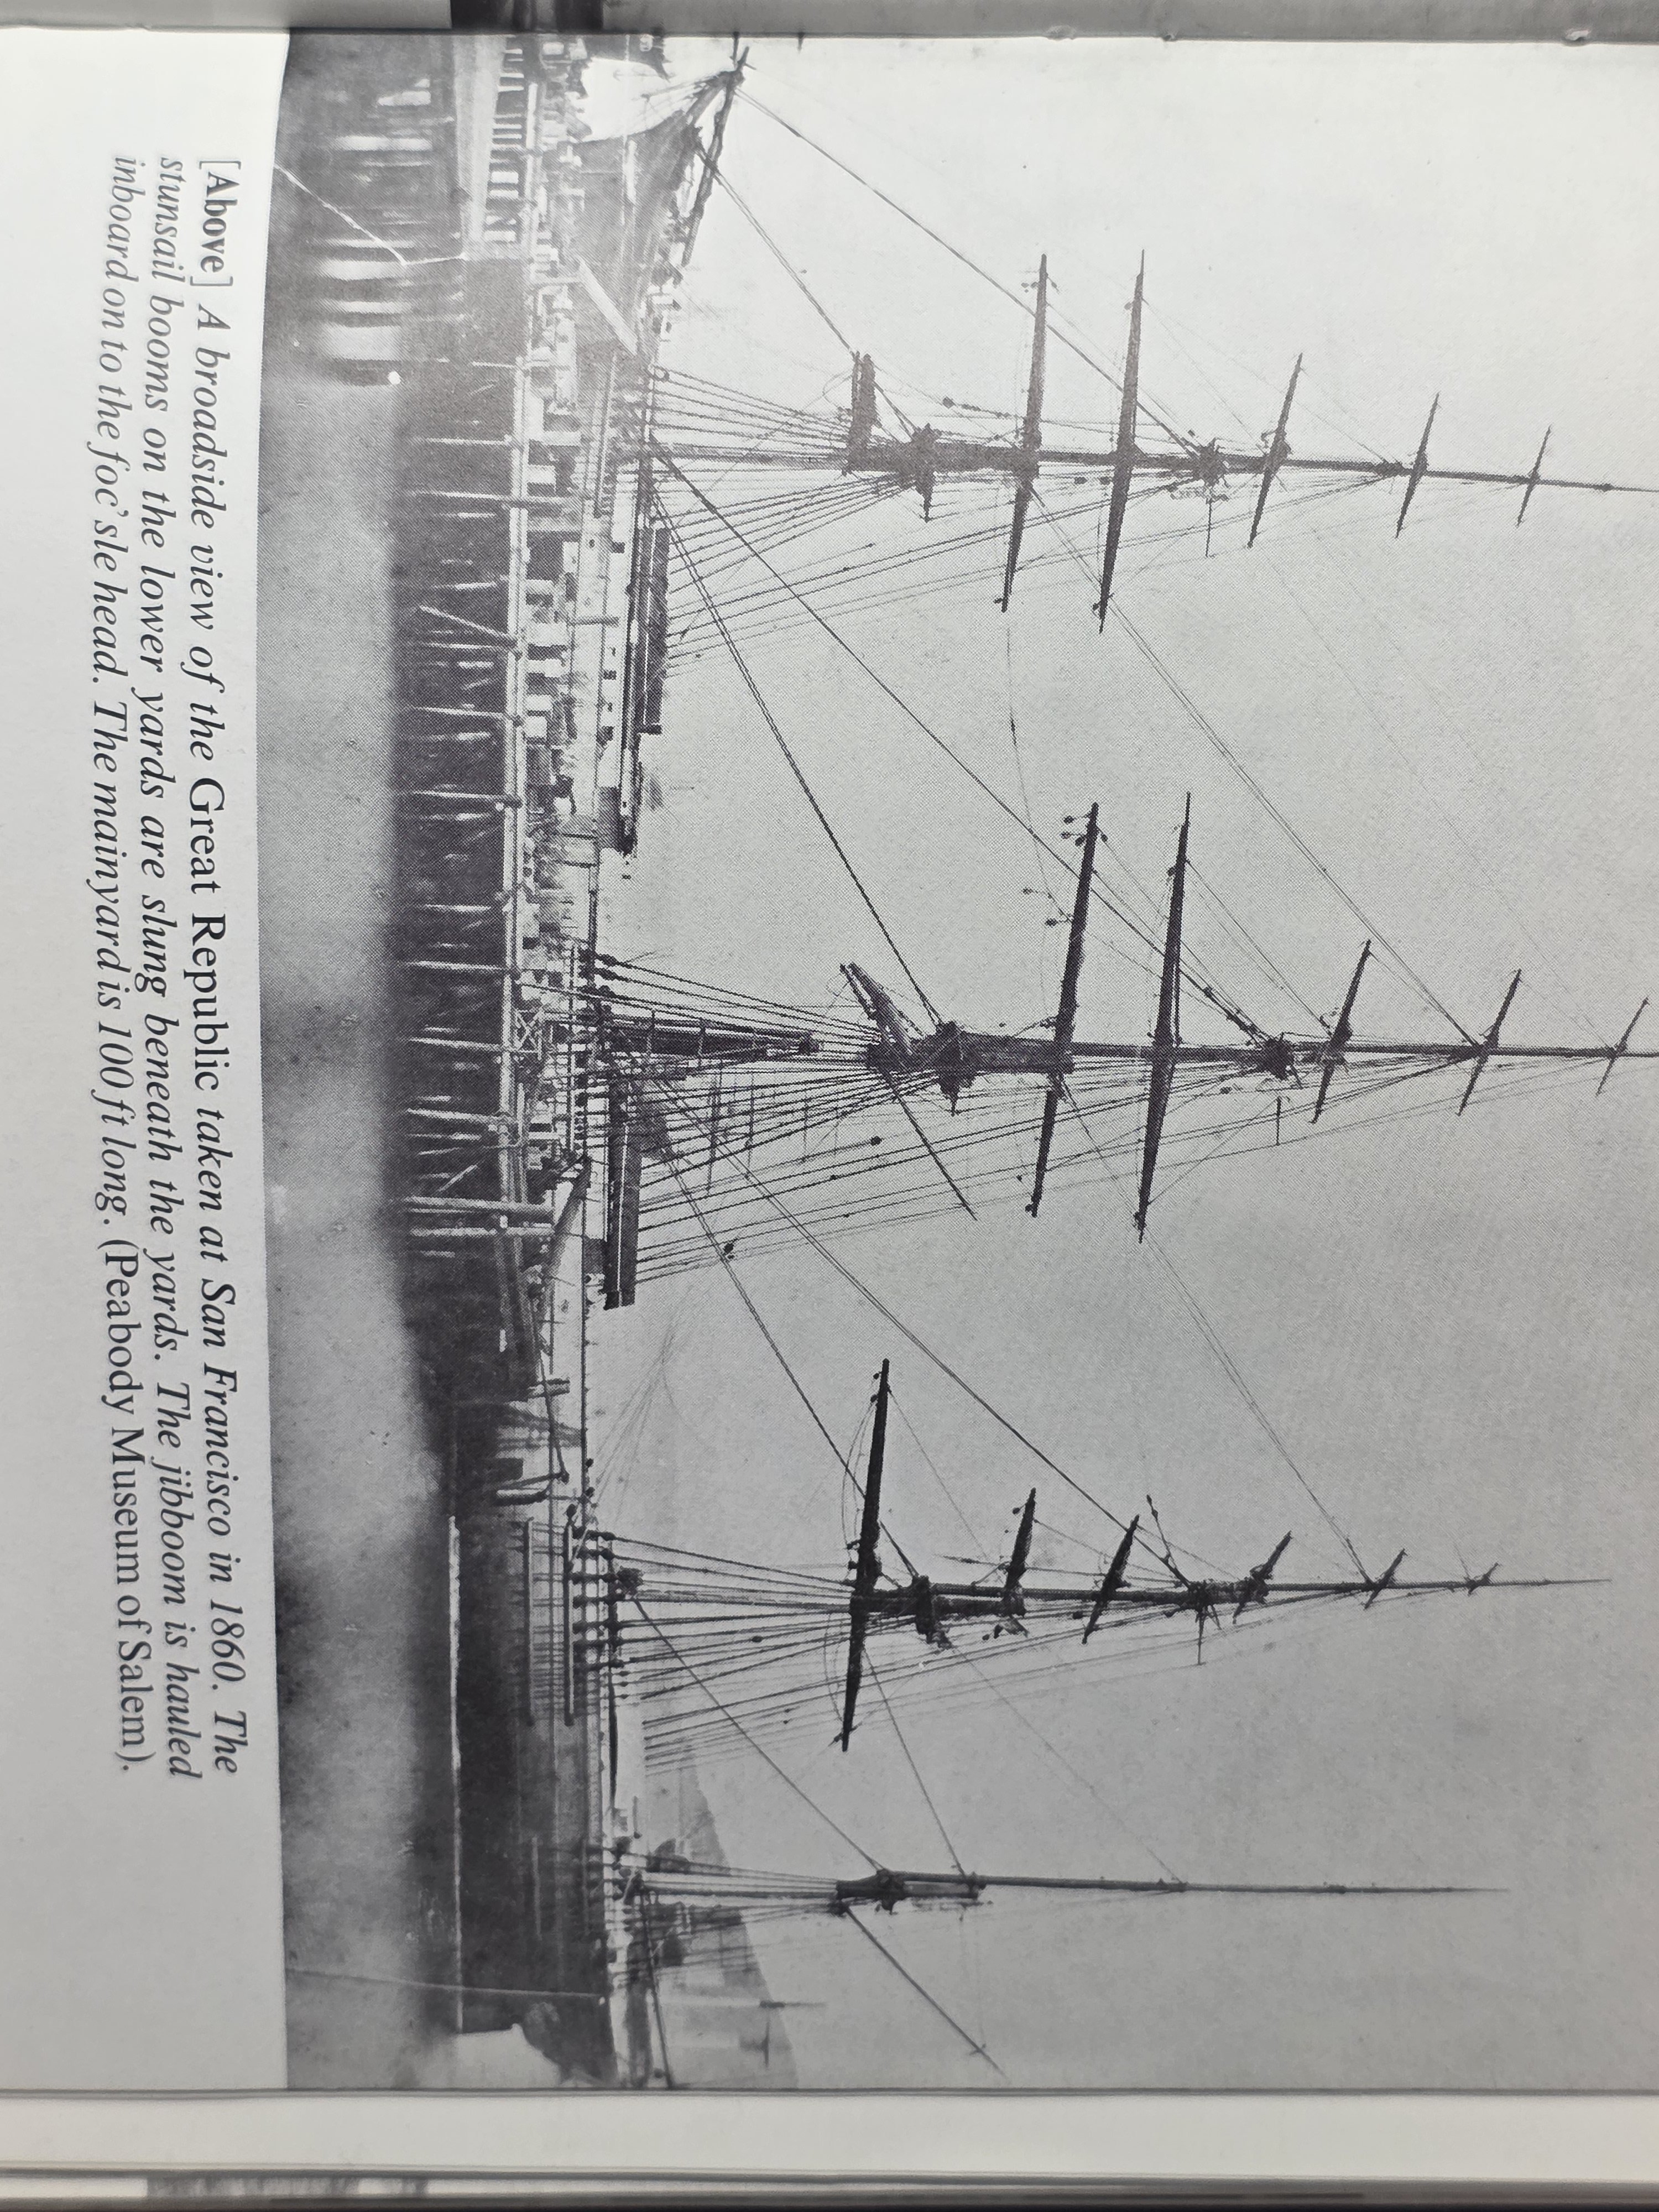
 You bring up a good point that I do not know the answer too. I have gone through several clipper books I have and can only find 2 examples of the stuns'ls stored in the angular position. One is a drawing on page 7 of the China Tea Clippers by George F. CAMPBELL and the other is a photo of the Great Republic in 1860 (page 71 in Clipper Ships by David R. MacGregor. In most photos I have seen where stuns'ls are present they were lashed to the spar and/or slung beneath the yard. The photo of the Great Republic shows the lower yard stuns'ls slung below the yard while those on the higher yards look like they were lashed the way the Flying Fish plans show.
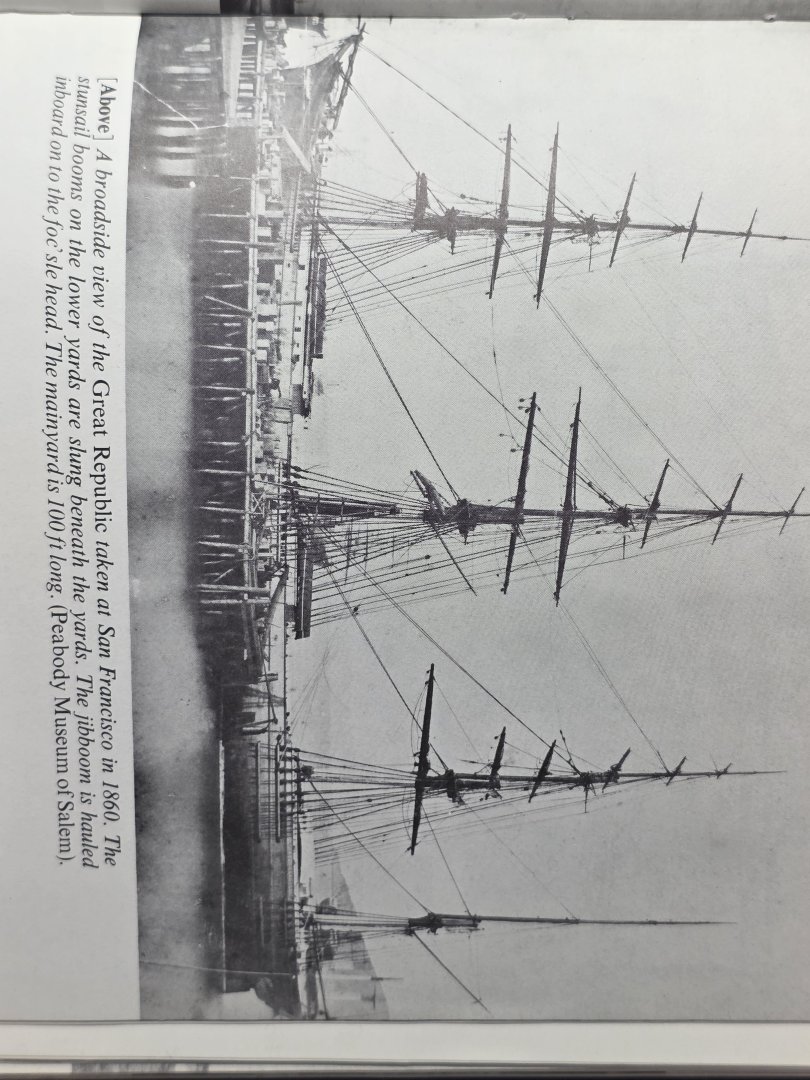

-
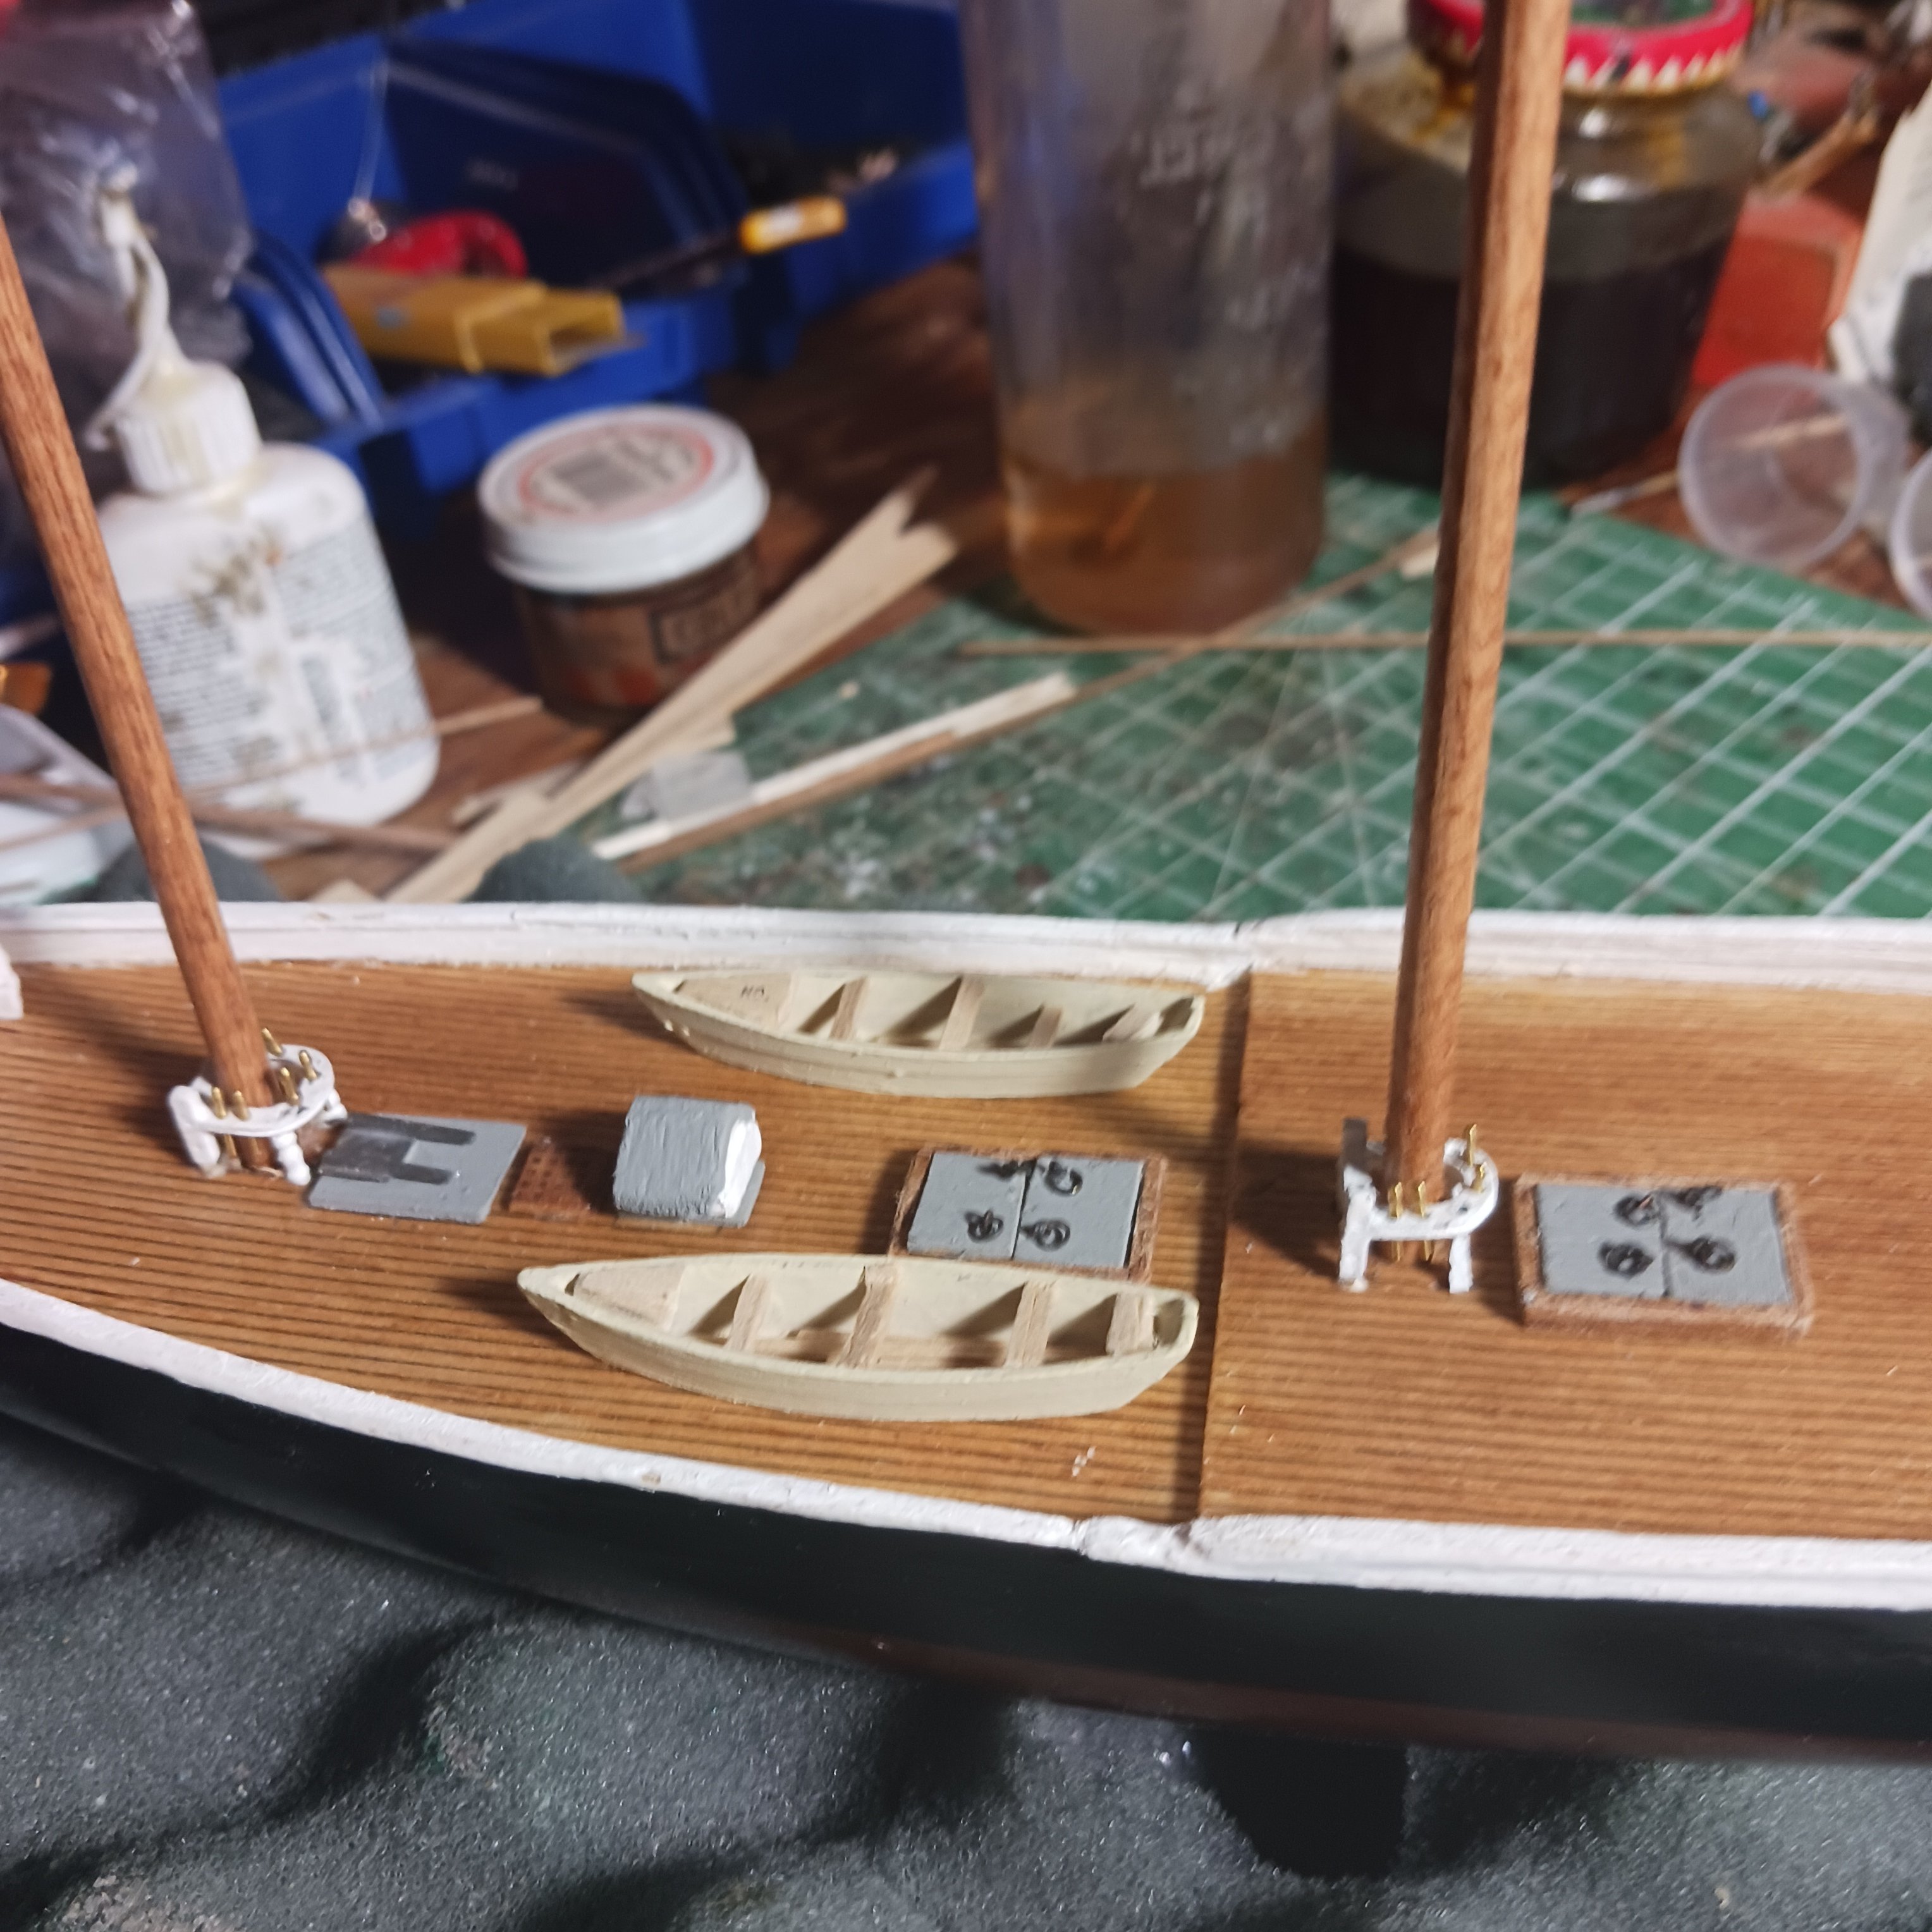
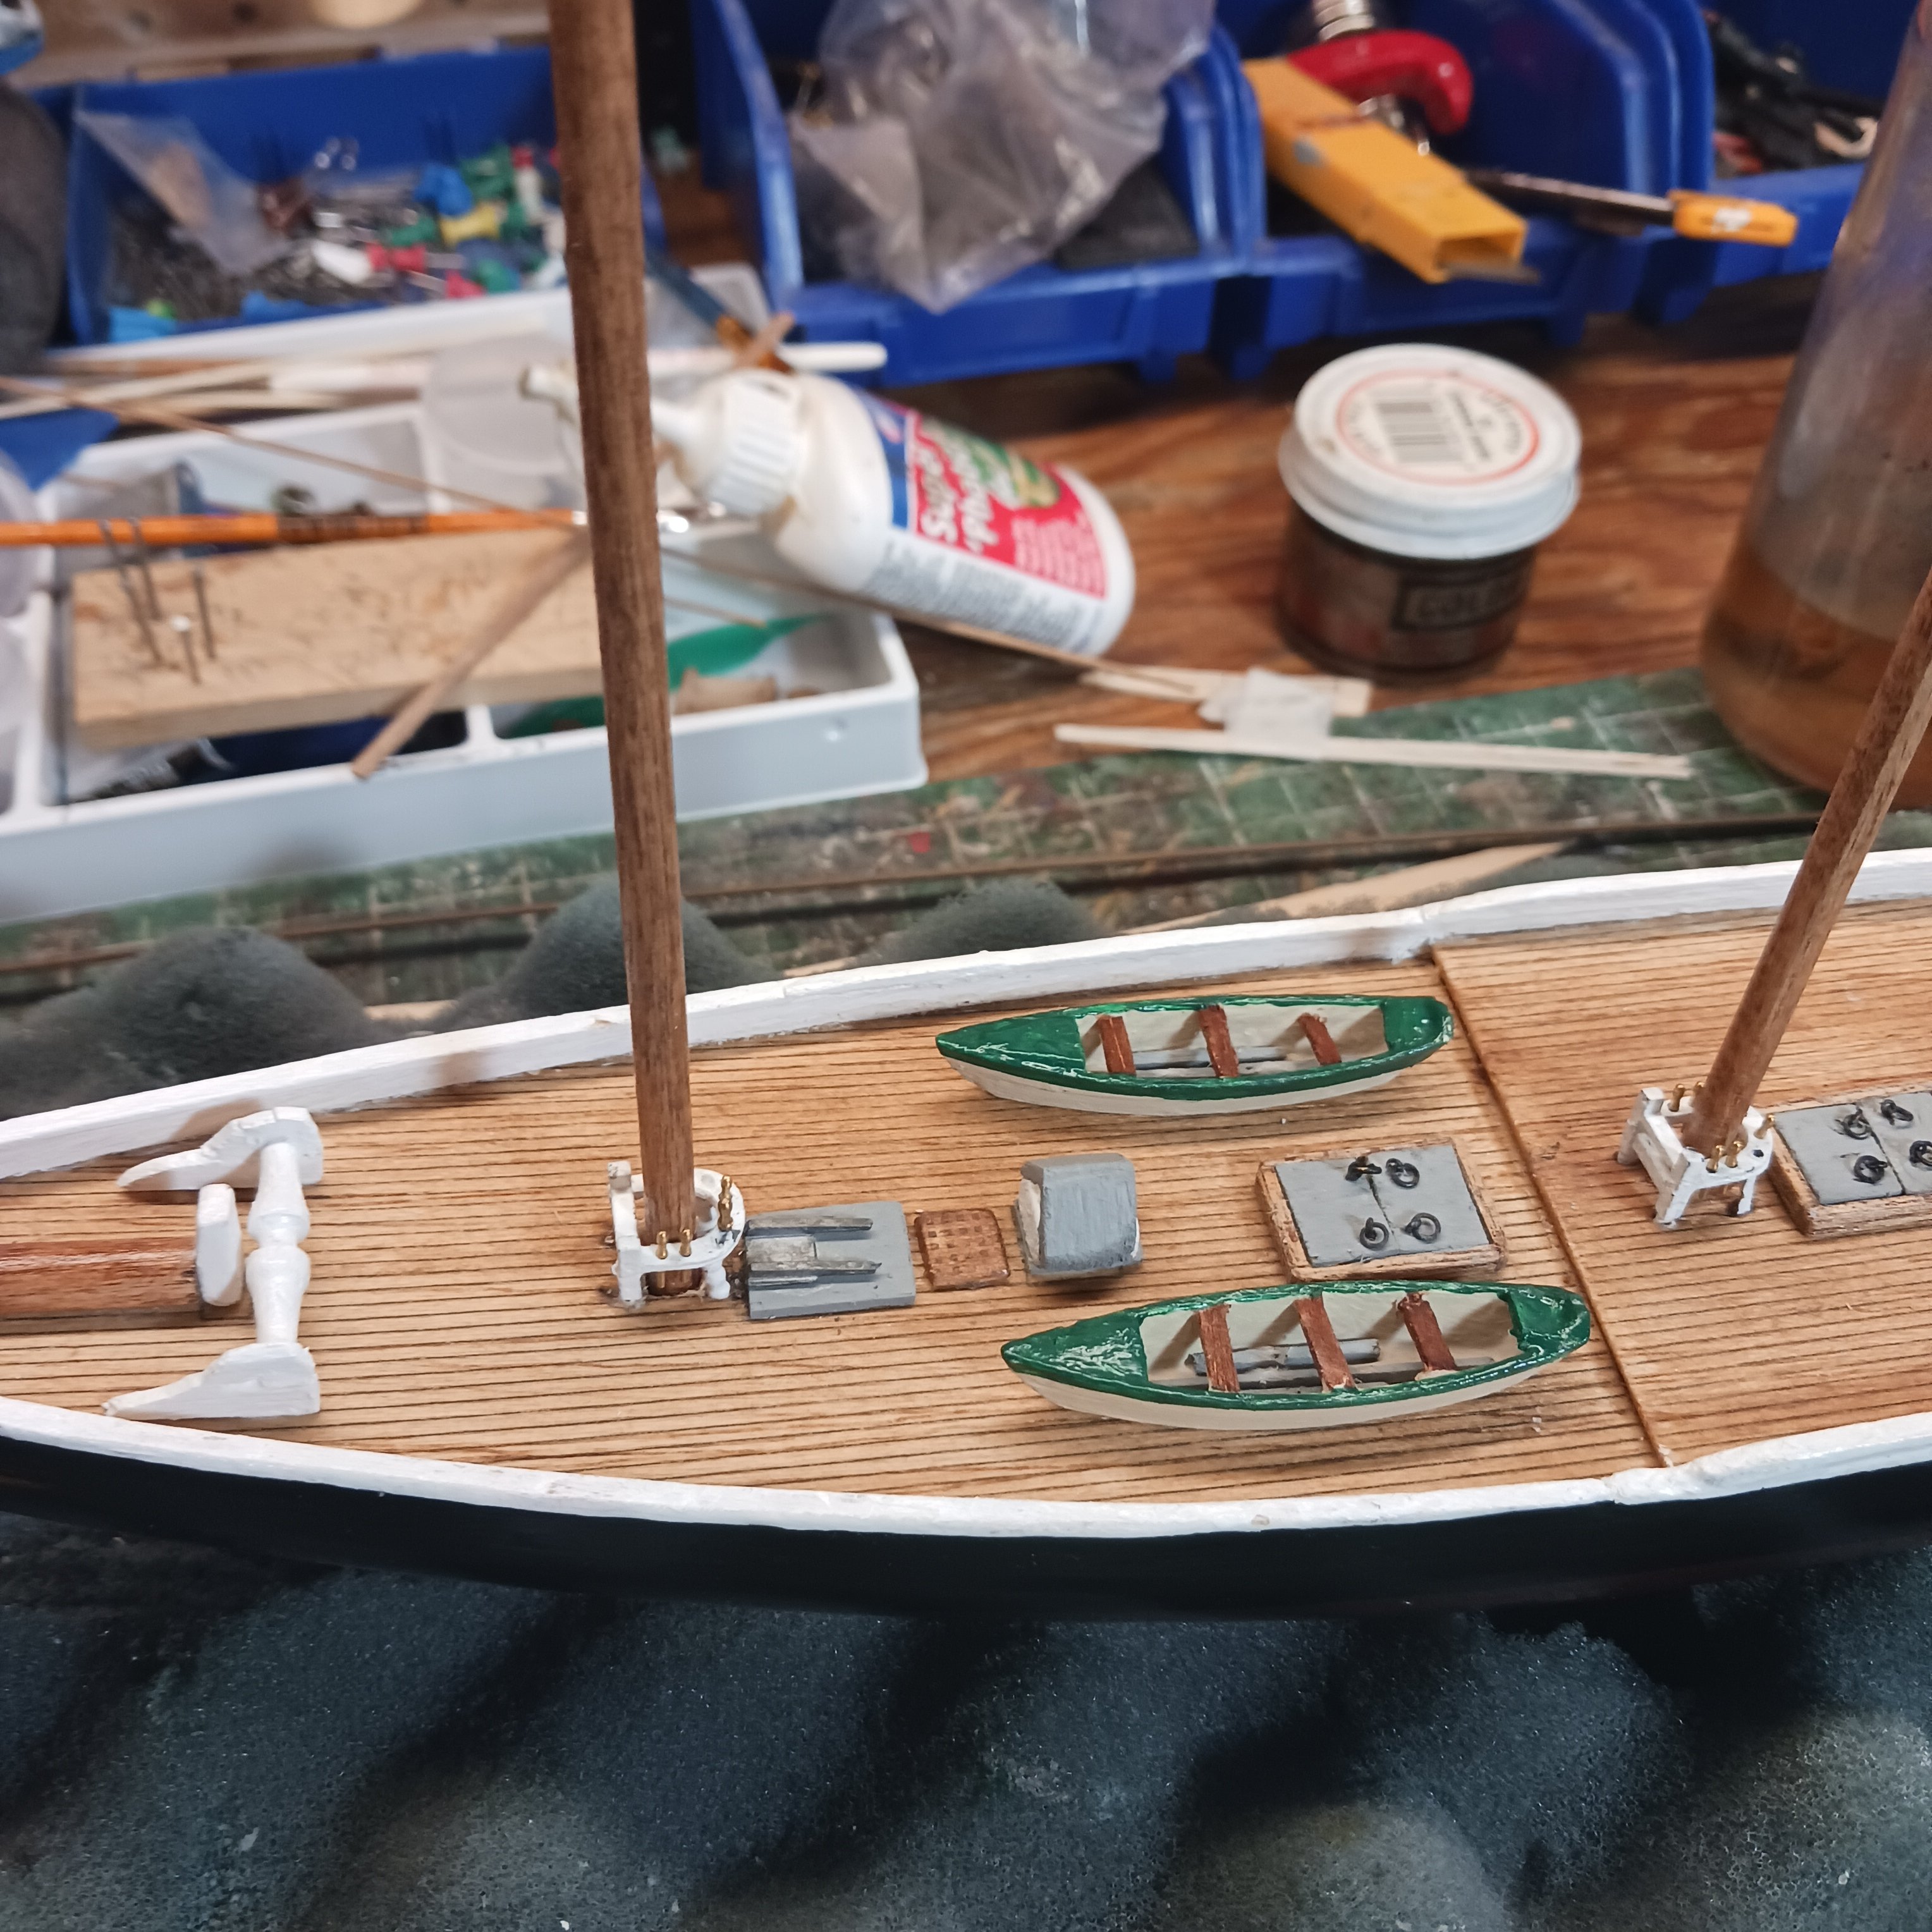
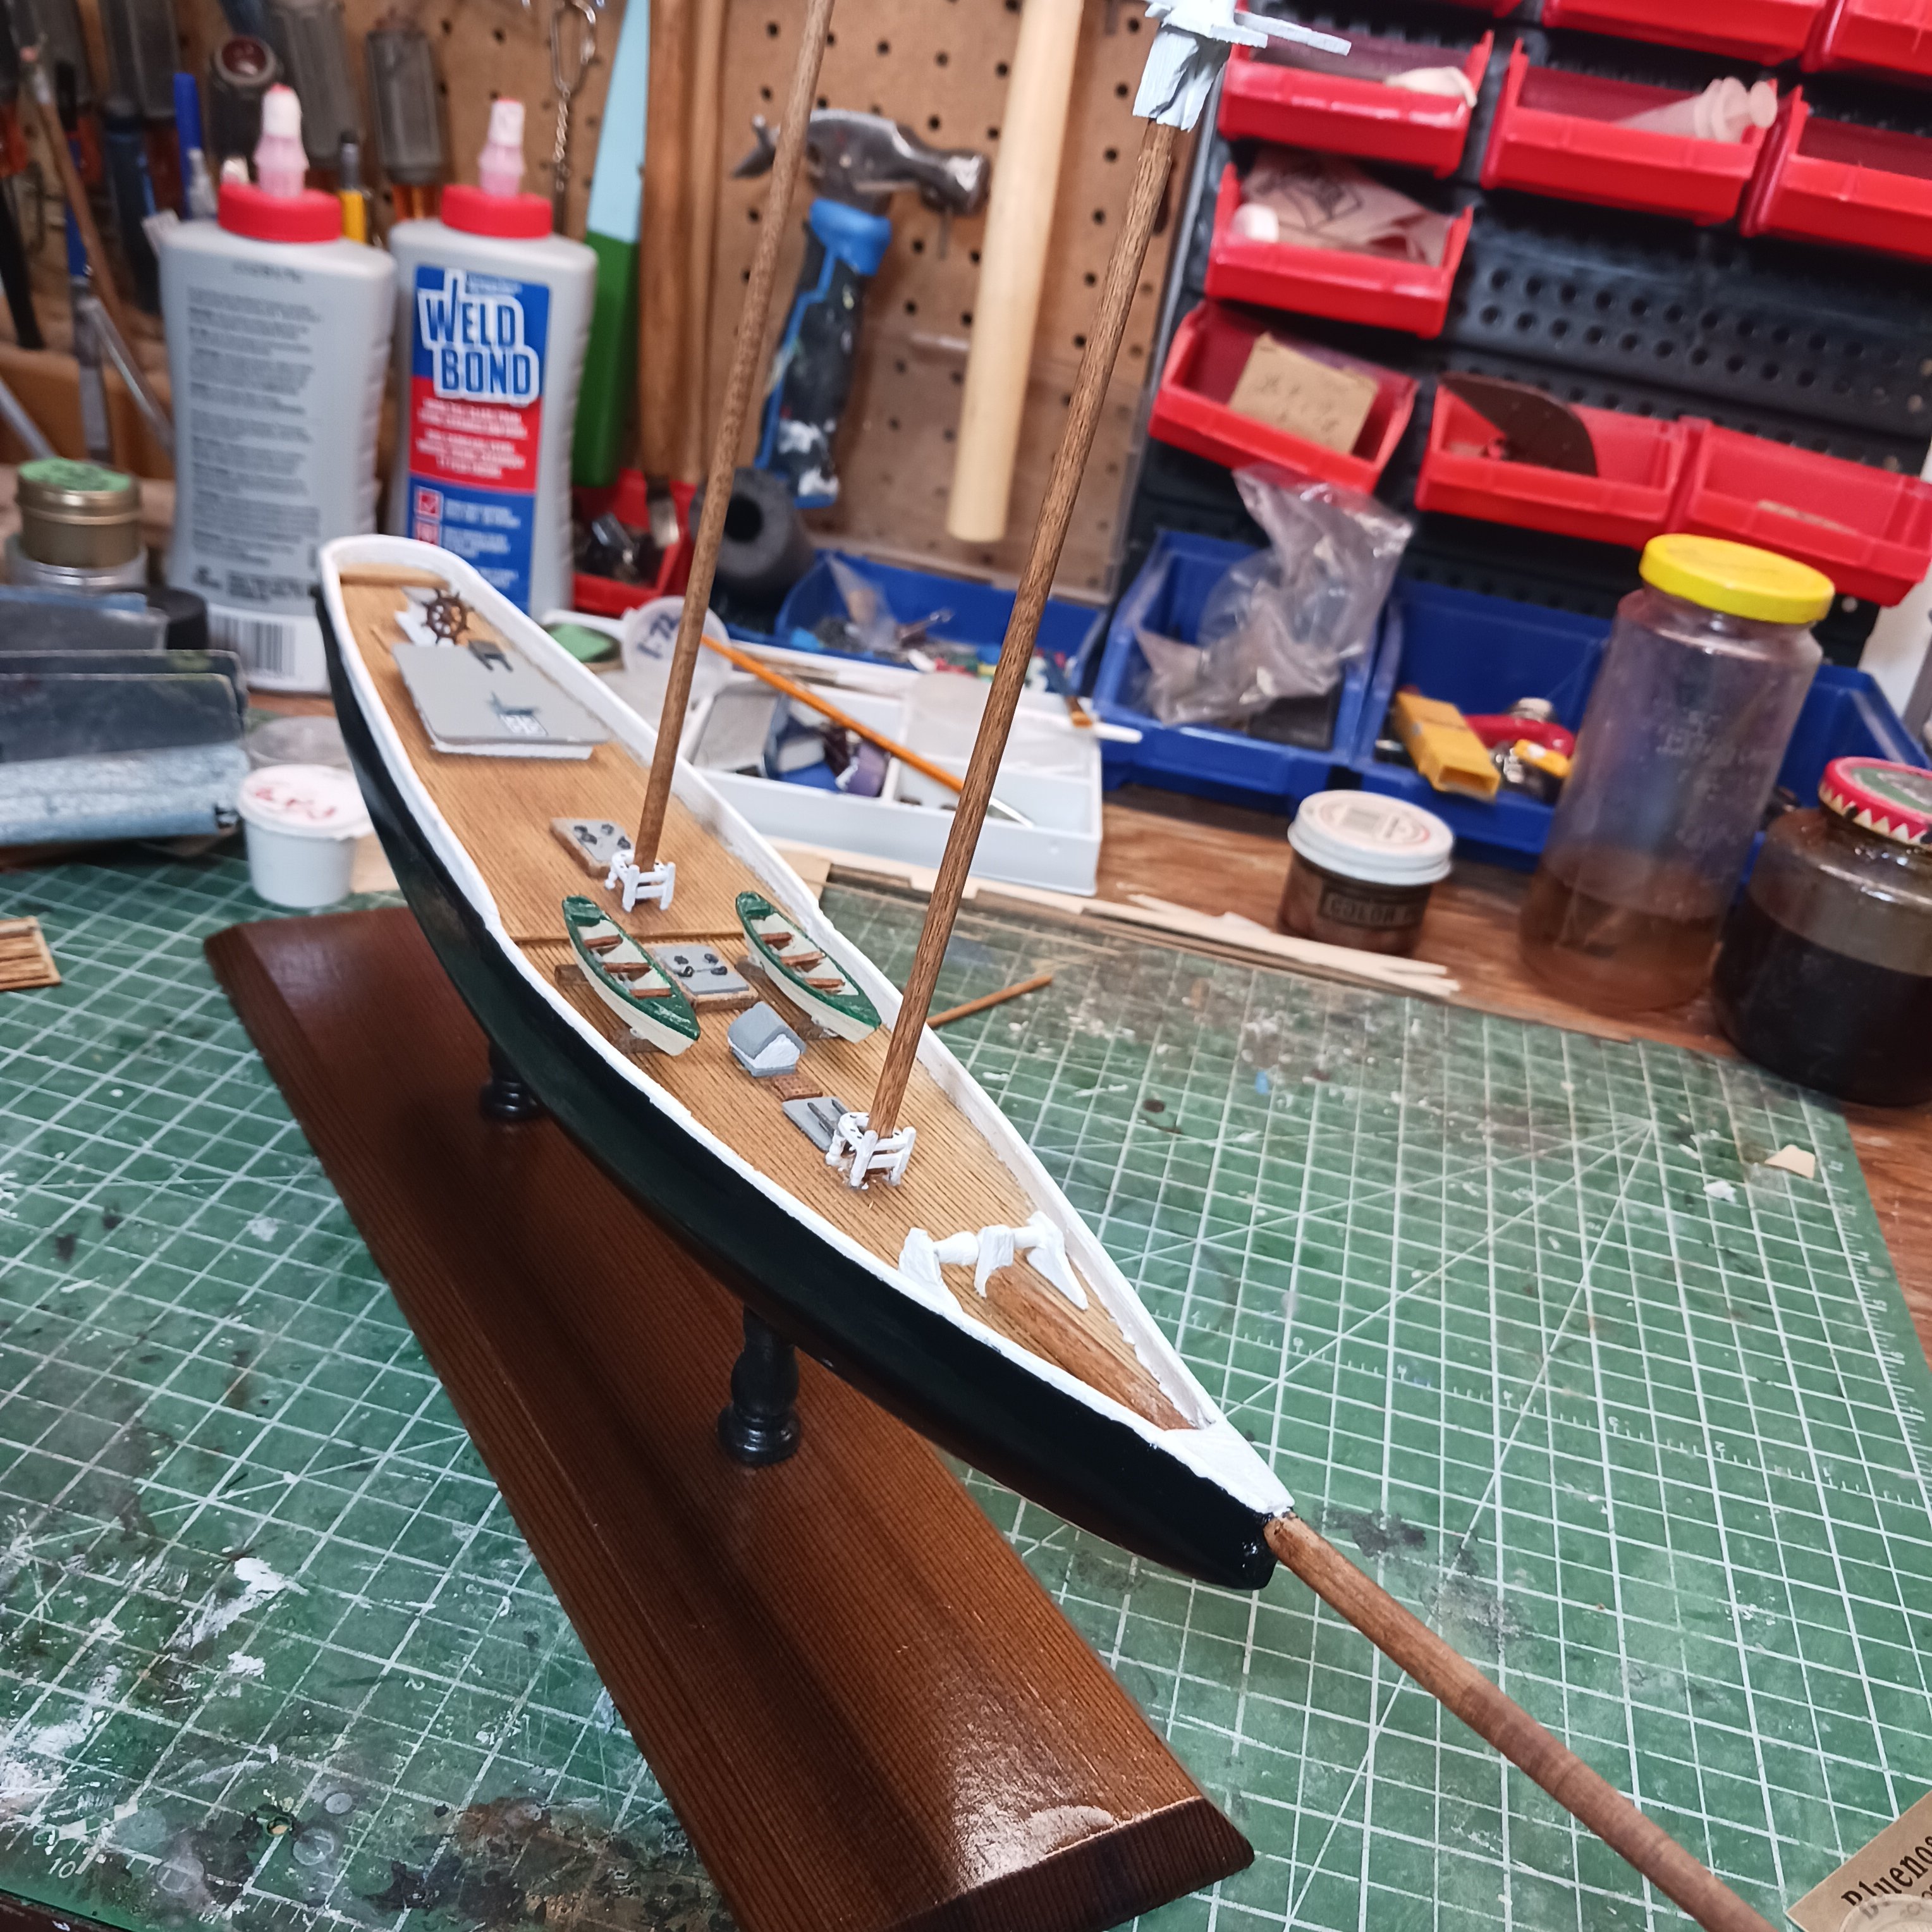
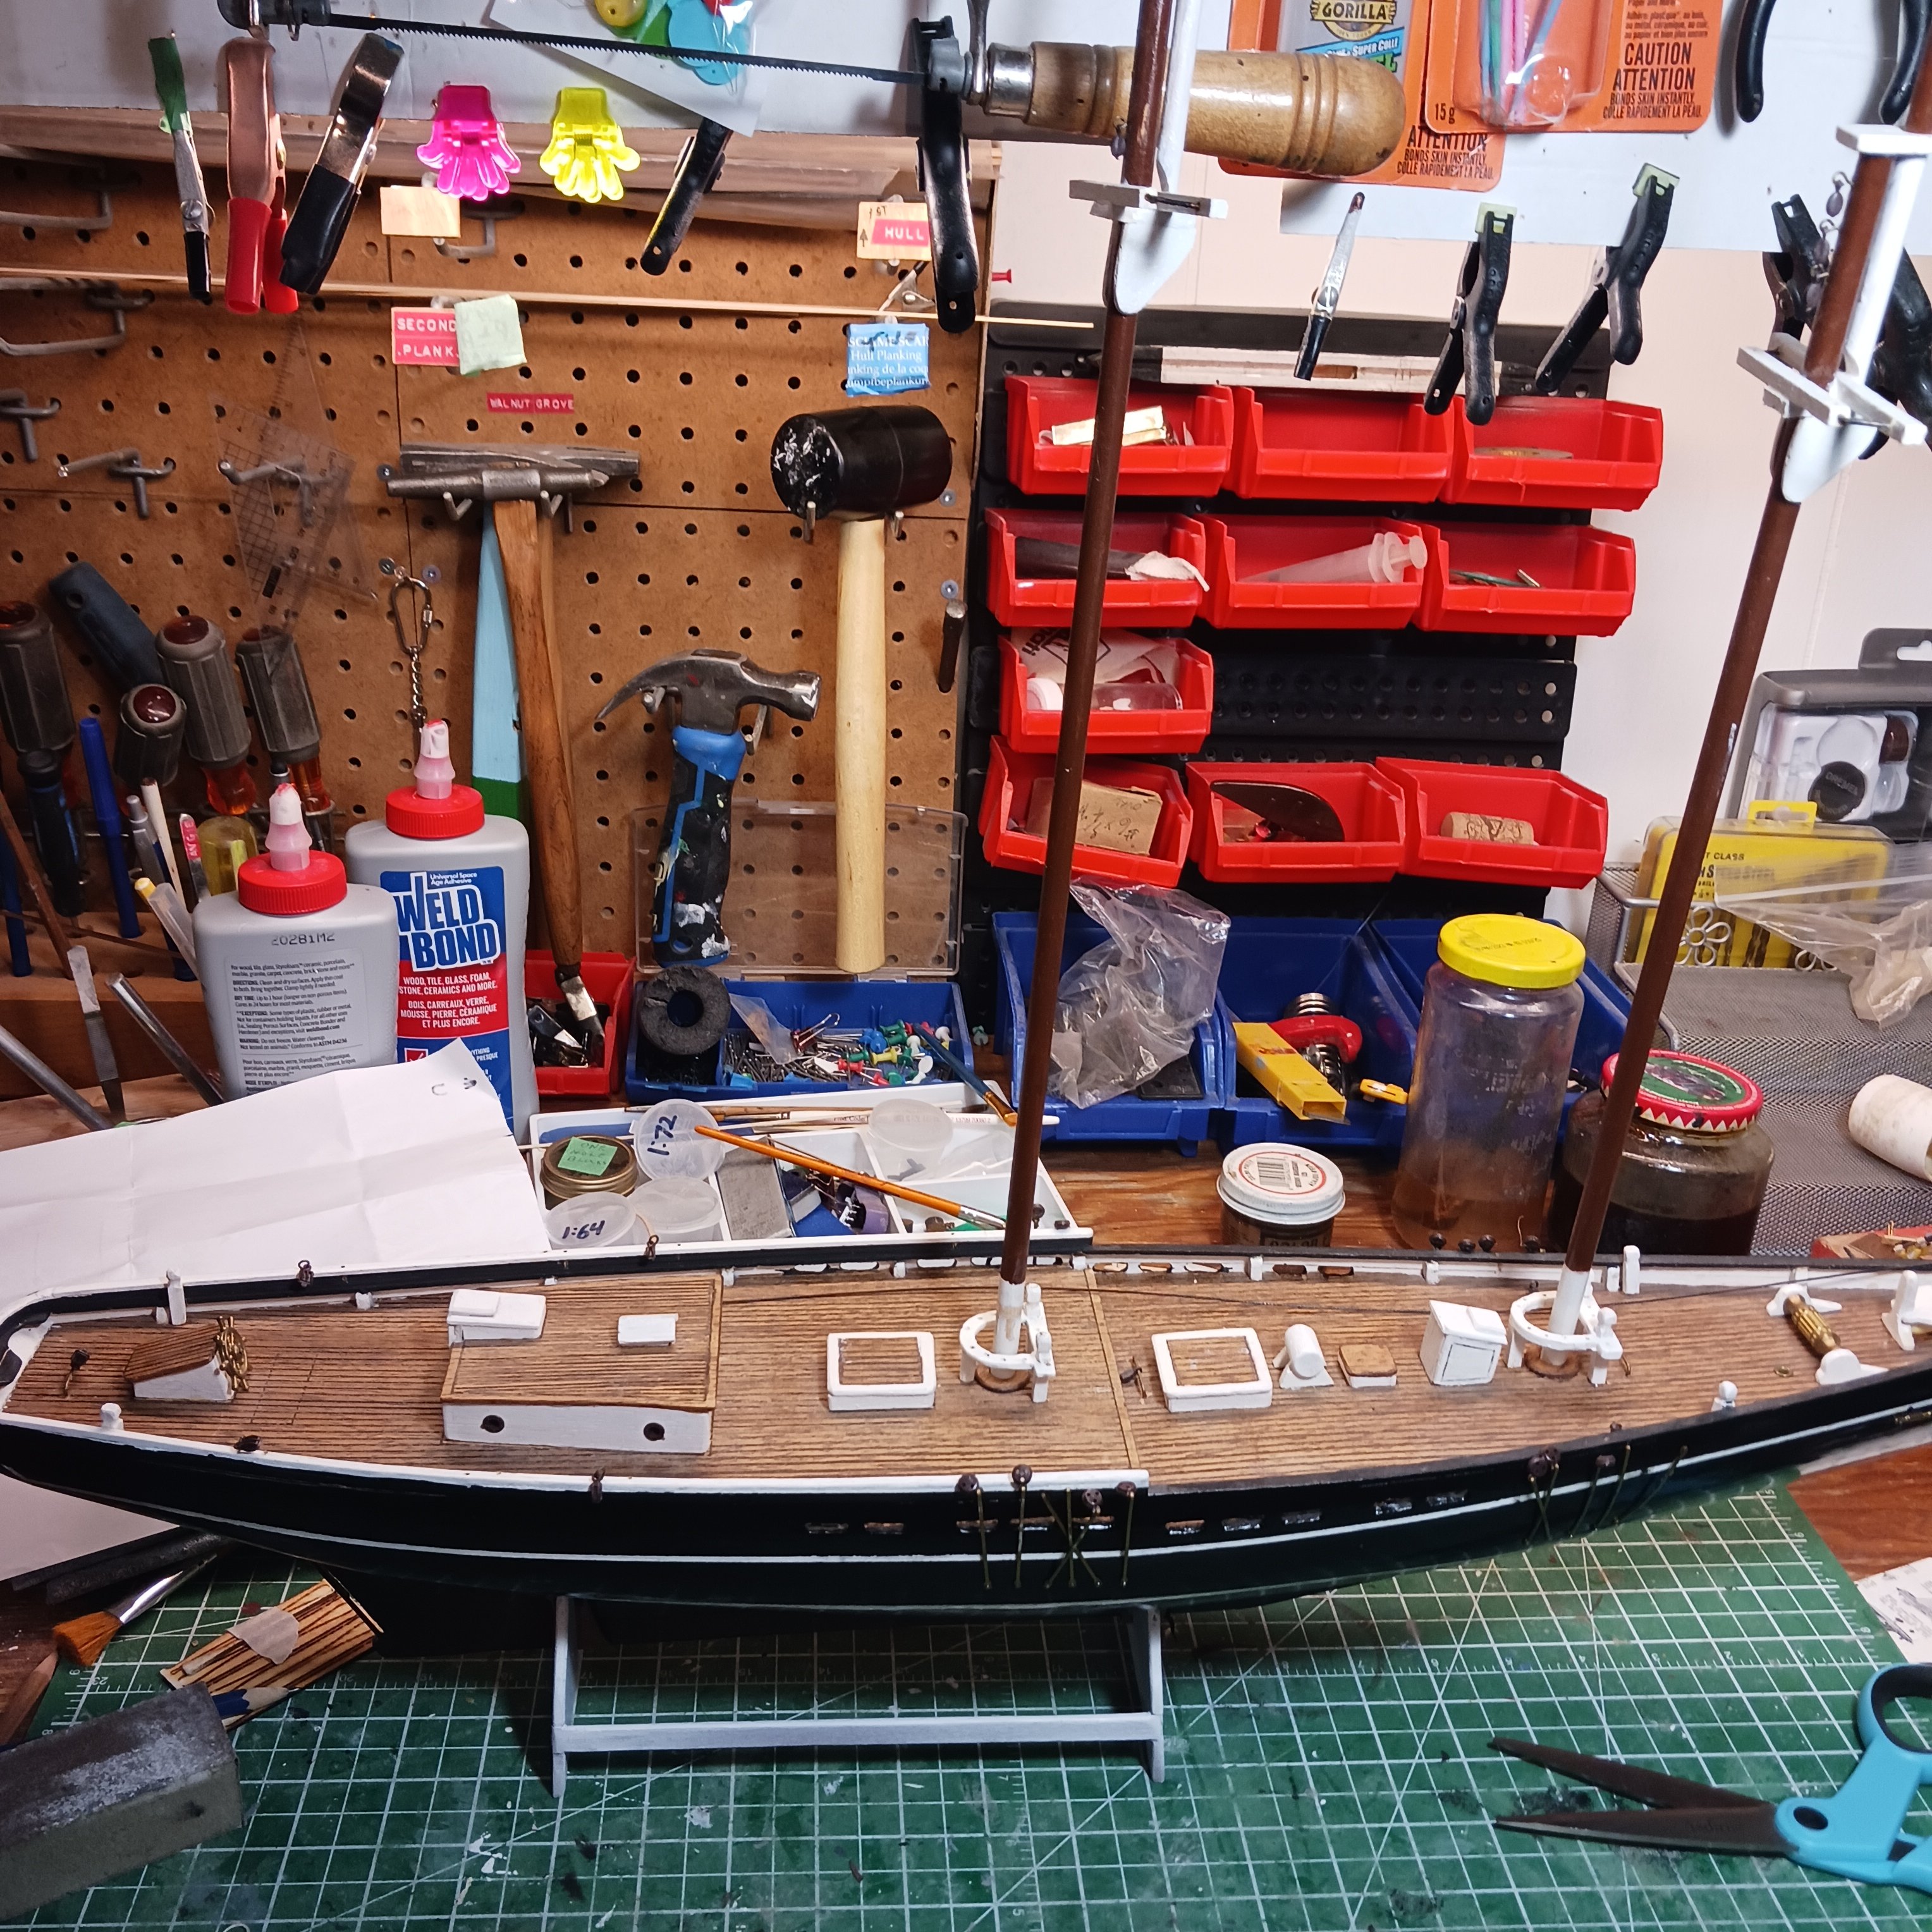
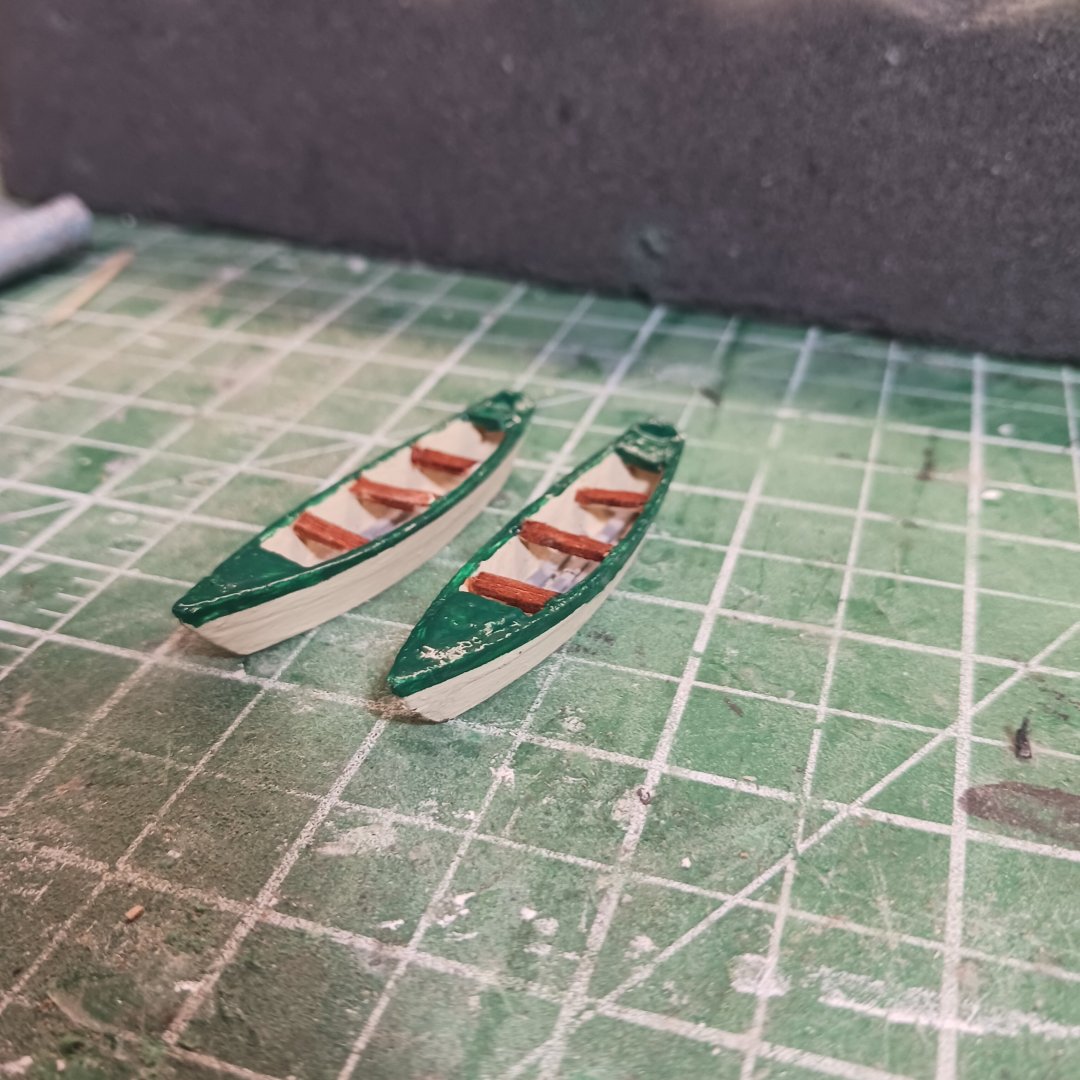
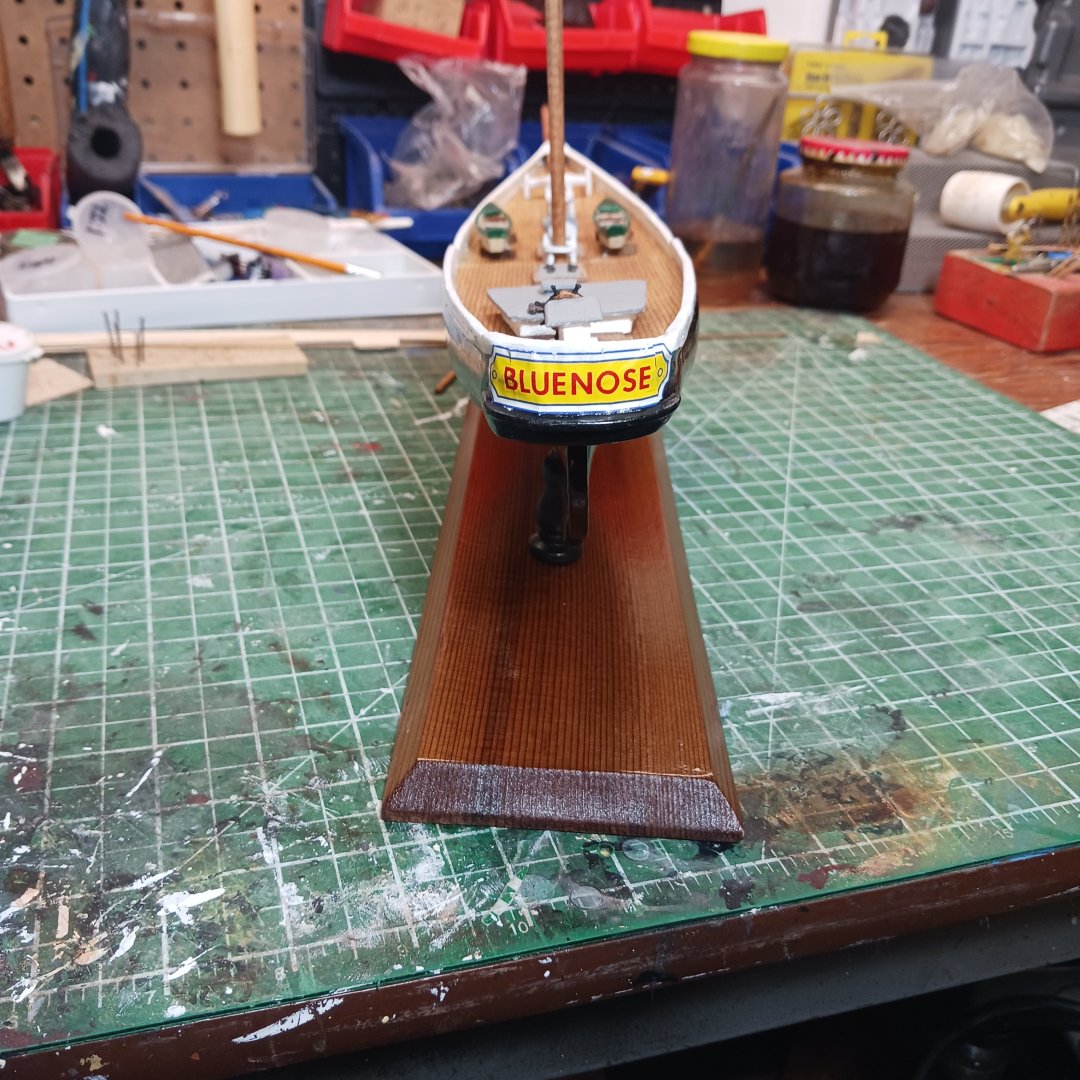
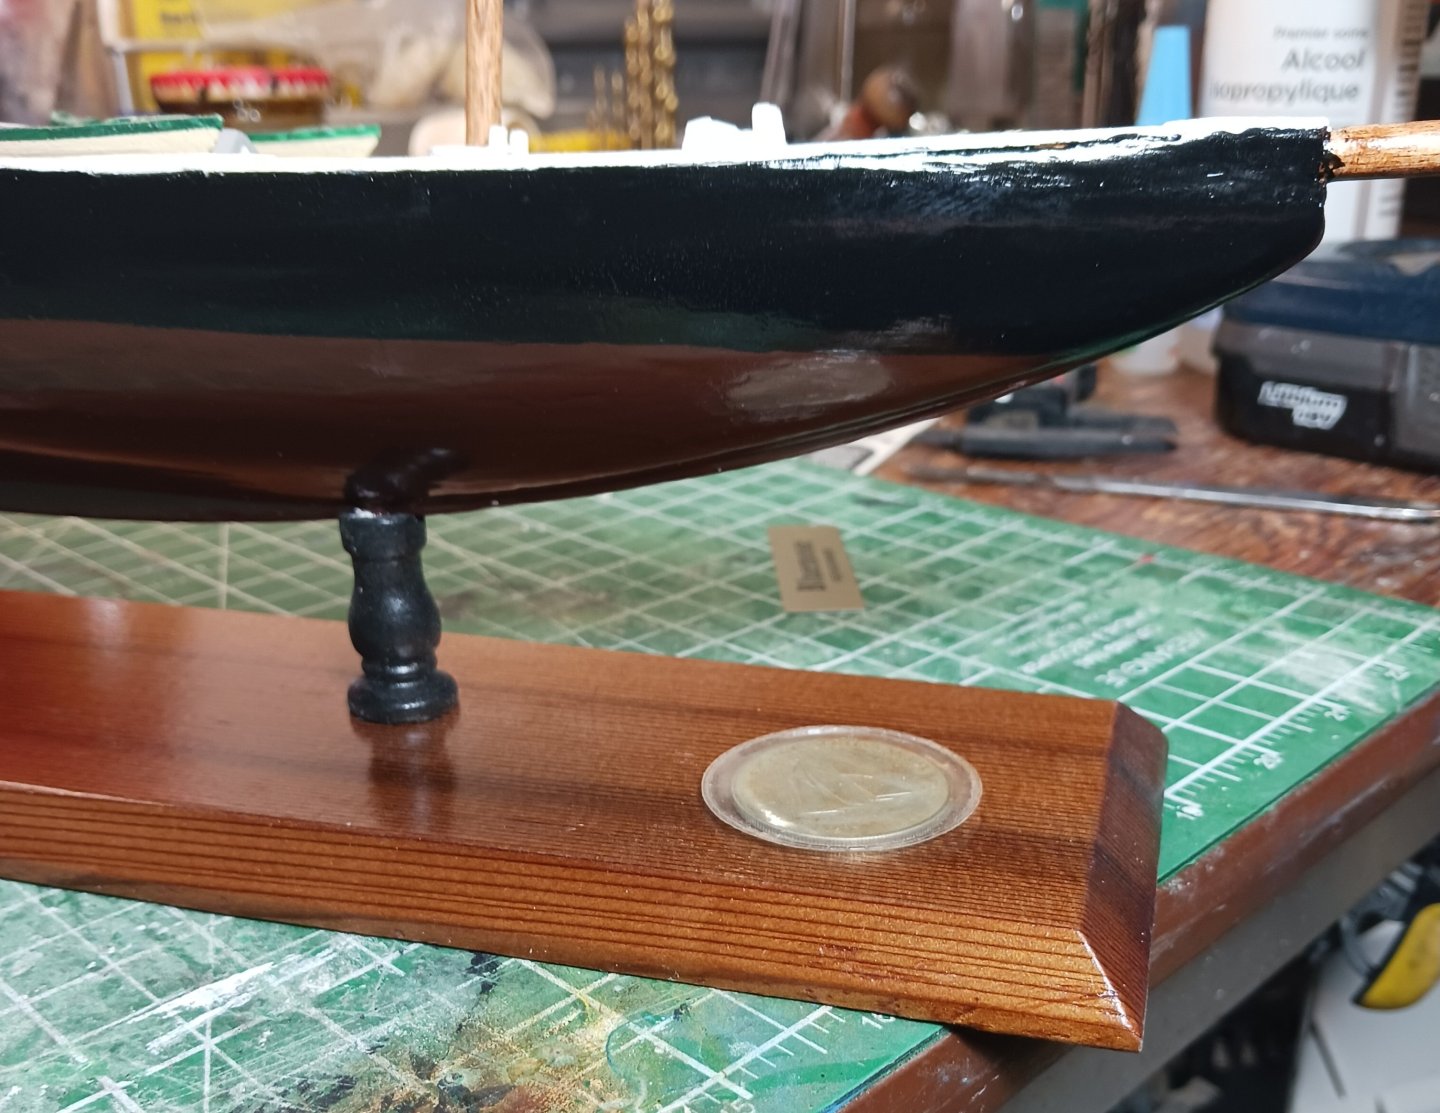
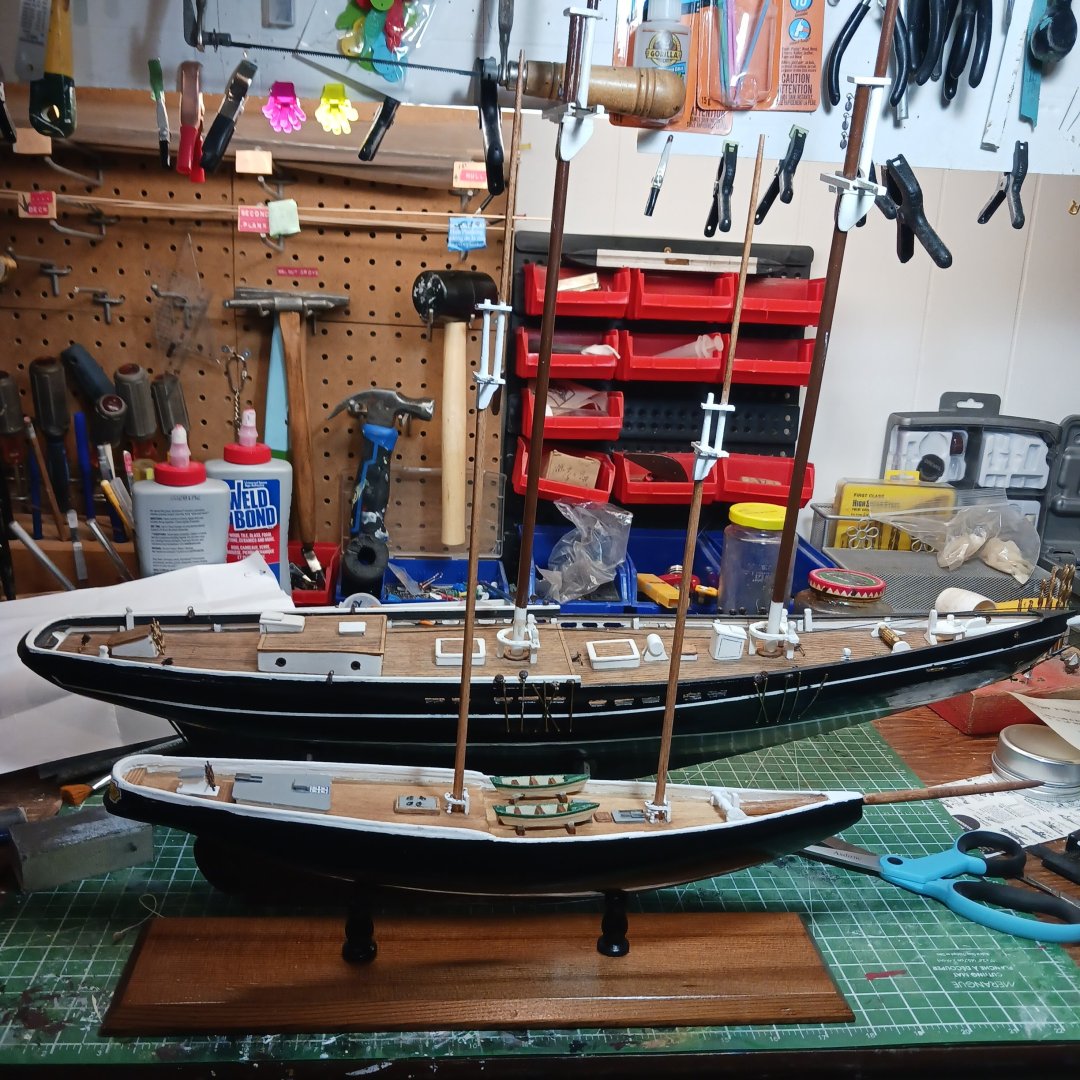
 I made up these little dories, and painted them up. Next up was to put it on the stand, slite damage to the hull It is on the wall side so I may not fix it, only if I have to redo the clear coat for what ever reason lol The decal is old and is in three peices but passable. Loving the shine ,the Bluenose coin shows up really nice. Double your fun , build two ships in one lol. I put the Scientific Bluenose up on the self for awhile. Going to work on the Billings Boat today, repainting the deck furniture as well as the deck. Right after the deck is repainted, I make up the dories for it, this one has four plastic boats, it will be fun. Looking into the rigging and the sails, lots of research is needed here lol. Talk soon , thanks for looking in. Knocklouder


- 19 replies
-
- 2
-
-
- Scientific
- Billings Boats
- (and 1 more)
-
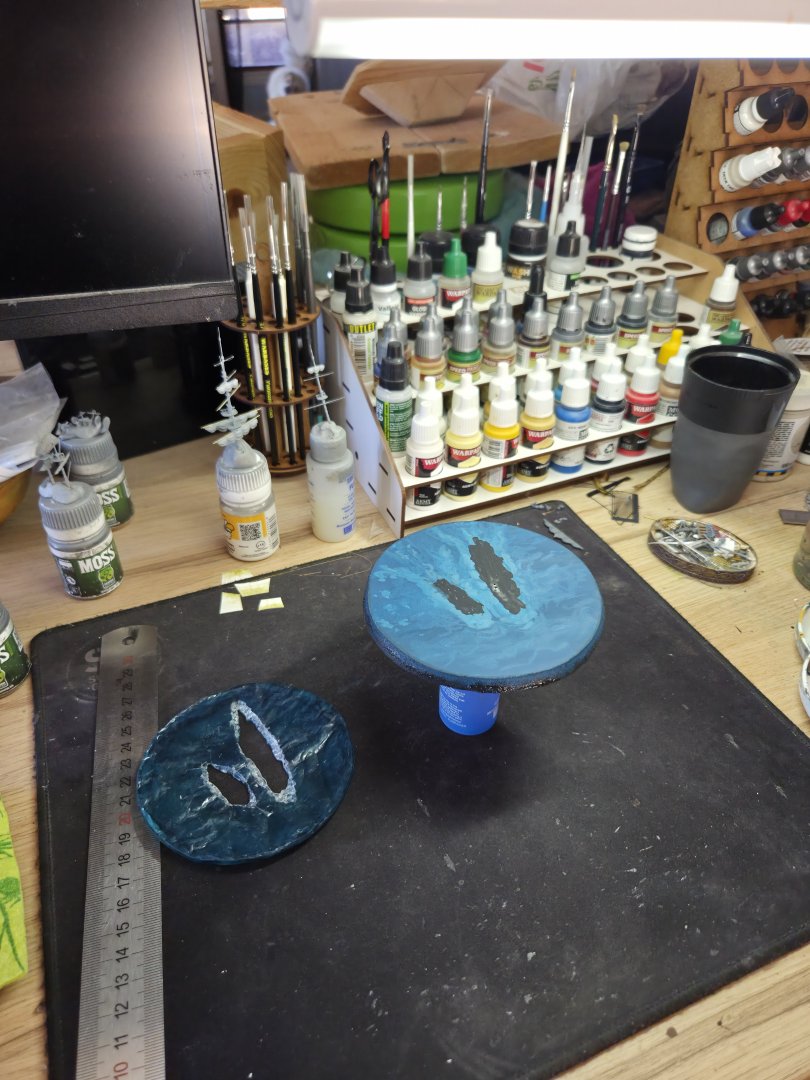
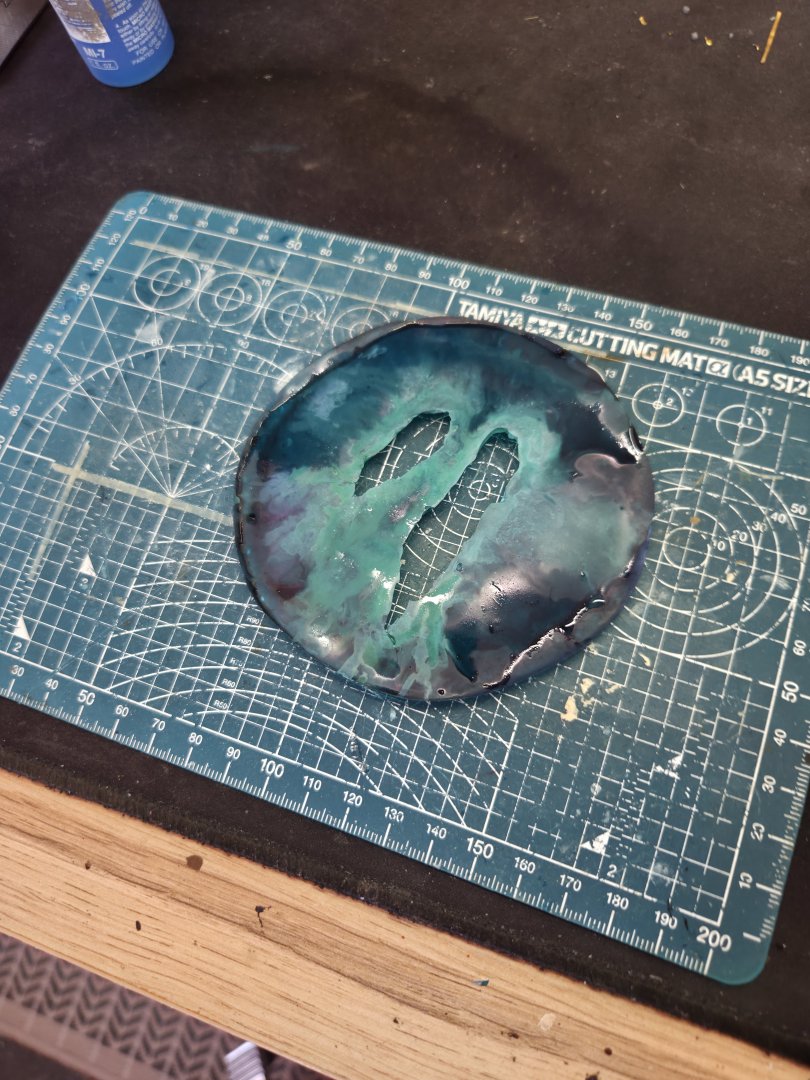
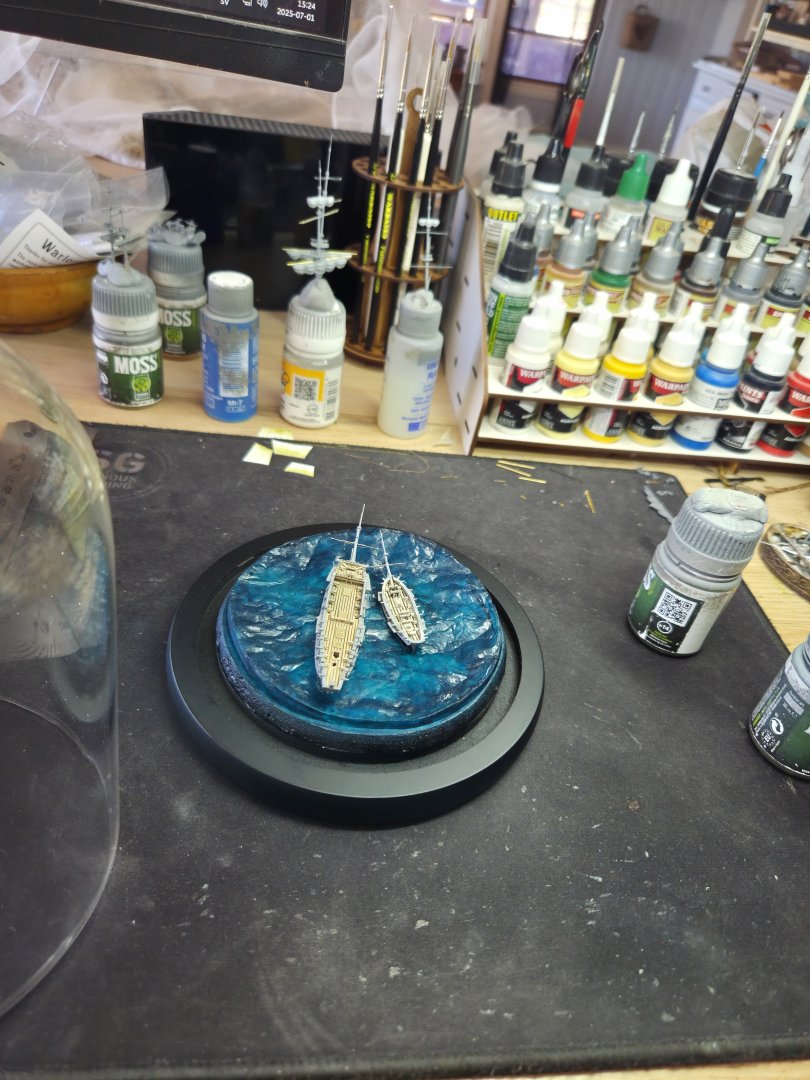
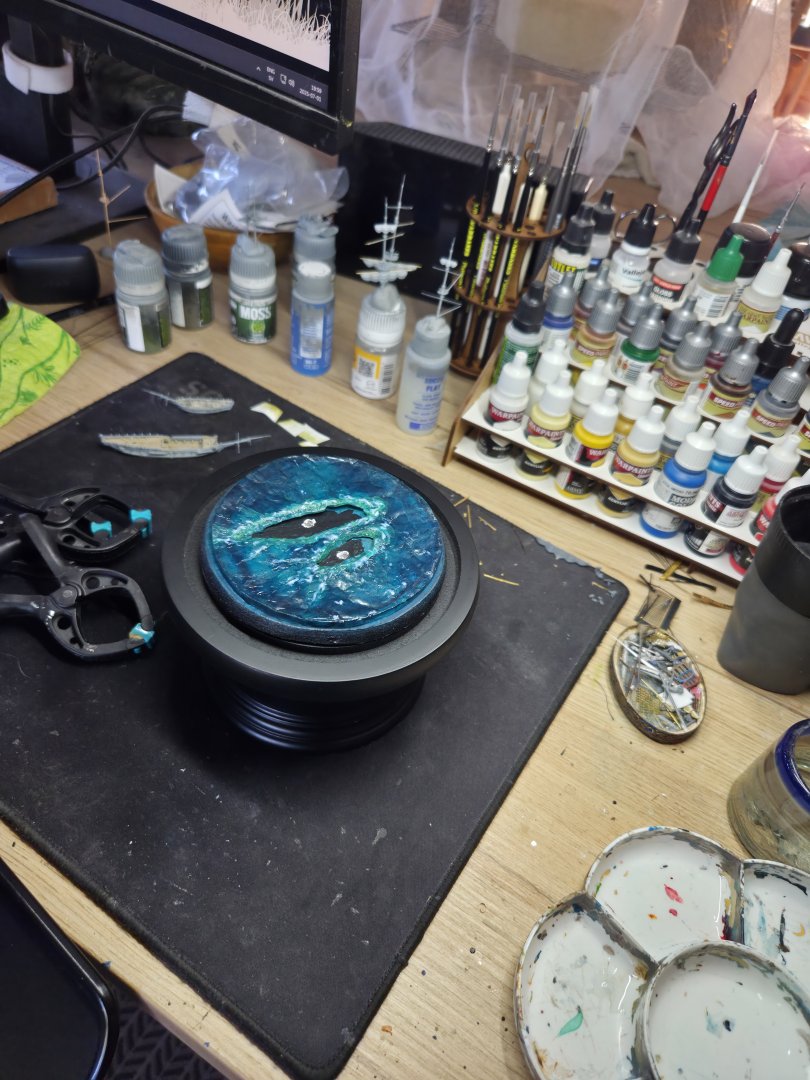
 I was not happy with the water, so I decided to redo the whole base plate. New version is a resin mold I made. Much happier with this look. I hope you agree, if you check previous post with my old baseplate. I also added spars to the masts. Finally I began painting HMS Speedy as she might have appeared in her disguise as a Danish ship. I also did some more work on the base with cannon fire missing speedy and splashing in the water.


-

Admitting some kits are now beyond me.
Gregory replied to bigcreekdad's topic in Wood ship model kits
The rigging is at the heart of the era represented by these ships, i.e., " The Age of Sail ".. I admit, rigging can really bog down the joy of the hobby, for me I try to keep more than one project going so that I can switch back and forth from the different stages. Without sails, you get a nice look with just lifts, halyards and braces. Make it work for you. -
 Thank you Tim! High praise indeed!
 -
I am struggling through the Erycina build. I was pretty much OK until I got to the rigging. Likely just my age, but the rigging plans are confusing to me. I decided to study Glenn's build log, which is a master piece BTW, and it was helpful showing close ups of most of the rigging process. However, I am finding this so challenging any progress I do make is so slow as to make it "no fun" anymore. I think Vanguard's kits are absolutely top shelf for the most part (still not crazy about etched brass fittings of the size in the kit), but that;s just my opinion. Not only in my late 70s which (whether you admit or not) makes it harder to figure things out, but also, due to an occlusion (ie stroke) in my right eye many years ago I am blind in much of the lower eye. But, I absolutely am not willing to quit this hobby. I think I need to look for a kit that is a bit easier on the mind and eyes. I have a longboat in the wings and I will likely start that soon, but I want to find a ship as well....obviously larger scale and less complex rigging. I recently bought Vanguard's cutter Alert kit. The kit looks awesome, but looks more complex than Erycina. Rather than struggle through it, I will be selling it (totally intact kit) and search for something else. I would appreciate any thoughts. I have completed so far Ochre's Dos Amigos, Model Shipways Bluenose Caldercraft's Sherbourne, Pickle and Mortar Vessel Convulsion.
-
 There must be some hidden award for who can put their pram on hold for the longest. Pram looks great, and good idea with the dust collector. That's part of what's been keeping me since I'm in a carpeted rec room it makes such a mess!
 -
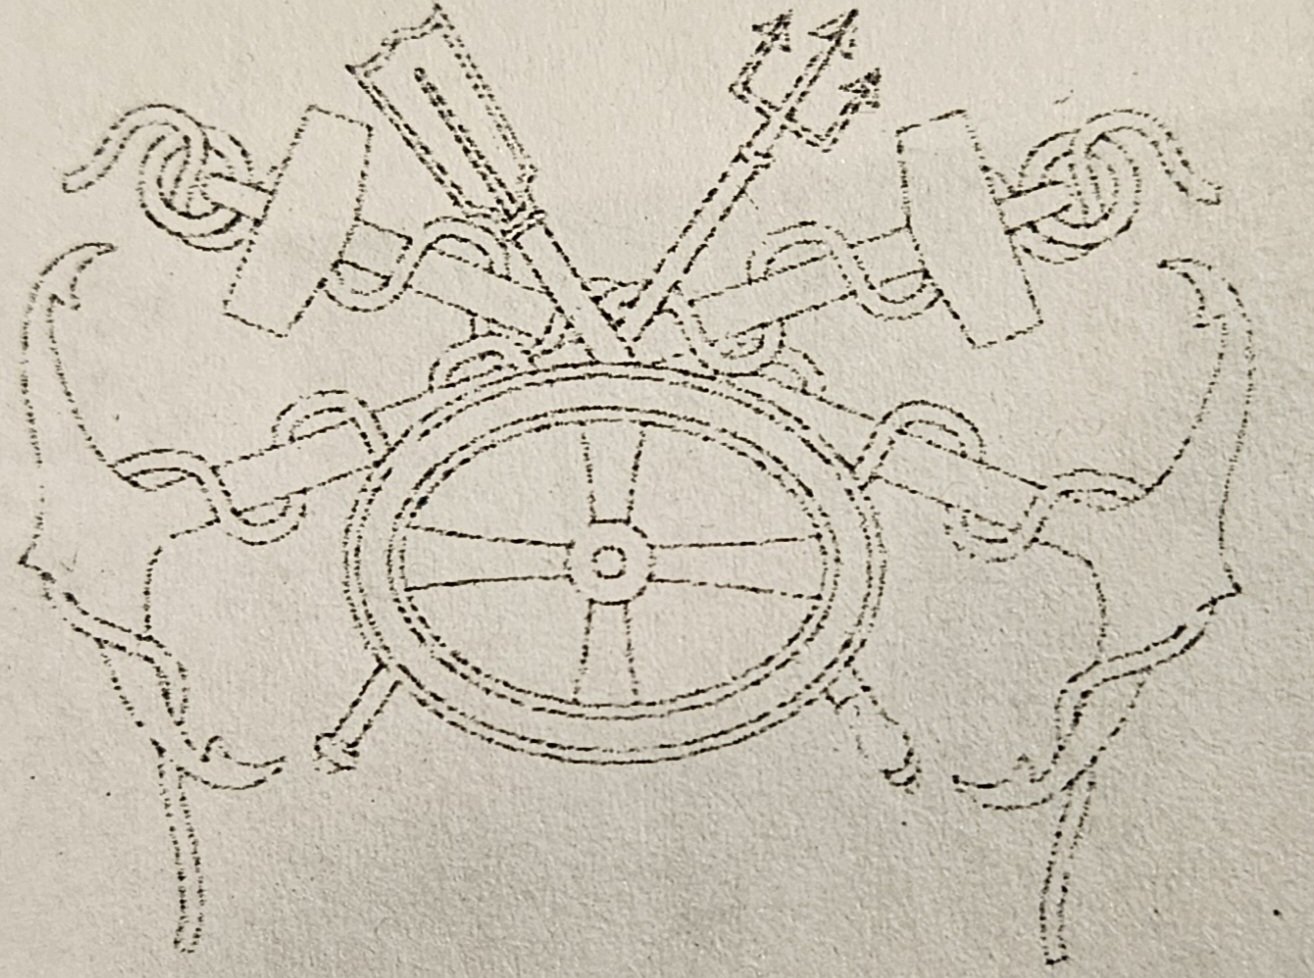
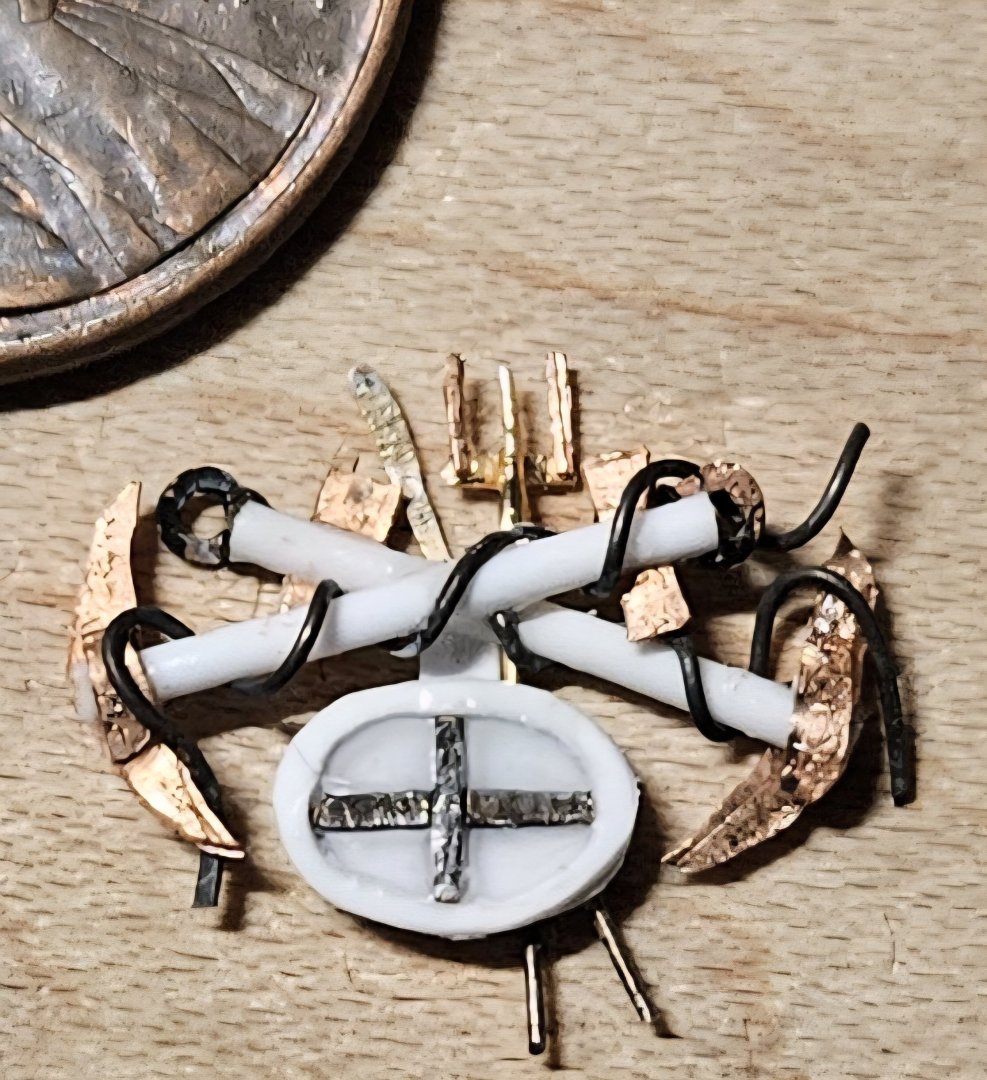
 Phew... this 4th Trophy Of War has been the most complicated yet. This is what I ended up with, and paired with the drawing that I was trying to emulate. Without a doubt, wrapping the "rope" around the anchors was the most difficult part of this exercise! I still have to add a tiny piece of rope to the upper left anchor eyelet, but I want the glue bonds to dry thoroughly first. I continued my extensive use of copper wire, tapping different guage sizes into flat sheets to make the flukes, the decorative bands on the shield, the fletching of the spear, etc. I am finding that in some situations, using copper wire is easier/faster than using Evergreen sheet or ApoxieSculpt. For example, several light taps on 28 guage copper wire made a plausible fletching on a spear. I manufactured all of the component parts for both TOW before assembling both together at the same time. My other TOWs followed a predicatable pattern... make the first set and then decide I can do better. I will NOT make this set over... I can live with this! And a parting shot from normal viewing distance.... yeah, I can live with this first effort.


- 344 replies
-
- 2
-
-
- 1/100 Scale
- soleil royal
- (and 1 more)
-
 Yep, THAT'S the correct Cyrillic!
 -
 Im really looking forward to seeing her all faired out.
 -
 Good Job and progress. I never understood why these kit manufacturers always store the stun-sl booms in this fashion? They remove the boom from the inside ironwork and elevate and cross them. I've not seen this in any images of any clippers I have ever modeled...or seen, just models.. You would have to push the boom out pretty far, to remove it from the inside iron......then pull it back in and then elevate and cross it, with the opposing boom...then tie them off. Possibly this was some captain's method of *trimming* his ship, while in port for some long stay. A lot of man hours for an unnecessary practice. Forgive the rant. You're nearing the finish line.......😁 Rob
 -
George, Not trying to shirk your question, but copyright law has been discussed elsewhere on the forum. You can find some of these discussions here. Also, since you are a resident of the UK, I cannot be too dogmatic about the rules, since some of the finer points of copyright law may differ on your side of the pond. You can likely find the answers you're looking for at https://www.gov.uk/copyright. Cheers!
-
The Gokstad Ship 900 AD by Siggi52 - 1:50
ccoyle replied to Siggi52's topic in - Subjects built Up to and including 1500 AD
No need. I think the two gentlemen have each made their point as far as this build is concerned. -
 Thanks Paul 😀