James H
-
Posts
6,135 -
Joined
-
Last visited
Content Type
Profiles
Forums
Gallery
Events
Everything posted by James H
-

ancre Coureur by cafmodel - 1/48
James H replied to cafmodel's topic in - Build logs for subjects built 1751 - 1800
Hi Tom, Sent you a message. -
New to modeling where to post a kit build for advice?
James H replied to bosco72's topic in New member Introductions
-
There are so many different textured. sheets of flat styrene available, yet I always wondered why you couldn't buy a timber textured one. 🤔
-
Click on the tags in the title above (shown in black) for an instant list of all the build logs for that kit subject.
-
- 1
-

-
- Dusek
- Statenjacht
- (and 15 more)
-
Click on the tags in the title above (shown in black) for an instant list of all the build logs for that kit subject.
-
- 2
-
-
- granado
- salamandre
- (and 7 more)
-
I was thinking about a very thin and narrow piece of ply, maybe about 4 inches long, and wrapped in abrasive paper. Anything with varying densities could mean than they'll not act as a bulwark against any internal irregularities.
- 322 replies
-
- 3
-
-
- enterprise
- caf
- (and 1 more)
-
She's looking great. I've never had to fair the inside of a hull before, so let me know how that goes.
- 322 replies
-
- 3
-
-
- enterprise
- caf
- (and 1 more)
-
Please ignore the main mast nearest shroud. I just needed to lift over a couple of lines to get everything into alignment at the mast top.
- 117 replies
-
- 1
-
-
- vanguard models
- yacht
- (and 2 more)
-
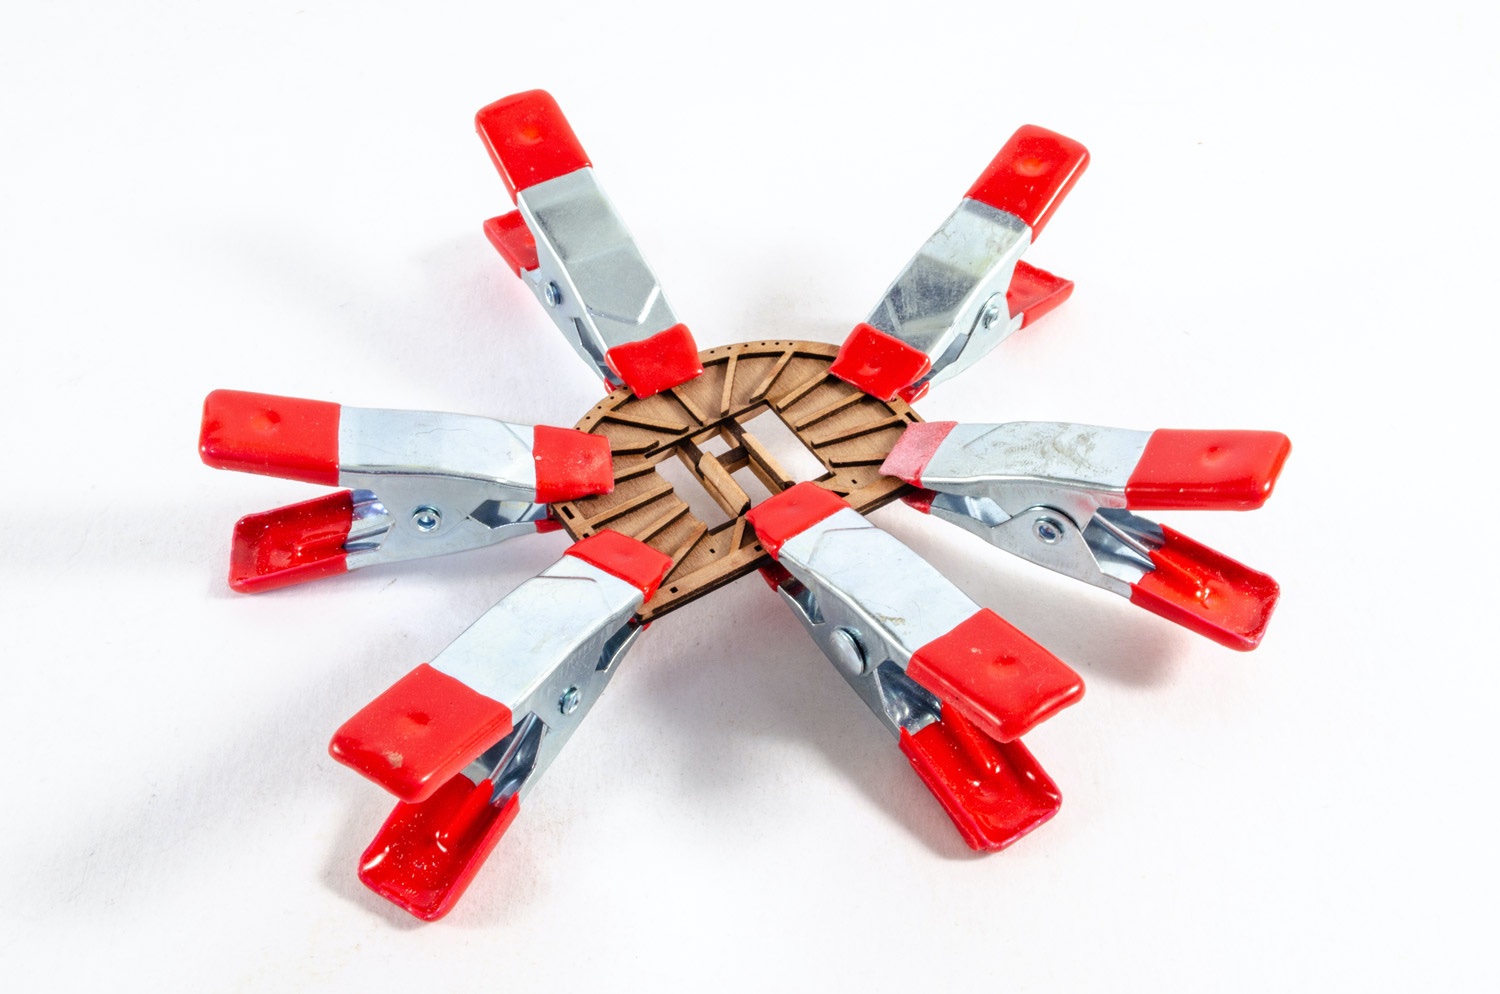
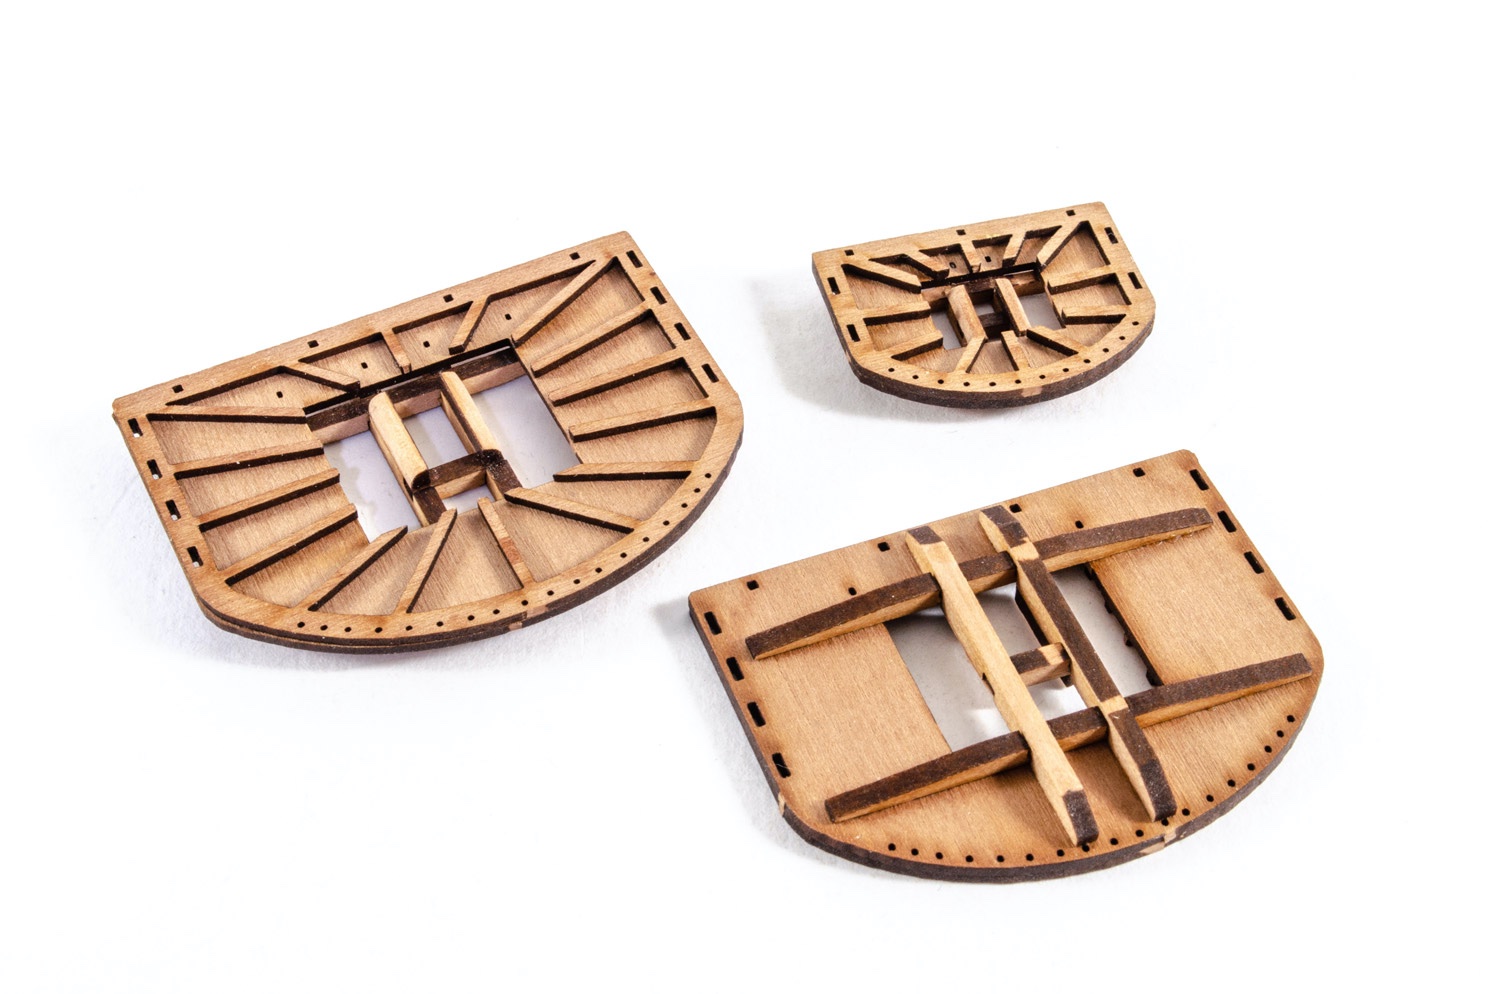
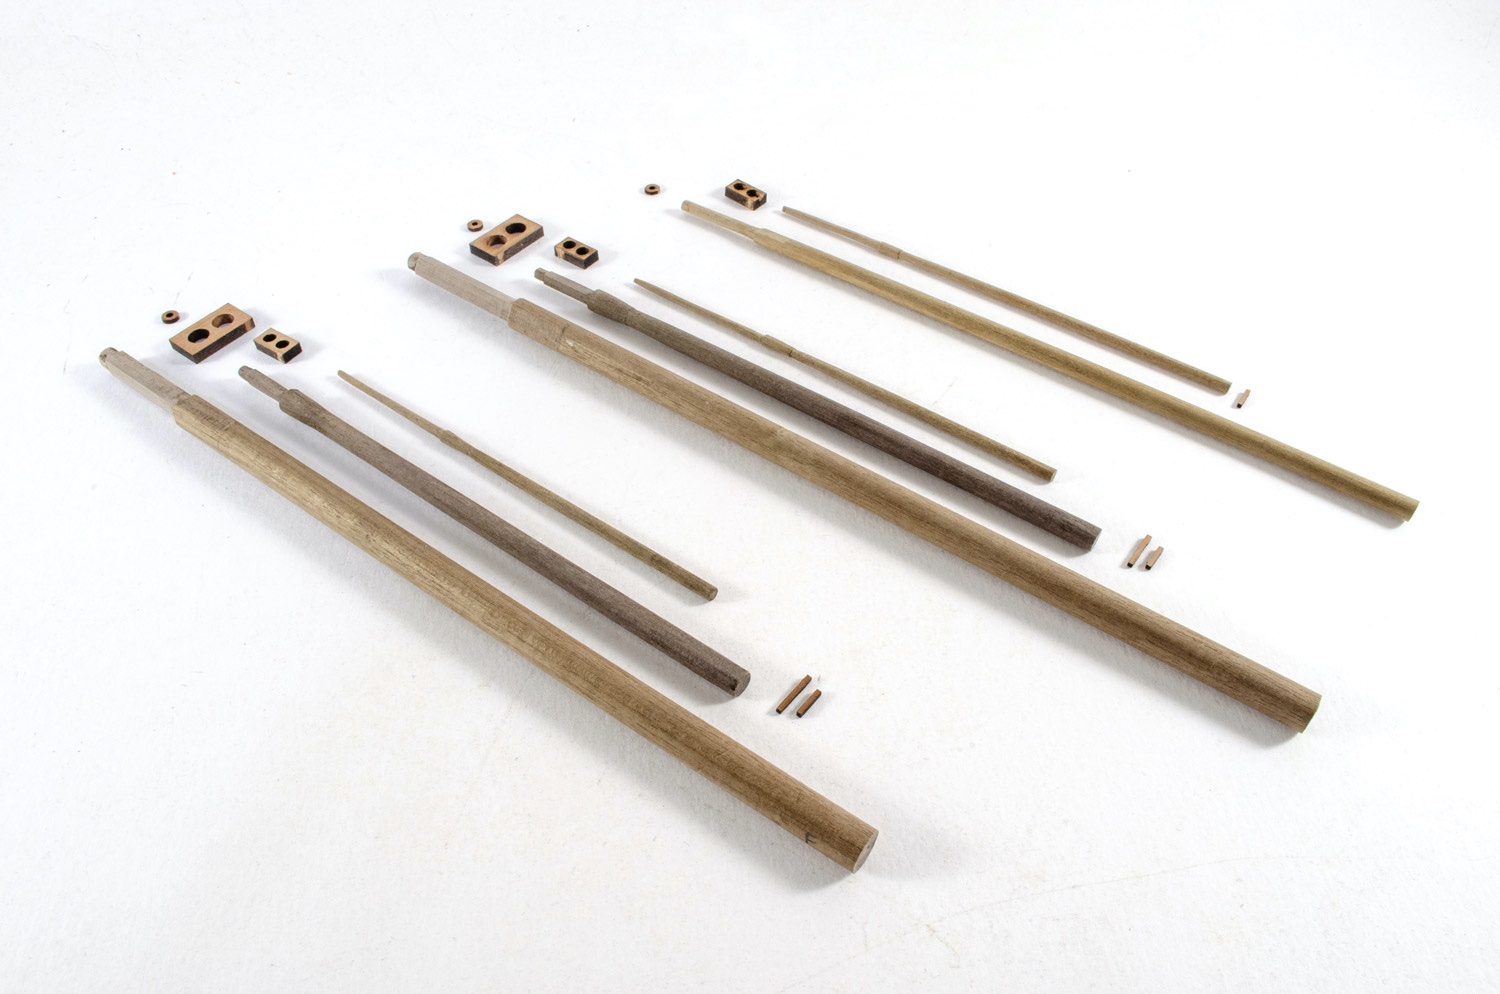
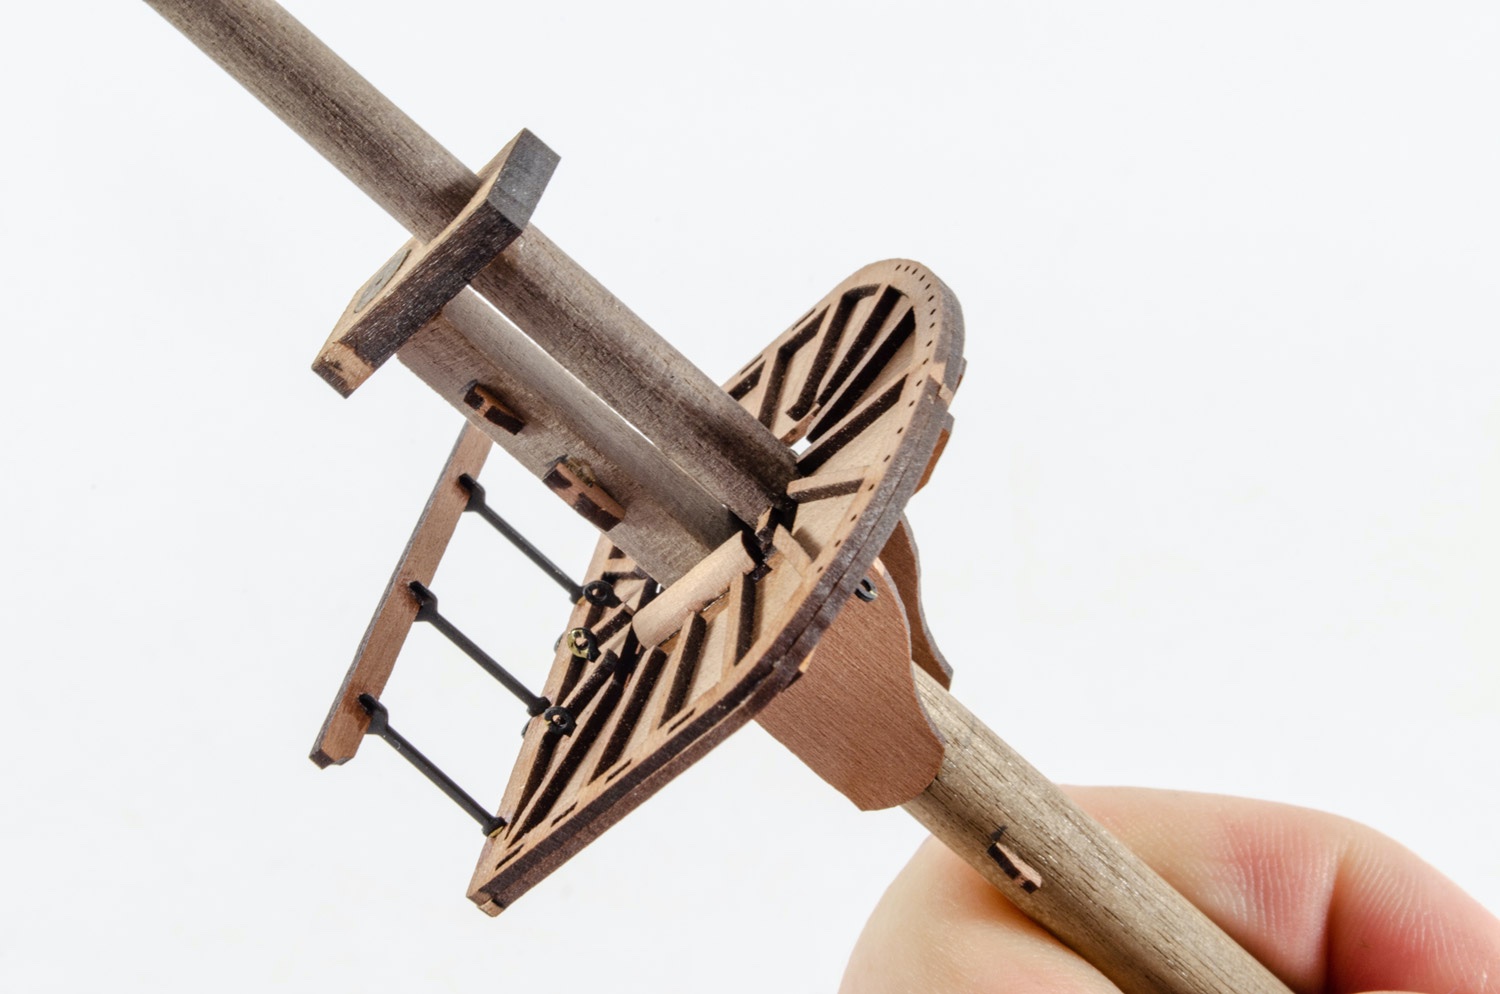
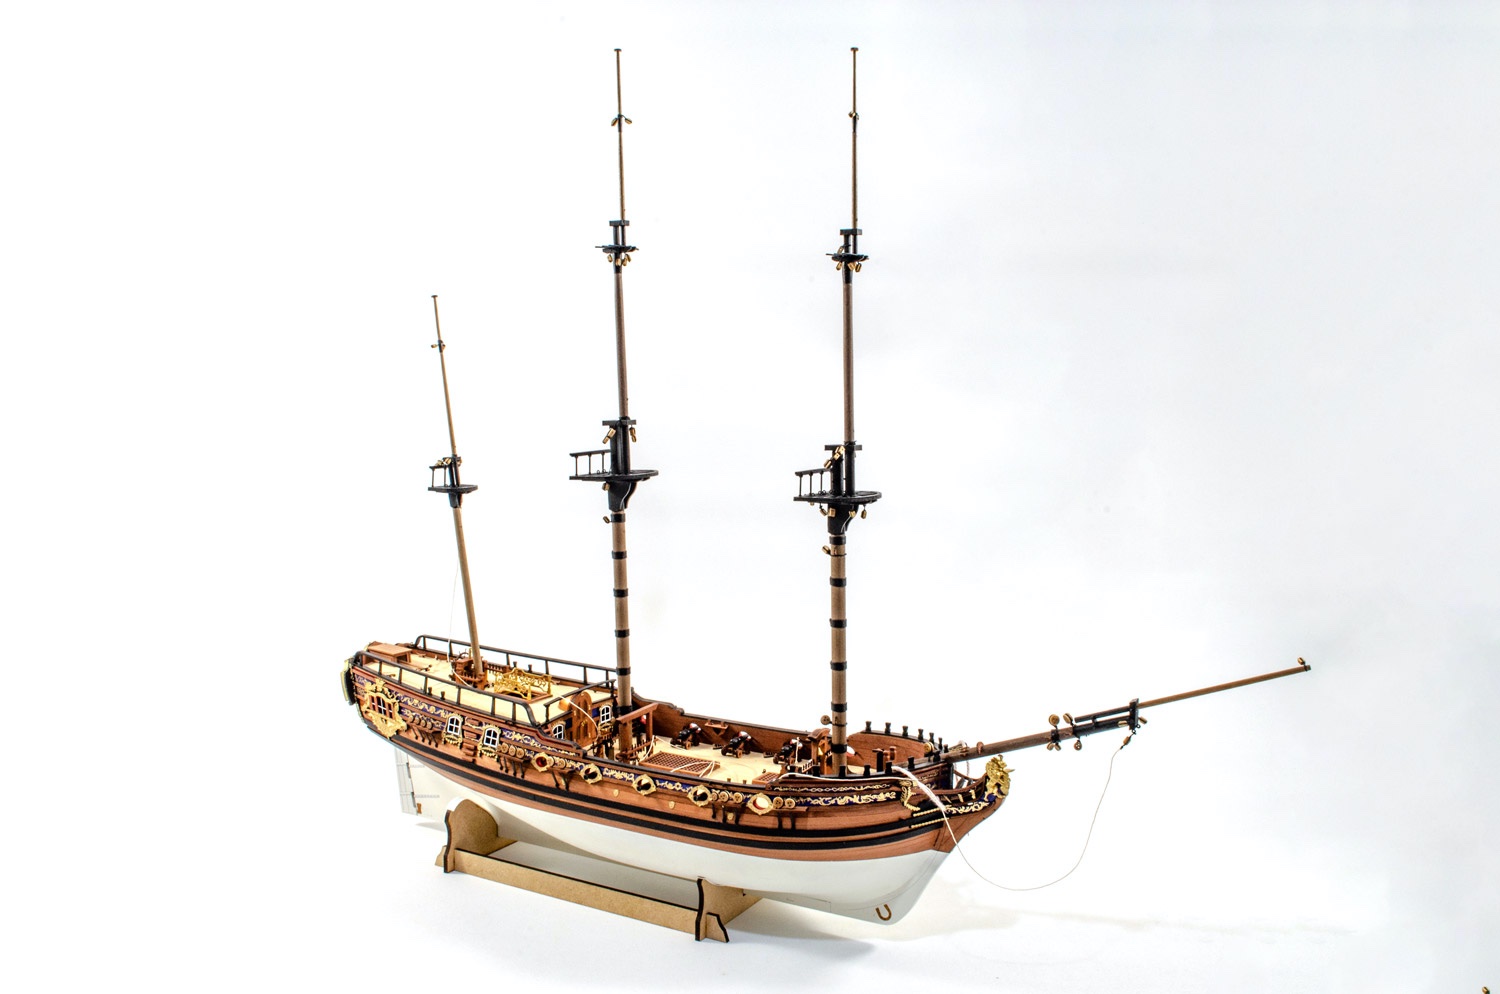
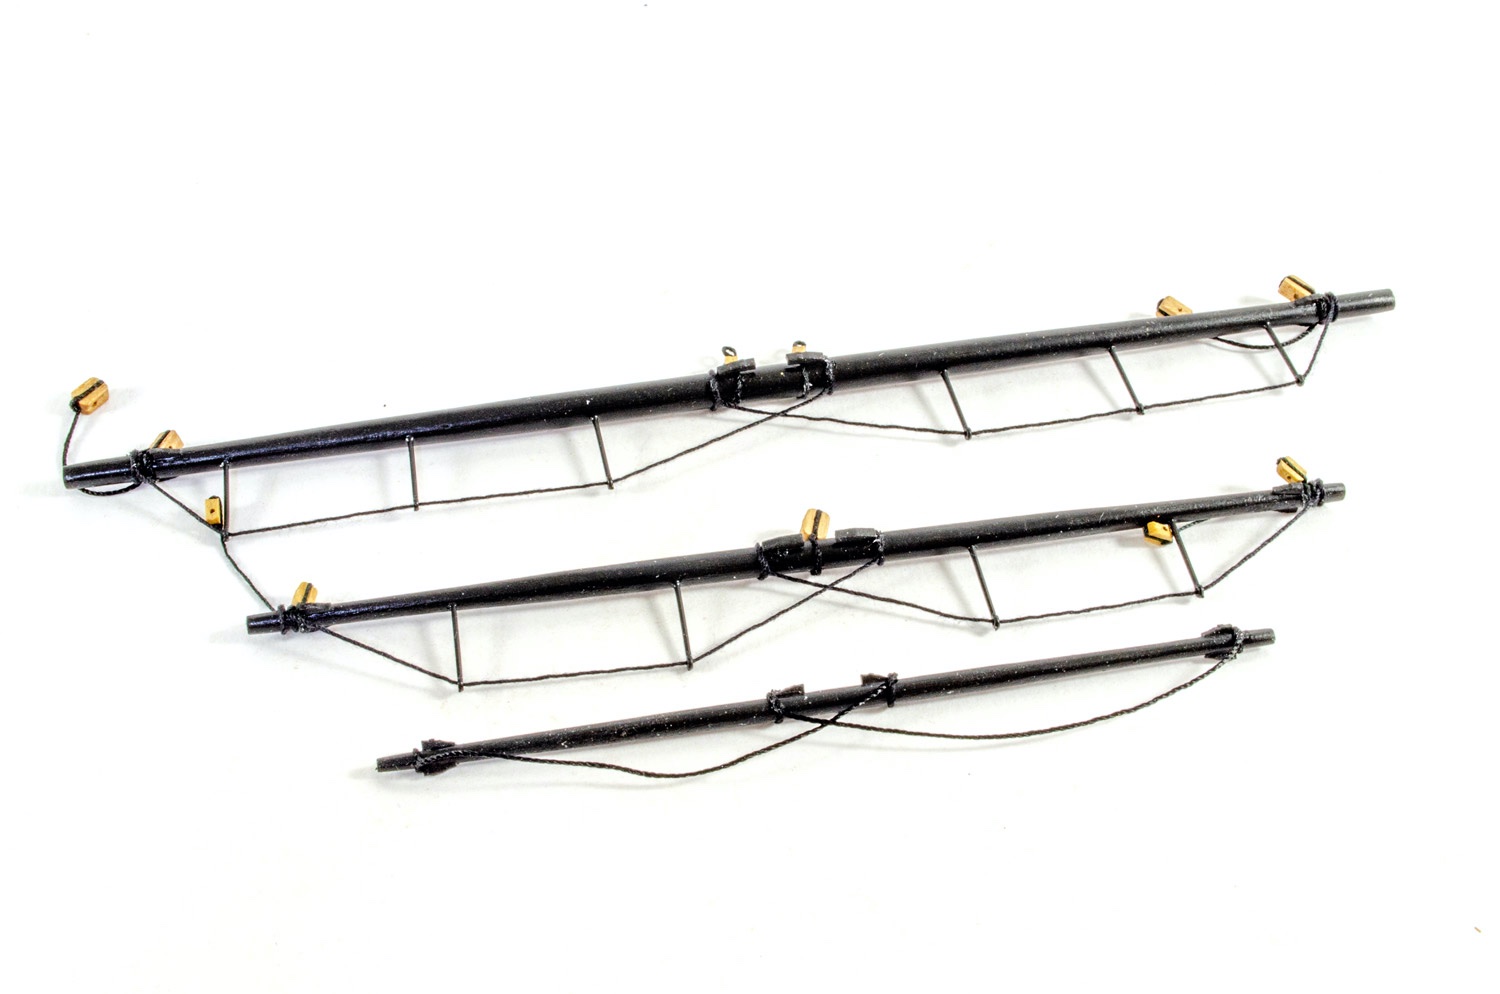
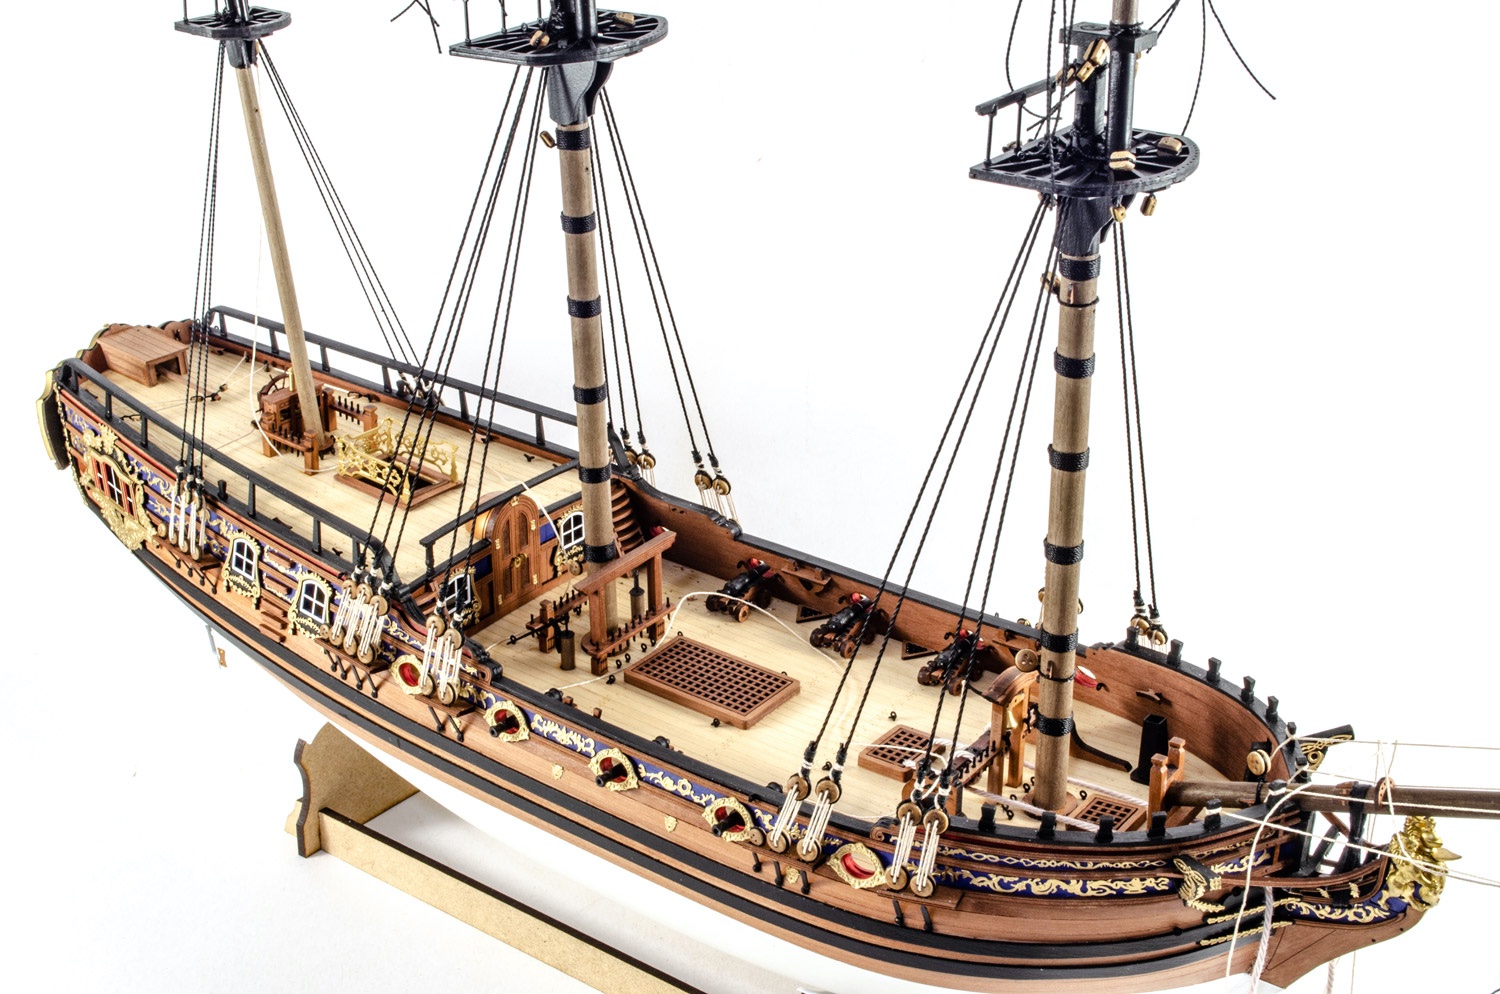
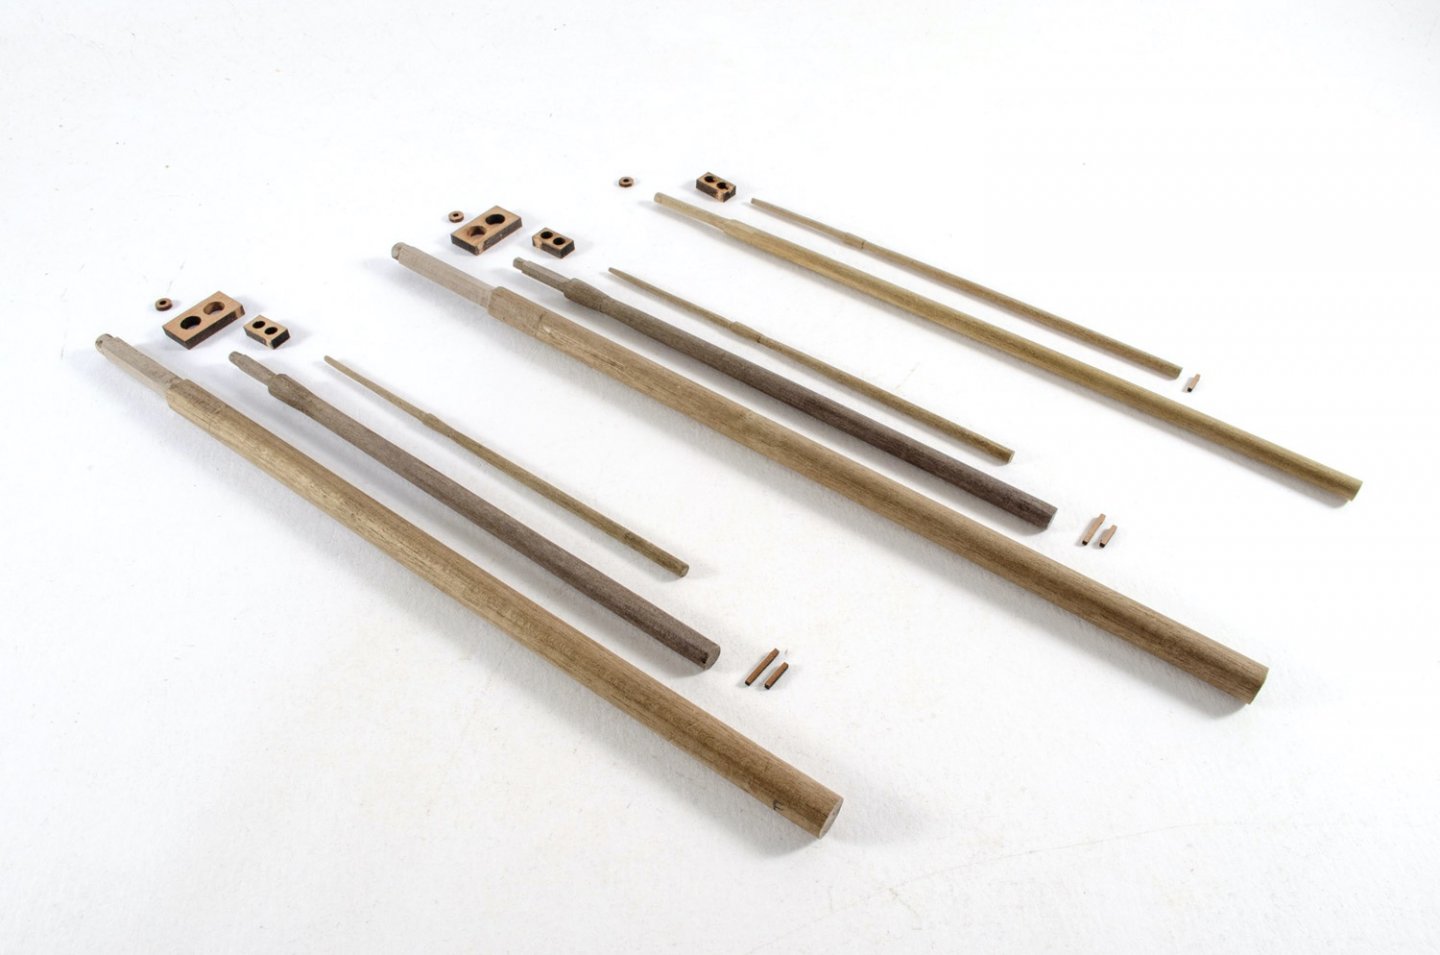
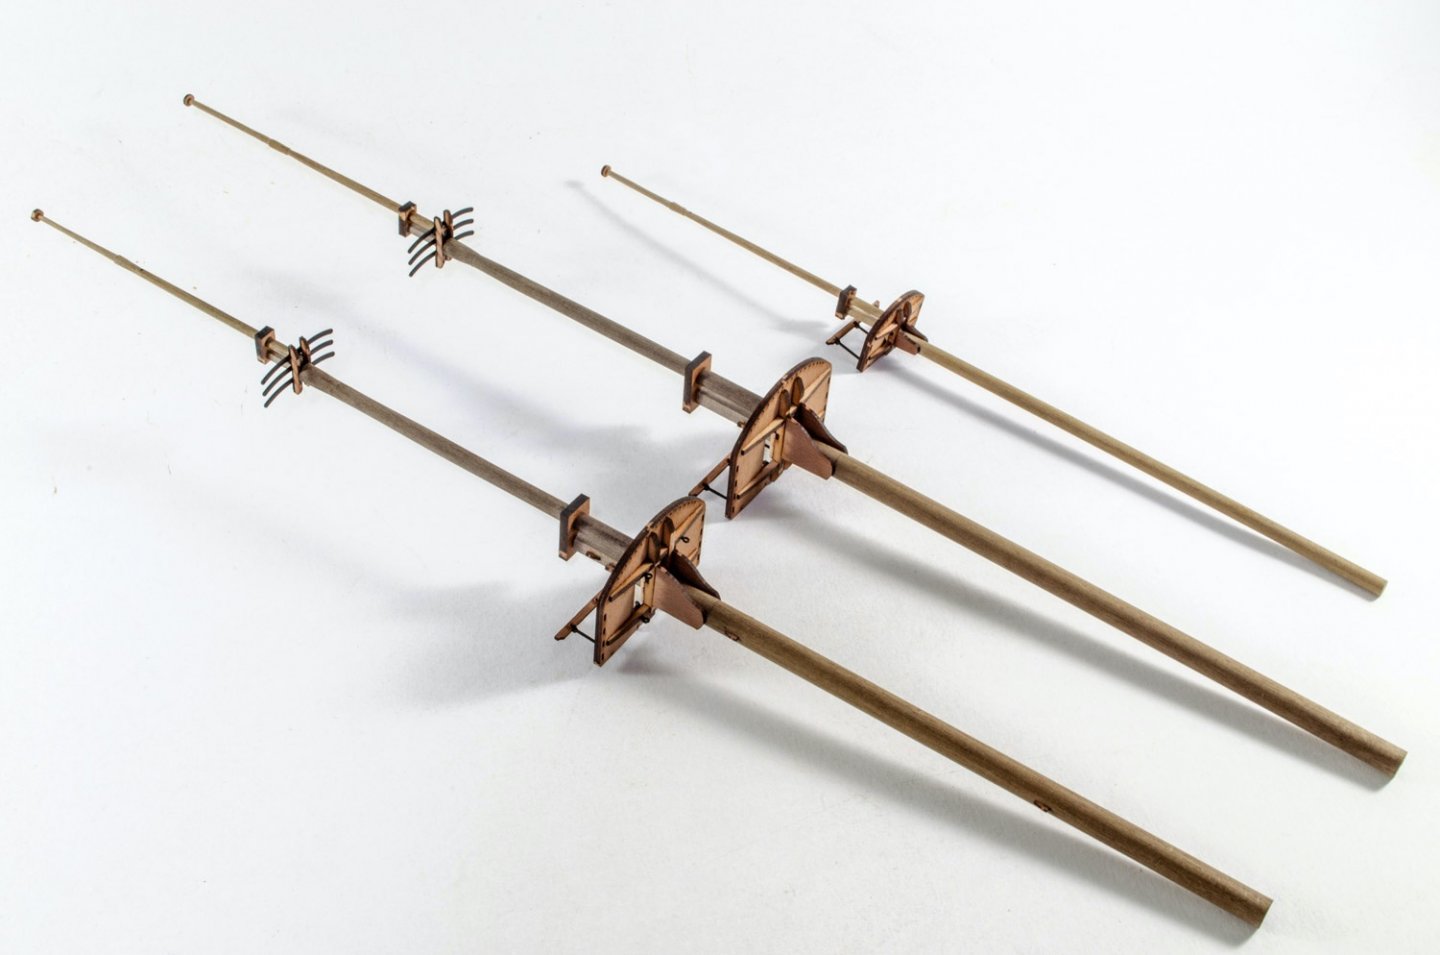
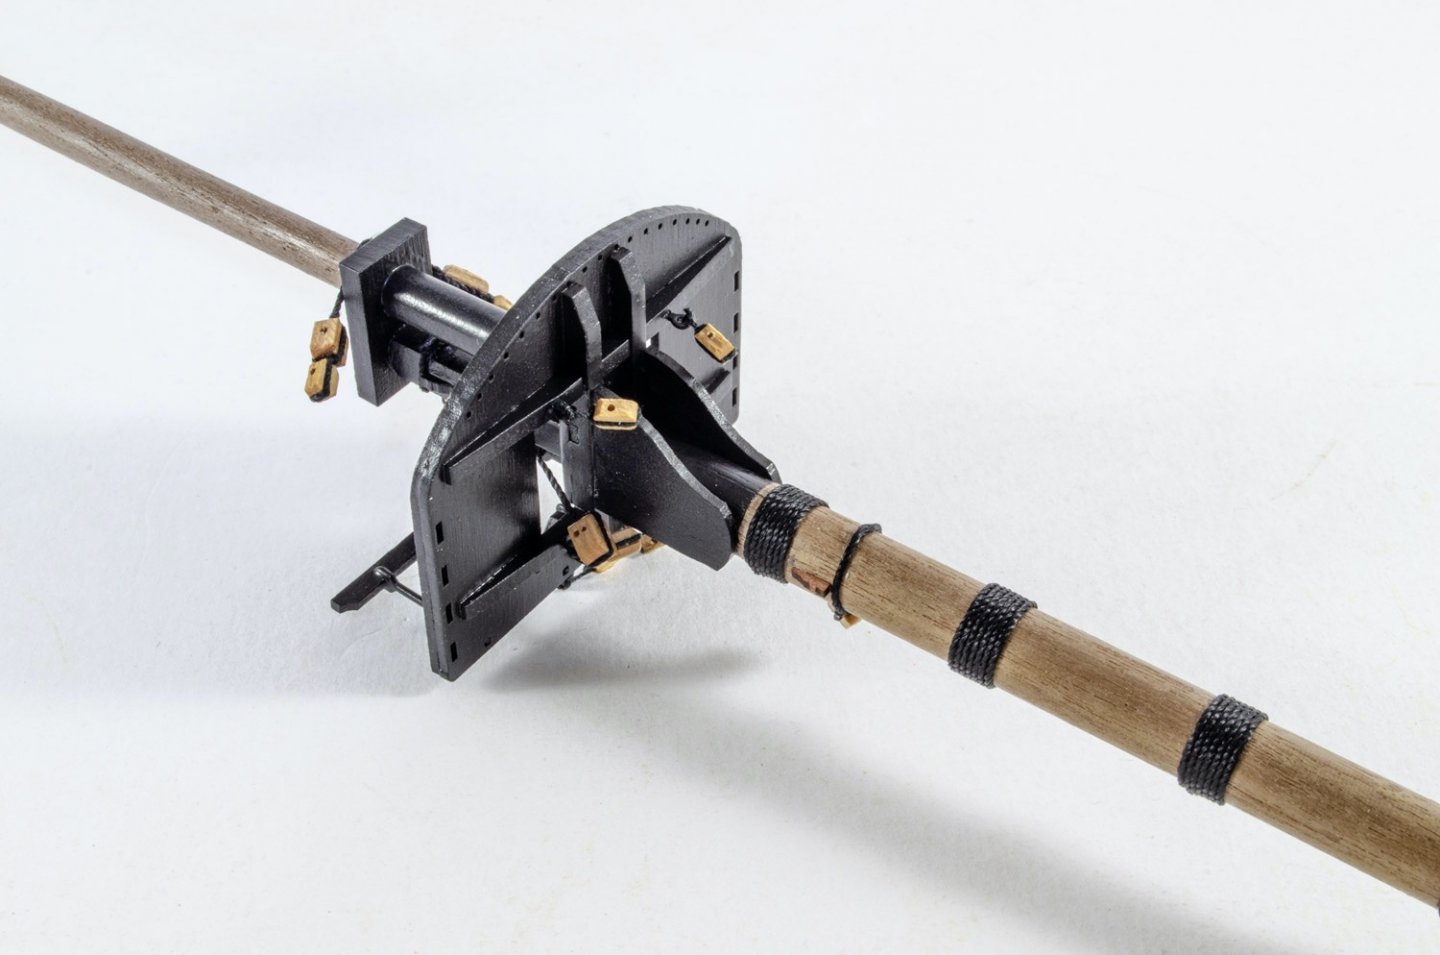
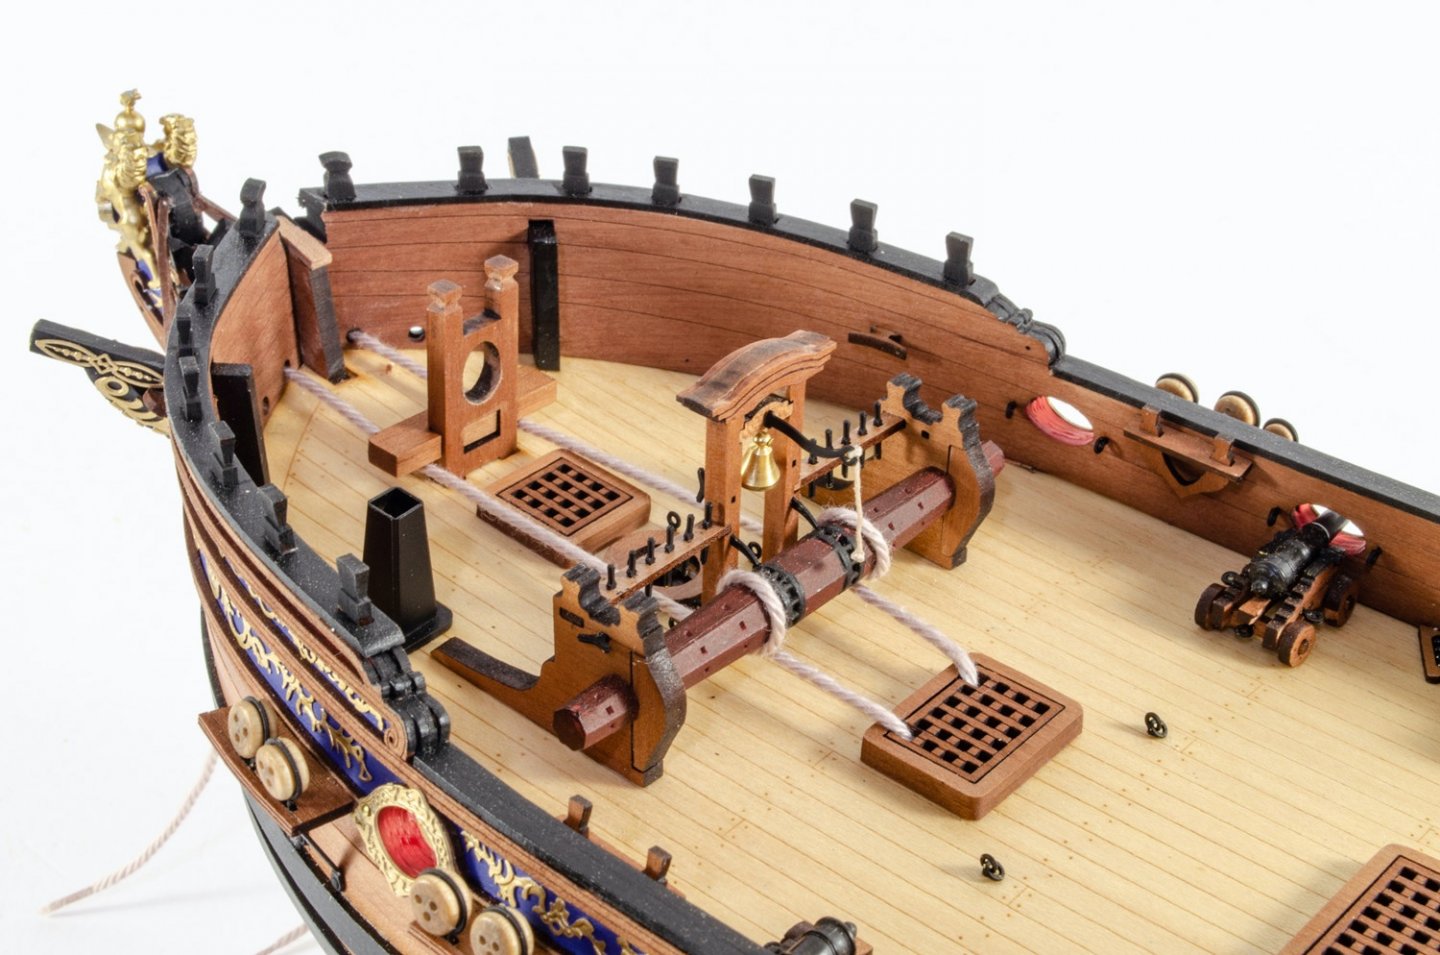
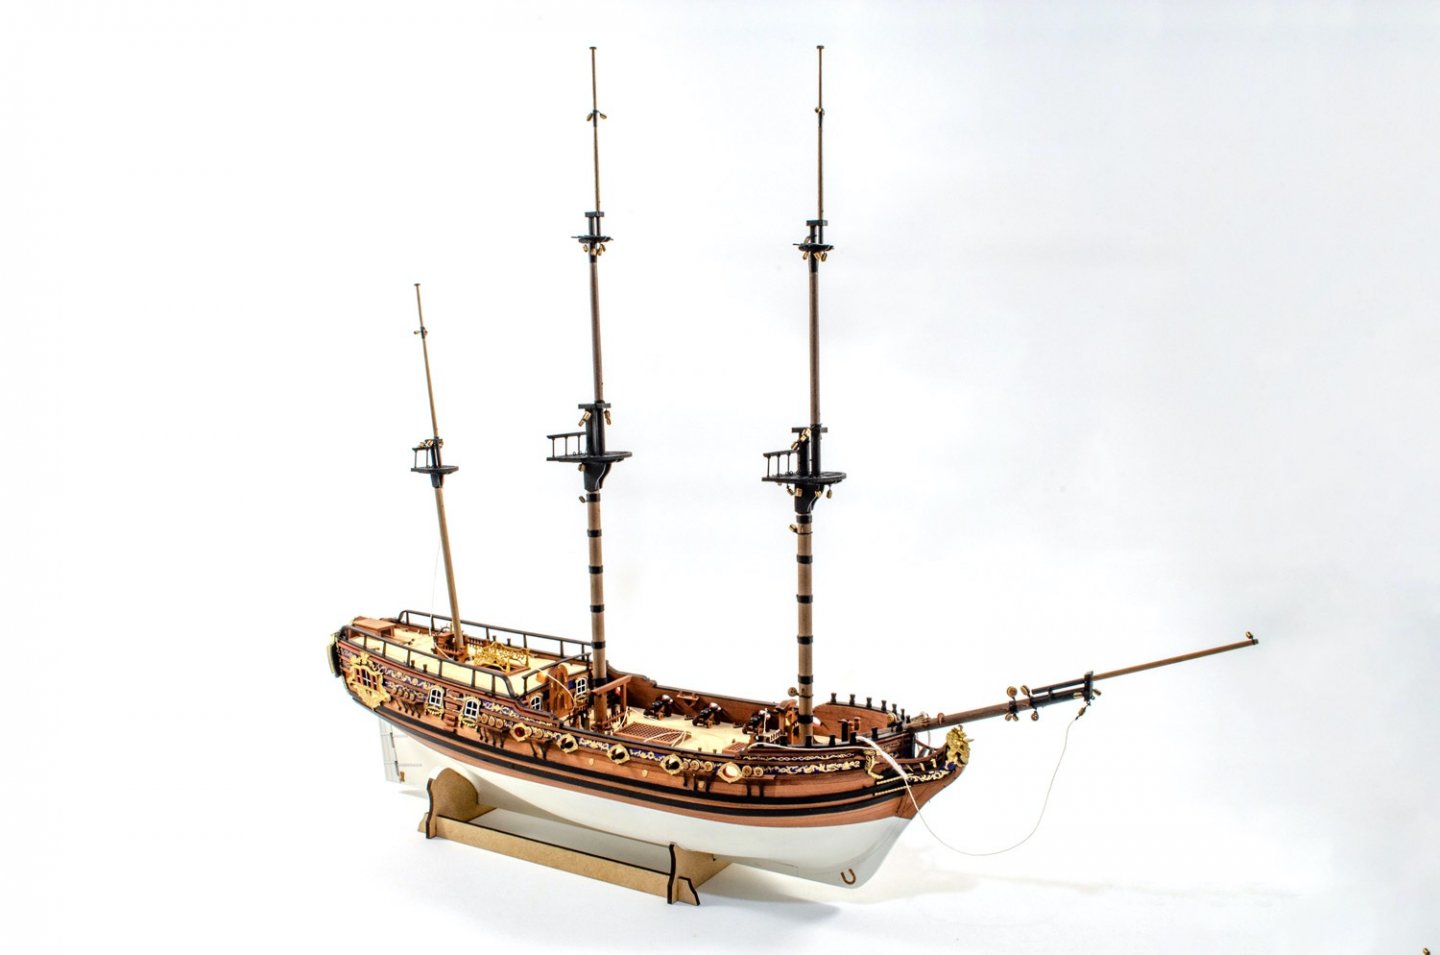
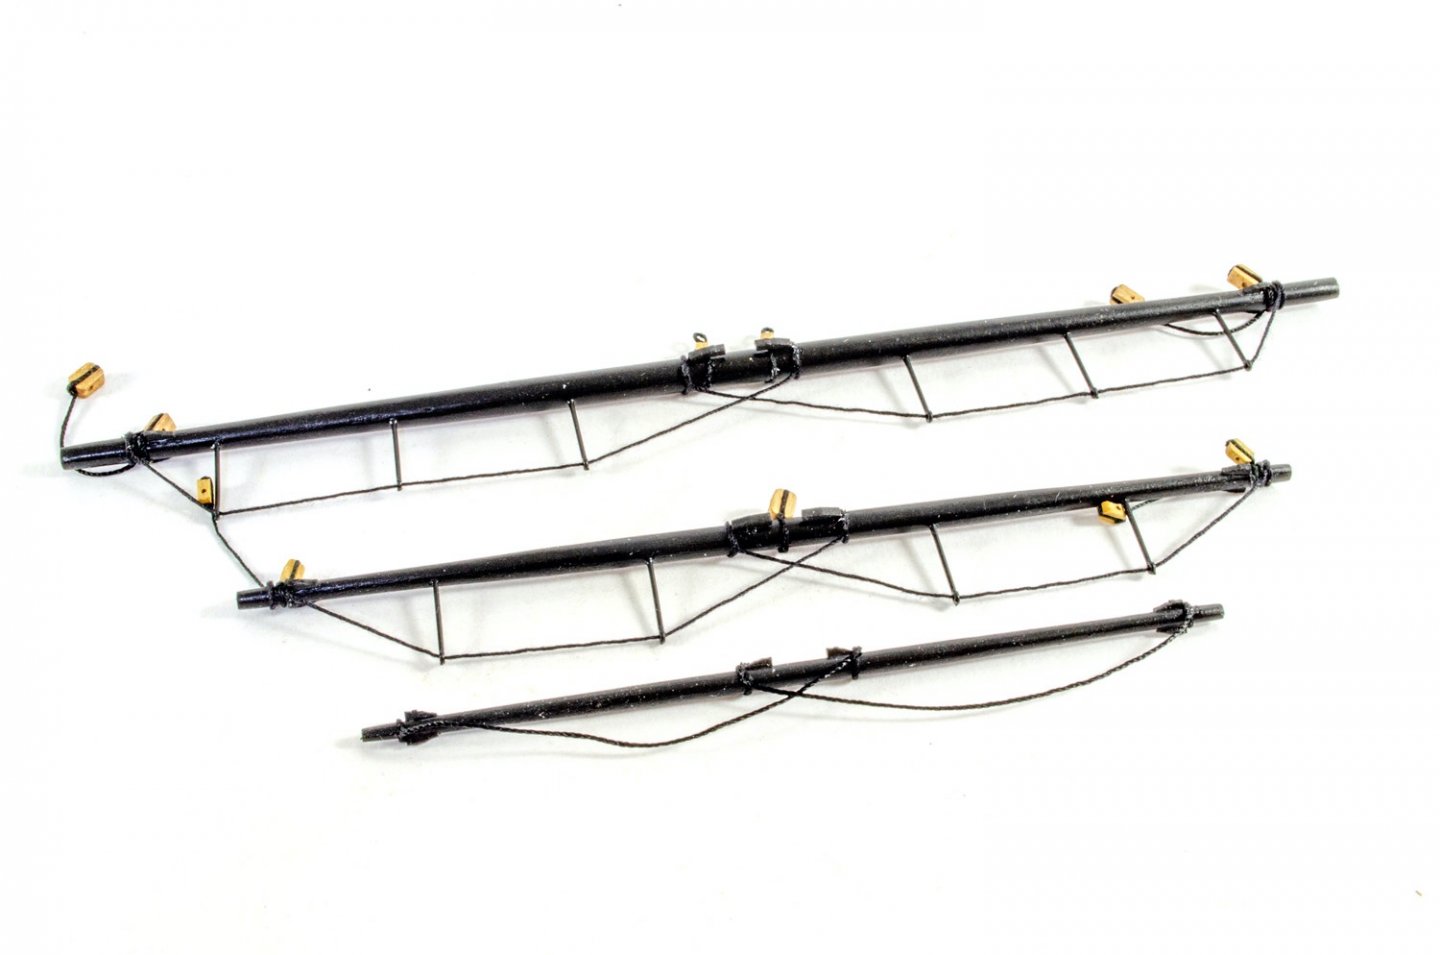
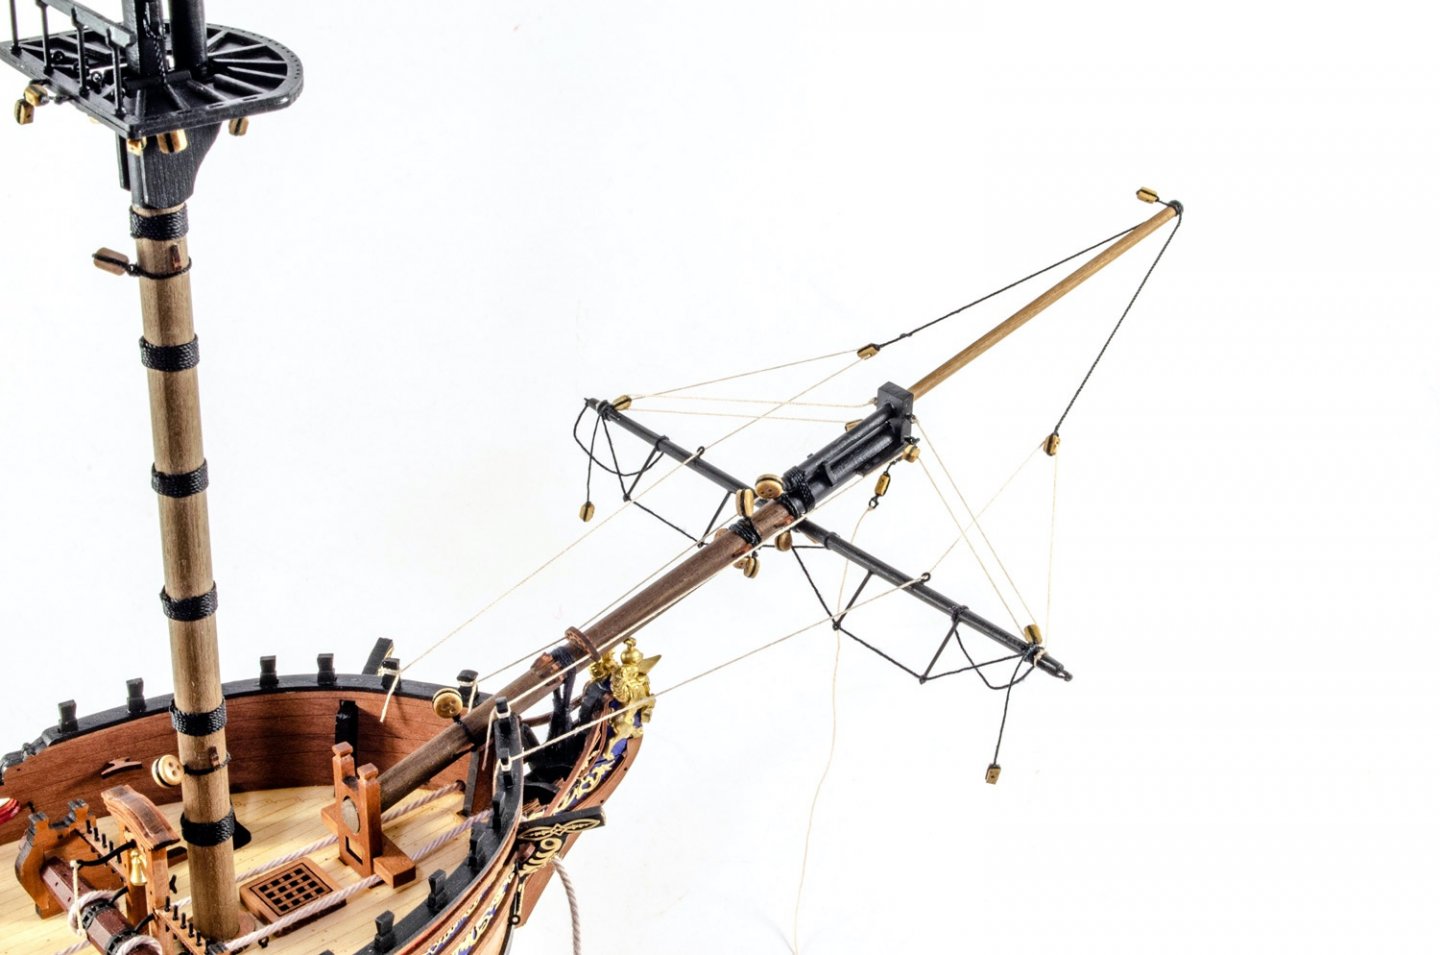
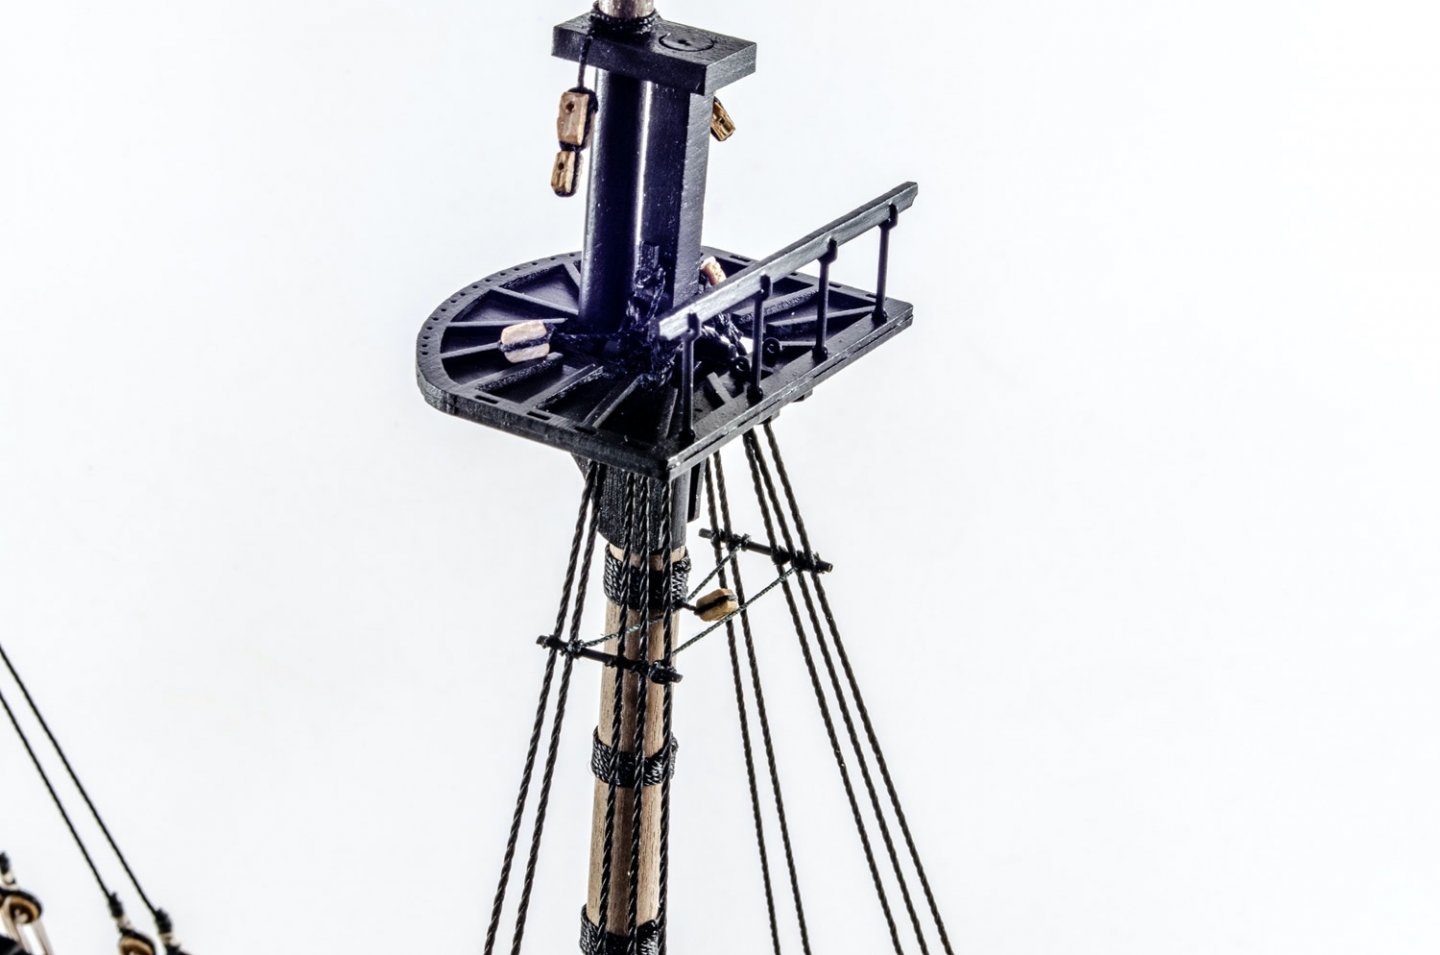
I reckon there's probably enough here to merit a quick update before this model is soon completed. Pretty sure I'm now in the last week of the build. I just spent Sunday plus Mon and Tue evenings doing the rats and they are now sealed before I do photos. Going back a little, the masts were the next things to be built, starting with the lower mast tops. Dead simple to build as you can see. Tapering the mast sections was a lot easier on my Proxxon lathe too. Before fitting the masts, I added the hawse cable and finally fitted the grating through which is runs. Then on with the masts! Yards are also nice and simple, with no hexagonal centre section, so these went together quite quickly before being painted and fitted out. Time to rig. Bowsprit (here just needing the bowsprit stays adding. One thing I really love doing are the shrouds (he says sarcastically). I like fitting those about as much as the catharpins and rats. 🤣 Here you can see the shrouds fitted, just waiting to be ratted. ...and that really IS it now until she's complete. Le Coureur will soon be sharing my bench with HMS Victory once I've done the final Duchess photos.


- 117 replies
-
- 24
-
-
- vanguard models
- yacht
- (and 2 more)
-
**NEW** Community Map
James H replied to James H's topic in Using the MSW forum - **NO MODELING CONTENT IN THIS SUB-FORUM**
We've just done an update on the map and you can now hover over a pin to see who it is. -
There's some stunning metalwork there
-
what is the best hand plank crimper
James H replied to ronald305's topic in Modeling tools and Workshop Equipment
Plastic plank crimpers do have their place and I still use them from time to time. I have Amati's plank nipper and always found it very useful. Of course, the electric ones are very nice, but the nipper is a simple tool that does its job as long as the internal nip surface isn't to be seen. -
No, I apply straight from a bottle of Gorilla Glue CA gel. It's quite controllable. I love the stuff and it's been a godsend this last 7 months since I've been working for Vanguard. https://smile.amazon.co.uk/Gorilla-4044400-15g-Superglue-Gel/dp/B01KVQKG9C/ref=sr_1_56?dchild=1&keywords=gorilla+glue&qid=1602102905&sr=8-56
- 222 replies
-
- 2
-
-
- First Build
- Lady Isabella
- (and 2 more)
-
For second plank, I don't edge glue. I can't see the point as the planks won't be moving anywhere. I do bevel the edges of the planks to make them sit as close as possible to the previous. Also, those little gel dots are maybe 2mm apart, roughly, and quite small.
- 222 replies
-
- 4
-
-
- First Build
- Lady Isabella
- (and 2 more)
-
**NEW** Community Map
James H replied to James H's topic in Using the MSW forum - **NO MODELING CONTENT IN THIS SUB-FORUM**
I have asked the developer about this. If you double click on a marker, or right click (I think, as I'm on a Mac), I do see who the marker is, but that should be a simple hover function. -
**NEW** Community Map
James H replied to James H's topic in Using the MSW forum - **NO MODELING CONTENT IN THIS SUB-FORUM**
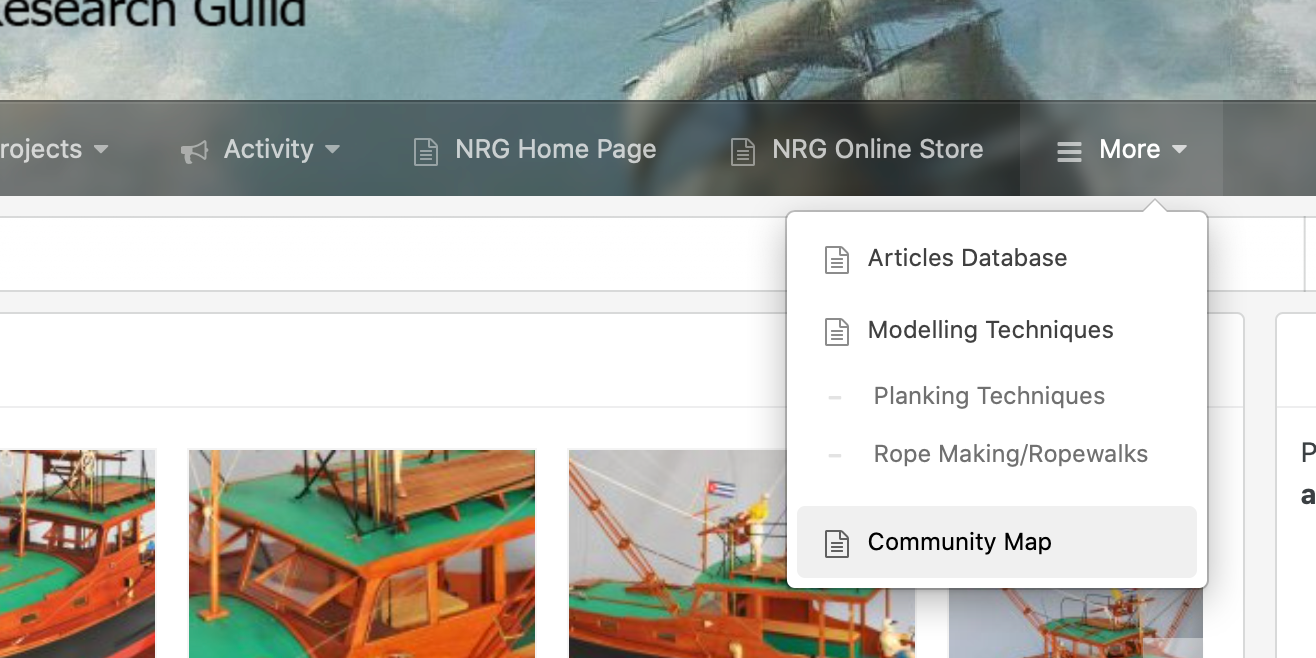
You're not trying to scroll the one a few posts up? That's a screenshot only. Look at the first image and it will tell you where to find it on the menu at the top of the site. -
**NEW** Community Map
James H replied to James H's topic in Using the MSW forum - **NO MODELING CONTENT IN THIS SUB-FORUM**
I see 'UK' as your location under your avatar. I mean that the system looks at your location and translates it to a marker on the map. -
**NEW** Community Map
James H replied to James H's topic in Using the MSW forum - **NO MODELING CONTENT IN THIS SUB-FORUM**
Just zoom out and scroll the map. -
**NEW** Community Map
James H replied to James H's topic in Using the MSW forum - **NO MODELING CONTENT IN THIS SUB-FORUM**
If you only put a country, it will put a marker roughly in the middle of it, so you got the NW. Our system seems to be adding lots of markers dependent on what members added to profiles. -
**NEW** Community Map
James H replied to James H's topic in Using the MSW forum - **NO MODELING CONTENT IN THIS SUB-FORUM**
The system looks like it's importing locations based on your profile. You may want to check that yours is there though as not every member includes their location on registration. -
Hi all, A short while ago, we added a map system to MSW. This allowed you to add your location/town/city to the system which would then add a pin on our global map. When we updated MSW, this became redundant as it was incompatible. We have now installed Community Maps to MSW, which works in exactly the same way as the previous. This will allow you to find any member close by, who has also added their location. A great tool for finding if there are members near you for joining any clubs perhaps, or kit trades/sales etc. This is an entirely voluntary application, meaning you manually place your location pin into the map. You can do this manually or get the system to grab your location and drop the virtual pin for you. If members added their location, this could be an invaluable tool as well as a generally interesting feature here at MSW. This is a members-only facility. To access it, click this dropdown: You will also see an extra area on your profile page, like this: If you added your pin to the previous version, you will need to DO IT AGAIN. Our apologies. Have fun with this. I'm going to spend a little while playing around with it.

-
That is looking super! Totally nailed it 👍 Those laser-cut pearwood garboard planks are a nice touch as well, and dead easy to fit for your next layer.
- 222 replies
-
- 2
-
-
- First Build
- Lady Isabella
- (and 2 more)
-
Spent all day adding shrouds. Always the most sweary day in my workshop.
- 117 replies
-
- 7
-
-
- vanguard models
- yacht
- (and 2 more)