
FrankWouts
-
Posts
541 -
Joined
-
Last visited
Content Type
Profiles
Forums
Gallery
Events
Everything posted by FrankWouts
-
 Again such a lovely and beautiful build with such amazing warm wood colors… I rather like the variance in plank colors by the way. Considering ships where build in months or around a year time or maybe some more, shipwharfs weren’t selecting their planks in the right color tones too I guess... They were happy when they got the right and enough wood in time… So too even and perfect wood coloring isn’t that realistic in my opinion. Time will solve the color variance though, lighter becomes darker and darker becomes lighter. You simply will have to grow older to witness it Rusty… Frank.
- 642 replies
-
- 3
-

-
- winchelsea
- Syren Ship Model Company
- (and 1 more)
-
Very nice railing and very well evenly dremeled knobs on top! I’ll have to practice that, also for the cannon’s quoin handles.. Frank.
-
Beautiful gratings and all perfectly centered. All set for deck planking, I wonder how much time those planks will take, I gess less than the complete hull at where I am now? Frank.
-
Beautiful work and almost there Mike! Great to have a such a beautiful build as yours with clear explanations to follow! Frank.
- 607 replies
-
- 1
-
-
- winchelsea
- Syren Ship Model Company
- (and 1 more)
-
Very, very beautiful work Dusan! I hope to reach the same level of perfection some day…. Frank.
-
Thanks Dusan! 👍🏻
-
Thanks Chuck, Glenn, James and Paul! Yes, I flip the hull over now and then to check for strange looking curves and dips. I’m beginning to feel key is that all curves bend fluently and following the lines set with the tape run not much can go wrong…but checking is better 😉💪🏻…
-
Thanks Scrubby! No worries: I'm smelling the warm hot AYC air from my traveling iron right now, as I'm bending planks right now again! 😉 Frank.
-
Hi Joe, it's only a small correction in my opinion, so please do so, as your build looks very, very good and will turn into a beautiful Winchelsea when finished. Keep up the good work and don't be afraid of posting mistakes, I posted quite a few myself and got plenty of help on this build log, which it is all about! Cheers! Frank.
-
You're making great progress and looking gooed Gary! Keep up the good work, I'll stay tuned! Frank.
- 389 replies
-
- 1
-
-
- winchelsea
- Syren Ship Model Company
- (and 1 more)
-
You're making great progress Glenn, all looks fantastic and I'm following with great interest! I hope to catch up someday, I don't seem to have as much free time as you do 😉 Frank.
- 840 replies
-
- 2
-
-
- winchelsea
- Syren Ship Model Company
- (and 1 more)
-
Hi Kurt, Any updates? Cheers! Frank.
-
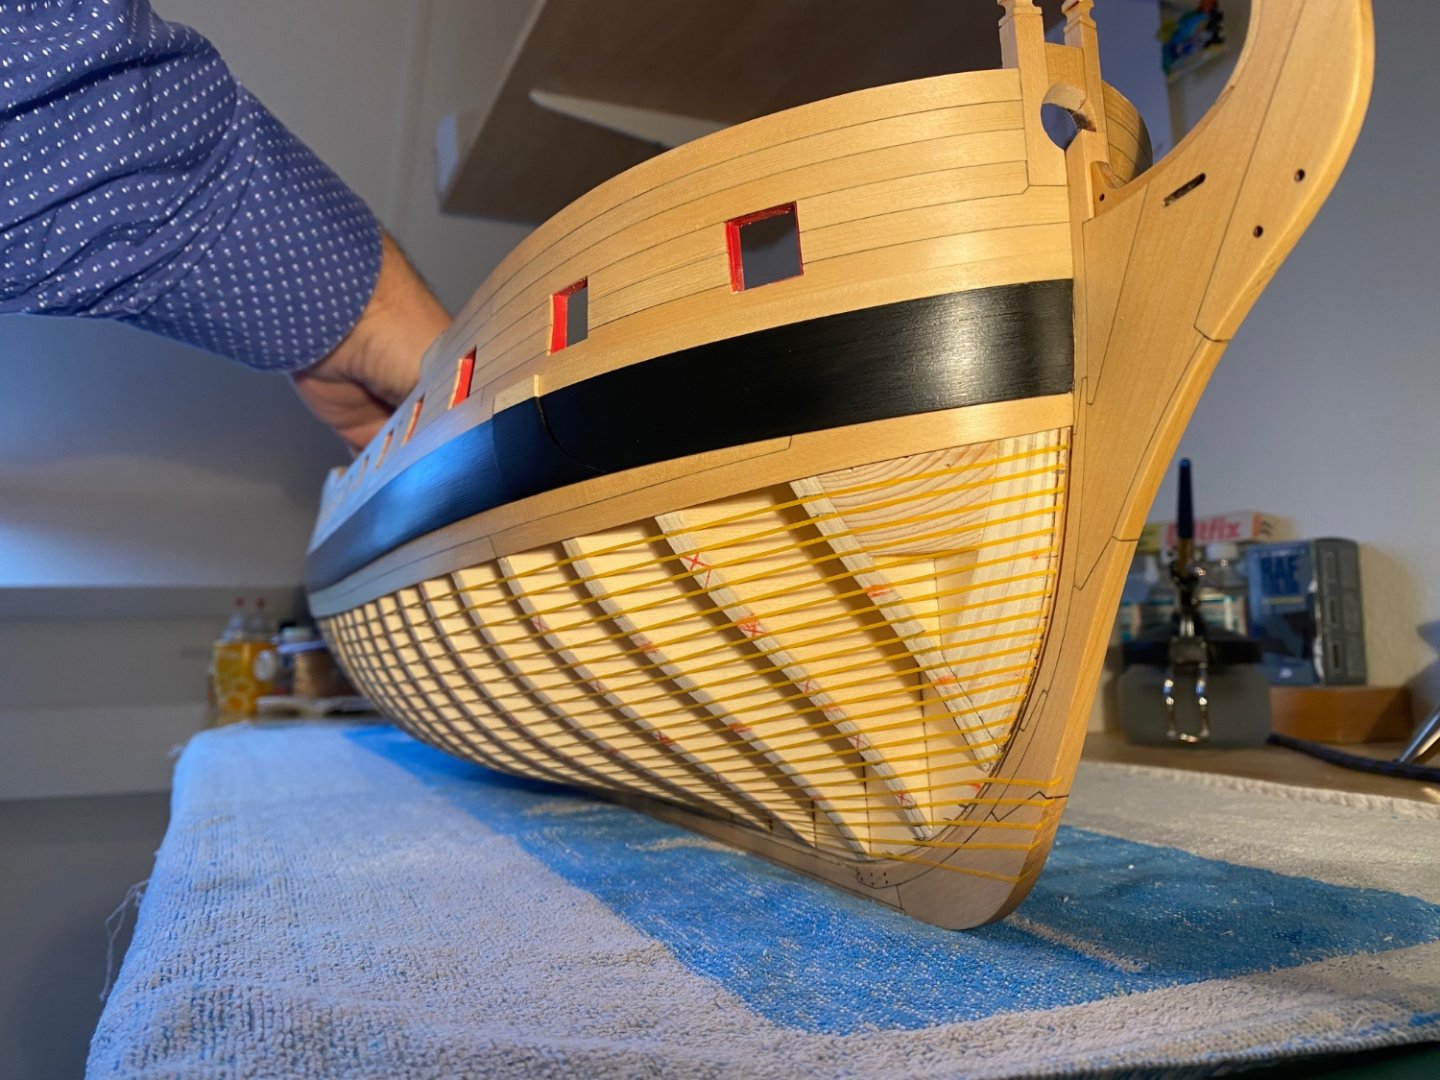
Small Saturday update, one more row to go on both sides before the first band of planking is finished. I think I'm starting to get the hang of it. Frank.


-
Nice progress and beautiful work Matt! I always shake my little bottle or tube with CA gleu before using it. For some reason the sticky part of the emulsion sinks when the bottle or tube is in rest for a longer period of time. You then do not only apply only solvent instead of the full glue emulsion. Frank.
-
Beautiful build af the Agamemnon Mike! Twelve years, wow, I thought I was slow here with my Winie build… Great to follow your build! Frank.
-
What a shock! Rest in peace Bob, I didn't notice this message until now. I didn't know Bob for a very long time on this forum, but he had always kind words and tips... Will someone of you living nearby finish the last chapter 12 of his Winnie for his family I was wondering? Frank.
-
That looks very good! Frank
-
Thanks Chuck, I’ll start planking then, I still have a few days holidays, so let’s see if I can finish at least half or maybe a whole first band. Frank.
-
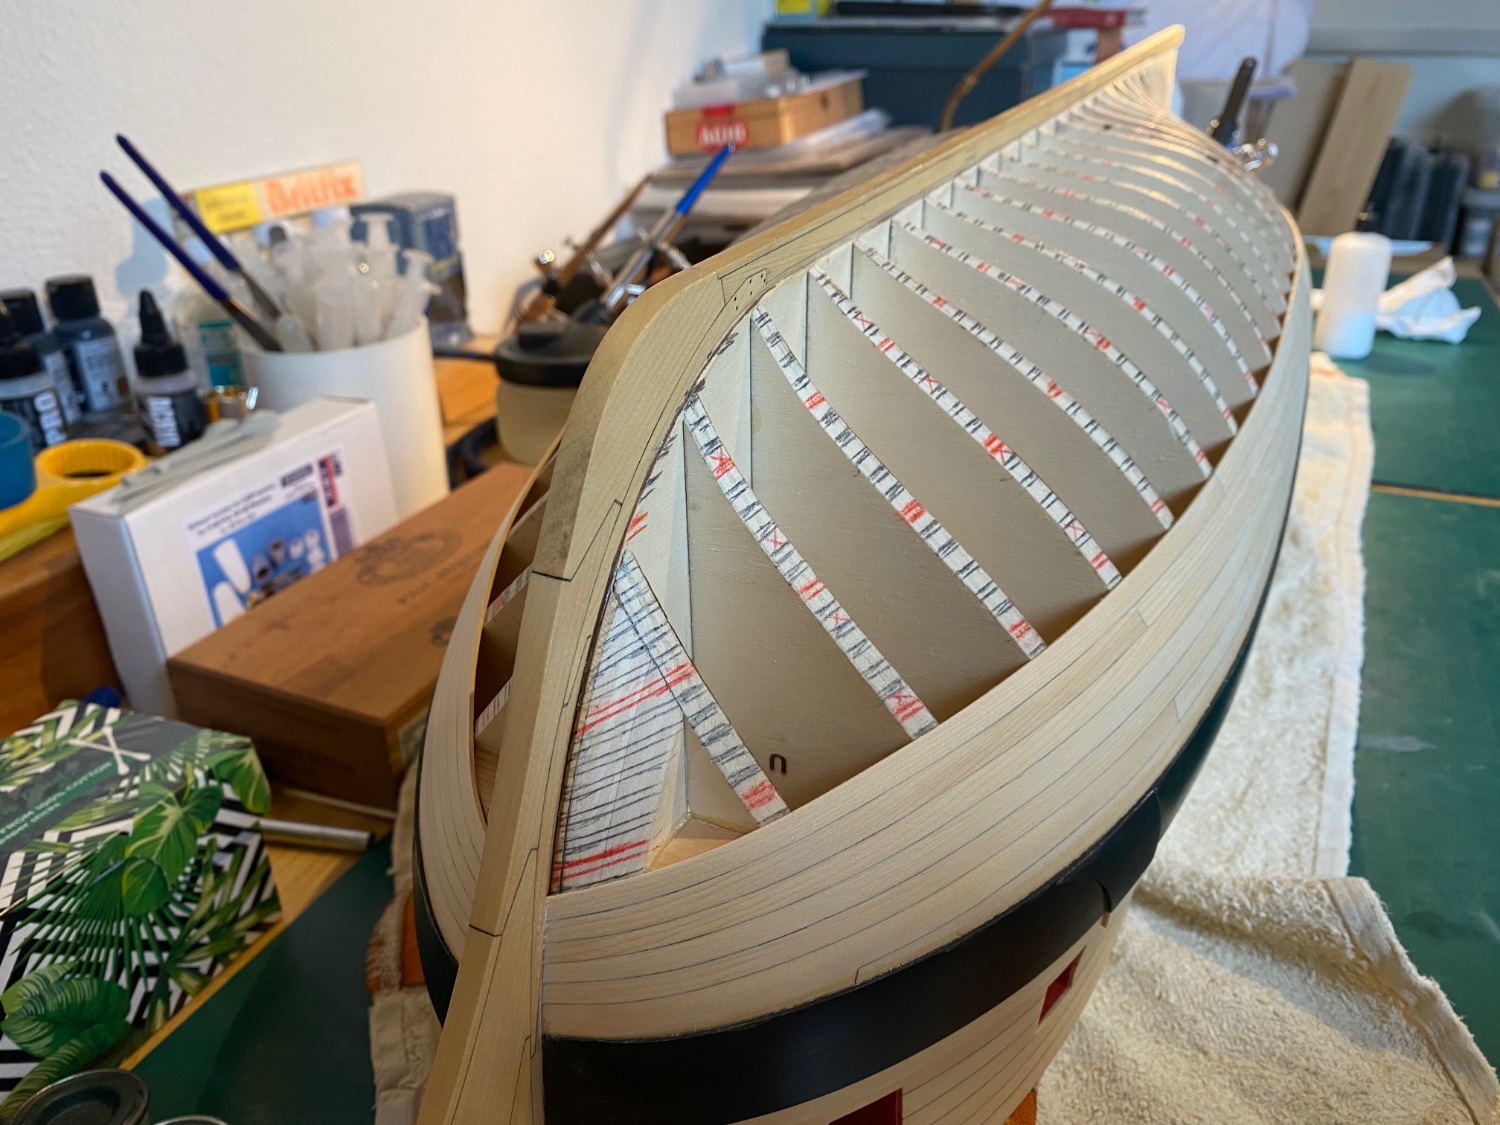
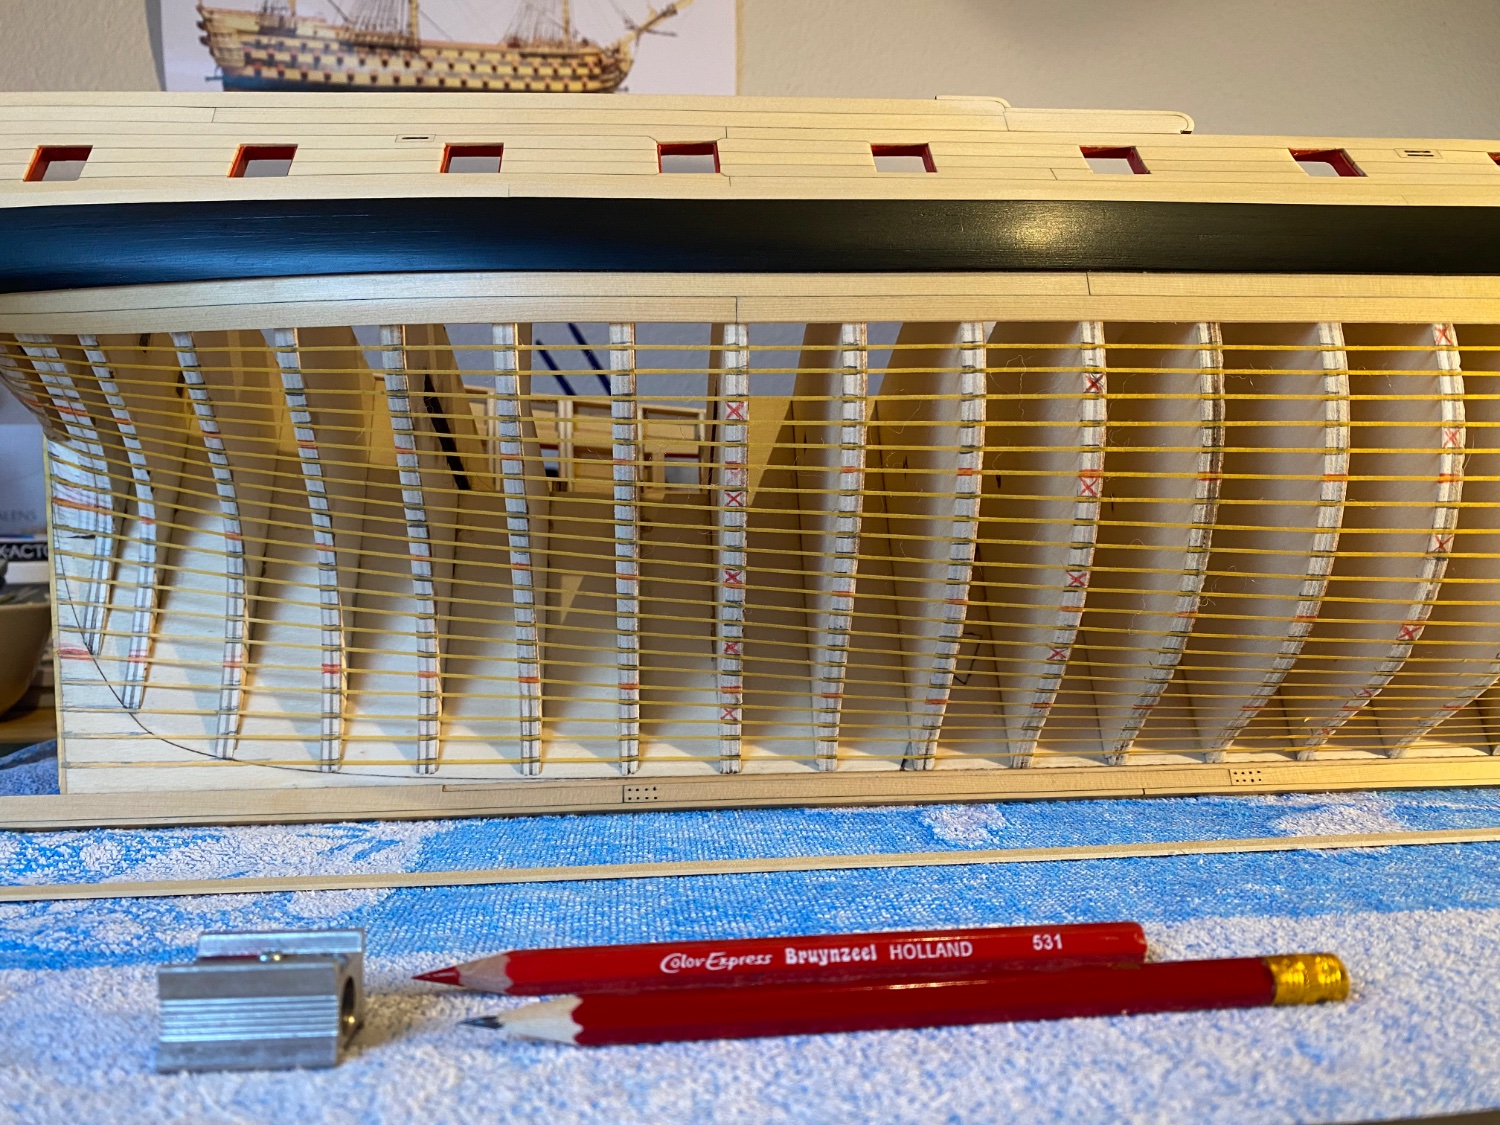
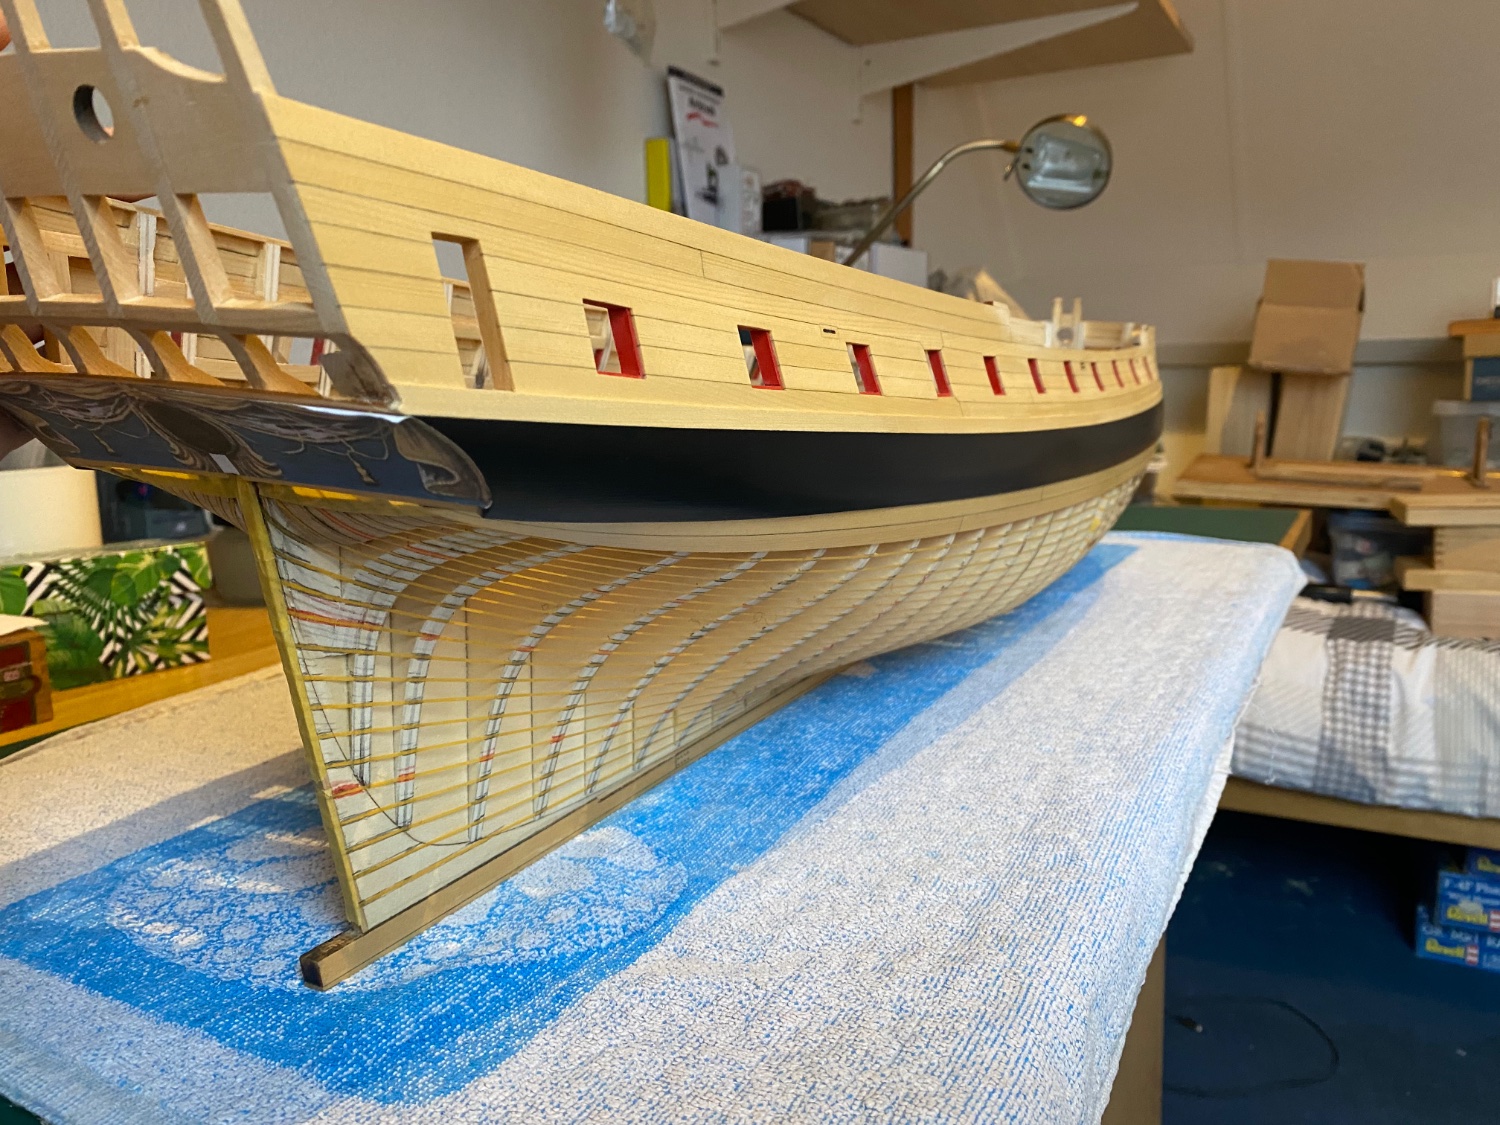
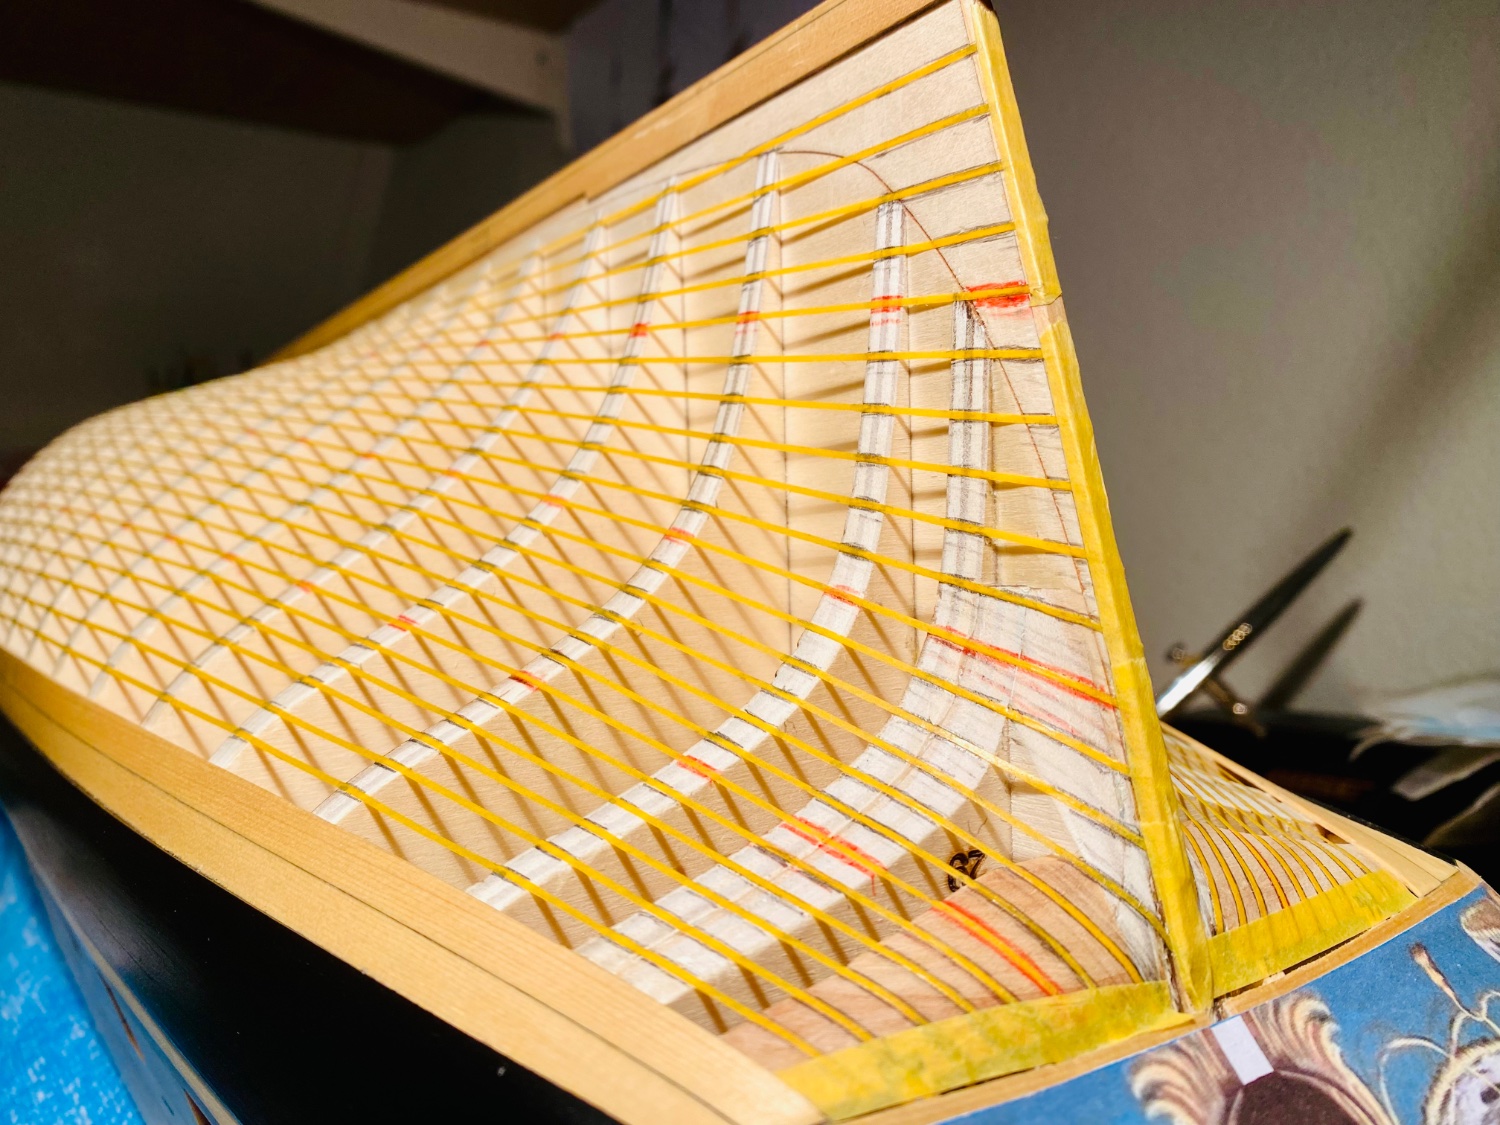
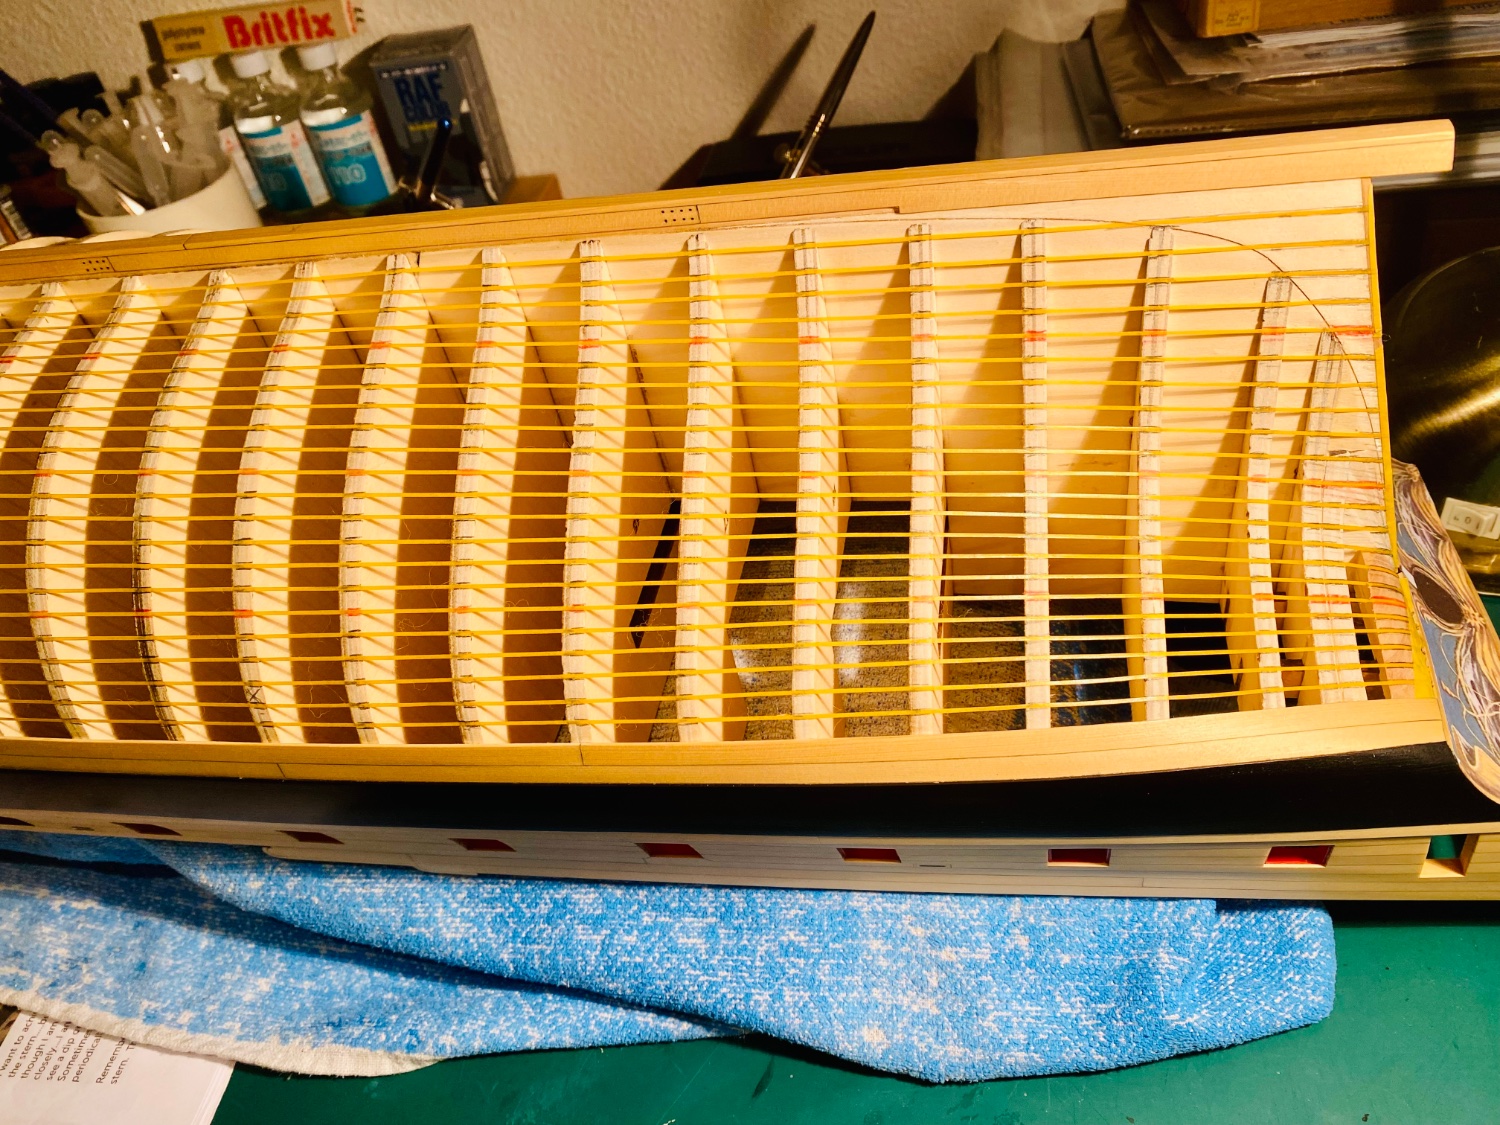
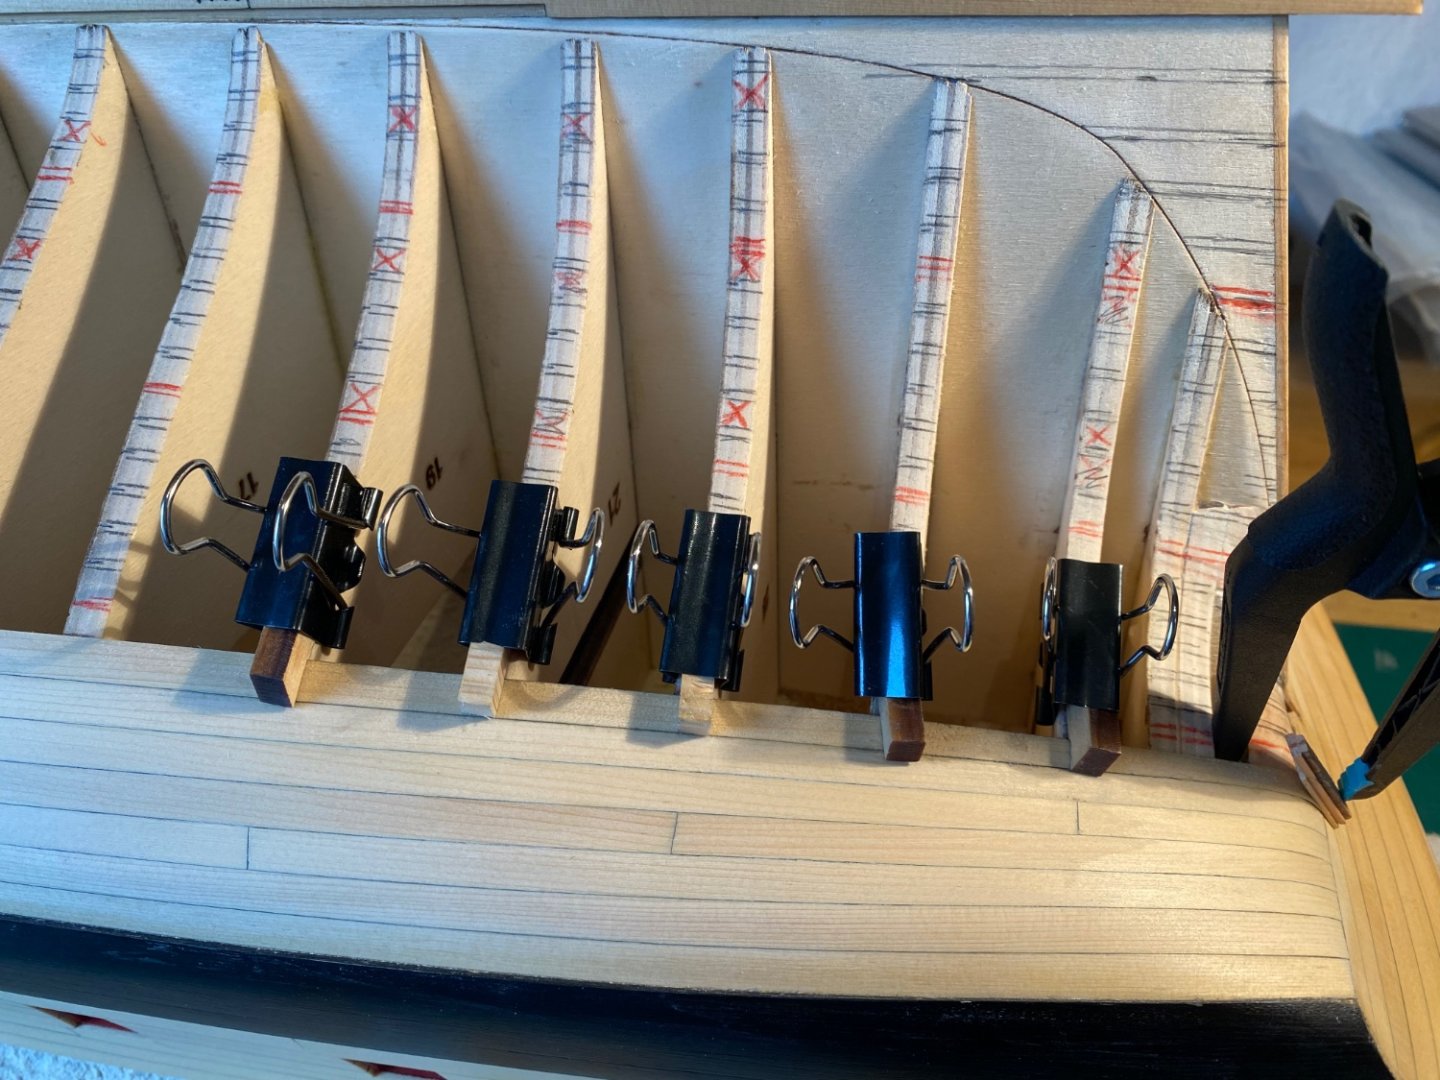
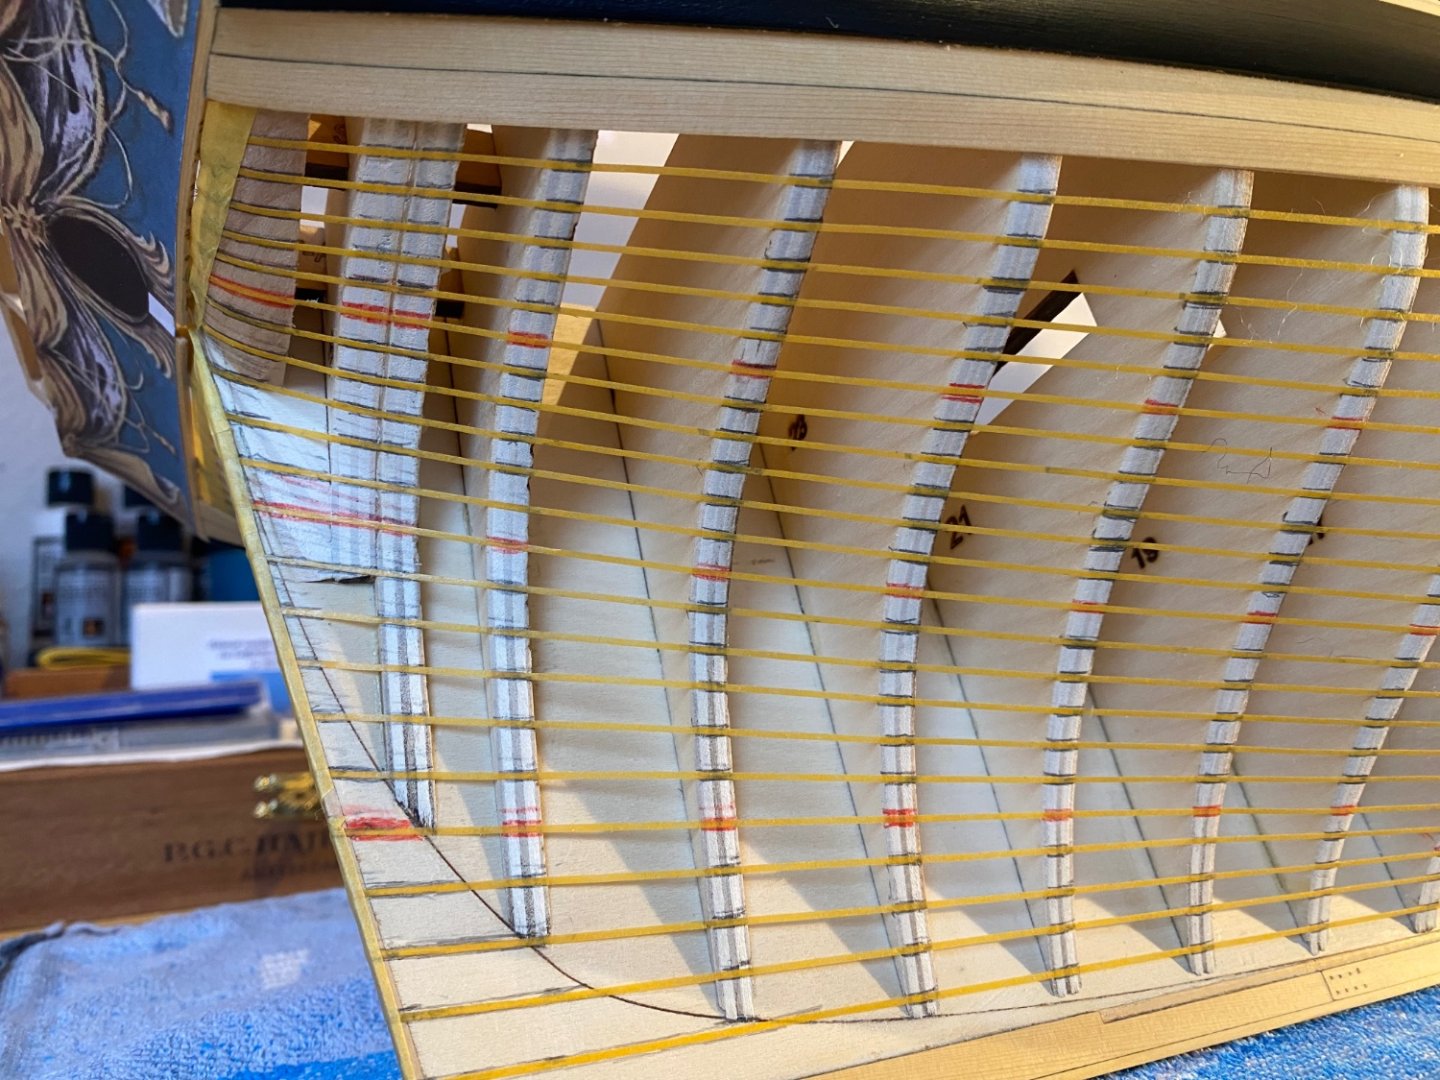
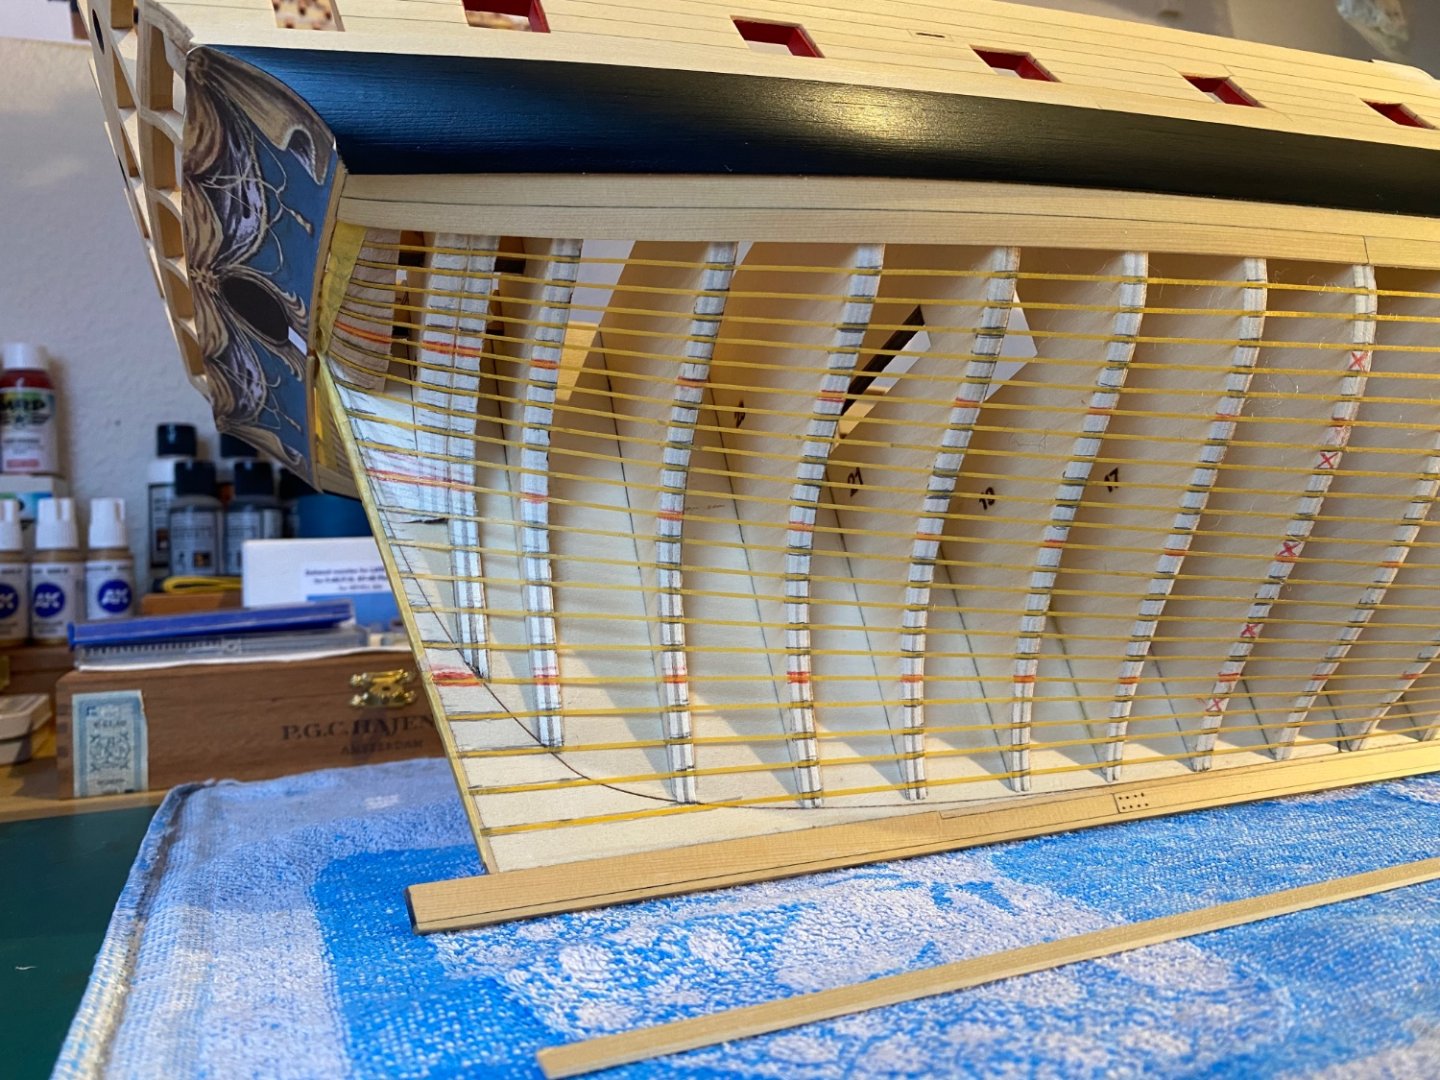
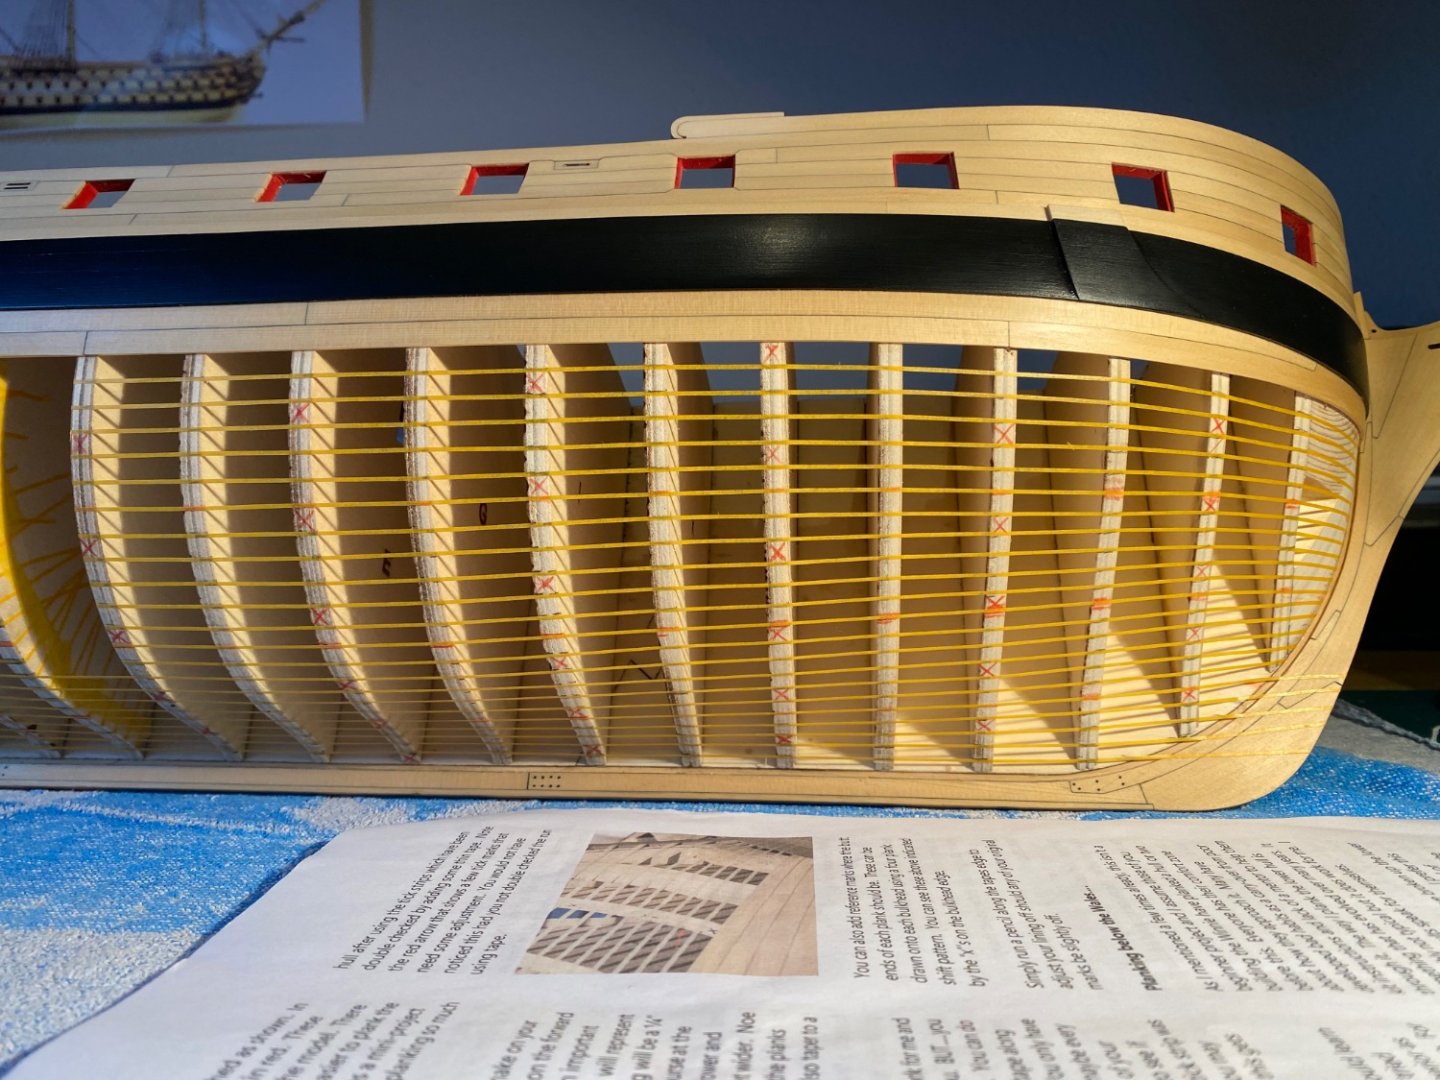
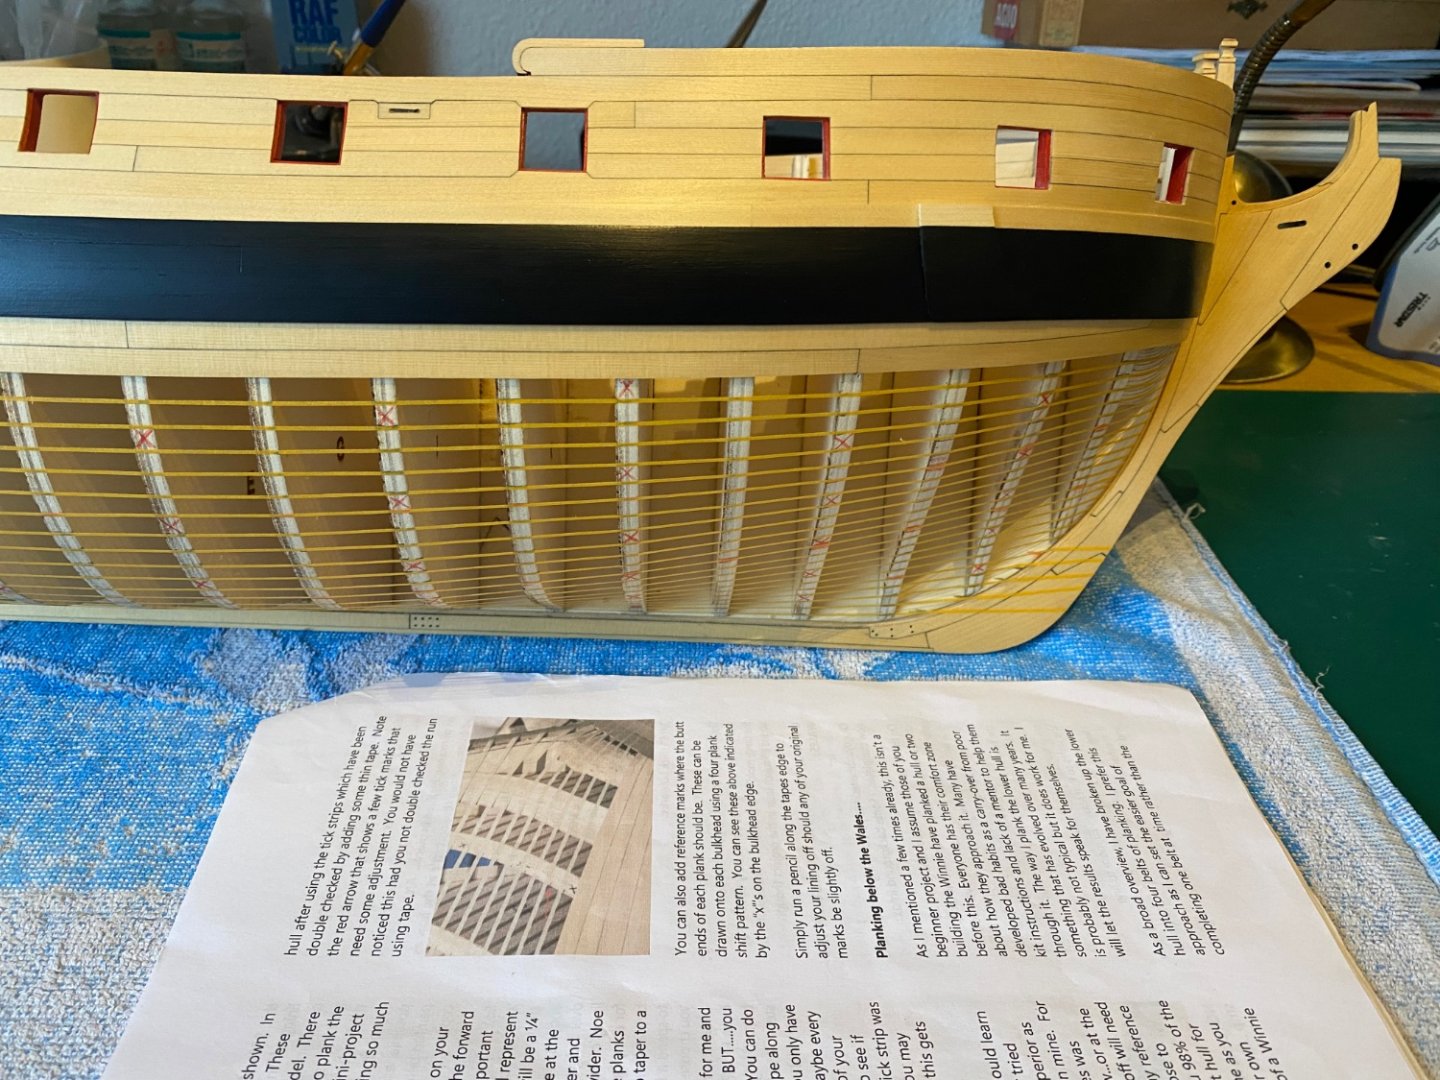
Thanks Chuck, Here some pictures of my beginner’s planking layout…It takes a very long time this way, but I just want to get it right…hopefully no anomalies anymore…I’m eager to start planking now after all this fiddling with fine tape and pencil…though I still have to find some plank joints and mark with a red cross… and tweak some tapes to an average in lining and spacing now that I look to these pictures.


-
Thanks Glenn!
-
Thanks Rusty!
-
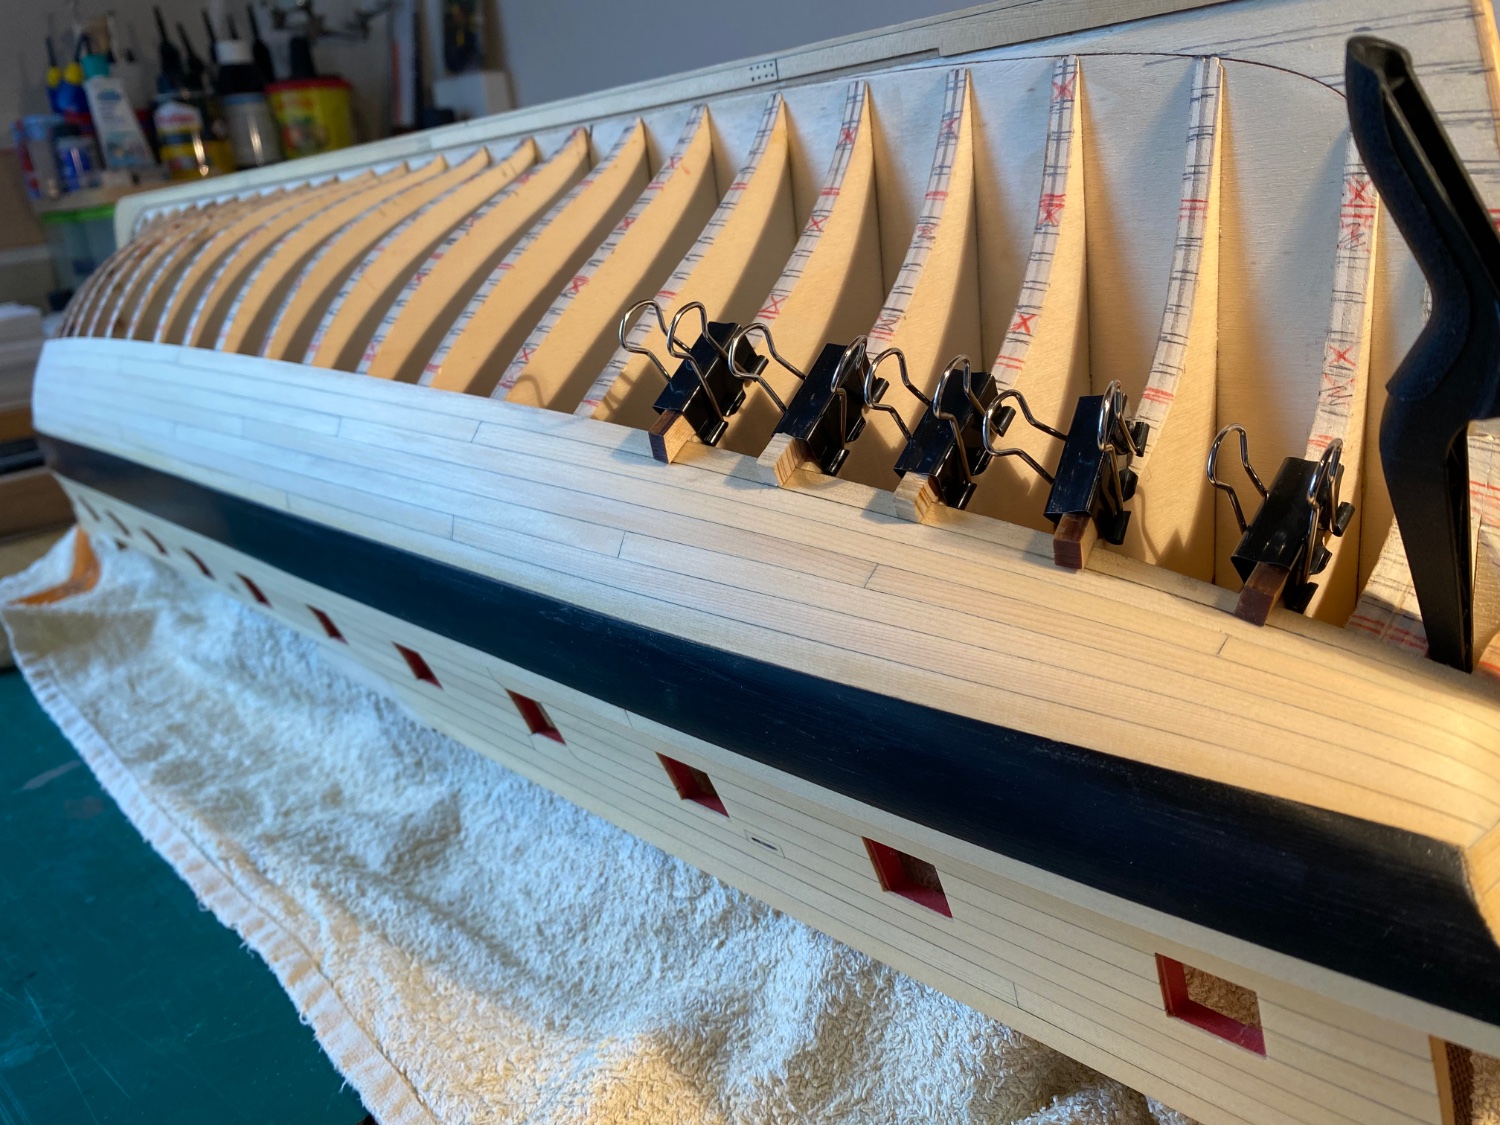
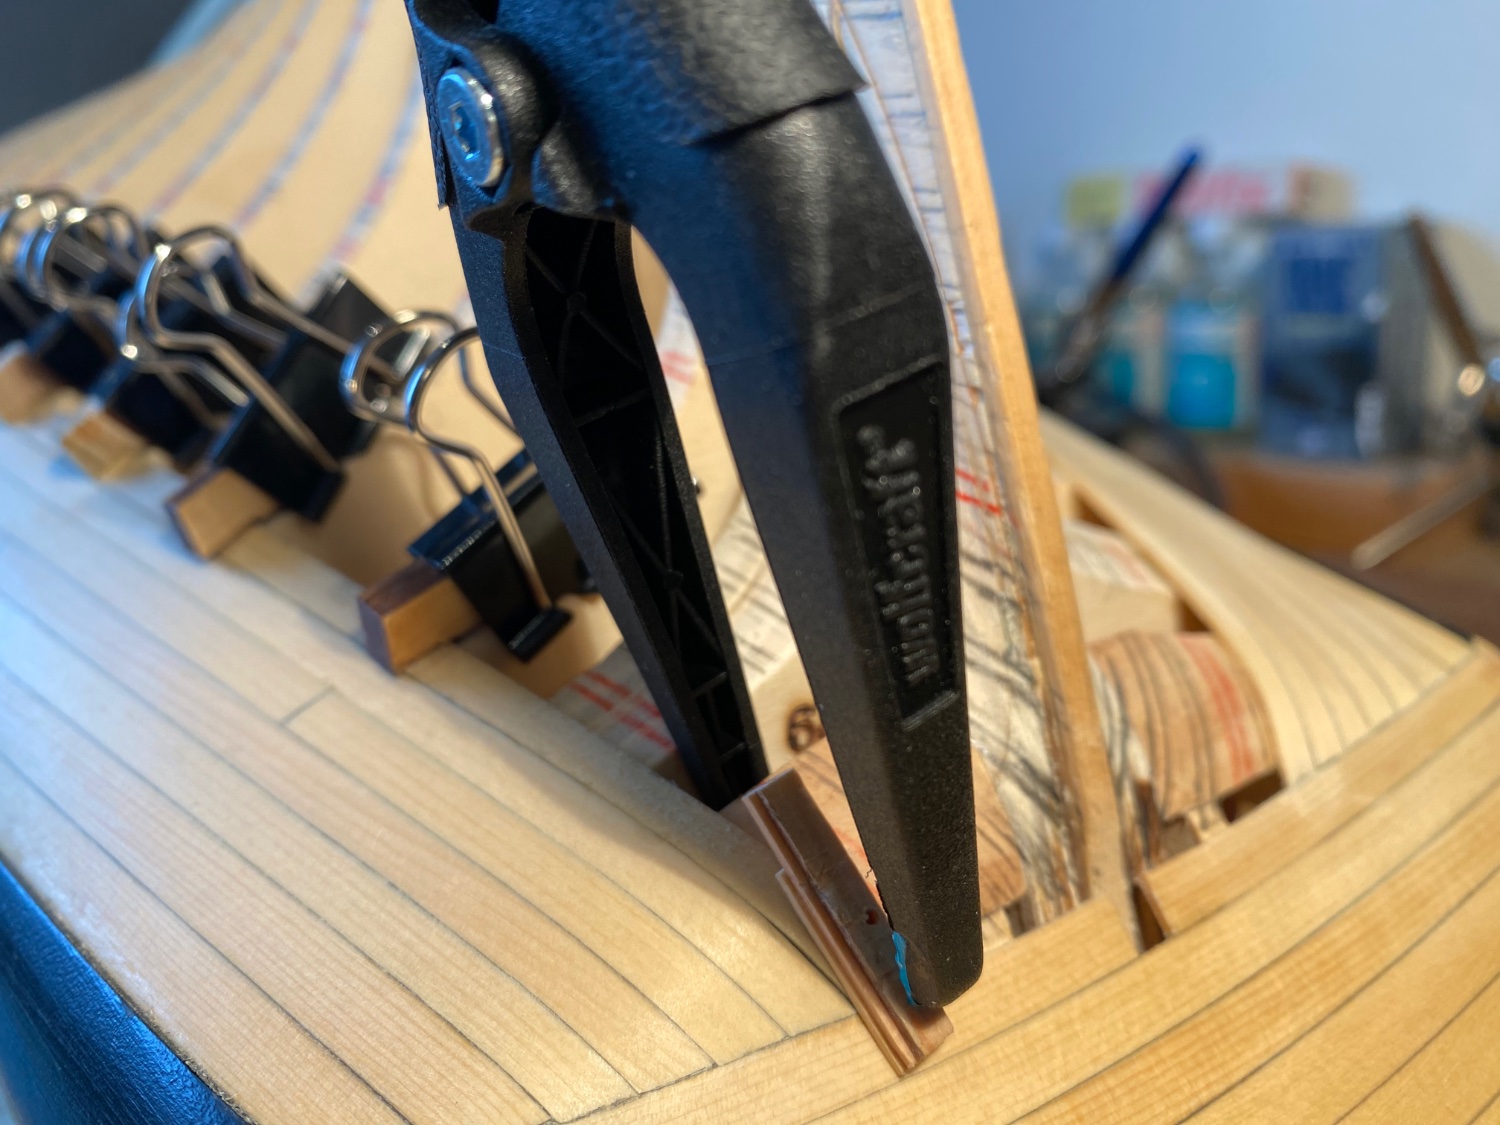
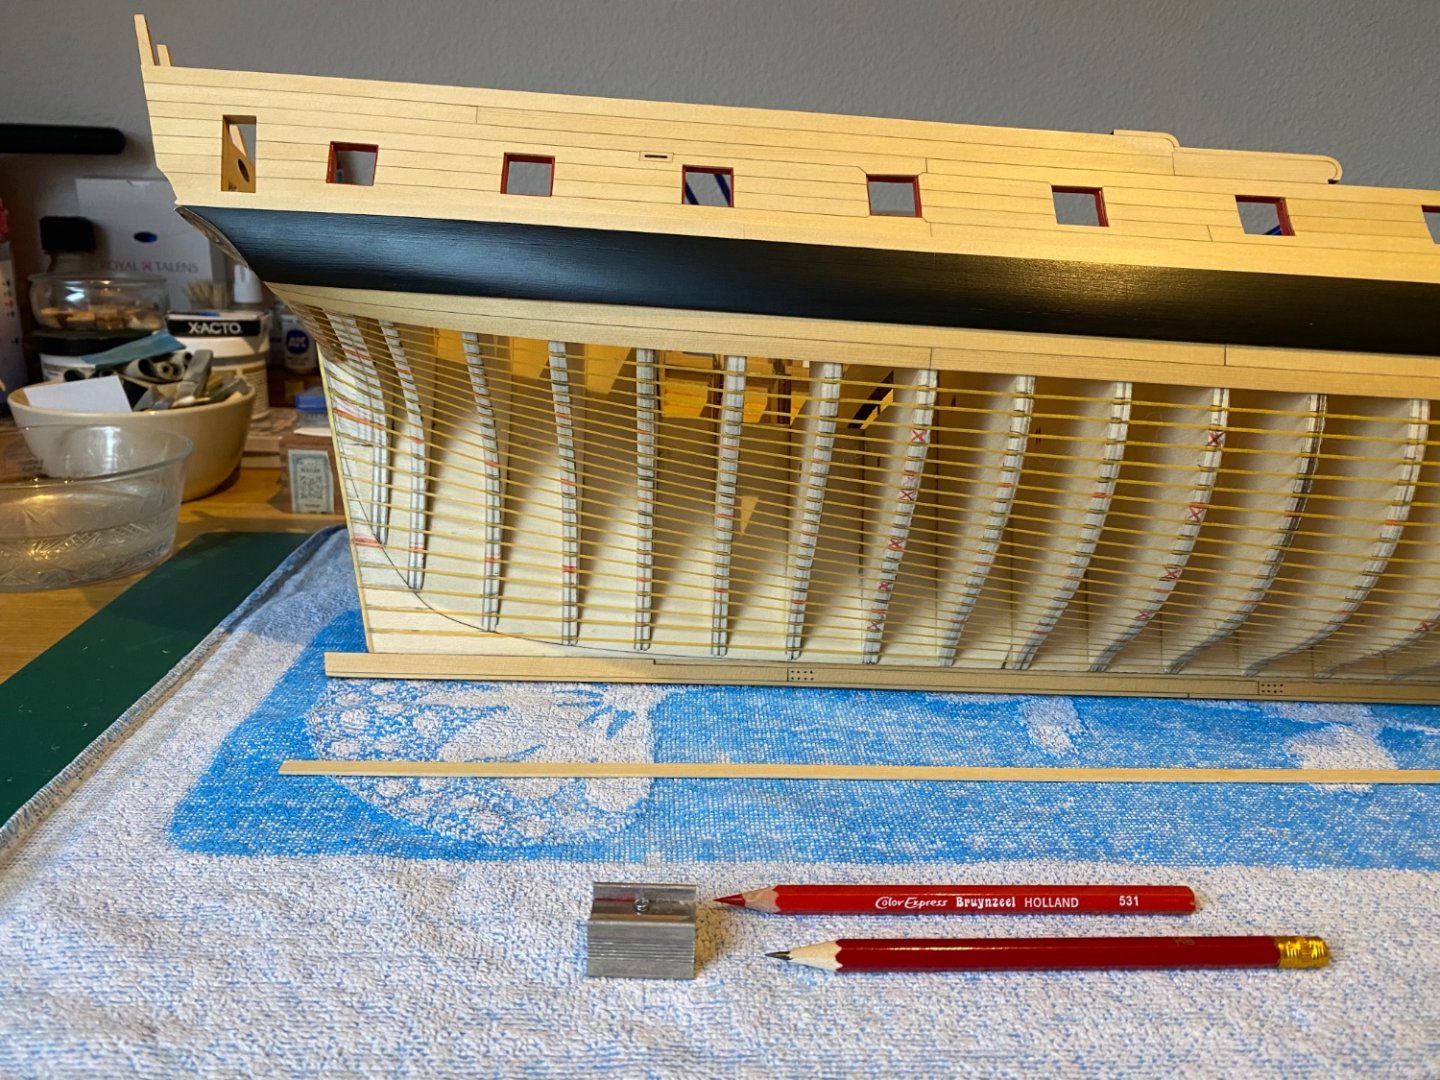
Almost ready for planking after days of checking and correcting with small yellow tape. It won’t be till 2023 I’m afraid… I wish everybody a Happy New Year! Frank.


-
Good tip Glenn, I’m marking them right now like you mentioned!
-
Amazing work Dusan….how do you make such fantastic looking fancy mouldings? Just by scraping? Frank