
FrankWouts
-
Posts
541 -
Joined
-
Last visited
Content Type
Profiles
Forums
Gallery
Events
Everything posted by FrankWouts
-
 Welcome to the group Aceso! Enjoy your build and take your time! Frank.
 -
Good to being able following you again J.J.! Frank
-
Wonderful and truly amazing work! Frank.
-
Beautiful work and very steady progress Glenn! Frank.
- 840 replies
-
- 2
-

-
- winchelsea
- Syren Ship Model Company
- (and 1 more)
-
Thanks all! Merry Christmas to you all! Hopefully our friends in the US are all allright with the current snow storm and temperatures below -40 celsius! Frank.
-
Good tip Mike, I’ll check that, thanks, Frank.
-
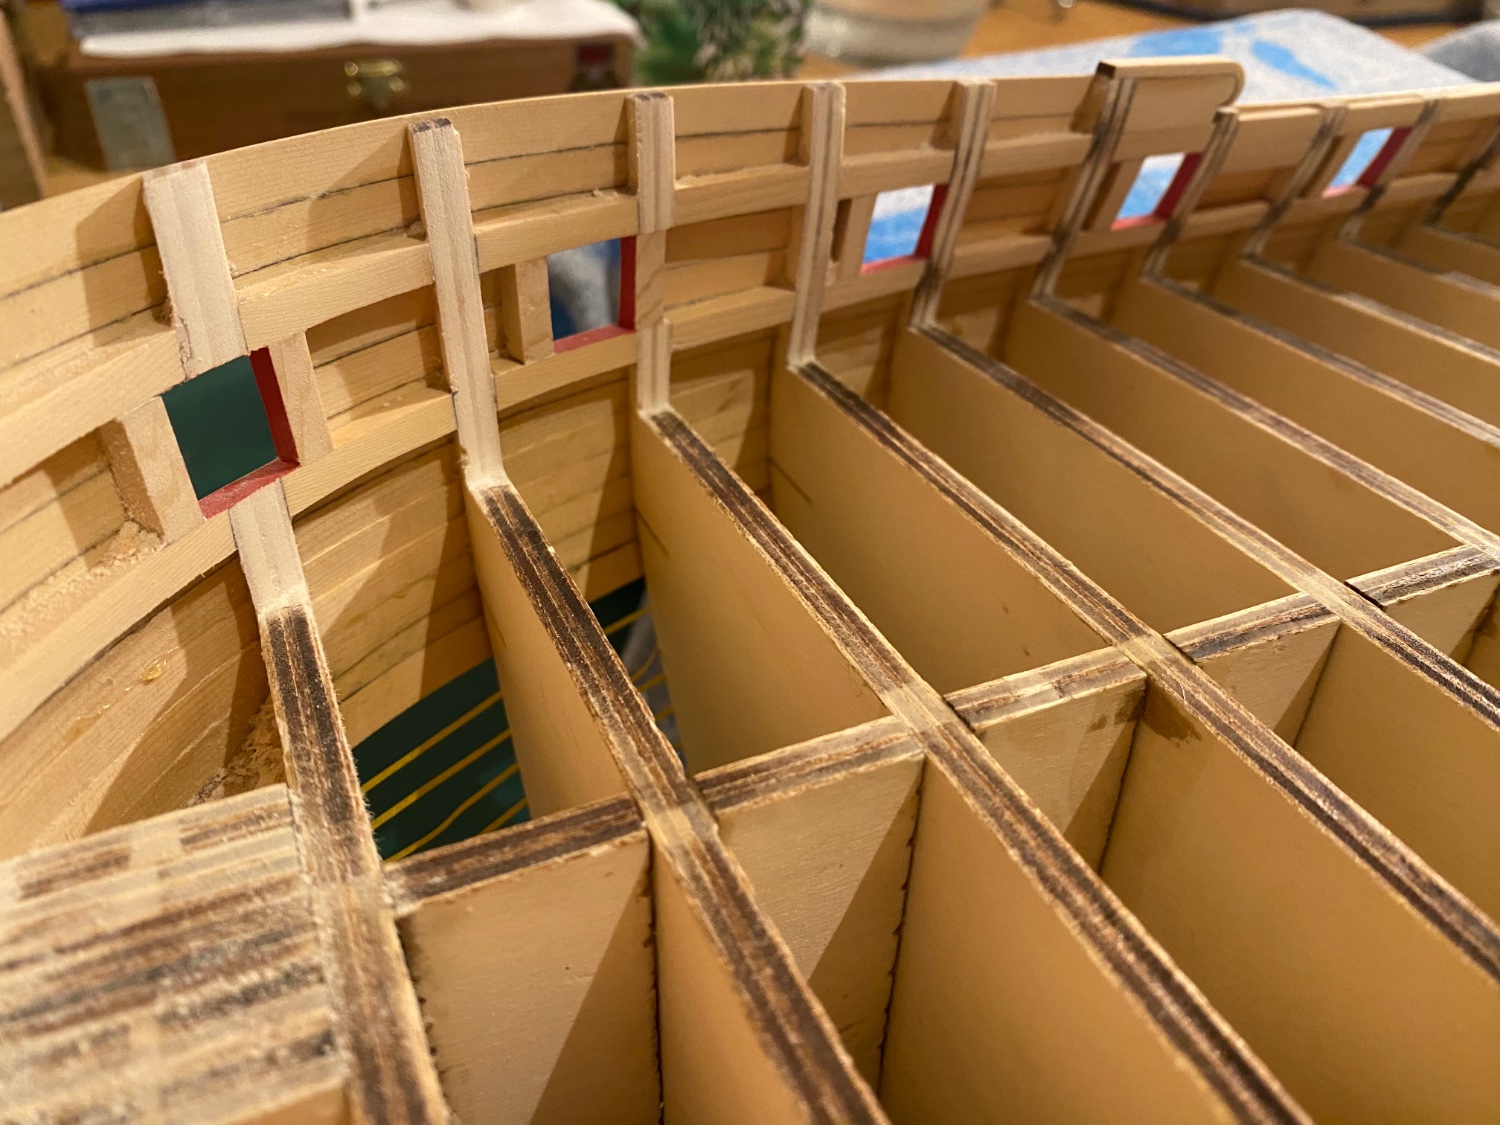
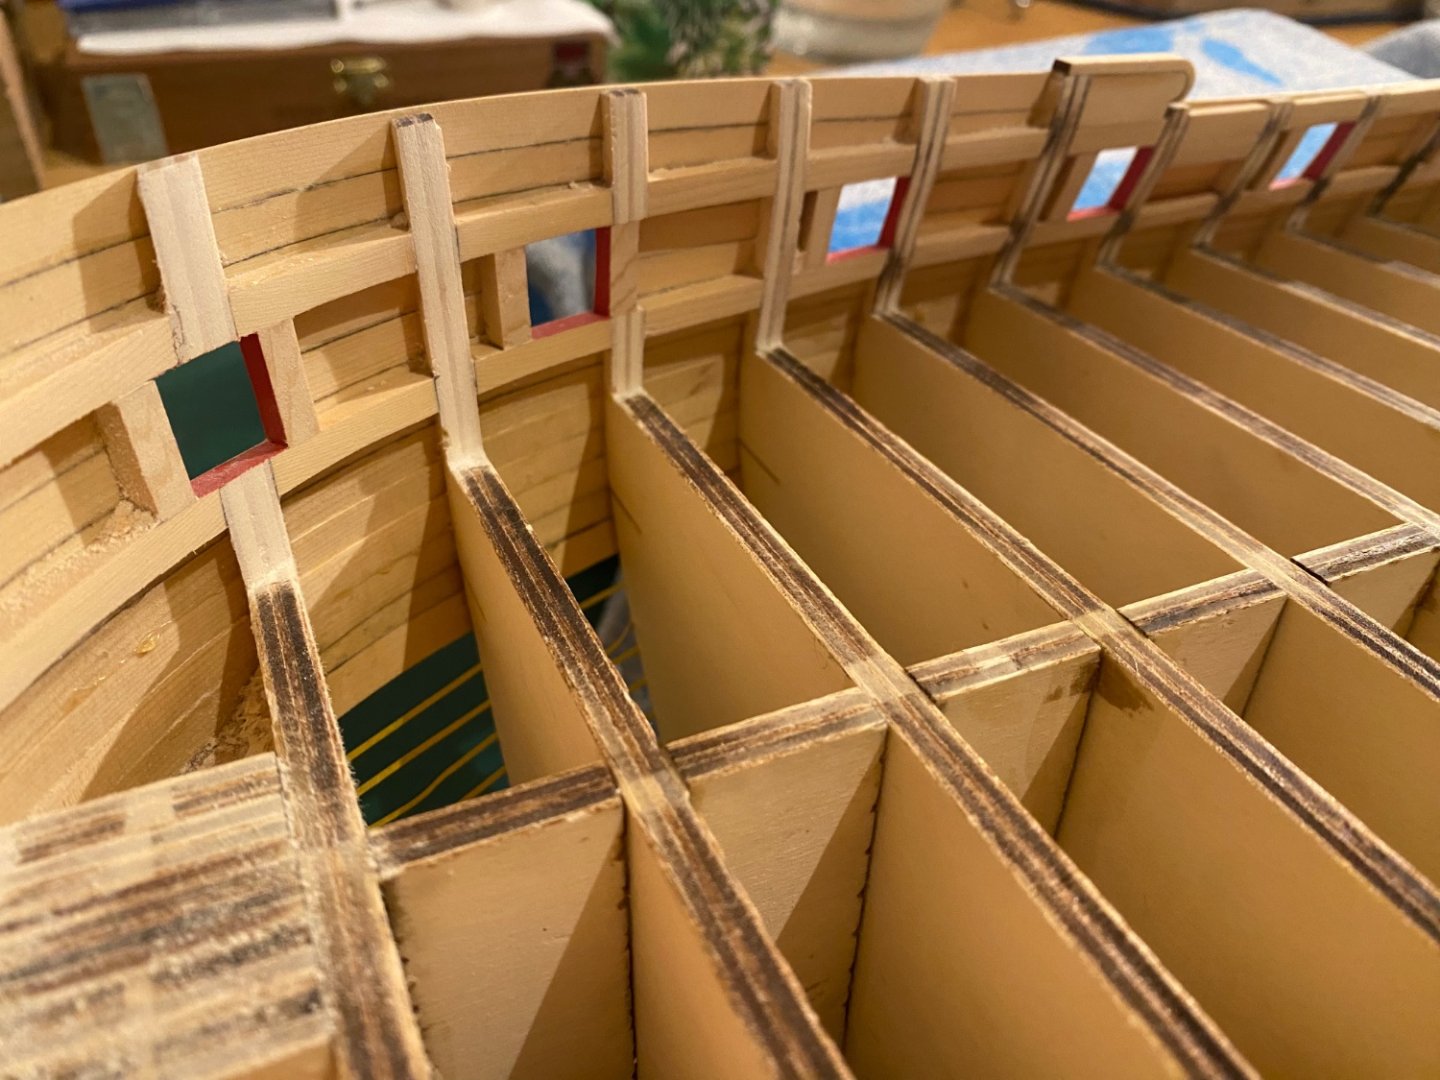
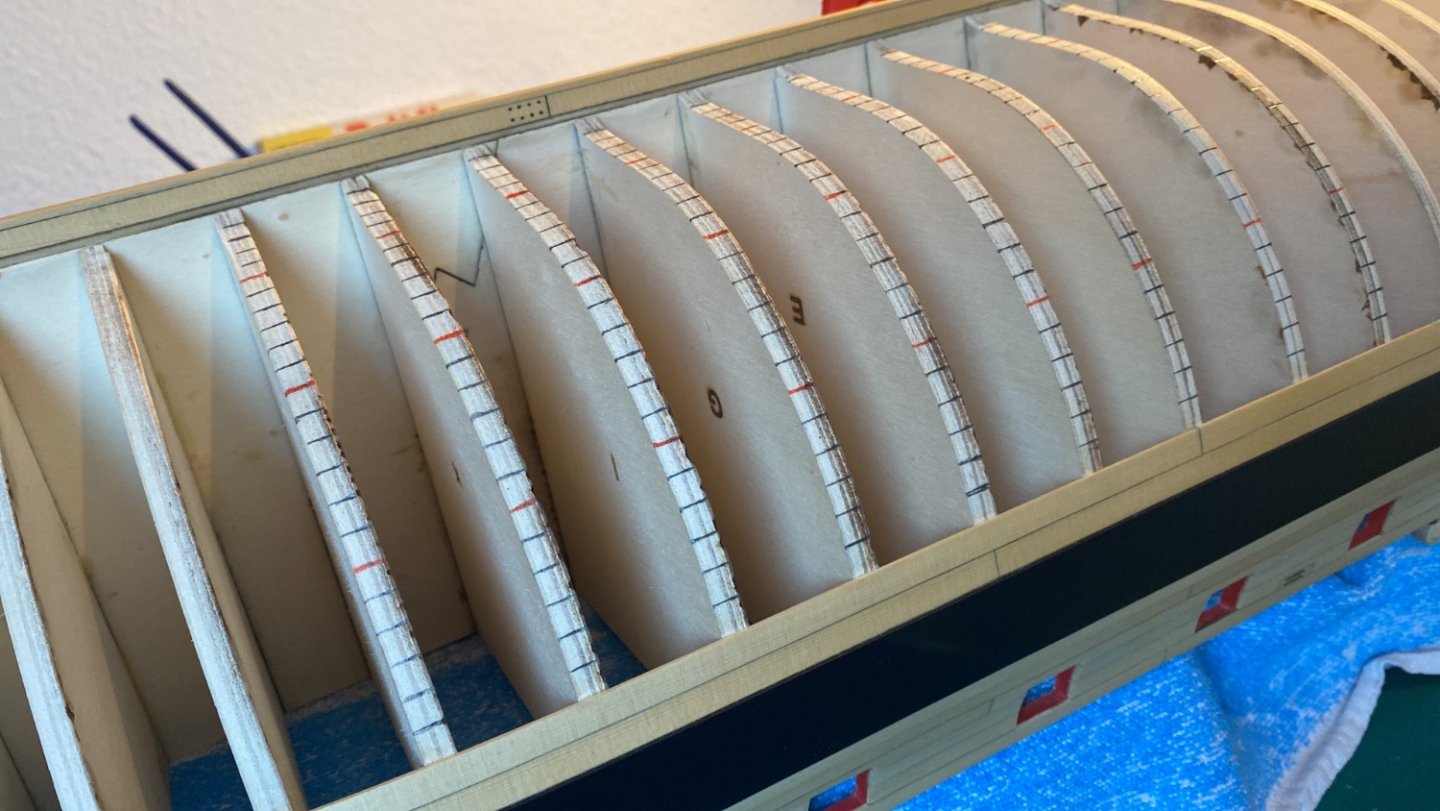
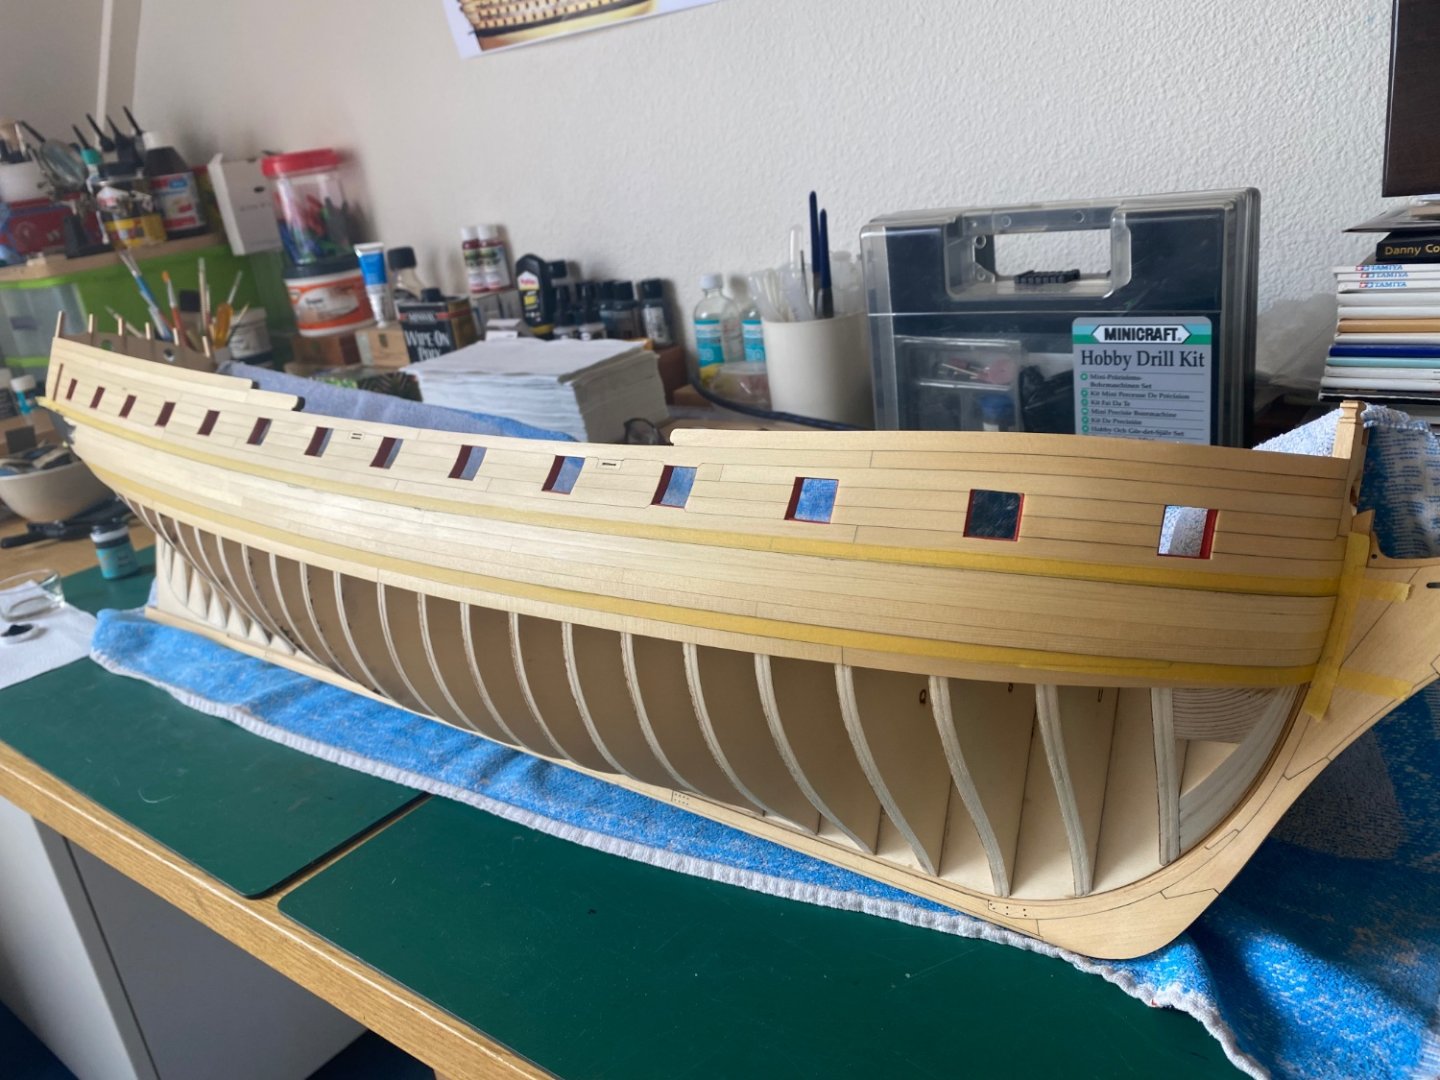
I finally finished chiseling and sanding the inner gunport framing…man, what a lot of chiseling and sanding that was…it took me weeks…I’ll check the thickness at every frame again though before planking it later on. I’m now trying to line off the lower hull… I hope I’m doing allright like this using Chuck’s tick strips. Frank.

-
Thanks Glenn!
-
Again a very clear explanation Chuck. I don’t want to seem a rookie ofcourse 😉, despite the fact that I actually am on wooden ship models… Thanks! Frank.
-
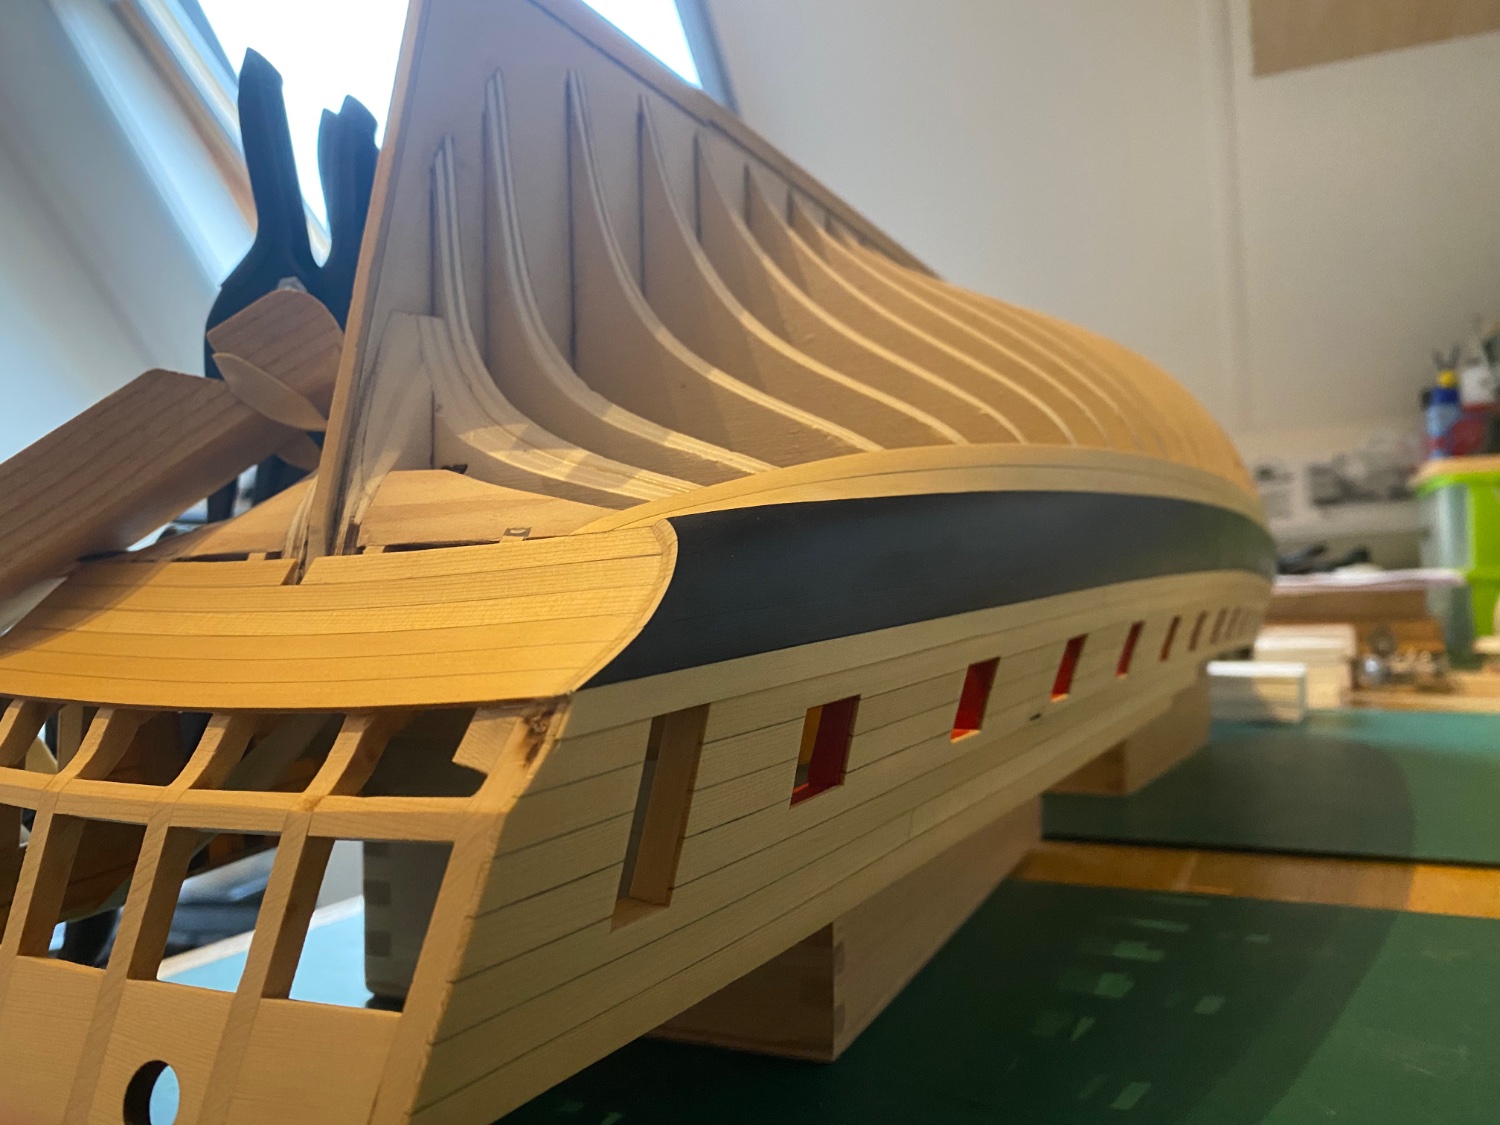
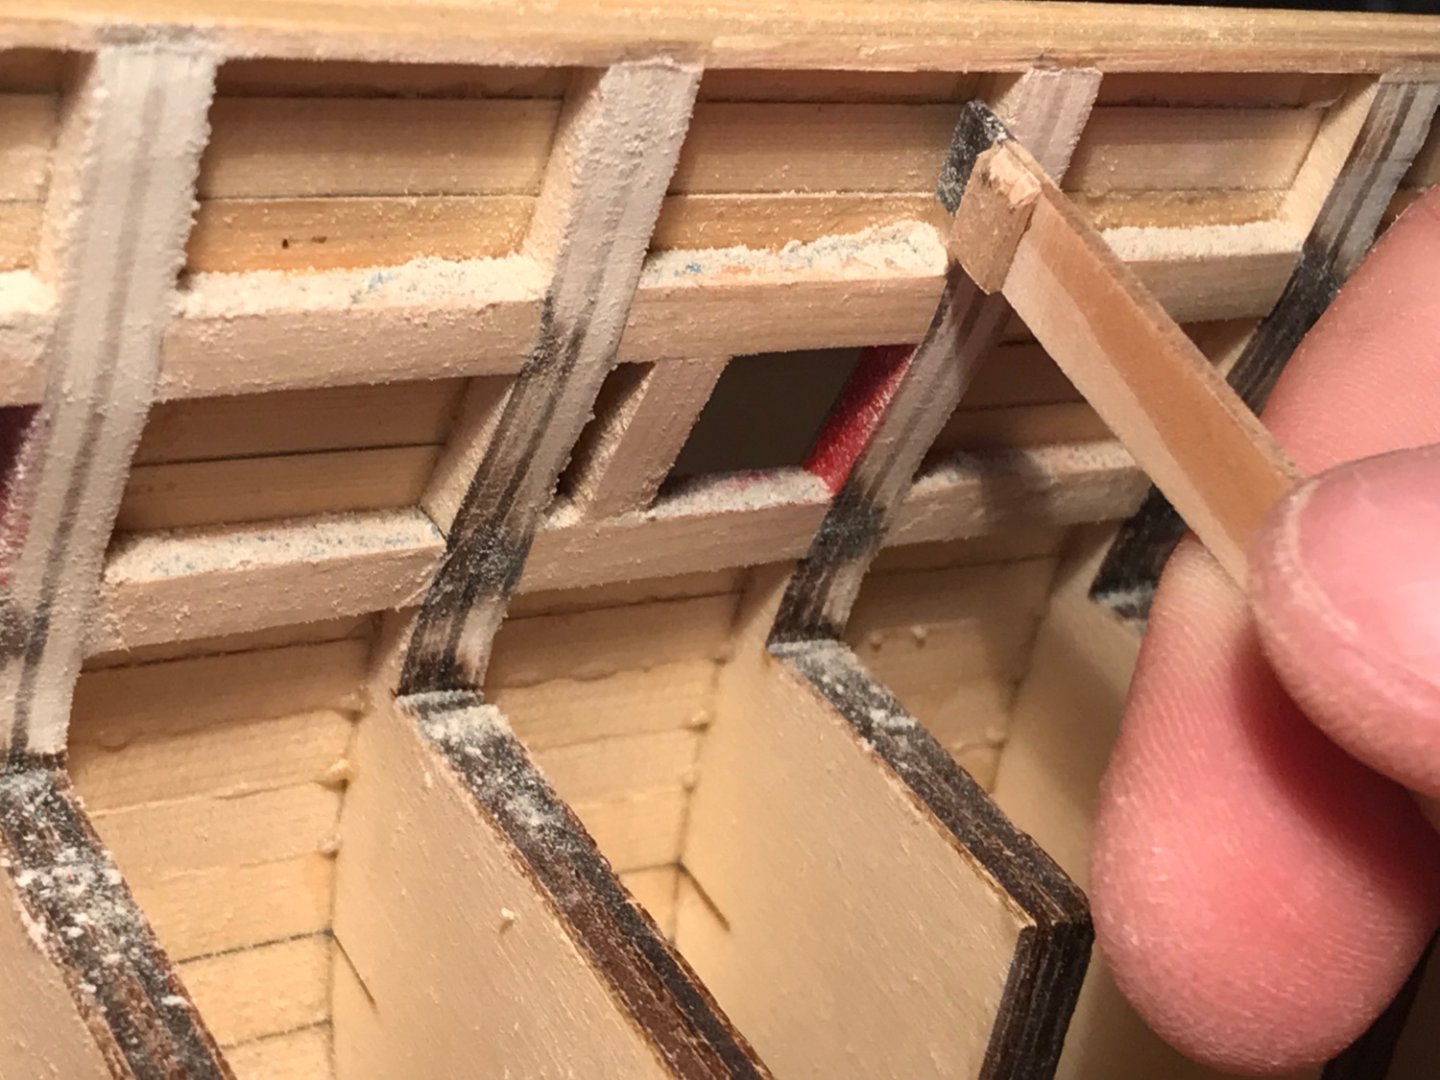
Hi all, I’m almost at the point of planking the underside of my Winchelsea hull. But first I have a question about fairing the inside of the hull above deck level. It says the inside should be faired till 1/8”. I have made a wooden rudimentairy 1/8” measuring device as seen in the photograph. But is this from top to deck level the same? Shouldn’t it be a hair more than 1/8” on deck level? The bulkheads all seem to be cut that way as well and with POF models one also sees the thickness taper gradually. Thanks, Frank.
-
I clearly notice your experience deviating from Chuck's instructions, but recognize every inch to be correct.... Beautiful build! Frank.
-
Congratulations on your exquisite achievement, a beautiful work of art and inspiration for us all! She’s a real beauty! Frank.
- 1,784 replies
-
- 4
-
-
- winchelsea
- Syren Ship Model Company
- (and 1 more)
-
Wow! What a sensational effect those lamps! Well done on a beautiful clean build! Frank.
-
Thanks Edward! Frank
-
Thanks Fred, I’m glad it looks that way to you, but I know it’s not ofcourse, every hair of an inch that’s not the same height, width or length portside compared to starboard I can point out… I’m my own worst critic too… Frank.
-
Great the chimney is safe now Rusty and great tip keeping the inner curvature of that deck planking the same and symmetrical while adjusting the outer curvature to the inner bow. I spent most of my time measuring to keep as symmetrical possible portside and starboard...but in fact when getting the micrometer at it, our wooden models are asymmetrical wonders (they're not plastic kits as Chuck said)...and yet they're beautiful, specially yours with these warm pear tones and teints of red... I love your build! Frank.
-
I get hungry everytime I see such a lovely finished stove... so, very well done!! Frank.
-
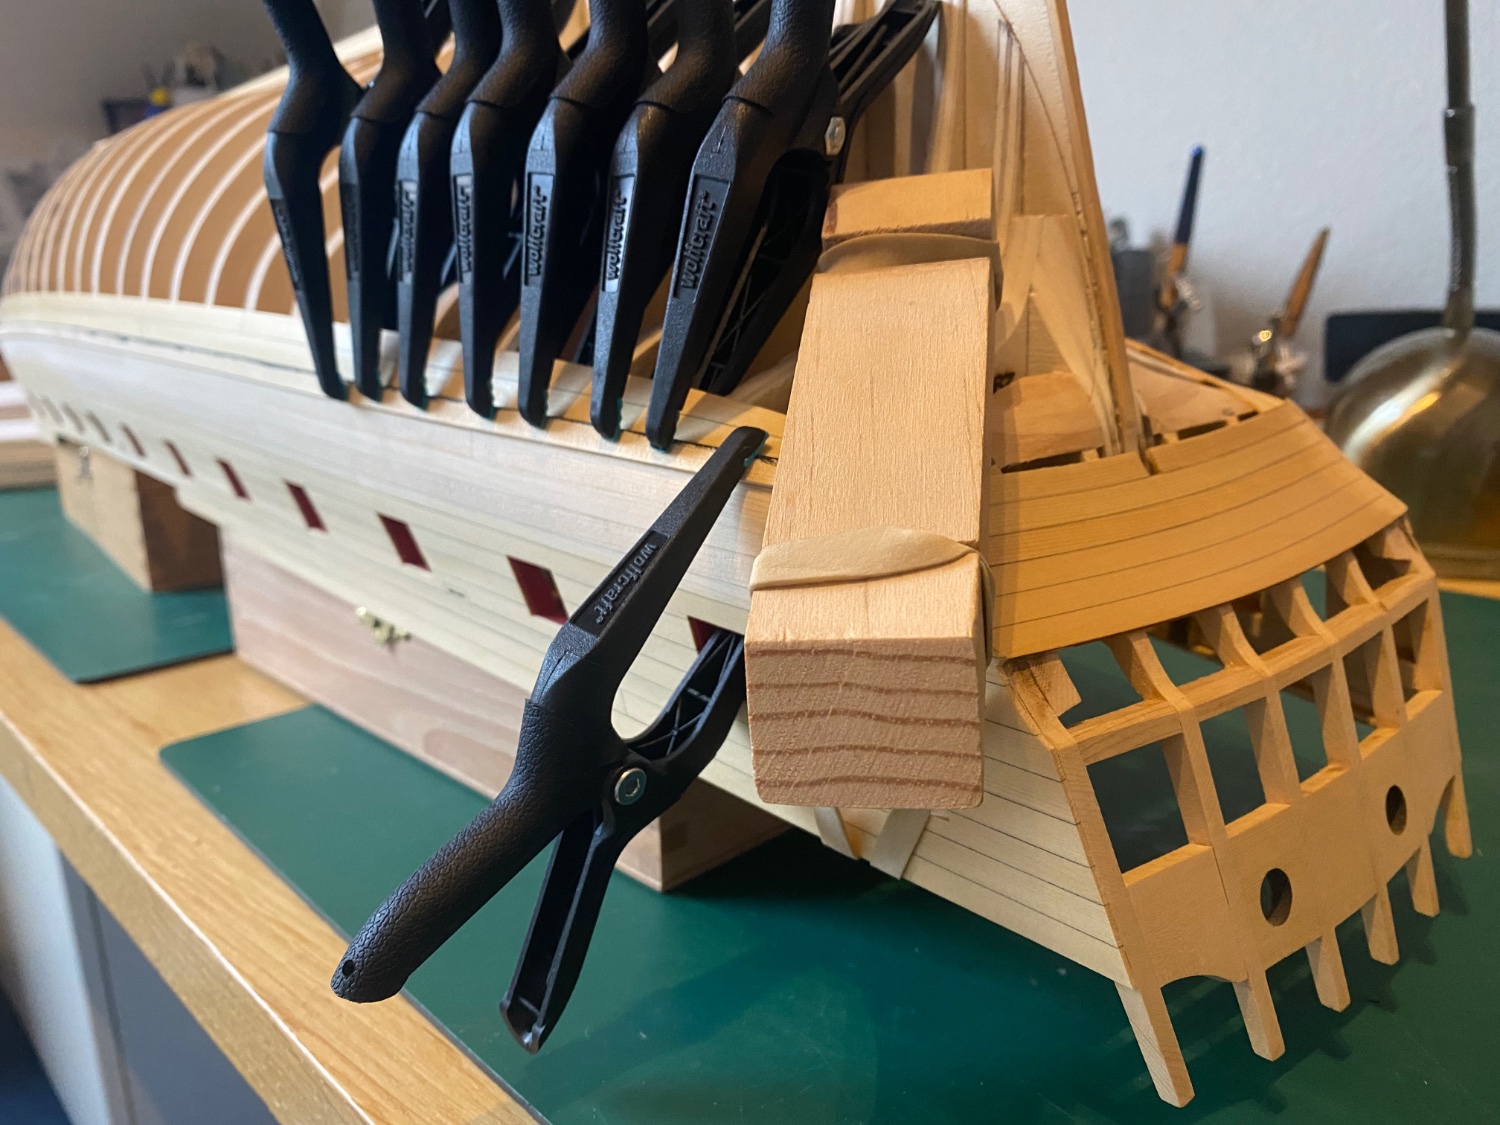
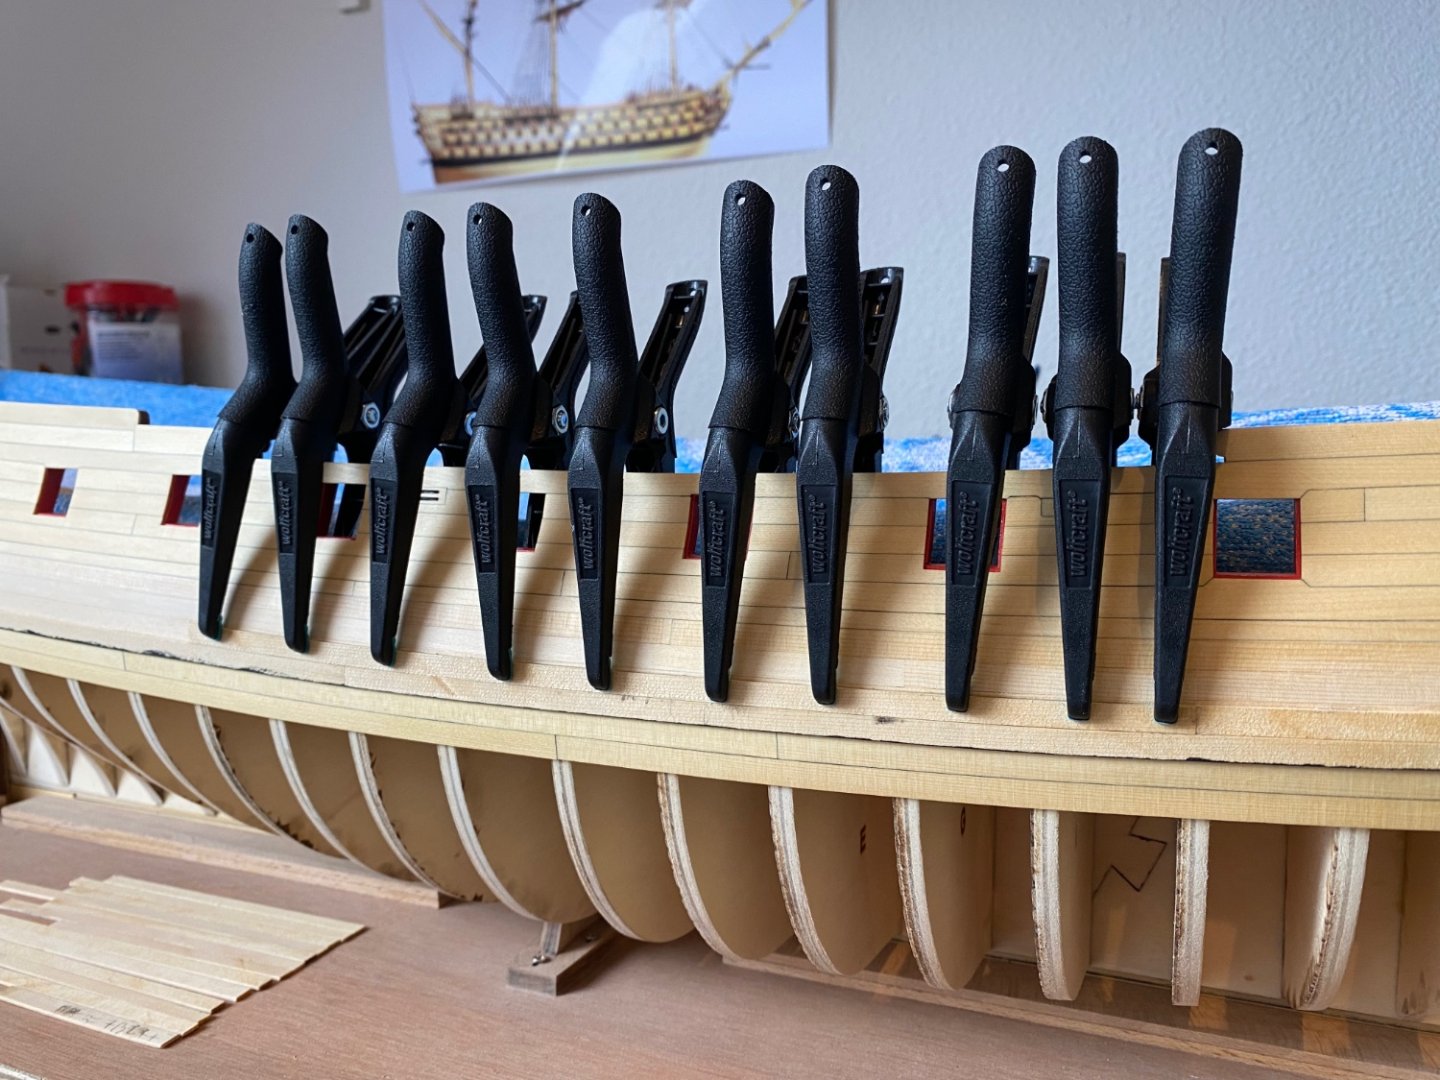
Thanks all for the compliments and likes, it makes me feel good and eager again to carry on! I've set myself a hopefully realistic goal to have it planked sometime around Christmas, New Year's Eve.
-
Mostly blockades or sieges of harbours, effectively enough...though I believe Toulon could be recaptured on the English/Spanish in 1793 by good old emperor Napoleon without firing a single shot at any English ship in harbour....so no harm done then to any mouldings too, which was a good thing! https://en.wikipedia.org/wiki/Siege_of_Toulon_(1793)
- 840 replies
-
- 3
-
-
- winchelsea
- Syren Ship Model Company
- (and 1 more)
-
Beautiful work Glenn! I'm again astonished how you can keep up this pace of working and still deliver such quality work! You much have six fingers on each hand.... Frank.
- 840 replies
-
- 2
-
-
- winchelsea
- Syren Ship Model Company
- (and 1 more)
-
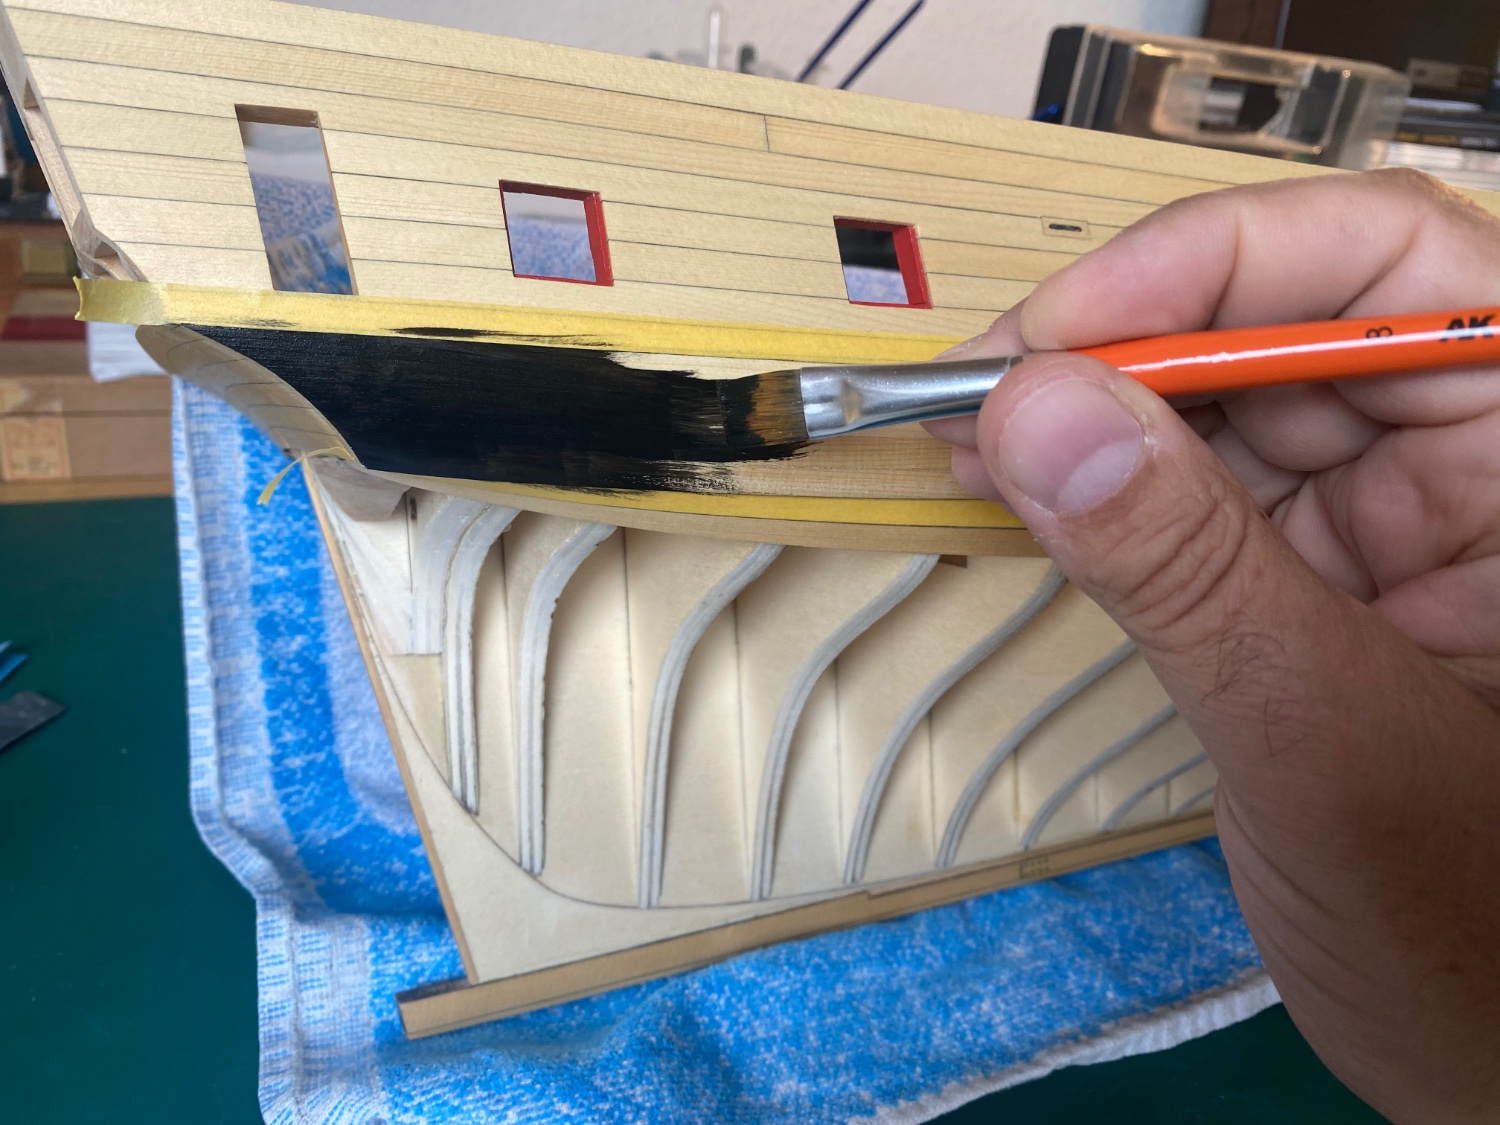
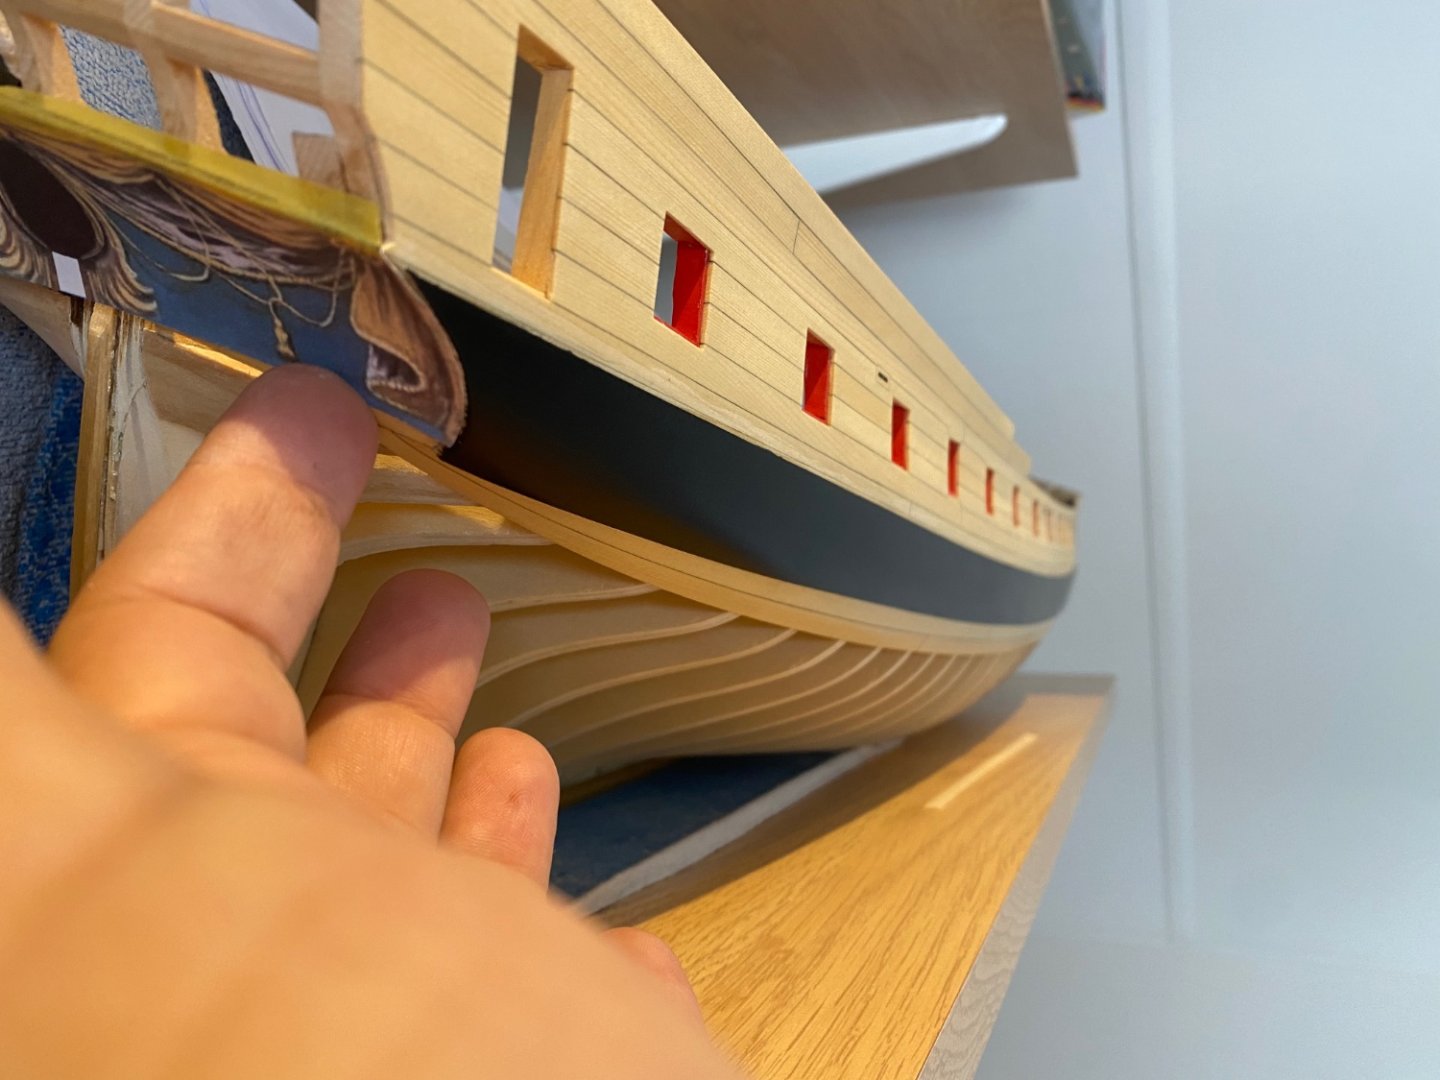
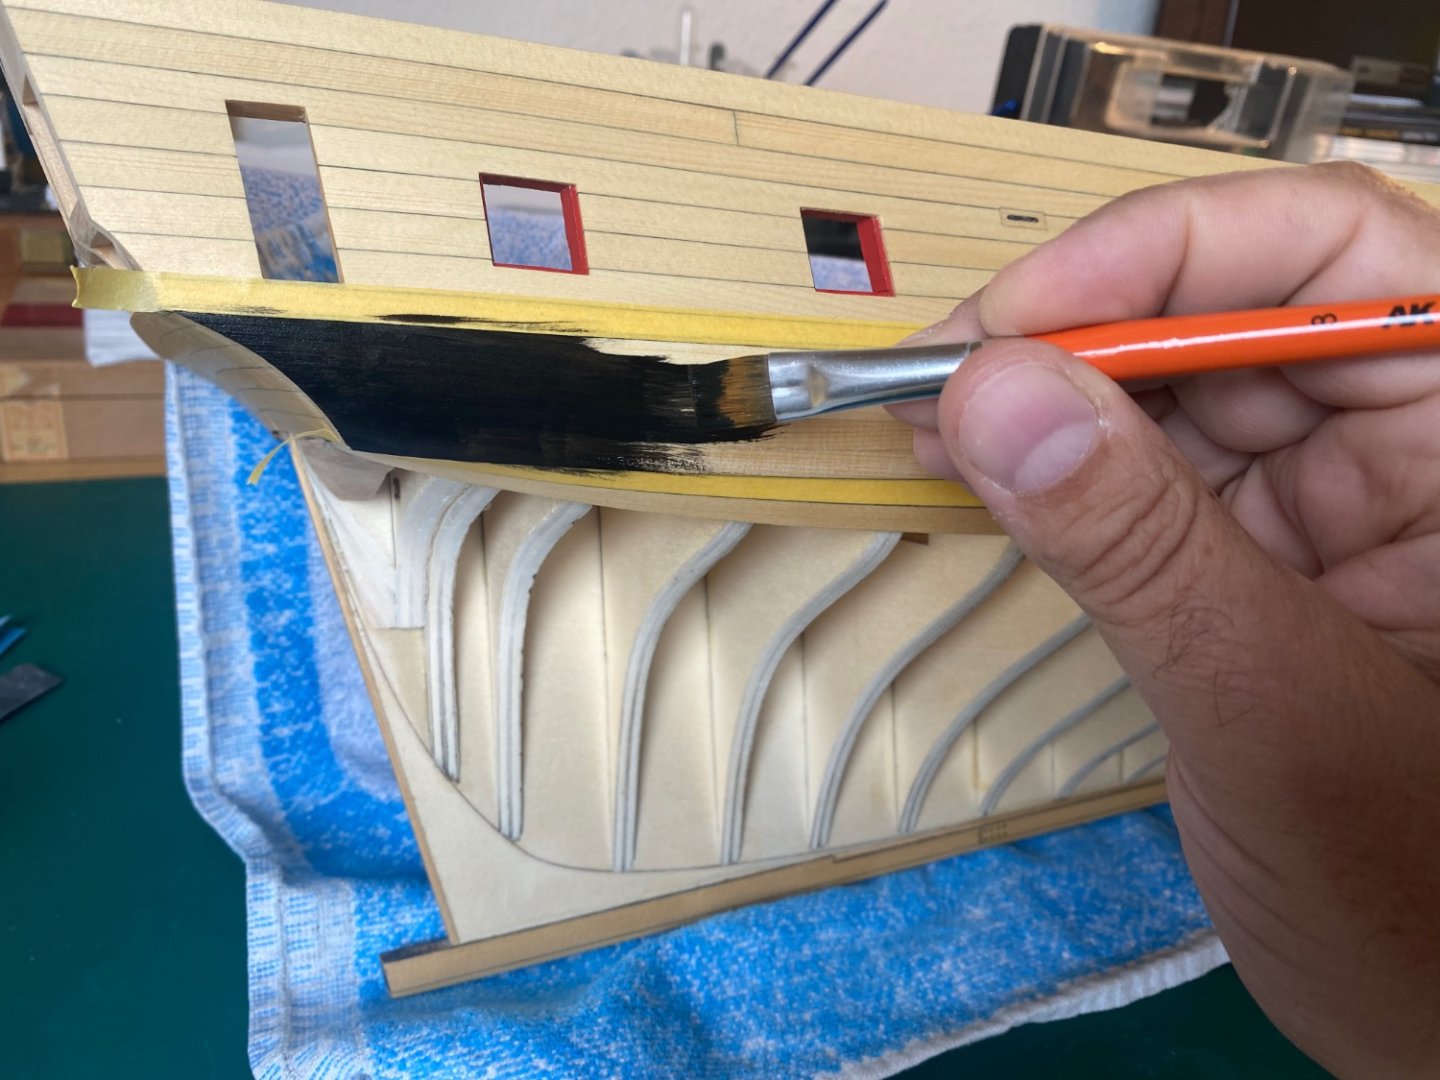
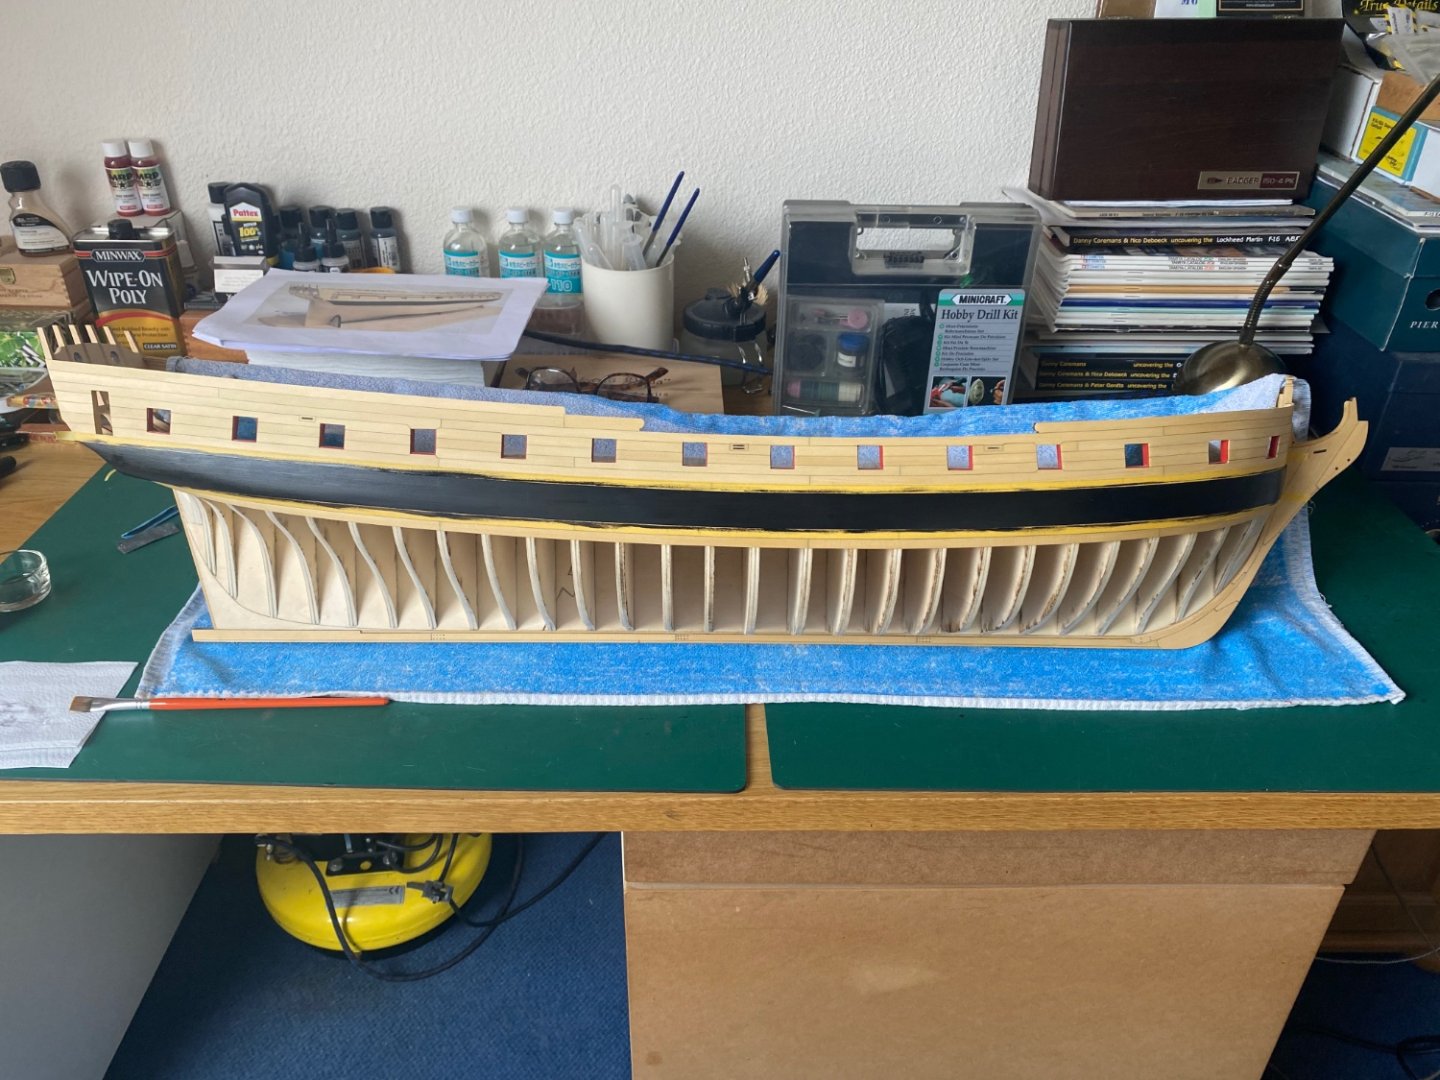
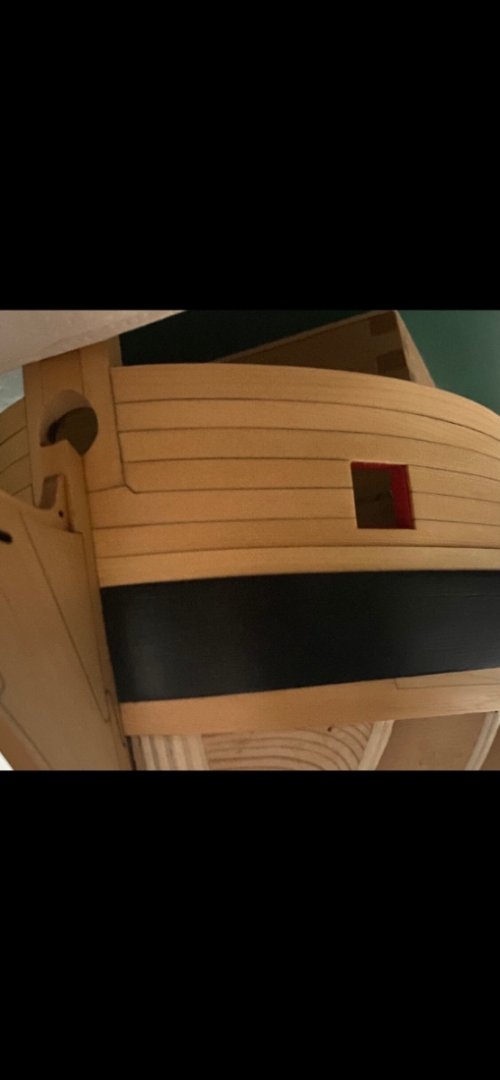
I’ve been away for a while with work, family, holidays, but am still very much committed and finally have some spare time to pick up my Winchelsea project again. First learned to use my Byrnes thickness sander, switch sandpapers with different grid and how to sand sheets and strips to the correct thickness without shooting sheets and strips through the room….I learned this by experience ofcourse… Both starboard and portside whales finished and painted now. Only portside blackstrake still has to be and will be done this week. Frank.


-
Looking good and you're making great progress Jeff, keep up the good work! Frank.
-
Hi Gary, I may understand you wrong, but are you going to paint the first layer of whale planks black? That's not necessary, you only have to paint the second layer of planks. I think it's more necessary to sand the two outer stern frames thinner at the top, check the dotted lines on the plans of the stern framing. It might be the picture, but in the picture the top of the outside of the outer stern frames seem a little too thick still. This will give problems with the positions of the outer two stern windows as I understand. Frank.
-
Beautiful work Rusty, I love the warm colors on your Winnie, and on such an exact and clean build they're a treat for the eye! Frank.
- 642 replies
-
- 2
-
-
- winchelsea
- Syren Ship Model Company
- (and 1 more)
-
What a fast, sharp and clean builder you are Dusan! I'm following with great interest! Frank.