-
Posts
541 -
Joined
-
Last visited
Content Type
Profiles
Forums
Gallery
Events
Everything posted by FrankWouts
-
Simply beautiful Glenn! You're a master in planking indeed! And I'll have to take some holiday to catch up with you now! LOL Frank.
- 840 replies
-
- winchelsea
- Syren Ship Model Company
-
(and 1 more)
Tagged with:
-
The thin window templates numbered 1 to 5 are a help for the stern fillers and window sills to line up exactly from left to right, so that your windows will fit exactly and line up nicely both horizontaly and vertically. The templates 1 to 5 are exactly the same size as the windows. Try placing them now, and most import: before you test fit the windows. You might have to chisel a bit away form the fillers and / or the window sills, as the line from left to right where the top and bottom of the windows will touch are not in line exactly thusfar to my eye, but this could be the picture perhaps. I found this the most difficult part, to both have a rounded stern with the six stern timbers, placed in the correct angle and distance when viewed from the sides, while a the same time line up the fillers and sills where the windows will come inbetween... I'm sure you'll do great, as everything looks very, very good and clean on your build!
- 389 replies
-
- winchelsea
- Syren Ship Model Company
-
(and 1 more)
Tagged with:
-
From the deck downwards, there won't be anything in the way when I look at other build logs. No special reason or logic: my left over piece of wood just wasn't bigger than this... Balsa would be fine I guess, though it sands away more easily than the plywood sides ofcourse...so take care there won't be bumps in your fluent 'flow'....
- 389 replies
-
- winchelsea
- Syren Ship Model Company
-
(and 1 more)
Tagged with:
-
Hi all, Is there finally any news on a release date? Frank.
-
Hi Gary, Yes, at least for me they worked out, as I could not imagine exactly how the curving should diminish from being round at the top of the bow to sharp and almost hollow at the bottom. I've tested this gradual transition from top to bottom with some leftover scrap planks and I should be okay and have a nice gradual flawless transition when planking further down to the bottom. Very experienced builders could perhaps make this transition when planking, but I though I could not do that and perhaps have ugly bumps in my bow. I'm not experienced.... I build a Corel victory 30 years ago and never was able to finishd it (though I still have it). With all the flaws and not having all parts from the kit anymore I don't feel like it as well...I'll start a new one some day in the future, perhaps the coming 1:64 Amati one... Frank.
- 389 replies
-
- winchelsea
- Syren Ship Model Company
-
(and 1 more)
Tagged with:
-
Hi Joe, When you inspect my build log on the transom you'll find I had to do some acrobacy with clamps and long strips to keep the right position on the middle two transom frames to get it right and get that gentle curve in the transom... It came out fine in the end, so if I can do it as a beginner, I'm sure you'll do a very fine job. Frank.
-
That's some very nice fairing and refined steady hard work! Frank.
- 389 replies
-
- winchelsea
- Syren Ship Model Company
-
(and 1 more)
Tagged with:
-
That's some gorgeous looking deck, cabin and rudder! Frank.
- 399 replies
-
- winchelsea
- Syren Ship Model Company
-
(and 1 more)
Tagged with:
-
Welcome and a great start! Frank
- 389 replies
-
- winchelsea
- Syren Ship Model Company
-
(and 1 more)
Tagged with:
-
Beautiful progress Glenn! Keep going like this! Frank.
- 840 replies
-
- winchelsea
- Syren Ship Model Company
-
(and 1 more)
Tagged with:
-
Beautiful work Glenn, you're a plank master indeed!
- 840 replies
-
- winchelsea
- Syren Ship Model Company
-
(and 1 more)
Tagged with:
-
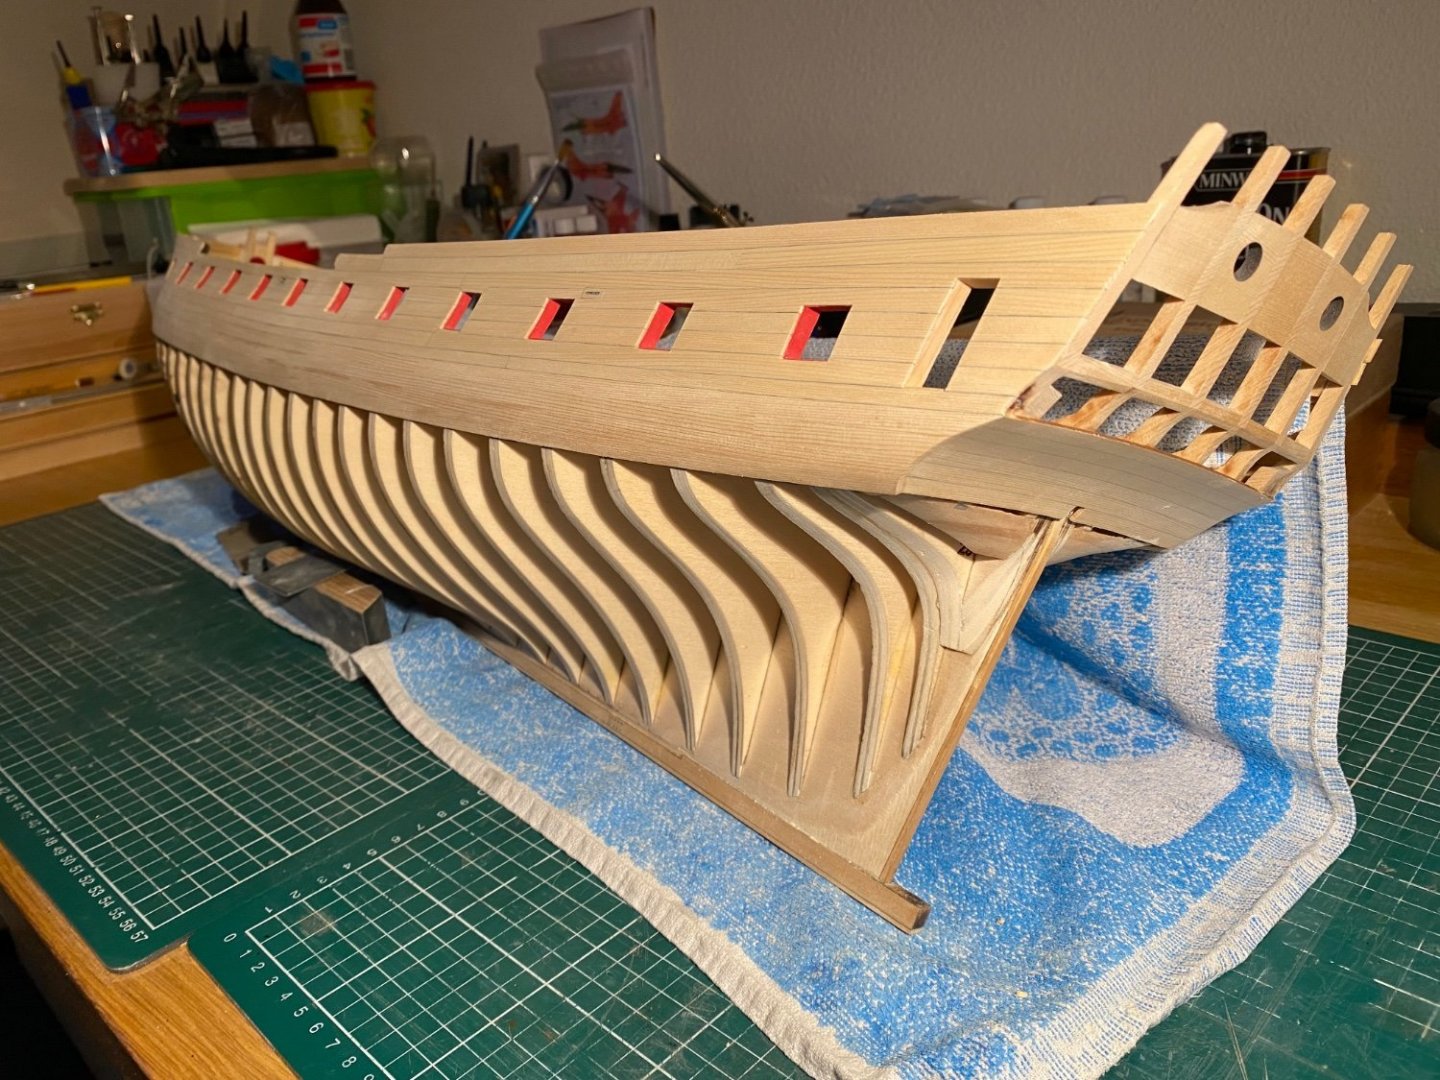
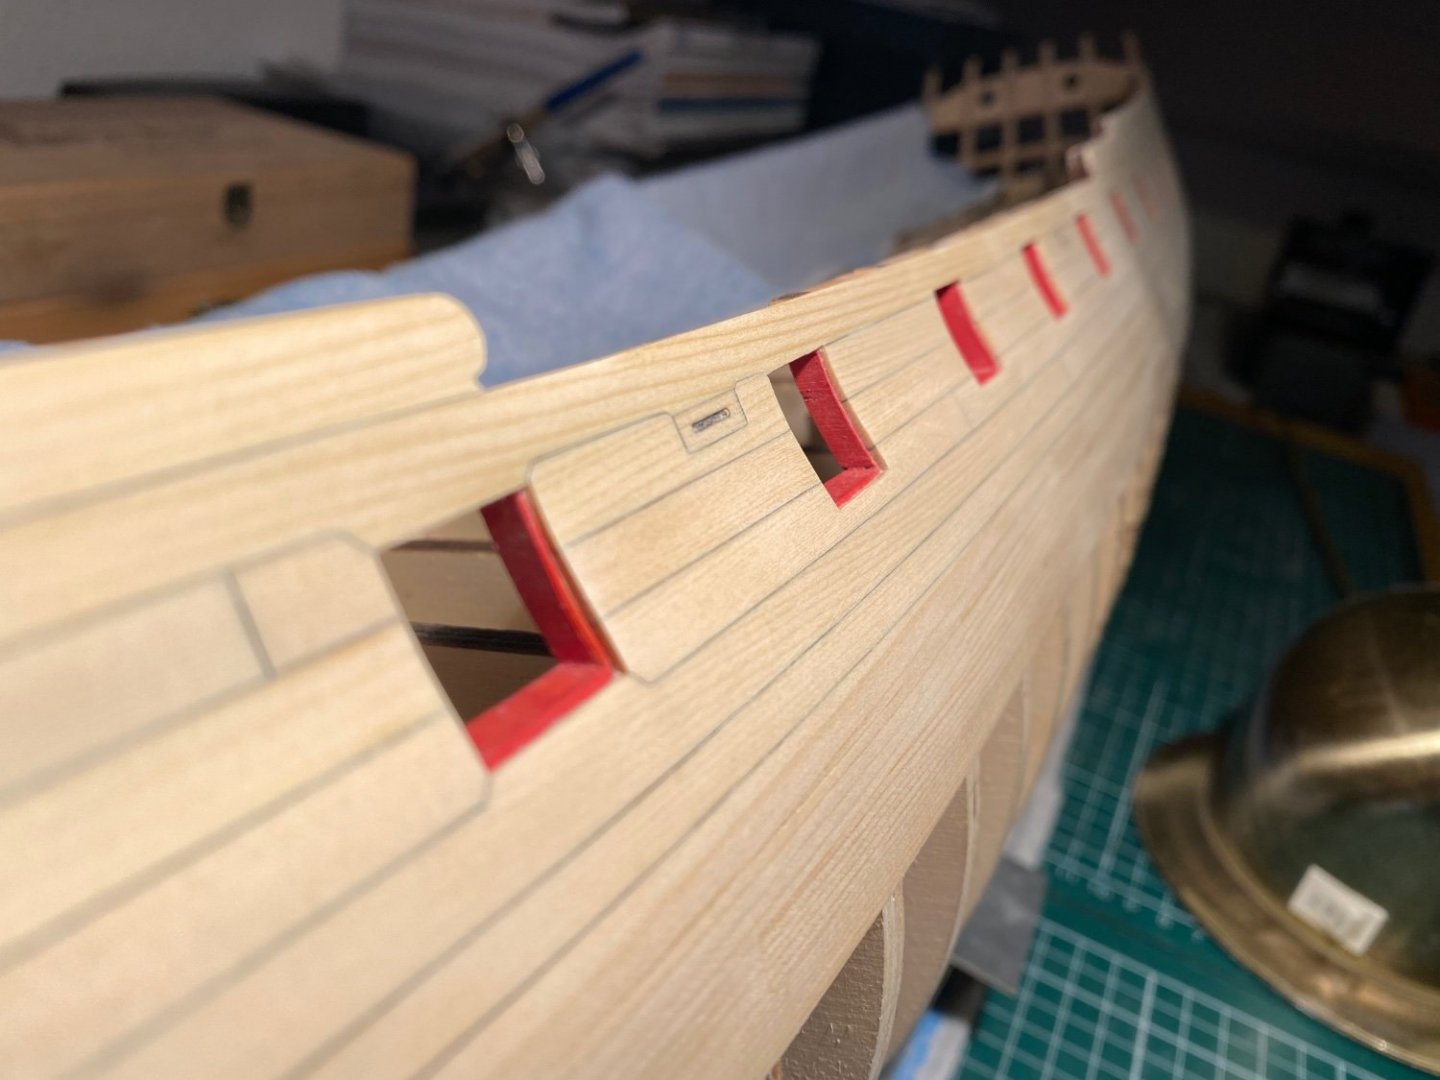
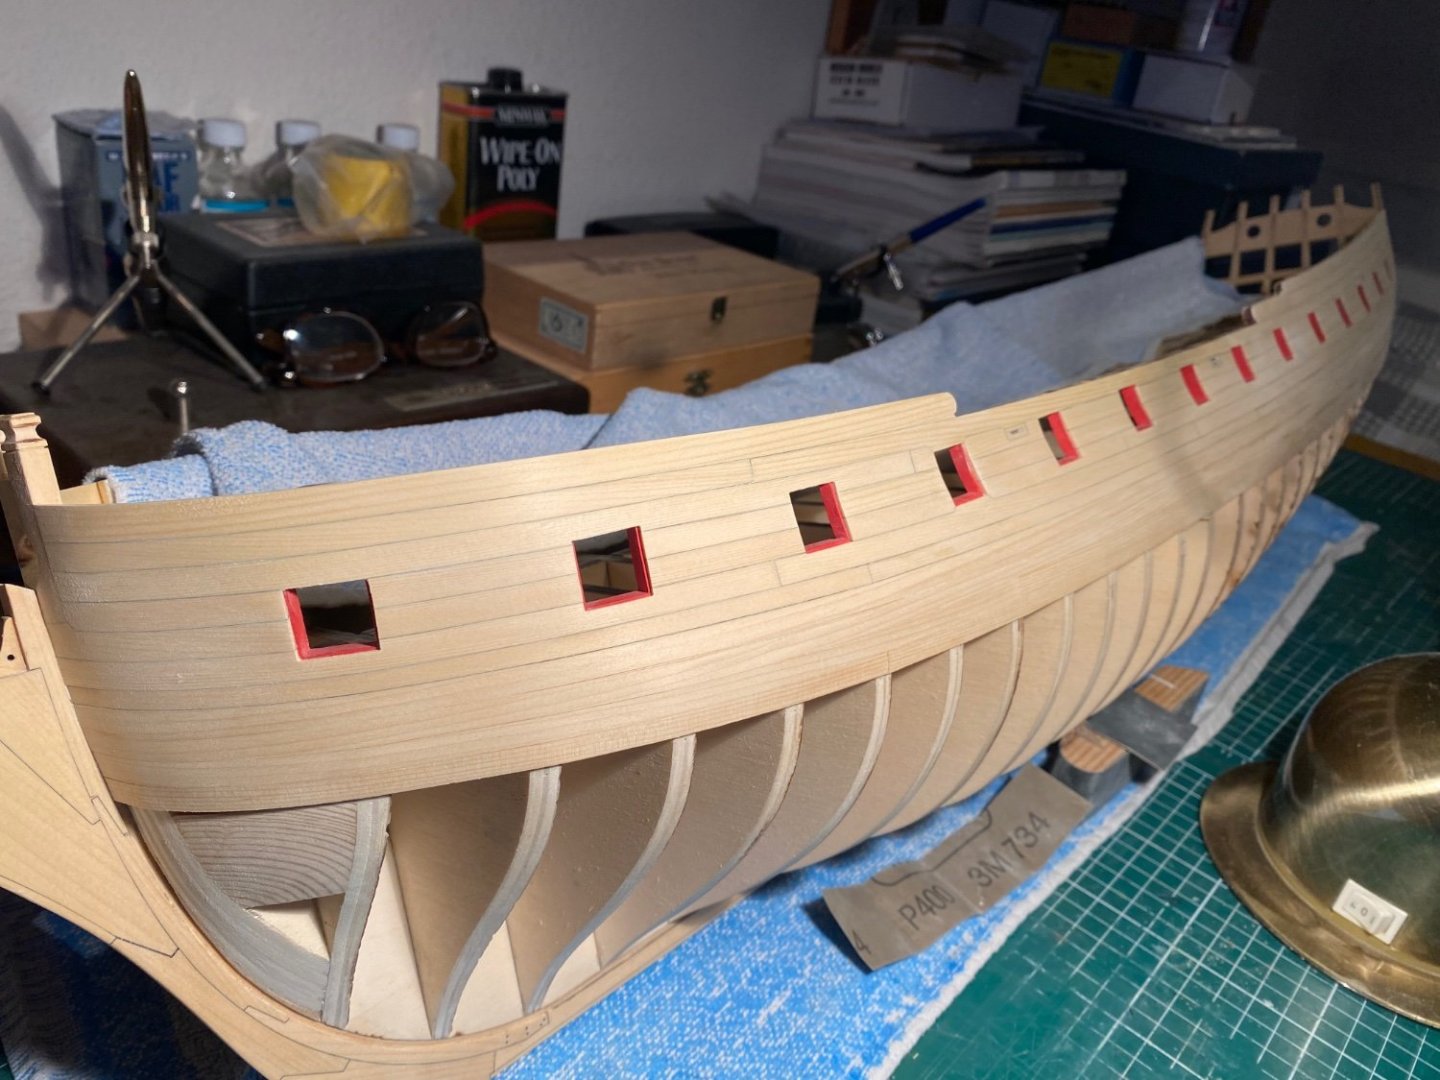
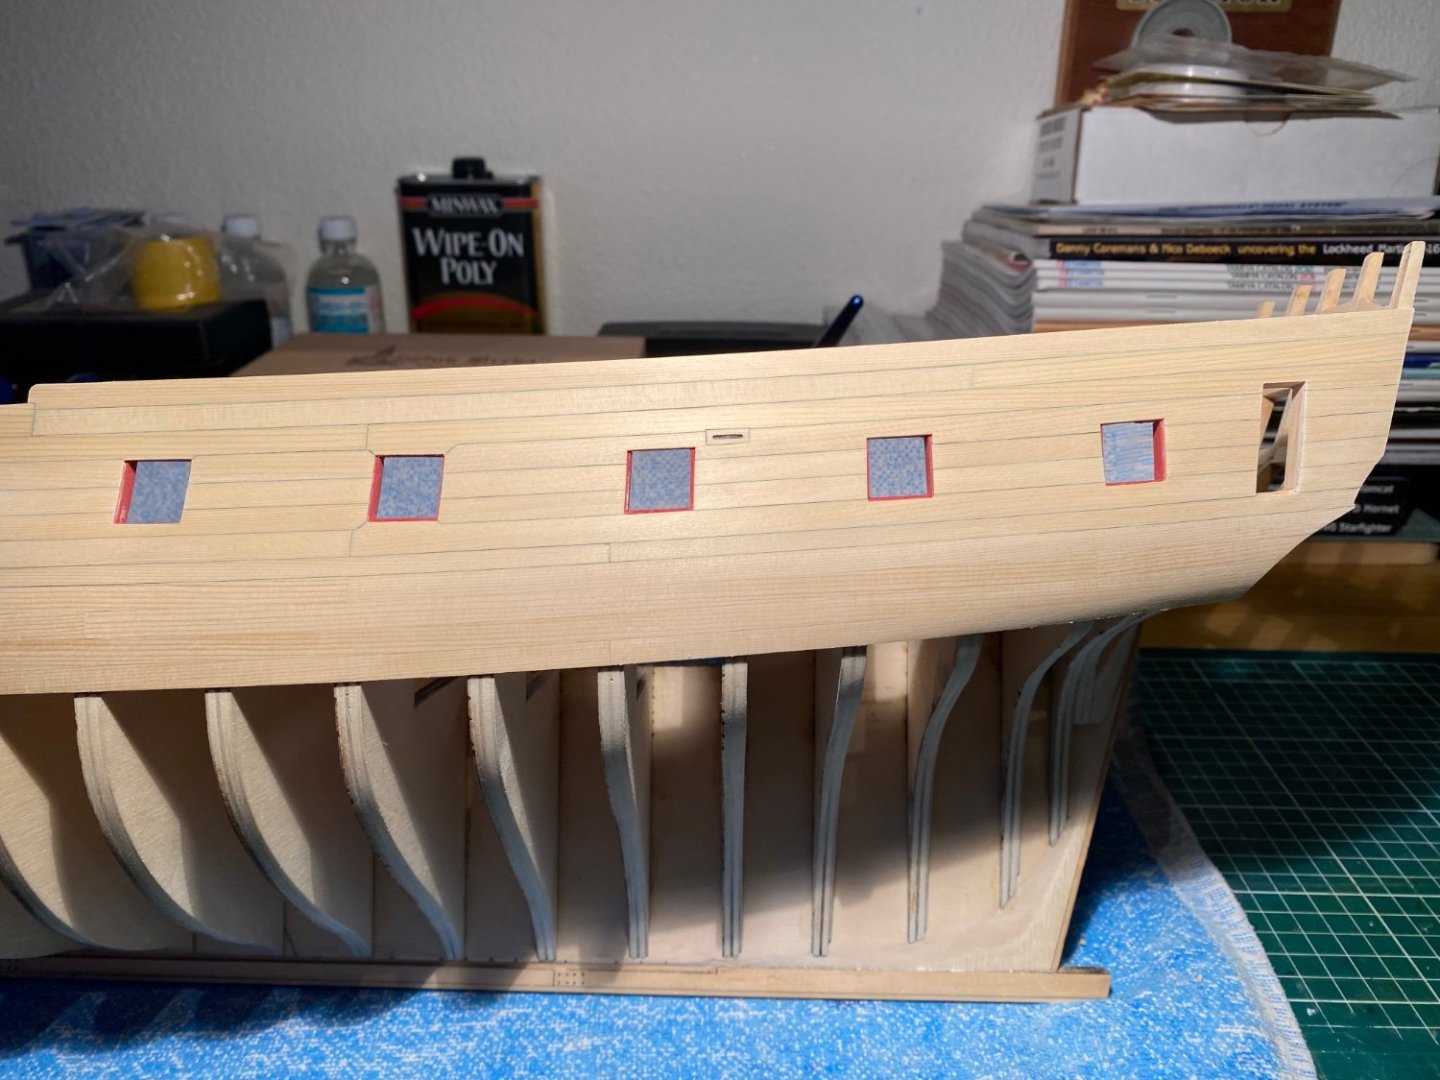
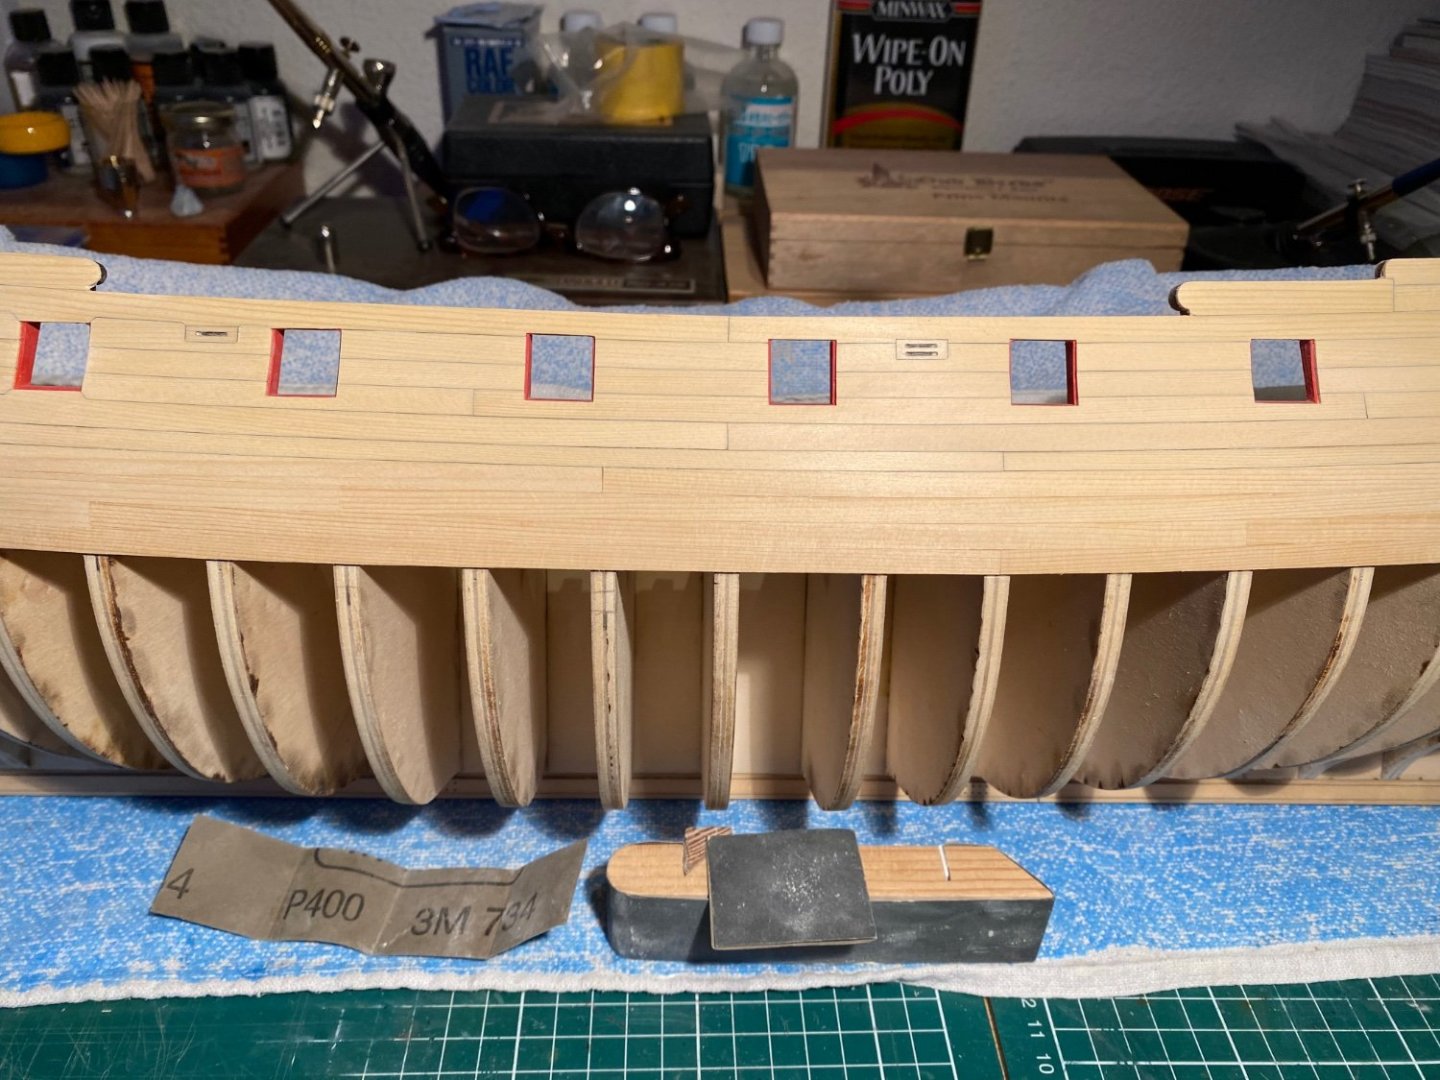
Hi Tom, No, you cannot saw one entire wale plank from bow to stern from the AYC blocks Chuck provides, that is, if you got them from him. Also, it would not be realistic, as trees in 1:48 cannot be that tall and therefore planks cannot be that long. I made the first curved wale plank from bow to stern in three, four pieces, glued next to each other in one fluent line (to my carpenter's eye at least...). If you look at pictures of others in this group build, you can see where to make the (vertical, upright, parallel with the frames) cuts in the planks. These cut positions repeat every fourth plank. Make sure you bend and place your first row of separate wale planks along or on the bulkhead marks exactly and with a gently curve, no sinkers or ugly nods, but fluently in a gentle and elegant curve. The sea, waves and ships are all about curves with a certain 'tension' in these curves. An ugly nod in a curve takes away theat gentle tension. Rip the first curve of planks off and start again if you're not 100% content with what you see looking from bow to stern and vice versa with one eye closed... Also, make sure you do it exactly the same port- and starboardside, as far as possible and to your abilities ofcourse. f you place the underside of the first planking in the middle of you pencil line, do that the same on the other side. This is the basis for every curve that will follow, so....
About us
Modelshipworld - Advancing Ship Modeling through Research
SSL Secured
Your security is important for us so this Website is SSL-Secured
NRG Mailing Address
Nautical Research Guild
237 South Lincoln Street
Westmont IL, 60559-1917
Model Ship World ® and the MSW logo are Registered Trademarks, and belong to the Nautical Research Guild (United States Patent and Trademark Office: No. 6,929,264 & No. 6,929,274, registered Dec. 20, 2022)
Helpful Links
About the NRG
If you enjoy building ship models that are historically accurate as well as beautiful, then The Nautical Research Guild (NRG) is just right for you.
The Guild is a non-profit educational organization whose mission is to “Advance Ship Modeling Through Research”. We provide support to our members in their efforts to raise the quality of their model ships.
The Nautical Research Guild has published our world-renowned quarterly magazine, The Nautical Research Journal, since 1955. The pages of the Journal are full of articles by accomplished ship modelers who show you how they create those exquisite details on their models, and by maritime historians who show you the correct details to build. The Journal is available in both print and digital editions. Go to the NRG web site (www.thenrg.org) to download a complimentary digital copy of the Journal. The NRG also publishes plan sets, books and compilations of back issues of the Journal and the former Ships in Scale and Model Ship Builder magazines.

