


Landlubber Mike
-
Posts
4,551 -
Joined
-
Last visited
Content Type
Profiles
Forums
Gallery
Events
Posts posted by Landlubber Mike
-
-
Hi Glen, this is sure to be another stunner. Looking forward to following along!
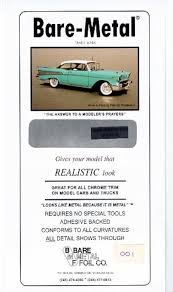
In case you are looking for adhesive foil, you could try Bare Metal Foil - car (and other) modelers use it and it comes in various metallic hues:
- Ian_Grant, Keith Black, mtaylor and 1 other
-
 4
4
-
Looking great as per your usual high build quality Chris. I've always liked the looks of this plane. Looking forward to the end result!
- Dave_E, mtaylor, Old Collingwood and 5 others
-
8
-
-
-
Really nice job Alan! I recently picked up that Dspiae stabilizer as well. I haven't had a chance to use it yet, but even though I have pretty steady hands at the moment, there have been times where this would have come in handy.
- mtaylor, Jack12477, Old Collingwood and 2 others
-
5
-
-
Nicely done!
@ccoyle - maybe we should have a SIB forum here on MSW? @Glen McGuire has a number of builds he's kindly posted already, and a few of us others have SIB builds we've posted as well.
-
-
-
-
In for this one Dave. Will be interesting to see if the WNW quality transferred over to Kotare - hope it did!
- GrandpaPhil, Dave_E, mtaylor and 5 others
-
8
-
-
14 hours ago, Roger Pellett said:
I just stumbled on to this; an interesting project that I’m looking forward to seeing nicely done.
The US Navy had some specialized and interesting small boats outfitted to service their fleet of flying boats while still in the water. If you look in their 1955/1954? Boat Book you will find drawings of these craft. One could make a great companion to your model. A copy of their Boat Can be found on the Navy’s history site. Or Google Navy Aircraft Refueling Boat
Roger
Thanks Roger, I'll have to look into that. Appreciate the suggestion!
- Egilman, mtaylor, Old Collingwood and 4 others
-
7
-
16 hours ago, lmagna said:
Hi Mike
I have been tempted to start several of my stash of seaplanes several times. One issue is where to put them when I am done? Not so bad with the JRS-1 or my 1/144 Martin and Boeing 314, but the 1/72 Boeing 314, the Martin Seamaster, and Martin Mariner, and Sunderland are another matter! Even the Gruman Albatross and Catalina are pretty big in that scale. You are building the Walrus but That is one seaplane I don't have. But who knows what I will latch onto in a weak moment. I need another model sitting around here like I need another hole in my head.
What I really need is to find good homes for some I already have!
Whatching you CLOSELEY!
")
I blame you for getting me into seaplanes 😝
The JRS-1 at 1/72 is a pretty big model with the wingspan as you know. I also have a 1/48 PBY-5a kit that I was thinking of starting soon - mostly to free up shelf space as it is a big box, but then the question is where do I put it as that’s a big one for sure.
If you want a really big seaplane, Revell I think is reissuing the Bv 222. The model is really nice and doesn’t really require any aftermarket. I’ve got that one but again, will need quite a bit of space for it.
One thing I was thinking was to do a cutaway on a 1/72 Emily since there is a lot of aftermarket that could make the interior look pretty impressive. One side would have full exterior and wing with mechanics, etc. and other side would be open with pilots and gunners, with only a portion of the wing attached. That would cut down on the overall size.
Just need to find time! -
Hey Lou, the kit comes with some PE, but Eduard also separately sells (or at least used to sell) this PE set which adds PE seats, engine wiring, handles, and the details around the wheel wells. If you can find it, I think it's worth considering:
https://www.eduard.com/eduard/jrs-1-upgrade-set-1-72.html?cur=2&listtype=search&searchparam=jrs-1
The cockpit area is definitely problematic. I added some plastic shims and it seems like the fit shouldn't be too bad. Other people seem to have had a devil of a time trying to fill the gaps though. It's just a little tiring spending hours to get pieces to fit right. It's also looking at pictures of the real thing and realizing that certain details are either missing or incorrect that just add to the list of things to do. And then there are lack of connection points which means you have to either add them or be very careful to not later break pieces off.
You should definitely build it though, the subject is really historically important and there are plenty of schemes to choose from.
- Old Collingwood, mtaylor, Egilman and 4 others
-
7
-
Hi Lou, great to hear from you and thanks for the kind words. I have the following book which has a lot of great pictures of both the civilian craft (including the Howard Hughes plane) and the military craft. It's definitely worth buying if you're going to build this kit I think.
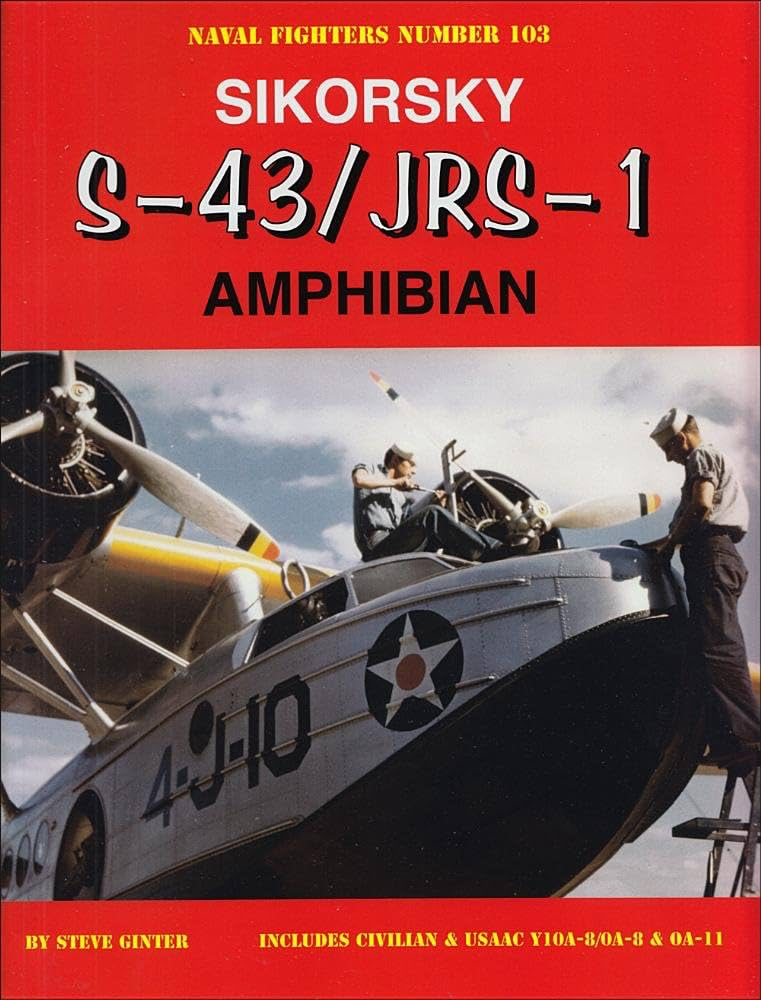
Interestingly, the interior of the military craft looks very similar to that of the civilian craft, down to the interior curtains. I decided not to open the model up in part because I wasn't too certain about whether the interior from the kit was accurate or not.
For the wheel wells, the photo etch actually adds some nice detail like the rivets and the panels which seems very consistent with the pictures I've seen of the actual wells. The PE is also really helpful to cover up that dreadful, hard to get to, ejector pin mark in the deep recess of the well. Though, this is not an issue if you use the CMK wheel well replacement parts which actually fit better.
The kit is ok, and the CMK set is a nice add-on, but things like the need to clean up pretty much every piece, as well as the fit of the pieces, including the windows, the canopy, and the engine cowlings, make this a bit frustrating. There's also the issue of no interlocking connecting points for the wing and tail struts (as well as a number of other detail parts) which is annoying. Then there is the matter of certain details that are helpful to add, like the nose center rib in the book picture above, and the location and angle of the antenna mast in the center wing that is different from plane to plane. Also, the tail wheel in the kit looks nothing like either of the two versions of the tail wheel on the real thing, so of course now that I've seen the actual pictures (the book above has great close-ups) I feel obligated to scratch build a more accurate one, though not really looking forward to it.
I've started to lose interest in finishing the model, but am going to try to push through to get it finished by the beginning of June for the group build on LSM. It didn't help that the model took a nose dive off the table last week and three of the interior windows fell off. Thankfully the top two pieces of the fuselage had also loosened, so I was able to take them off and reinstall the windows. If it was one of the windows further back I probably would have had to junk the model. If you end up building the kit, I'd probably try not to be as OCD as I have been and just enjoy building it.
- king derelict, Knocklouder, CDW and 13 others
-
16
-
-
Another creative SIB build and display Glen!! Amazing job! Love the details, especially that little penguin!
- Scottish Guy, Glen McGuire, mtaylor and 4 others
-
6
-
 1
1
-
-
On 5/2/2024 at 6:53 AM, paul ron said:
i sparingly use yellow pva glue as it makes rigging easier so parts stay in alignment as i go.
I glued the masts on my Badger for this reason. Easier to make sure the lines are taut if the mast is in a fixed position.
-
Hey Craig, did you end up finishing this?
- Old Collingwood, mtaylor, Egilman and 1 other
-
4
-
Looking great Nils!
- FriedClams, mtaylor, Canute and 3 others
-
6
-
I bought this (or something similar) years ago when I was going to get into carving:
I haven't used it yet to be honest as I haven't been doing any carving, so not sure how effective it is. It wasn't exceedingly loud if I remember correctly. When I do things like sand or drill or work with resin, I found putting my shop vac nozzle in a vise near where I'm working is an easier and very effective method for removing dust.
-
I really like my Sherline lathe. The DRO is a fantastic add-on.
- Scottish Guy, Canute and mtaylor
-
3


PBY-3 Catalina by PvG Aussie - FINISHED - Wolfpack - 1/72
in Non-ship/categorised builds
Posted · Edited by Landlubber Mike
I used Wolfpack's wing fold set for my FM-1 build. Obviously not a full kit, but I thought it was very well done. My guess is their Catalina kit will work into a nice model as well.