
DONATION DRIVE - SUPPORT MSW - DO YOUR PART TO KEEP THIS GREAT FORUM GOING!
×


Landlubber Mike
-
Posts
4,541 -
Joined
-
Last visited
Content Type
Profiles
Forums
Gallery
Events
Everything posted by Landlubber Mike
-

Furled sails, to fit or not to fit ?
Landlubber Mike replied to Mike Reader's topic in Masting, rigging and sails
Or reduce the amount of material used - don't try to furl a full sail, but cut the sail to 1/3 to 1/2 the size and furl that instead. I had a tutorial somewhere on here where I showed my technique. Otherwise, I think your sails look great! To me, these are sailing ships and if you want to show them with sails, go for it! I did furled sails on my Badger, but will go for full sails (or a mixture of furled and full) on my next builds. Personally, I think sails bring these beauties to life. -
Wow, you guys are fast! Glad to have you along to keep me honest! I have the interior and engine just about finished on this, just need to do a little shading and weathering. I'll post pics once the front and rear cockpit assemblies are completed and the fuselage halves put together. This should be a little faster than the FM-1 Wildcat I'm working on. I put it to the side as I'm still a bit nervous about how to blend the transition from dark gull grey to insignia white on the fuselage. Rather than go for it, I chickened out and picked a new kit off the shelf 😕
-
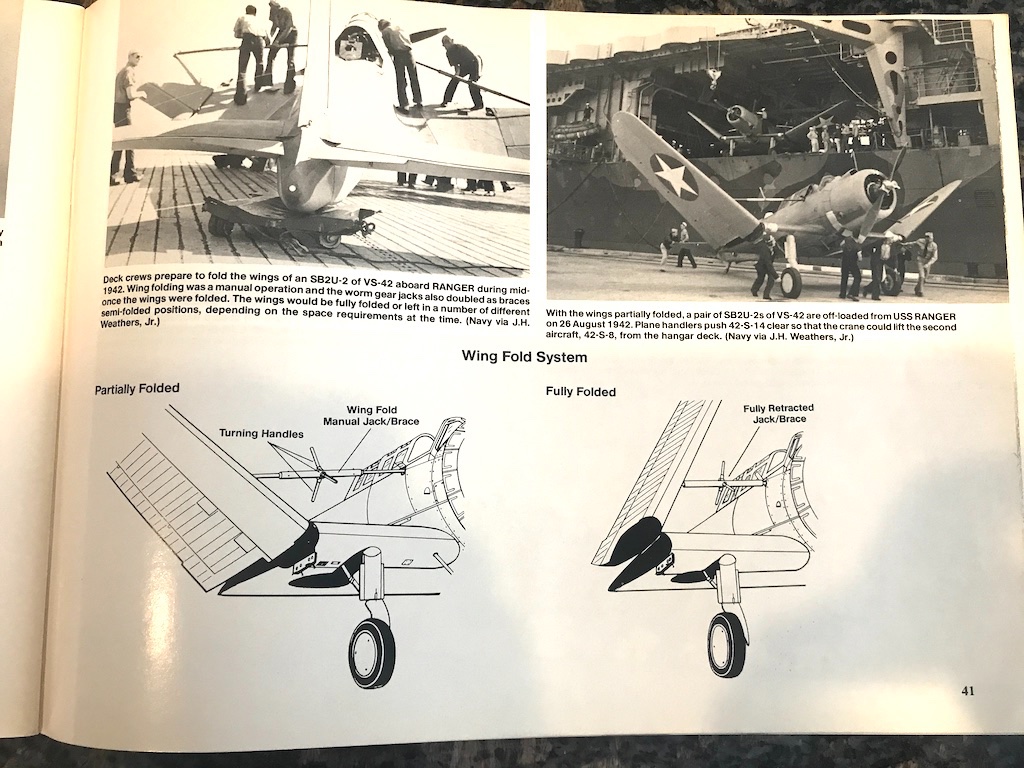
Wing Options: One weird aspect of the kit is that it provides the wing inserts to make for a folded version, but provides no instructions! There is at least one build log out there where the builder built it with folded wings, so it can be done. To be a little different, I'm thinking of building this as a partially folded version shown below (taken from the SB2U Vindicator In Action book from Squadron/signal publications). Looks pretty neat I think and the pictures and diagrams are very helpful. If I did do the wing fold, I'm wondering about opening the flaps per the Eduard PE set (taken from another build log I found on the net): Looks pretty cool, but I don't know if the flaps would be open in that position. Plus, I'd like to put bombs on it - it is a bomber after all. I might just do so to show all the bells and whistles, and not worry about historical accuracy per se. I haven't been able to find too many pictures of the plane with the wings folded to know exactly what makes sense.
- 38 replies
-
- 11
-

-
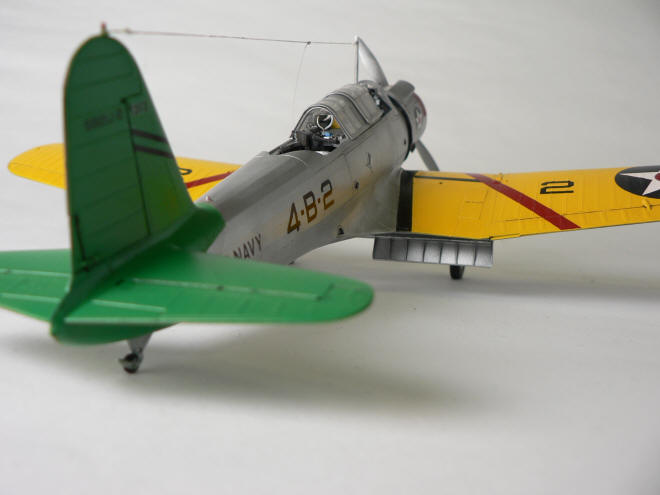
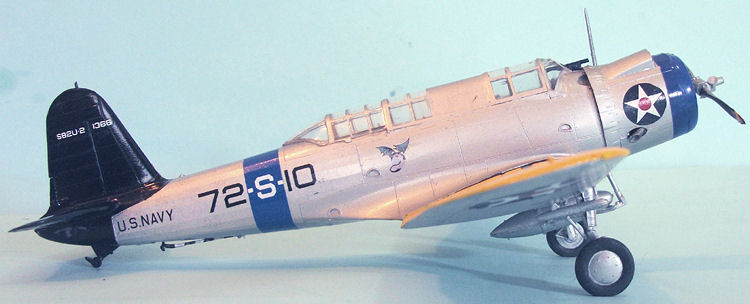
Color Scheme: I love this plane as the -1 versions and some -2 versions had the yellow wing colorful schemes. I'm still undecided on whether to build the kit scheme: ...or to build it as the VS-72 Centaur Vampire which was the -2 version (thankfully, the -2 was essentially the same as the -1 minus some interior component improvements that aren't visible): I love the logo of the Centaur Vampire, but I already built the F3F-2 in a similar color scheme. I kinda like the idea of having the cowl completely in aluminum with the green gross stripes, so I'm leaning towards the kit version.

- 38 replies
-
- 14
-
-
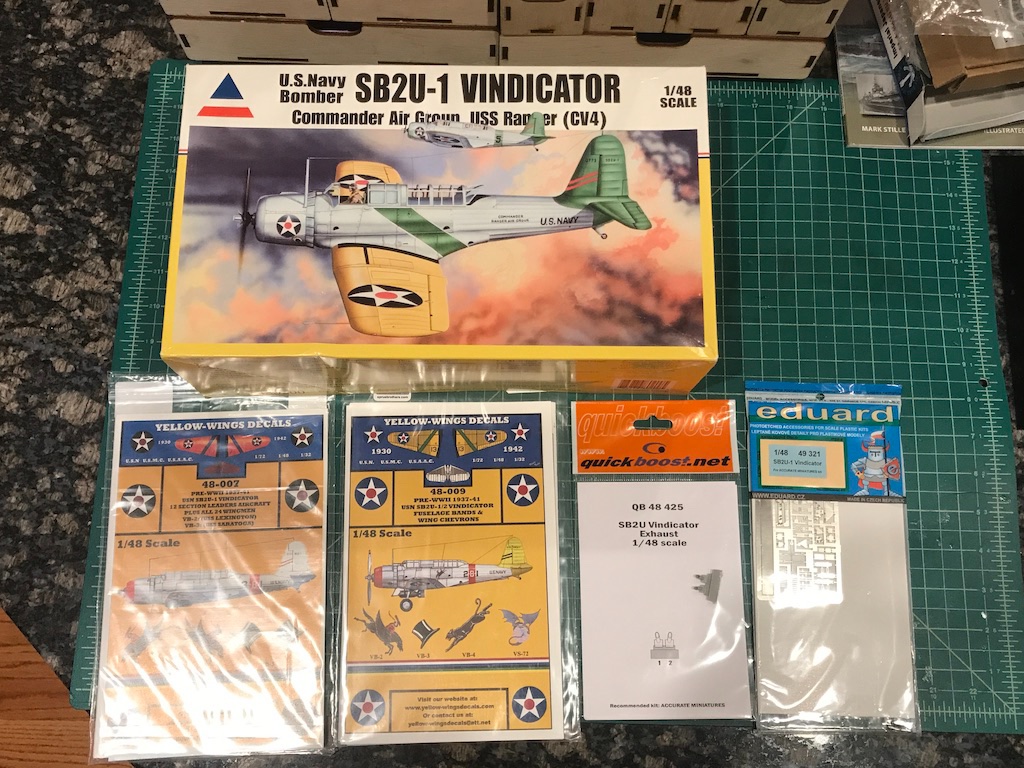
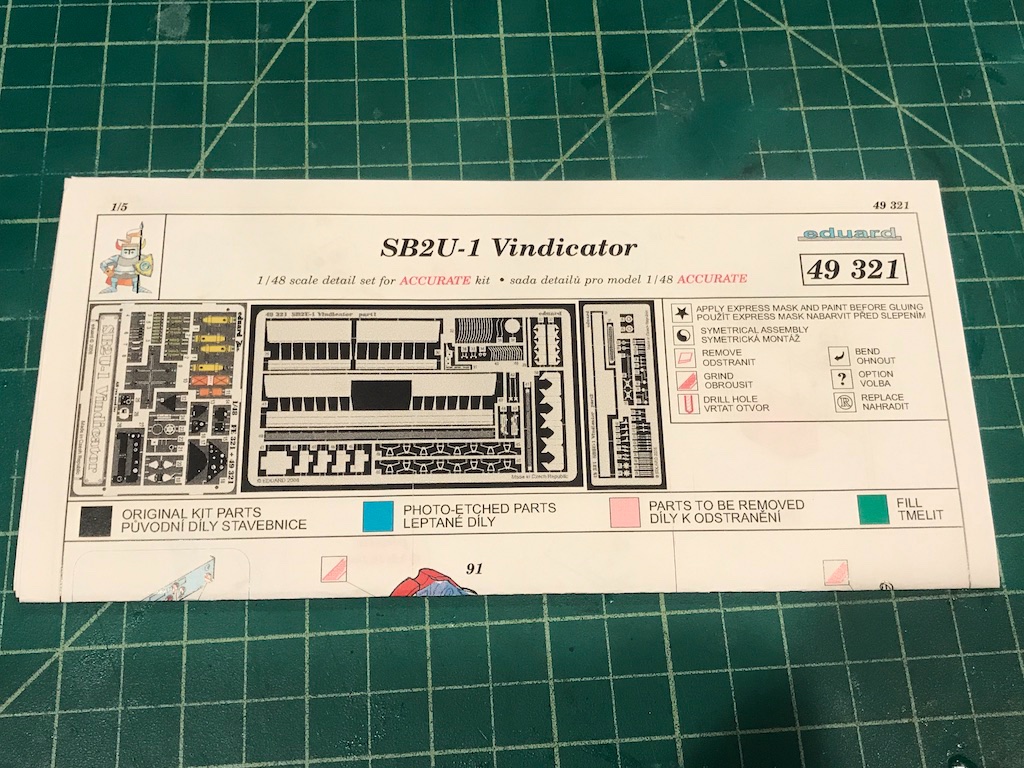
I took this kit off the shelf the other day and started putting it together. It's the Accurate Miniatures Vought SB2U-1 Vindicator, a subject not too often seen or represented in the aircraft modeling world. There's not too much aftermarket out there for it, but I did get the Eduard PE set (which is very nice, including a color PE fret for cockpit and other details), exhausts from Quickboost, and some decals from Yellow Wings. Background: The Vindicator was a scout bomber built from 1936-1941 in three series (-1, -2, and -3), and attempts were made at a float version but there were problems and it was scrapped. It doesn't have much of a glorious battle history, but is important in that it represents the switchover from biplanes to monoplanes. Interestingly, the Navy solicited bids for both types of wing configurations given resistance to move to the monoplane type that ended up quickly becoming the norm. Kit: The kit is pretty nice, though the instructions aren't as clear as maybe some of their other kits (and has typos). A number of kits have bad sink marks on the back half of the fuselage where the ribbed section starts. I bought my kit from John at UMM-USA, and he kindly provided an extra set of clean fuselage halves.
- 38 replies
-
- 12
-
-
I contacted Harry for the Akagi LCP detail set, and it arrived today safely and soundly. It's amazing how the LCP process can cut (burn?) the tiny holes into the paper to represent the holes in the girder support beams. Very cool stuff! Easy transaction, and Harry uses PayPal so it's quite easy to make payment. I took pictures, but the link above has better pictures of exactly what you would get. Highly recommend the set if you are looking for added detail for your Akagi. To start the process, just send Harry an email. I used Google translate to send him an email in Korean, but he was fine with english so that's how we corresponded thereafter.
-
That brass work is absolutely fantastic. Nice job! Are you going to leave as is? If so, do you plan to coat them with anything? Not sure if brass tarnishes, etc. Looking great!
- 273 replies
-
- 3
-
-
- panart
- amerigo vespucci
- (and 1 more)
-
Yeah, hang in there. Maybe set up some alerts on eBay and just be patient. For what it's worth, I ordered that laser card upgrade set from the gentleman in Korea that I posted above. Waiting for the payment to clear, but looks like that will be a really nice add-on. I can share my thoughts on it when it arrives, but based on the other build log I linked above, it looks fantastic.
-
Thanks Popeye!
-
Sherline are built like tanks, you can always get replacement parts, and there are lots of accessories. It will last a lifetime for sure. I haven't used the others on your list, but can highly recommend Sherline.
-
Nice work Popeye - on the home stretch! Looking fantastic!
- 1,090 replies
-
- 6
-
-
- showcase models
- vendetta
- (and 2 more)
-
Nice work Kevin on those fiddly brass bits. I didn't fully appreciate the size of this kit - you sure like the tiny ones
- 273 replies
-
- 3
-
-
- panart
- amerigo vespucci
- (and 1 more)
-
Looks really great OC, very nice job! With your great work, I sorta read your log with one eye closed and the other half open to avoid the temptation of starting down the rabbit hole of armor. 🙈 So many cool subjects and diorama possibilities...must...stay...away...
-
Beautiful work Dan. Fingers crossed no issues as you get to the finish line.
-
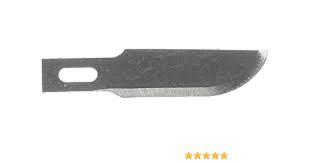
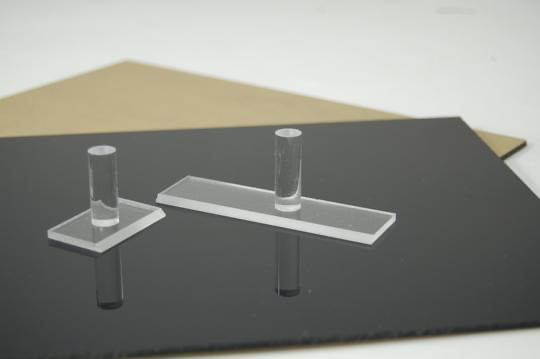
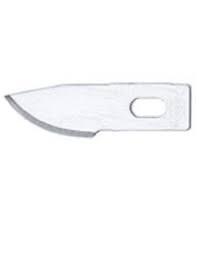
Craig, for cutting the PE out of the fret, I use X-act No.10 blades. I cut them out on acrylic plates and hold-downs that I got from The Small Shop. The hold downs are very helpful when cutting very thin PE. I've made the mistake of trying to cut the parts without the hold downs, and sometimes with things as thin as railing, the PE will curve and bend, and at this scale, can ruin the piece. https://thesmallshop.com/collections/photo-etch-cut-off-sets I just came across these #12 mini-curved blades that might work too: UMM has "precision sprue cutters" that can cut plastic and soft metals. I forget which one I bought, but they can be an option: http://umm-usa.com/onlinestore/index.php?cPath=21_28
- 168 replies
-
- 7
-
-
- Scharnhorst
- Flyhawk
- (and 1 more)
-
Awesome! I'm in for this one of course! Brave man starting with a battleship! I took a look at this kit and it seemed very nice. I didn't end up picking it up as I have a bunch of IJN ships in this scale and didn't want to go down the rabbit hole of starting German ships, but it was a tough test of self-control!
- 168 replies
-
- 7
-
-
- Scharnhorst
- Flyhawk
- (and 1 more)
-
McLaren M8B by CDW - Accurate Miniatures - 1:24 Scale
Landlubber Mike replied to CDW's topic in Non-ship/categorised builds
Craig, that looks really awesome! I have to say, I have been a little partial to the orange color as well as the high wing. Hope you don't mind if I end up going that route on mine as well. Those blue line tire decals look awesome. Did you get the 1/24 version? You mentioned that they looked a little big, but they seem quite nice. -
Those mines and guns look great. Fantastic detail! Nice job on the masts too. Have you seen Albion Alloys micro brass tubing? I came across them on another site and they make very small tubes that you can slide in one another.
-
Looking really great Kevin. Nice job on the funnel!
- 273 replies
-
- 3
-
-
- panart
- amerigo vespucci
- (and 1 more)

