


Landlubber Mike
-
Posts
4,551 -
Joined
-
Last visited
Content Type
Profiles
Forums
Gallery
Events
Everything posted by Landlubber Mike
-
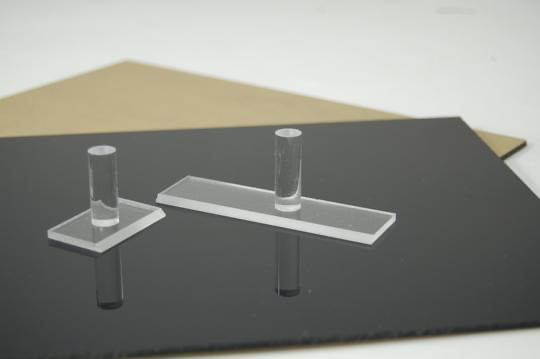
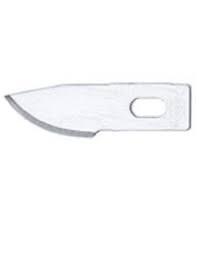
 Craig, for cutting the PE out of the fret, I use X-act No.10 blades. I cut them out on acrylic plates and hold-downs that I got from The Small Shop. The hold downs are very helpful when cutting very thin PE. I've made the mistake of trying to cut the parts without the hold downs, and sometimes with things as thin as railing, the PE will curve and bend, and at this scale, can ruin the piece. https://thesmallshop.com/collections/photo-etch-cut-off-sets I just came across these #12 mini-curved blades that might work too: UMM has "precision sprue cutters" that can cut plastic and soft metals. I forget which one I bought, but they can be an option: http://umm-usa.com/onlinestore/index.php?cPath=21_28
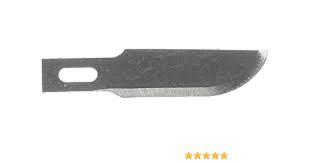
- 168 replies
-
- 7
-

-
- Scharnhorst
- Flyhawk
- (and 1 more)
-
Awesome! I'm in for this one of course! Brave man starting with a battleship! I took a look at this kit and it seemed very nice. I didn't end up picking it up as I have a bunch of IJN ships in this scale and didn't want to go down the rabbit hole of starting German ships, but it was a tough test of self-control!
- 168 replies
-
- 7
-
-
- Scharnhorst
- Flyhawk
- (and 1 more)
-
McLaren M8B by CDW - Accurate Miniatures - 1:24 Scale
Landlubber Mike replied to CDW's topic in Non-ship/categorised builds
Craig, that looks really awesome! I have to say, I have been a little partial to the orange color as well as the high wing. Hope you don't mind if I end up going that route on mine as well. Those blue line tire decals look awesome. Did you get the 1/24 version? You mentioned that they looked a little big, but they seem quite nice. -
Those mines and guns look great. Fantastic detail! Nice job on the masts too. Have you seen Albion Alloys micro brass tubing? I came across them on another site and they make very small tubes that you can slide in one another.
-
Looking really great Kevin. Nice job on the funnel!
- 273 replies
-
- 3
-
-
- panart
- amerigo vespucci
- (and 1 more)
-
I ordered the Rainbow sets off of eBay from a Chinese seller (globaltoy). I've placed a few orders with them and they have been very good. Good prices when it comes to 1/700 detail sets from Five Star, Artist Hobby, Rainbow, etc. You can find some of the 1/700 aftermarket from places like Freetime Hobbies, but nowhere near the selection as what you can get from Asia. You probably know of this site already, but 1999.co.jp is a great resource when looking for ship models and the various aftermarket.
-
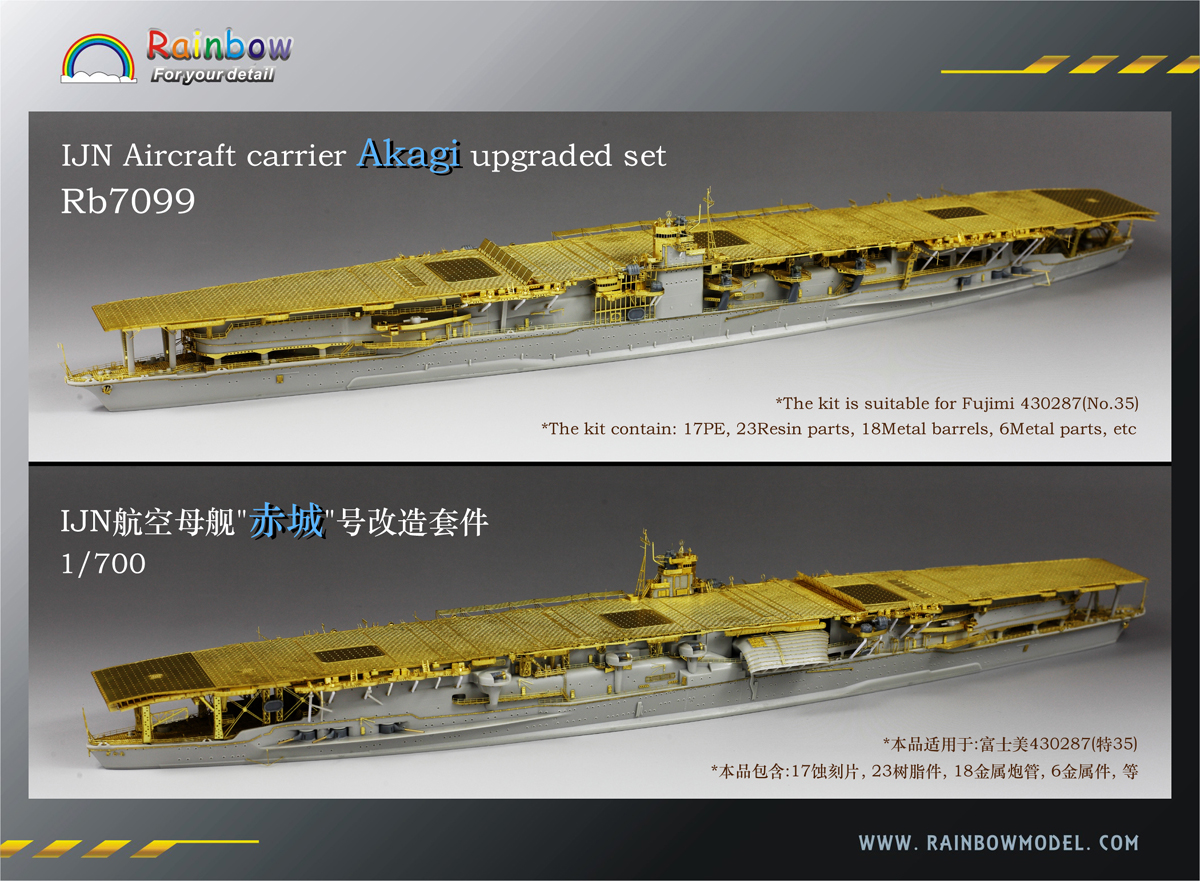
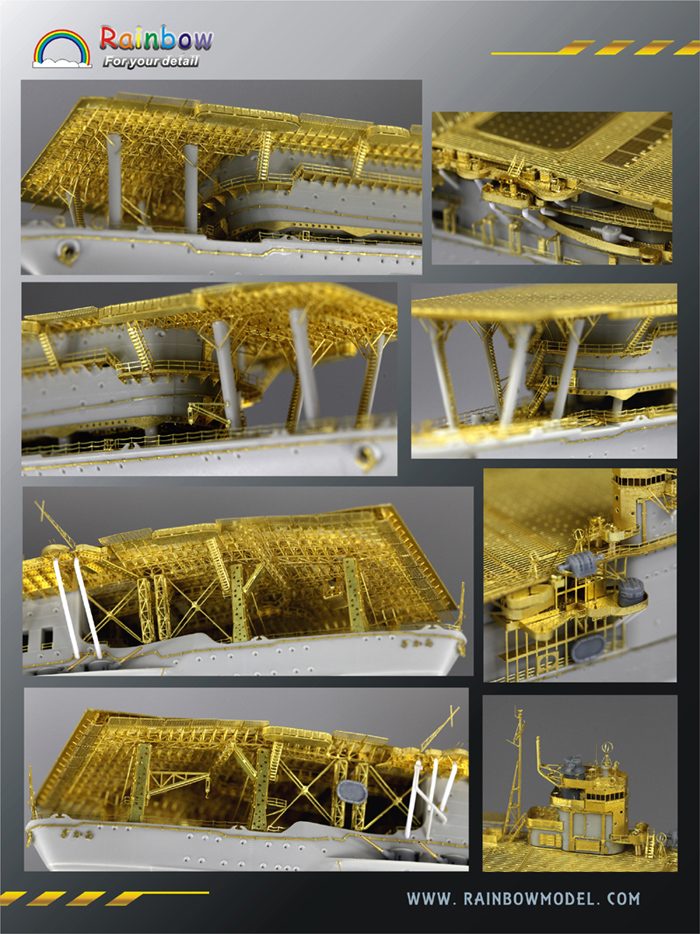
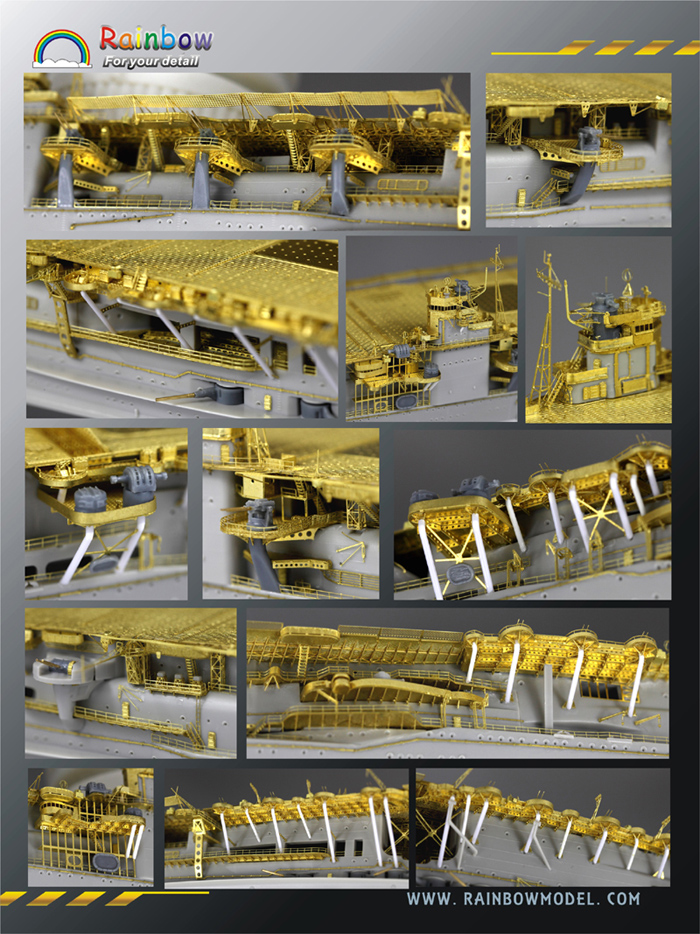
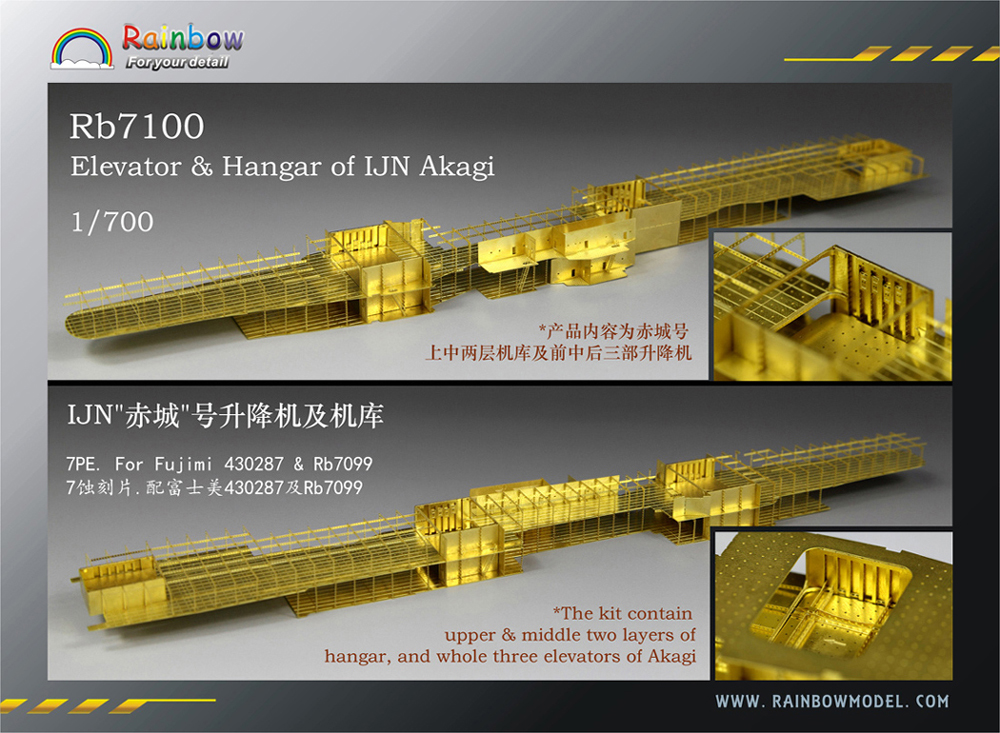
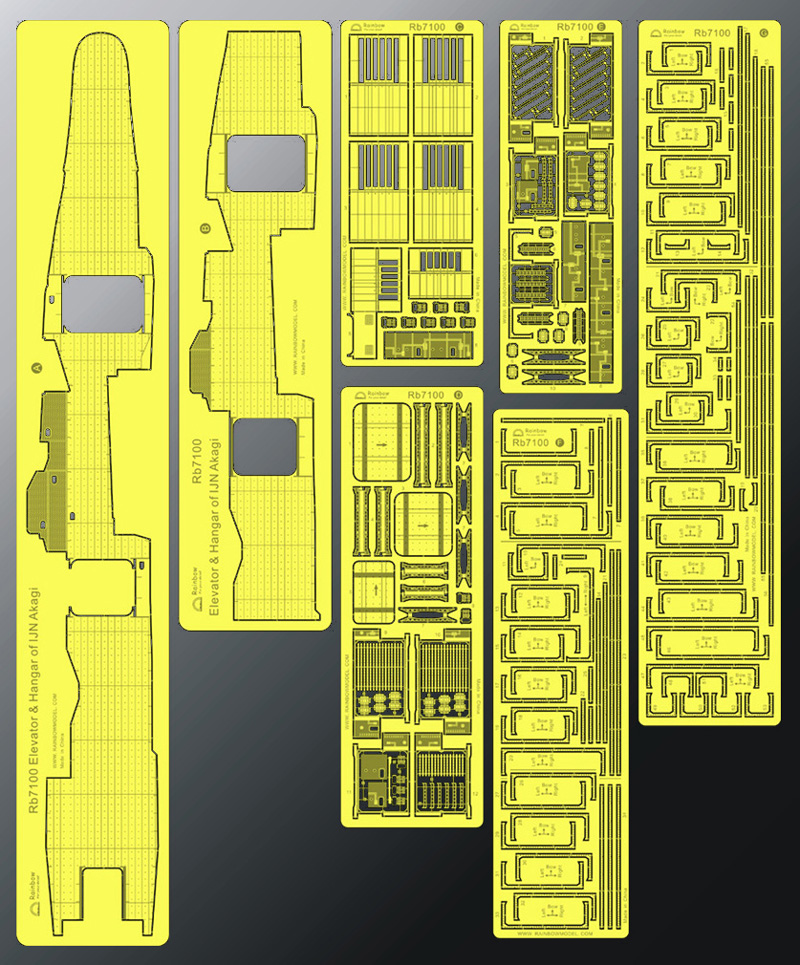
At 1:250, that's a big model! I have two of the Akagi 1/700 models in the stash. First is the Hasegawa 220 3-deck carrier from the pre-war days. Cool in that it comes with biplanes. You can also get a wooden deck (Hasegawa QG24), extra biplanes (Hasegawa QG23), and photo etch sets from Eduard (17010) and Tom's Model Works (#774). The other I have is the WWII version from Fujimi. Hunter makes decks and masks, but some really nice upgrades come from Rainbow. There are two: Rb7099 and Rb7100. Here is Rb7099 - hard to believe you can add all this detail in 1/700 😮 Rb7100 in particular looks really interesting! I don't know that I've ever seen a 1/700 kit that allows you to put together the interior of a ship like this. I first bought the pre-war three-deck Hasegawa kit since I have the 1/350 Hasegawa kit that is the wartime version, but after seeing this set from Rainbow, I couldn't pass up on getting the Fujimi kit.
-
Looks really great! I have the same kit but with the Infini upgrade set. I really like the PE in your sets around the bridge windows though - the PE really brings out the detail! I just looked at the Infini set and it doesn't look like there is any PE that goes there.
-
Fokker Dr.I triplane by cog - multiple - 1:72 - PLASTIC
Landlubber Mike replied to cog's topic in Non-ship/categorised builds
Wow very nice Carl! 1/72 is not easy for sure - I found it very tricky for biplanes, and yet here you are pulling off triplanes! Nice job! -
Wow! That’s really pristine work Mark. Nice job!
-
Very cool build I love these mahogany Chris Crafts! Where did the decals come from?
-
There's a 1/200 from DeAgostini (I think) out there as well. The 1/350 is a pretty big model - not up to the big behemoths you build Kevin, but fairly sizable The 1/96 must be a monster!
-
Totally get that Bob. I think most of us are just building for ourselves, not for a museum, and not as a family heirloom. A few years ago when my mother-in-law saw that I was working on three wooden kits, she asked where I was going to put them. I told her I would send them to her condo so she could have a nautical theme going. She wasn't too excited by that idea. 😬
-
Could not agree more - well said!
-
McLaren M8B by CDW - Accurate Miniatures - 1:24 Scale
Landlubber Mike replied to CDW's topic in Non-ship/categorised builds
That orange looks fantastic Craig, nice job! Did you find you had to undercoat with any particular color? I ended up picking up some Tamiya pink primer because I read that it really makes reds pop. That photo and program is so cool. I don't have family pictures that go that far back, but do have some from the b&W days. Will need to look into this. -
Not to add to the pile of aftermarket, but take a look at this guy's build - you can see why getting your hands on the Super Detail set is going to be worthwhile. PE experience a must! http://cs.finescale.com/fsm/modeling_subjects/f/7/t/185042.aspx?page=-1 One thing he mentioned is that he purchased a laser card set from some guy in Korea to help supplement and detail his build. Some of the details really look incredible. I'll probably pick it up once I figure out what is involved. https://m.blog.naver.com/PostView.nhn?blogId=jhchi1&logNo=220890705230&proxyReferer=&proxyReferer=https:%2F%2Fblog.naver.com%2Fjhchi1%2F220890705230
-
EG, sorry to hear of your frustration. I have walked away from models before to start a different project. When my head clears and my temperature comes back down to earth, I'll sometimes return to it and find it much easier than I had expected. Sometimes the subconscious figures things out when the conscious can't seem to. I struggled with PE in the beginning, but eventually you find a way that works for you - tools, adhesives, technique, etc. So stick with it, it will get easier and be more like second nature. I'm flying along on my 1/350 destroyer at the moment, having run through the PE learning curve gauntlet on the 1/700. That being said, I think buying resin or plastic deck items like the Veteran Models set you have is a very good solution. For me, the trickiest PE items were the deck items like the rangefinders, guns, etc. Much easier to just cut the piece off the resin plug and glue it on than have to do a million intricate folds for a PE item. Selfishly, I'm hoping you come back to this one as I always learn a ton from your posts. Every update is like class is in session, Professor EG is at the lectern. So, take some time off and hopefully you will regain the desire to pick this up again. If I can help out in any way to walk you through how I approach PE, I'm more than happy to, just let me know. I owe you a lot for all the help you have given on my builds, so it's the least I can do.
-
Beautiful work Greg. You're a master at the worn, weathered look. Can almost hear the paint flaking off the hull. Can I ask - the portholes, did you drill them out? If so, do you fill them with anything or just paint them black and leave them as open holes?

