
DONATION DRIVE - SUPPORT MSW - DO YOUR PART TO KEEP THIS GREAT FORUM GOING!
×


Landlubber Mike
-
Posts
4,541 -
Joined
-
Last visited
Content Type
Profiles
Forums
Gallery
Events
Everything posted by Landlubber Mike
-
 What an awesome build - very nice job!
 -
M29 Weasel family 1/72 (scratch) by Backer Finished
Landlubber Mike replied to Baker's topic in Non-ship/categorised builds
Very cool - that's a lot of wheels! -
Seems much more than ok to me - nice job!
-
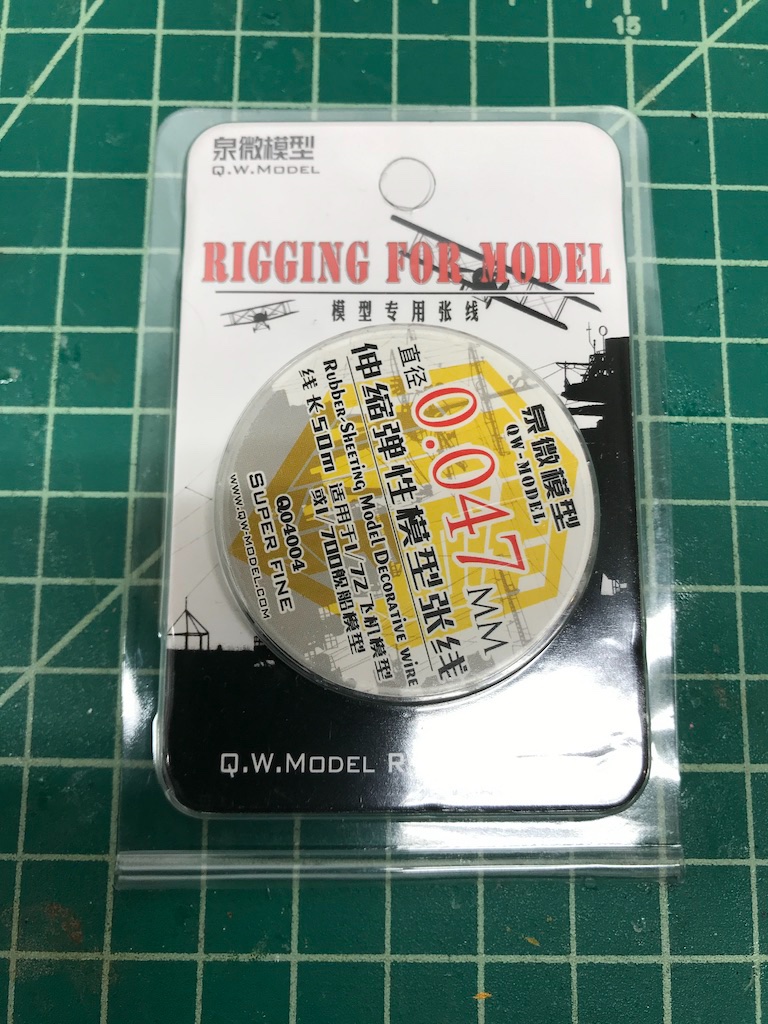
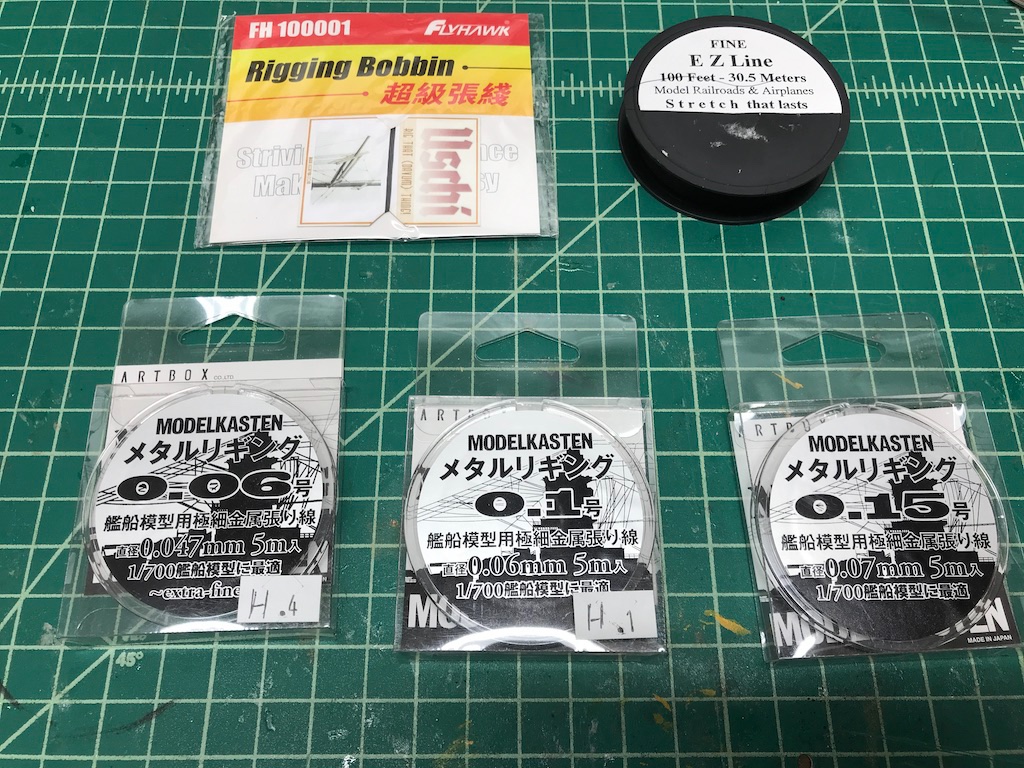
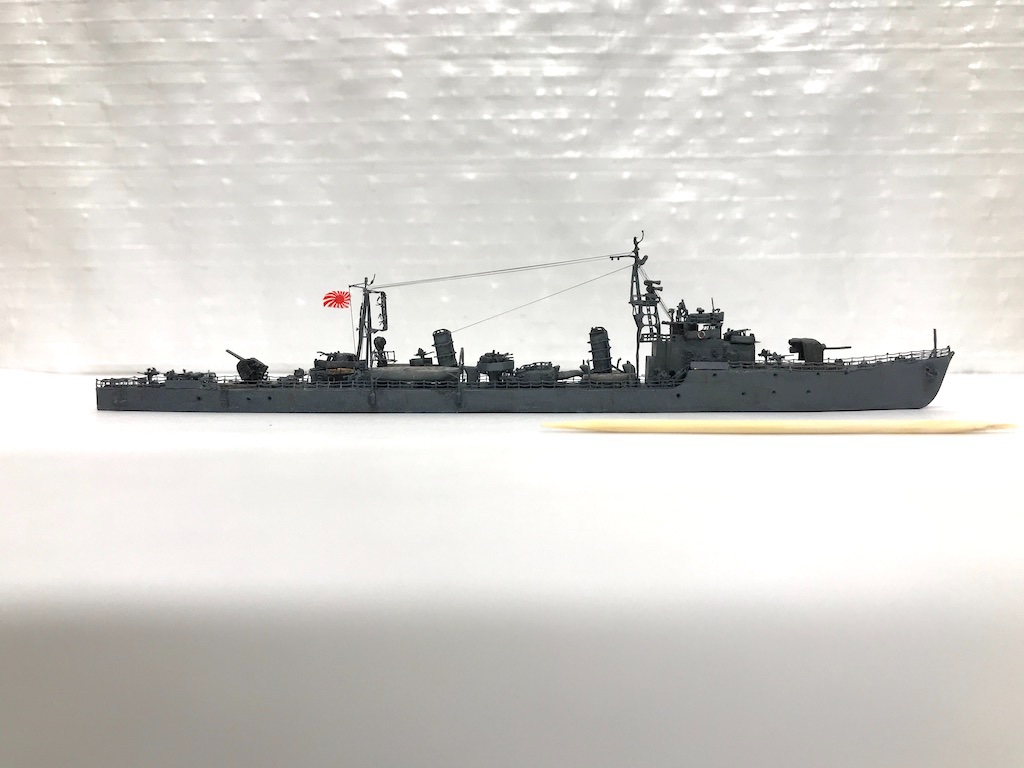
Thanks Craig and Popeye, really appreciate it! Popeye, I used this line from Q.W. Model. It came in a variety of sizes, but I used the smallest version I had from them which was 0.047mm: I forget where I picked it up, but it was probably just added to another order that I was making. It works very similarly to EZ-line, where it stretches very nice to make tight lines, or can be run to show a little slack (which I tried to do on the front lines of the destroyer). I would say, however, this diameter seemed thinner than the EZ Line fine, which I used on my 1/48 F3F builds. I don't know about using very fine copper wire for the rigging. I suppose it could work if you found the right diameter, but I don't know if it would give you the right look if you needed lines with a little sag, etc. Plus, any sort of kink would be almost impossible to completely straighten out, unlike thread or this kind of rubberized line. I'm sure there are others that have used wire to good effect though, so I'll be curious to see how it works for you. Here are some other lines I happened to pick up as well that I'll try out in the future. I came across a couple of build logs at 1/700 where the modeler used his wife's hair from her hairbrush. My wife is blonde so that wasn't an option. Maybe I should tell her I need to find myself a dark-haired girlfriend so I can have a free and endless supply of rigging line? 🤔
- 179 replies
-
- 9
-

-

-

-
- hatsuzakura
- pit road
- (and 2 more)
-
The Shimakaze that I'm working on is the Hasegawa 1/350 kit. I was about to start it last year, but then thought I'd maybe start with something smaller and less expensive to be able to get a little experience since the Hasegawa kit is really nice and the Infini upgrade set is fantastic. So, I'm now back on that kit but will probably work on a 1/700 kit alongside it.
-
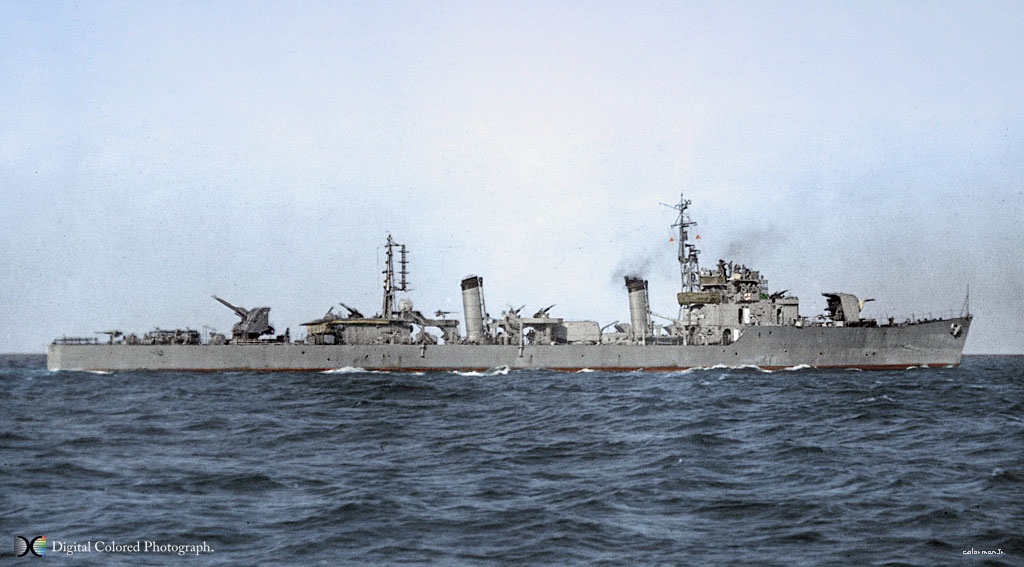
That's really helpful EG - you're an amazing source of knowledge as always! Interesting that the horizontal plate runs are noticeable, but with their construction techniques, the vertical joins aren't. I've seen some models at 1/700 scale where the modeler put in some vertical joins - not enough to match what I would imagine where the actual number of plates used - which has a certain nice artistic look to it. But when looking at pictures (which admittedly aren't super high resolution), you don't exactly see the vertical joins. Here is one of the IJN Hagi, which is one of the clearest, colorized photos I've seen, and I can't really make out any vertical joins.
-
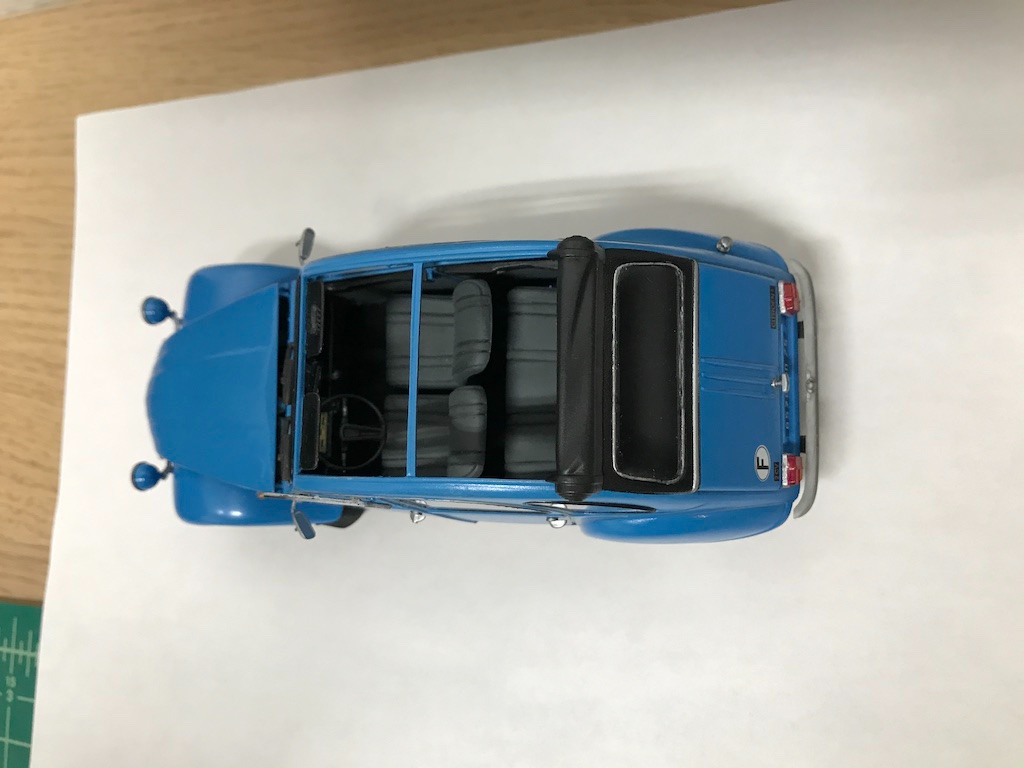
Oh sorry Mark, I thought you meant the picture with the engine compartment open. That's the window if you can believe it. The lower half would flip up that way. I thought it was a neat feature of this kit that they split the driver's side window so you could show this feature.

-
Amazing work Tom, wow! You are a master at PE. I didn't think about Future for PE parts. I've just been using medium CA and occasionally white glue (Gator Glue). I recently saw a video on youtube where a 1/700 modeler was using Tamiya X-22 as an adhesive for very small parts. I was going to try that out sometime, but will also try out Future. Thanks for the tip! By the way, I have a 1/48 Walrus in the stash and I hope it comes out half as nice as your 1/200 version!
-
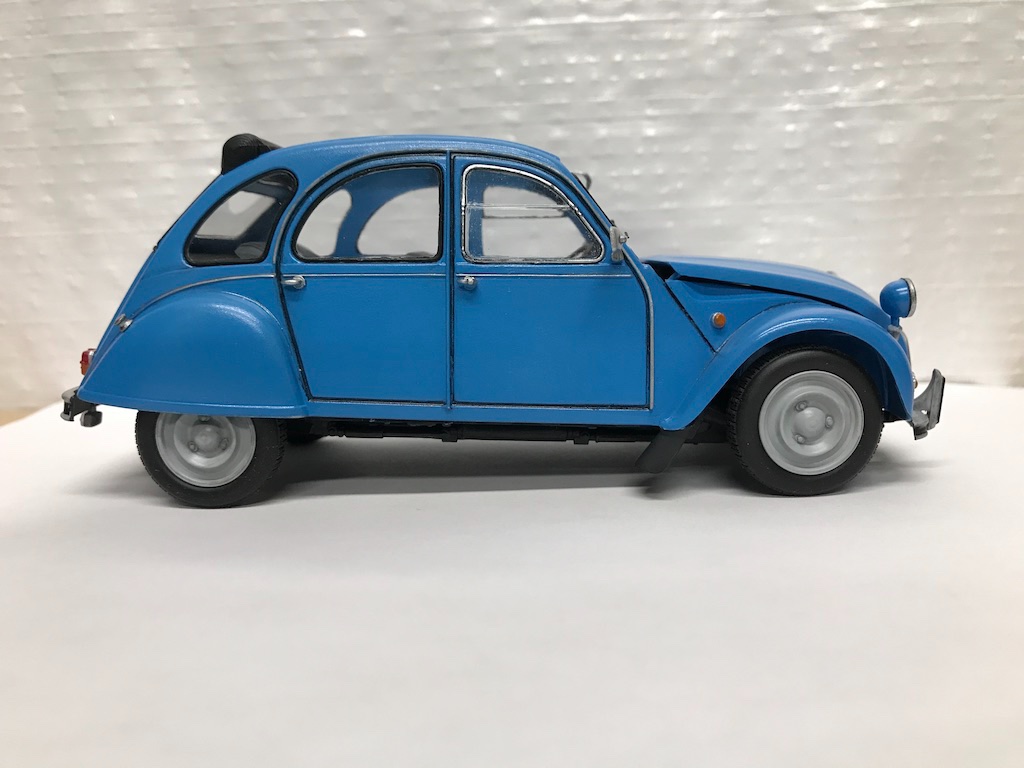
I think that's just the rear wheel well and shine coming off the finish from my lighting. Sorry, looks odd doesn't it? My lighting set up isn't the greatest and I'm taking photos with my iPhone.
-
Thanks everyone, I really appreciate all the kind words. @lmagna, I haven't figured out which to do next (and am embarrassed to post the list of 1/700 kits in the stash). I'm probably going to pick some of the more easier ones to do to get more experience, and then work my way up to the cruisers, battleships, and carriers. I'll probably go with an auxiliary ship - I've got a few in the stash that look really cool with all the cranes and sub-decks and stuff - seaplane and submarine tenders, submarine and seaplane carriers, food supply ship, oil supply ship, etc.
- 179 replies
-
- 9
-
-
-
- hatsuzakura
- pit road
- (and 2 more)
-
Not sure. My Shimakaze hull has the horizontal plating lines already built into the hull so I don't think I need to do the tape technique. I was wondering about the horizontal plate lines though, as in whether I had to etch them into the hull.
-
Looks fantastic! Can I ask, when doing this technique to mark the plate runs, do you also mark the vertical edges of the plates?
-
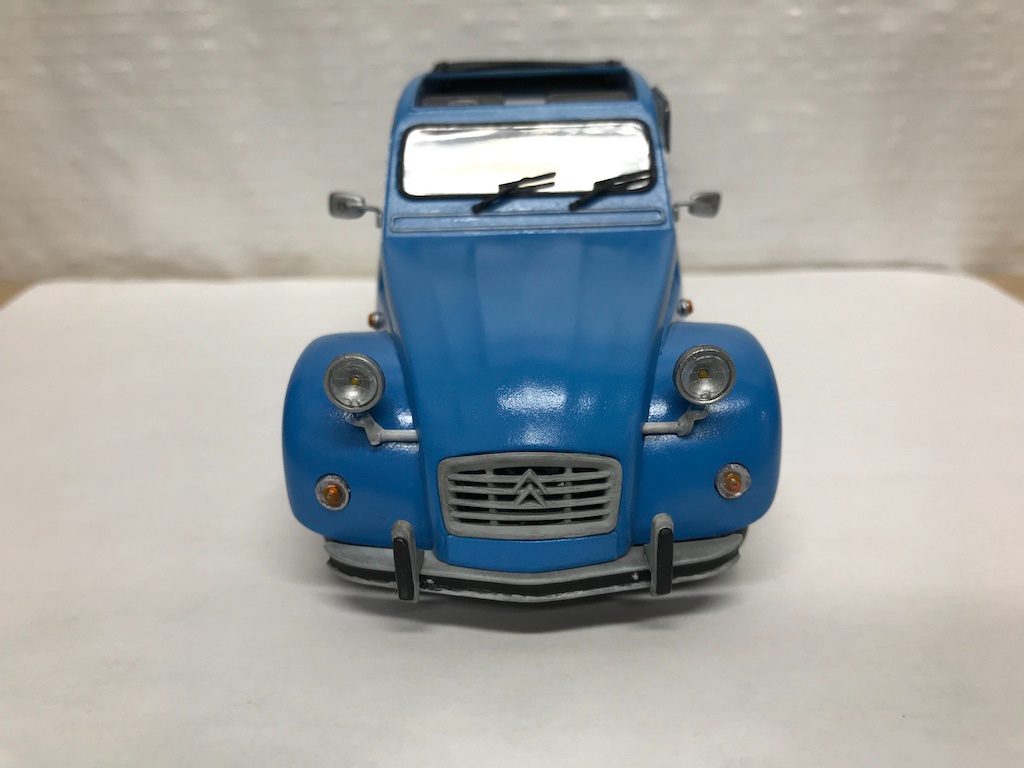
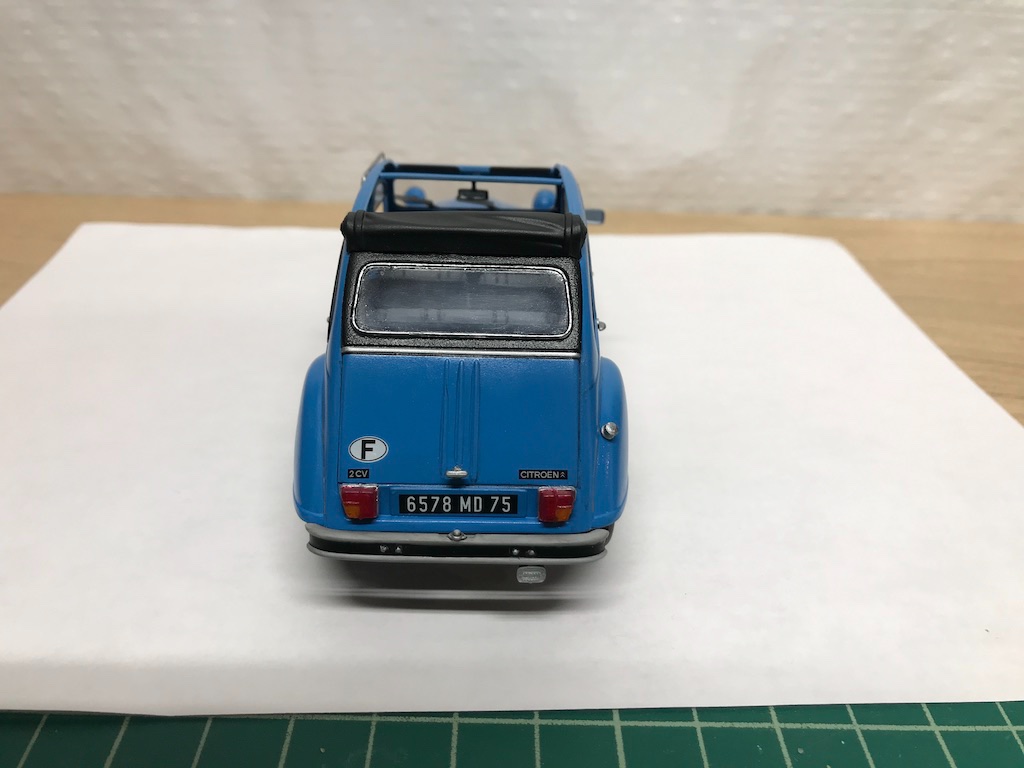
Thanks man, really appreciate the kind words. I still have a ways to go, as I seem to make stupid mistakes. Example #1 - I sprayed Mr. Hobby gloss clear from the rattle can on the hood, and ruined the paint job. Stupid me, I didn't shake the can long enough, and I think it being a brand new can, I was spraying mostly the thinner in the can. Example #2 - I had already added the license plate decal to the hood, so when I went to repaint the hood, I taped over the decal. Somehow paint got under the tape and ruined the decal (stupid me, I probably didn't burnish the tape enough), so no license plate on the hood. When I look at work from folks like @CDW, I have a real appreciation for how tricky it can be to get a picture perfect finish like he does. Can't hide the flaws like you can with planes and ships! Good news is that I have a pretty decent stash of car kits so I have more opportunities to practice.
-
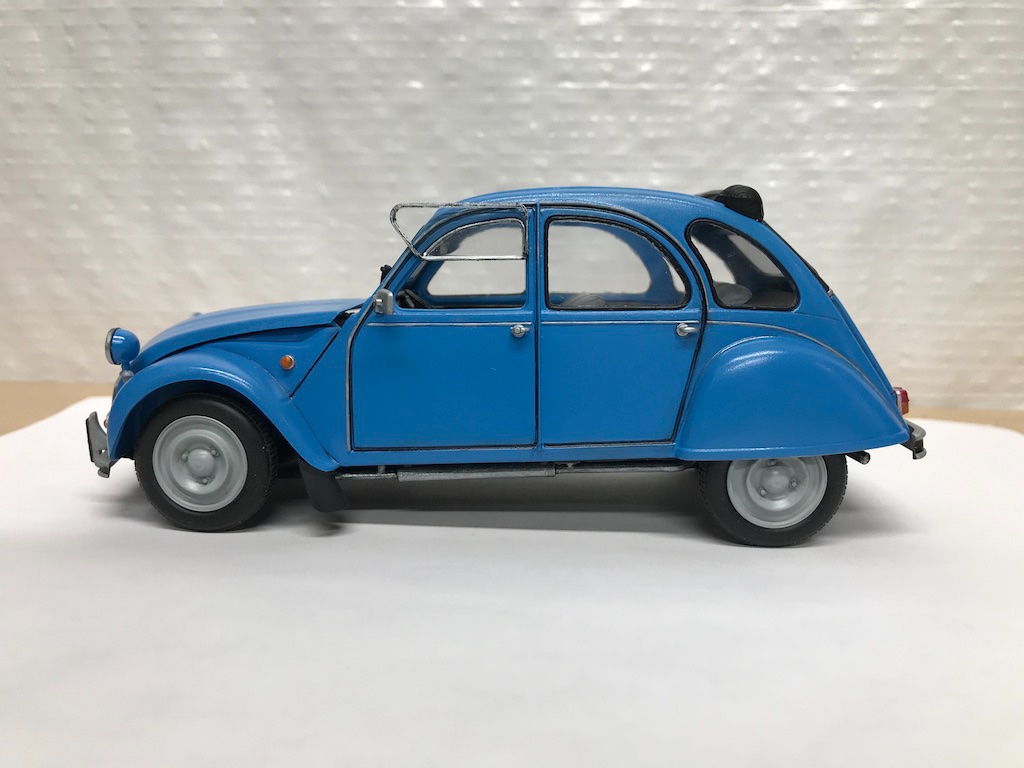
Sorry, I didn't mean that nothing changed. I just meant that the car remained relatively unchanged in design. Take a look at Fords, Chevy's, etc. during the same time period and there are obviously significantly more changes in body style, technology, etc.
-
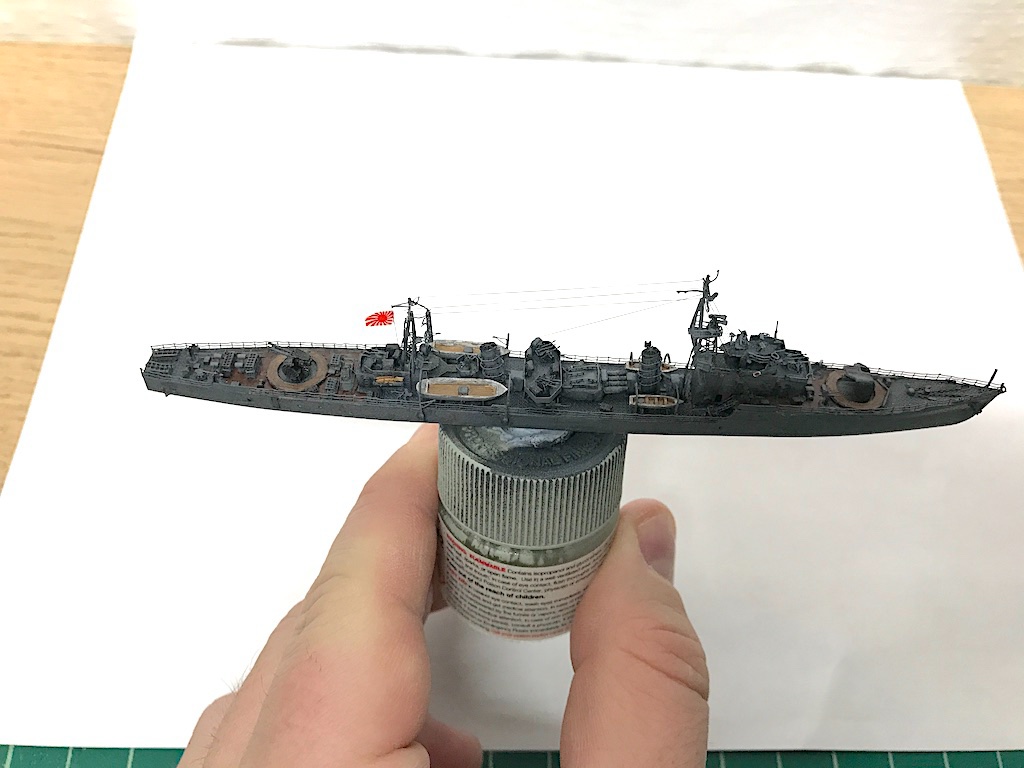
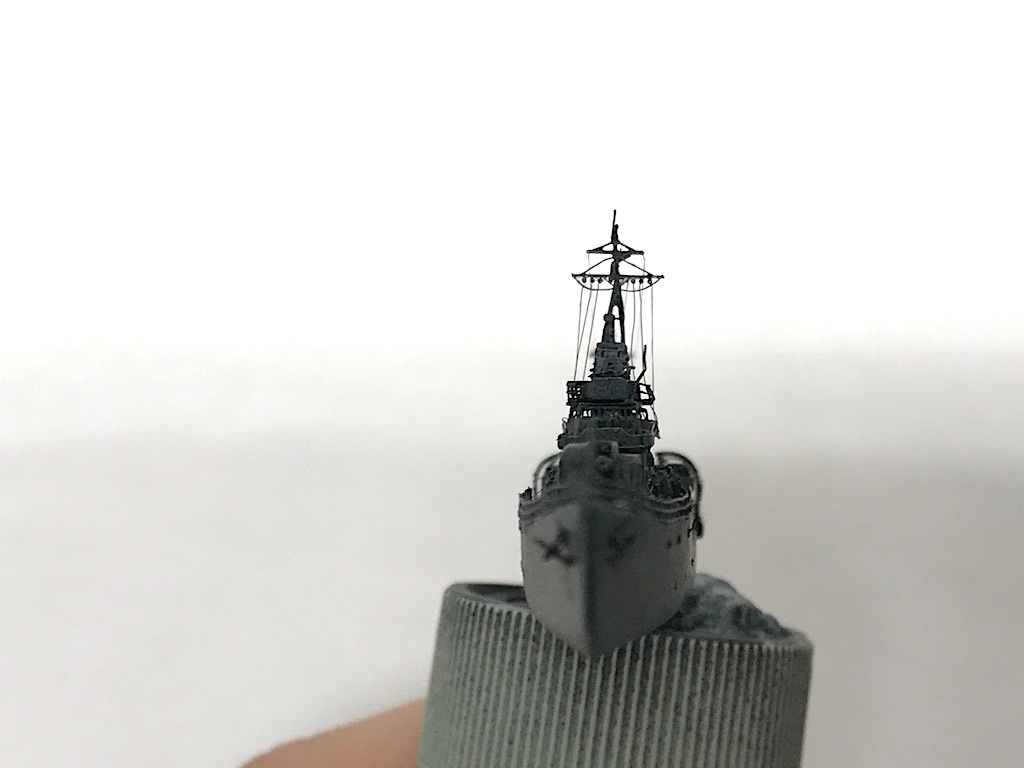
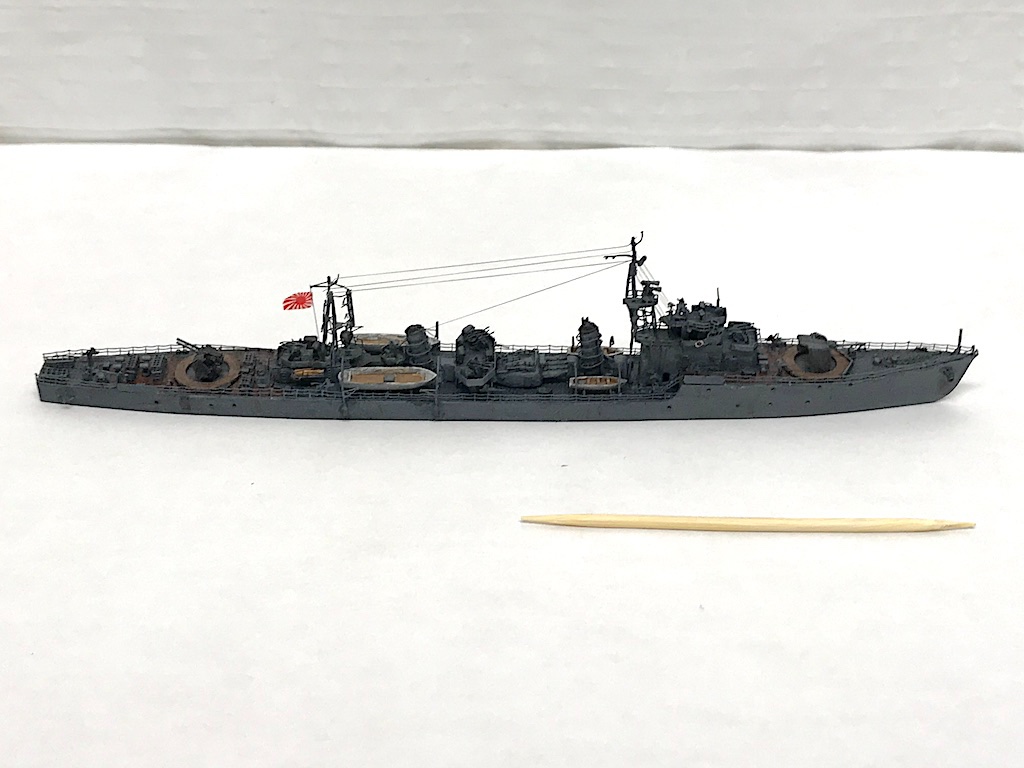
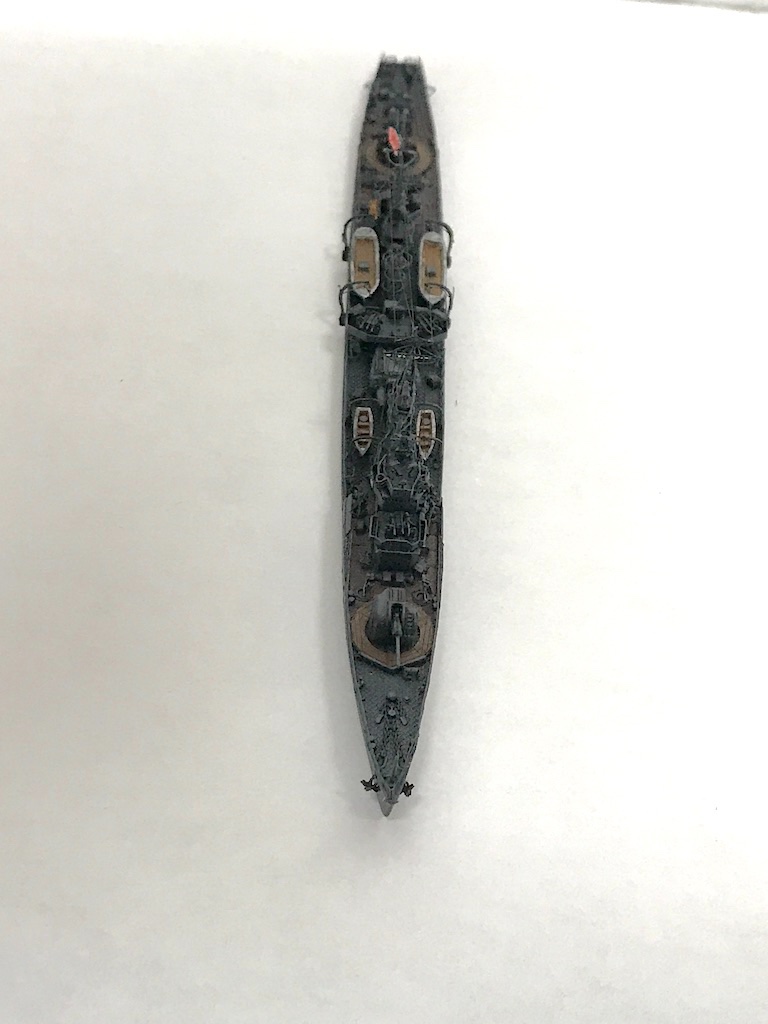
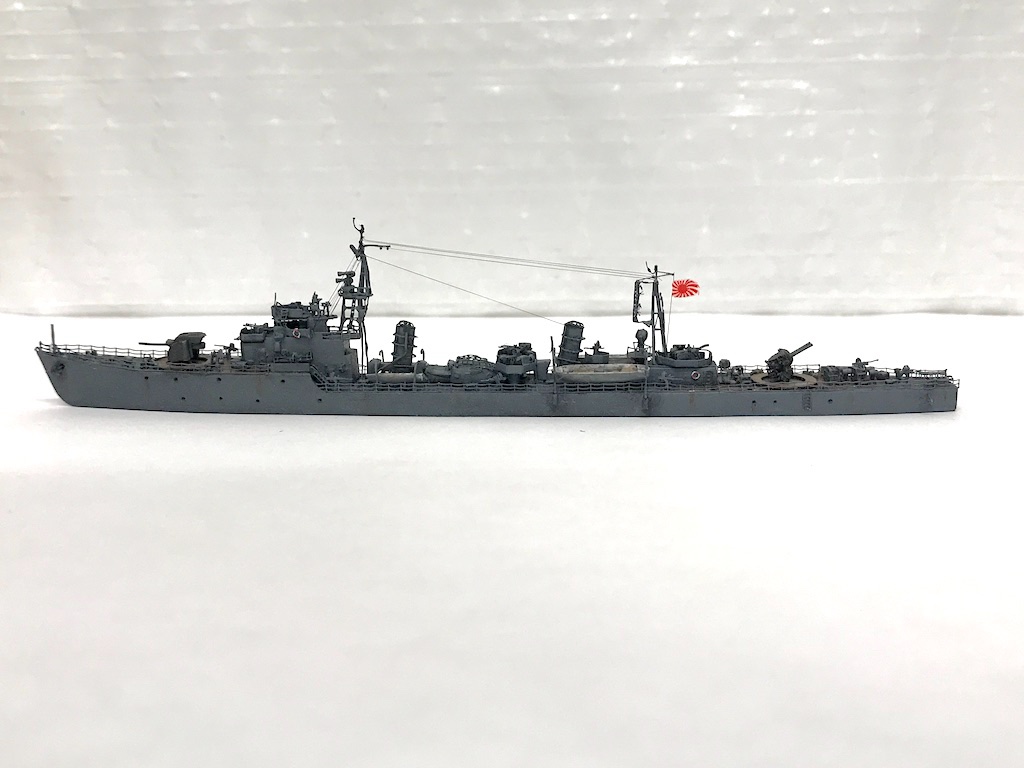
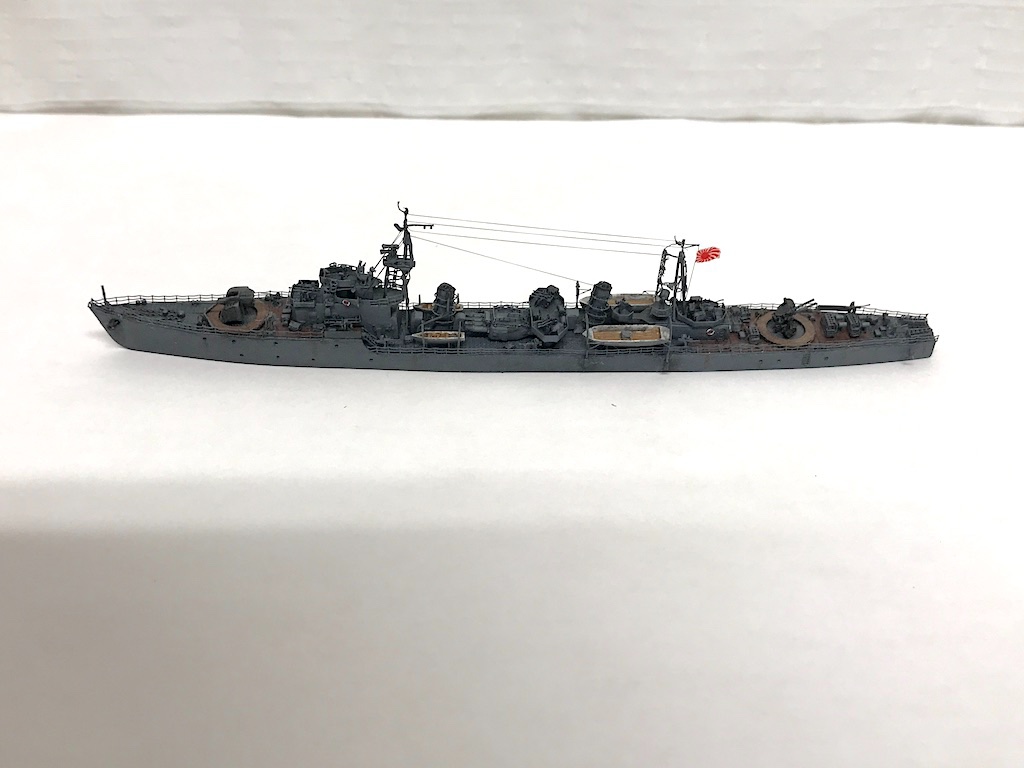
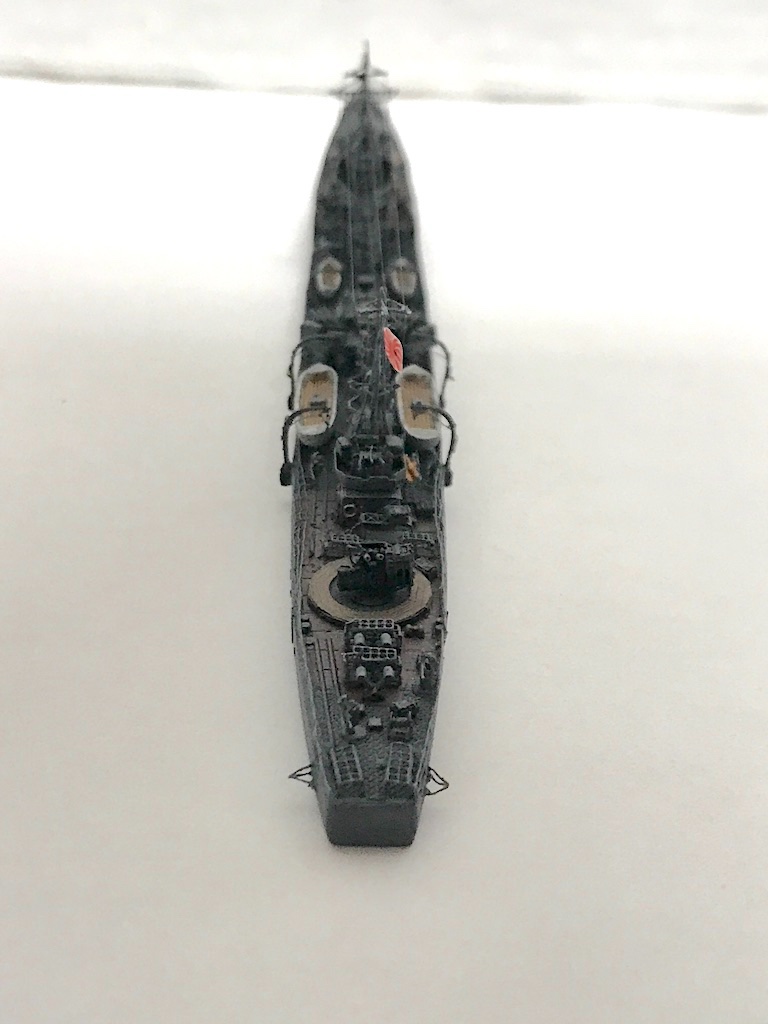
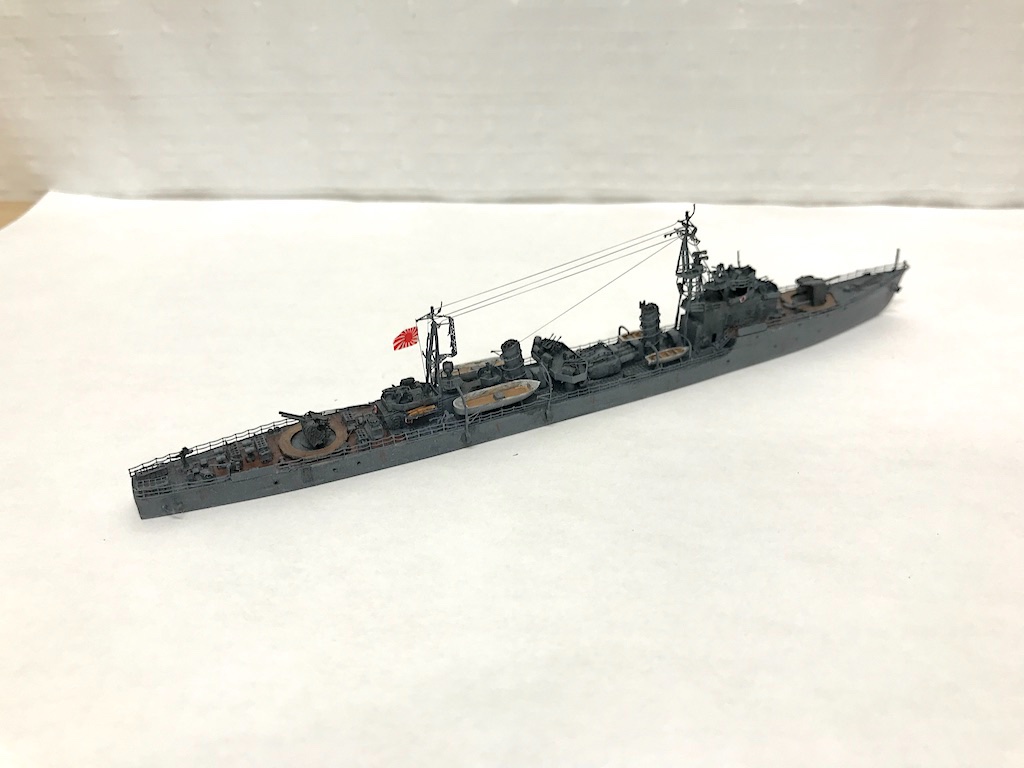
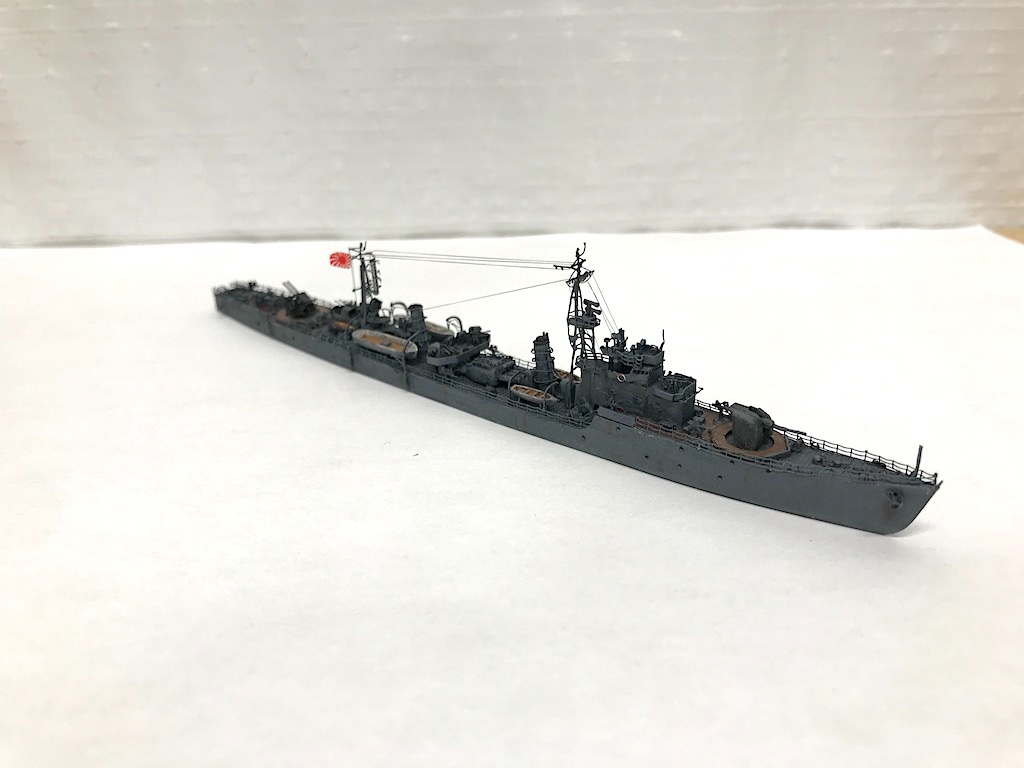
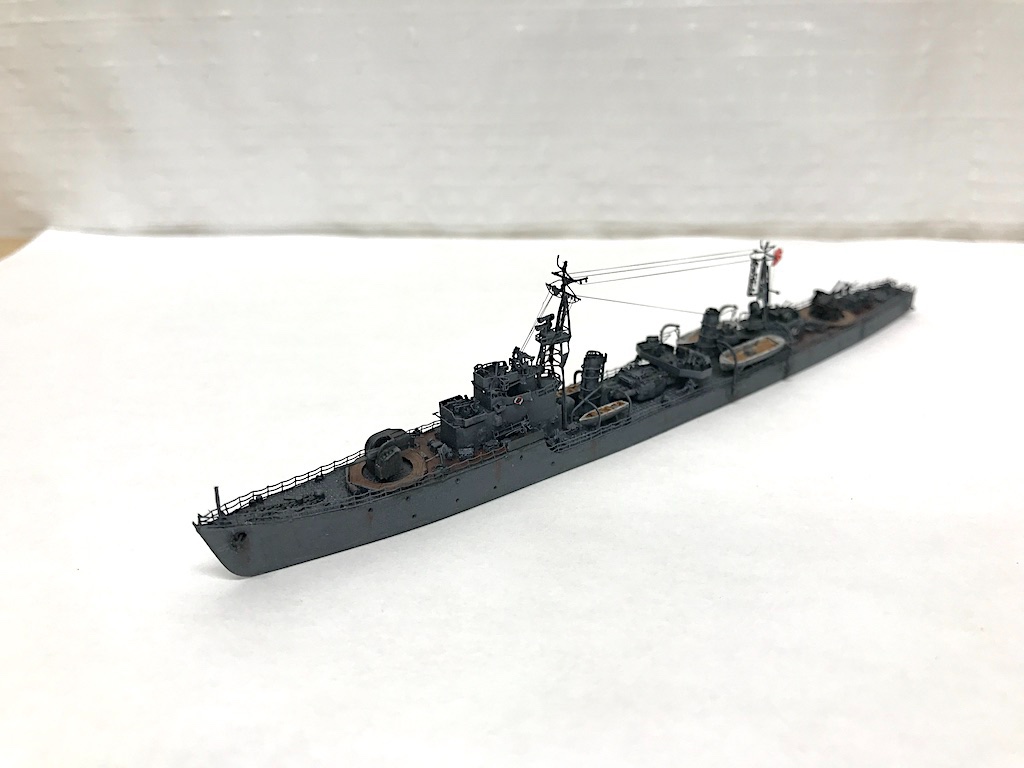
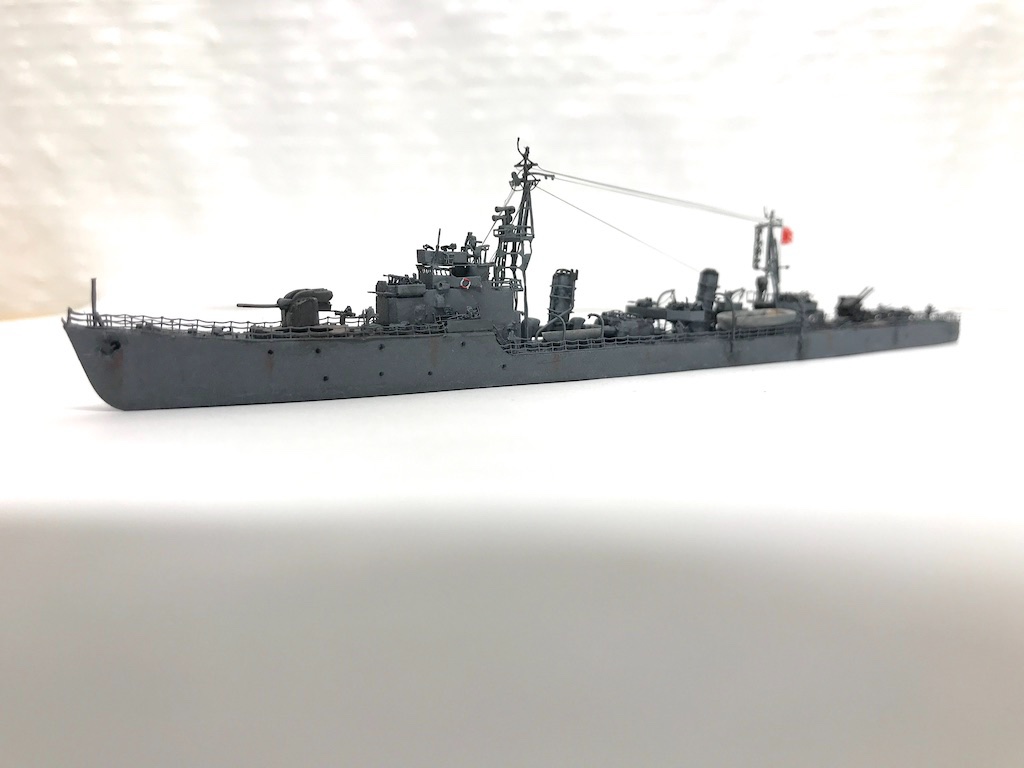
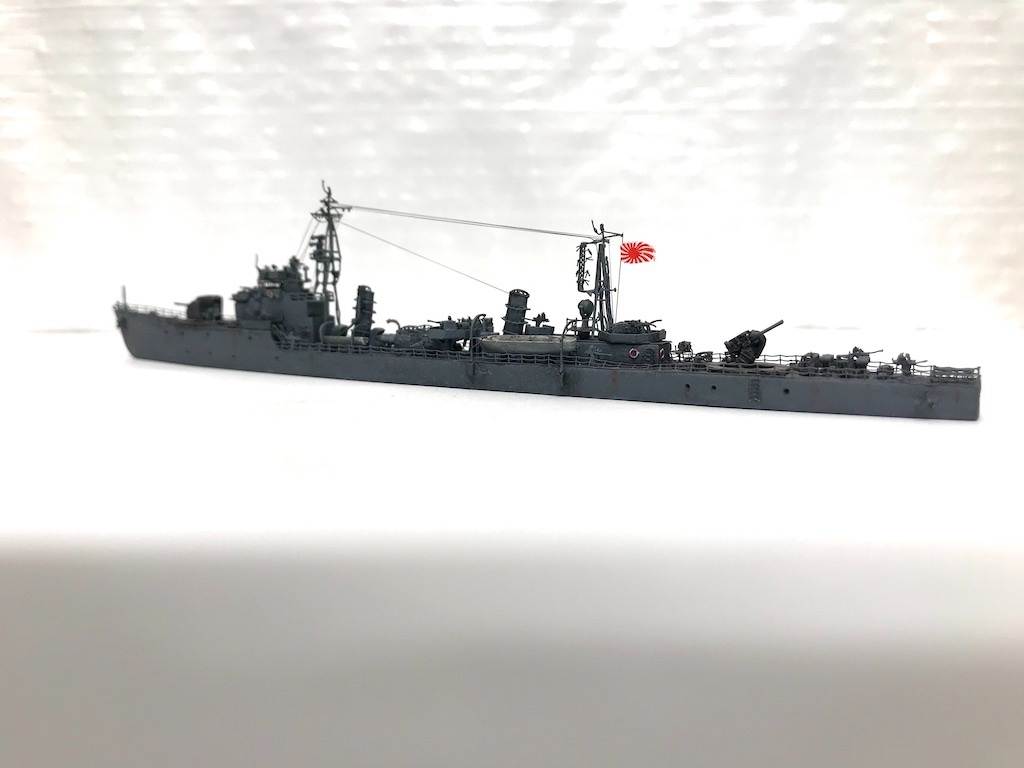
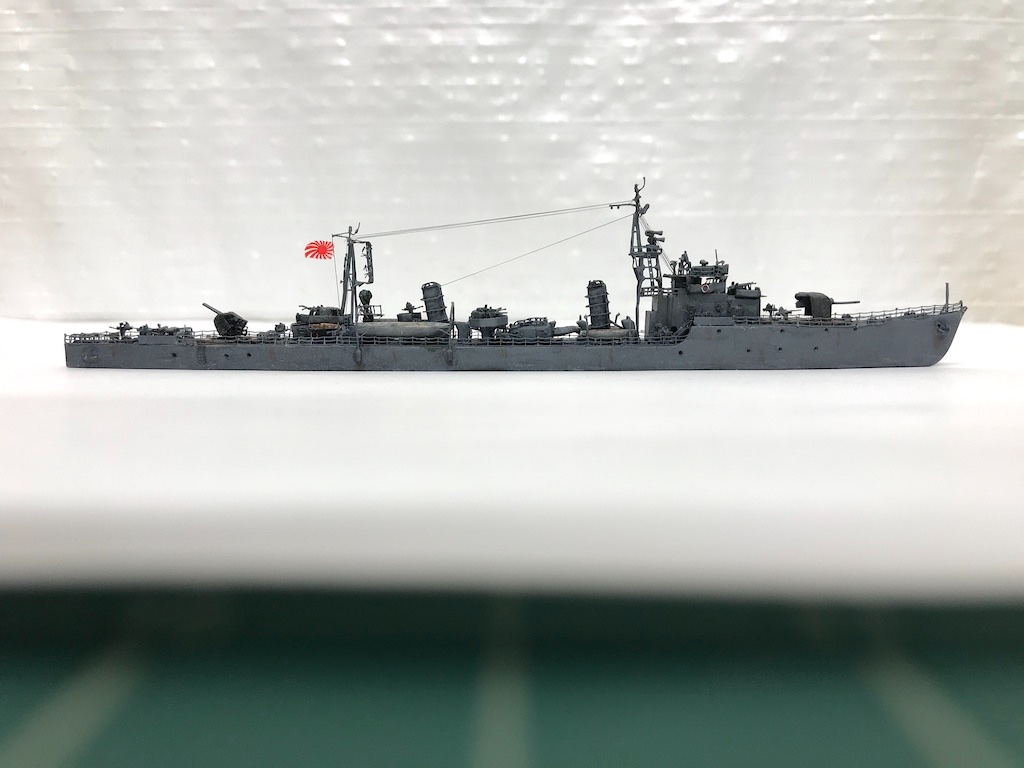
I got this one across the finish line with no impact to my mental stability - maybe that was always in question when I picked up the kit and aftermarket, but that's another story... After clear coating with the Mr. Hobby matt clear, I let it sit for a few days while mentally preparing myself for the rigging. I wasn't completely sure about the rigging for this ship (or Tachibana class of ships generally), but looked at other models including the one on the box for the Fivestar PE set and just went with what I thought looked correct. I ended up using 0.047mm rigging thread (yep, 5/100 of a millimeter) - very fine tweezers a must! Thanks as always for all the help, encouragement, and kind words. I'm not scared off by 1/700, and in fact, have a decent stash that I'll be working through. For whatever reason, I found this scale to be quite enjoyable and I'm less hard on myself than when it comes to other types of models. Maybe because mistakes are pretty much invisible to the naked eye, who knows. Thanks again! Here are the final pictures. At some point I'll put it in a waterline diorama but maybe I'll wait until I have a few more completed so I can do them all at once.
- 179 replies
-
- 21
-
-
- hatsuzakura
- pit road
- (and 2 more)
-
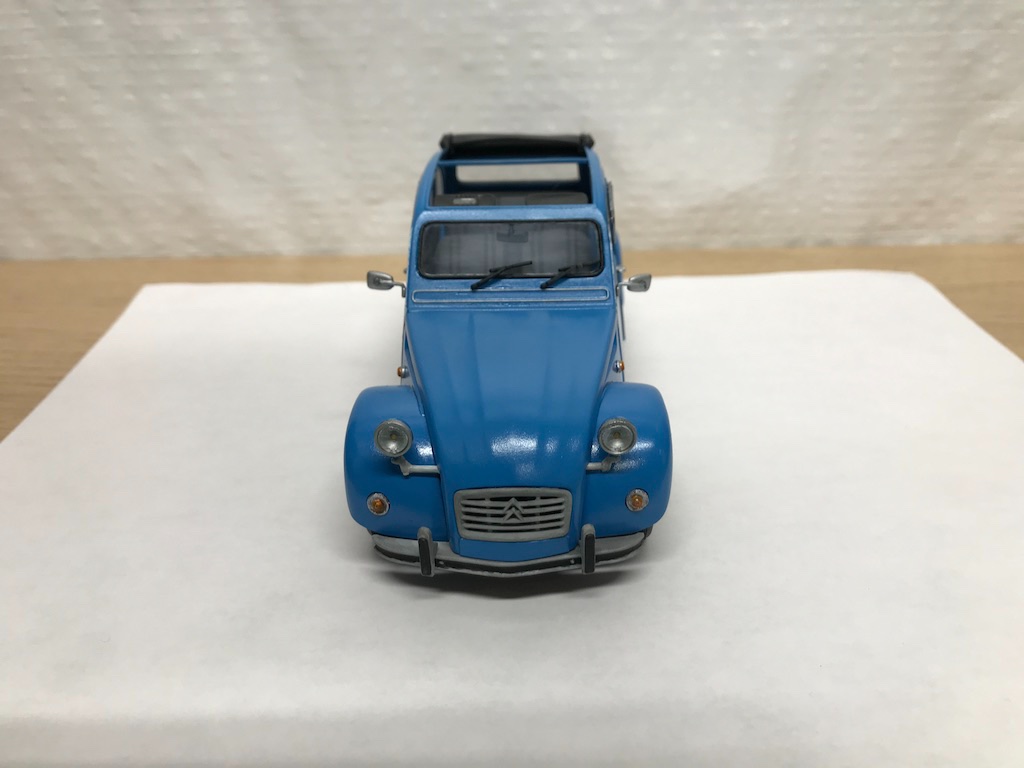
The one tricky thing with this build was that these cars have been around relatively unchanged for decades. When I pulled up pictures online, the colors of various parts were all over the place, as I'm sure owners replaced parts, customized parts, etc. For example, the surrounds on the small orange lights. In many cases they were black, but occasionally I came across them in silver. So, I just went with silver as more of a brighter contrast against the blue body. In any event, this was a fun little build. I kinda like building the more quirky subjects, and this is certainly one. They may not be as impressive as a McLaren, but I would offer that they are equally a big part of automotive history due to a design that has largely remained unchanged for decades, its customer fan base, etc.
-
Hang in there! I’ve heard the dreaded ping off the tweezers too many times. Not fun at all!
-
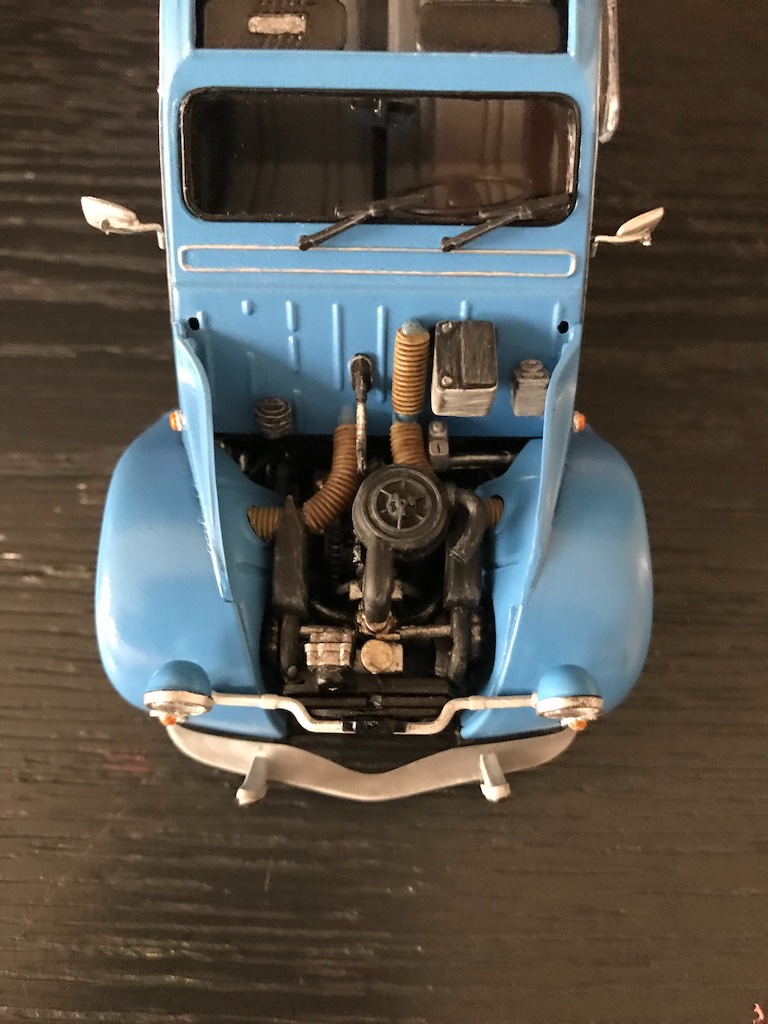
The kit had an indentation in the firewall as a type of partial shelf for the battery. My immediate thought was that there must have been more to keep things in place!
-
I thought about the battery wires. As much as I love cars, I know nothing about the interior parts and I hate the thought of adding extra detail and getting it all wrong. Personally, I would just display my cars as curbside anyway given that the interior parts on these older cars aren't particularly crisp and don't look very realistic. I've seen some guys replace a lot of that stuff with resin and other aftermarket, but for me, I like to focus on the body styles. Plus, adding all that aftermarket to deck out the engine bay can get expensive quickly. I do have a few Pocher and Revival kits in the stash, so for them, I'll think about displaying things open. There at least I have good parts, good diagrams and instructions, etc.
-
Wow Chris, sorry to have not come across this one sooner! What an incredible job! You really knocked this one out of the park, congratulations! Even more amazing that it was your first at this scale.
- 55 replies
-
- 3
-
-
- Blue Ridge Models
- Normandie
- (and 2 more)
-
I forgot to show what's under the hood. I didn't completely deck it out as one of my daughters wanted it. My guess is that it will come back in pieces by the end of the week. 🤨 I think I would have a lot easier of a time building a beat up, worn car. I haven't quite figured out the level of shading and highlighting, etc. that is appropriate. On the body, I used a tiny bit of grey to accent some of the panels (the door jams I used black as that's how the car looks in the various pictures I found). The engine though doesn't quite have the look I want to get to. Maybe next time I'll go lighter on the shading for the engine parts.
- 126 replies
-
- 13
-
-
This will be another stunner - great subject and lots of goodies there! Does the Flyhawk PE deck give you a lot more detail? I noticed in a bunch of my 1/700 kits and their aftermarket, Flyhawk includes deck replacements. I looked at one of my kits, and the PE looked pretty much exactly like the kit deck. I wasn't sure if there was a particular reason to do that? Maybe to ease the painting task? Maybe for stability?
-
Decided to dust this one off and finish it. The Tamiya kit is a lot nicer of a kit than the Airfix kit, that's for sure - fit, parts, options, etc. I have to say, I have the utmost respect for people that do model cars. The kits may be a lot simpler in terms of parts, etc. that things like planes and ships, but if you want a flawless paint job and that showroom new finish, it's not easy. I think it's actually harder than with planes and ships where you can get away with weathering and other techniques because the paint job isn't critical. Fun little build, and I learned a lot. At least this time unlike with the Airfix kit, I managed to build it with all four wheels touching the ground. I'm slowly getting better
- 126 replies
-
- 16
-
