Landlubber Mike
-
Posts
4,549 -
Joined
-
Last visited
Content Type
Profiles
Forums
Gallery
Events
Everything posted by Landlubber Mike
-
 That's really looking sharp Kevin - nice job with the build, the colors, etc.
- 273 replies
-
- 2
-

-
- panart
- amerigo vespucci
- (and 1 more)
-
I'm in too Edward, this is going to be a goodie
-
I'd probably build the AV-3 over the CV-1. I love the seaplane tenders, and the 3/4 deck won't hide as many details near the bow as the CV-1 version. How do the support girders look? Just curious about your impressions of those and other details as to scale. The PE set for the AV-3 doesn't seem to include a wood deck like the CV-1, but not sure if the AV-3 had a wooden deck. Looks like the Trumpeter upgrade set has more PE than typical for kits, but I think I would be more inclined to buy it if Pontos or Infini or some of the other guys came out with a set for it. For whatever reason, the kit manufacturers seem to be a bit skimpy when it comes to adding PE. It's a welcome development that folks like Pontos are coming out with full kits/PE -- as they did with their Soya kit -1/250 - so you can have a one stop shop and not need to cobble together upgrade packages, have multiple sets of instructions to wade through, etc.
- 1,090 replies
-
- 6
-
-
- showcase models
- vendetta
- (and 2 more)
-
I haven't had too many problems on my Charles Morgan. It's not the easiest to work with, but looks fantastic.
-
Really nice work!
-
Airplanes and Tanks in plastic by Jörgen
Landlubber Mike replied to Jörgen's topic in Completed non-ship models
Wow amazing work! Thanks for sharing! -
Thanks. I had seen concerns about wood deck adhesives but didn’t know if they were borne out or not. Good to know, thanks!
- 168 replies
-
- 7
-
-
- Scharnhorst
- Flyhawk
- (and 1 more)
-
Beautiful work Mark as always. Really loving your build! Good luck and get well soon.
-
Beautiful work there Craig. Can I ask - I wasn't sure if you went with the wooden deck or just painted the kit deck, but if you did use the wooden deck, did you use any additional adhesive?
- 168 replies
-
- 7
-
-
- Scharnhorst
- Flyhawk
- (and 1 more)
-
I’ve seen folks use Tamiya Clear for the same purpose (X-20 I think?). I haven’t tried that yet, but seems like a great idea. I haven’t had too many issues with CA though - I apply it to the part via a pin, and then use either a toothpick or folded paper towel to pick up any of the excess.
- 168 replies
-
- 7
-
-
- Scharnhorst
- Flyhawk
- (and 1 more)
-
Very cool! How are the clear cockpits on these kits? Being such a focal point, they'd have to be well done and blemish free.
-
They did man, thank you! Should be a fun build.
-
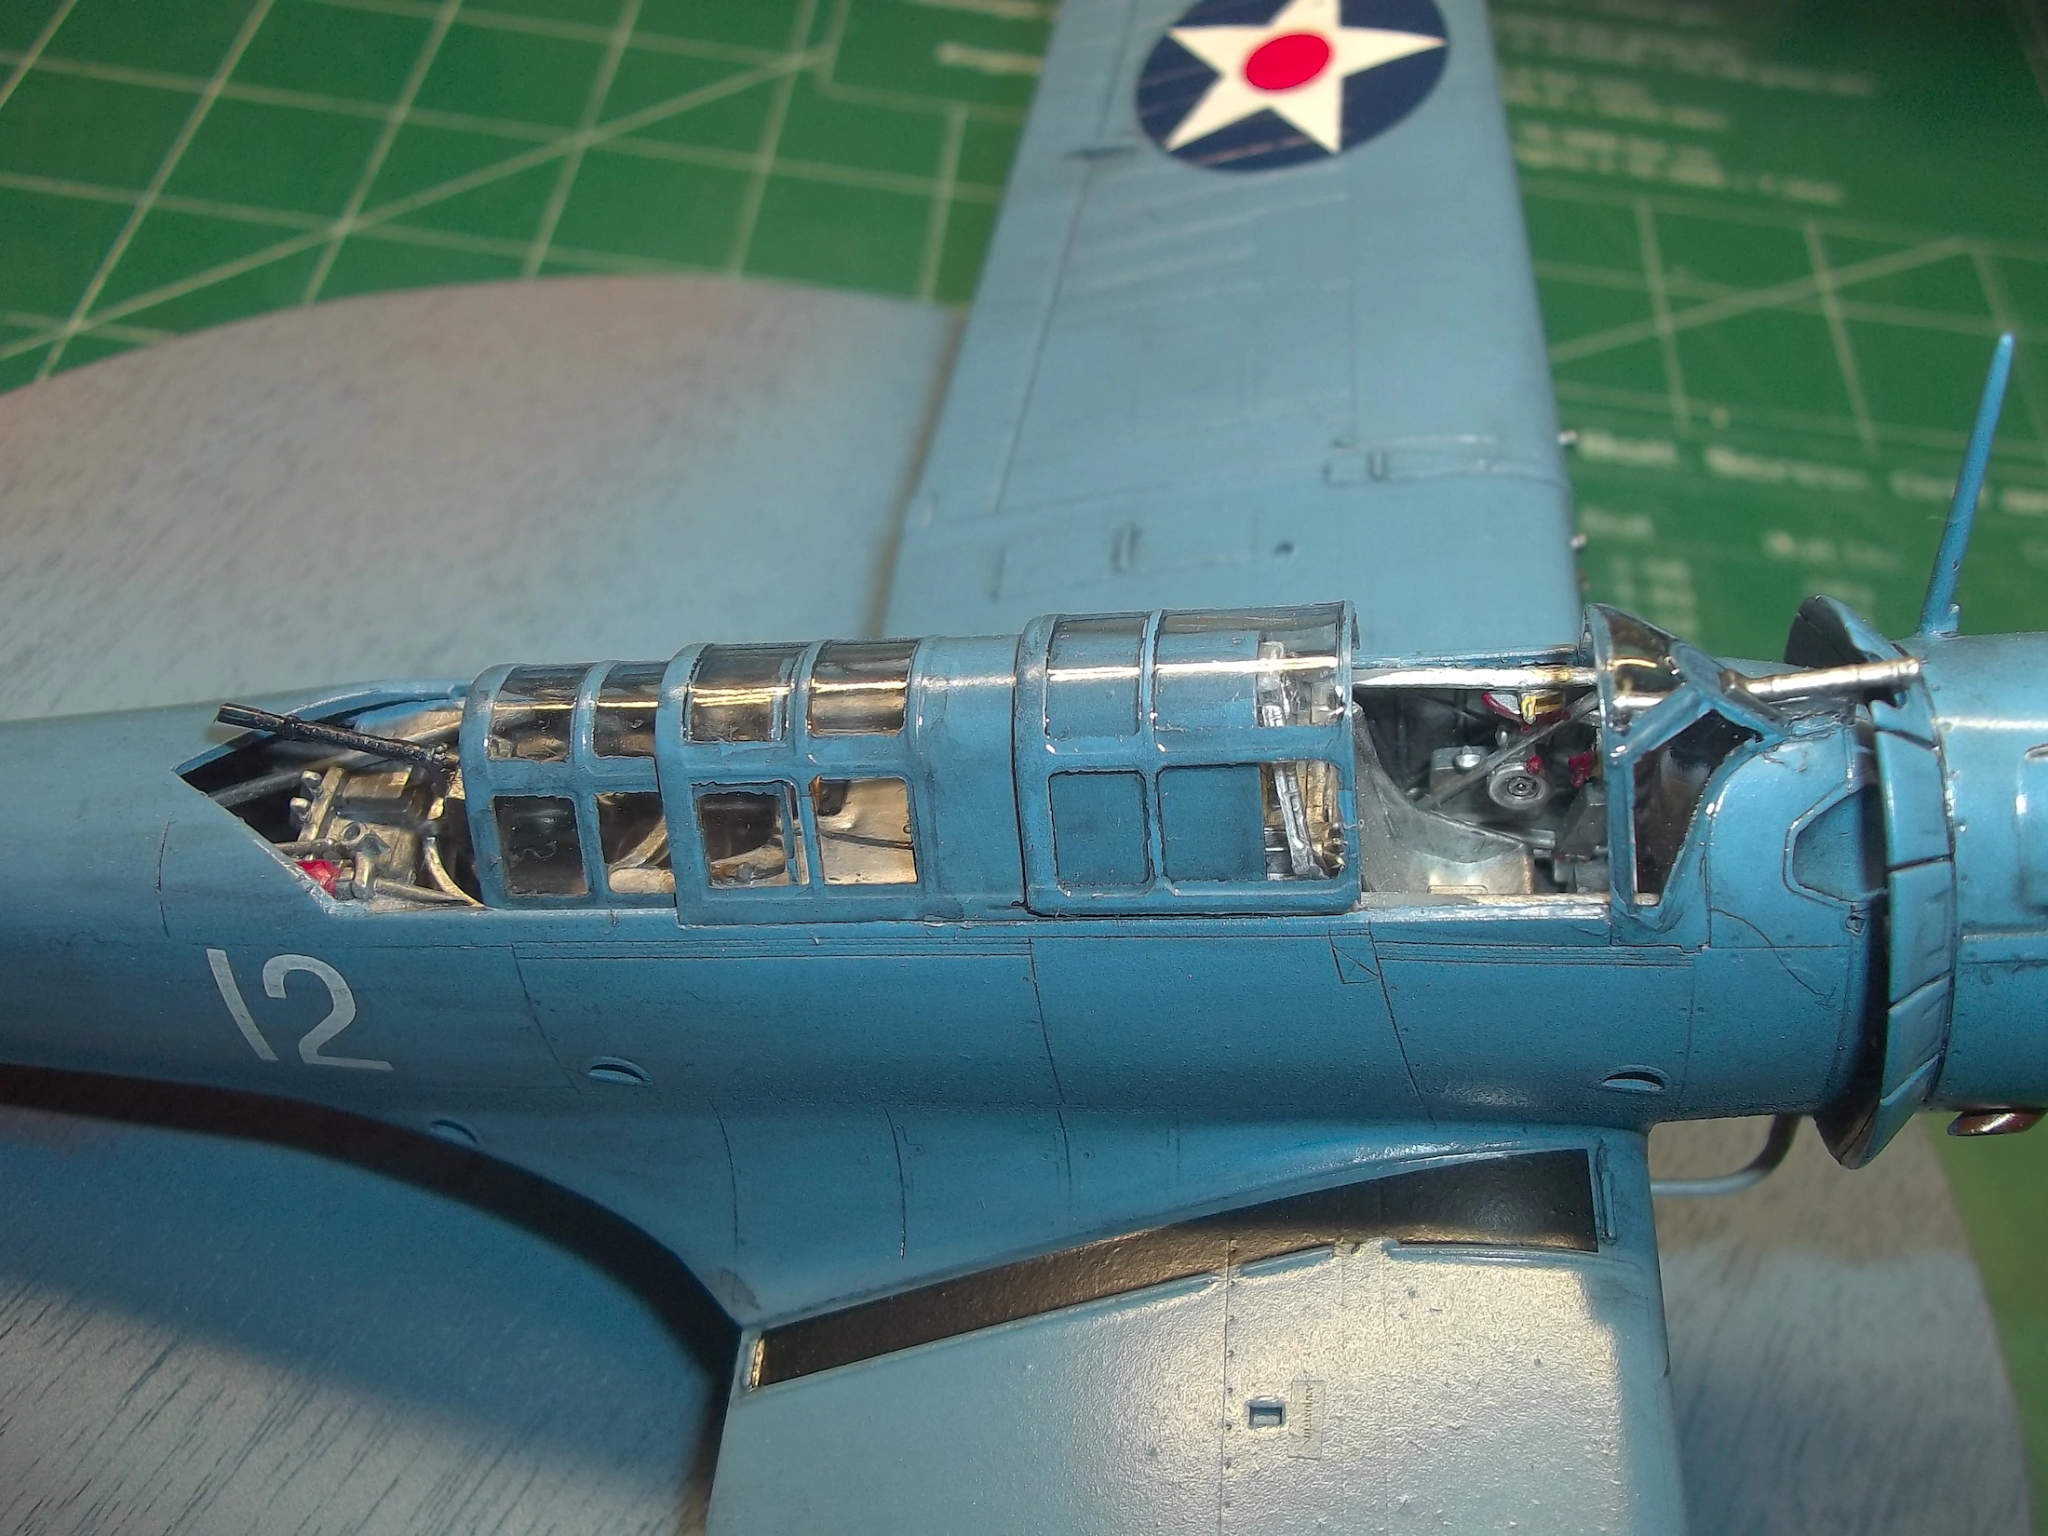
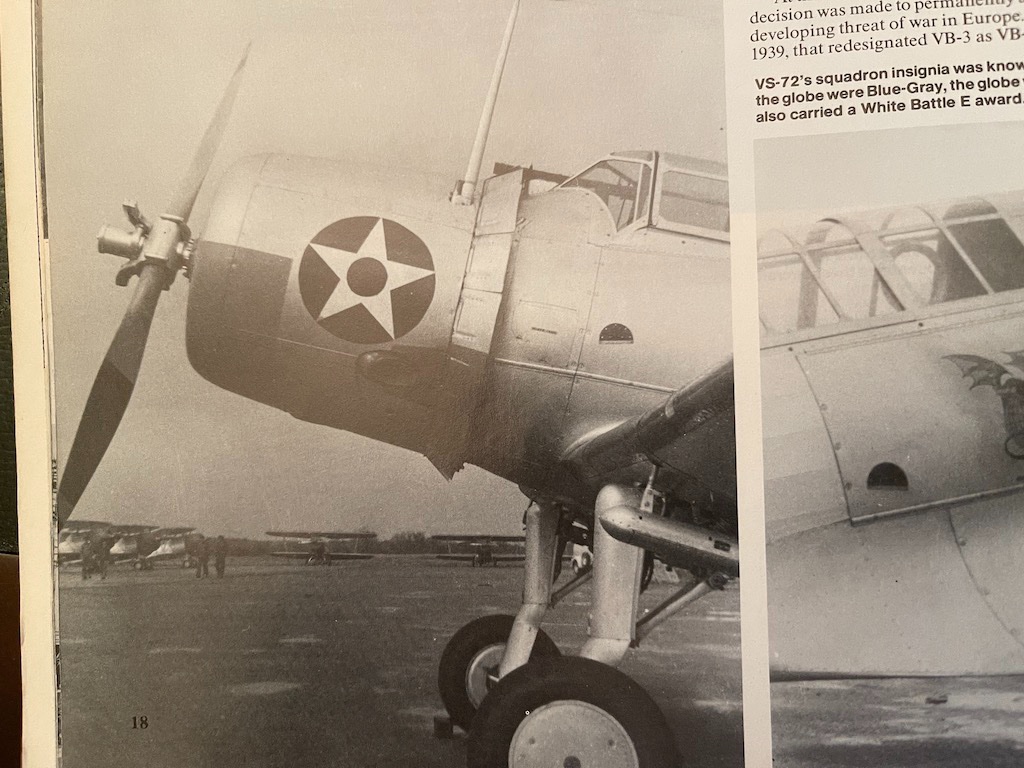
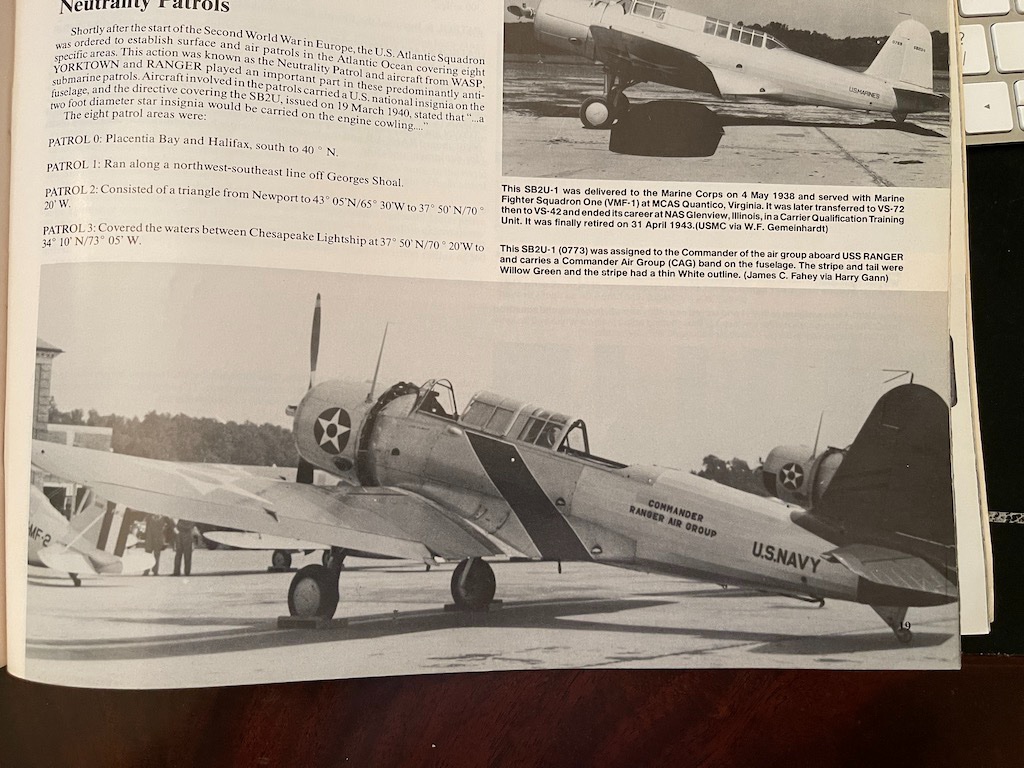
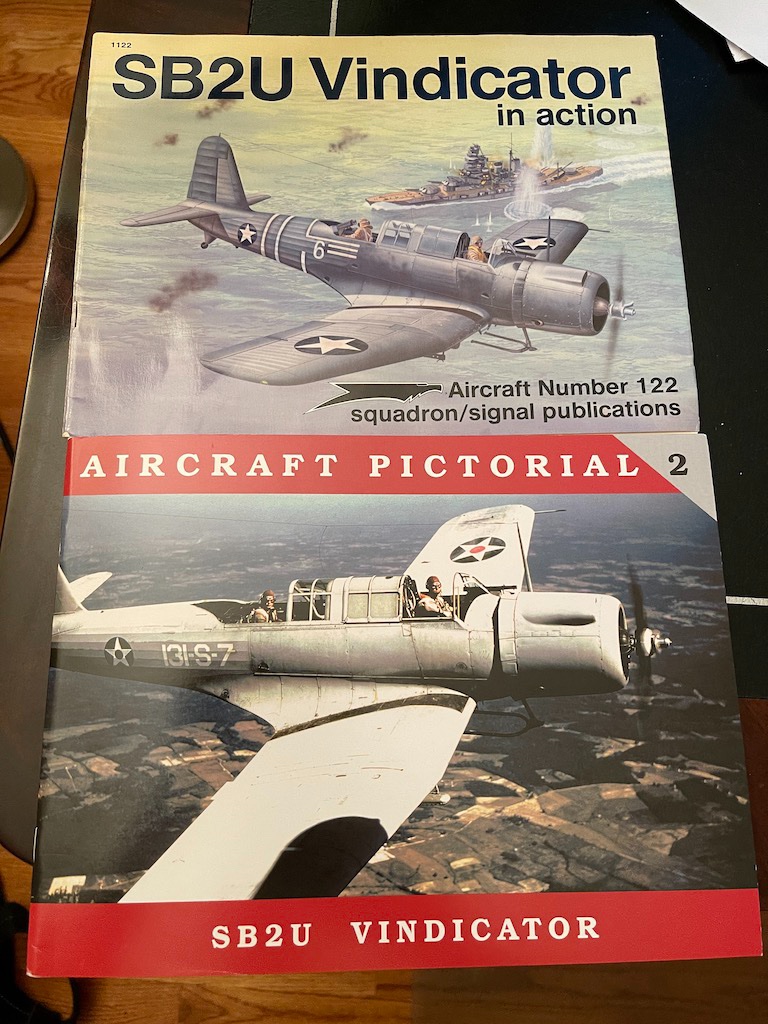
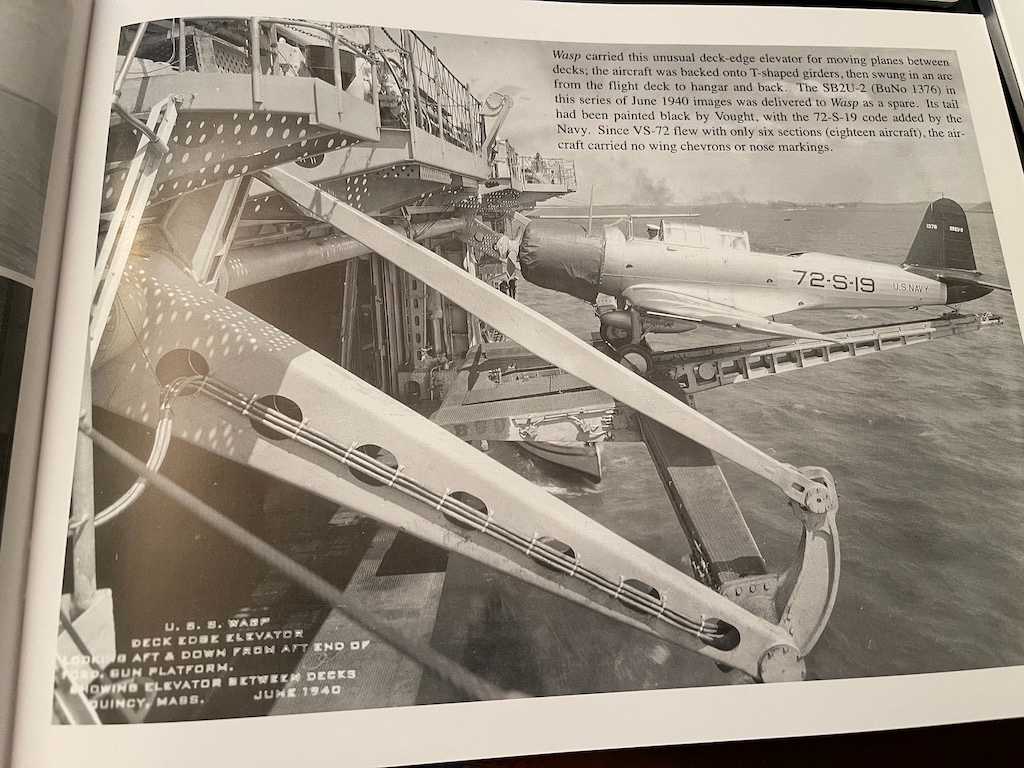
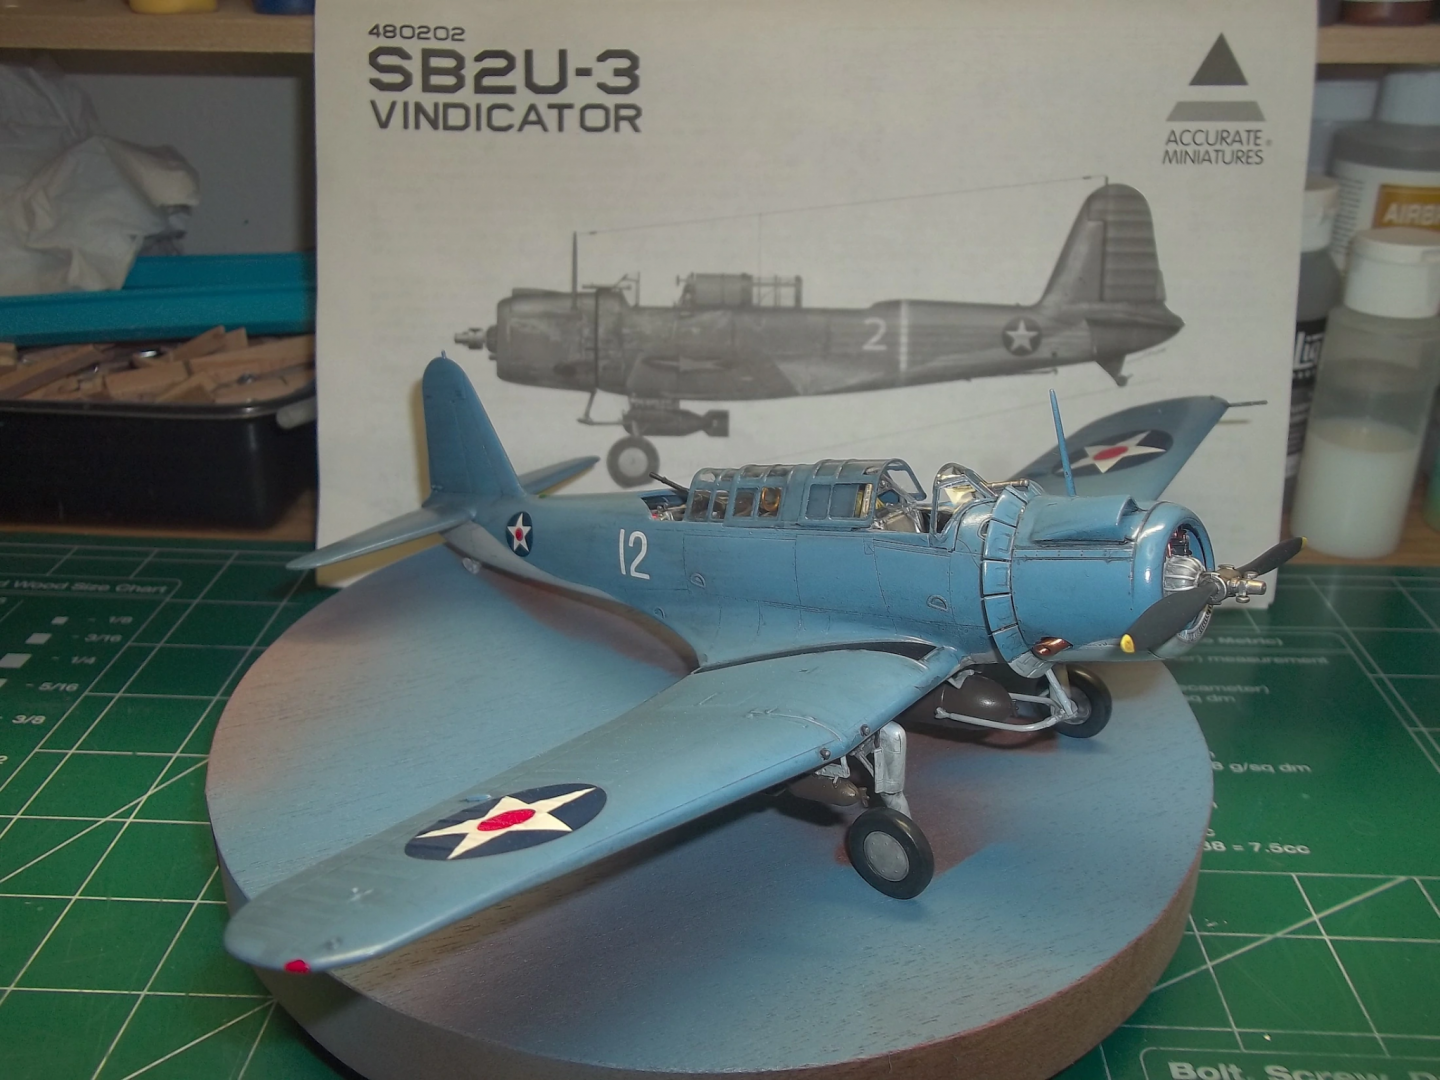
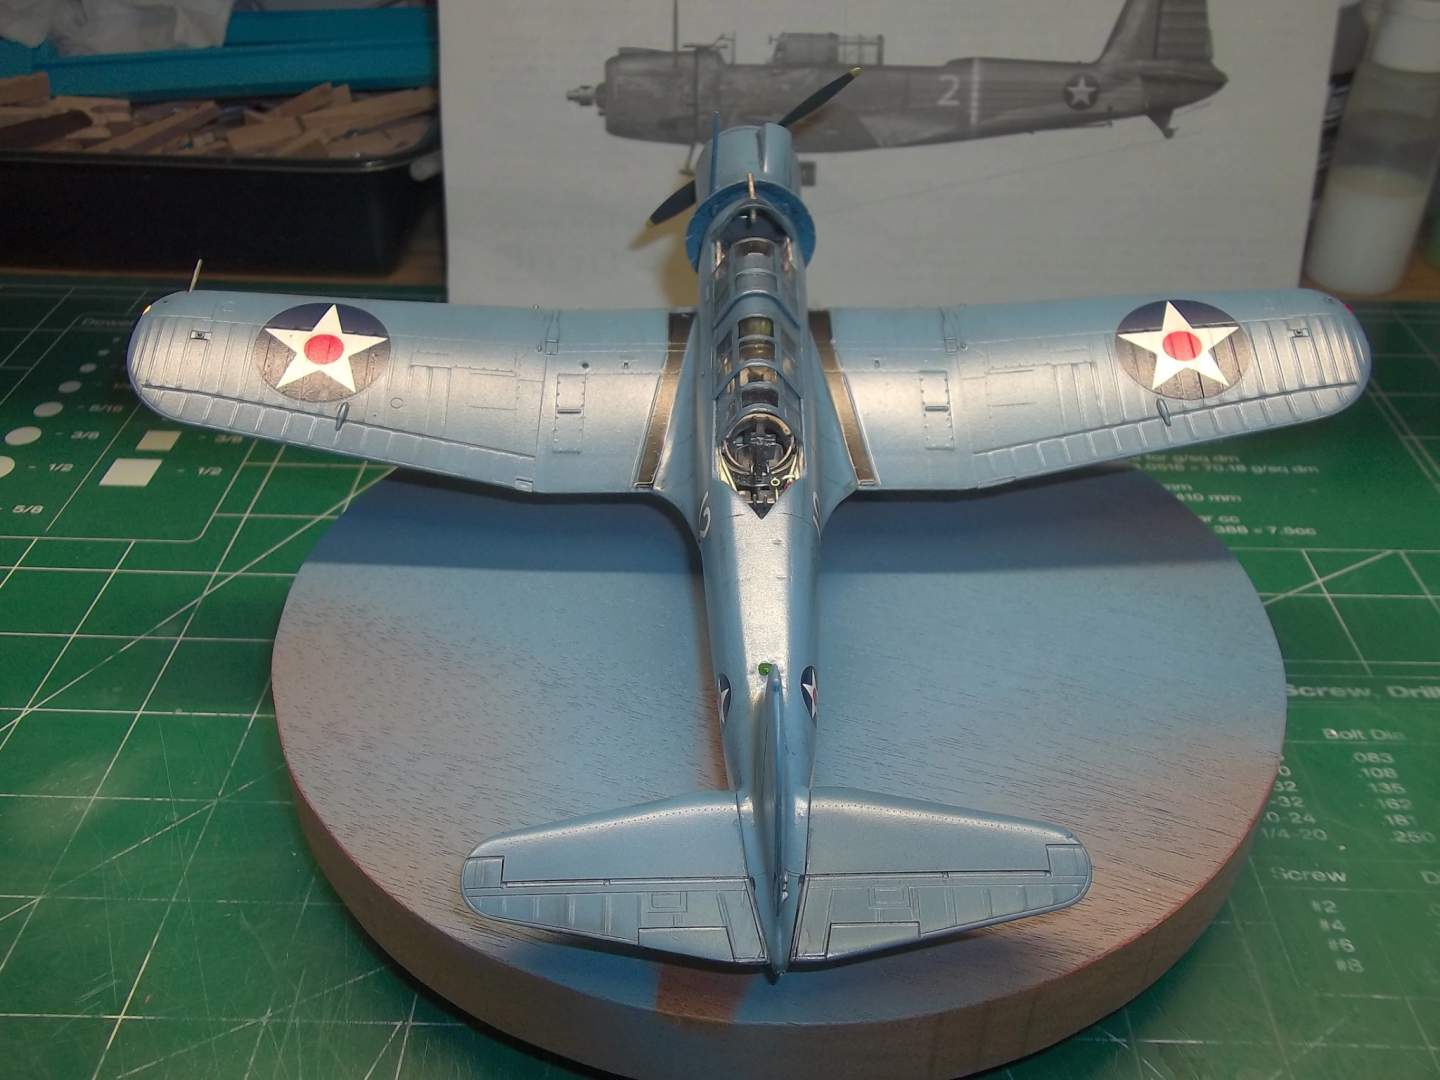
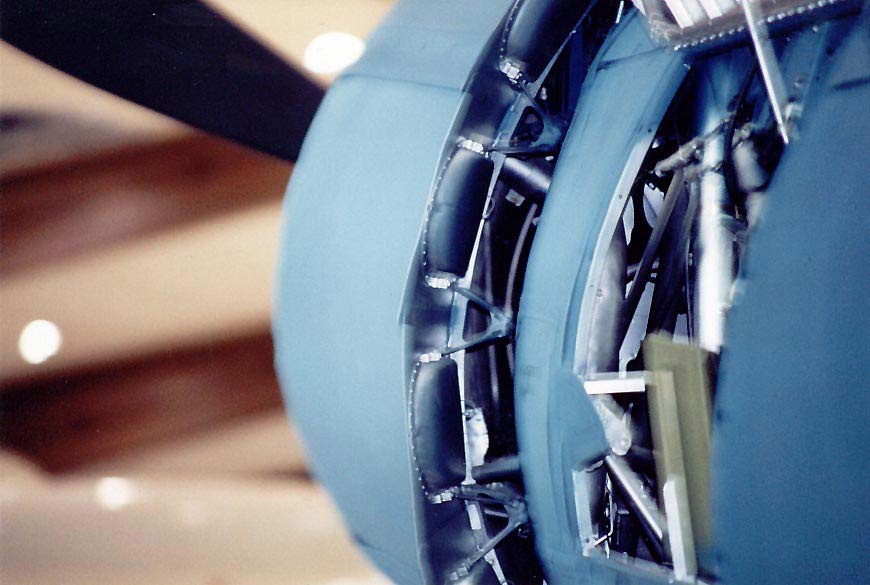
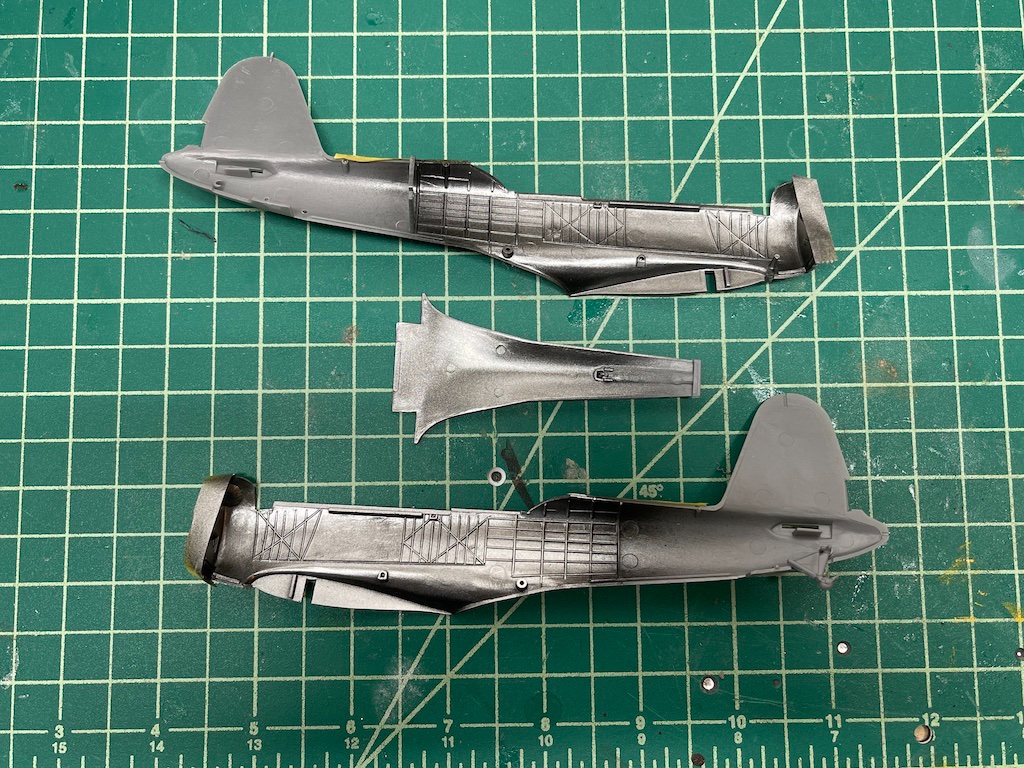
EG, thanks for the information and the pictures as always! I agree that the cowl flaps have some of the limitations from plastic injection. They aren't too thick (the ones in that SB2U-3 picture seem twice as thick as mine), but still overscale. I'm almost glad Eduard didn't give replacements - they were a real pain to glue on my Wildcat. I'll probably sand them down a touch, but otherwise not worry too much. Looking at some other build logs, the closed flaps are still a touch open, so I could still show off those Eduard brackets underneath. Going with the closed flaps will also help minimize the scale issue, which is quite apparent with the open flaps. I have the following two books as references which have been very helpful: They have some really great pictures. Sometimes I don't know if these books are a help or it's just better to have blind ignorance where kit flaws become plainly exposed. Here are a couple of pictures from In Action that show the cowl flaps - the second one is the same plane I'm planning to model: The second book by Dana Bell has some really crisp photographs. Here is one that shows off the wing fold on an SB2U-1. The kit wing inserts for the wing fold are close, but are going to need to be spruced up a bit with additional details. The Bell book had some cool photos of the USS Wasp elevator mechanism. Thought this was kinda neat to see: So I think I might go with the box cover edition with closed cowl flaps. I'm still debating the wing fold, but will probably go for it with the partial fold and wings splayed out. That would be distinctive I think, and I just ordered some brass tube and small threaded rod to create the external jury strut that pulls the wings into a folded position. I have a great picture in the Bell book of the assembly which helps. With the wings in the partial folded position, one could still see the detail in the cockpits, etc. I'll probably still add the Eduard open flaps - might be technically inaccurate, but it's a cool detail and will give me some more experience for when I get to more complicated models. I'll probably also add a 500 or 1000 pound bomb in a bomb cart alongside the plane. Accurate Miniatures had come out with a bomb and weapon set, which I must have picked up at some point. There are some bomb carts as part of the set, so I'll either use one of them or scratch my own using the kit's parts as a sample. The Eduard PE set has some cool parts to dress up the kit bombs so I'm inclined to show a bomb in some form or another.


-
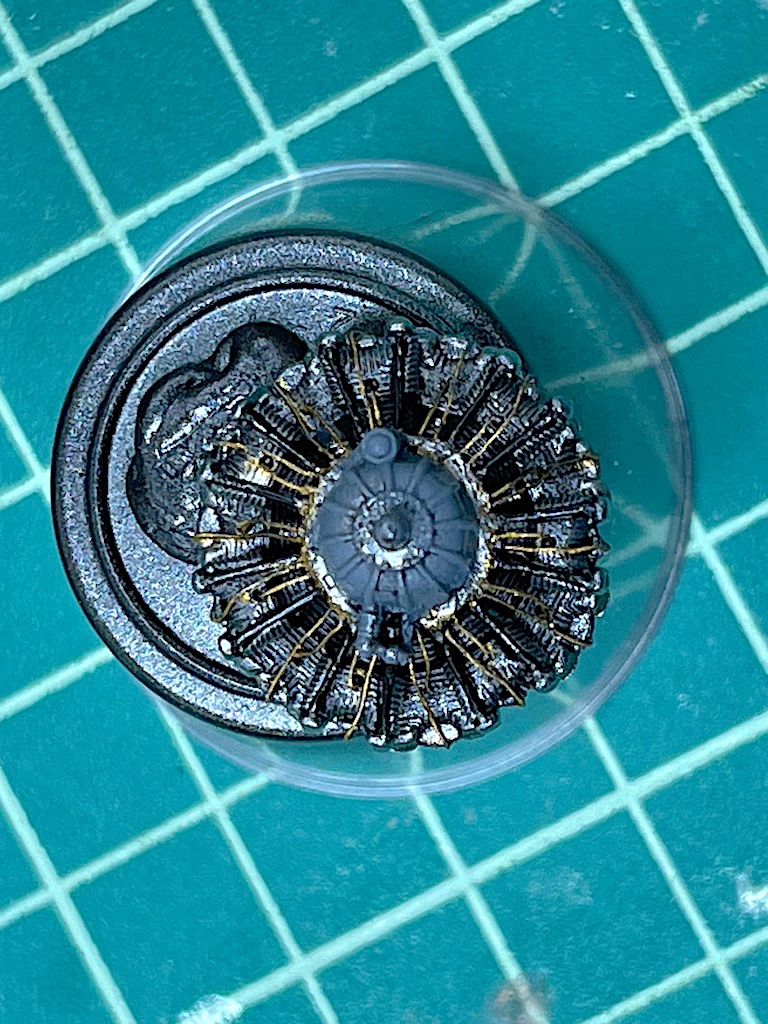
There aren't too many models of this one out there, and even fewer with the open cowl option. Here is one of the SB2U-3 I found - I suppose it doesn't look too bad open, and will look better with the Eduard detail pieces (I think they must be hinges) filling in the gap. Here is one of the kit engine - I think the Eduard wiring details are a big improvement:


- 38 replies
-
- 12
-
-
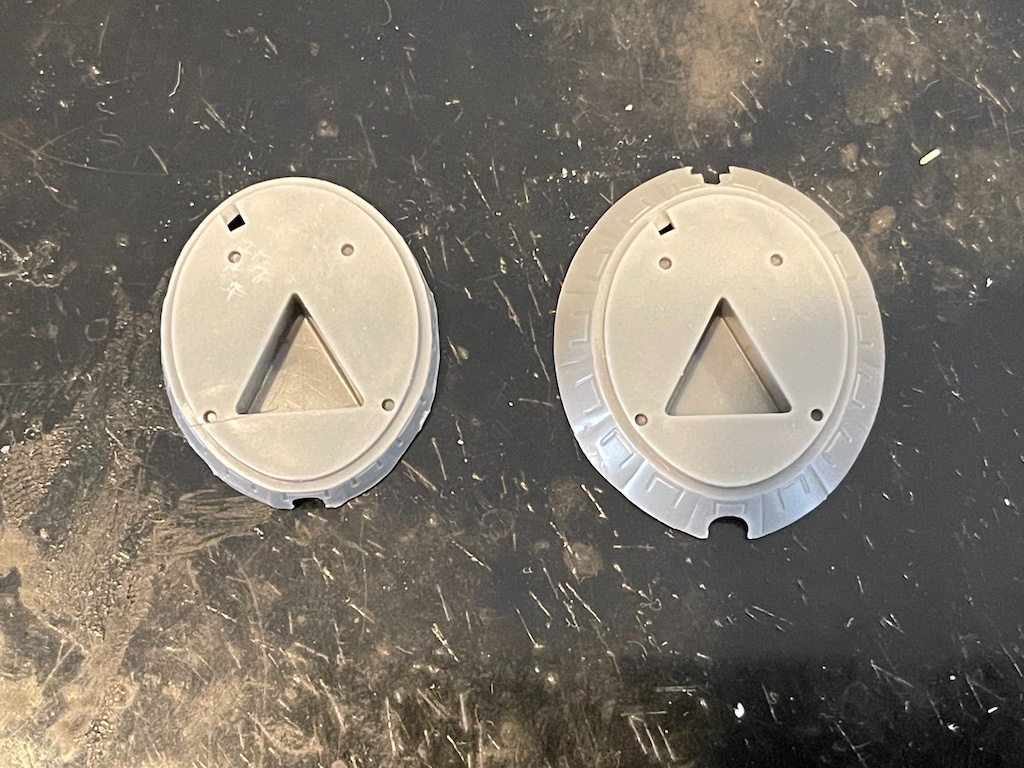
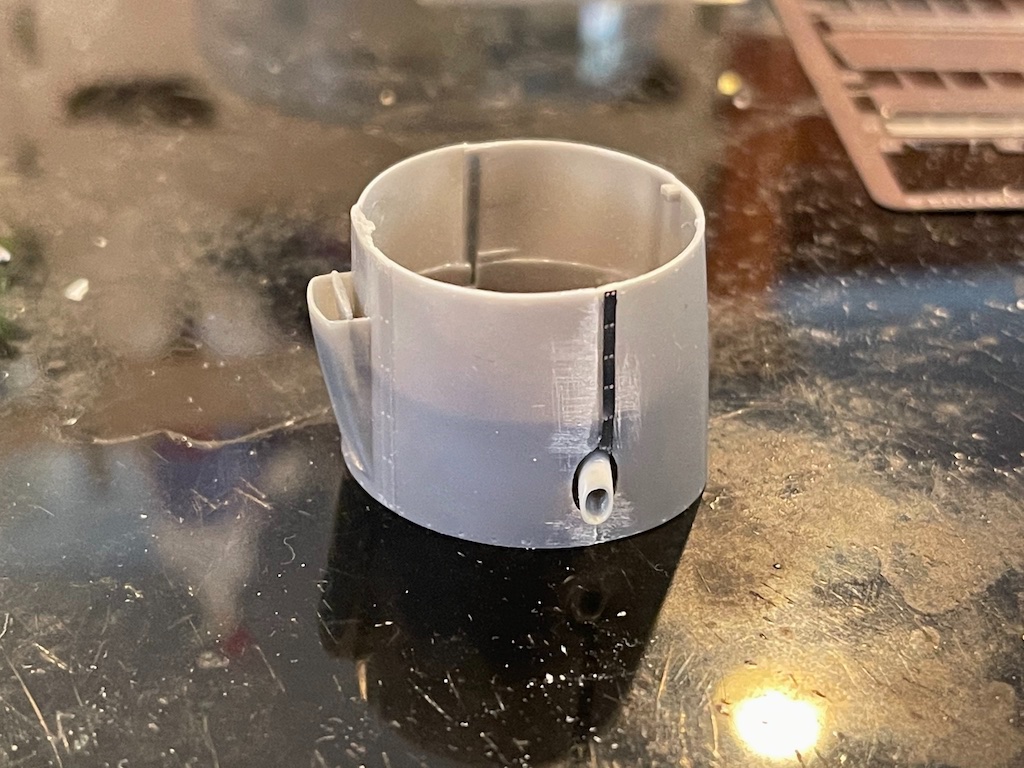
I spent some time last night working on the cowl. The two halves come together fairly ok, but are thin and you end up losing the metal braces along the two seams. Never fear, Eduard to the rescue with replacement braces. I also replaced the exhausts with the set from Quickboost. They are a little crisper and have a deeper hollow to them. I'm trying to decide on the cowl flaps. The kit gives you a closed and open set. I'm thinking of going open to add these Eduard opening hardware. I'm not fully sure about the open cowl yet. Kinda reminds me of frilled lizards 🙈
(open).jpg.cb24346a33509dab6cbd373d0e0140f1.jpg)

- 38 replies
-
- 16
-
-

-
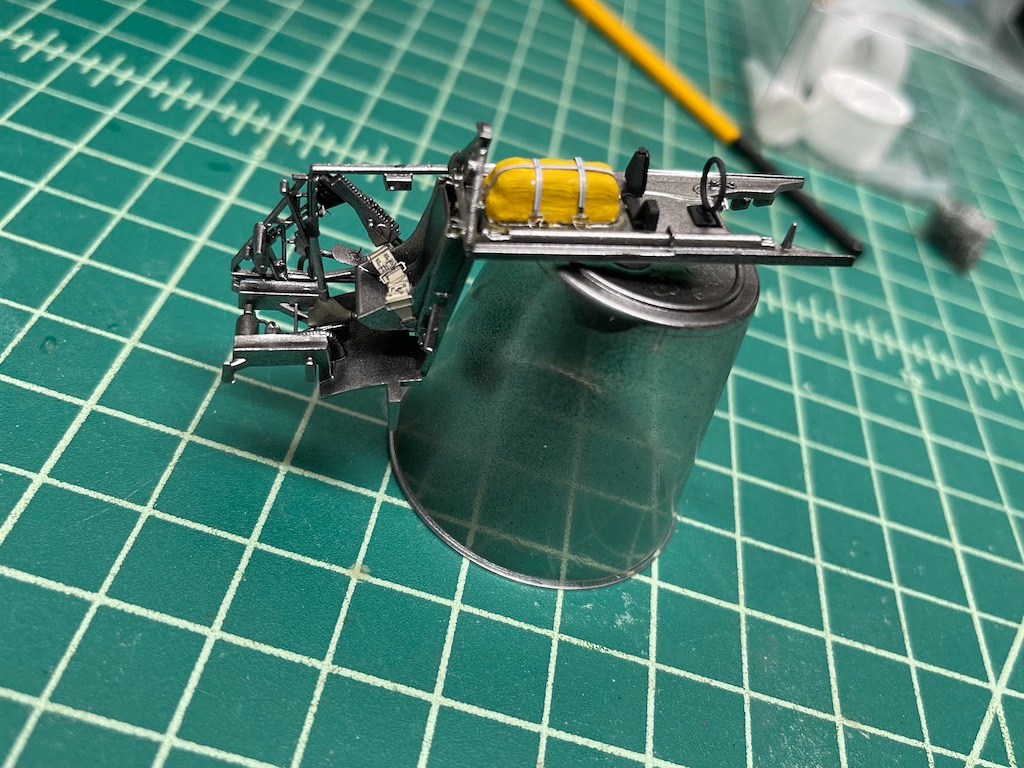
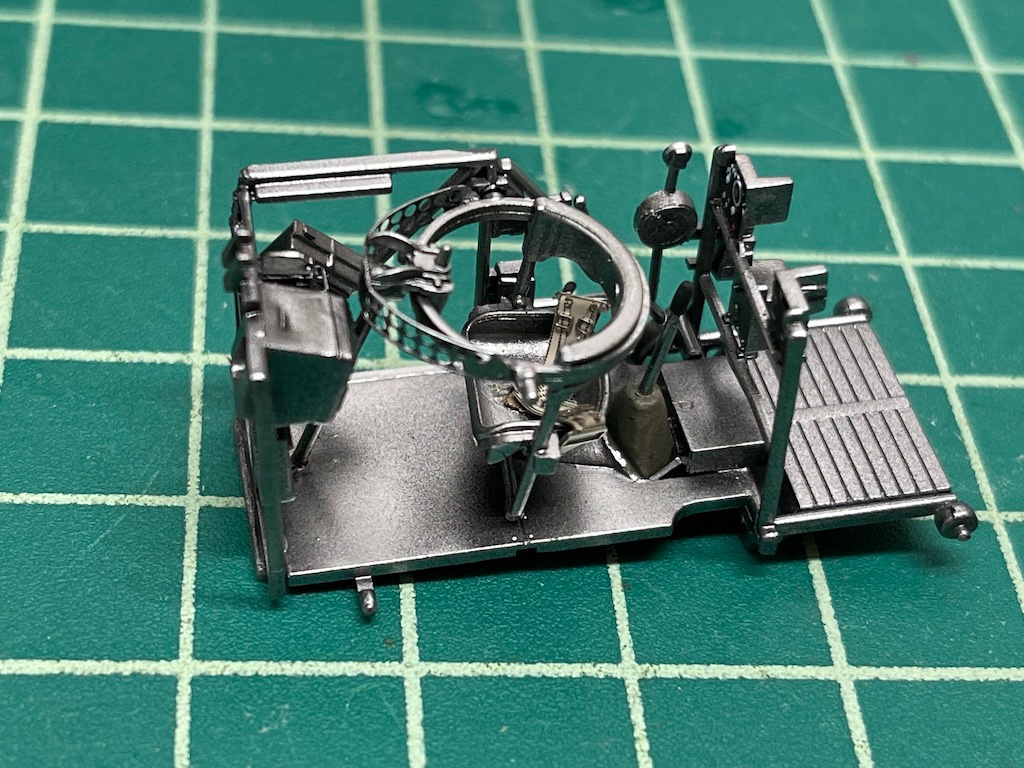
This one is moving along pretty quickly. I've got the front and rear cockpits just about assembled. Am waiting on some paint to finish the oxygen bottles, then can and then can go ahead and add washes, etc. I'm using Vallejo metal colors - for the interior, I'm using Duraluminum since it's a touch darker and will make things easier on shading the interior a touch. Vallejo's metal line is awesome - so easy to spray and clean, and hand brushes really nicely as well. The Eduard set has a lot of nice upgrades for this kit. Along with the typical cockpit details (which are in color), there are things like the straps for the life raft. Also made a start on the engine, which is a Pratt & Whitney R 1535-96 Twin Wasp. The kit engine wasn't too bad, but the ignition wires were too thick. With the Eduard set, you add individual wires and then add control rods. Looks pretty good thus far, just need to add the details, washes, grime, etc.

- 38 replies
-
- 15
-
-
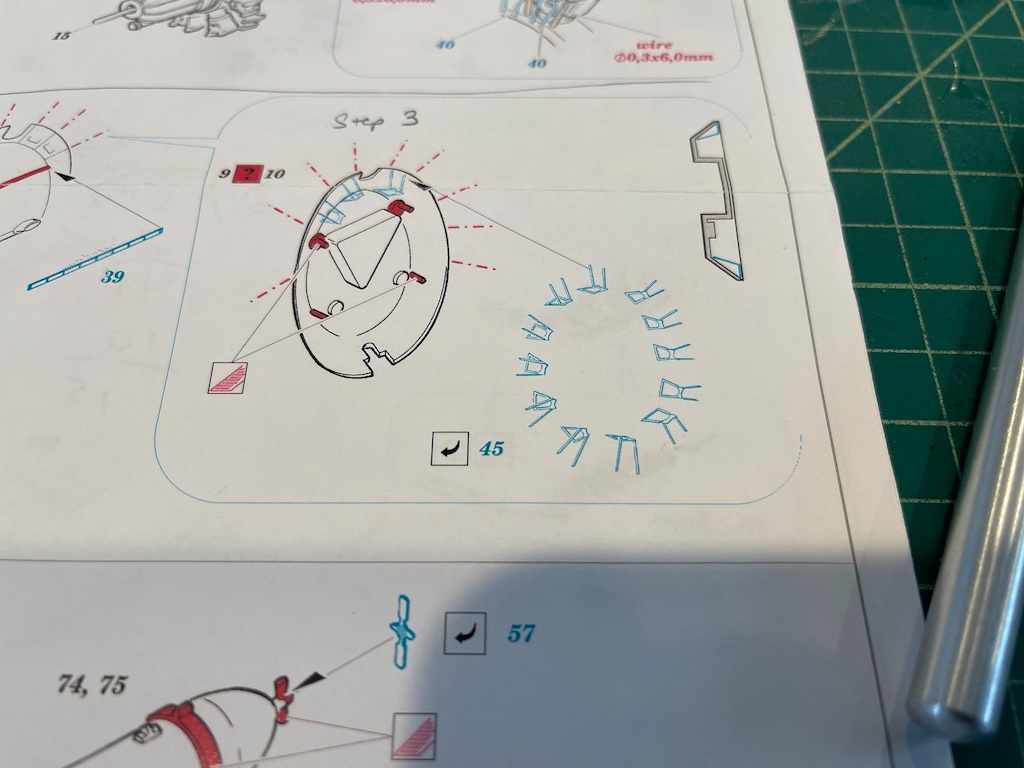
I feel your pain - those small support triangles are crazy. I had a few on my destroyer build. Somehow I didn’t find those too bad but had problems with other similarly sized parts. Sometimes I think that the PE maker feels like they can scale the things down so why not include them and see what the builders want to do with them.
- 168 replies
-
- 7
-
-
- Scharnhorst
- Flyhawk
- (and 1 more)
-
That’s a great idea. I’ll have to try that. I’ve used paper towel before but a cloth towel with more area sounds like a better plan. I don’t have a problem so much with the kit parts but the PE can be a real pain when it drops or pings off the tweezers.
- 168 replies
-
- 6
-
-
- Scharnhorst
- Flyhawk
- (and 1 more)
-
Still waiting on progress pics on the 1:1 Chris Coyle to go along with it!
-
Those brass barrels really dress up the guns for sure. Nice job!
- 168 replies
-
- 7
-
-
- Scharnhorst
- Flyhawk
- (and 1 more)
-
Josh, sorry to have missed this one before. What a fantastic SIB and gift for your dad. Hope he liked it!
-
Looking great Chris, you're almost at the finish line. Fantastic job!
-
Well done Dan, and if you're able, please do share your work. You're very talented!