cwboland
-
Posts
255 -
Joined
-
Last visited
Content Type
Profiles
Forums
Gallery
Events
Everything posted by cwboland
-
Rick, Have a look at Great Hobbies. They're based in PEI.I've had a few dealings with them fire both static and RC models. Very nice and helpful staff. www.greathobbies.com
- 43 replies
-
- 1
-

-
- indian girl canoe
- Midwest Products
- (and 1 more)
-
Great job on the ribs. Can't wait to see her finished. I've been looking at getting one of the MW Canoes for a future build. They do look good when they're done. Keep up the good work
-
Mike, I tried one of the ensigns and ended up taking it off. It looked too large and garish. And yes the colours were too bright
-
Great job Mike. I agree that the PE pieces are fairly brittle if they get bent a few times. Managed not to break anything off yet, but there's still time.
-
Thanks for the heads up Mike. No, I haven't had time to insert my ship in the bottle yet. Been delaying the process. I'm thinking of making a little stand for the bottle to rest on for displaying before I actually put her in. I have some scrap Douglas Fir that looks like it would work for this. I'll be posting updates when I have time to work on it, hopefully this weekend.
-
WOW. it's unbelievable that anybody can work at such small scales. Any bottle builder would aspire to be able to make such magnificent work
-
Don't we all Popeye
-
Those deadeyes look good. What kind of wood did you turn them from?
-
Igor, Just found your build. What a wonderfully small scale to be working in. I can only imagine how steady your hands are to be working with such small pieces, especially that launch. Keep up the good work.
-
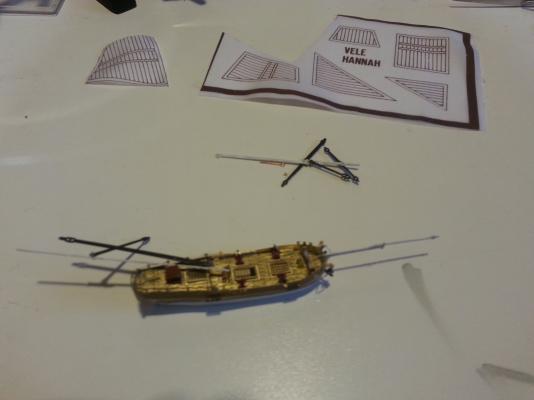
Hamilton, Thank you for the read. I hadn't seen that archive before. I will have to keep some of his tips and tricks in mind during the next couple of steps while inserting Hannah into the bottle.
-
Jack, along the lines of the blackener, you could try dipping the brass in some dilute (1:1 or 2:1) white vinegar followed by a quick rinse in clear water. It should etch the brass enough to allow the paint to stick
-
Hi Igor, I thought about using bamboo skewers for the masts, yards, etc., but they wouldn't fit between the mast supports and I wasn't comfortable sanding them down any smaller than they already were. Maybe for my next bottle project I will look into this a little more.
-
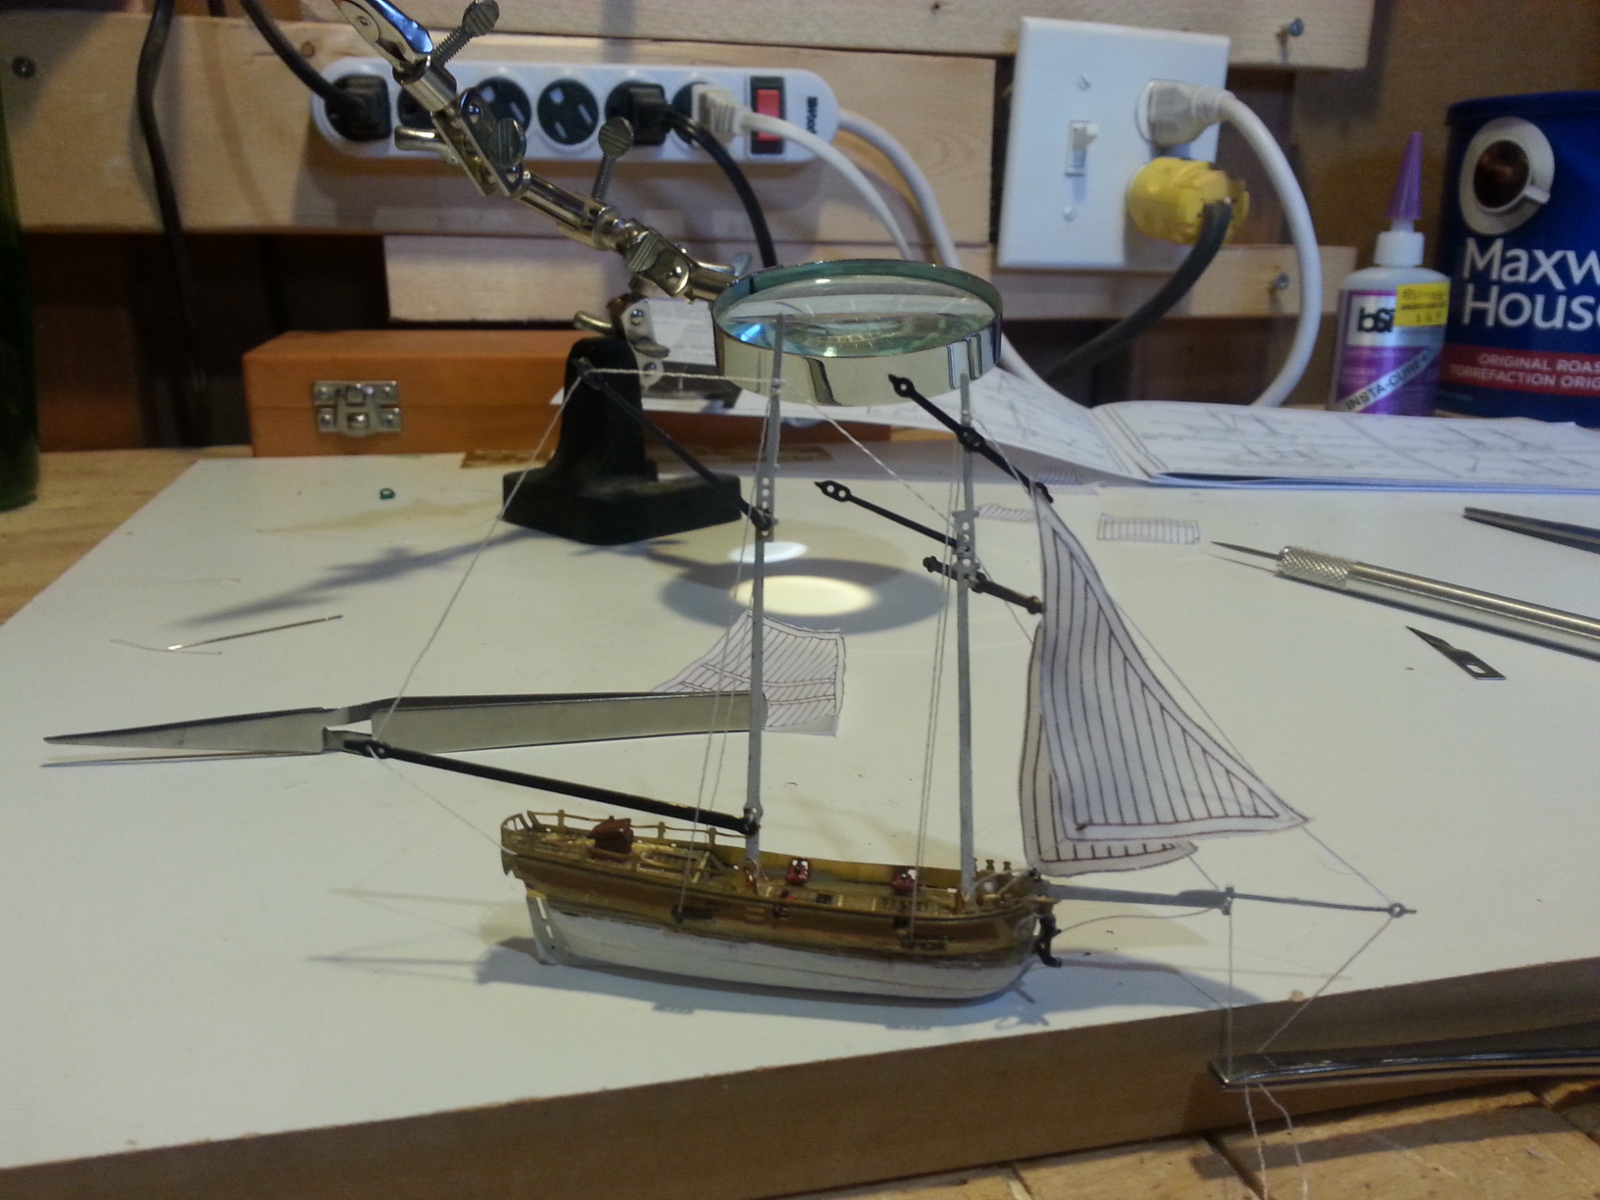
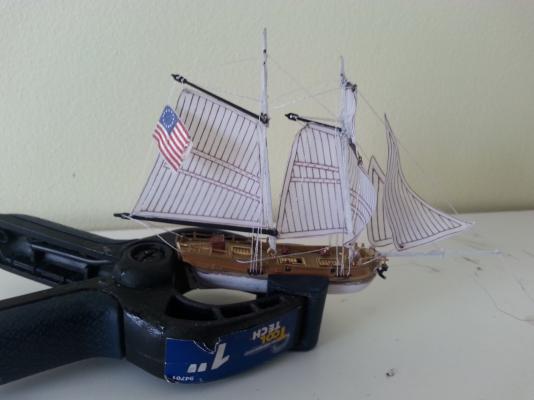
Thank you all again for the visits, comments and likes. Another, smaller, update for today. Fit the mainsail and finished all the rigging. Now to put the stand in the bottle, or create a seascape to place her on. Then to drop her in the bottle and pull up the masts and sails. I am seriously considering making a seascape, but not sure how to do this. Any ideas would be greatly appreciated. I've heard of people using sculpy clay or painters silicone, but I'm unfamiliar with using either of these products for this purpose.
-
Hi Mike, I used a combination of knots and the cauterize technique. After tying the knot, I cut off the running end with a hot knife (x-acto #3 heated over a candle to be precise). It seems to have worked so far. Might have to add a little bit of dilute PVA to some of the knots on the masts just so they don't come undone though. I have not tried the insertion tool yet, but it does look like it might be kind of difficult to use effectively. I'll give it a try outside the bottle first. I might have to design something that's a little more useful, especially if I keep doing bottle boats. I'm concerned about tying off the running ends as well. Thinking I might have to improvise with some crochet hooks (ie. borrow them from the Admiral) and maybe do a clove hitch on the end of the bowsprit, painted with a little bit of PVA.
-
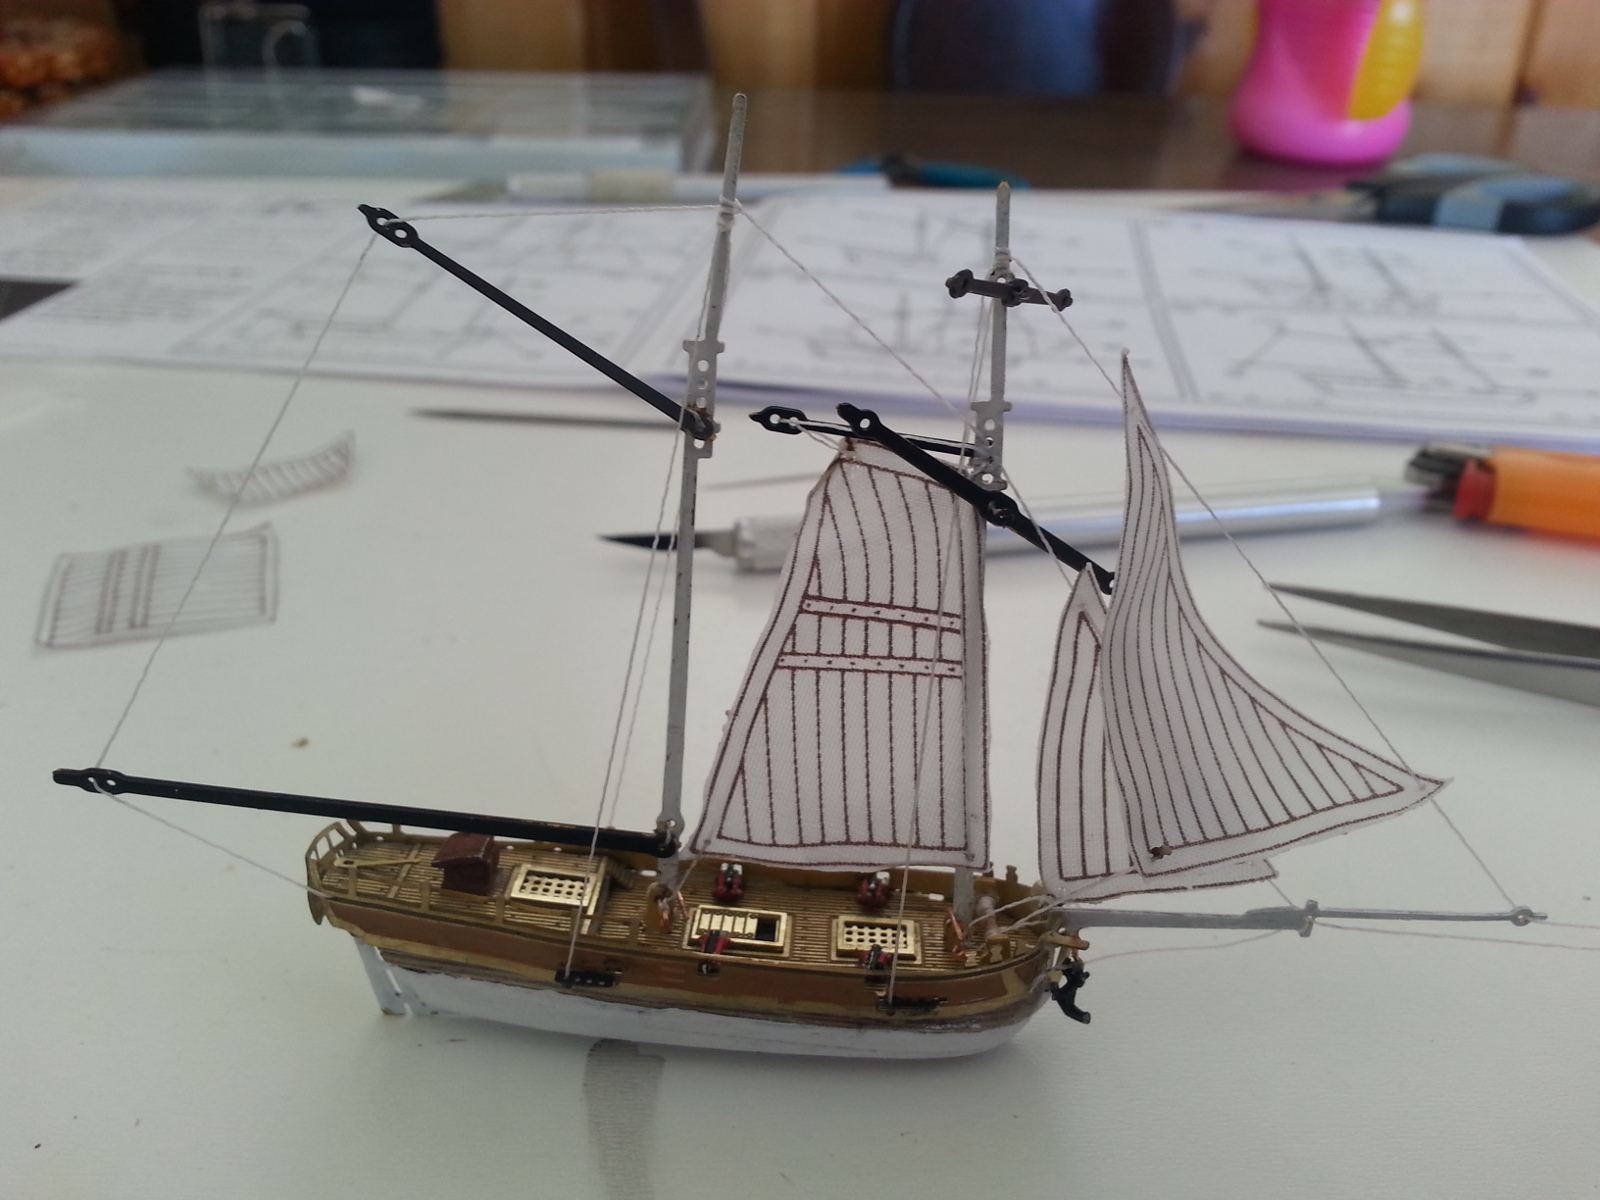
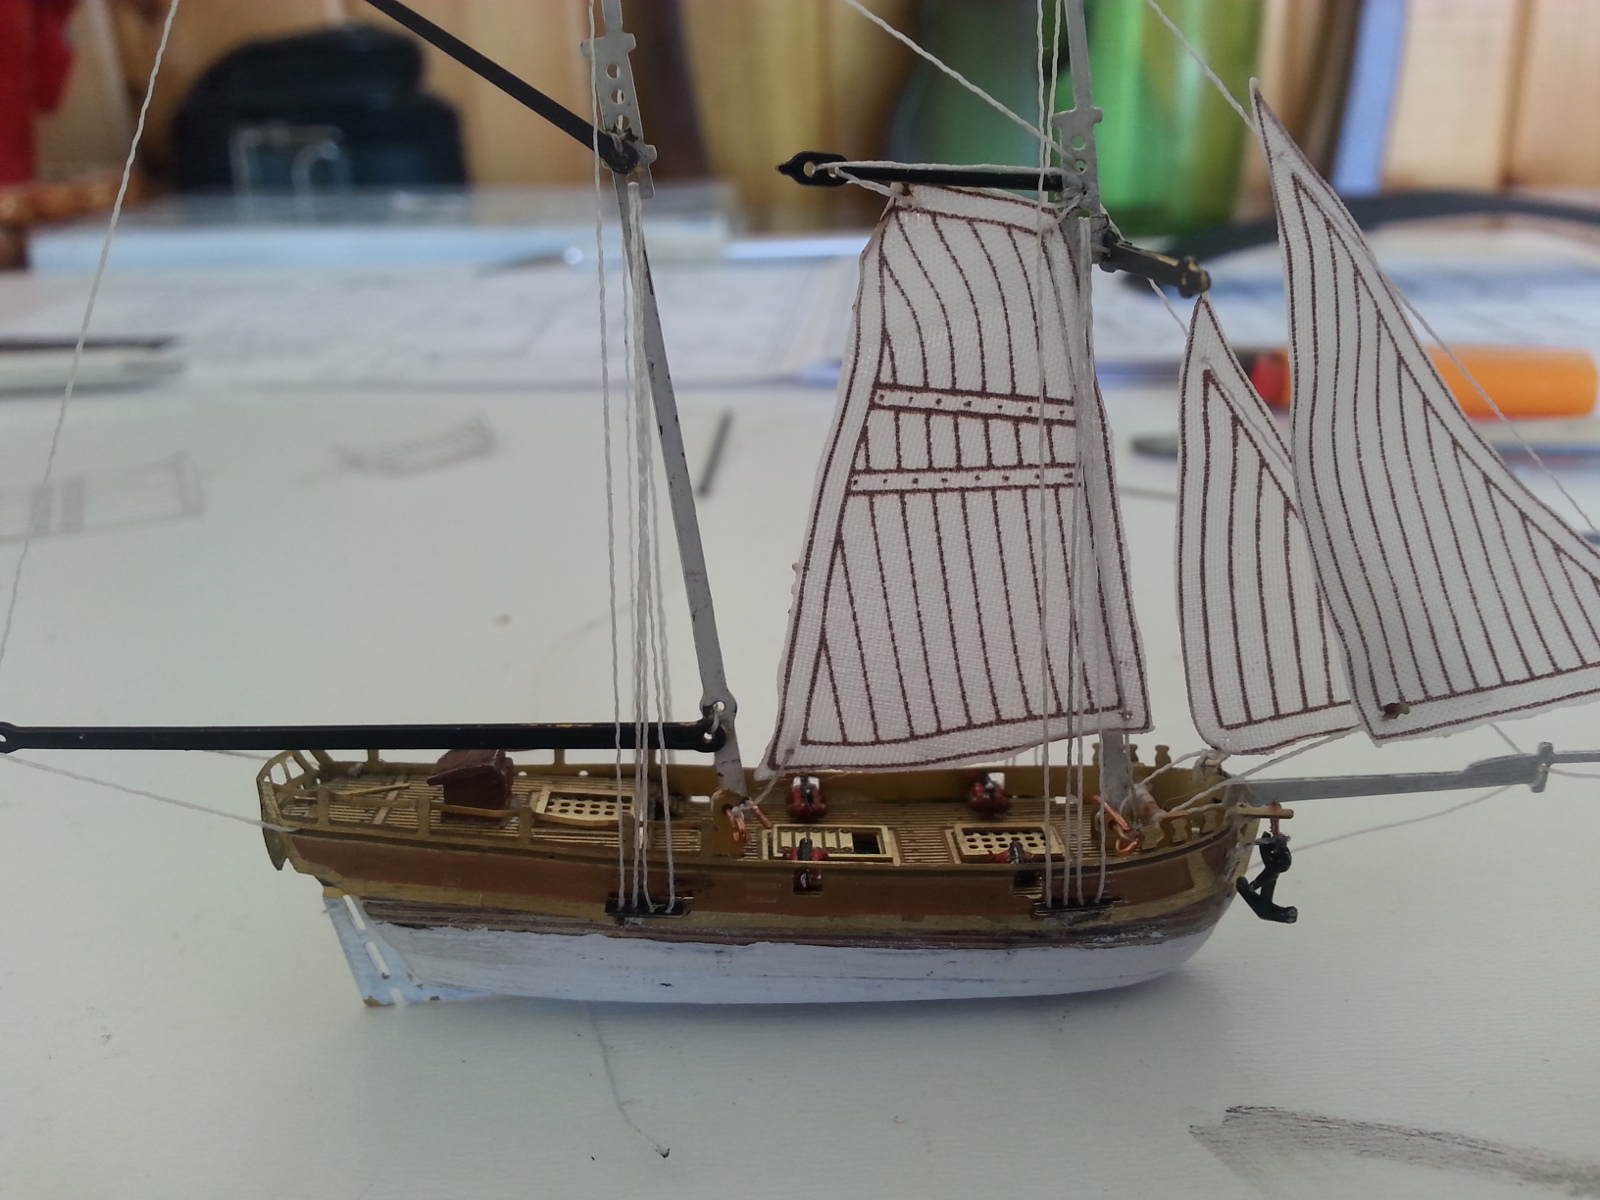
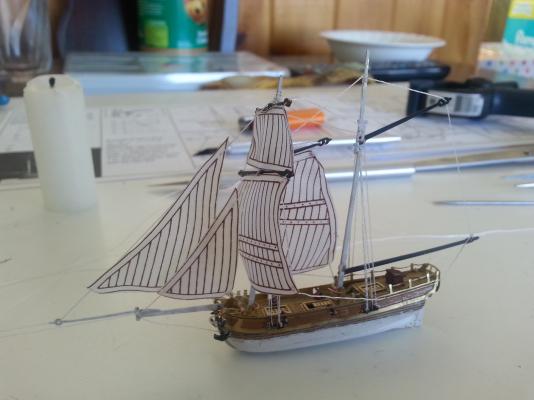
Thank you for all the wonderful words of encouragement, as well as the likes. Finally another update. Life and work have just gotten in the way of build time. Moreso work than life, but I digress. Anyways, on with the update. As I had mentioned before, the rigging plan is fairly straight forward to follow in theory, but putting it into practice is a little more difficult. My last update had the two jib sails installed with the running ends of the mast pulls. This is followed by installing the fore sail behind the foremast... ...then the main and foremast shrouds (no small feat in itself, pardon the pun)... ...followed by the square sails in front of the foremast. Seems a little backwards compared to the larger scales, but I had to re-run the fore sail rigging after installing the shrouds, and it was easier to run the sail rigging before the shrouds were in place. Almost finished. One more sail to rig, then fold the masts and sails down, and put it all in the bottle. Should be fun trying to get all the masts up and the square rigging all straight. We'll see how that goes in future updates.


-
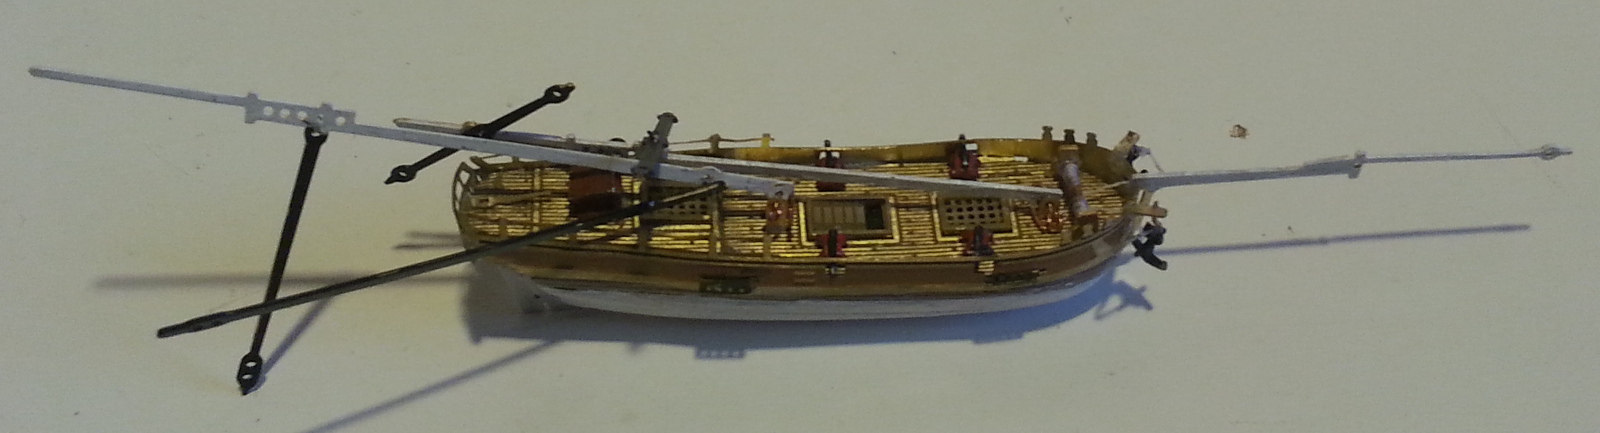
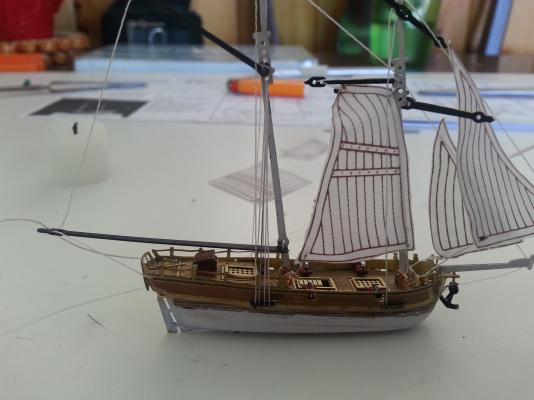
Been a while since my last update, so here goes. I managed to assemble both masts. Took a little bit of fiddling with the tiny thread that Amati provides, but my fat fingers finally tied all the knots to hold the yards, gaffs and boom to the appropriate locations. The instructions suggest that mast assembly would be easier if the fore and main masts were not installed, so I took this to heart and did just that. After the masts were assembled, they were installed in the mast holders that fold up out from the deck. Not sure if you can see, but the masts are installed with small copper eye rings, similar to how the anchors are secured to the davits. Rather than cutting the shaft on the rings too short, I opted to bend them back on themselves. Not sure if I like this idea and will have to decide shortly if I will cut them shorter and just bend back towards the mast holder. Now for the fun part of the build...the rigging. The rigging plan is fairly straight forward. Tie off a small knot in the thread, solder (aka cauterize) the end right to the knot, insert into point one starboard side, tie at point two, insert at point one port side, tie off and cauterize the end. Fairly simple, right? Not really. Cauterizing the tailing end when the line is in place is somewhat of a pain as most of the tie points are right next to the hull with little room to tie the knot before cauterizing. That said, I managed to get both the fore mast and main mast stays in place as well as the first bit of running rigging. So far, so good. Should be interesting to see how the remainder of the rigging goes, and how she fits into the bottle. All said, this is a very interesting build at a scale I'm not used to building in. Questions, comments, suggestions? Feel free to chime in.


-
WOW. Great idea to use parts that you've already built. Love the look of the rails. Will be interested to follow along and see how she progresses
-
Beautiful work on the paint job. I have noticed on some of the plastic kits I've built that walls don't always line up with the alignment area. They usually sit in front and rarely right on top. Keep up the good work. Look forward to seeing her complete
-
Good day all, I have noticed a good number of posts suggesting the use of a pre-stain conditioner. I was just wondering how many people used the conditioner vice water or nothing so I set up this little poll. I prefer to use water, especially on softer woods like basswood and pine. I have used the conditioner before and have found that water works just as well to open the pores of the wood to soak in the stain. I look forward to seeing the results.
-
Staining basswod
cwboland replied to etsinko's topic in Painting, finishing and weathering products and techniques
All of these are great points. I too like the natural look of the deck. However, the final decision is ultimately up to you whether to leave it that way or stain it. If you do go with a stain, Russ is right. get some pre-stain conditioner (I use water, but the MinWax stuff is pretty good too). It will certainly help with any potentially blotchy patches. -
Looks great!! I don't know how you would have gotten those cannon trucks in place with the upper deck on