cwboland
-
Posts
255 -
Joined
-
Last visited
Content Type
Profiles
Forums
Gallery
Events
Everything posted by cwboland
-
Wow Nils, Very nicely built engine and steam plant. I'm sure many people would aspire to such fine detail at this scale. I know I do
-
That looks like a nice little space to hang all your good carving chisels. Great work on the finger joint corners too
-
CA adhesive, which one do you use?
cwboland replied to Modeler12's topic in Masting, rigging and sails
I use the BSI (same bottle as the ME shown) medium. Great gap filling properties and quick (10 to 15 second) dry time. -
Looking good Simon
-
Hi Keith, If you have any piles of sawdust left over from sanding, you could mix it with wood glue. I have found that to be the best filler for gaps. It sands well and blends with the wood at the same time, unlike alot of commercially available fillers.
-
You could always have it ripped down to be used for planking
-
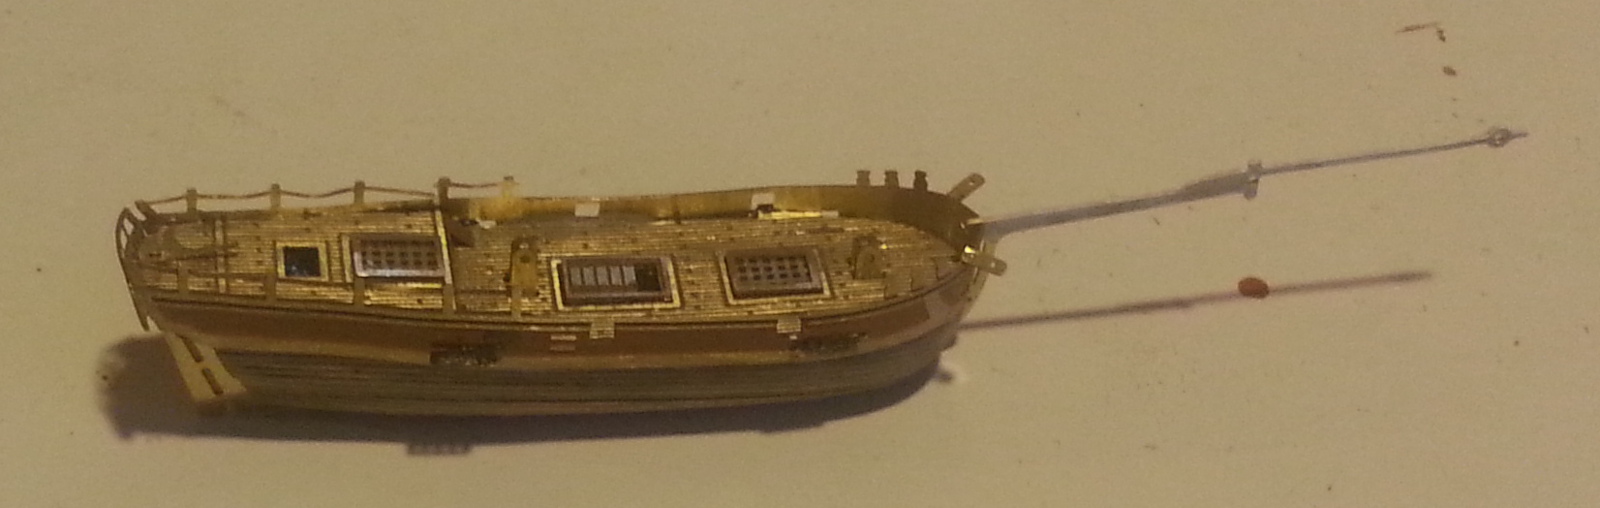
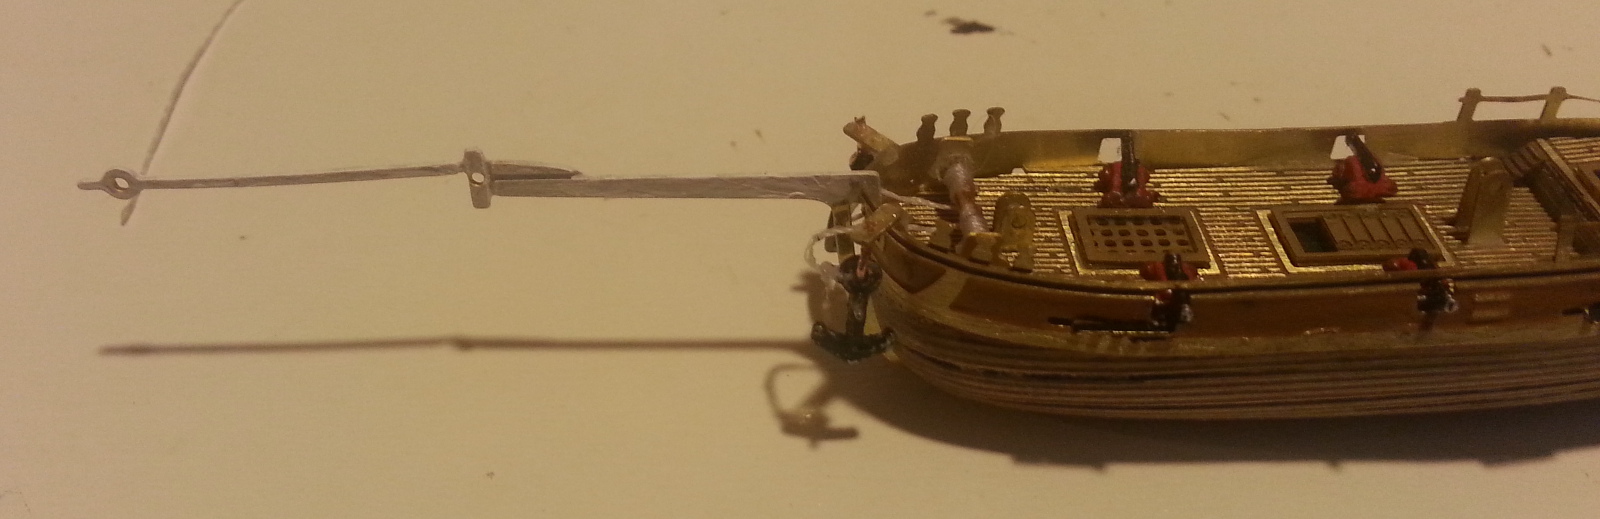
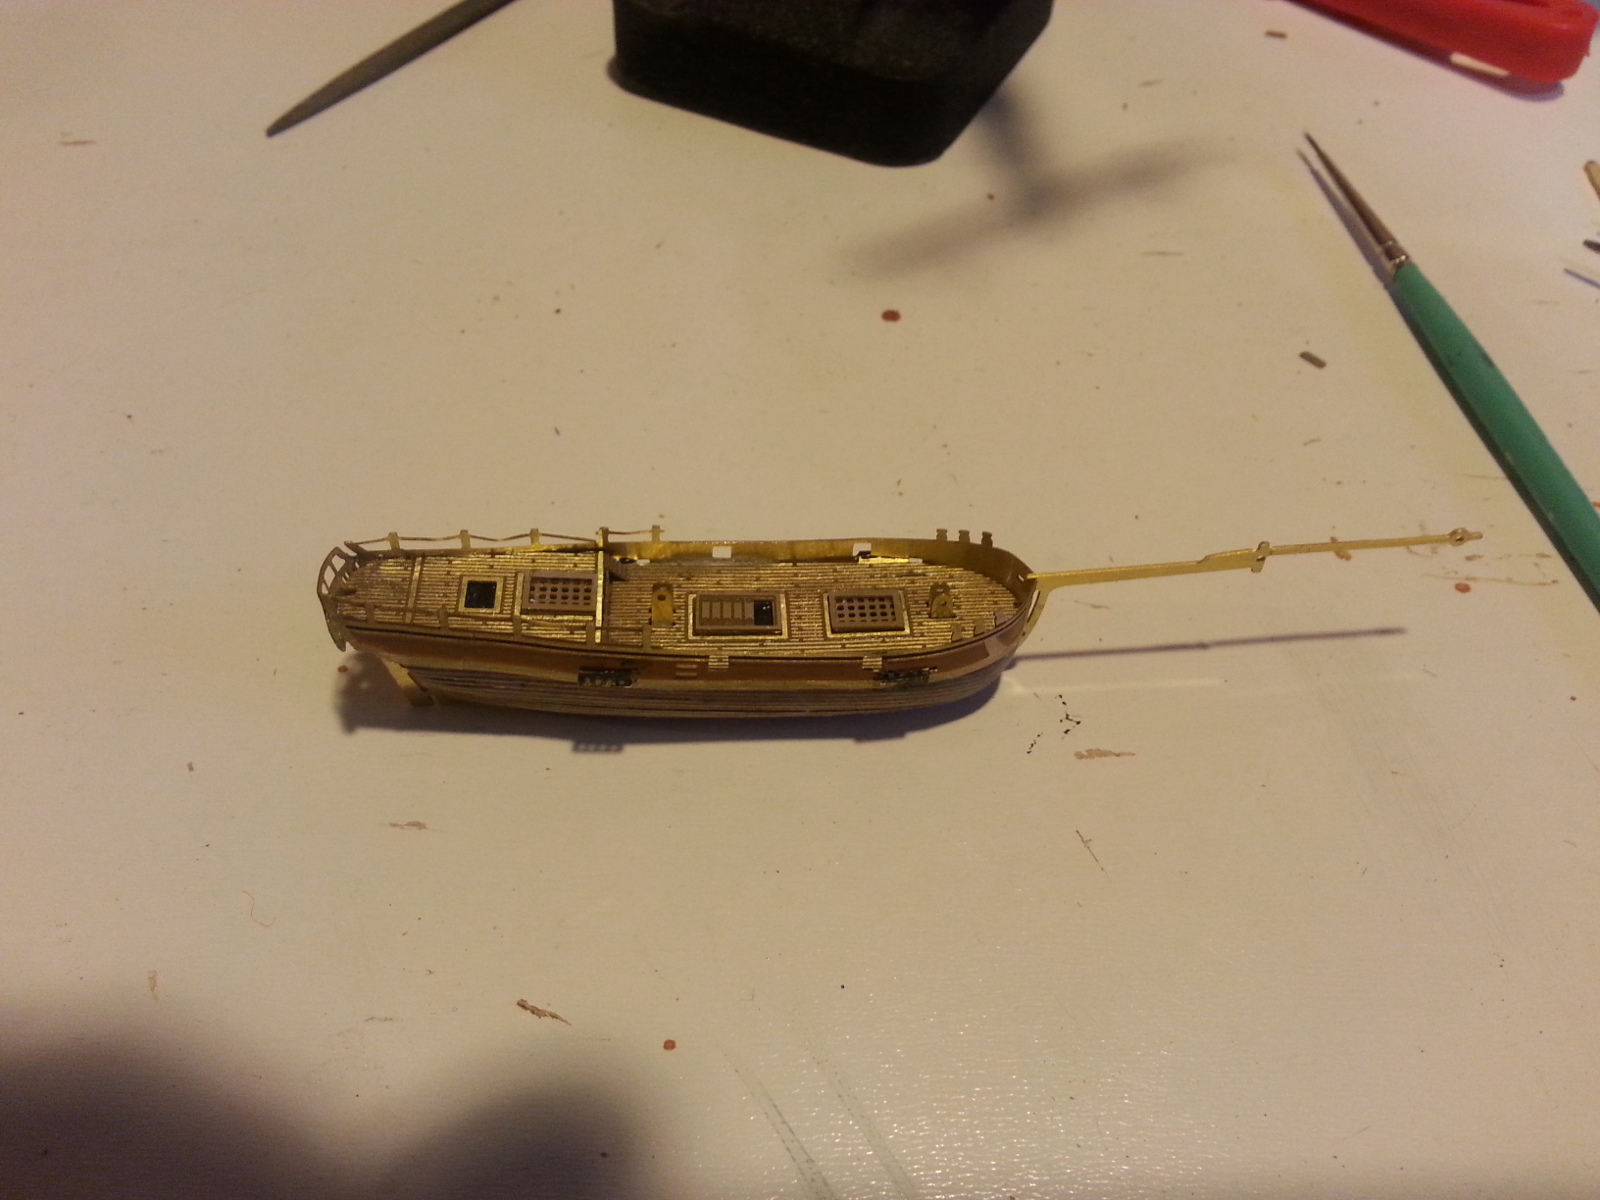
Mark, I found the kit on Ages of Sail and my in-laws got it for me for Christmas. As for the bowsprit, it is all one piece with the keel and rudder from PE brass about 0.5mm thick. Although it has been bent a few times by my fat fingers, it seems to be fairly resilient in the breakage department.
-
Mark, looks like a nice build for the two of you. I will enjoy watching the progress. Have fun
-
Just a thought, but could it be the silicone/rubber/? bushing on the outside of the wheel? Usually there is something on the wheels to hold the blade in place and keep it on the wheel and not flying off. Could be that it is not flat
-
Looks like she is taking shape. Looking forward to following along
- 35 replies
-
- 1
-

-
- Constructo
- Gjoa
- (and 1 more)
-
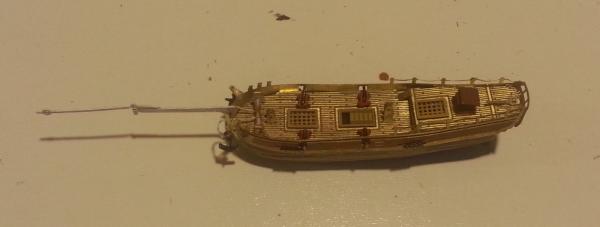
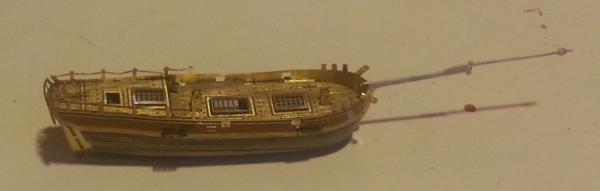
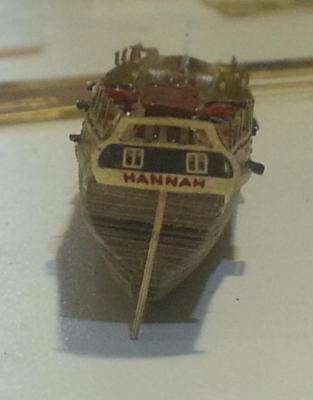
Thank you all for the likes, comments and visits. Been about a week since my last update, and very little progress has been made in this past week. Having had to go back to work this week has left little to no time to do much. So here goes with probably the smallest update for this log. Decided to paint below the waterline, just to add a little more color to the build. I think it looks better with the white below the waterline than just having left it bare wood. Also painted the masts, gaffs, and booms as per the instructions. Now, just to wait for the paint to dry, maybe apply a second or third coat if necessary, and put it all together and into the bottle.
-
Looks like she's got a nice smooth surface to work with. Great job on the fiberglass/resin finish.
-
Could be maple as well. Grain looks about right, but it's the wrong color
-
WOW! Is that transom all hand painted? The detail is astounding. Great work
-
Try an auto body filler (Bondo comes to mind as the popular brand in Canada). I've also used the Testors brand filler. Sands well and takes paint with a little primer applied first.
-
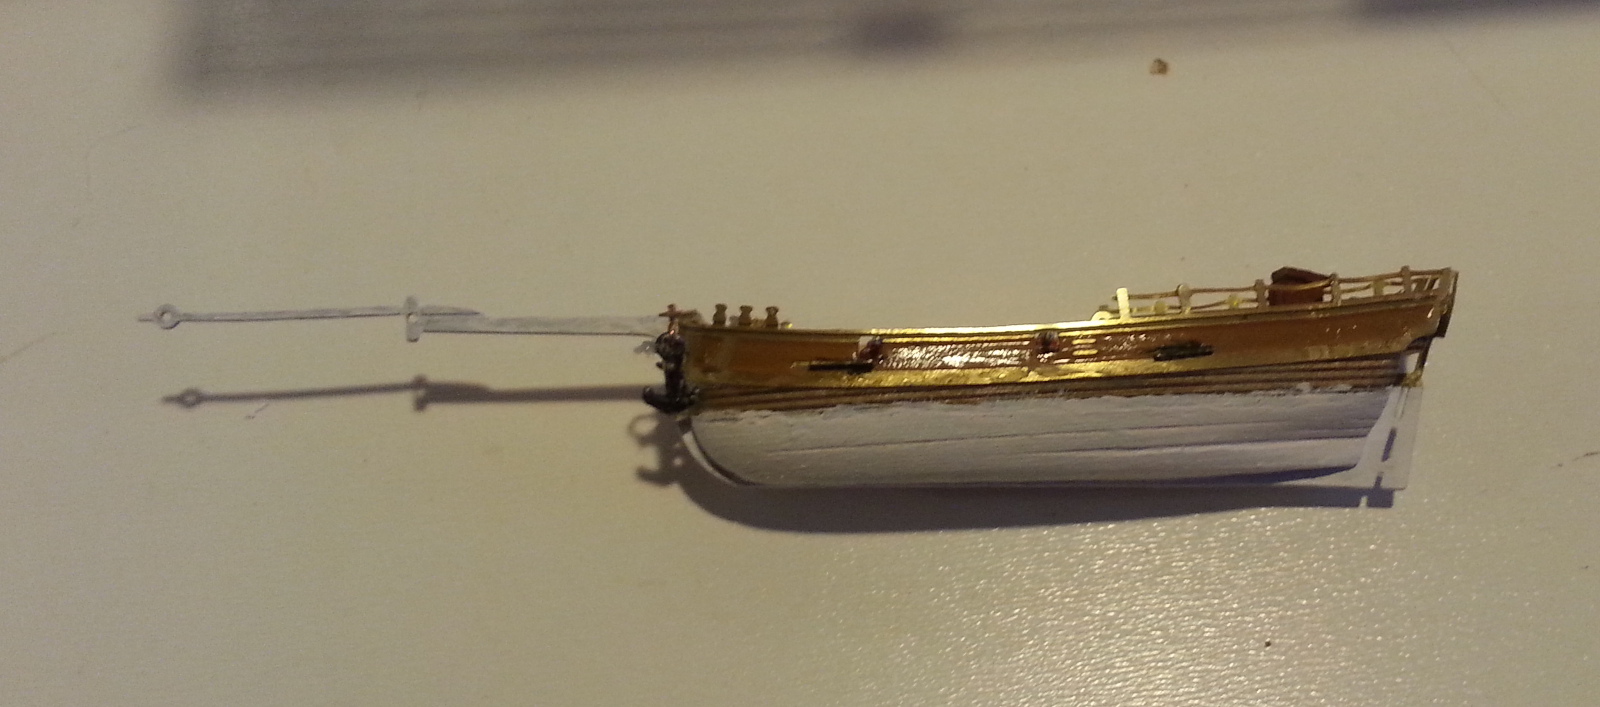
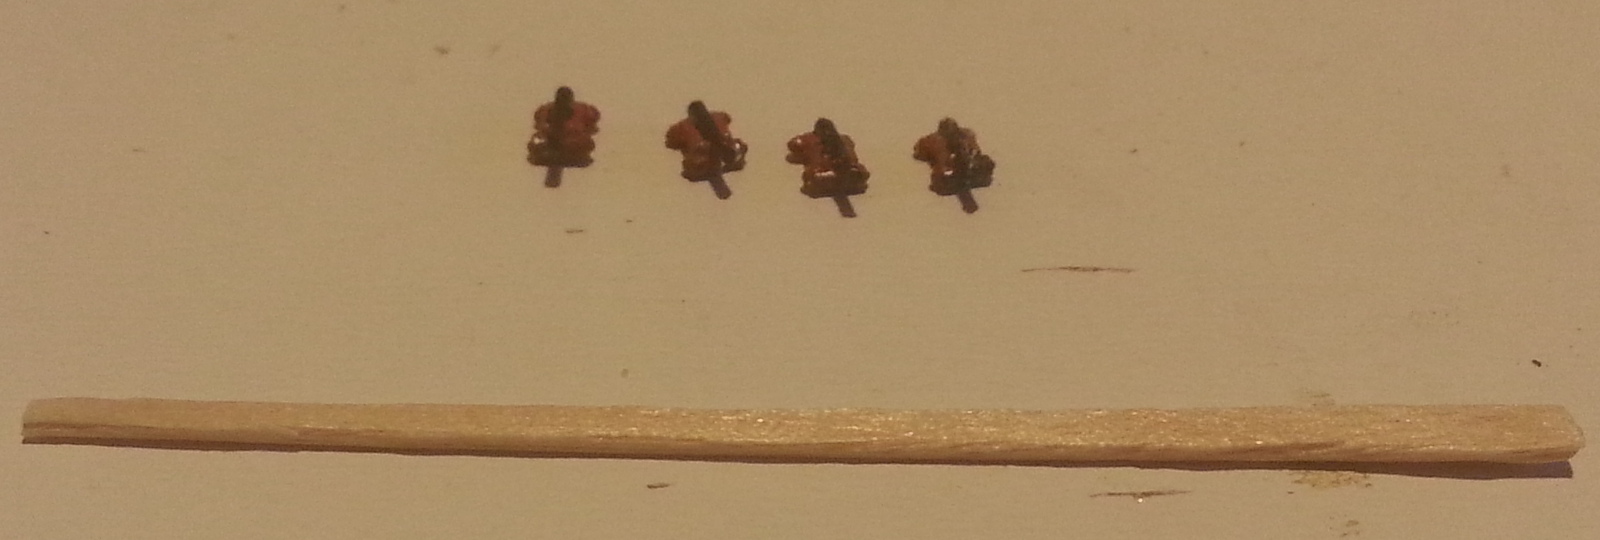
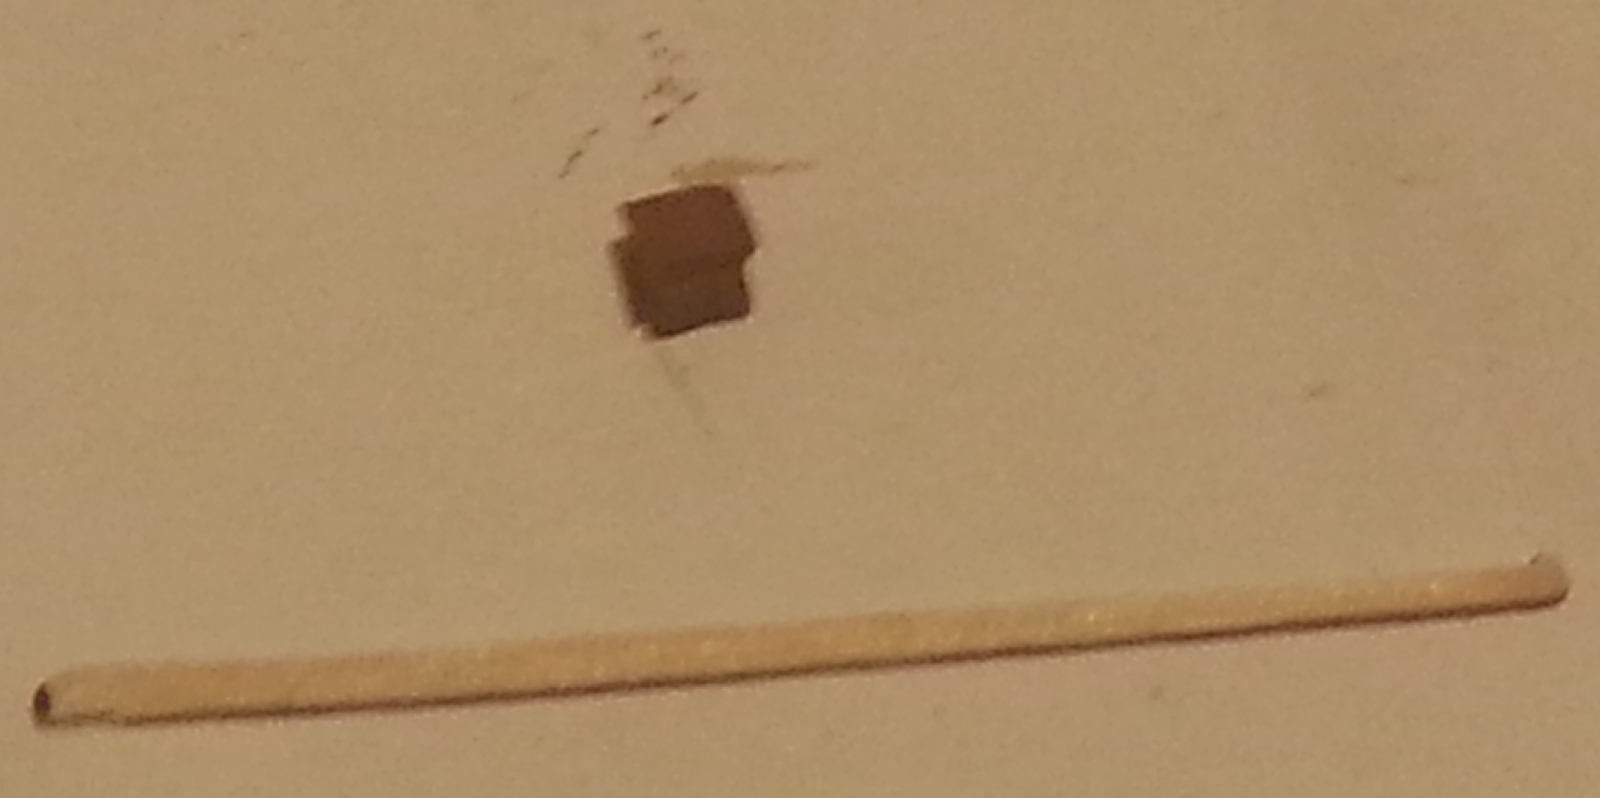
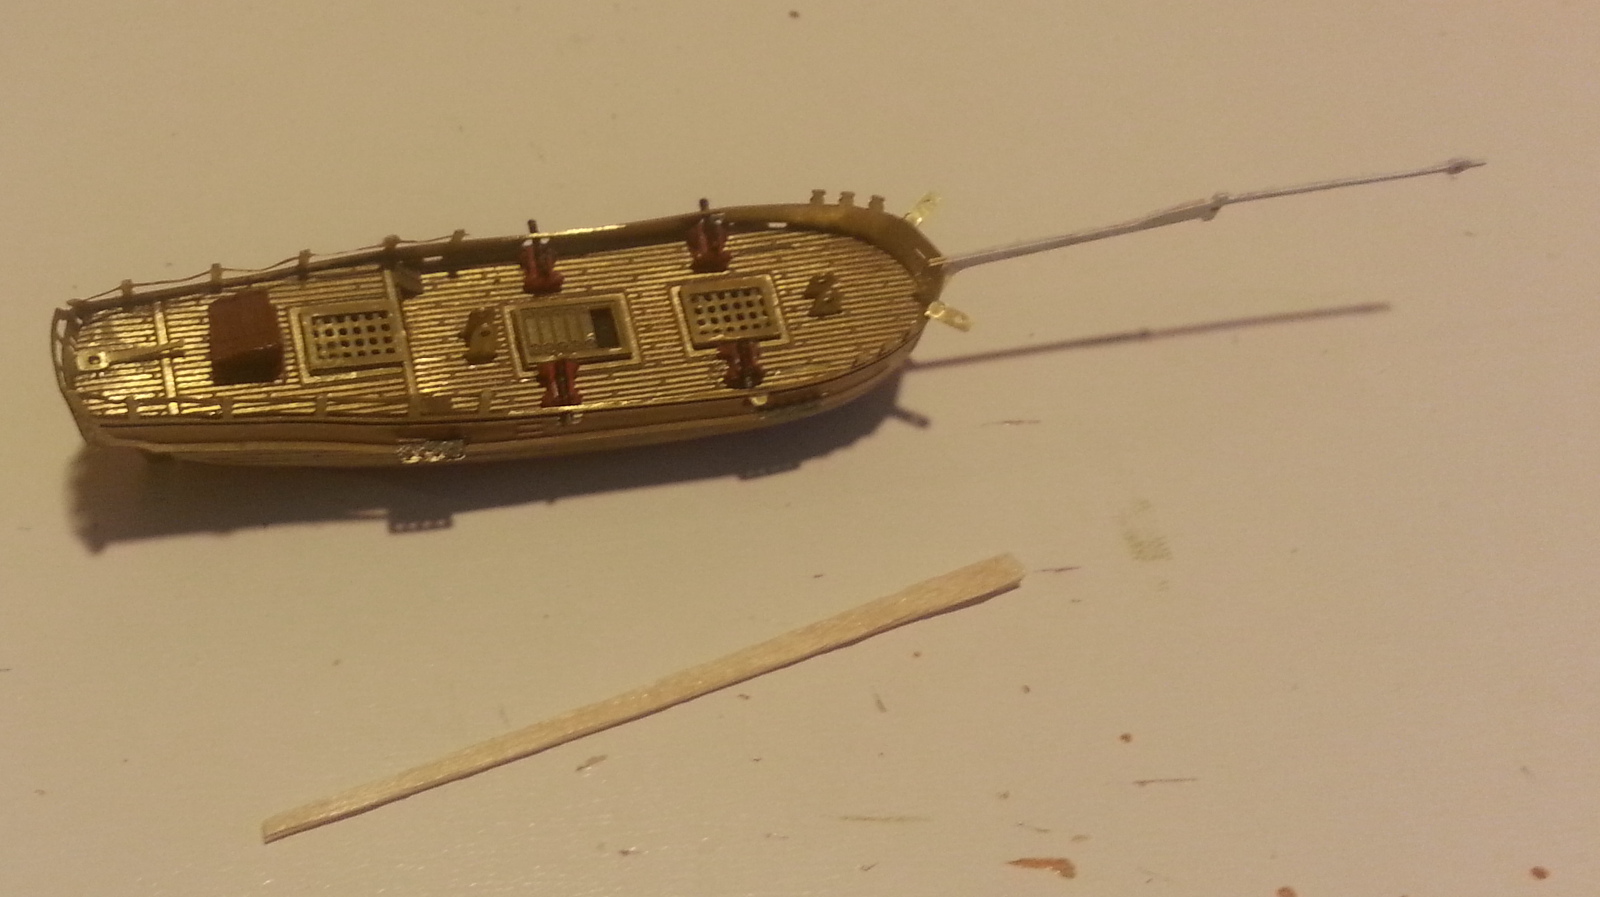
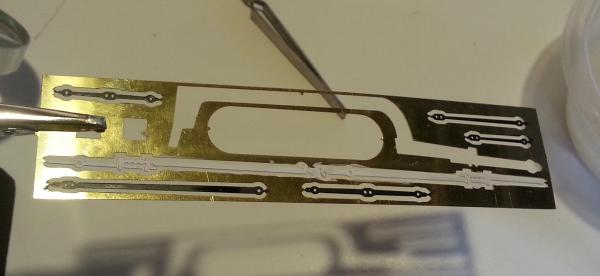
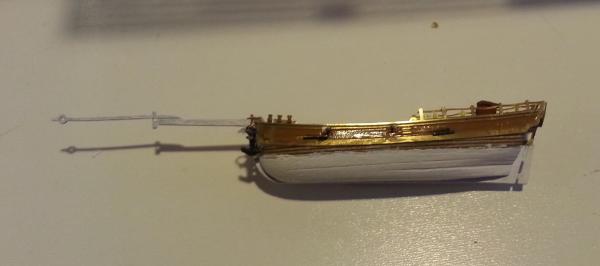
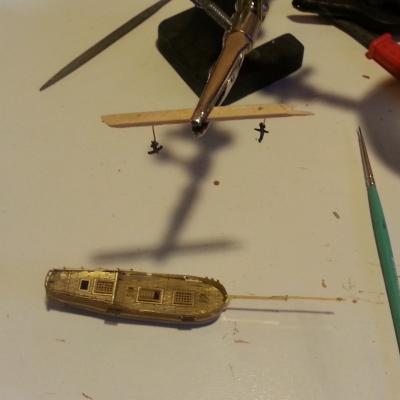
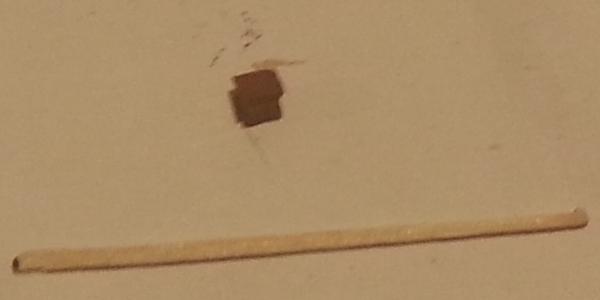
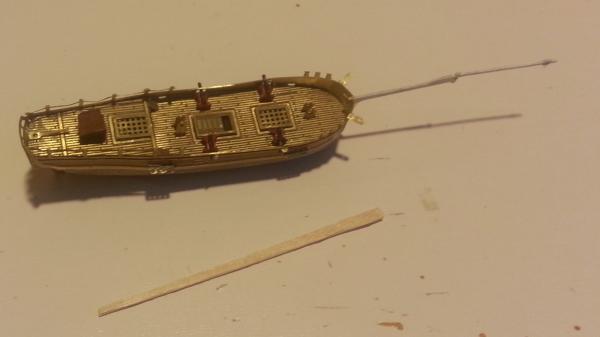
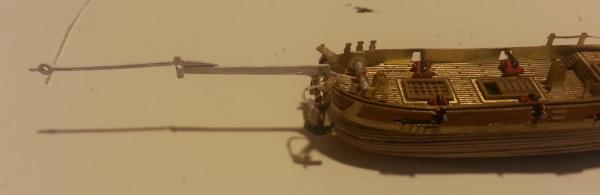
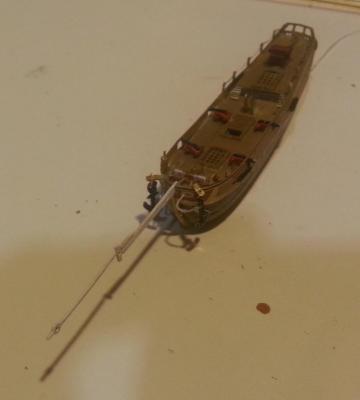
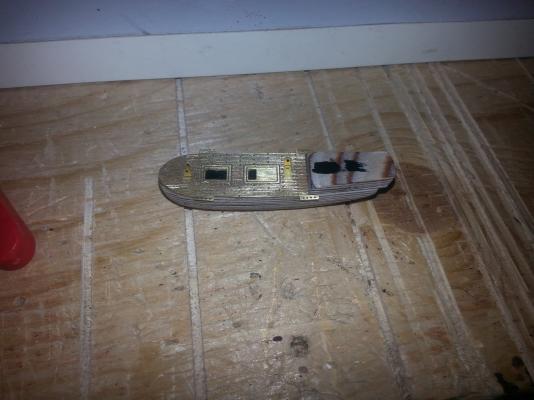
Yesterday I was able to attach the transom. Again, another difficult job without a jewelers vice, but I was able to get it in place, albeit a little low on the port side and without gluing my fingers to it too badly. Also was able to get the anchors painted. The instructions called for a matte black or dark metallic paint. I didn't have any dark metallics, so I opted for the black. Very simplistic, but still a challenging task because of the size. I managed to find some scrap from the almighty scrap bin (don't we all have one?) and, using the rings to secure the anchors to the davits, was able to pin the anchors to the scrap and hold it in the handy magnifier to paint them. Today was the day to paint the deck house and cannons, and build the windlass. The photos of the deck house and cannons use a toothpick for scale, just to give an idea of the size. The cannons and deck house are cast metal, and painted by hand. I decided to paint the deck house mahogany brown, and the cannons are painted black barrel, red carriage and brown wheels. After drying, I glued all pieces into place, running the portside cannons out and keeping the starboard side cannons in, as though Hannah were in the midst of battle. As you can see, the bowsprit has been painted a dull white color. I am still debating whether to paint the hull white below the waterline, as is shown on the box photo in the first post, will need to decide this before I start the masting and rigging. After the installation of the windlass, the anchors had to be tied to the anchor chains, while attached to the davits and rings. Another difficult task with no room for error. Having the fat fingers that I do, I managed to break off both davits while tightening the knots on the anchors. I was able to reconnect them to the bulwark, and they seem to look ok. Time will tell. The instructions say that if the ship is being placed in the bottle, the windlass should be placed in front of the foremast, as shown in my photos. If I were to leave the ship out of the bottle, the windlass would have gone just behind the foremast, in its proper location. If you look closely, you can see where it would be placed, right in front of the forward cannons. Still up in the air as to whether I should paint the hull below the waterline. Any thoughts as to which would look better? I would certainly like some input that may make my decision a little easier.


-
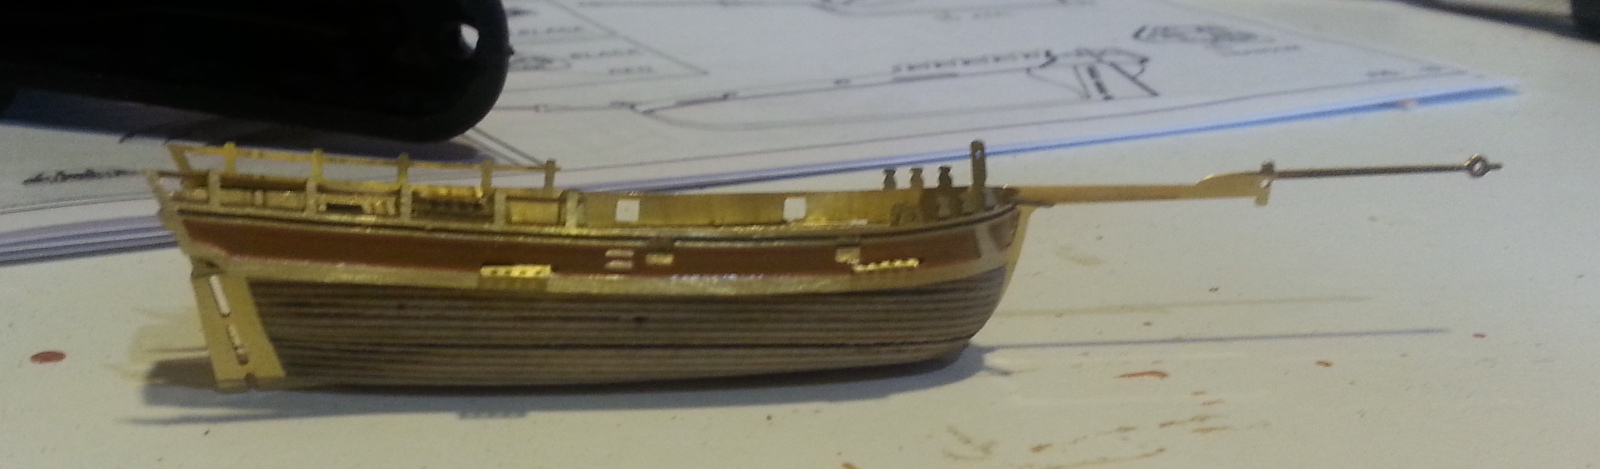
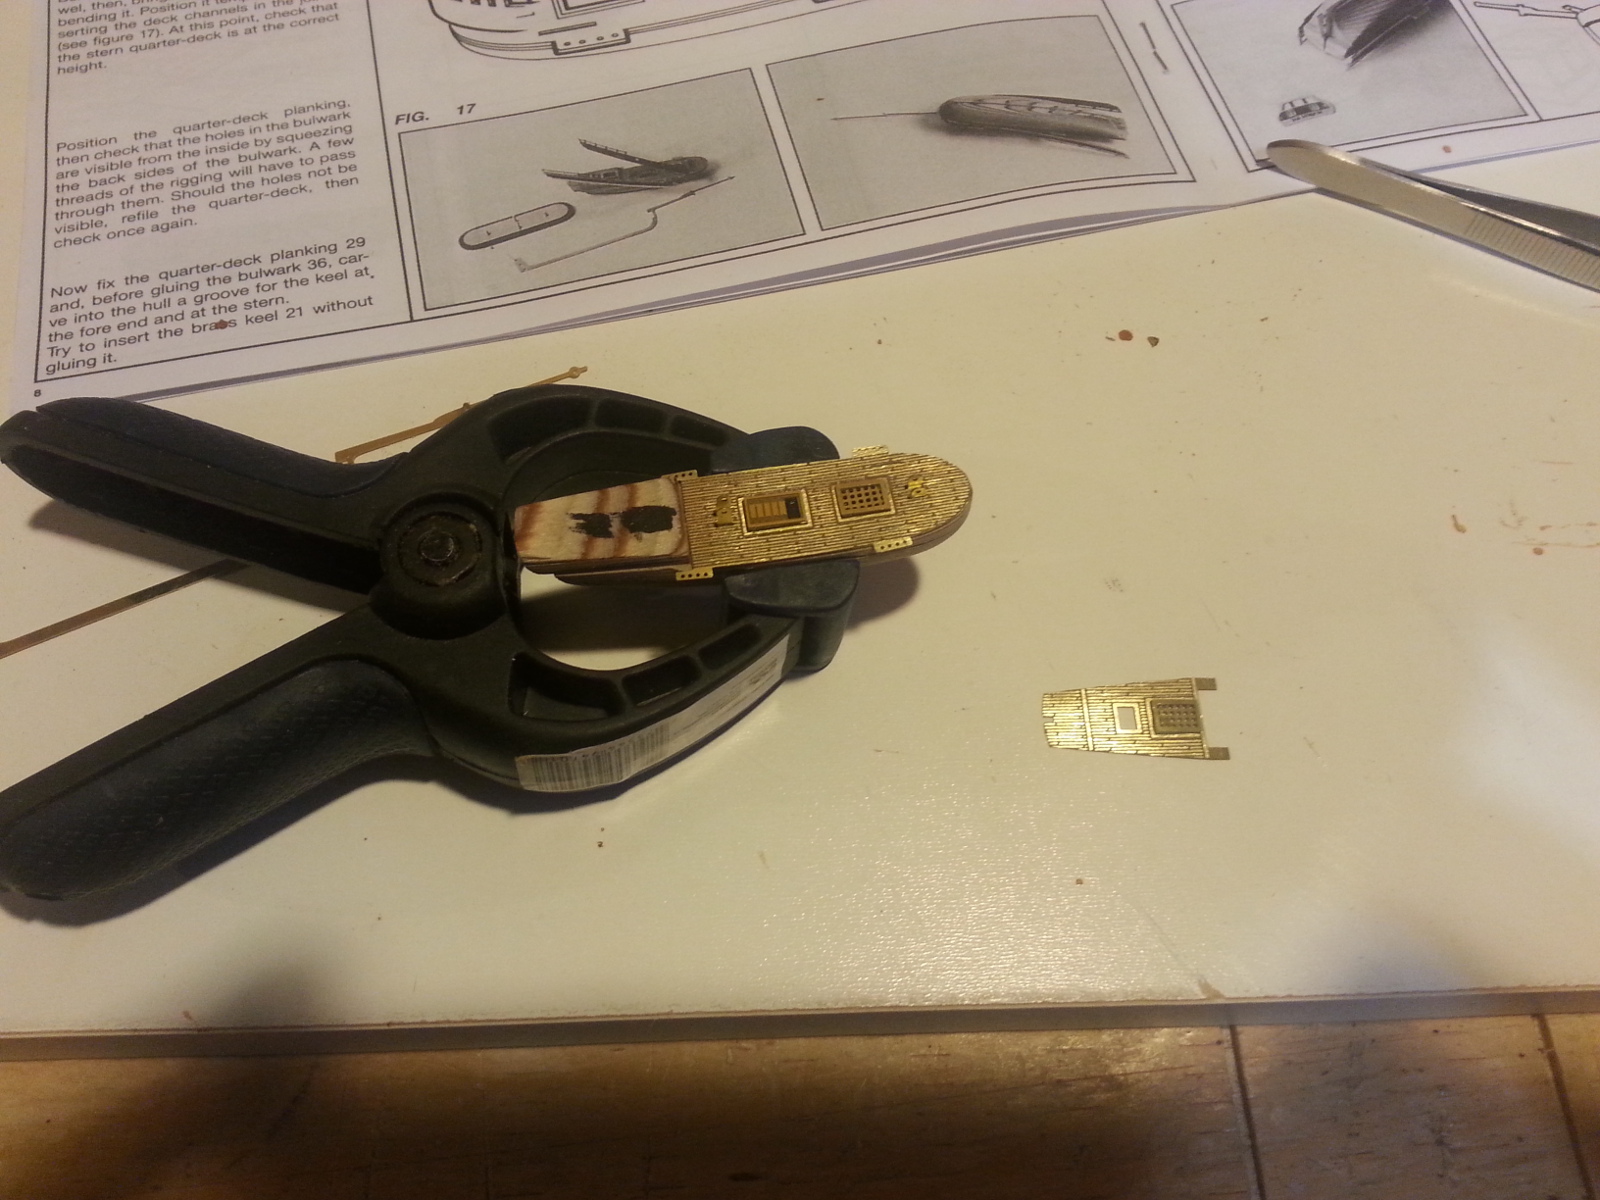
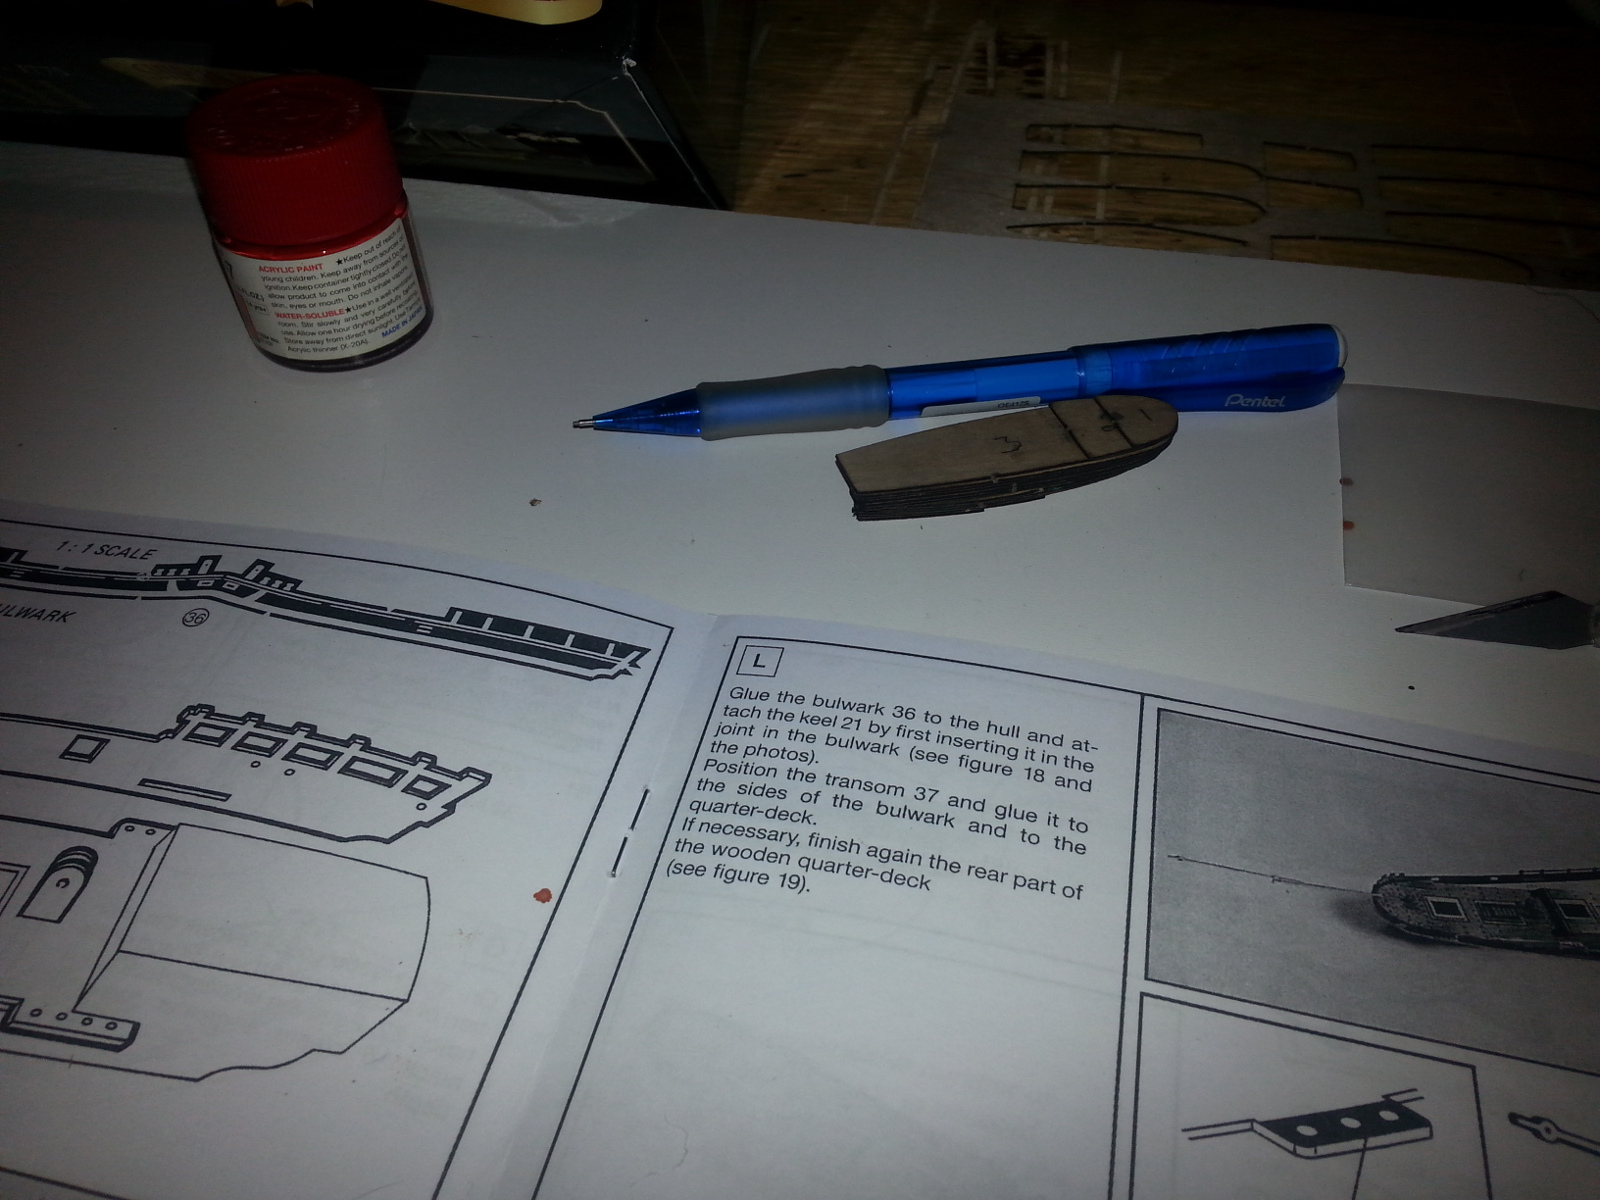
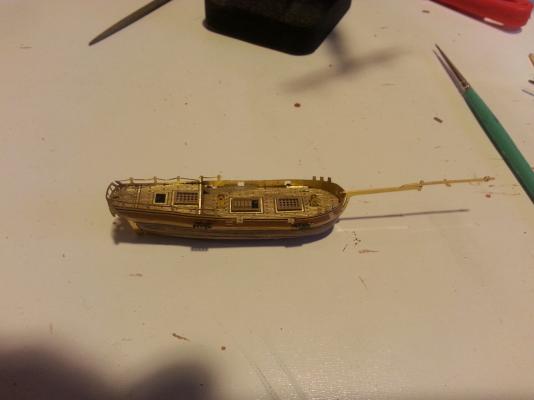
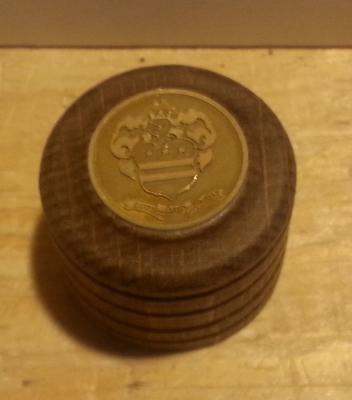
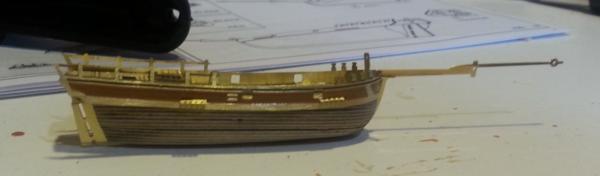
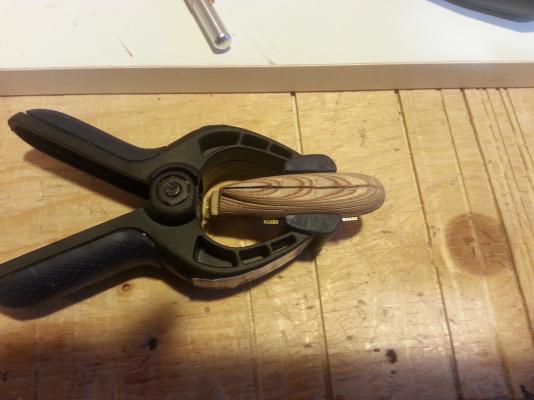
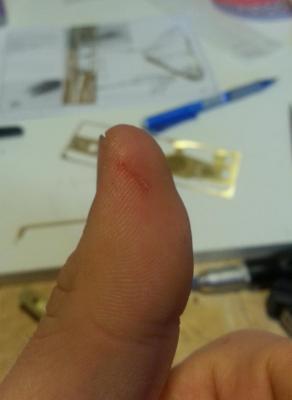
Thank you for all the views, comments and likes. Now on with the show. First things first. Fit the quarterdeck after dry fitting the bulwark. Had to file down the quarterdeck base to fit the deck properly as the holes in the bulwark were not visible through. Instructions state that some of the rigging passes through these holes. After the quarterdeck was fit, it was time to fit the keel properly. I had to carve out a channel in the hull for the keel to fit properly. Hard to do without a jewelers vise as the spring clamp doesn't hold the hull tightly enough to keep it from wobbling. Had a little boo-boo because of this... ...but it's not really modelling without a little blood. After this incident, I figured it would be easier to cut the slot with a rotary tool and a 1/40” cutoff disk. This seemed to work OK, but its too bad I didn't have an end mill small enough to cut this slot. Once the slot was cut to depth, I got the bulwark and keel dry fit and Hannah really starts to take shape. Also managed to get the Washington family seal on the bottle cap. The crest is in two parts on the PE sheet and had to be glued together. I did this by scuffing up the back of the seal and gluing the two pieces together with medium CA, then repeating the process to glue the whole crest onto the cap. Looks alright, but it's hard to see the eagle on the top of the crest. Might have to paint it a little darker or lighter than the background of the seal just so it can be seen. Until next time, comments and questions are always appreciated.
-
KP, Have you tried using the Testors brand (EDIT: or similar) plastic putty filler or are you planning on floating this? I've had some success using the filler for small holes and gaps in seams, but have not tried using it on a working/RC model.
-
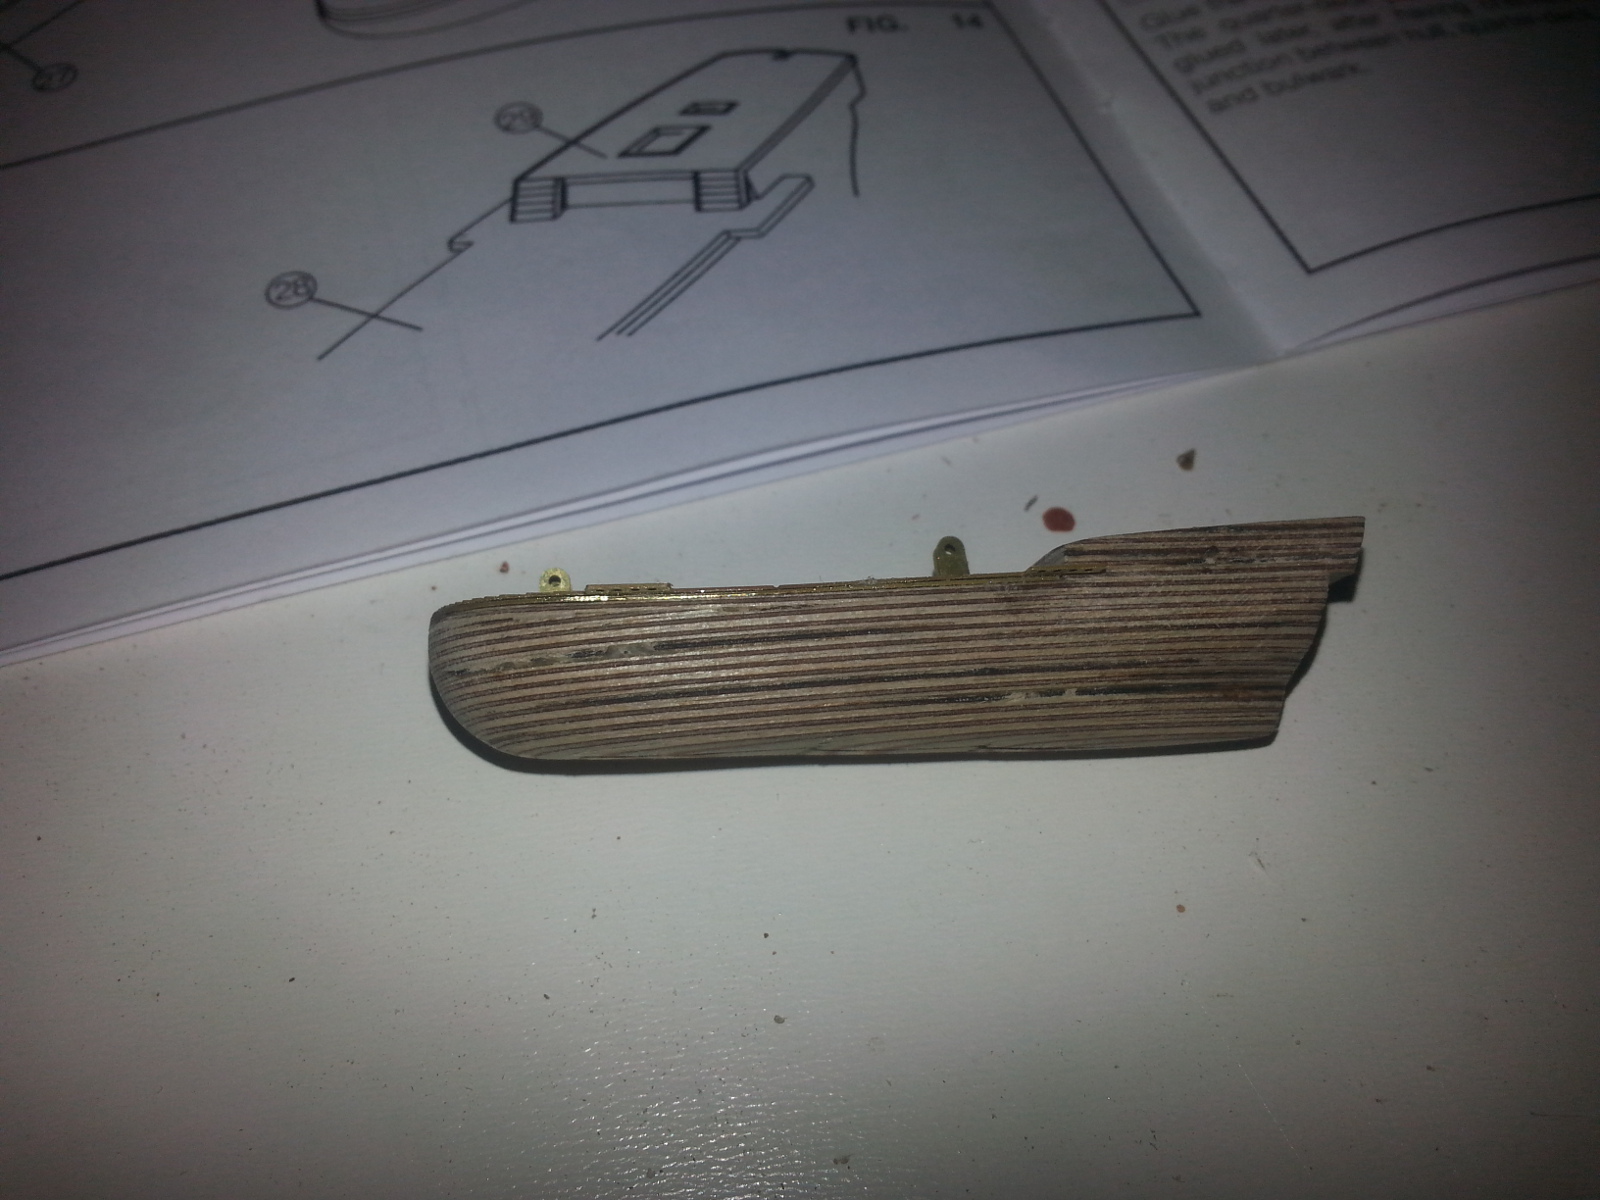
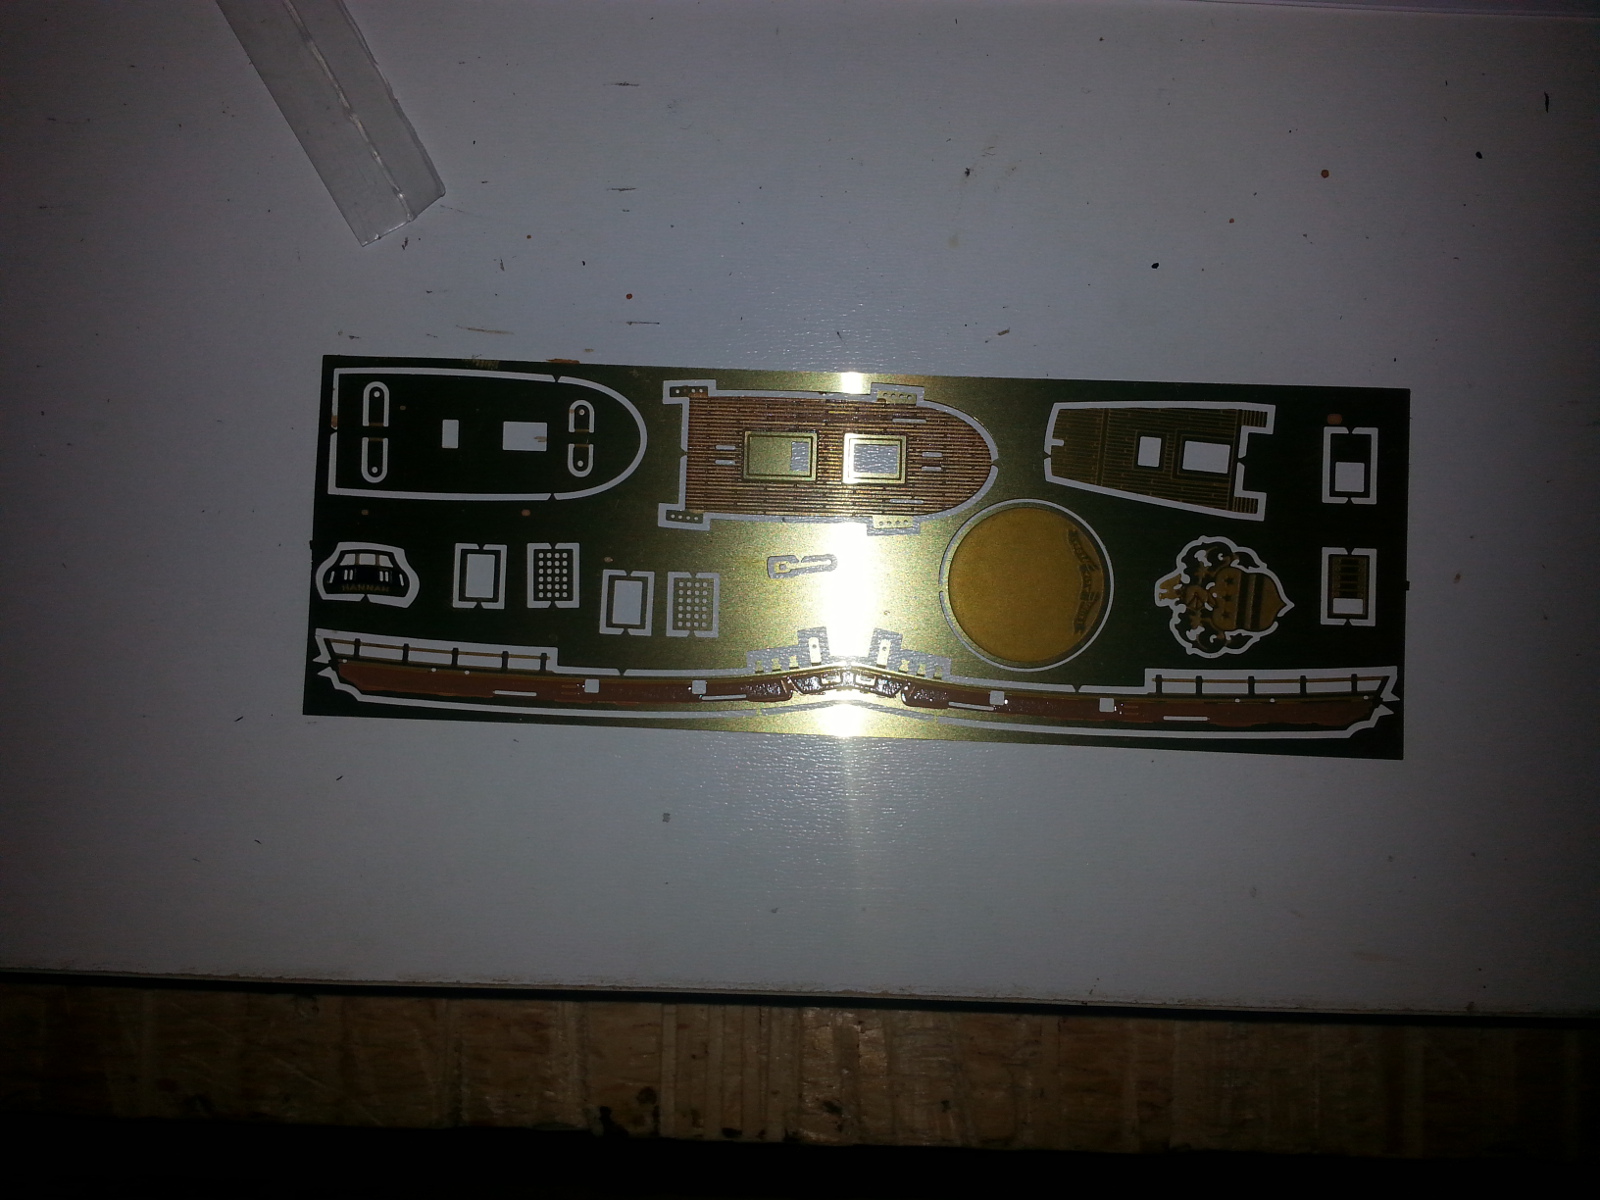
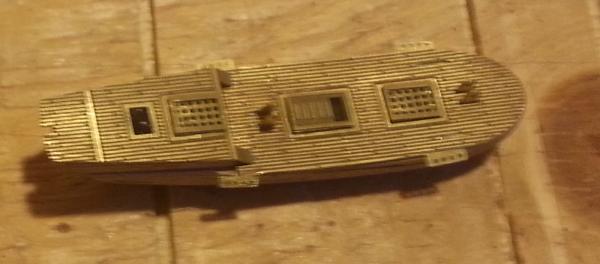
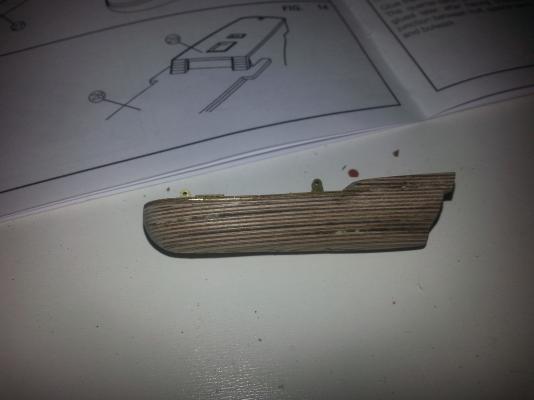
Hello all, Shaped the hull today. Took a little bit of time and patience to get it right, but I'm still not satisfied with how it turned out. Oh well, maybe next time. Installed the quarterdeck support and maindeck PE... … and superstructures. Amati recommends painting the areas under the superstructures a flat/matte black to give some depth to the openings. I think it looks good. Until next time

-
Looks like some wonderful work has already been done. Keep it up and she should be a fine build.
-
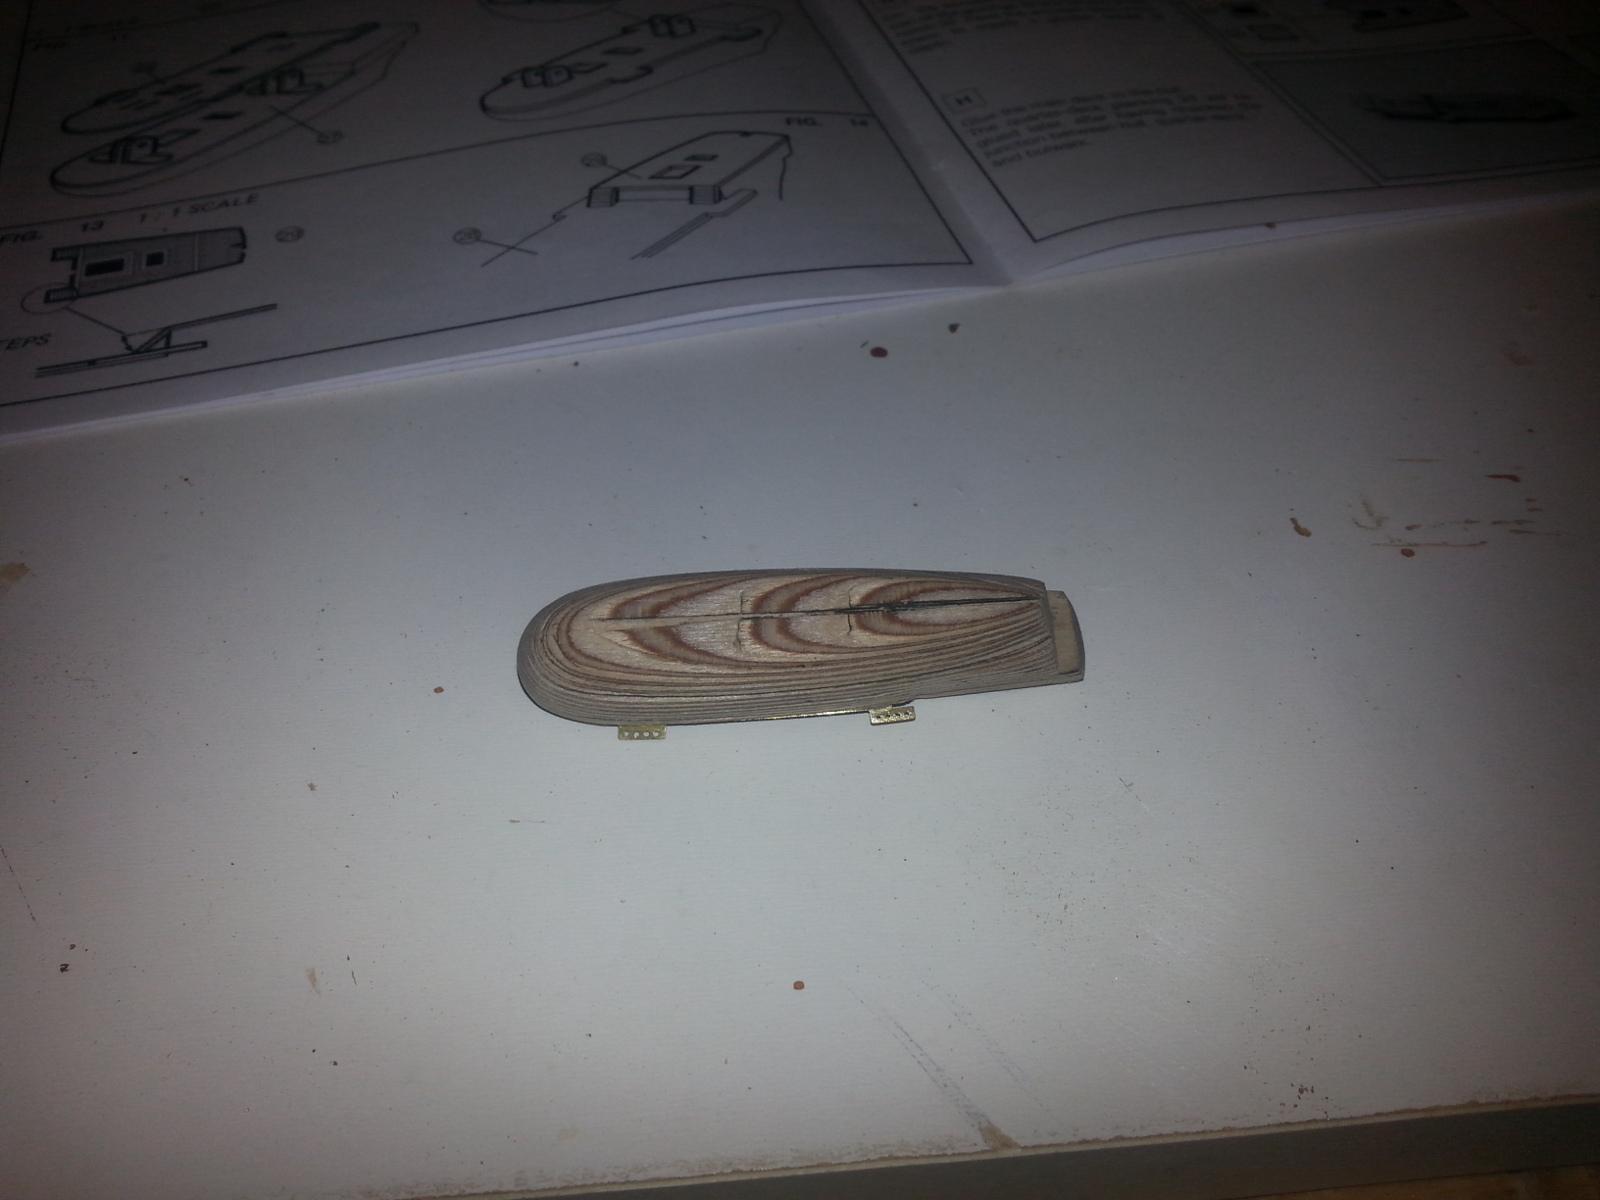
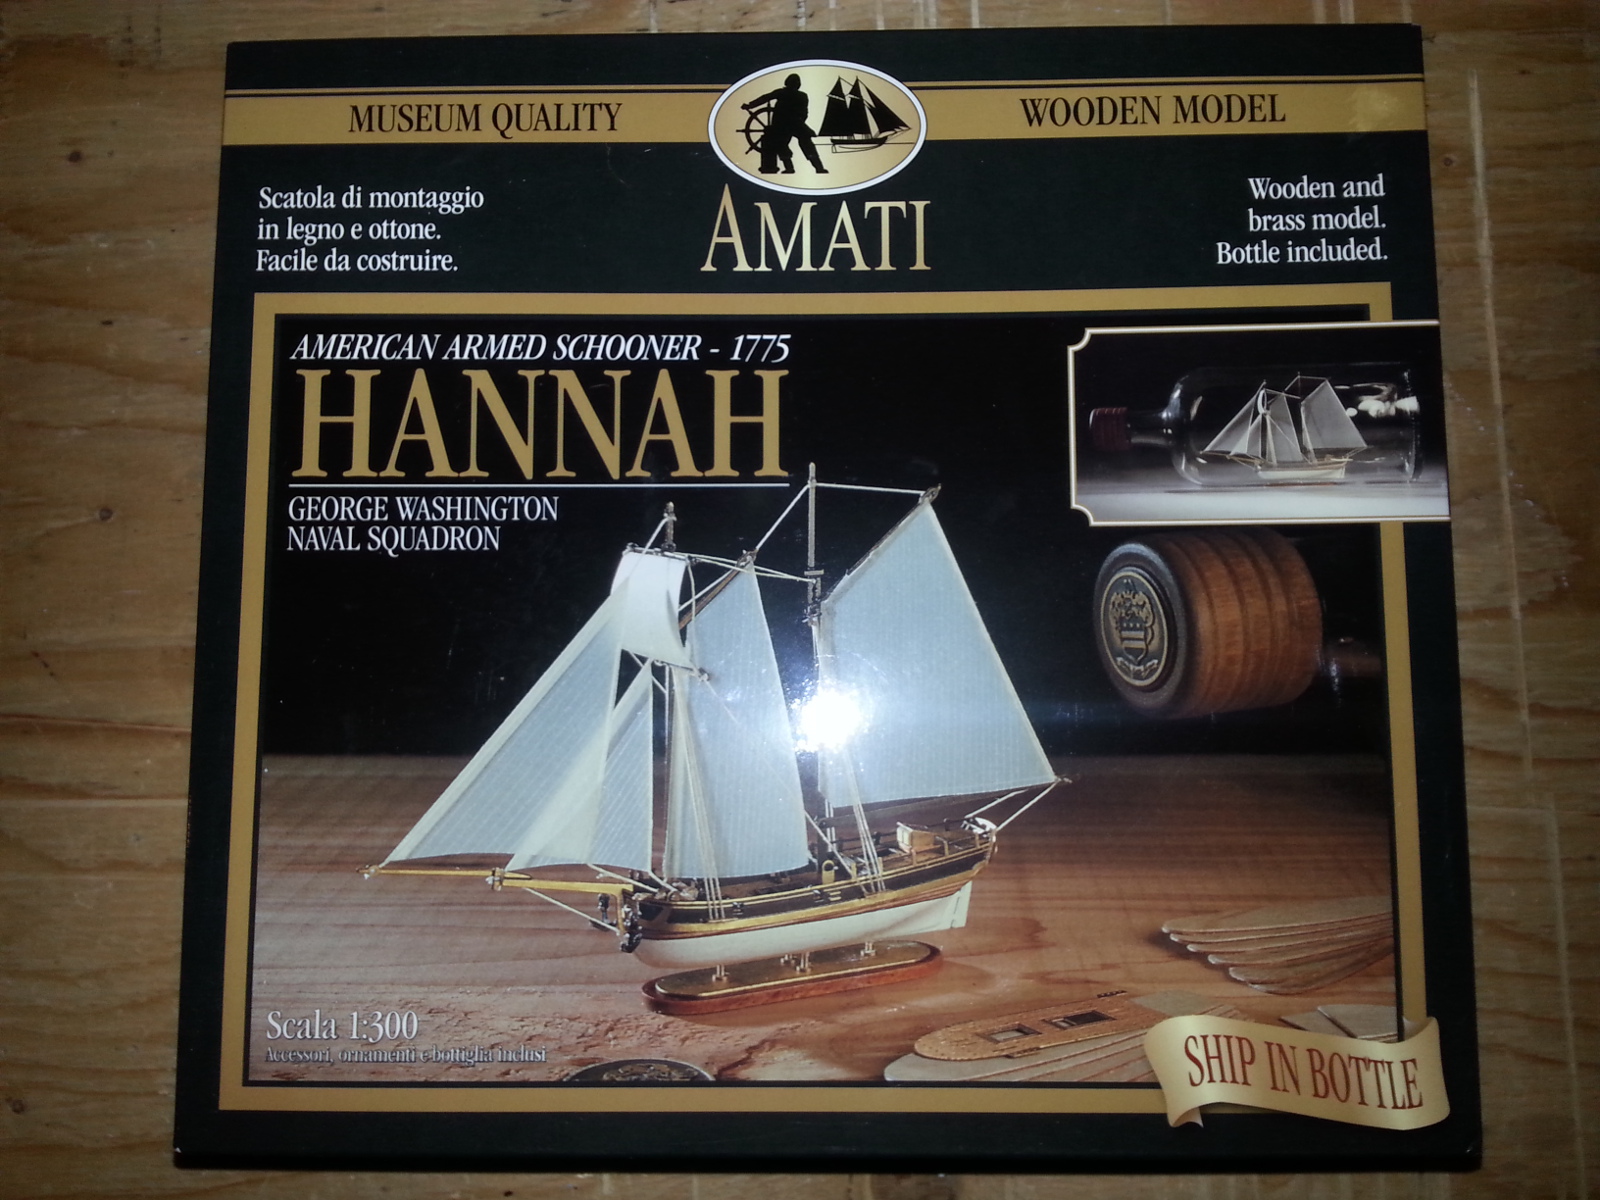
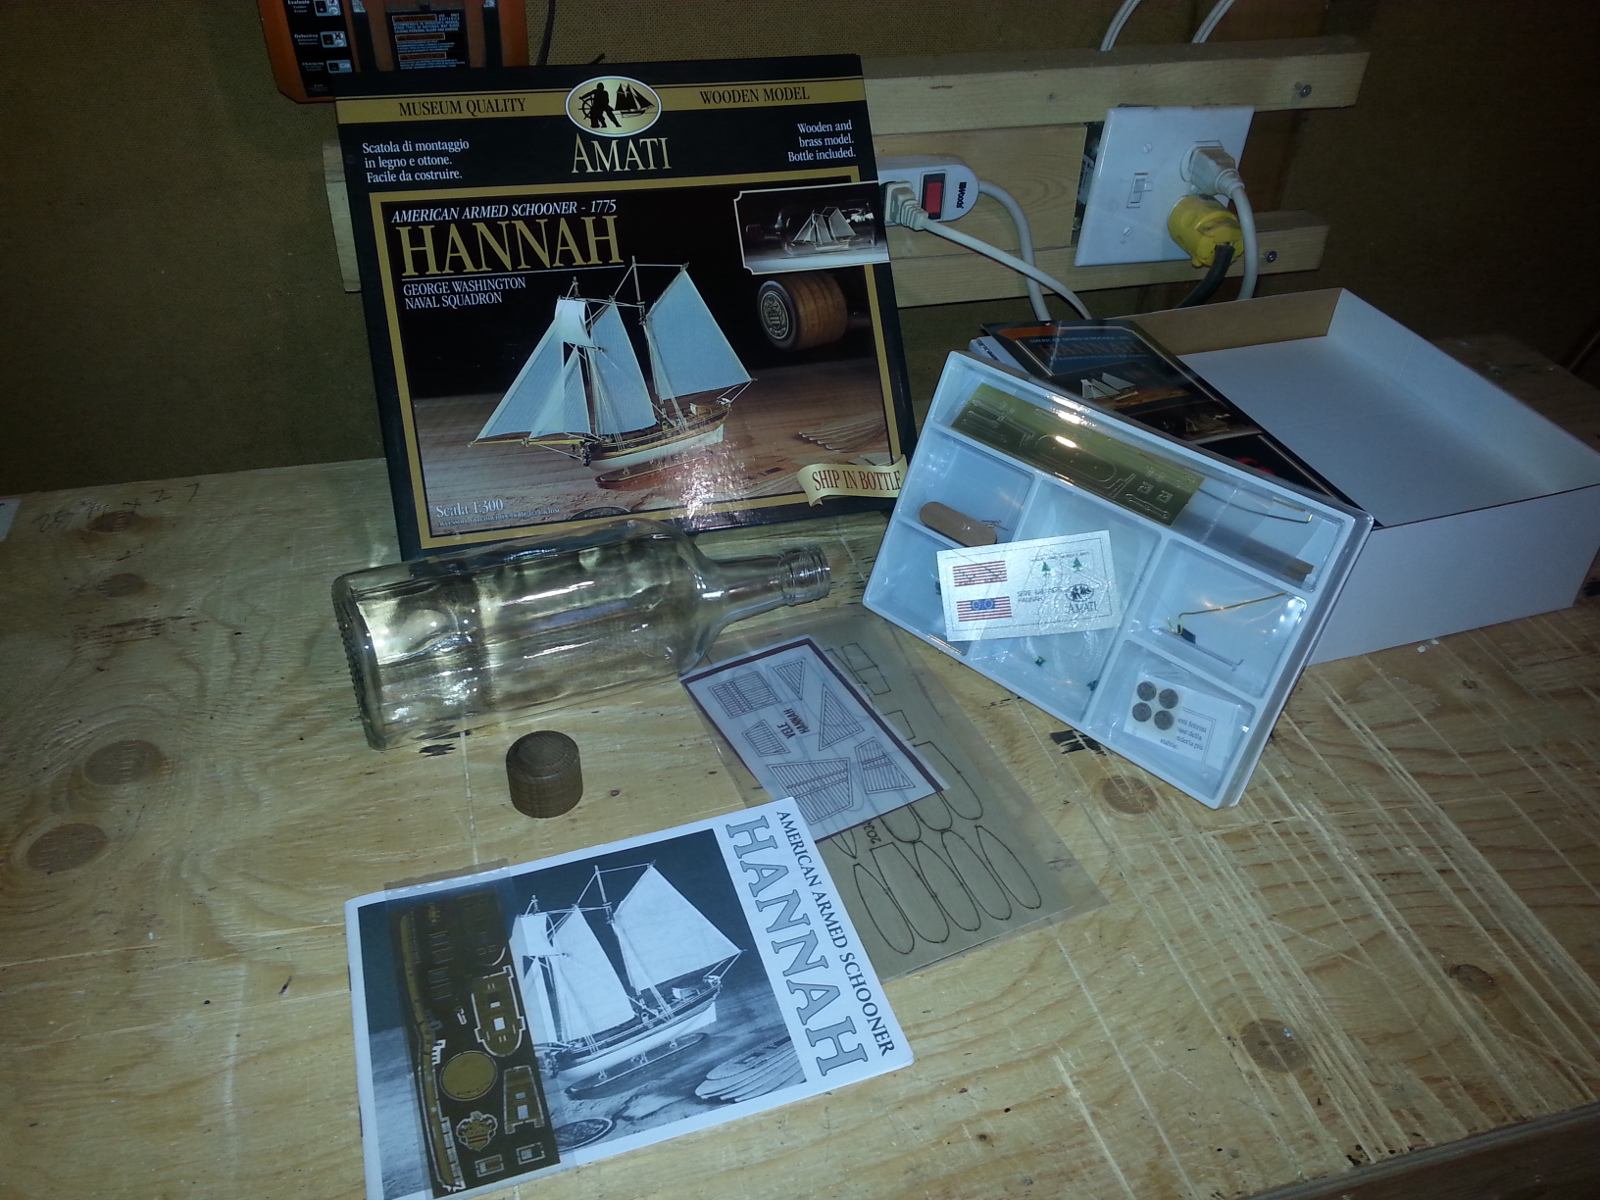
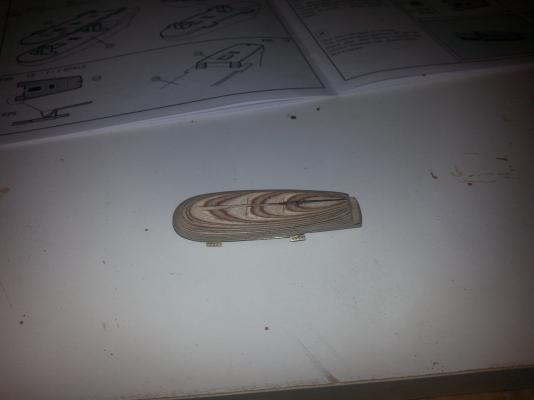
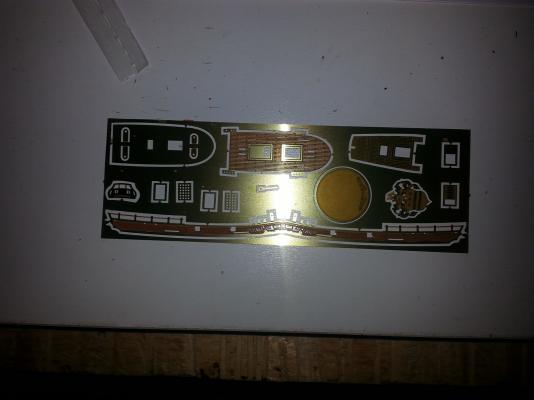
Today I received the Amati Hannah Ship in a Bottle. I received this beautiful kit from the Admirals parents for Christmas. Box art looks like it will make a wonderful model. Lets get started. Here are the obligatory box and unboxing photos: Started construction of the hull. Went fairly smooth. Hull is all glued together plywood that will be shaped once dry and final assembly of the deck is in place. Thought I would take this opportunity to do some painting on the PE that the instructions call for. Note that the quarter deck still needs paint. The instructions call for a matte brown painted on both deck surfaces and to sand off the excess off the main deck planks, leaving paint in just the caulk lines. Wondering if I should continue with the brown or switch to black. Time will tell. As always, questions, comments, criticisms, and concerns are welcome.


-
Hi Chuck, Have you tried using a pair of normally closed (ie. pinch to open) tweezers? They may hold the blocks long enough and with enough pressure to complete the task at hand.
-
POB and adding blocks
cwboland replied to figuerres's topic in Building, Framing, Planking and plating a ships hull and deck
I've seen logs on here where the builder has just placed blocks in the two bow and two stern PoB cavities. I believe this was done to add more structure to the planking in those areas and therefore more of a gluing surface. Not really sure why someone would want to fill in all the spaces between the bulkheads though. -
Can i live without a BYRNES TABLE SAW
cwboland replied to shihawk's topic in Modeling tools and Workshop Equipment
Marc Most tabletop bandsaws are 9 or 10" throat depth and suitable for our purposes. Many can be found in the sub $200 range at most building supply stores (IE Lowes and HD). I would recommend doing your research and picking one that suits your needs and matches your price range. -
Not sure about what you would have to update, but it sounds like a good idea. I have built a Revell HMCS Snowberry in the past, but it didn't turn out the way I had hoped. They are really nice looking models when completed. Best of luck with your build.