clearway
-
Posts
2,238 -
Joined
-
Last visited
Content Type
Profiles
Forums
Gallery
Events
Everything posted by clearway
-
 Looking through some old books on ship modelling a lot of them old guys used card and cuttings from cigar box labels and even old xmas cards for bits of scroll work and decoration. Keith
 -
hmmm that is going to prove interesting- with the newer kits at least they have a sheet showing all the parts with relevant numbering so you can find them on the ply sheets which would have given you some idea of the shape at least- i suppose it is the problem of taking over a kit where someone hasn't kept everything with it. Keith
-
Nice work so far-Is it not possible to work out the basic shape from the plans for the missing parts? Keith
-
Ouch Keith- at least if you start from scratch you will have a lot of fittings available for it. Keith
-
Ty for the likes everyone.I thought this mike, but they moved all in with the laser cut ply on this kit. The only plastic mouldings are the gun carriages which is weird compared to all the other billings kits i have built. keith
-
That looks a lot better Bob Keith
-
glad to be of service me old mucker
-
Nice one foxy, how about drilling a hole into the bottom of the gun trolley and the deck then using a piece of brass wire as a spigot to hold the guns in place? Keith
-
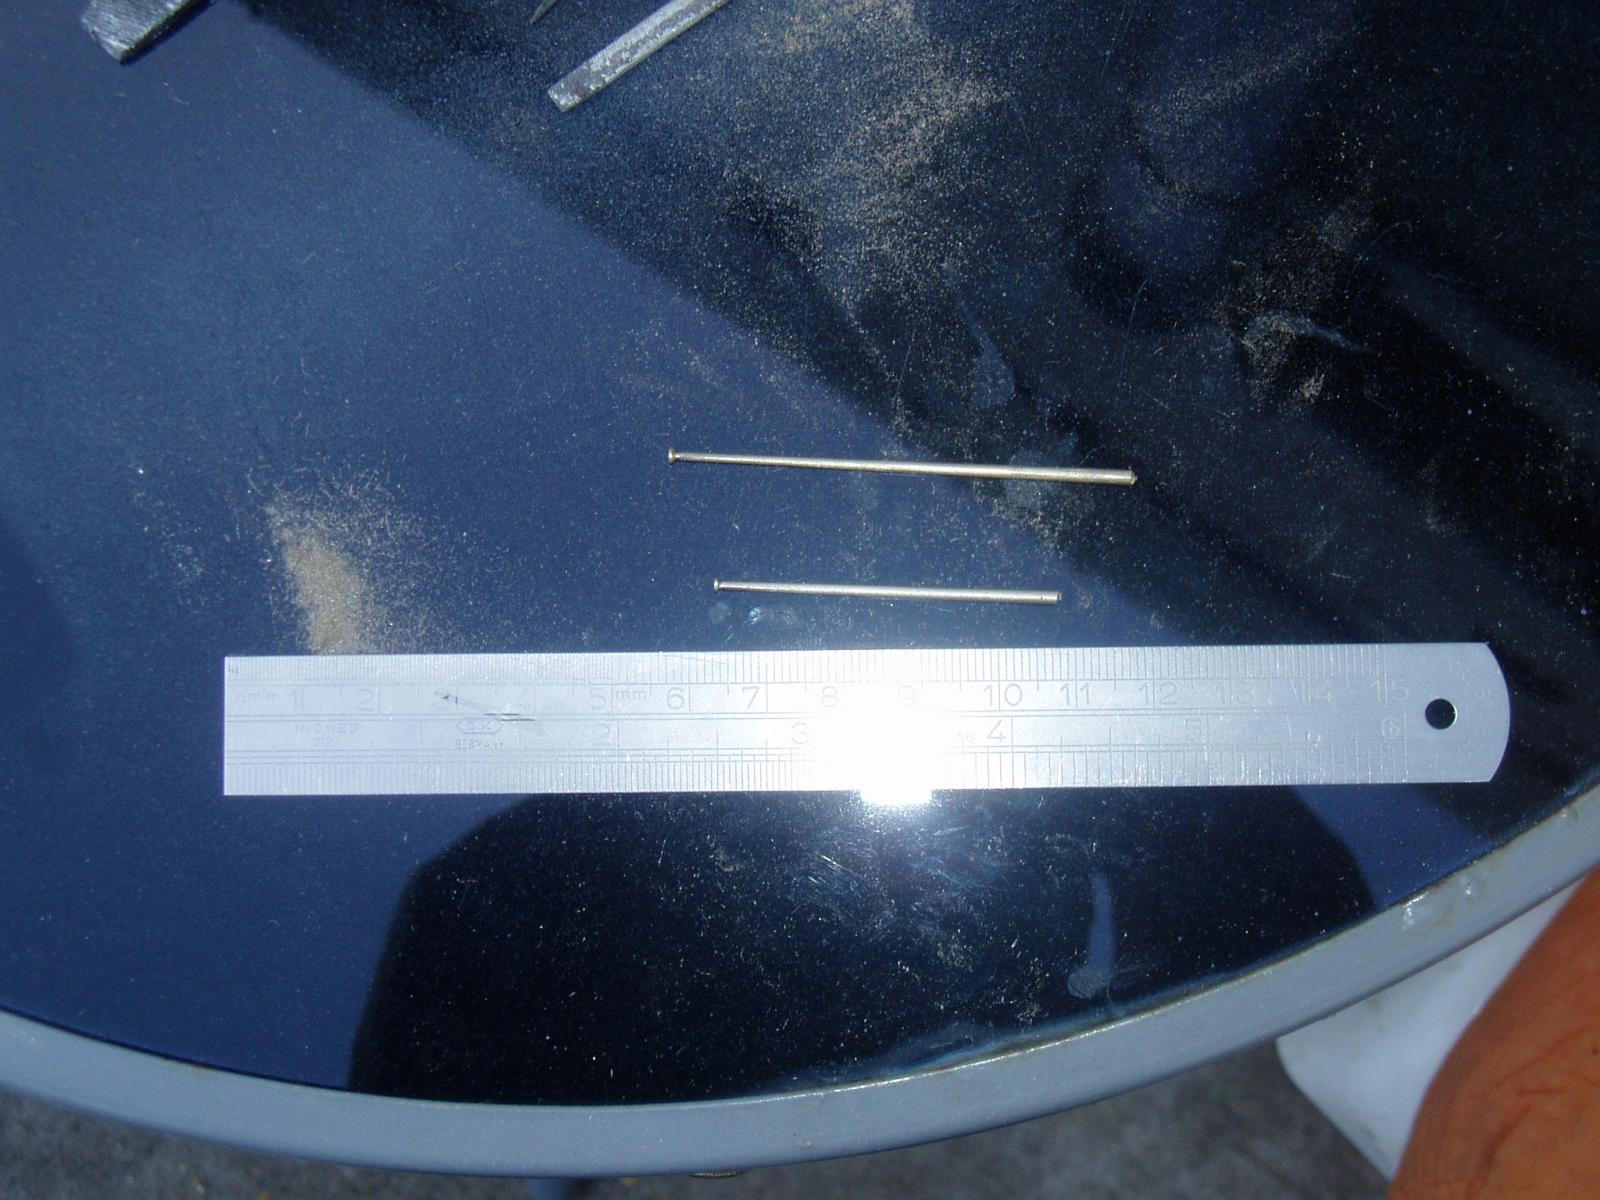
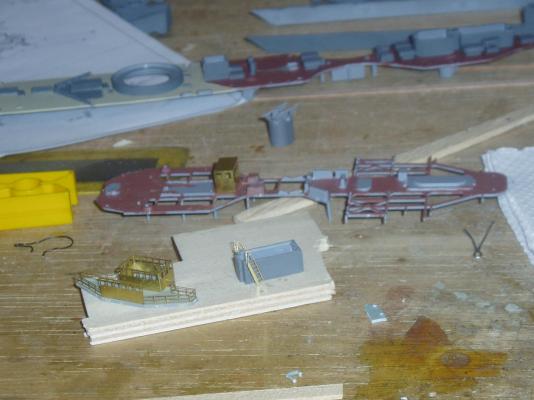
Been assembling some of the brass etchings for the wheelhouse and ladders. Also decided to make new masts from 2mm brass rod- i dont have a lathe so the were tapered down using needle files by draw filing- also got HMS Warspite to look forward to with the white ensign etchings- sometimes think i need my head read- the things we do for fun New masts below- next job will be to file notches for the yards- still cant decide whether to cyano the yards in place or solder them. Keith

- 22 replies
-
- 7
-

-
- dreadnought
- zvezda
- (and 1 more)
-
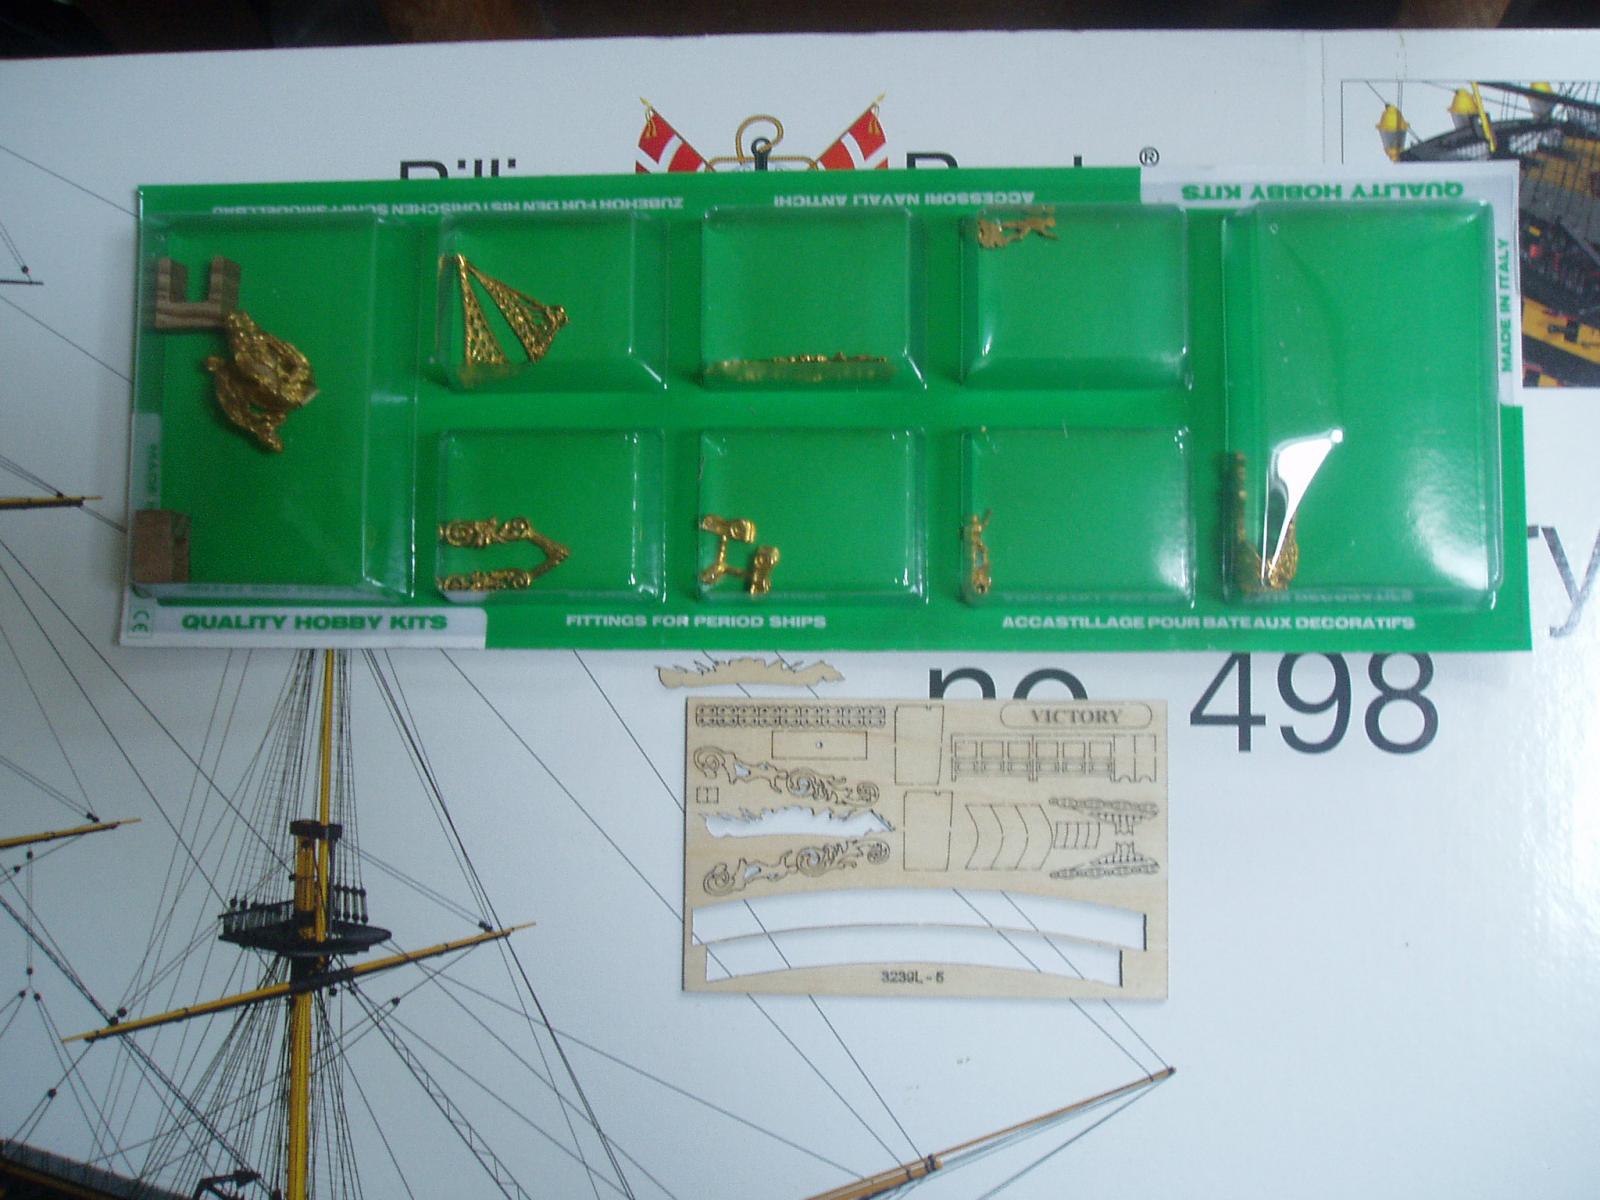
Ty for the likes everyone, Hi Lawrence- since that photo the primer has been sanded back and the bottoms had a final coat of grey primer. I will be using copper plates cut from self adhesive copper tape (dolls house tape). Took another shot to show the castings compared to to billings laser cut ply ones- either billings are under scale or sergal are over scale! Keith

-
still advise working from mizzen forward - looking good though keep up the good work Keith
-
had the same problem with my billings victory, but at least with victory you had a ply sheet for the gunport positions which you fastened to the bulkheads first. Most of the big billings kits would be better with more frames. You could take the lines from a plan if you can get one and make some extra bulkheads as required if you want a stronger lower hull. Keith
-
You are certainly giving it your all Foxy, are you going to use the platform over the rudder head as a wine table which was done according to Anatomy of Nelson's Ships Keith
-
certainly looks the part Bob- will book you a tranquil darkened room for respite care the way you are going with these builds Keith
-
Hi Mike the following Mantua fittings are available. Found some at www.model-dockyard.com @ £45.00 + shipping :-Brass Photo Etch Hammock Stays 1:98 Victory Ref: 35246 Brass Photo Etch Hammock Stays 1:98 Victory Keith
-
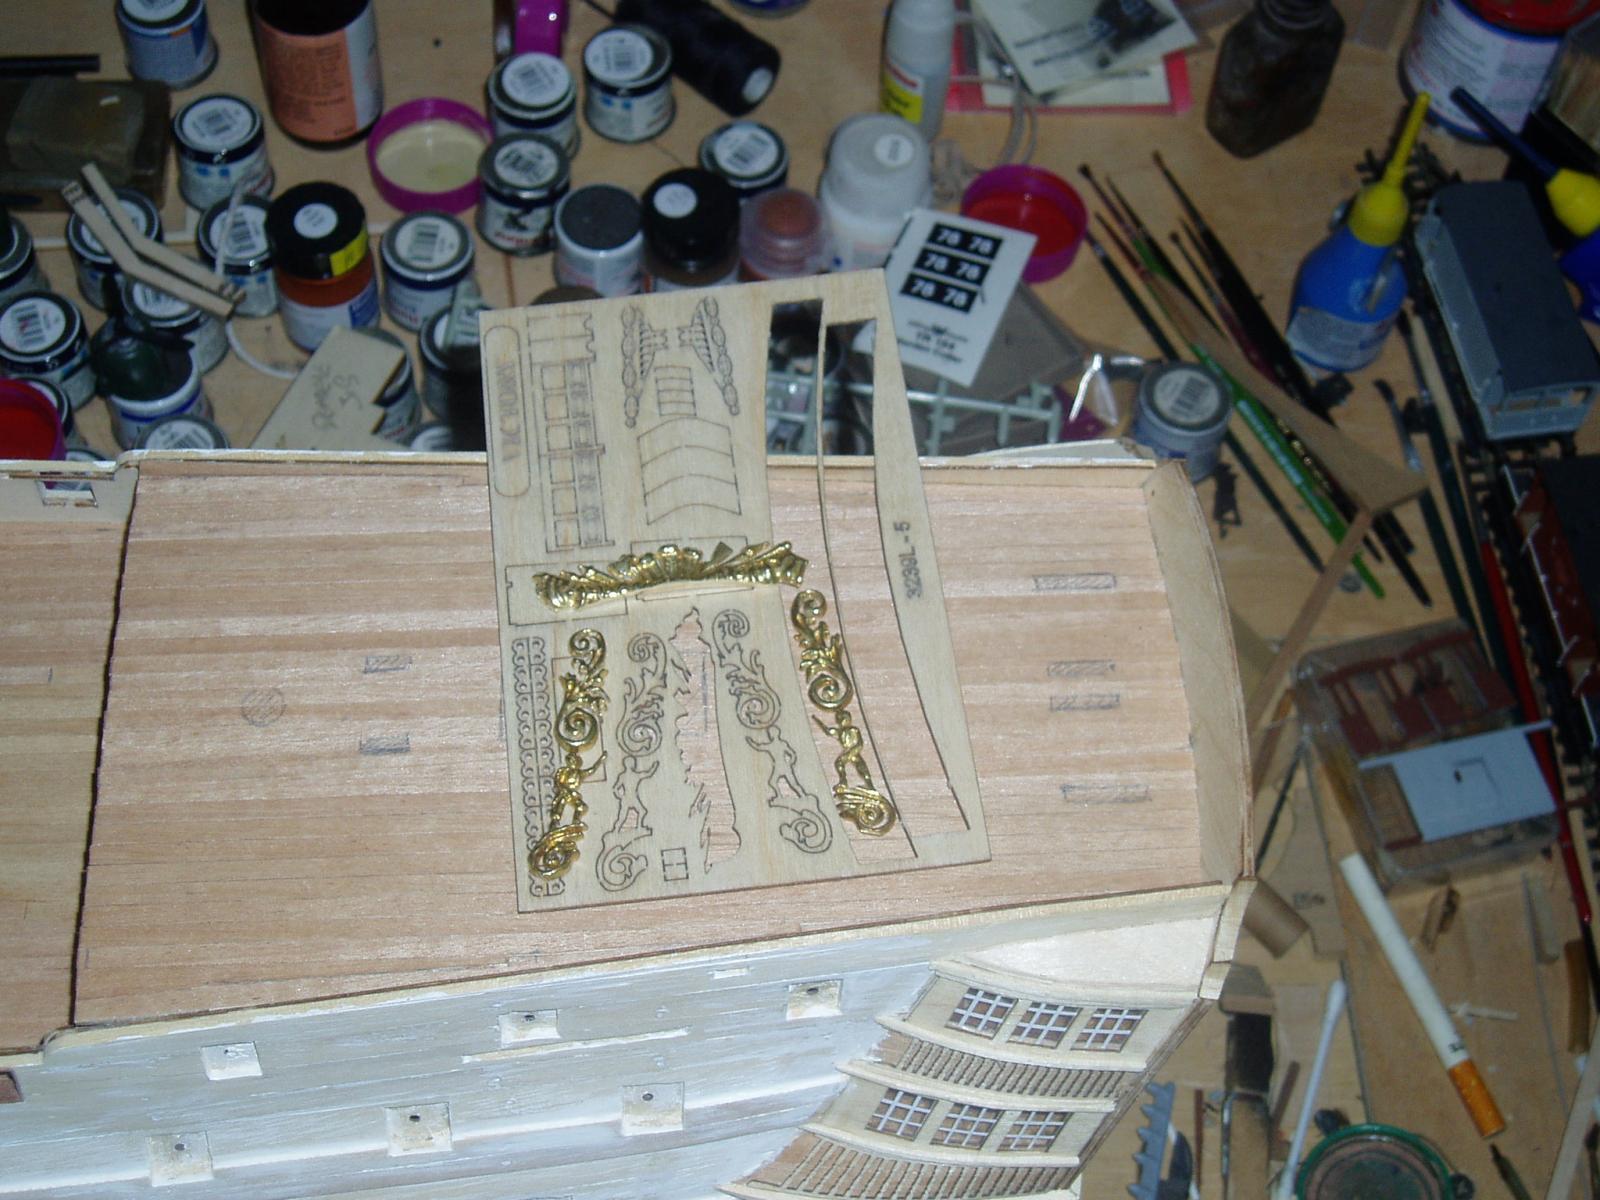
Thanks to Cornwall Model Boats and £50 of her majesties sterling i have taken delivery of the sergal 1/78 HMS Victory castings set- pricey but worth it as the billings scrolls etc for the stern were just plain with no relief- some of the castings are way oversize for 1/78 scale by my reckoning though as they are the same size or bigger than the billings laser cut ply. Laser cut billings decoration towards bottom of pic. Keith

-
looking good- hows the wood virus coming along- have you been taken over yet by it? Was reading you asking about time scales- a two masted schooner or fishing boat takes me about 6-8 months, cutty sark 4 years if you exclude all the breaks from the build! I agree with popeye all you need are basic tools- steel rule, craft knife, a set of needle files, pin vice, some needle nose pliers and a small pin hammer. also sand paper- shed loads of it lol- wrapped around a piece of wood it beats a surfoam. Keith
- 55 replies
-
- 2
-
-
- jolly roger
- lindberg
- (and 2 more)
-
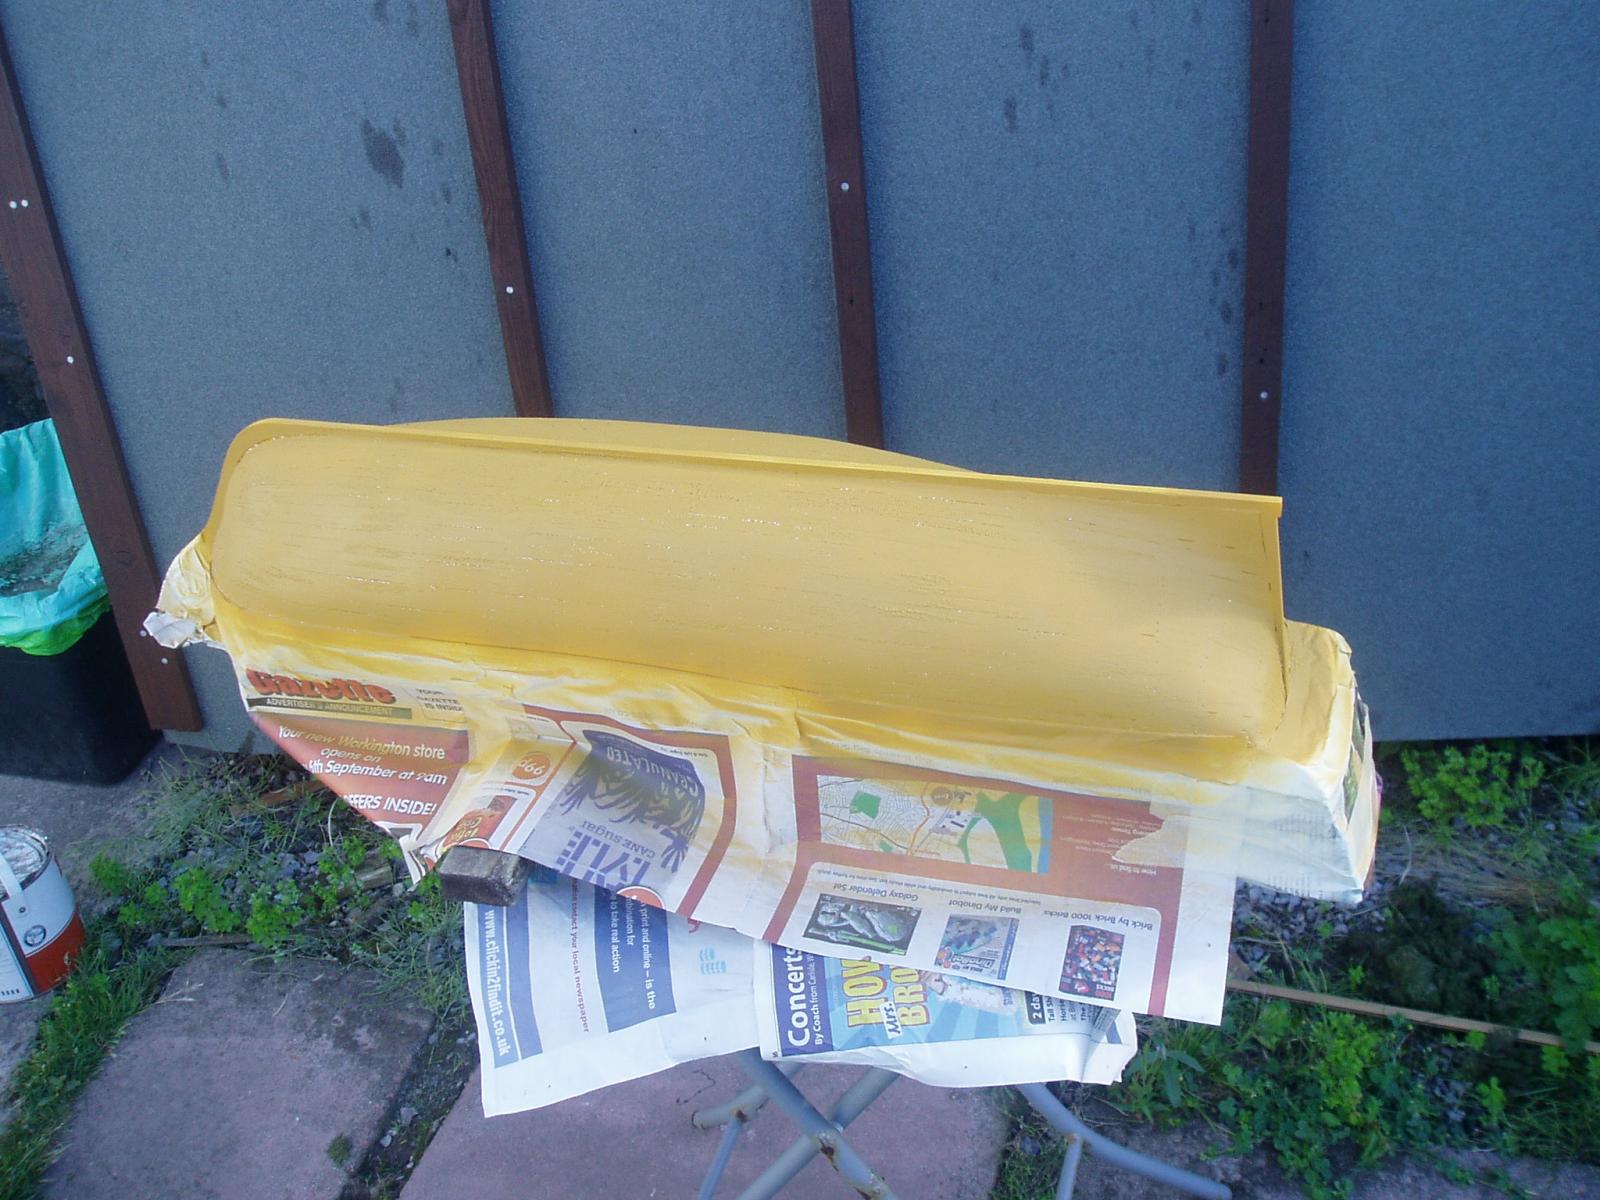
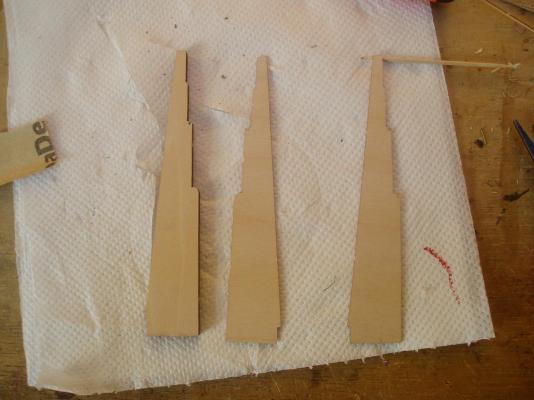
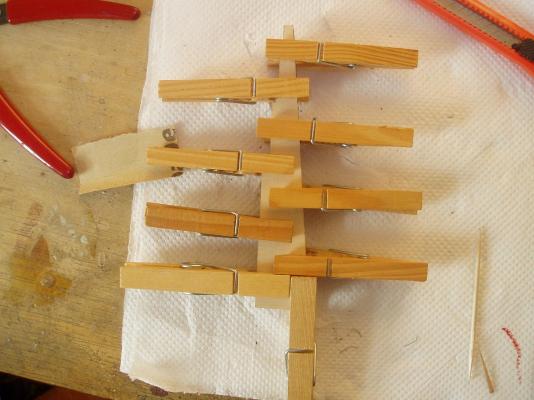
got a coat of high build primer attatched- beware of mixing primers as they reacted with each other! Not a real problem as most will be sanded back to give a smoother base for the copper plates. Also glued the three pieces for the rudder together- the poor admirals clothes pegs get violated once more Keith

-
pity its all going to be hidden foxy! but keep up the good work Keith
-
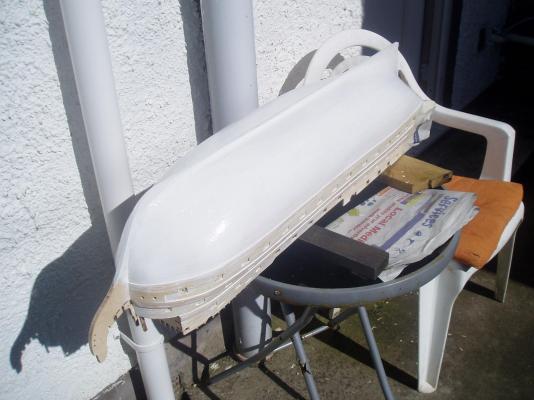
That's the first coat of primer on the bottom of the hull- hoping the weather stays nice so i can get a coat of high build primer on next- fast running out of summer! Keith
-
ouch that sucks m8
-
I always use white wood glue, you can mark where the rubbing strake is going then file this back to bare wood, fasten your strake in place then prime it- you can also use treenails made from cocktail sticks to help hold it to the hull. Keith
-
coming along nicely there- the good thing about billings kits is they are easier to deviate and alter from from the instructions than other manufacturers kits. Keith