clearway
-
Posts
2,238 -
Joined
-
Last visited
Content Type
Profiles
Forums
Gallery
Events
Everything posted by clearway
-
 Interesting- by the time i bought the billings cutty in 1997 the deadeyes and blocks supplied were all wooden- wonder when they swapped over? Keith
 -
Ty Brenticus- the eduard etch set is designed for the trumpeter kit so some ladders are too long to be used as the trumpeter kit is slightly bigger! Fitted the props this evening between working on hms victory. For better or worse have ordered the upgrade set from white ensign models for my academy hms warspite- will start a build log if i get motivated and make a start on her between everything else Keith
- 22 replies
-
- 6
-

-
- dreadnought
- zvezda
- (and 1 more)
-
Lol Mike- as i say in my comments "why do i keep doing this to myself" when i get to stuff like this # Keith
-
coming along nicely Mike- need to think about this myself on my victory while i can still turn her upside down as i will be coppering the hull too. Keith
-
Looking fantastic and hope you are well soon. Keith
-
Looking really good so far m8-Hope u are putting some orange L.E.D.'s in the firebox Foxy Keith
-
Ty mike- still a way to go though- not sure what to do about the plain laser cut ply billings offerings for the scrolls etc on the stern. Keith
-
Ty lawrence and enjoy your trip Keith
-
Lol Bob it's a vicious circle sometimes- especially when Nenad has devine inspiration and goads you into more fun and frolics Keith
-
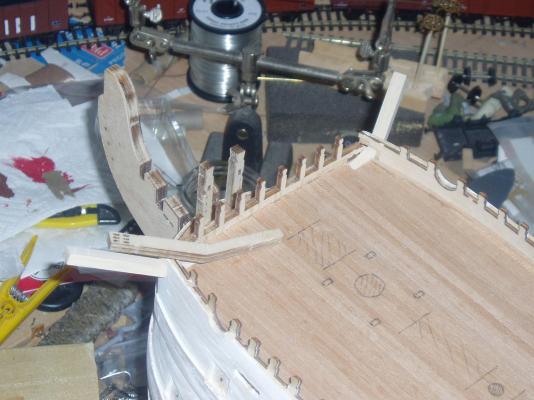
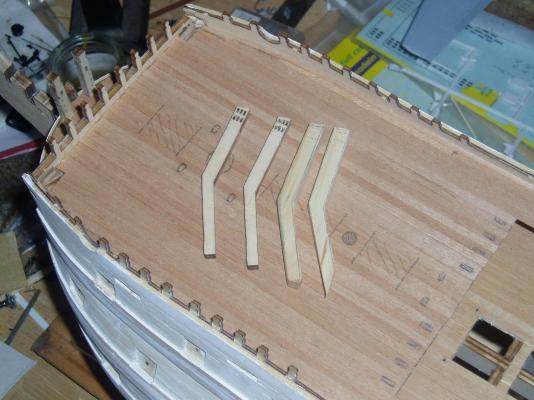
After a couple of evenings whittling and sanding to shape the new hawthorn catheads are now down to the correct size- only dry fitted at the moment till i finish the stern- grrrr nights getting darker so alfresco modelling in the evenings is nearly over- i do all my sanding outside if i can help it. New catheads deffo look better than the ply one laid beside them. Keith
-
it's looking great Bob- and don't forget there are lots of goodies that will hide a lot of the t'gallant rail as well. keith
-
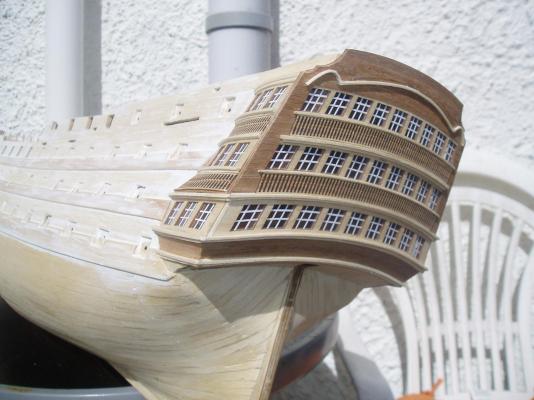
I know the feeling Mike- i am hating the thought of painting the stern on mine as the wood looks really nice and is crying out to be just varnished! Keith
-
Ty everyone for the likes and comments- have been trimming the new catheads down some more today Lawrence still need a little taken off and then some work to make the holes look more sheave like. Keith
-
More timber added to the stern and made a start scratchbuilding some replacement catheads to replace the ply ones from the kit- someone gave me some hawthorn branches to chop for firewood and decided to use some of this- been seasoning in the shed for 12 months till i found a use for it! Ply catheads on the left keith

-
Hope your hand heals soon- i also use a utility knife for work like this as it is more controllable. keep up the good work - gunports look great. keith
-
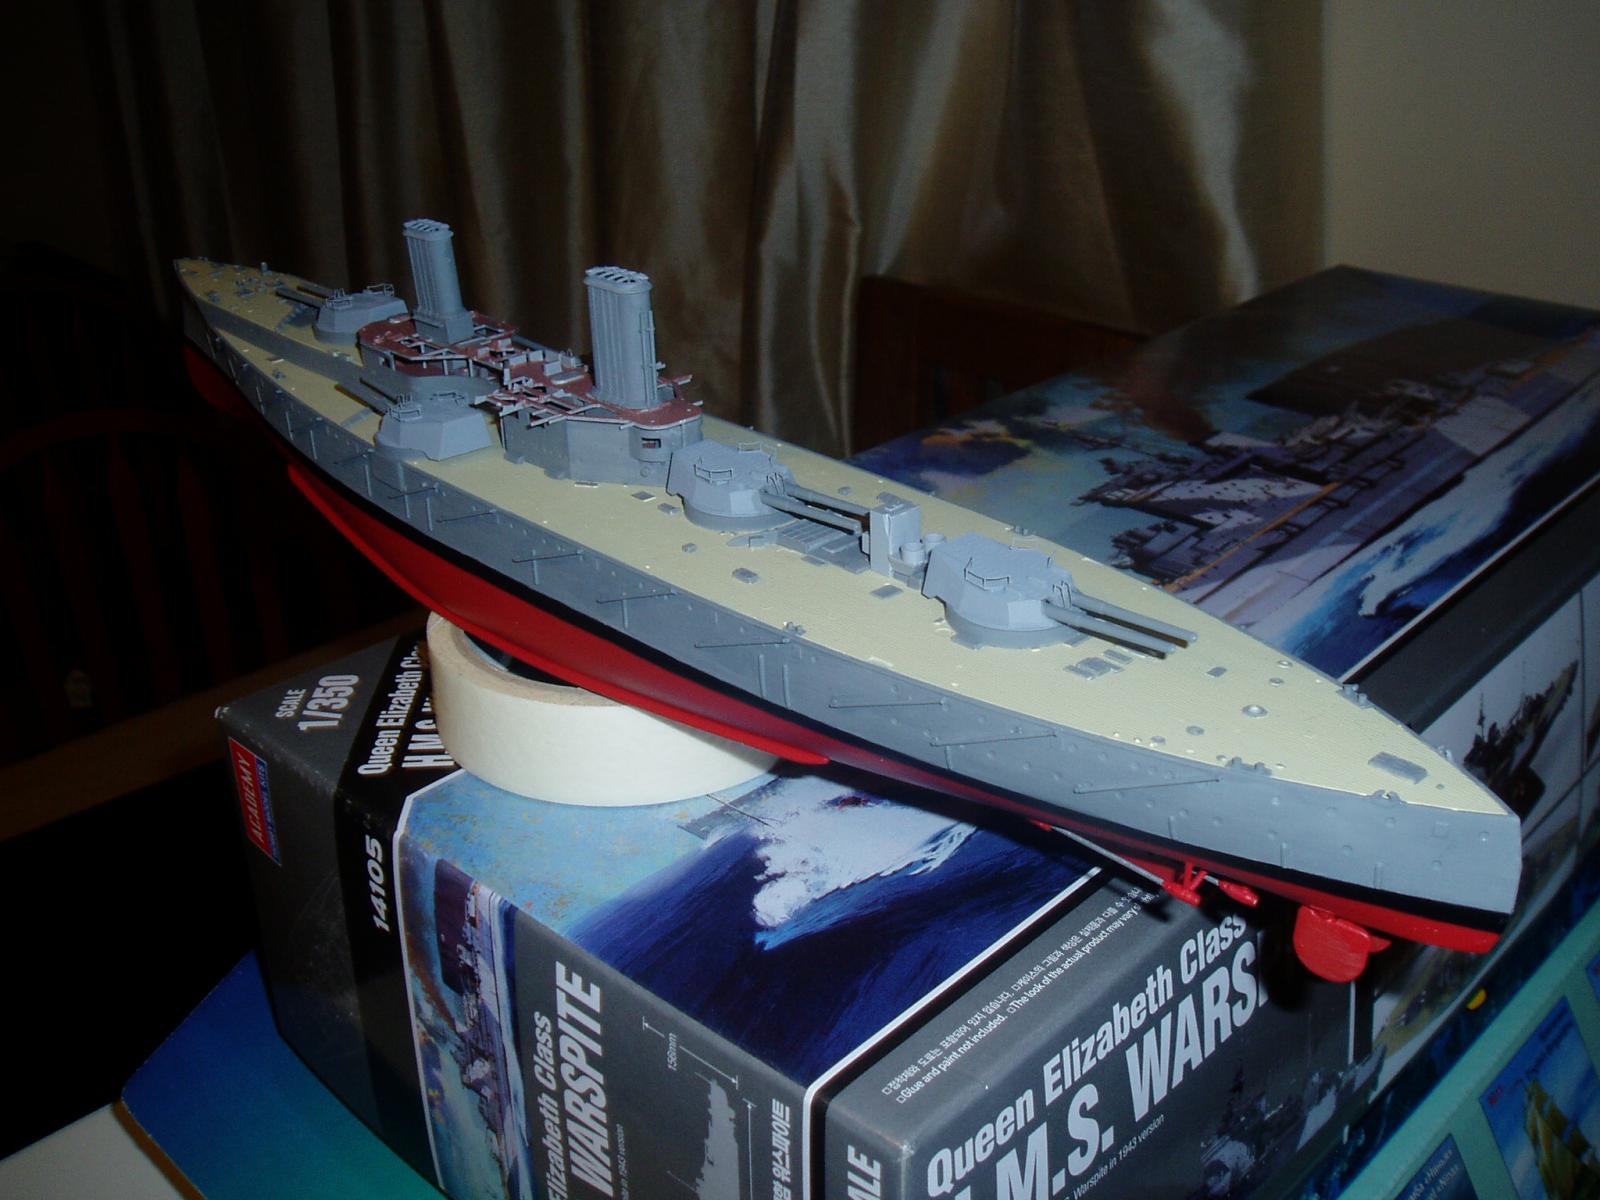
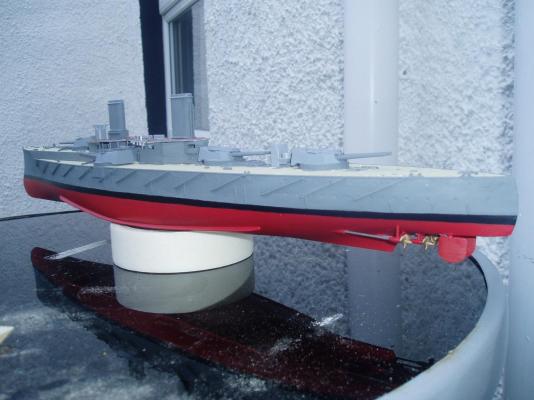
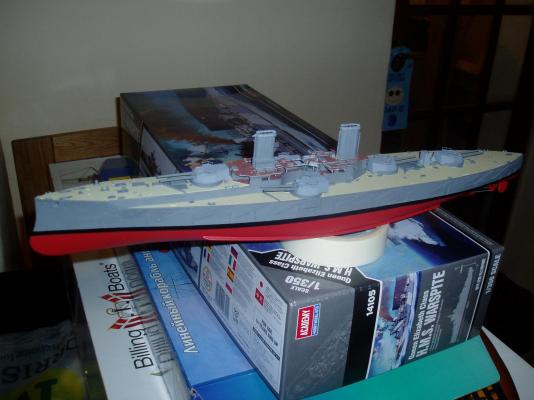
Not been upto much with Dreadnought due to working on Victory. Fitted the torpedo net booms and rudders as well as more painting. Decks and superstructure not glued in place yet as i want to finish the main hull first. Another problem is zvezda fix the turrets in place before gluing decks in place- i don't like this as they obstruct things (the turrets) so will have to glue them in place after fixing the decks in place and finishing the superstructure so they wont be movable. As you will see from the pics i have just taken delivery of H.M.S. Warspite in 1/350th Keith

- 22 replies
-
- 8
-
-
- dreadnought
- zvezda
- (and 1 more)
-
Really coming along now Foxy keith
-
Looking good and wood defo better than plastic- i built the zvezda "black pearl" for my daughter a couple of years ago (they called it black swan with a diff figurehead) and replaced all the masts and yards with wooden ones. Keith
-
i would use as fine a sandpaper as possible and take the primer back to nearly bare wood- there is also high build auto primers available. Keith
-
Lol Keith- i rigged mine as a wool clipper which didn't have the stun's'l booms and no skysail on the main mast. Keith
-
Wow keith full steam ahead so to speak- she is really coming along. Keith
-
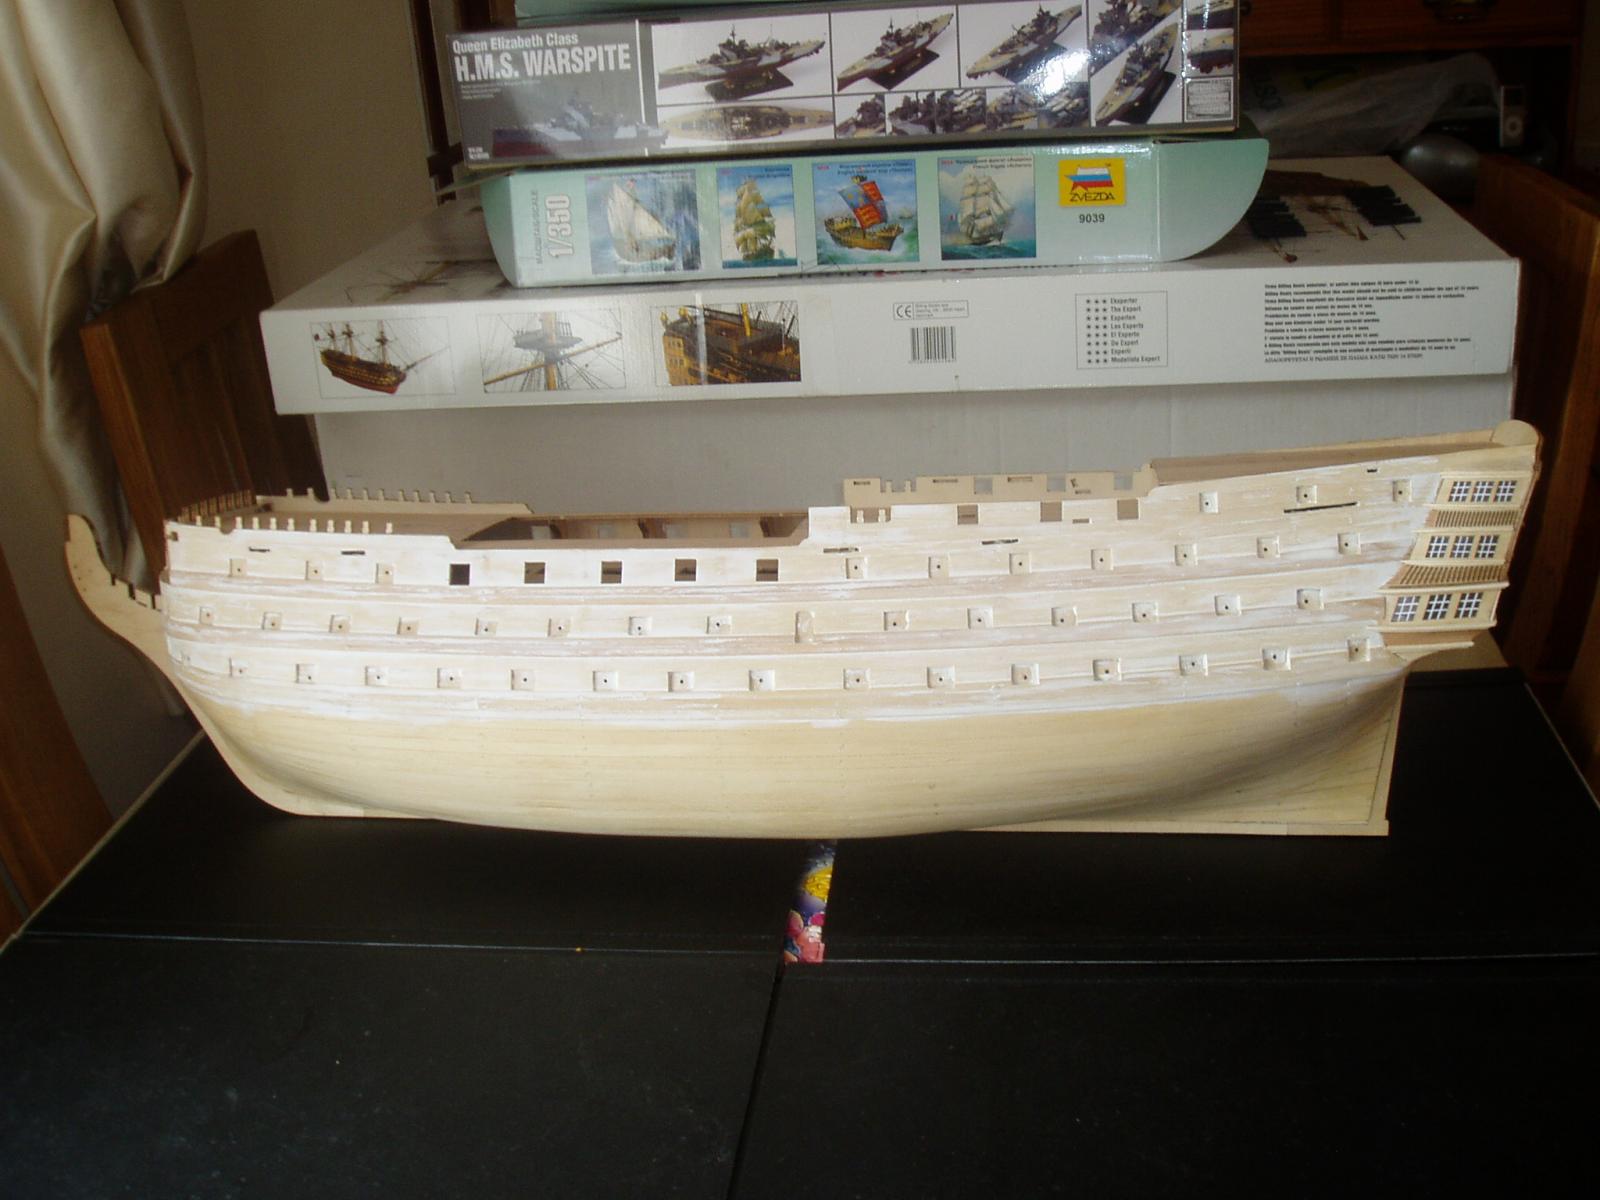
Ty mrcc- it was primed and sanded back to remove the coarse wood grain- normally i would use high build primer but victory's hull has too much detail for this- well for me anyways! The hull will be primed again before final painting. You will end up with a smoother hull and better surface to paint but will lose any planking detail. Keith
-
Ty Lawrence i was kind of hoping someone would bring out an upgrade for the billings Victory before i got this far- ah well- mind you if someone wants to produce 1/75 castings for the scrolls etc....................... Keith
-
Good luck Bob- its bad enough building a Victory straight from a kit with only minor alterations! Keith
-
Watch out Bob i rebuilt a mantua victory from the 1970's and proved interesting- cornwall model boats do a replacement etched stern for this if memory serves me right. Keith