HOLIDAY DONATION DRIVE - SUPPORT MSW - DO YOUR PART TO KEEP THIS GREAT FORUM GOING! (89 donations so far out of 49,000 members - C'mon guys!)
×


clearway
-
Posts
2,233 -
Joined
-
Last visited
Content Type
Profiles
Forums
Gallery
Events
Everything posted by clearway
-

Cutty Sark by NenadM
clearway replied to NenadM's topic in - Build logs for subjects built 1851 - 1900
I coat my hulls with a couple of layers of matt varnish- you can now get hold of acrylic quick drying varnish which should be ok with the paints you are using. I varnished the decks, deckhouses and masts where they are a wood finish but did not varnish any other painted areas except for the hull as already mentioned. You can buy spray on lacquer for the copper which may be better than using varnish? the copper on my cutty was applied and lacquered around 16 years ago and still looks reasonable. Keith- 4,152 replies
-
- 1
-

-
- cutty sark
- tehnodidakta
- (and 1 more)
-
Cutty Sark by NenadM
clearway replied to NenadM's topic in - Build logs for subjects built 1851 - 1900
Strongly recommend lacquering the copper - i recently refurbished an old model of hms victory for the lad in the local modelship which was over 25 years old and a lot of the copper had gone black! Keith -
After much sanding that is most of the primer off, and can start thinking about adding more detail as well as finishing the decks- feels like some progress is being made at last poop deck planking underway Keith

-
coming along nicely there, nice to see you sorted the gunports out- going to be fun rigging the lanyards for them keith
-
When i made mine i ran a piece of veneer strip around the rims of the tops to strengthen them. Keith
-
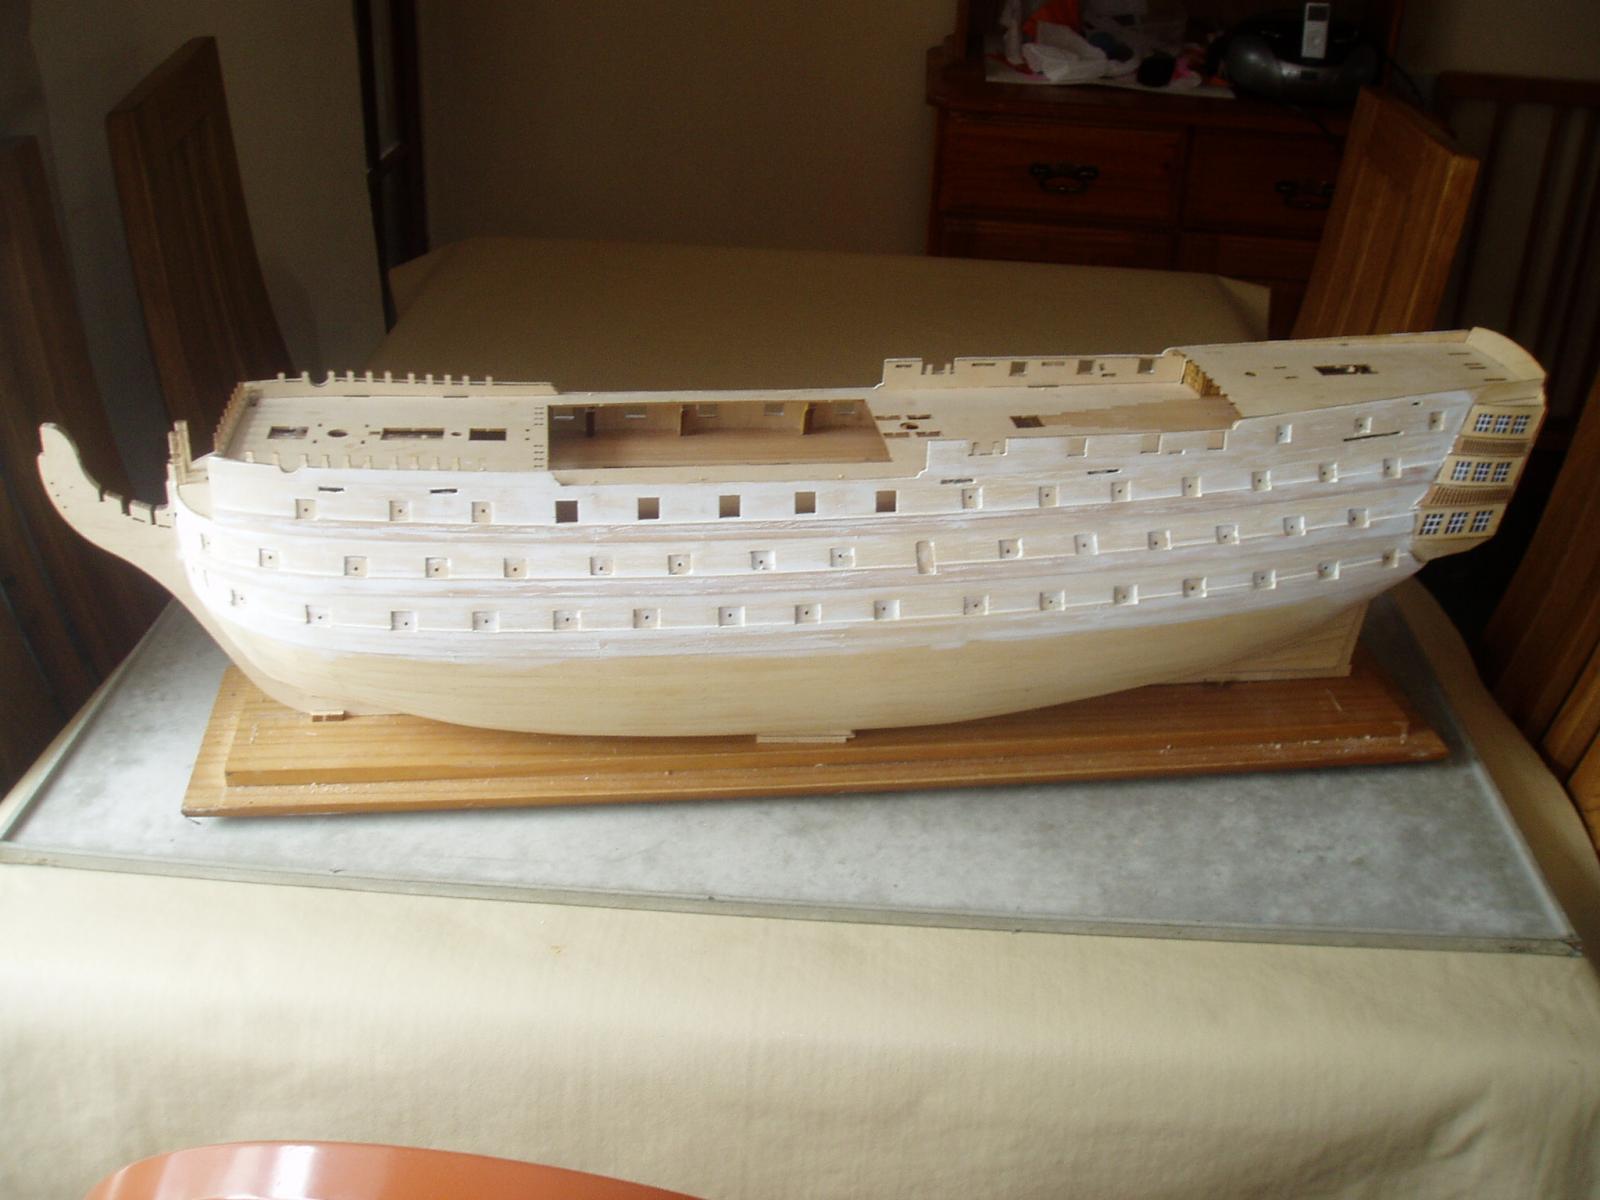
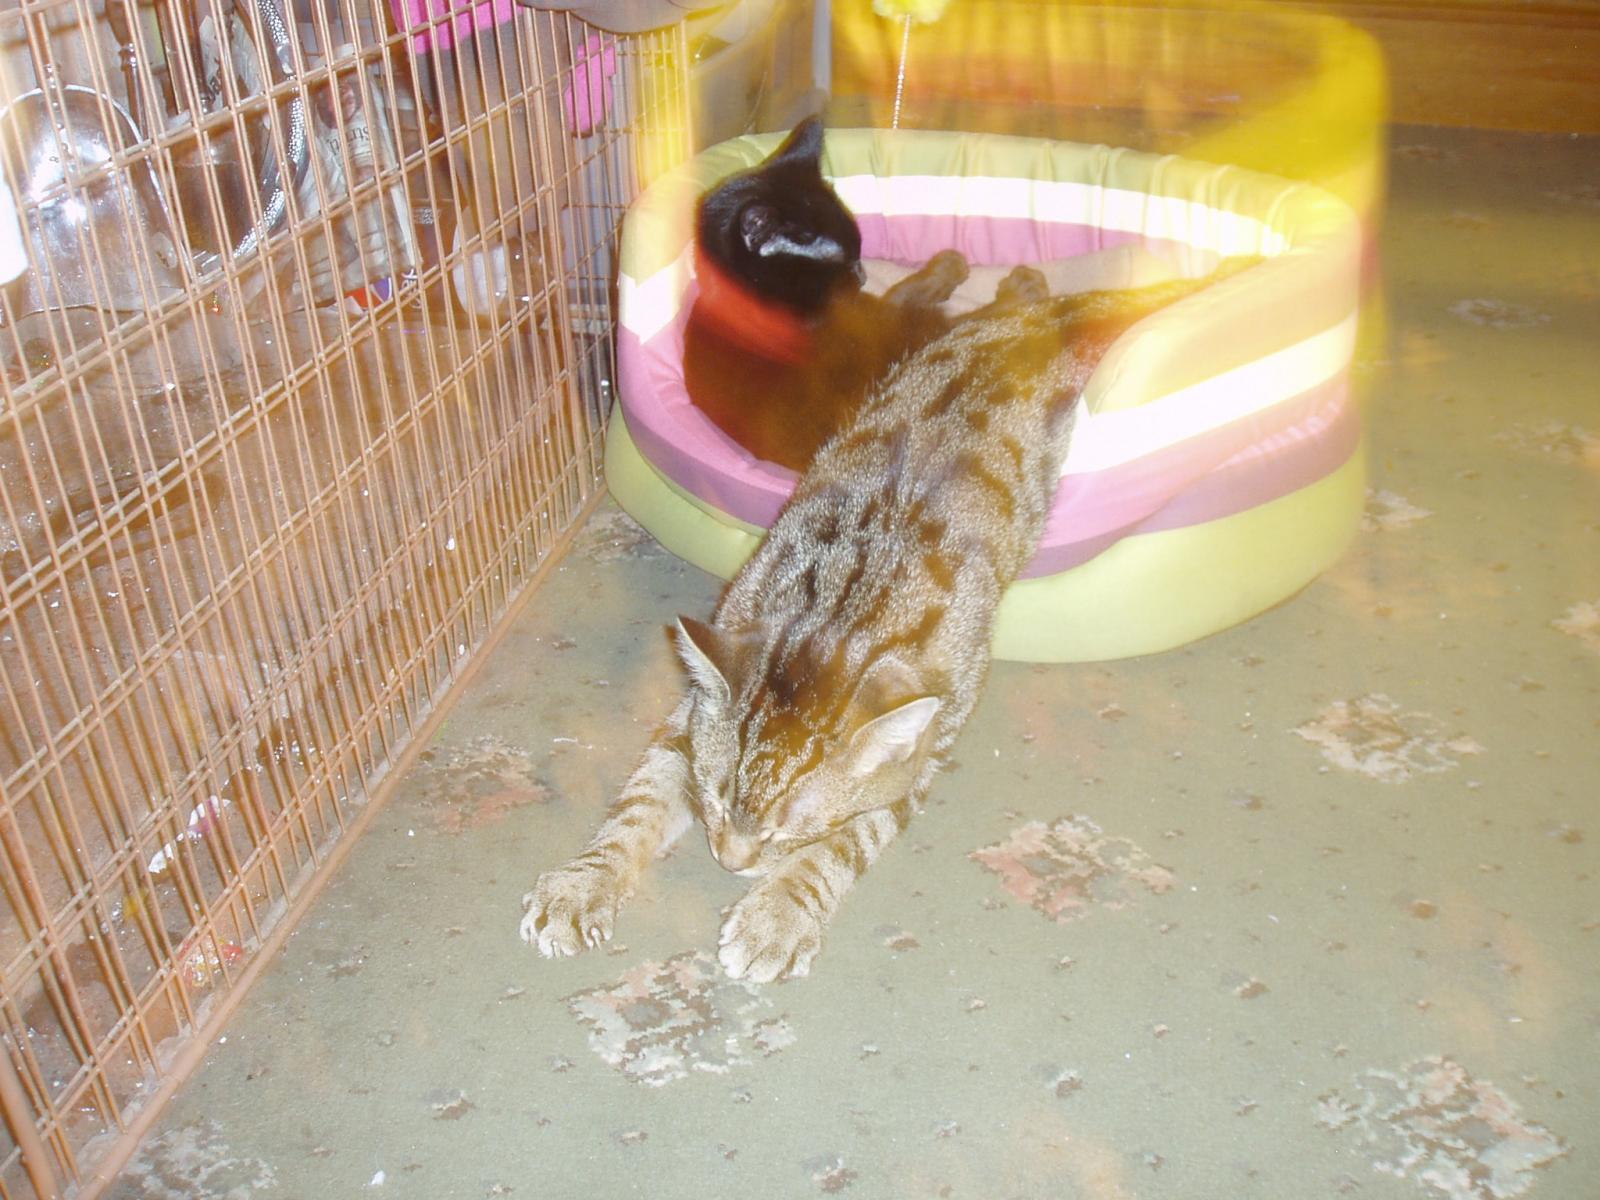
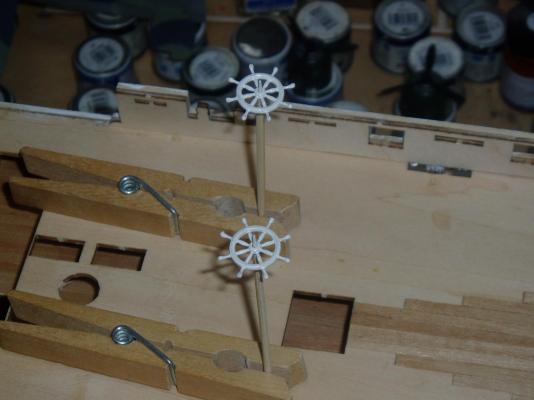
Not been much done with models recently due to visitors and the untimely passing away of our tabby cat Jack who was 3 years old- he was rescued by the R.S.P.C.A. and adopted by us along with his sister- He did have health issues but he did have three happy years with us hunting every small furry animal within range of the house. Just wanted to post a tribute to him he was hell of a character! Jack with his sister elizabeth or elly for short when only a few months old- our daughter is a massive fan of pirates of the caribean hence the names! Back to HMS Victory- primed the hull twice which will now be sanded back to bare wood. also primed the wheels and stained them. Keith

-
You could go for closed gunports- depends on whether naval or mercantile floats your boat so to speak- i prefer merchant ships usually, but have always wanted to build Victory & Cutty sark- one completed one started! Keith
-
Nothing ventured nothing gained Boyd! Though if first time scrathbuild go merchant ship with two masts and not a ship of the line! keith
-
Best advise i can give on metal turning is do not take too much of with each cut and slow with the cutting tool. Nice to see you restoring and taking on the old lathe. Keith
-
Don't worry Keith the mess will return like a long lost prodigal son!
-
Pssst Keith i laugh at your untidy work area but cutty coming along great. Keith
-
Happy Birthday Bob and the deadeyes will not look that noticable when in place- there is so much detail on the finished ship peoples eyes will not be able to take it all in! Yes paint does block the holes in the deadeyes but i cleared mine out with a .68 drill- however watch out on deadeyes smaller than 5mm! I use two pieces of U shaped wire mounted at their centre in a piece of stripwood as a deadeye spacer while rigging shrouds. Keith
-
If you are painting the hull you can countersink the nails, fill then prime- sand back then repeat till smooth.On my billings victory i pulled the nails out using side cutters then filled the holes and gaps between planks with P.V.A. then sanded back. Keith
-
There are the chicken coops from just forward of the poop deck with the kit but they have legs on them . There is no anchor windlass or pigpens or other detail from below the anchor deck with the billings kit and bob is right that is the skylight for the poop deckhouse Keith
-
All photos i have seen over the past 30 or so years in different books- some dating from the 1950,s and 60s show white inner ends- it makes sense as there was no flood lighting of decks in 1869 and painting it white would make it easier to pick out on deck i suppose? And well done on missing out the middle man and heading straight for the carpet- i spent 3 hours searching for a turret handrail off my 1/350 dreadnought upgrade that i dropped onto the carpet last weekend Keith
-
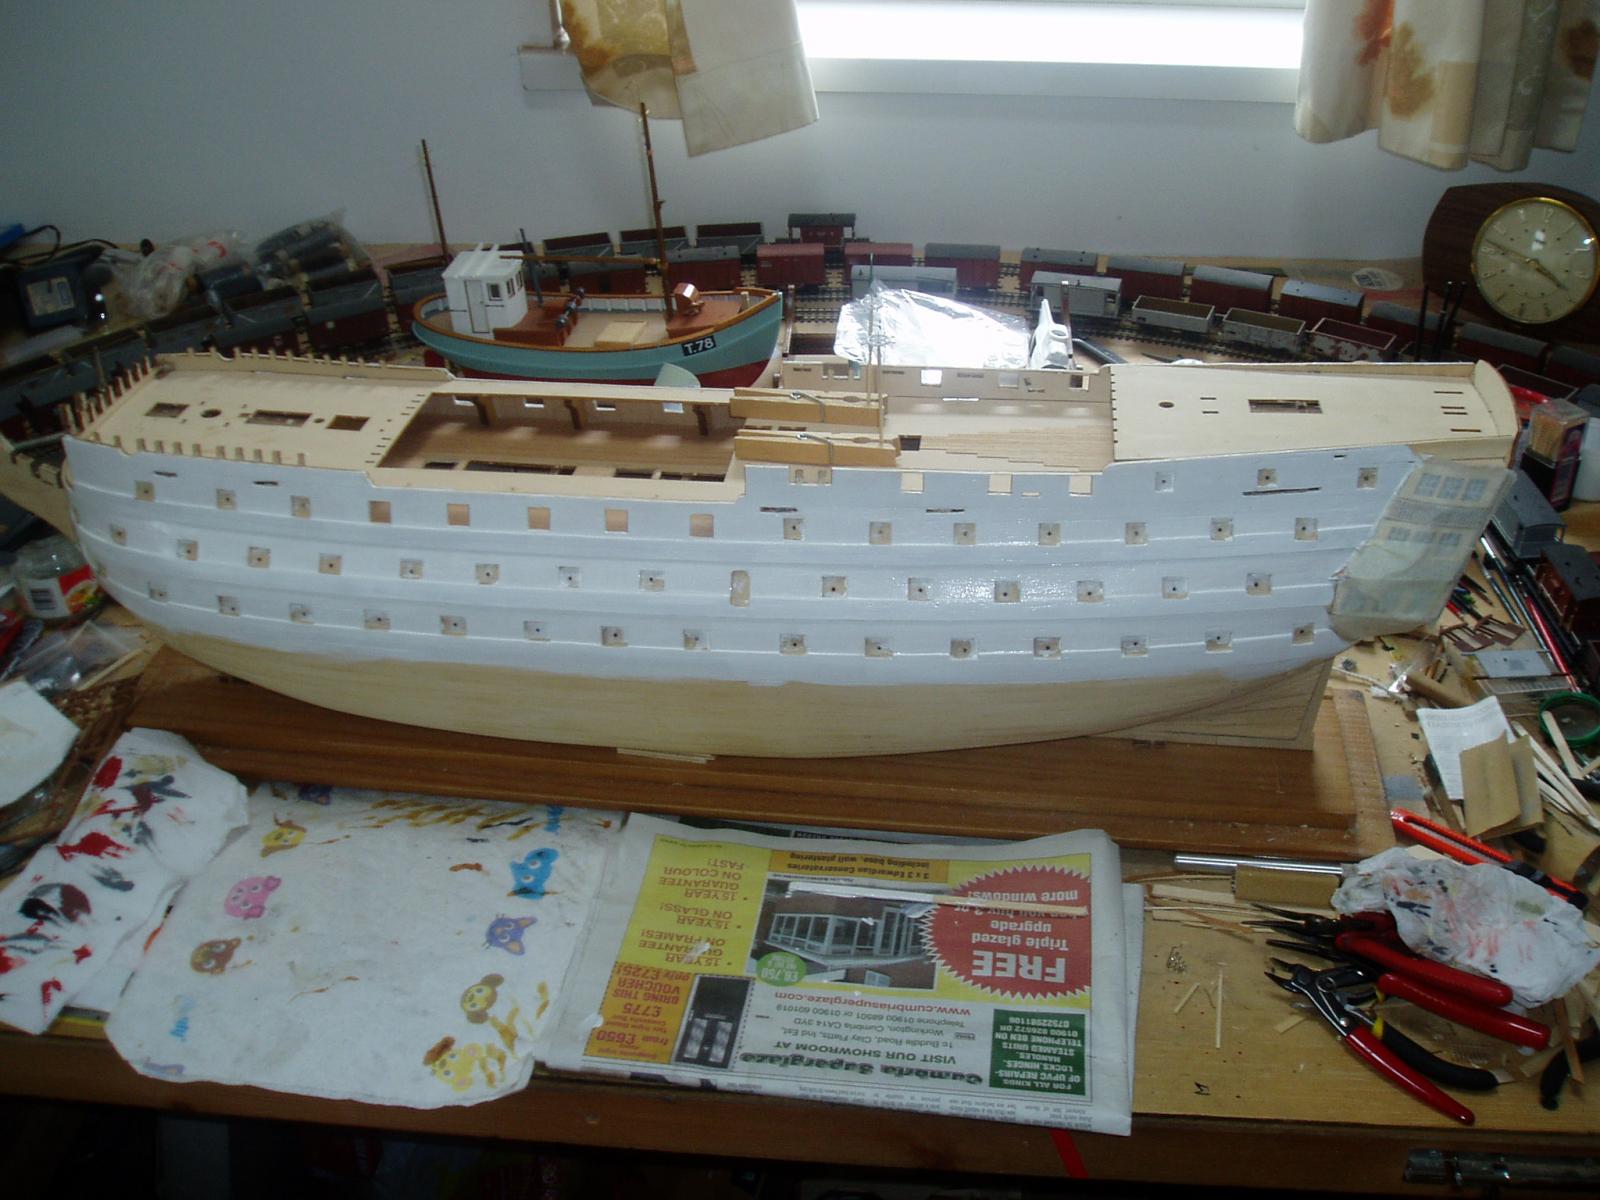
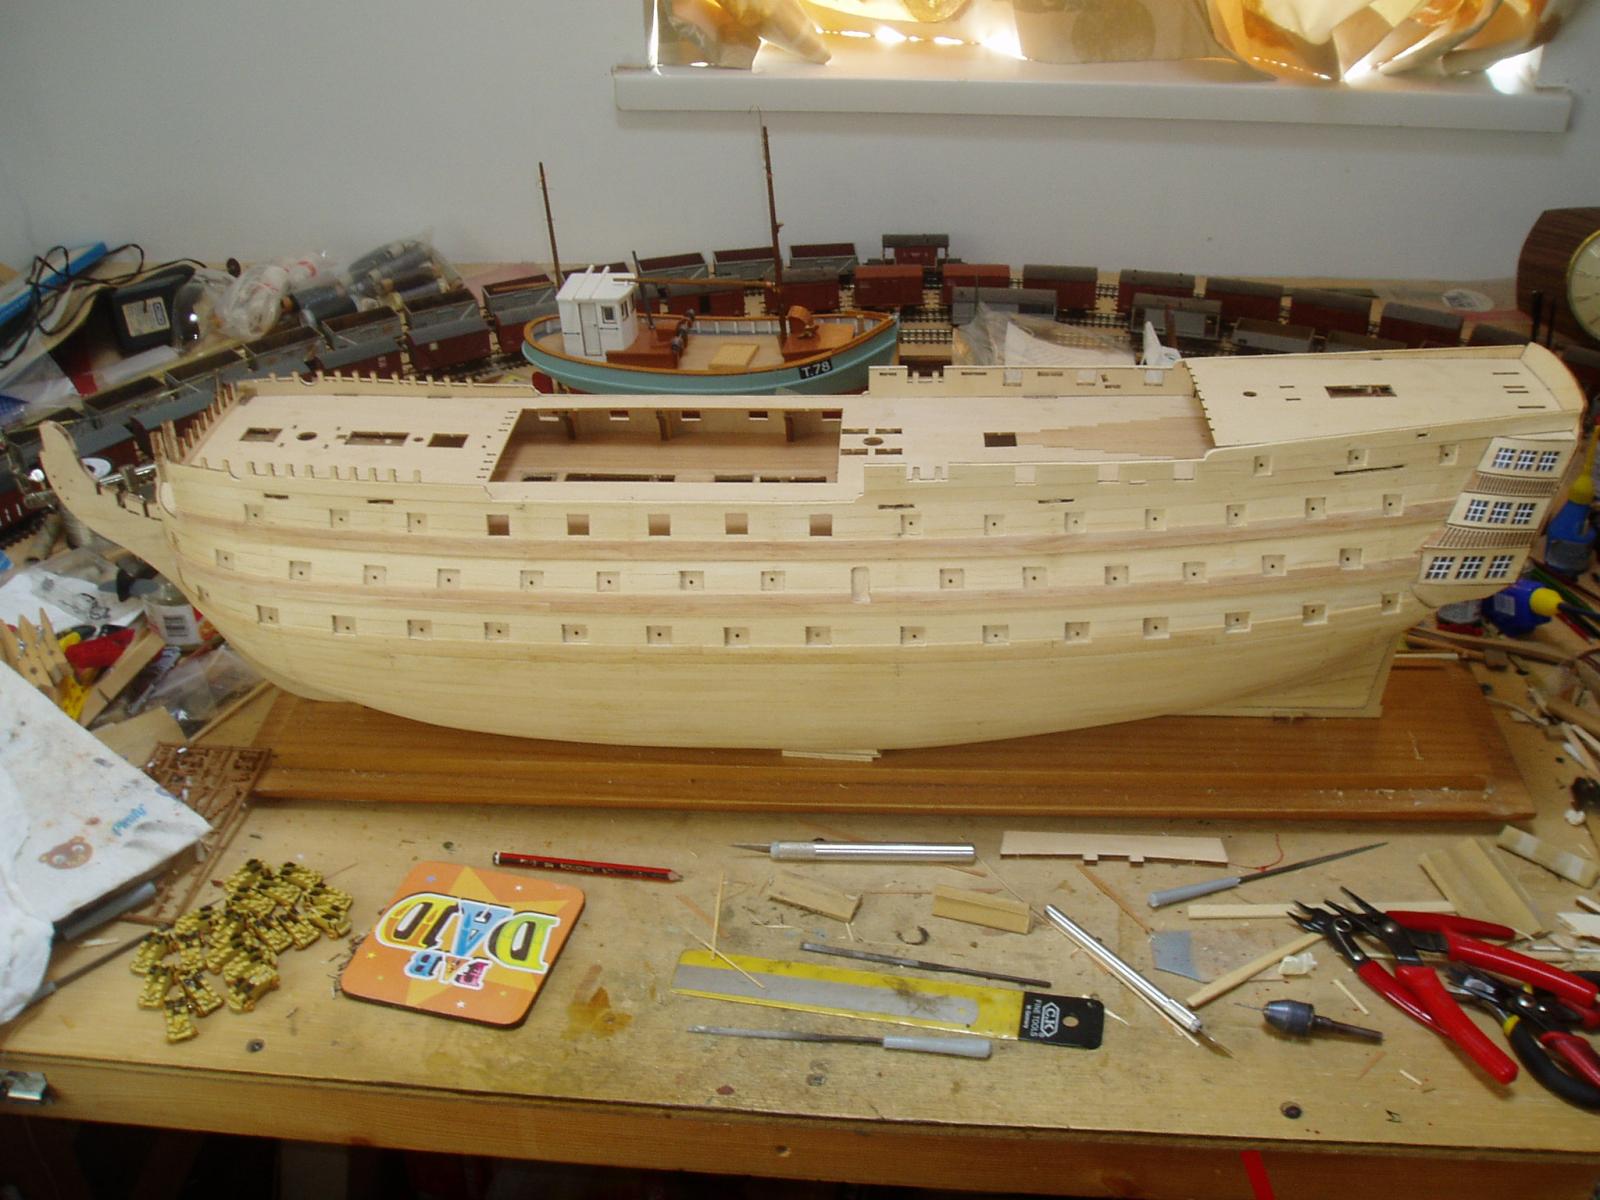
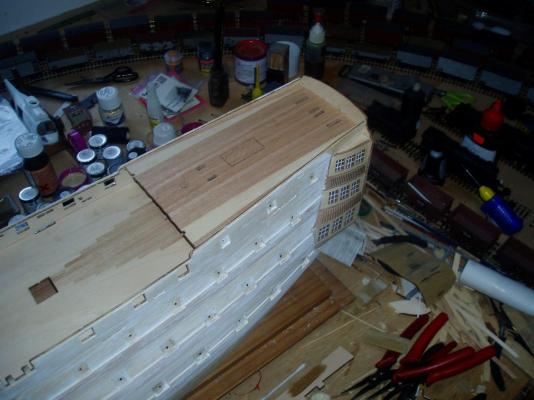
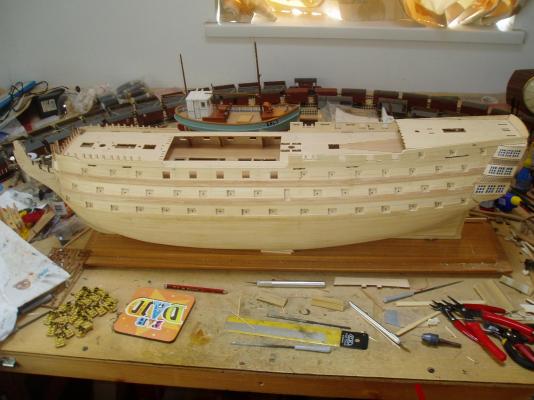
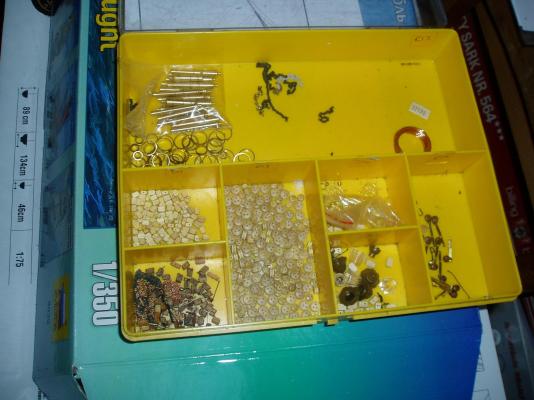
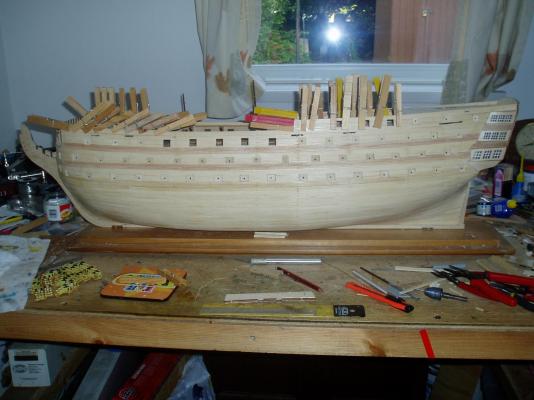
Managed to re-patriate the admirals pegs before she found out-Phew. Trimmed the top of the hull to shape- glad to see that removable support on the quarter deck out of the way. Only problem i have now is that, because i normally build merchant ships and fishing boats i would prime the hull and sand back to remove coarse wood grain. Unfortunately victory has lots of fine hull detail- Hmmmm maybe prime as is stands now then sand back to nearly bare wood before before adding the rigols and mouldings. Just some of the fittings sorted- these tackle boxes come in really handy. That's a lot of deadeyes! Keith

-
Seeing those fittings brings back memories! As mentioned in Bob's cutty log i replaced the dolly winches with more realistic sergal ones though i did use the billings rollers and warping drums. In my cutty kit the deadeyes and blocks were made of wood. Keith
-
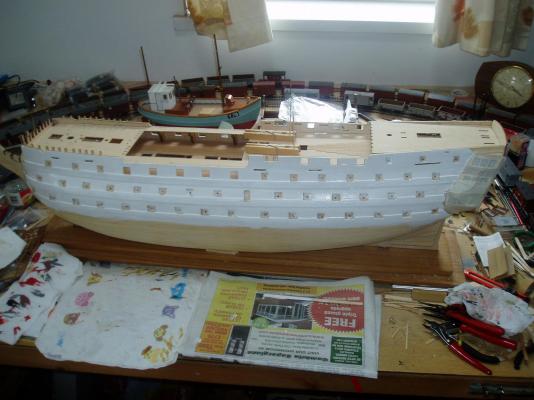
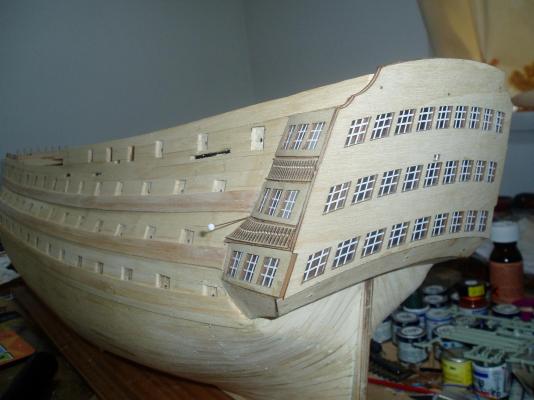
Added some of the decoration on the quarter gallery and opened out the gunports on the wales. Also put in inlays for the quarter deck and forecastle in place. Hope the admiral dosen't see where all her clothes pegs are going! Keith


-
Nice work Geg- good luck with the repair- we have two cats and they are banned from the workshop full stop. Keith
-
the lid is hinged in the middle- your drawing looks about right and its called the wheelhouse- try googling cutty sark and clicking on images there are loads of pics online. Those panels on the t'gallant rail look mighty nice . Keith P.S. found this pic- hope it helps
-
There is also annealed iron wire which is used by people who make jewellery and is available from most craft places- using some to make the chainplates for my billings victory. Keith
-
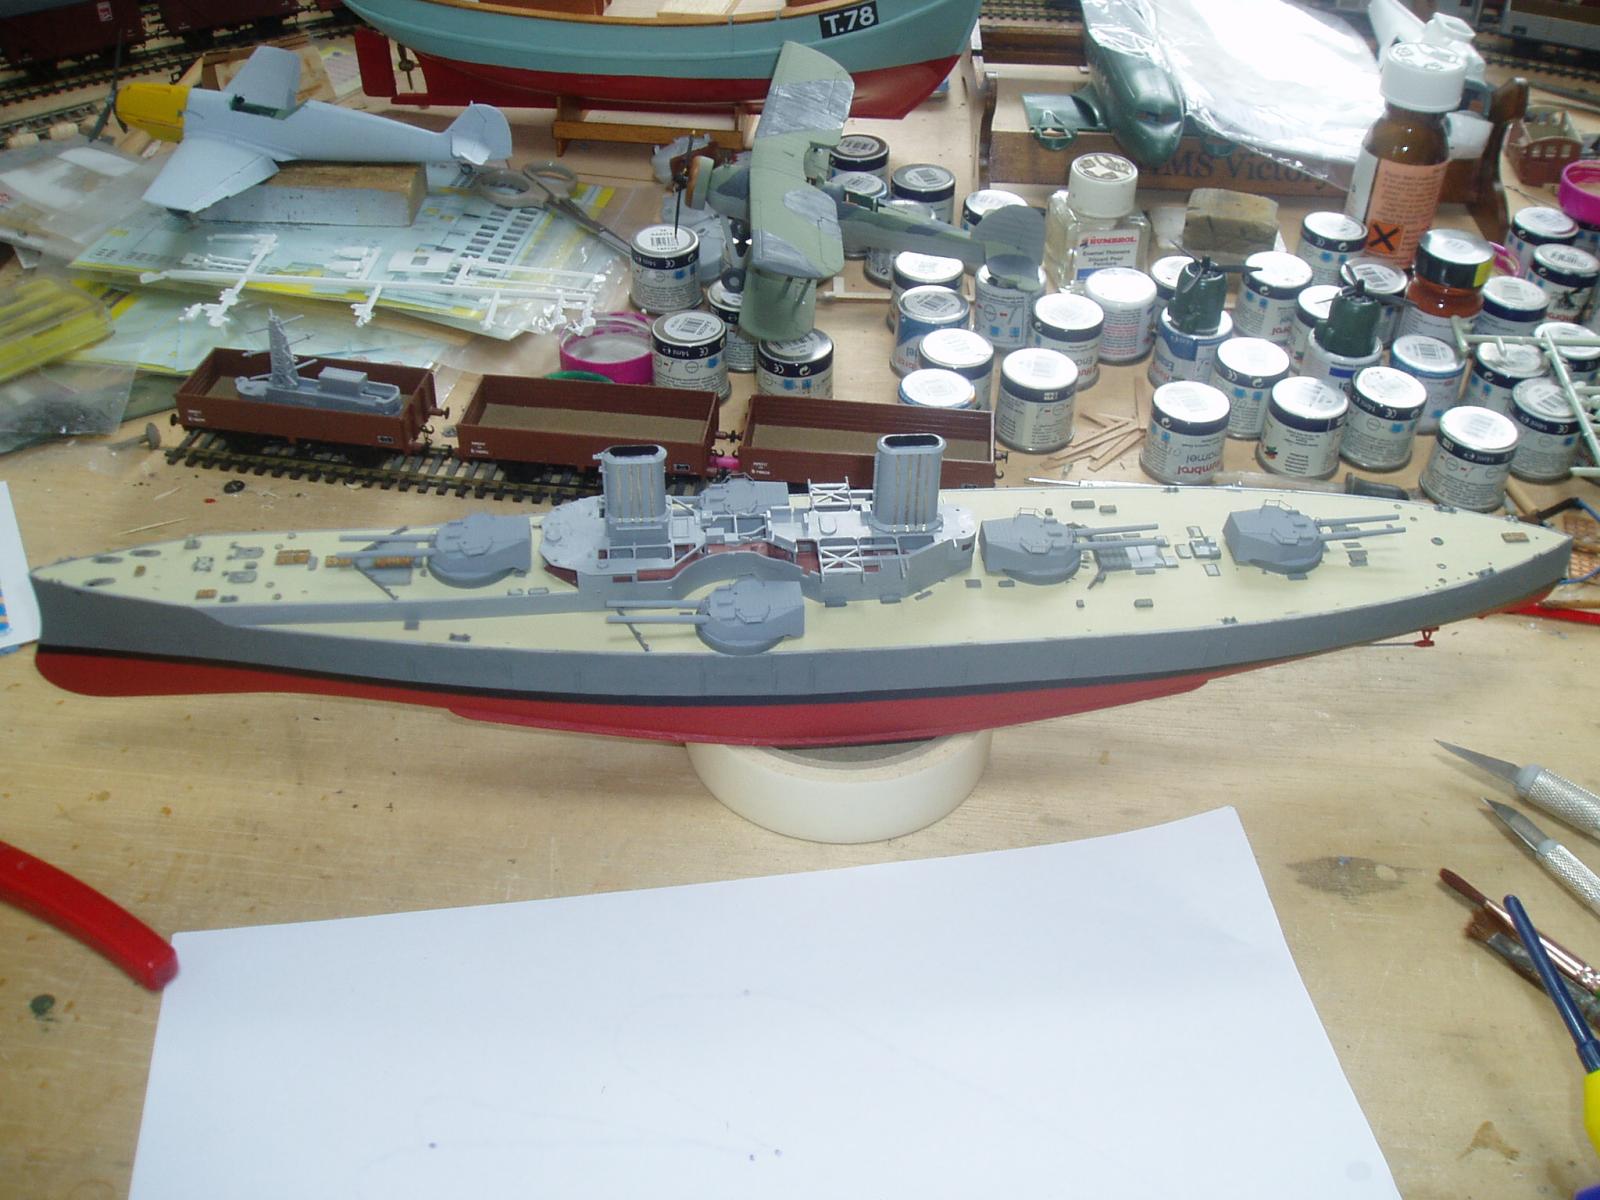
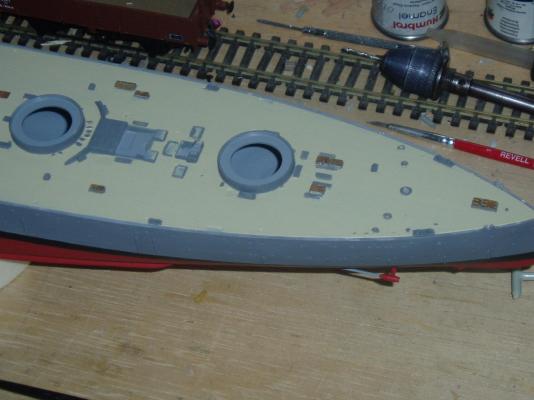
Ty Ian- the track is peco code 100 track. The tinlets are stored upside down as it stops a skin forming on the paint. Keith
- 22 replies
-
- 3
-
-
- dreadnought
- zvezda
- (and 1 more)
-
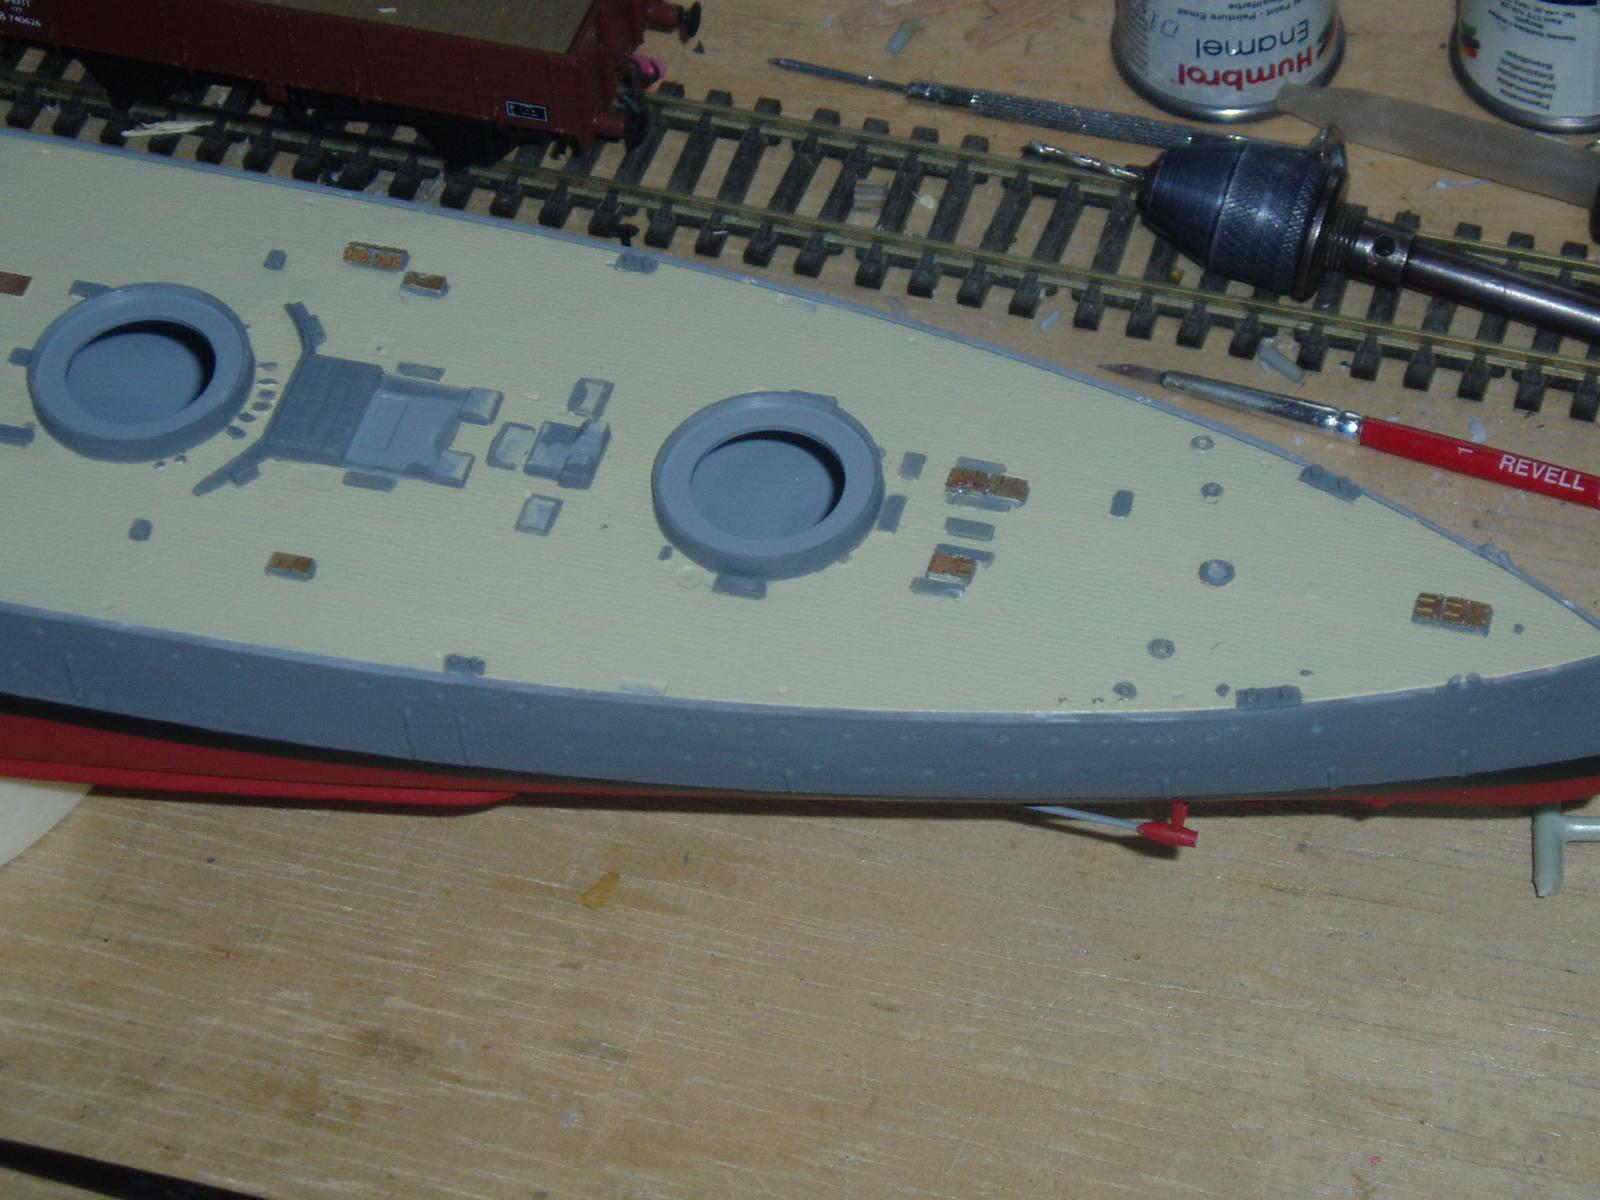
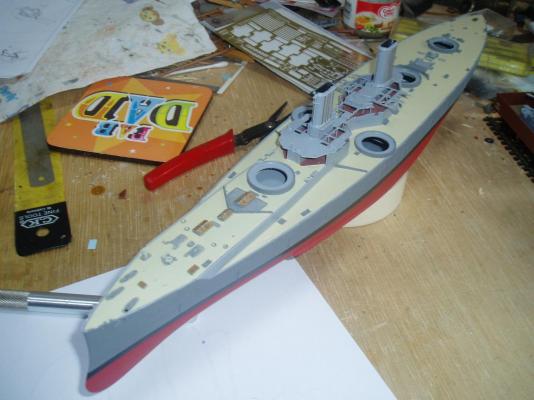
Etchings for the hatches and funnels in place, also fitted the final handrails to the turrets and primed them. none of the superstructure or decks are actually glued in place yet.

- 22 replies
-
- 7
-
-
- dreadnought
- zvezda
- (and 1 more)
-
Cutty Sark by NenadM
clearway replied to NenadM's topic in - Build logs for subjects built 1851 - 1900
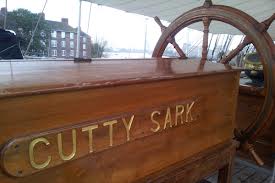
When scratchbuilding my model of clearway i needed a plaque on the wheelhouse front- i re-sized the pic printed it out then cut out onta a backing piece of thin ply if that makes sense. Keith- 4,152 replies
-
- 2
-
-
- cutty sark
- tehnodidakta
- (and 1 more)