mort stoll
-
Posts
541 -
Joined
-
Last visited
Content Type
Profiles
Forums
Gallery
Events
Everything posted by mort stoll
-
I would send Caldercraft an email. Keep up the great work, Mort
-
I've always used either Elmers Wood Filler or Water Putty, and then I sand the hull in order to smooth it out. Mort
-
I would contact Model Shipways. I wouldn't be surprised if they replaced the subpar fittings. Mort
-
When I dry fitted my bulworks they were not the proper height. I had to trim the lower edge of my inner bulwork in order for the guns to be properly aligned. I believe I had to trim 3-4 mm from the lower edge. Mort
-
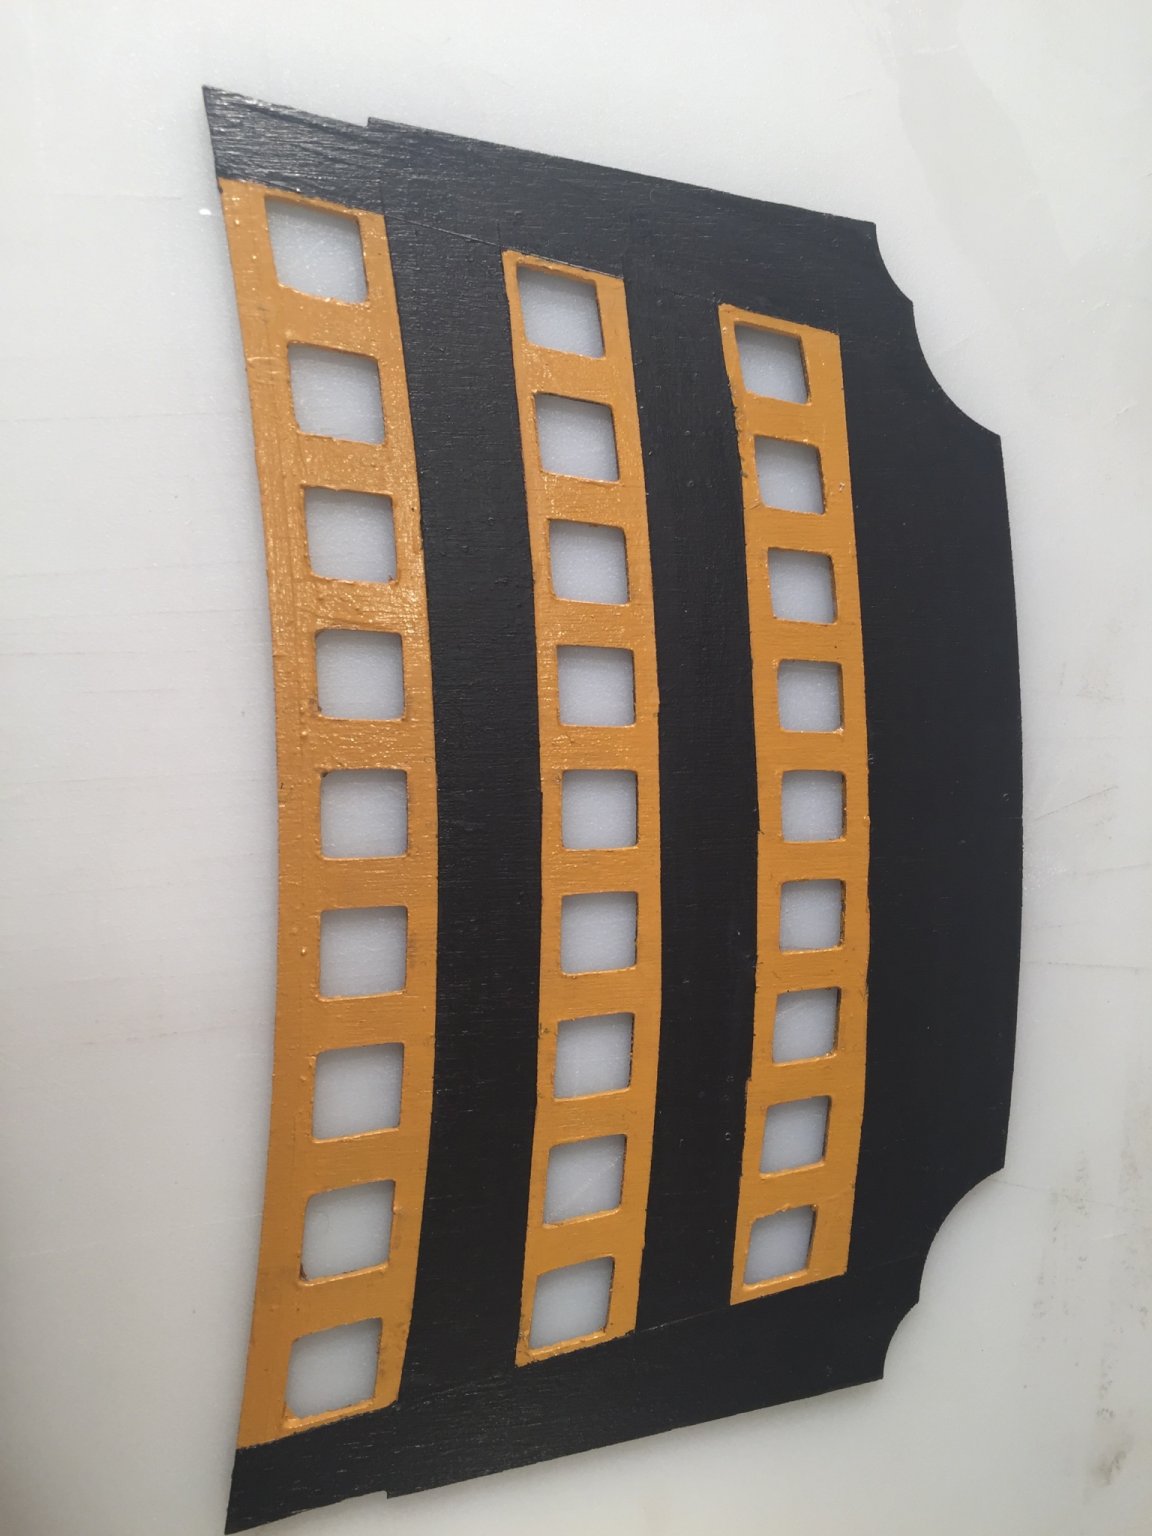
I had to add a another gun port to both the lower and middle gun deck at the bow. Count the gun ports on the template and the plans, sheets #2 and #5. Plans show 16 ports, templates only have 15 cut out. Mort
-
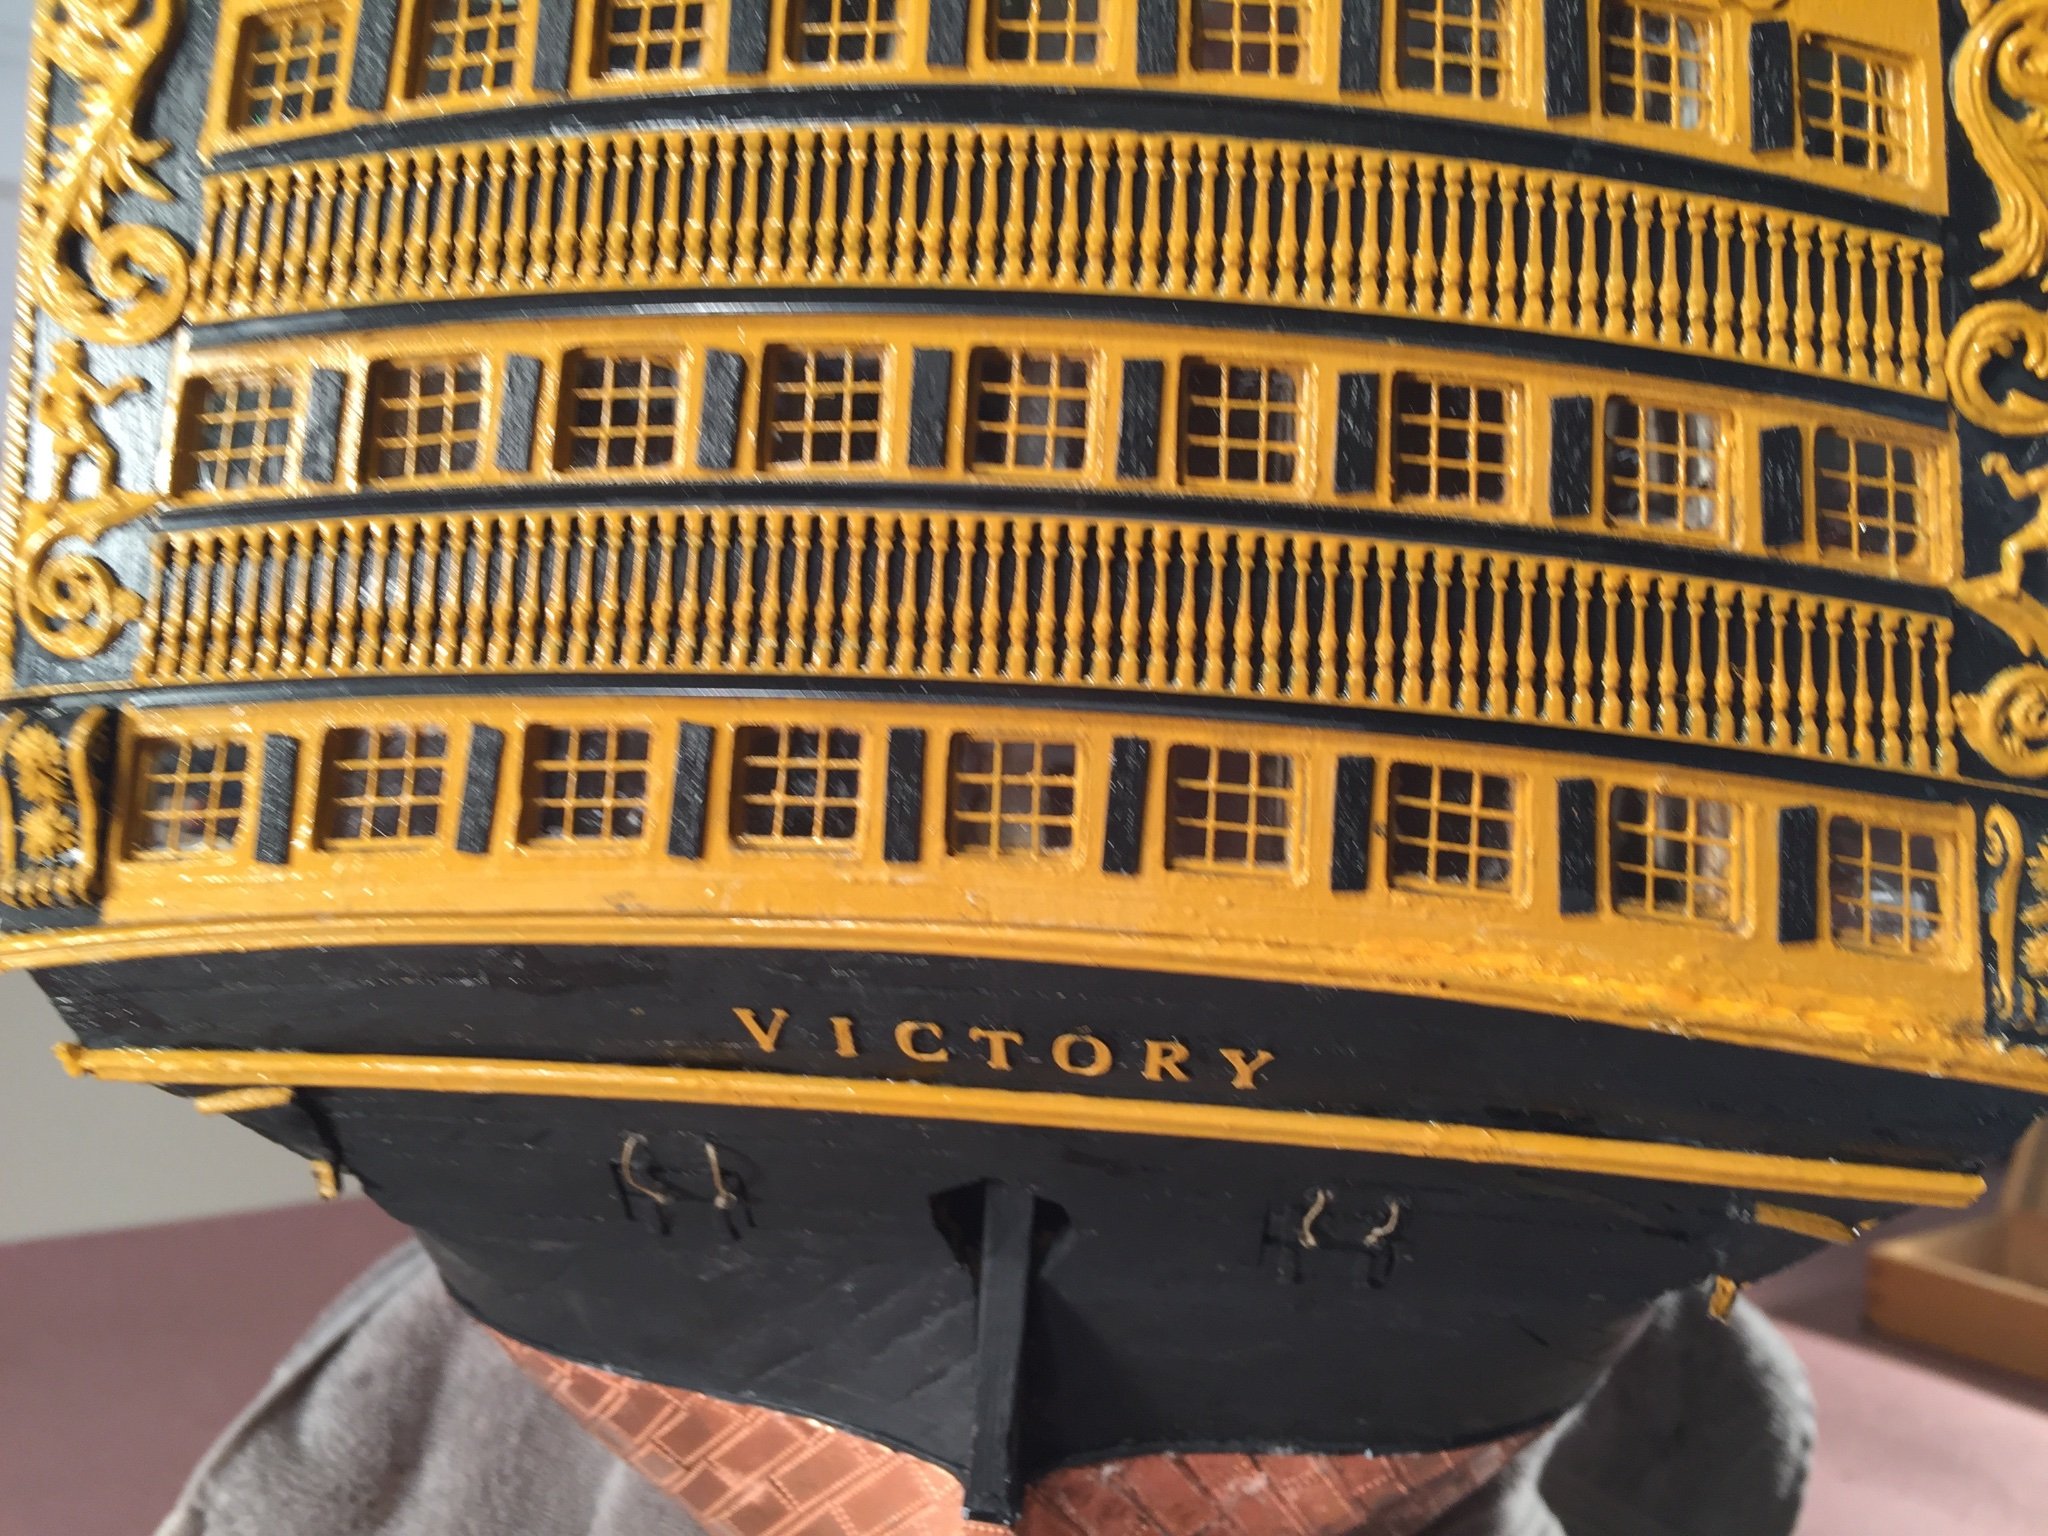
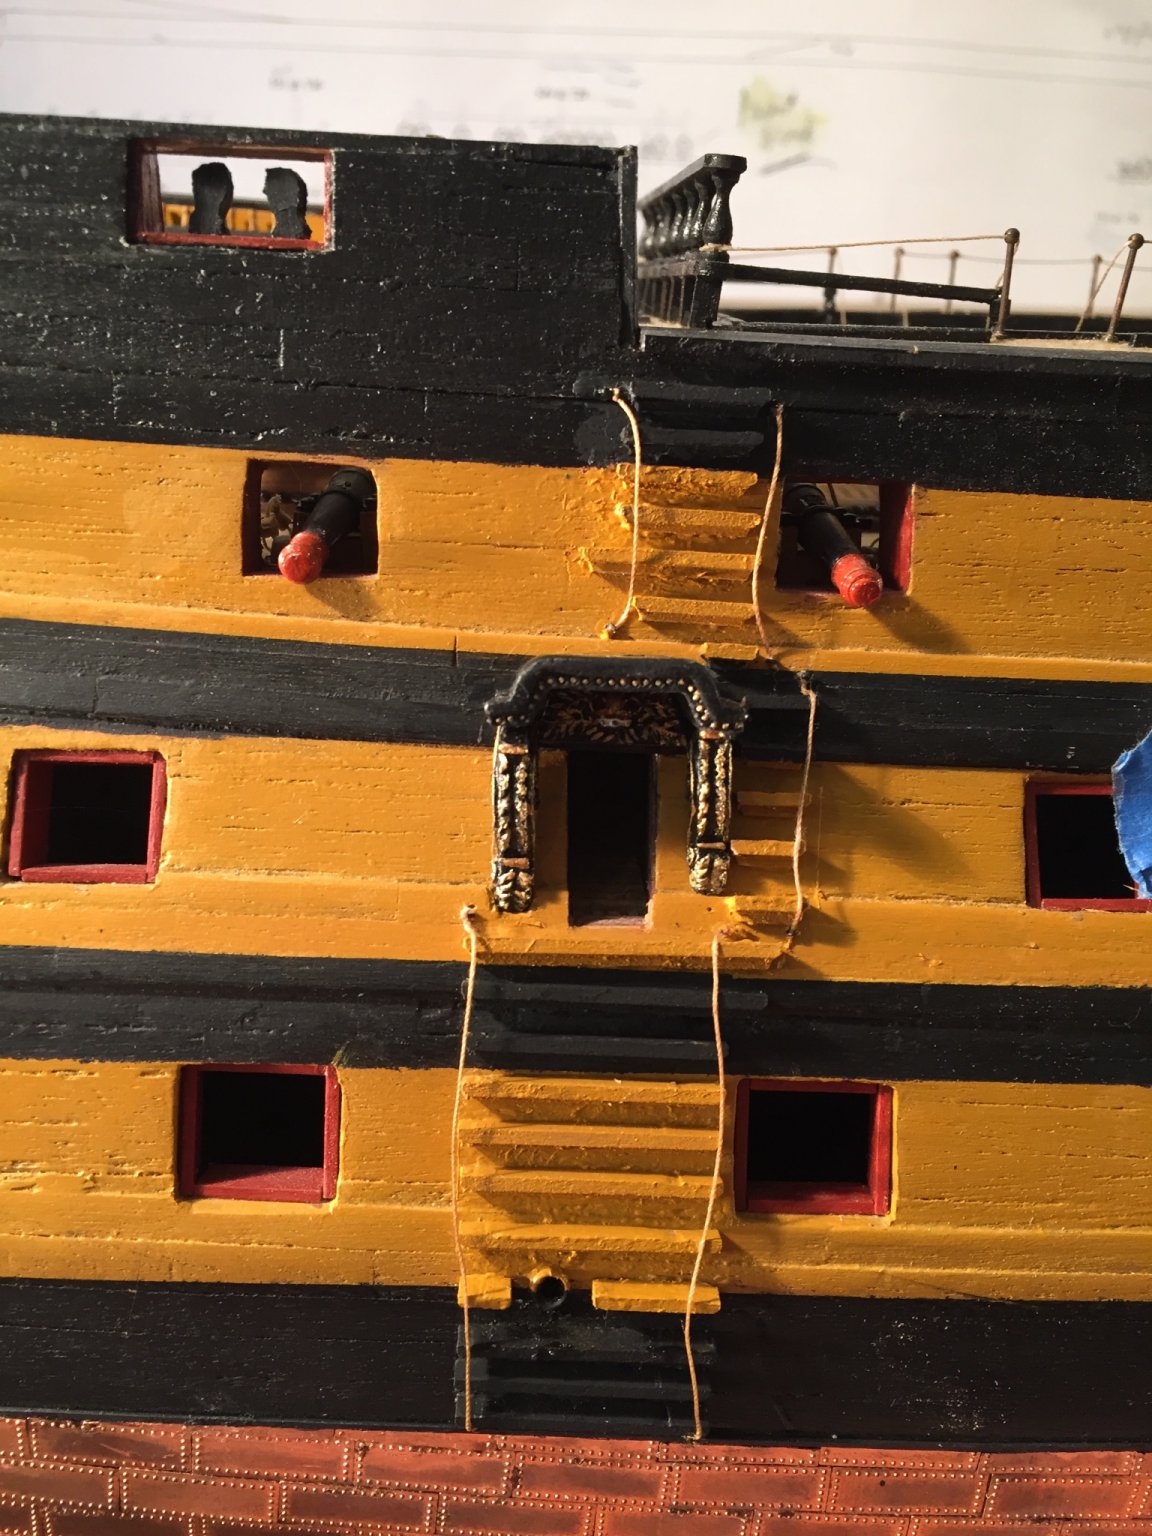
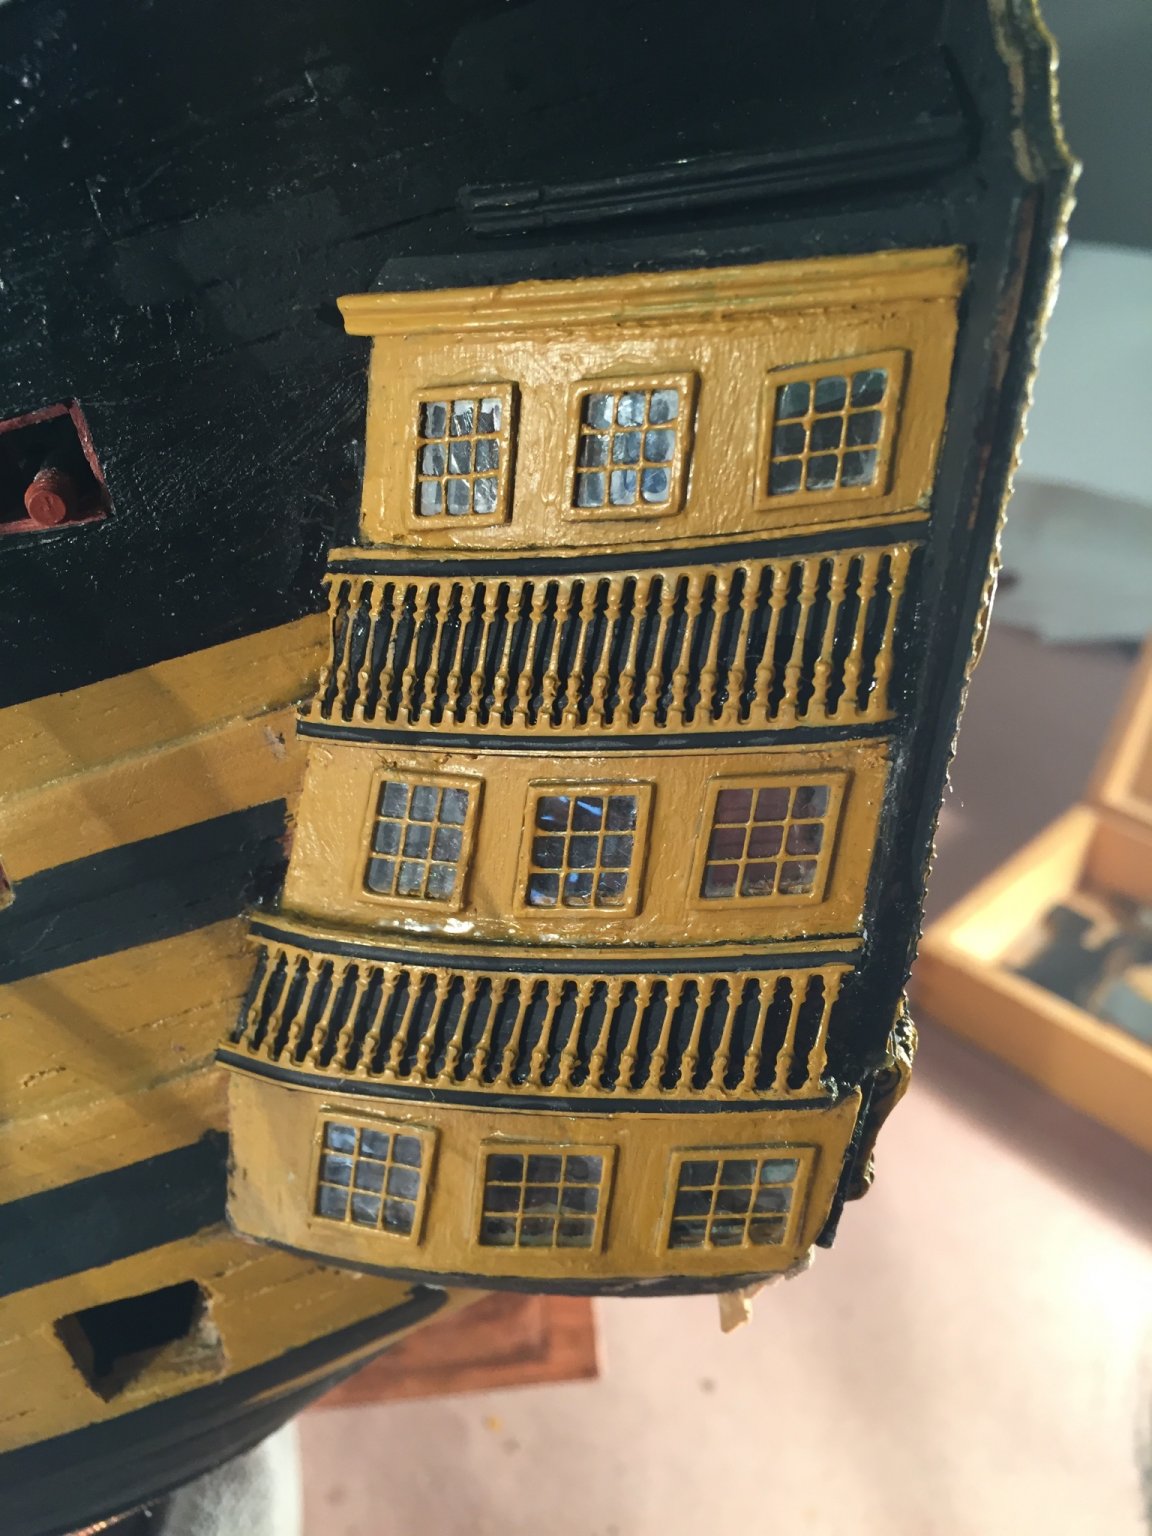
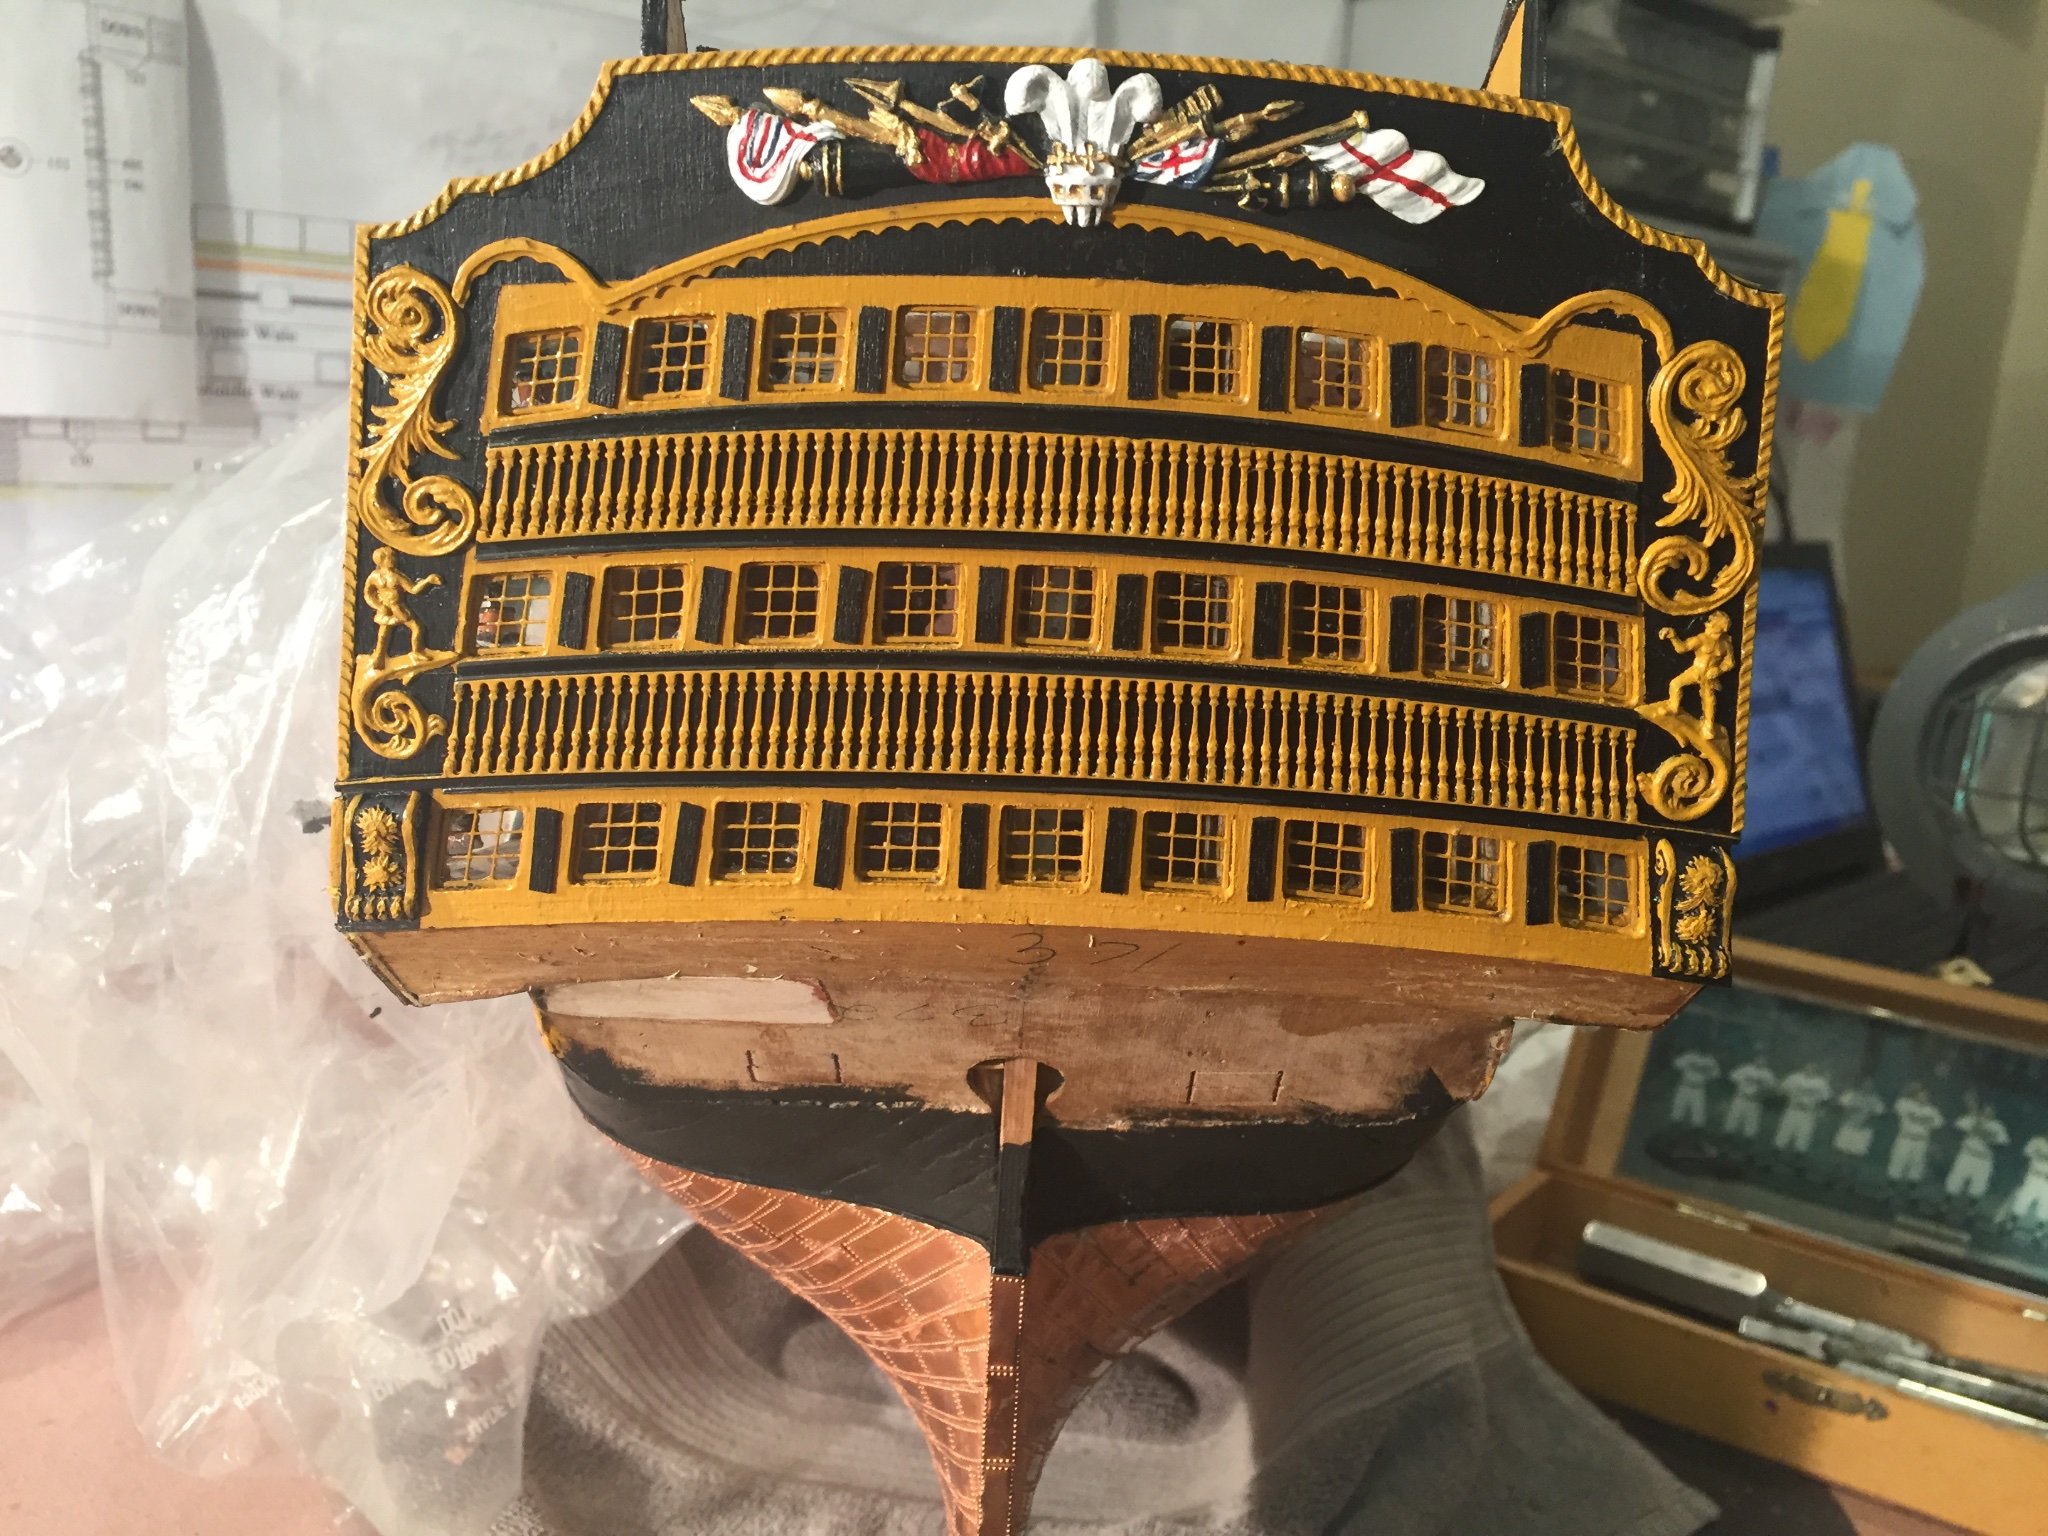
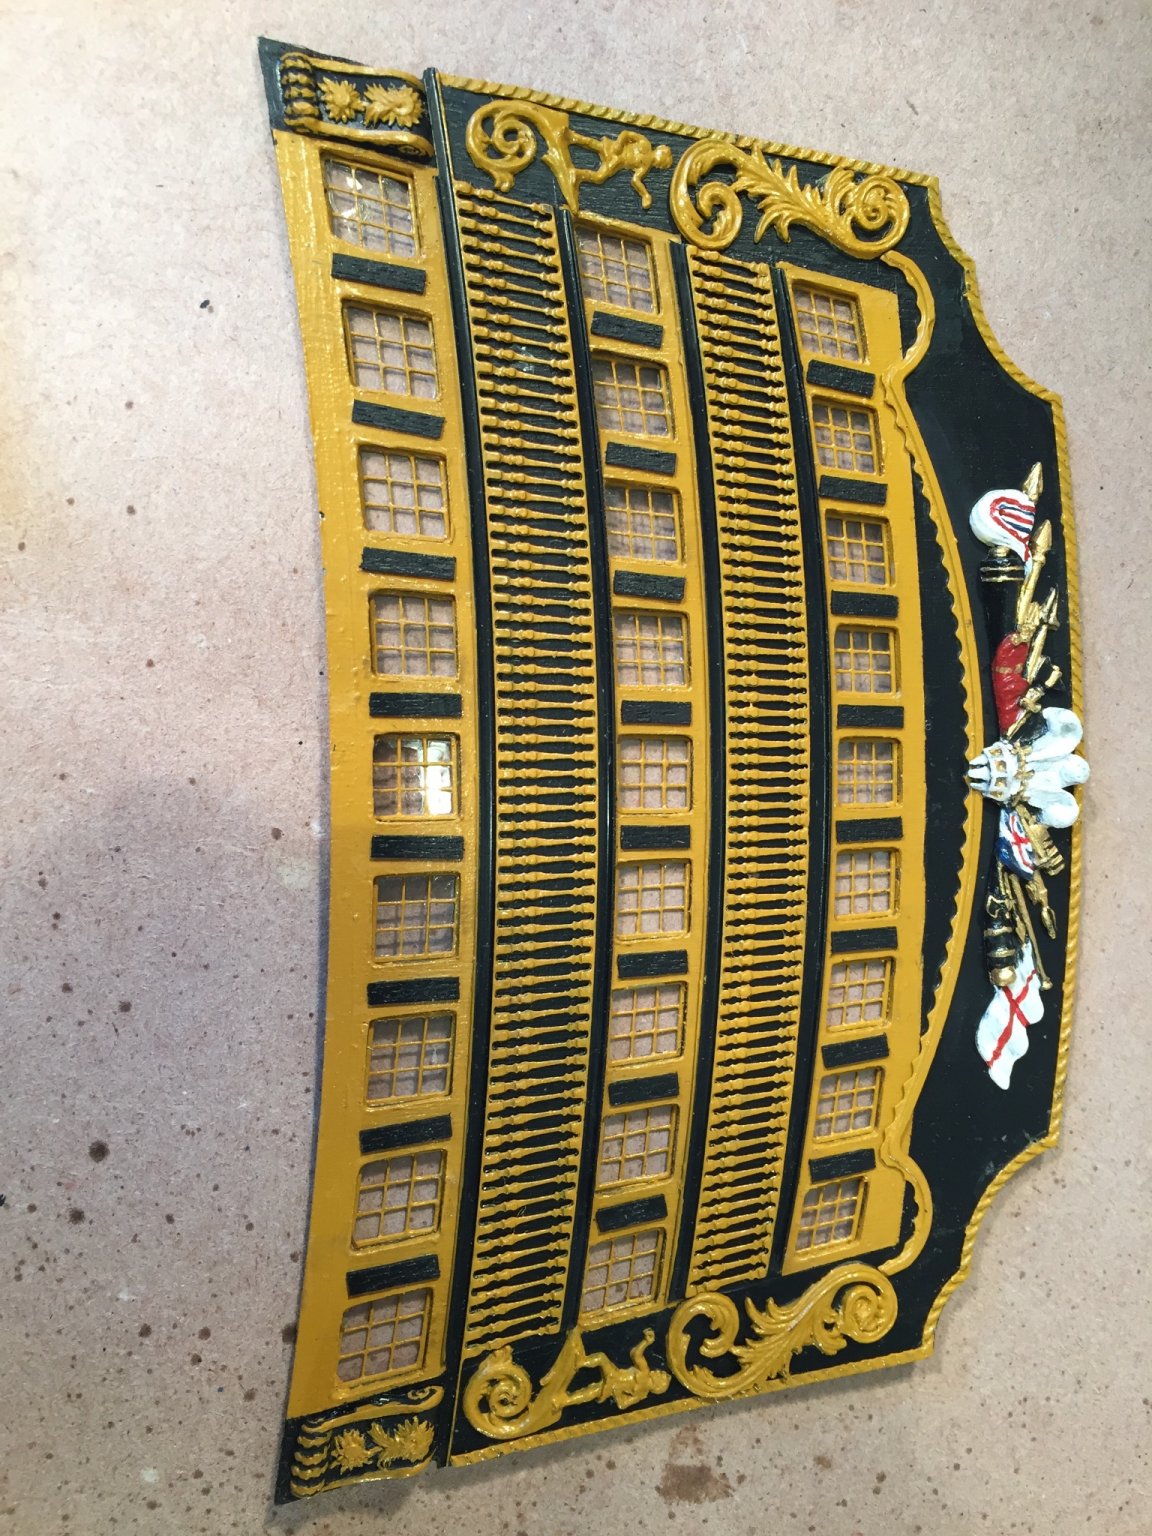
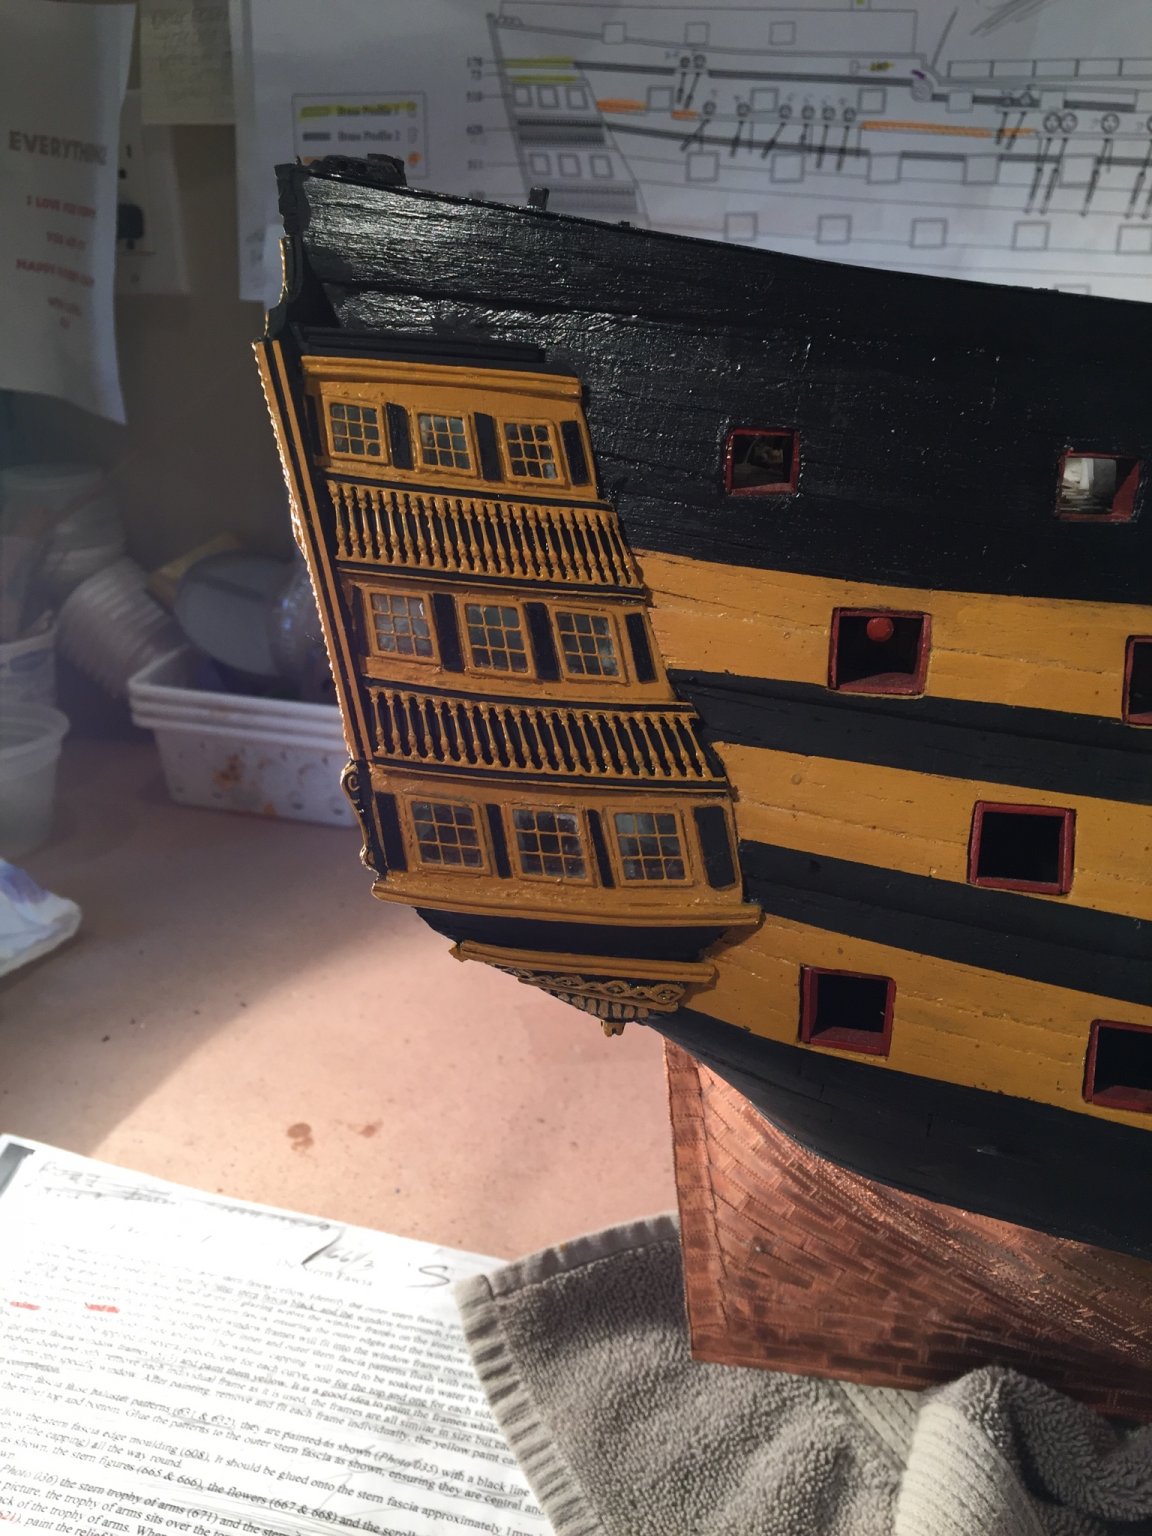
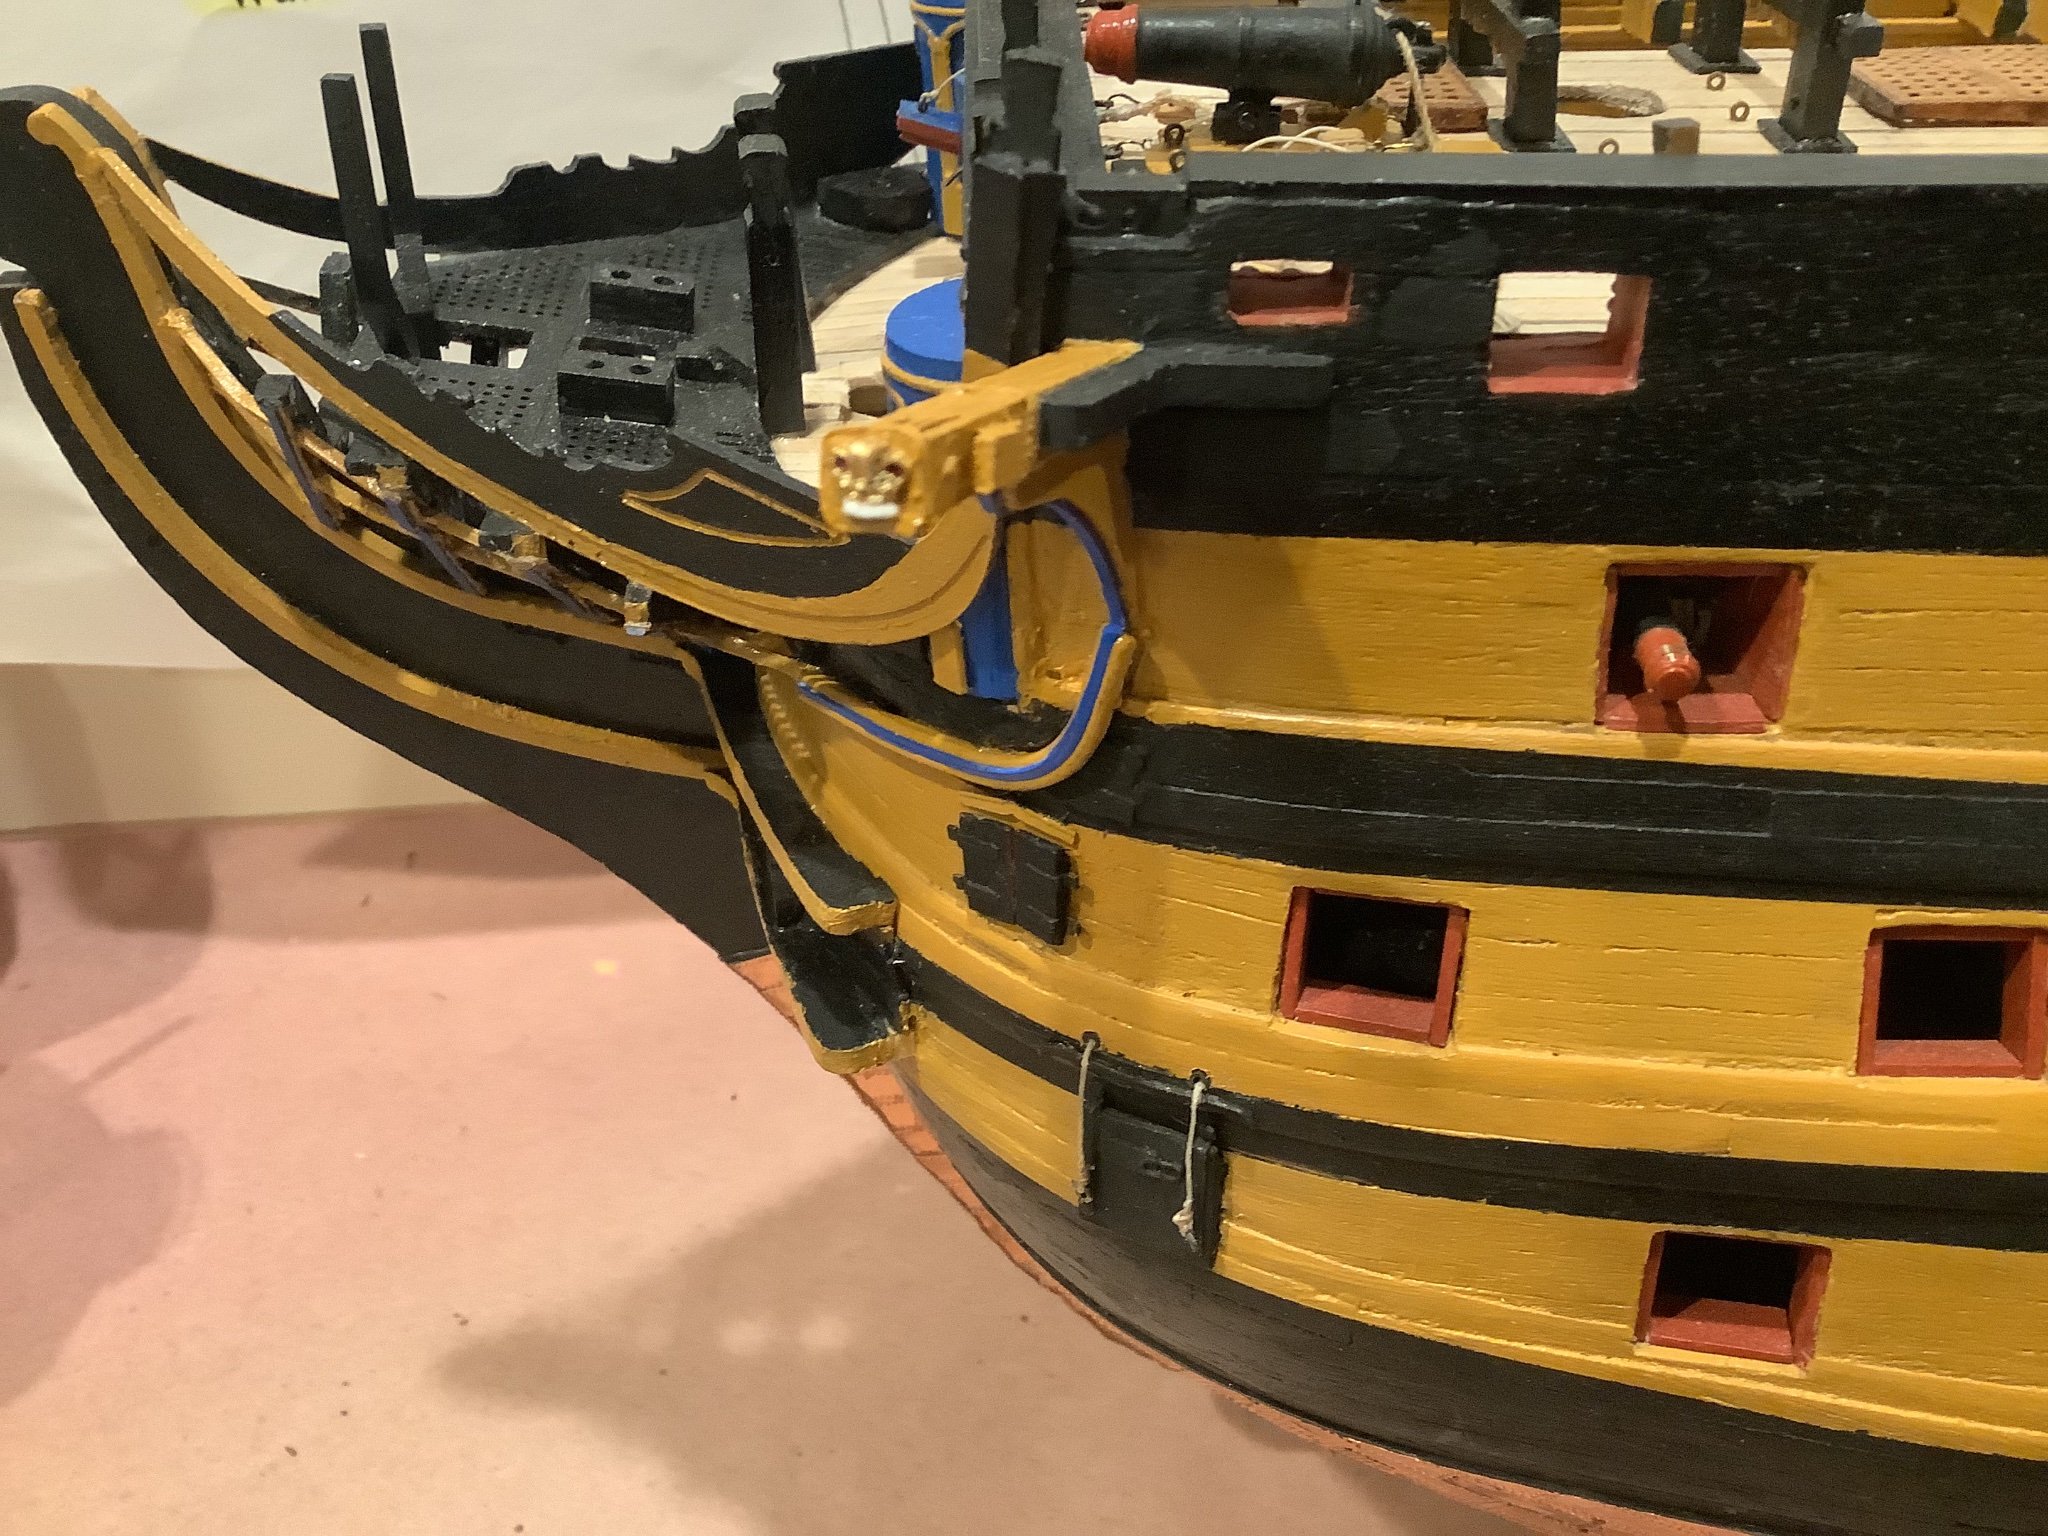
Finally completed the stern and quarter galleries. Definitely for me the most difficult part of the build so far. It was difficult to shape those baluster patterns and the decorative brass strips. I still have to varnish the stern and quarter galleries. I also just finished the side entry port and steps. I added rope lines to the steps even though the kit doesn’t show them as I couldn’t imagine those older admirals being able to climb those steps without them, Stay safe and well, Mort
- 60 replies
-
- 3
-

-
- victory
- caldercraft
- (and 1 more)
-
PS Keep up the great work.
-
Back in the day if a line separated they would I believe graft both ends together "as for splicing" and woven together and then seized. It's explained and nicely illustrated in Chapter 10 in " Young Officer's Sheet Anchor" by Lever. Mort
-
Hi Will, When I installed the stern gallery windows I glazed them as you did. As luck would have it during the course of construction I broke 2 of them. I'm now working on the stern the quarter galleries and just finished installing the window frames #'s 510, 511, 512. I glazed all of the window frames before I glued them on and they all look fine. If I didn't know the glazing was missing on 2 windows I wouldn't know. Also as an added plus the window frames act as sort of a guard as the as the glazing is behind the frames. Hope this helps. Keep up the great work. Any questions, don't hesitate, Mort
-
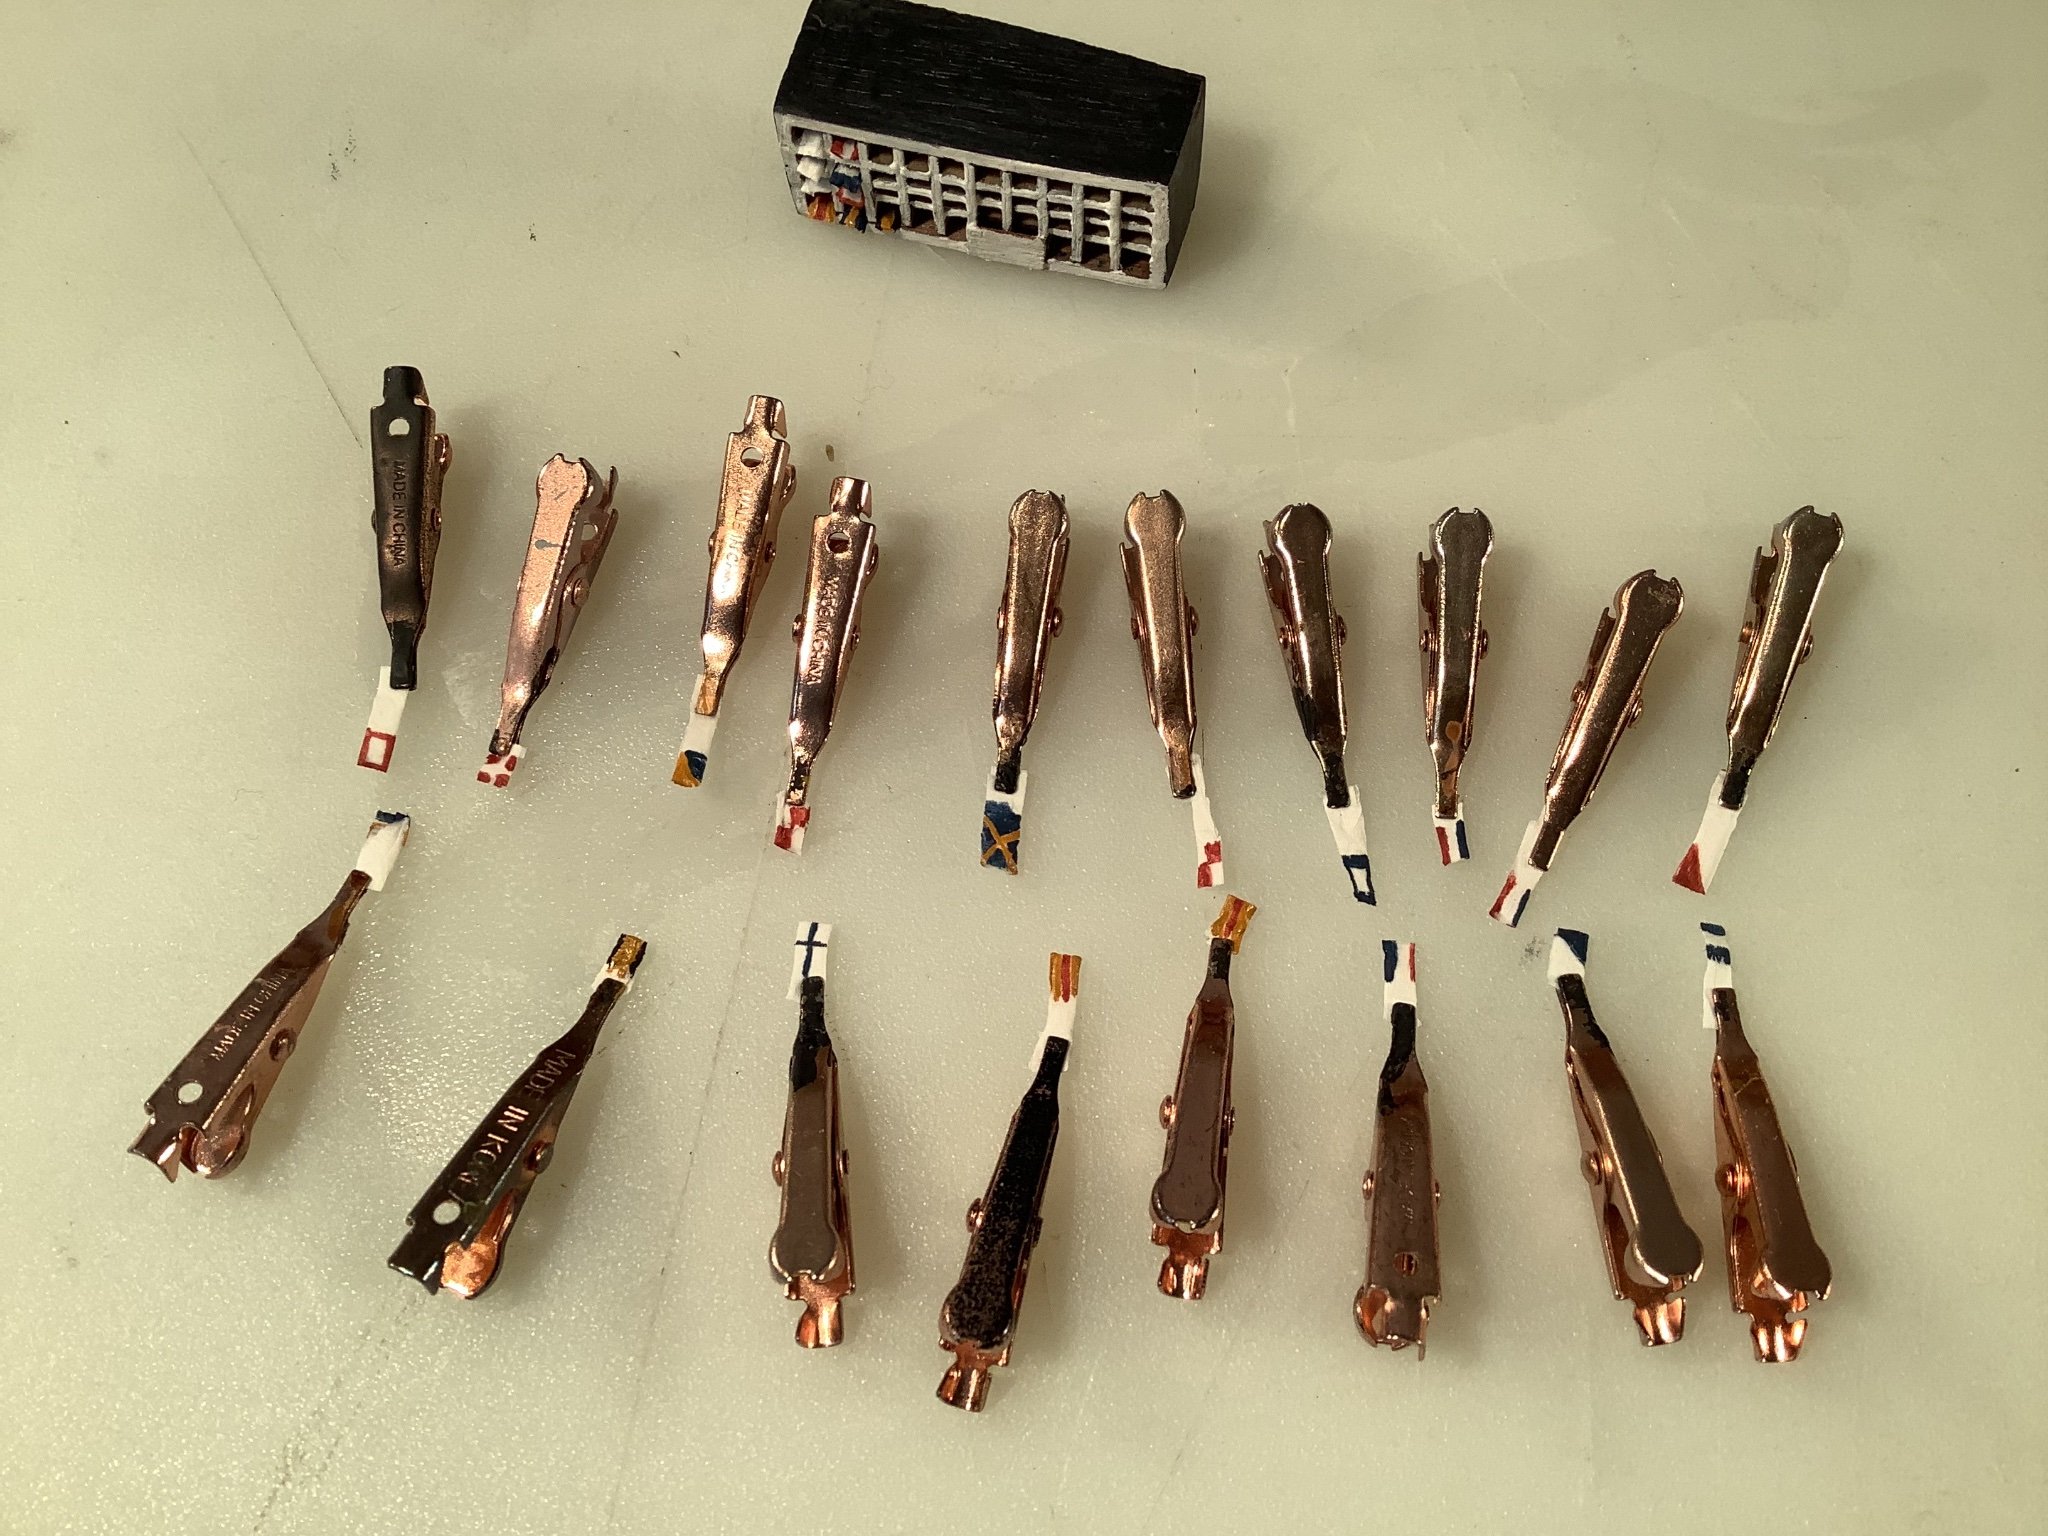
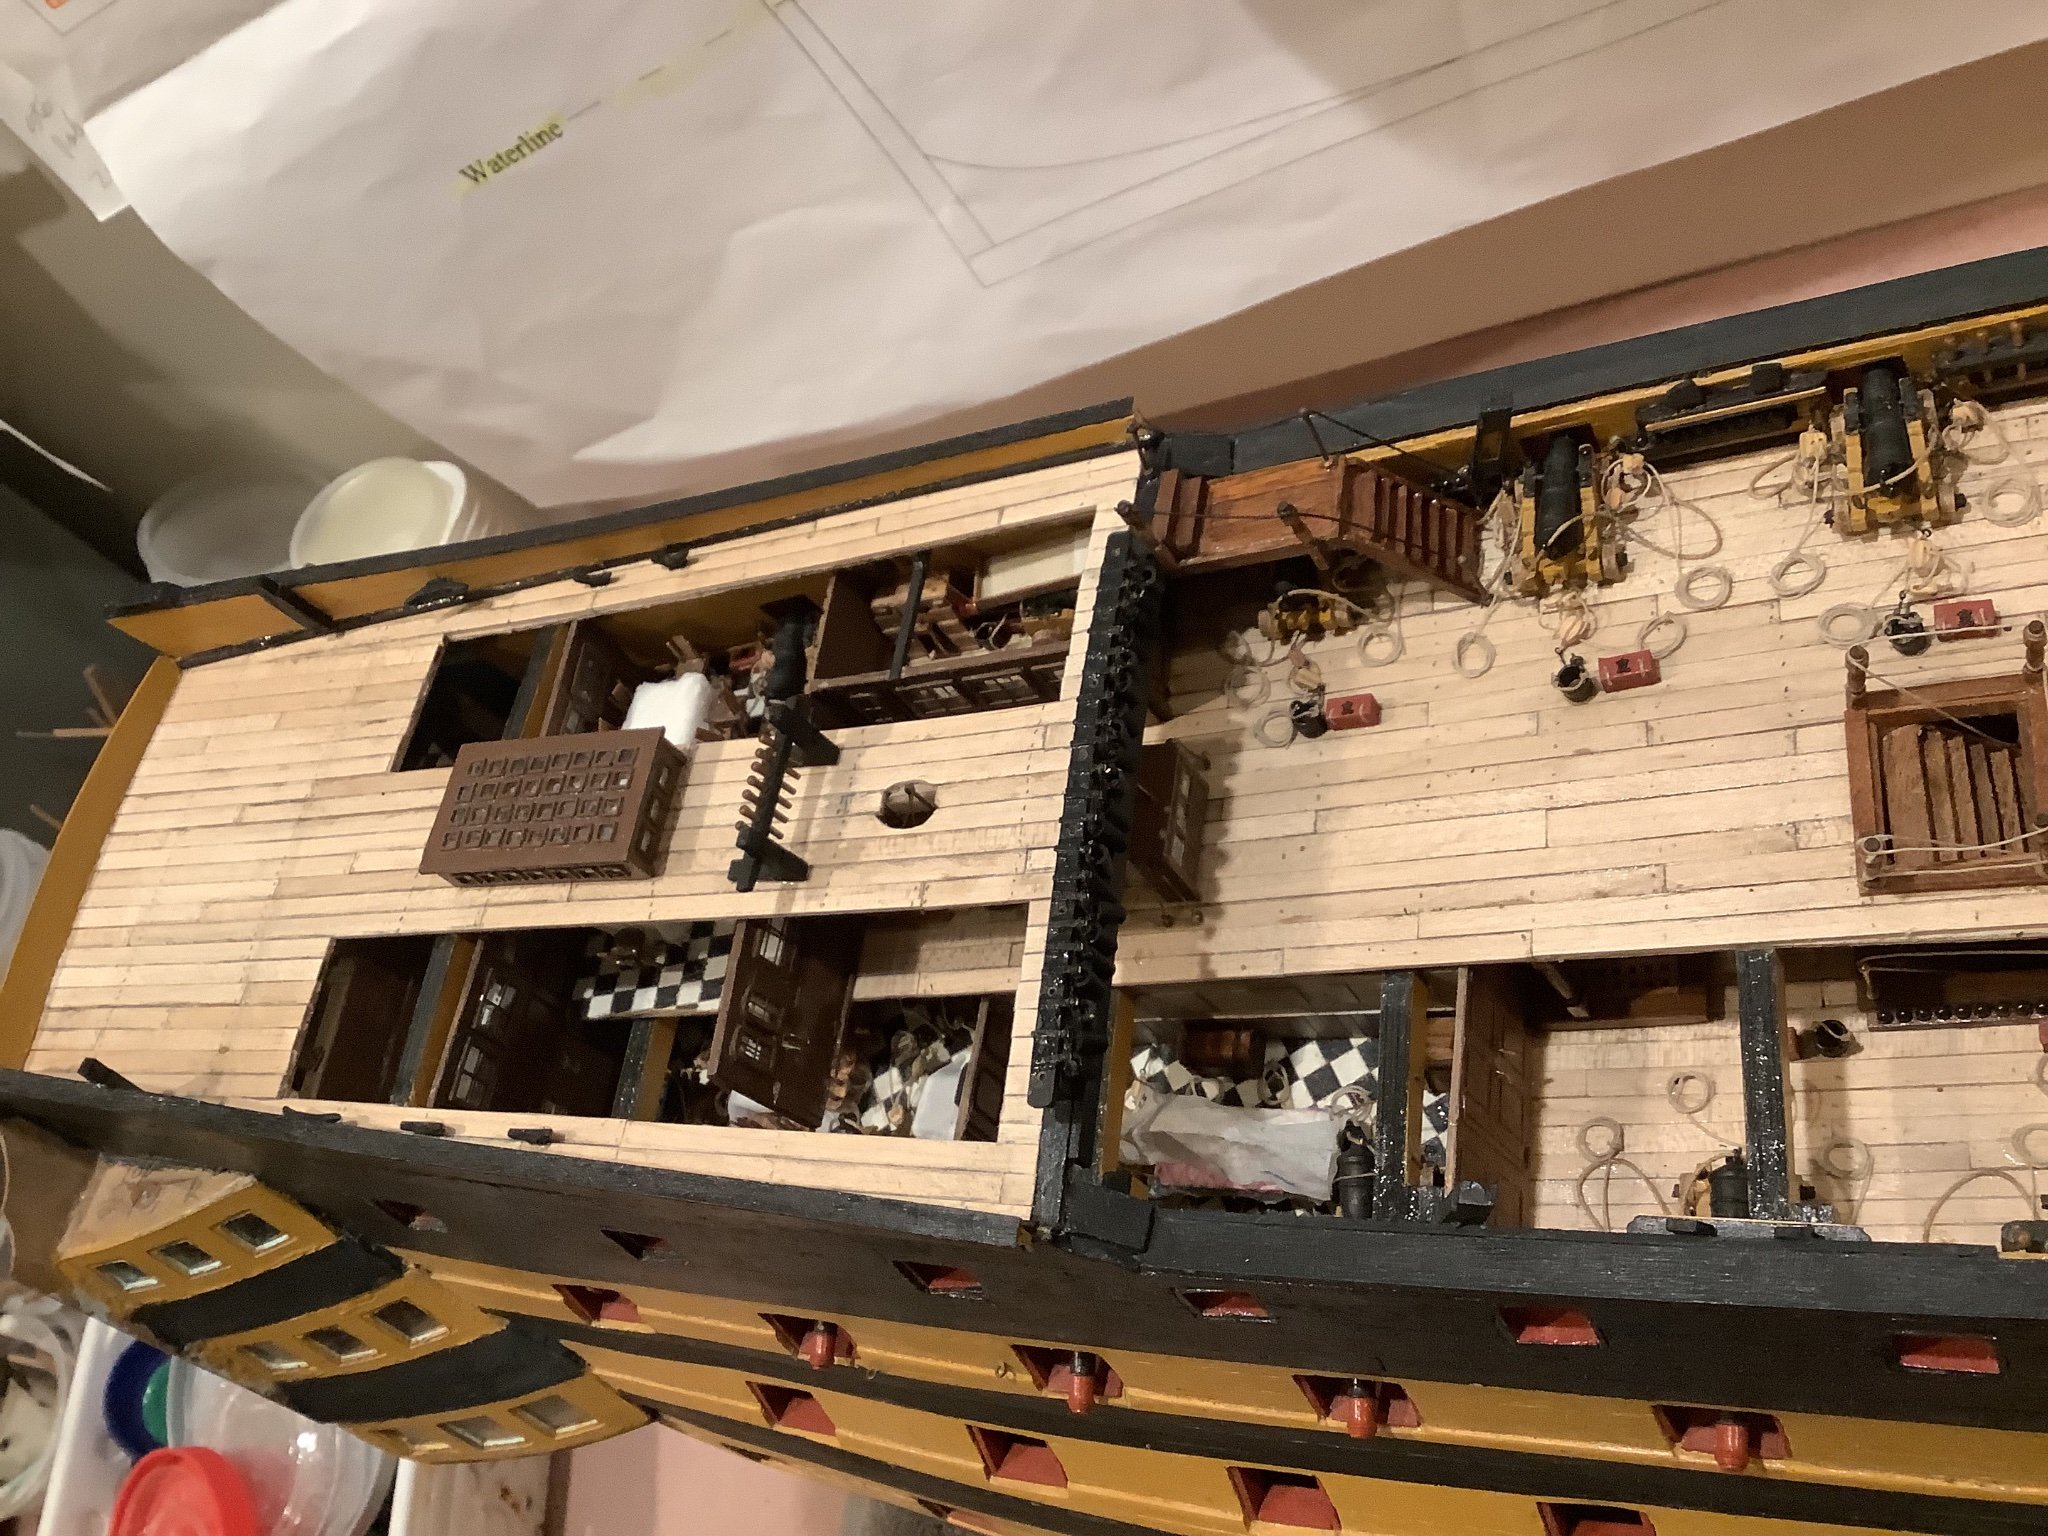
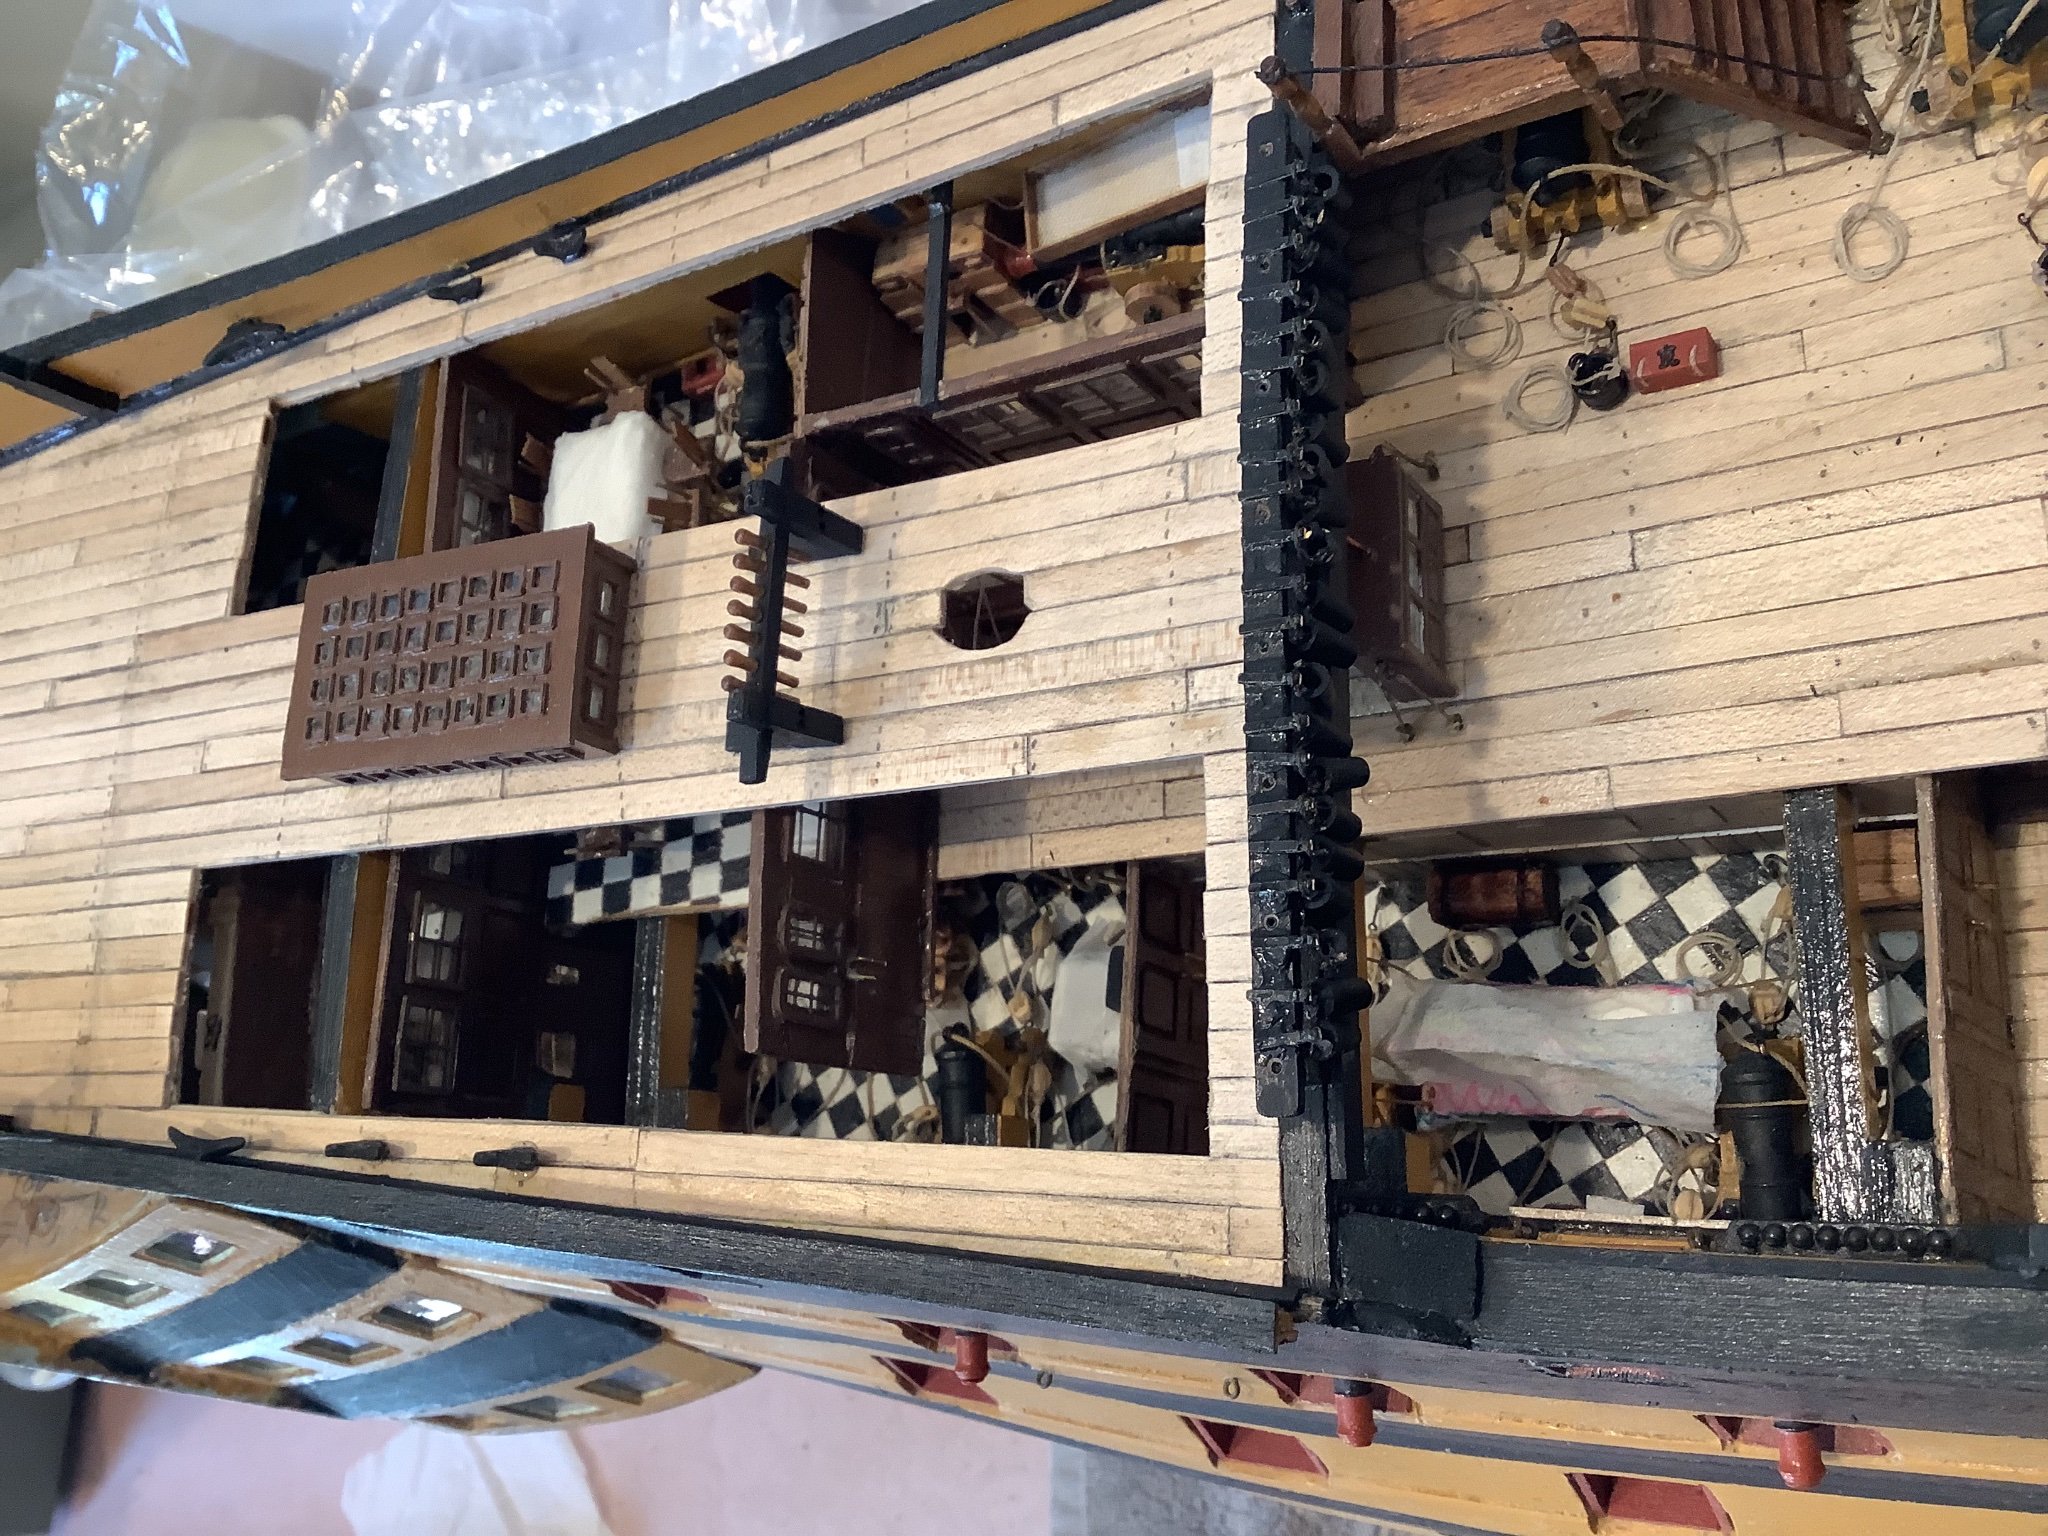
Completed the flag lockers - they look better in person - and started work on the stern.
-
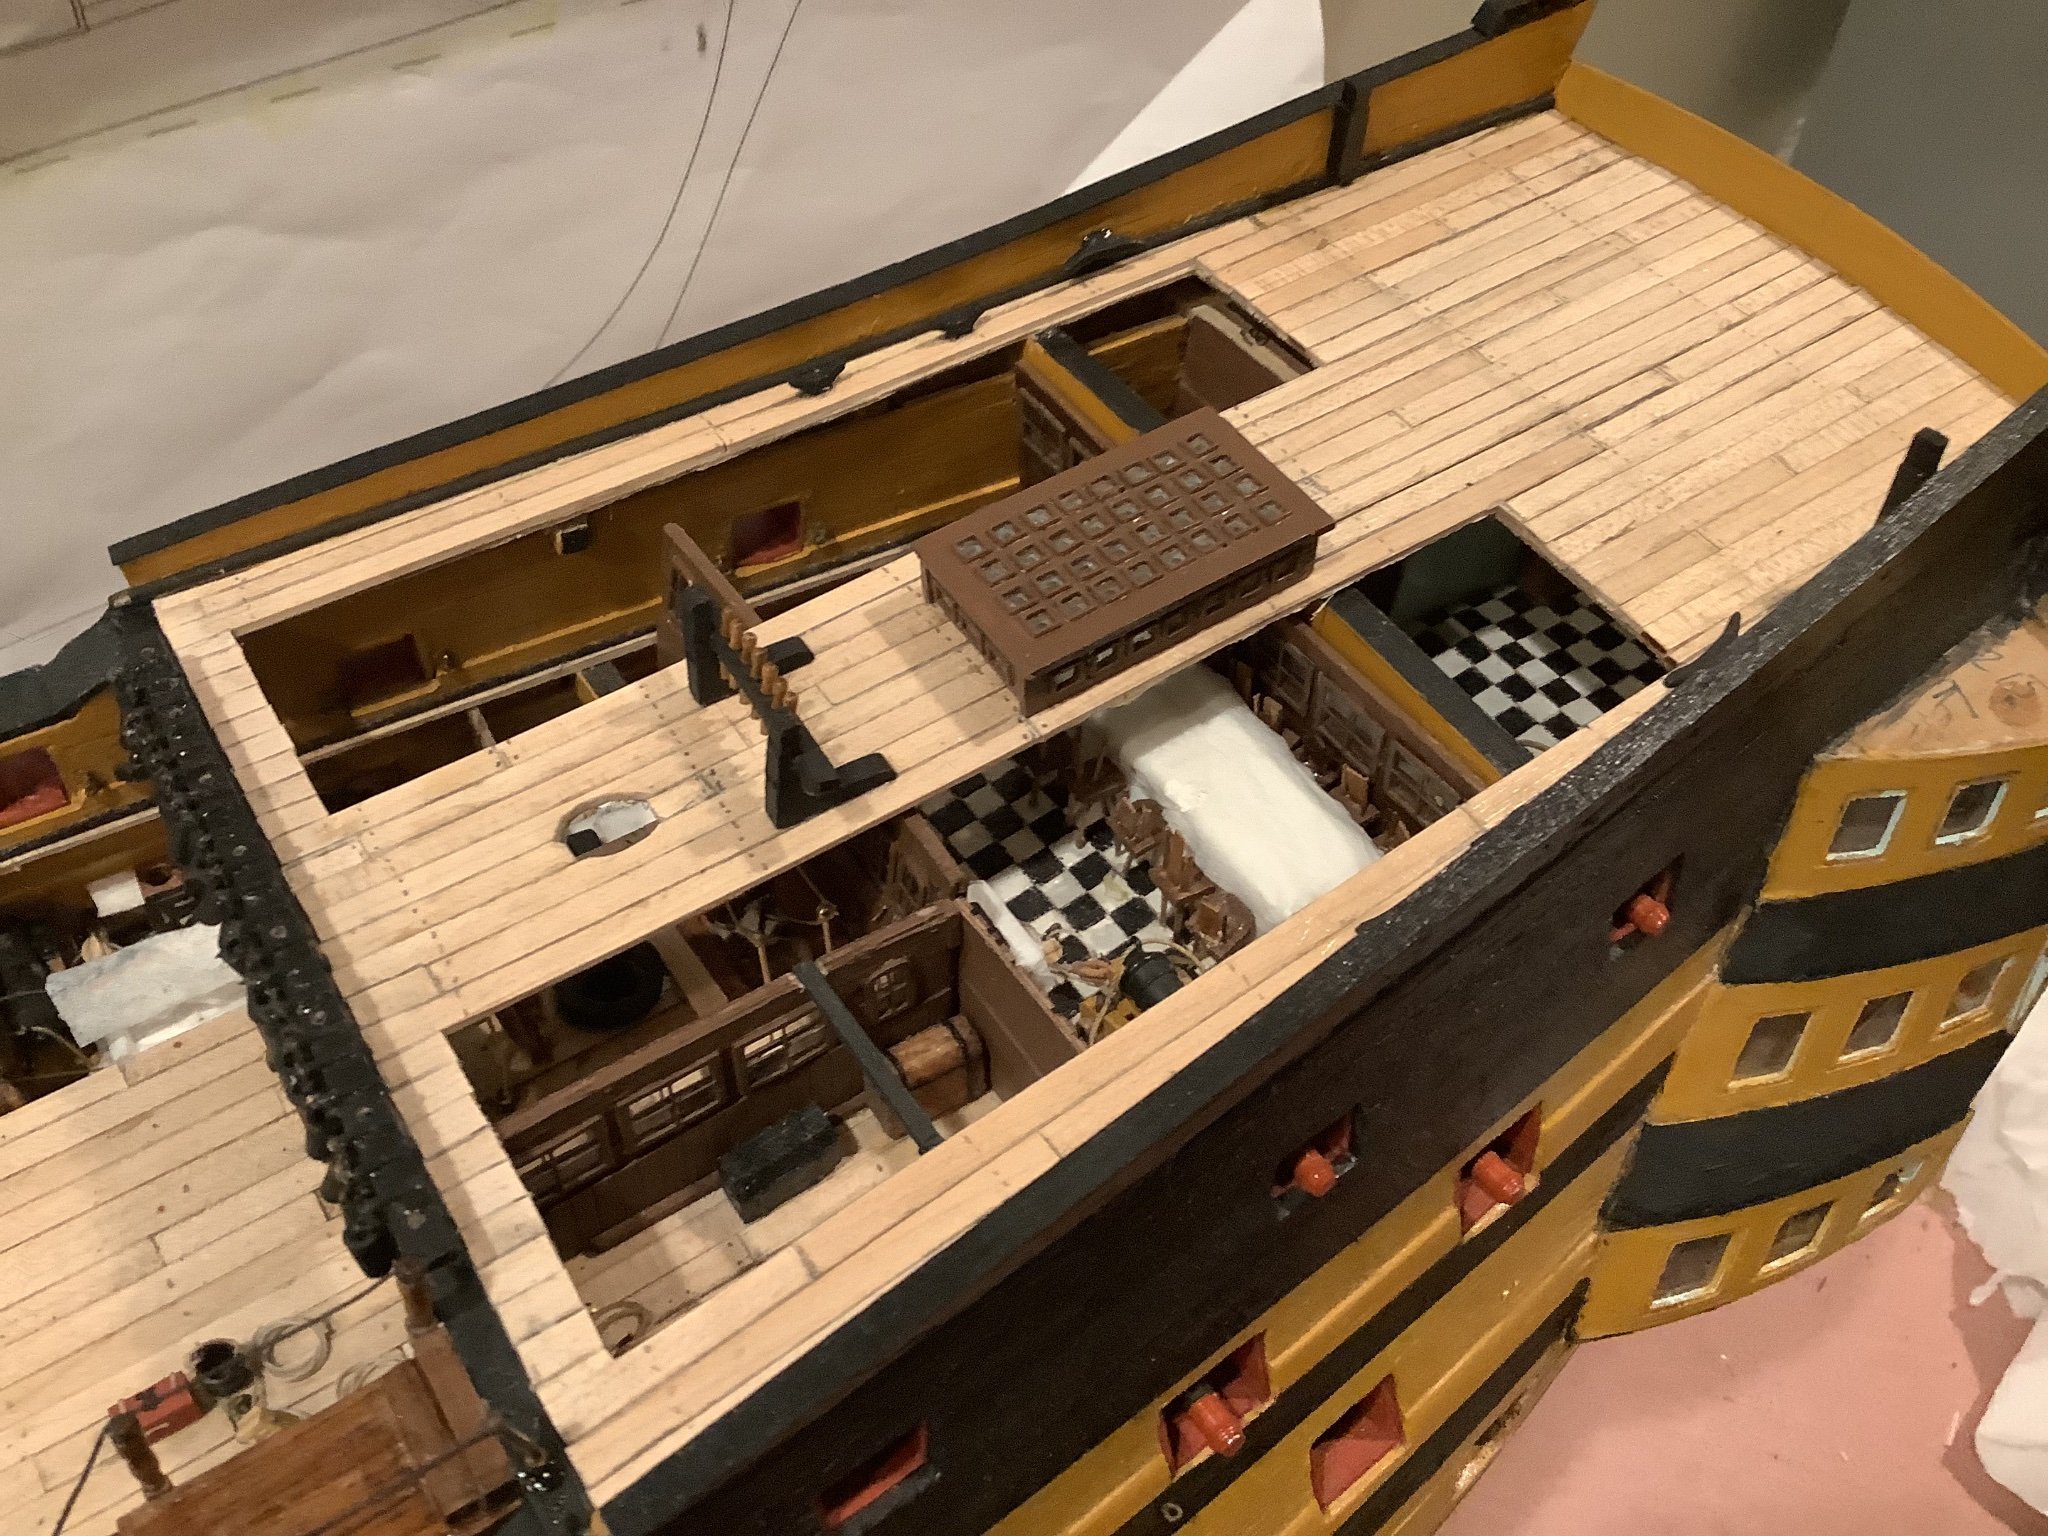
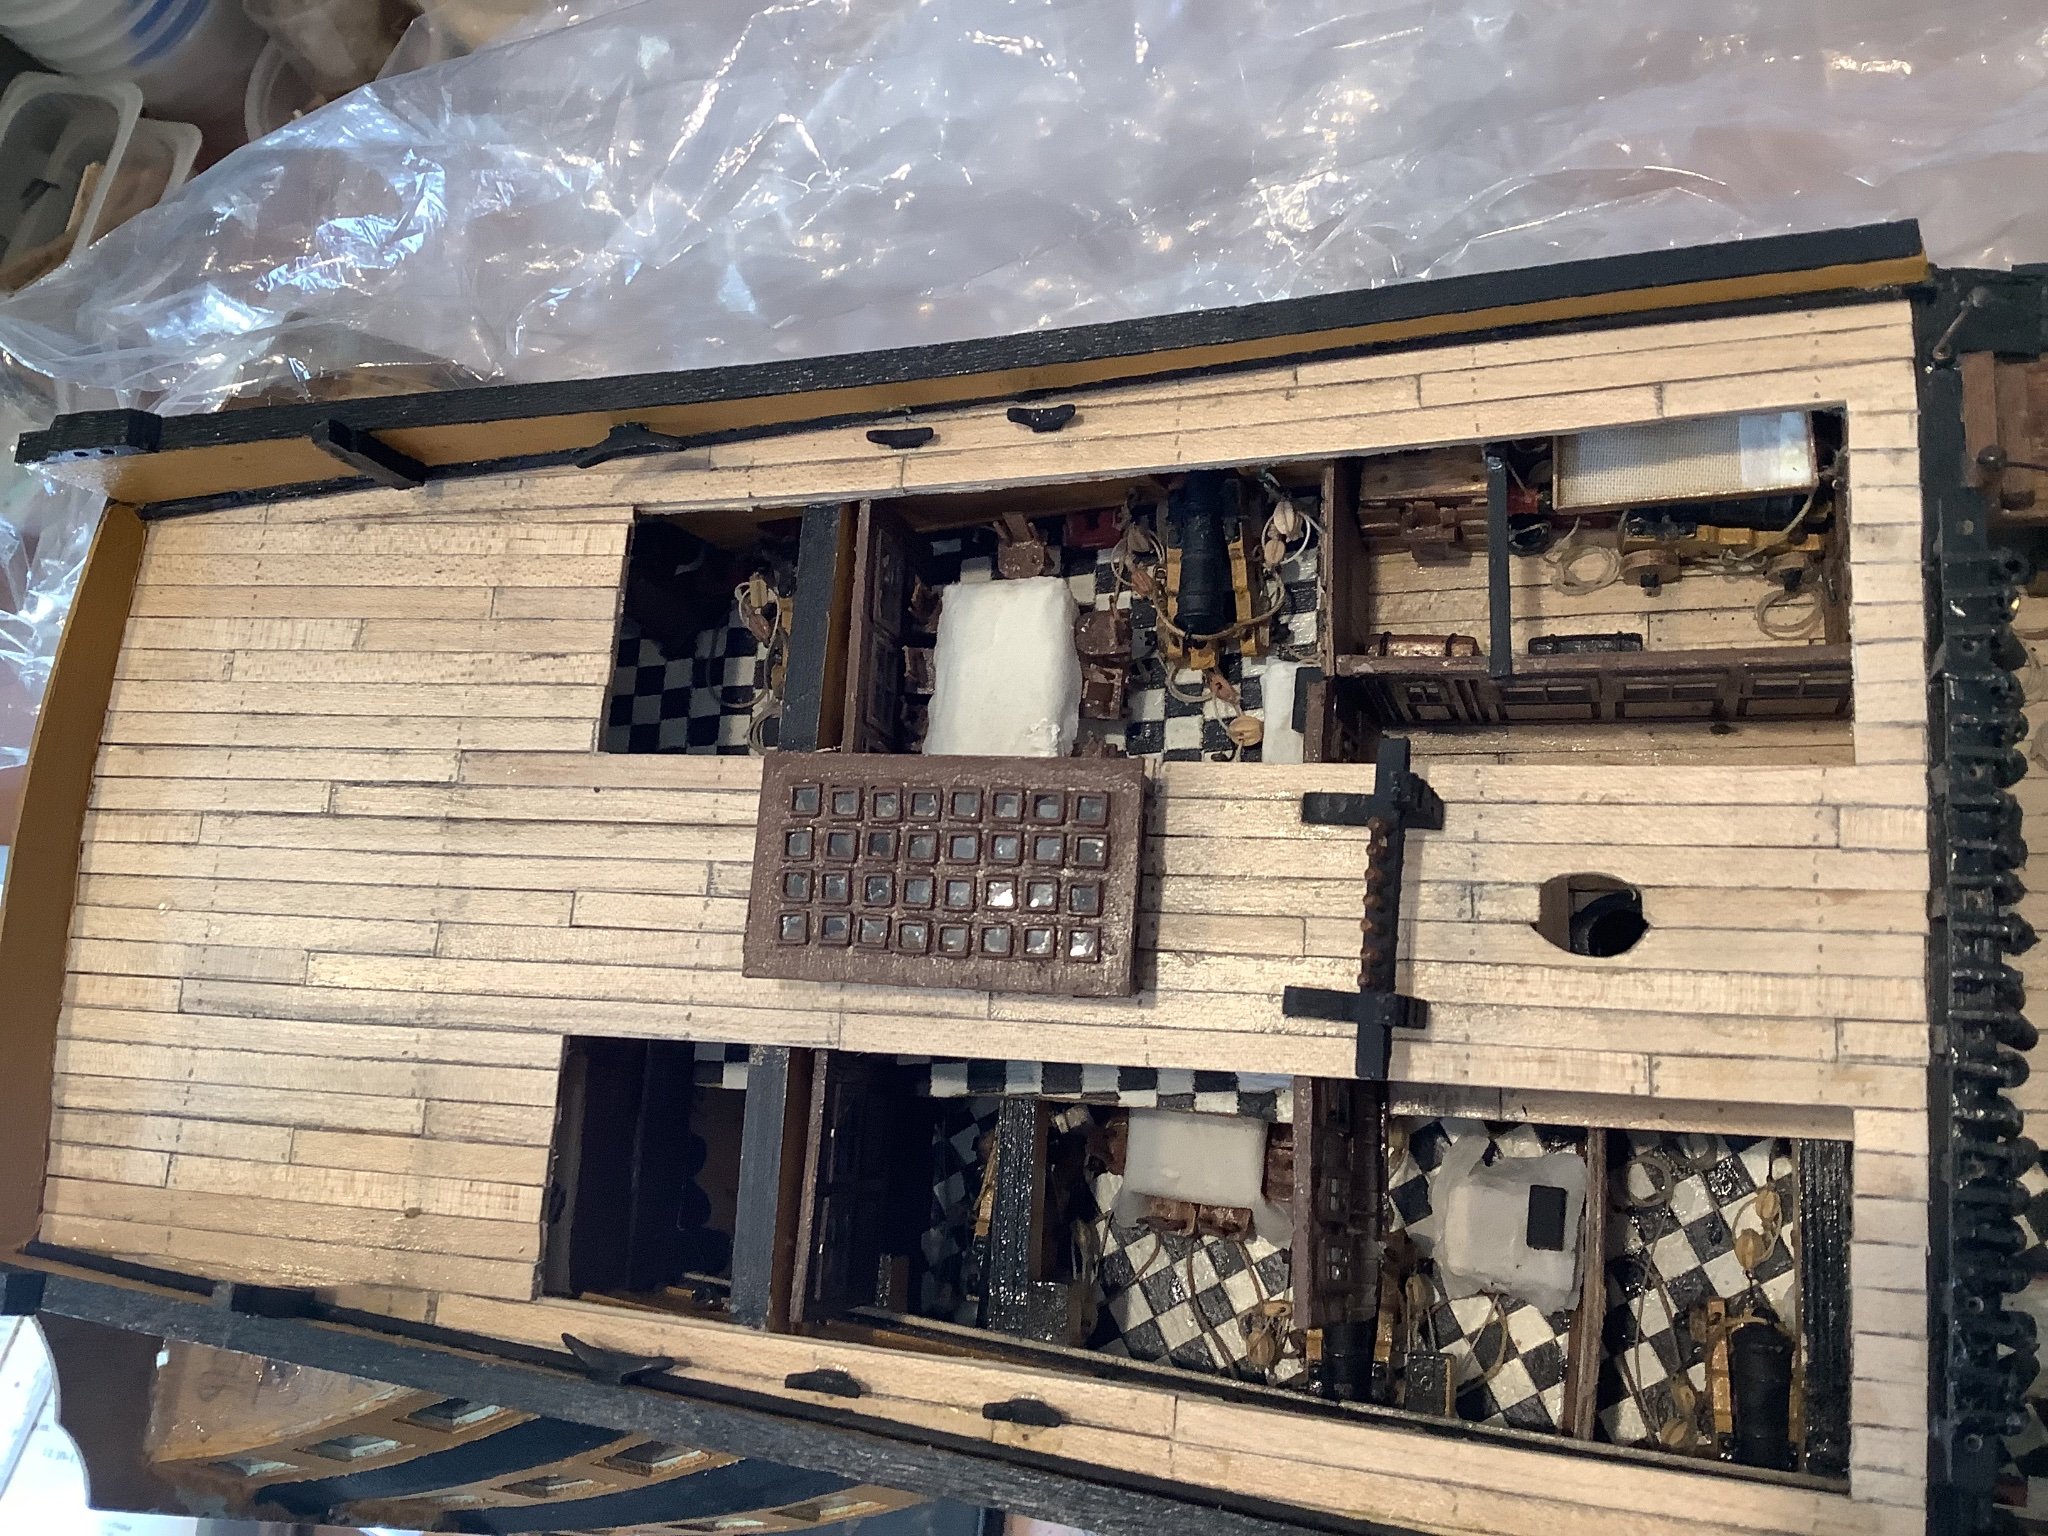
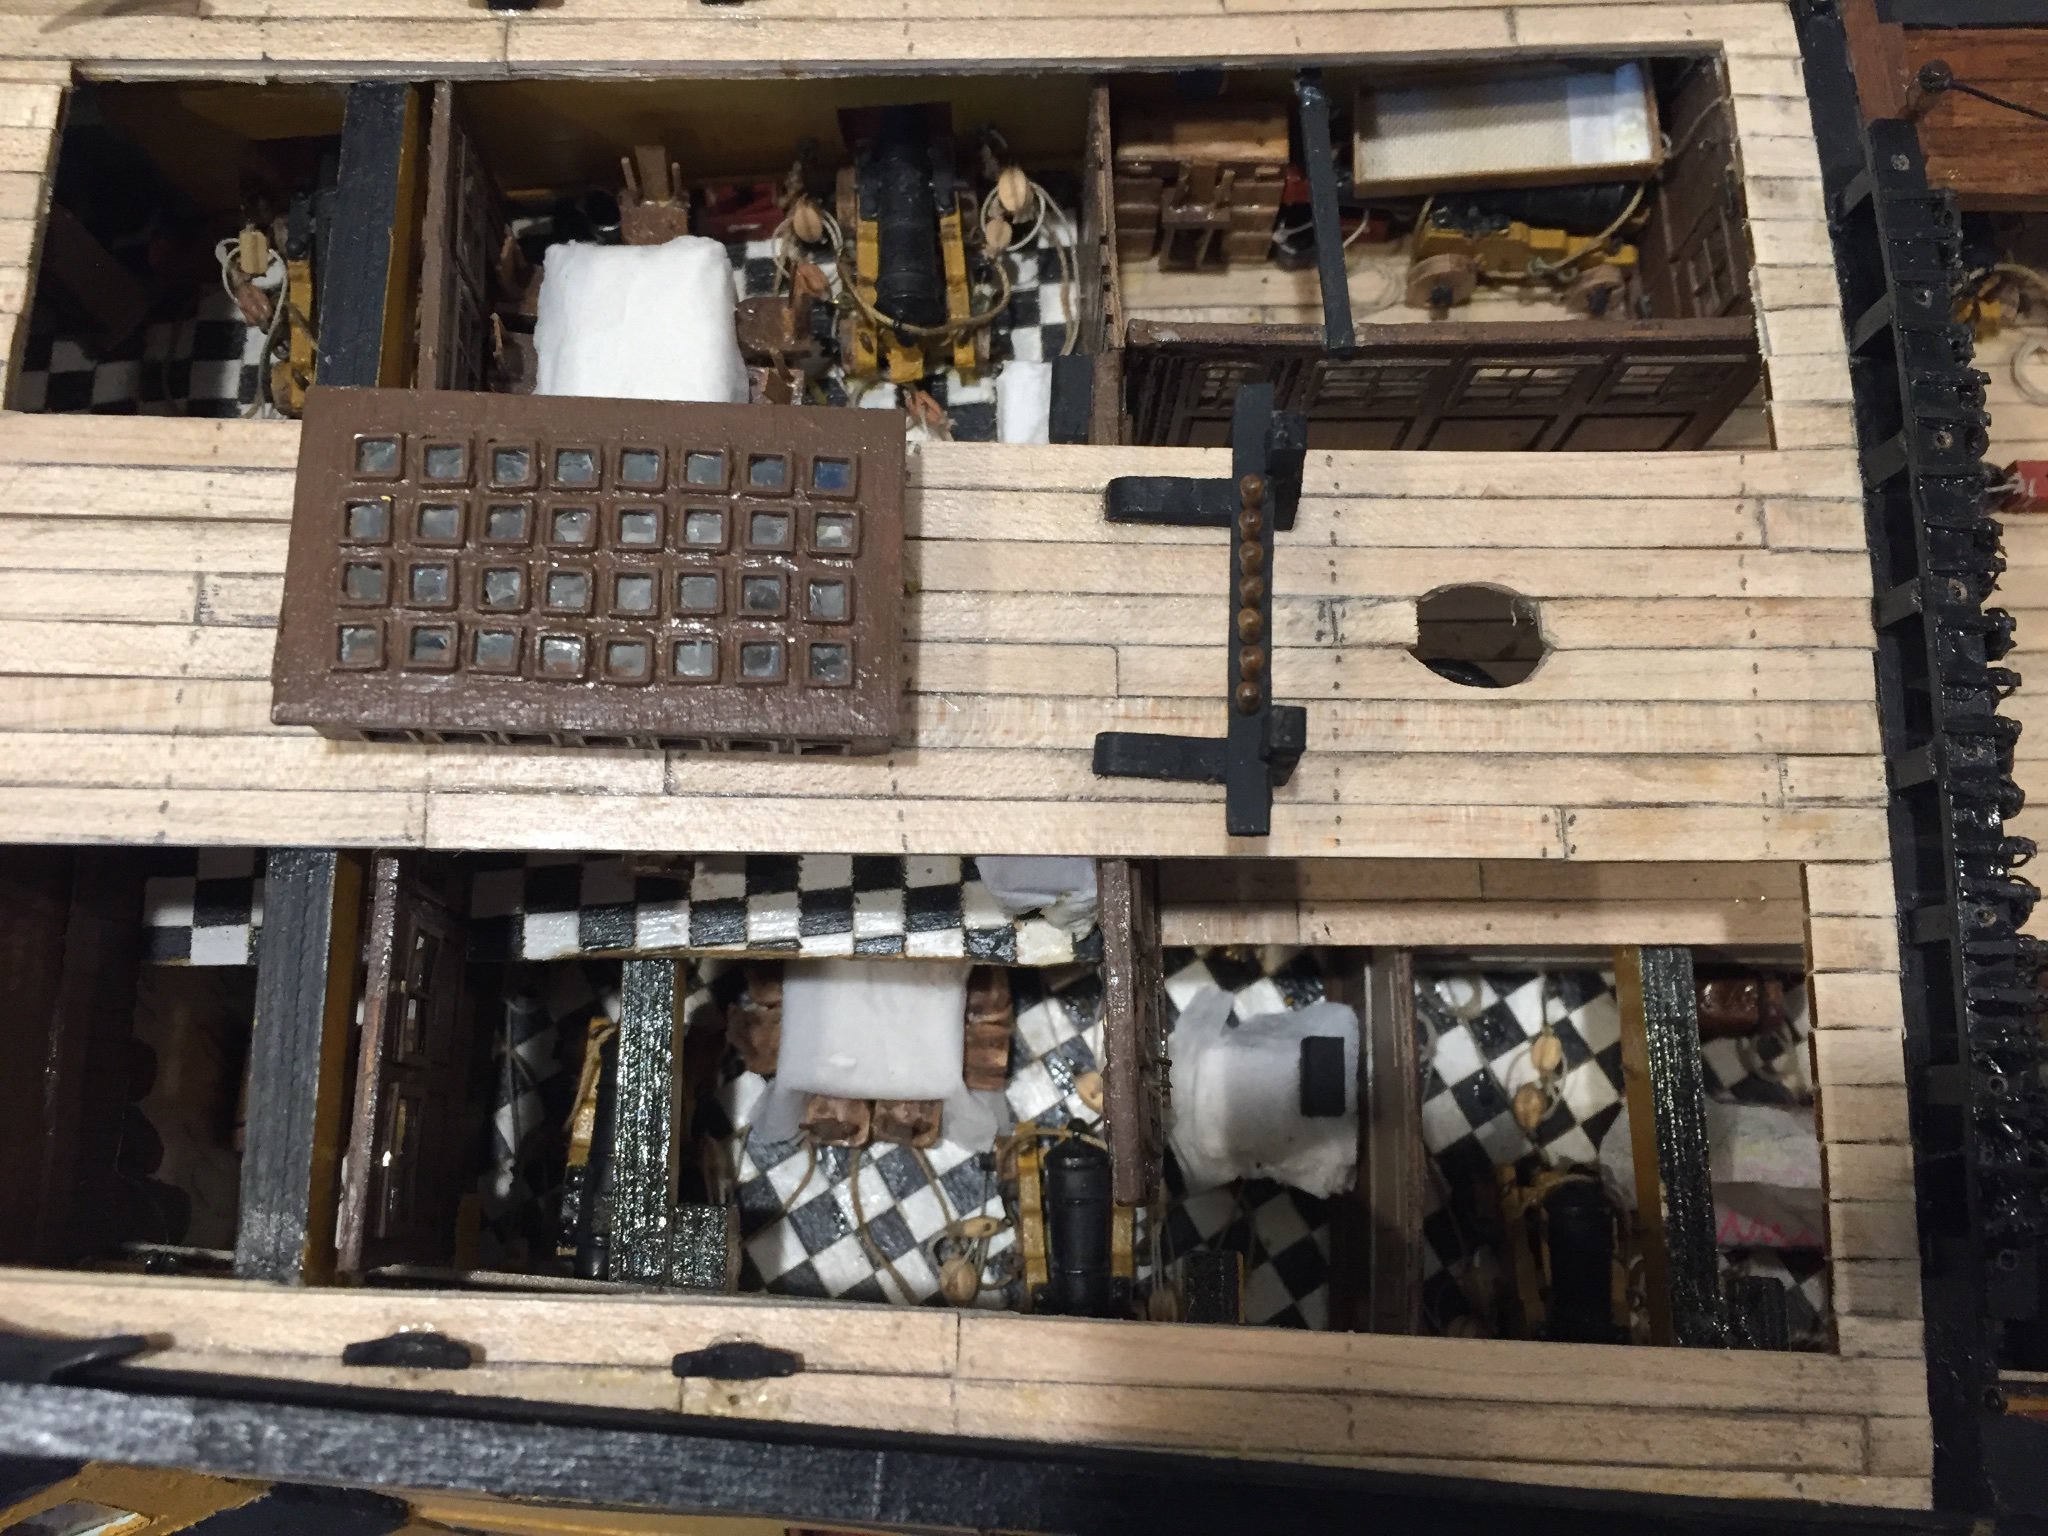
Hi Allan, Gratings are from Syren - Chuck Passaro - not from the kit. Checkered floor pattern I learned to make through Bob Hunts Rattlesnake Practum. I will be happy to post pictures from my build as to how I did it if you like. I already have signed up through the Jersey Club for the Trafalgar Series. Hope it comes to pass. Mort
- 60 replies
-
- 1
-
-
- victory
- caldercraft
- (and 1 more)
-
Perfect. Thank you very much. Mort
-
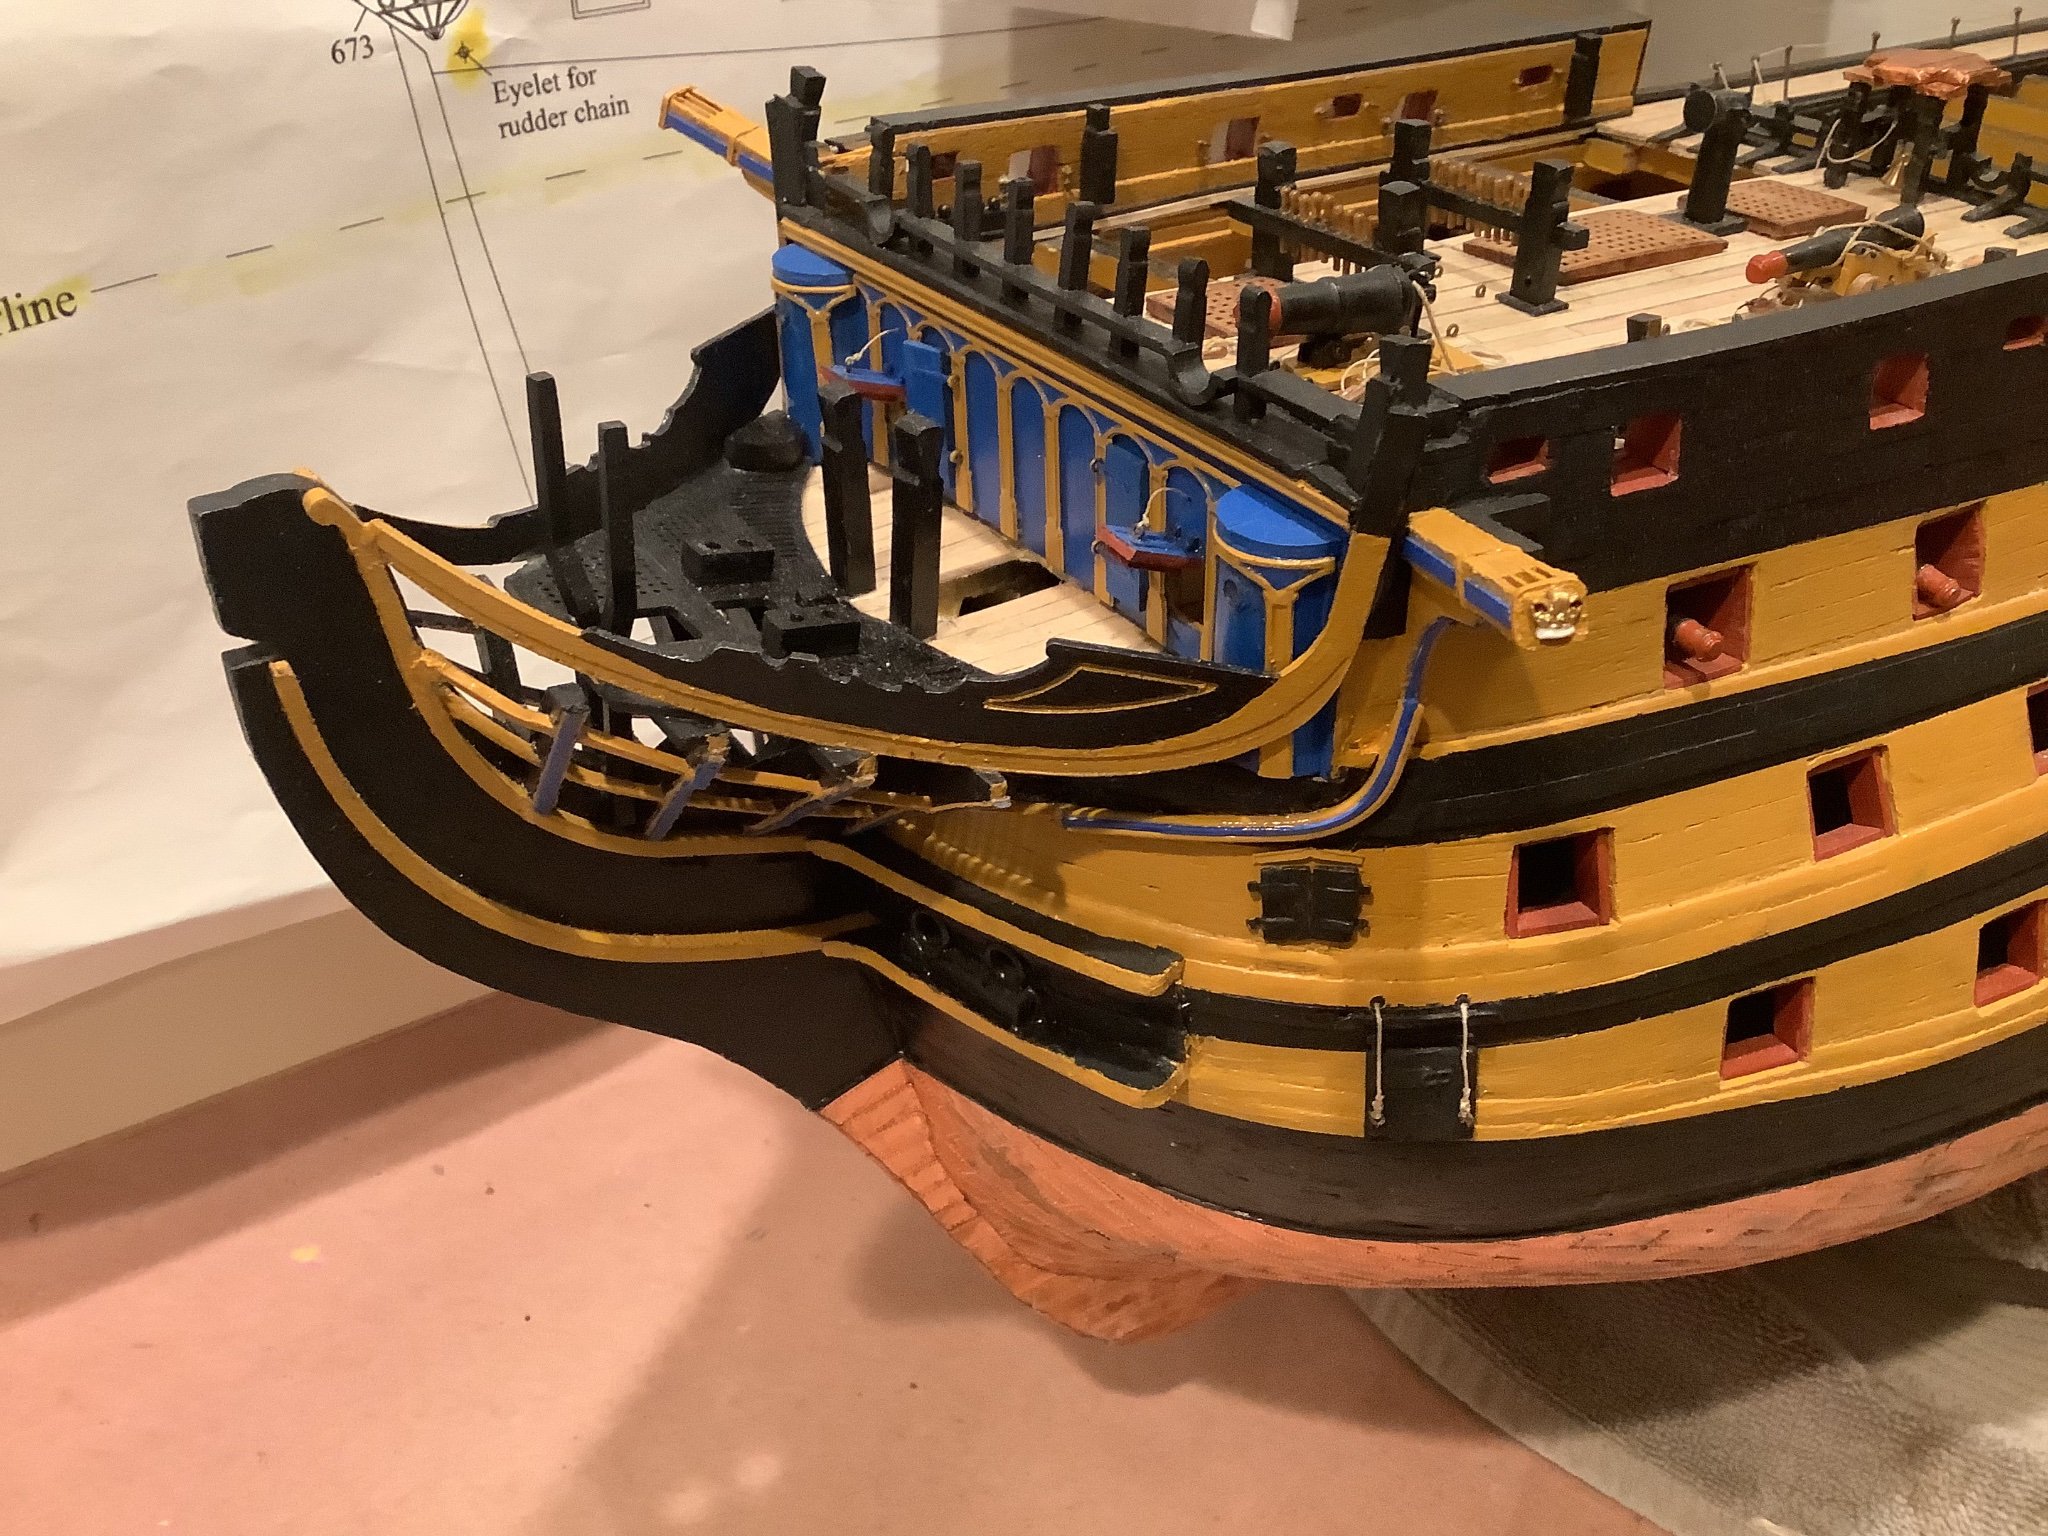
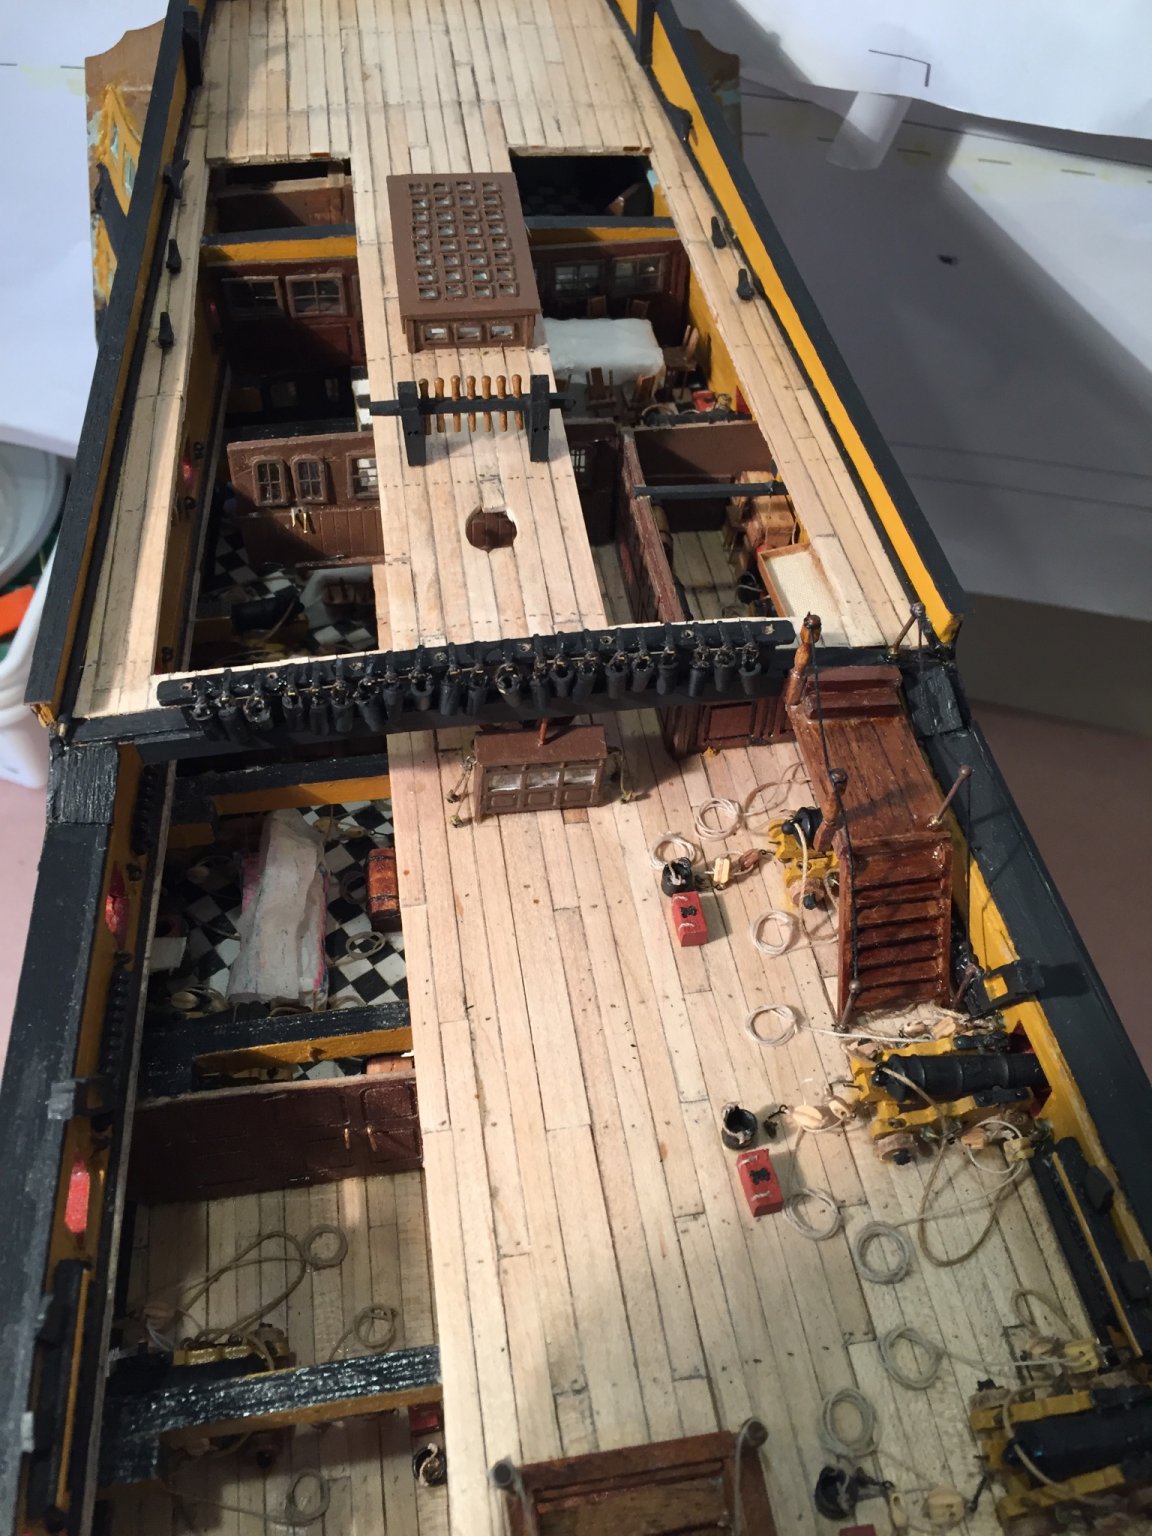
Completed the bow head rails, gratings , cat-heads and the figure heads. Took me awhile to get it organized but it worked out fairly well. Poop deck is planked - with maple - and just about complete. Am now working on the flag lockers. Stay safe and well, Mort
- 60 replies
-
- 2
-
-
- victory
- caldercraft
- (and 1 more)
-
Great job. Sorry if I missed it but where did you get the fabric for the sails and what did you use for the hammocks? I have used tissues in the past for hammocks but yours look great. Thanks, Mort
-
Enjoy. It's a wonderful build. Mort
-
Hi Will, I carefully bent the copper plates using the small Exacto chisel blade as sort of a bending aid for support . I put the blade over the plate and bent it. I trimmed them with an Exacto chisel, a Dr. Slick microtop scissor - used in fly fishing - and a cuticle scissor. The plates are easy to shape as they are not that thick. Hope this helps, if not don't hesitate. Keep up the great work, Mort
-
How much of the stern cabins are going to be exposed on the completed model? Thanks, Mort
- 355 replies
-
- 3
-
-
- vanguard models
- Sphinx
- (and 1 more)
-
Yes you can. I coppered my rudder and dry fitted it and then put it away until after I complete the stern. It's a matter of choice. I wanted to complete all of the copering in one step.
-
I would do the gun port linings now and then copper the hull and rudder but not install the rudder until later in order to avoid damaging it during the stern assembly. Hope this helps, Mort
-
Hi Will, Meant to add that when I used regular contact cement I only used the 3 ounce bottles and applied the cement to 150x40mm area which kept the fumes to a minimum. The low odor contact cement was only available in a 32 ounce can. Mort
-
I've never aged my copper plates. I prefer them to age naturally. They look more realistic I feel as they don't all age at the same pace. Previous to my Victory I used Weldwood Contact Cement whenever I coppered a hull. I always had the fans and a mask on and windows open in my ship room when I worked. Just before coppering on my Victory was to begin I heard that Weldwood had a low odor formula contact cement. I tried it and it was fine. Didn't need a mask. I prefer contact cement because it allows me a few seconds to adjust the position of the plate should I have to after it's placed on the hull. If further adjustment is necessary after the plate is dry, or a day or so later I simply heat the plate or plates with my plank bender and readjust the plates. No problem. Good luck. It's a great kit. Keep up the good work. Mort