KLarsen
-
Posts
122 -
Joined
-
Last visited
Content Type
Profiles
Forums
Gallery
Events
Posts posted by KLarsen
-
-
4 hours ago, BradNSW said:
Beautiful work!! The lines and grains were so crisp and beautifully executed I initially thought I was looking at an AI image😄! Love it!
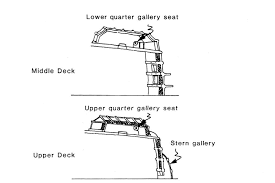
Don't forget the seats of ease for the Captain, in those wonderful quater-galleries!!
Thanks! And don't worry, I won't forget about them , they are a very important part of the ship! 💩
-
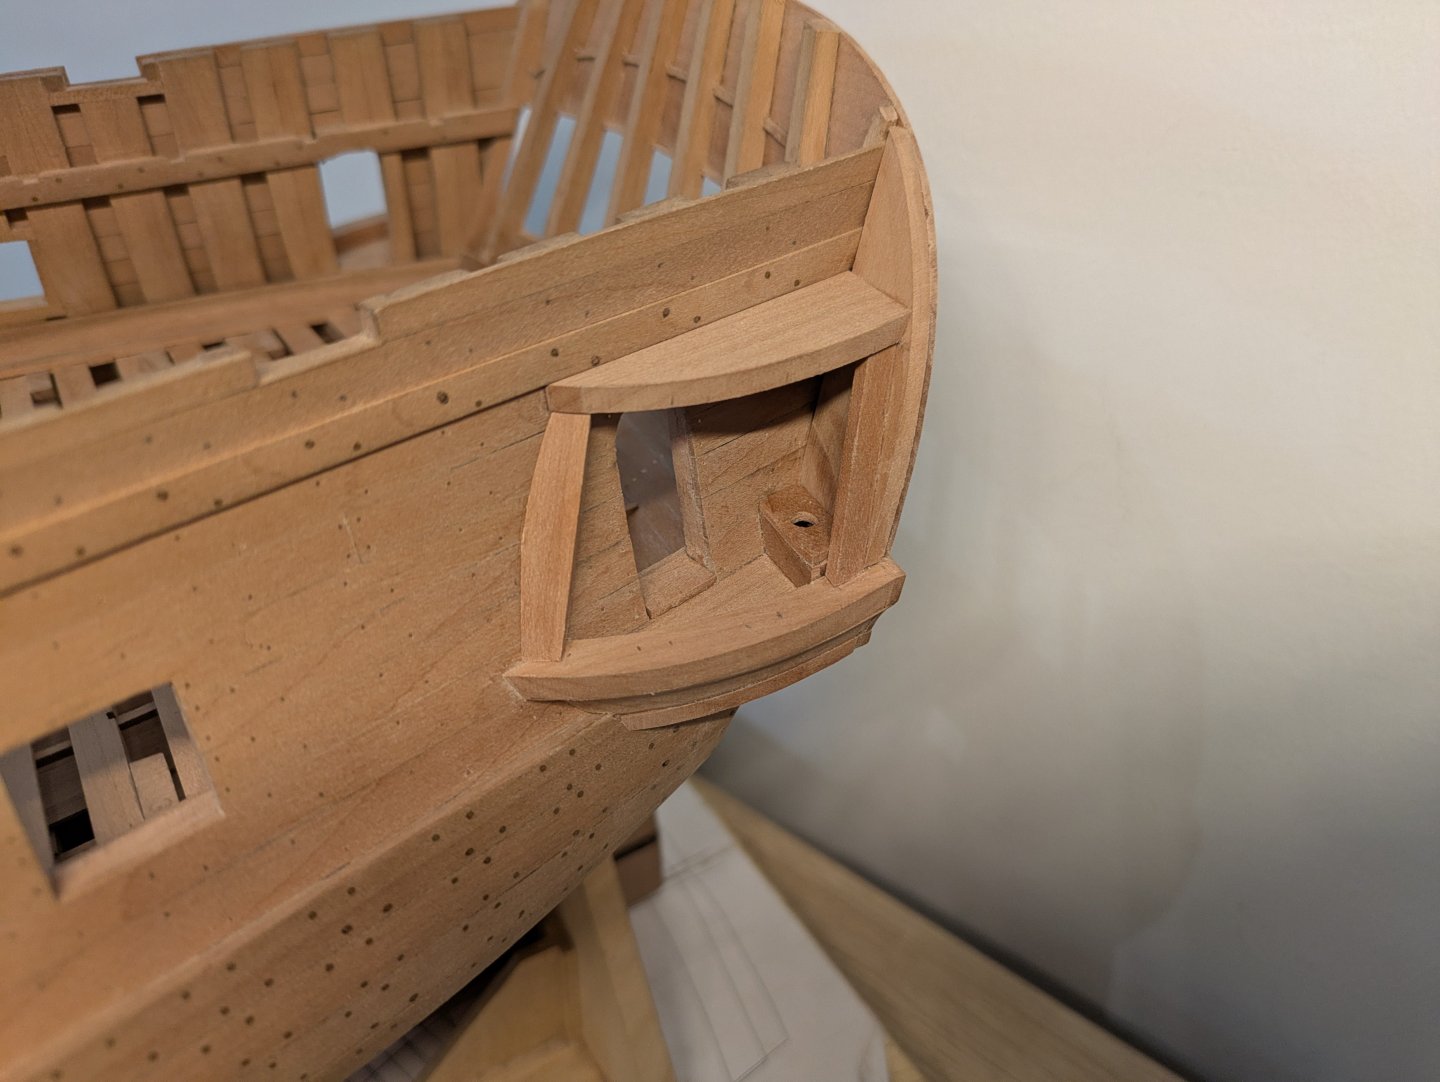
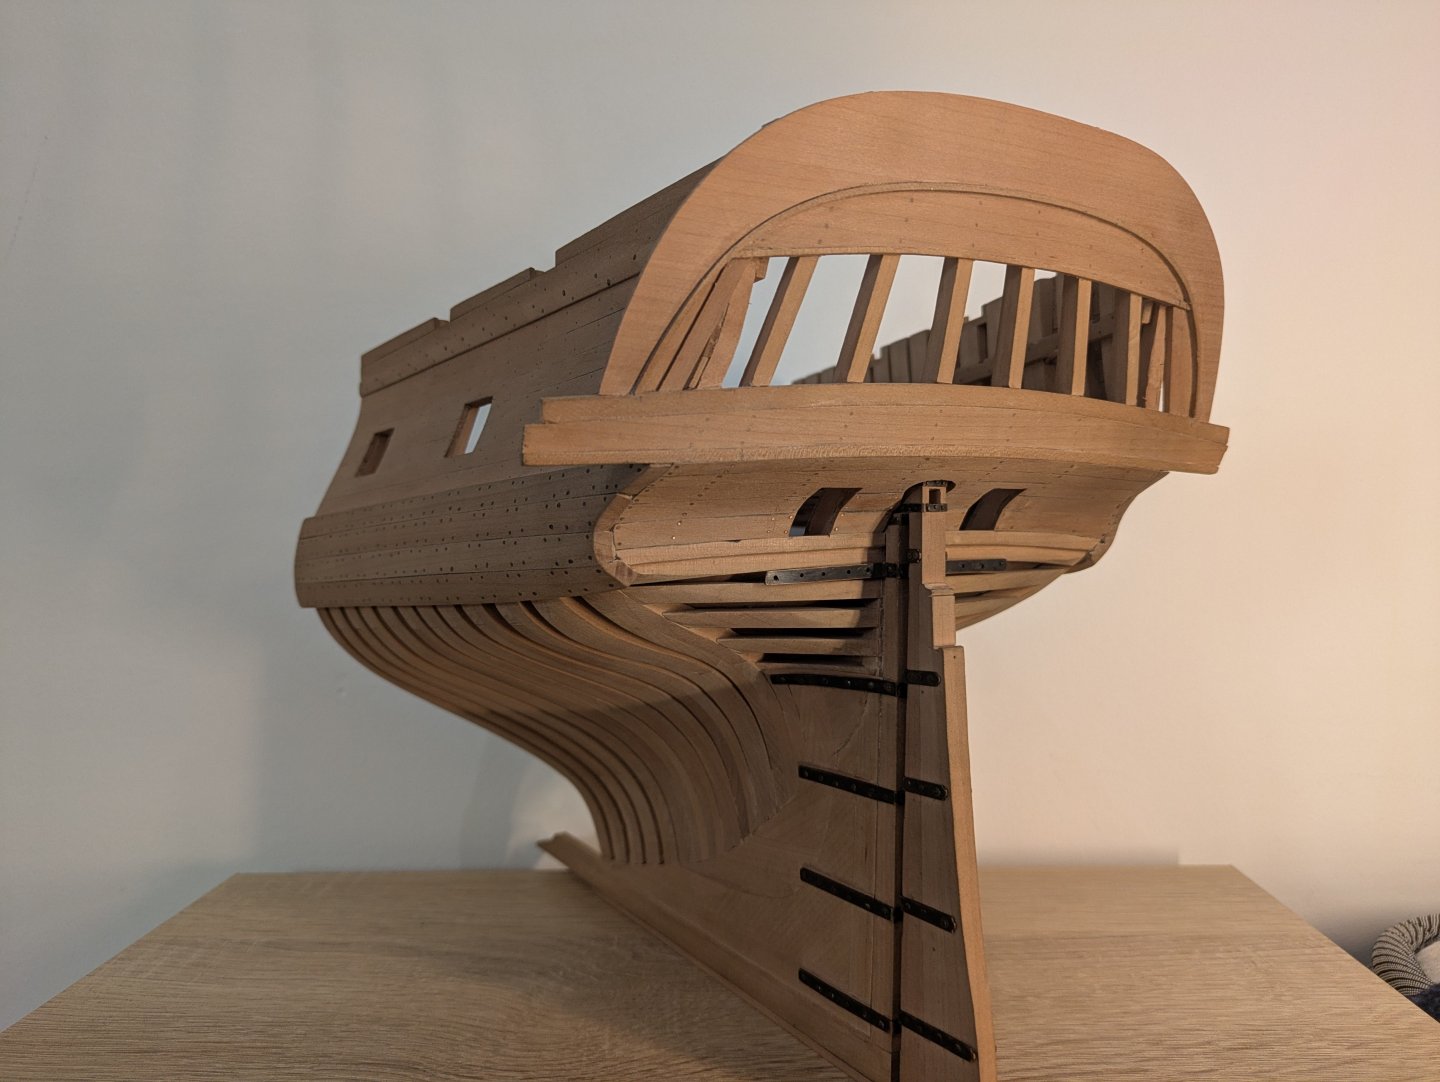
I'm continuing with the stern and side galleries. I decided to make the stern piece out of one piece only, even though on the real ship it would probably have been planked. The sheet I used has a lot of grain so it's not easy to see that it's just one piece. I just think it looks better this way.
For the side galleries, the plans are not very specific. There are only side and top views, and no indication of how it's built up. I'm building it the way I imagine it was built originally, more or less.
Almost everything will be covered by moulding strips, which I'll make much later out of boxwood.

-
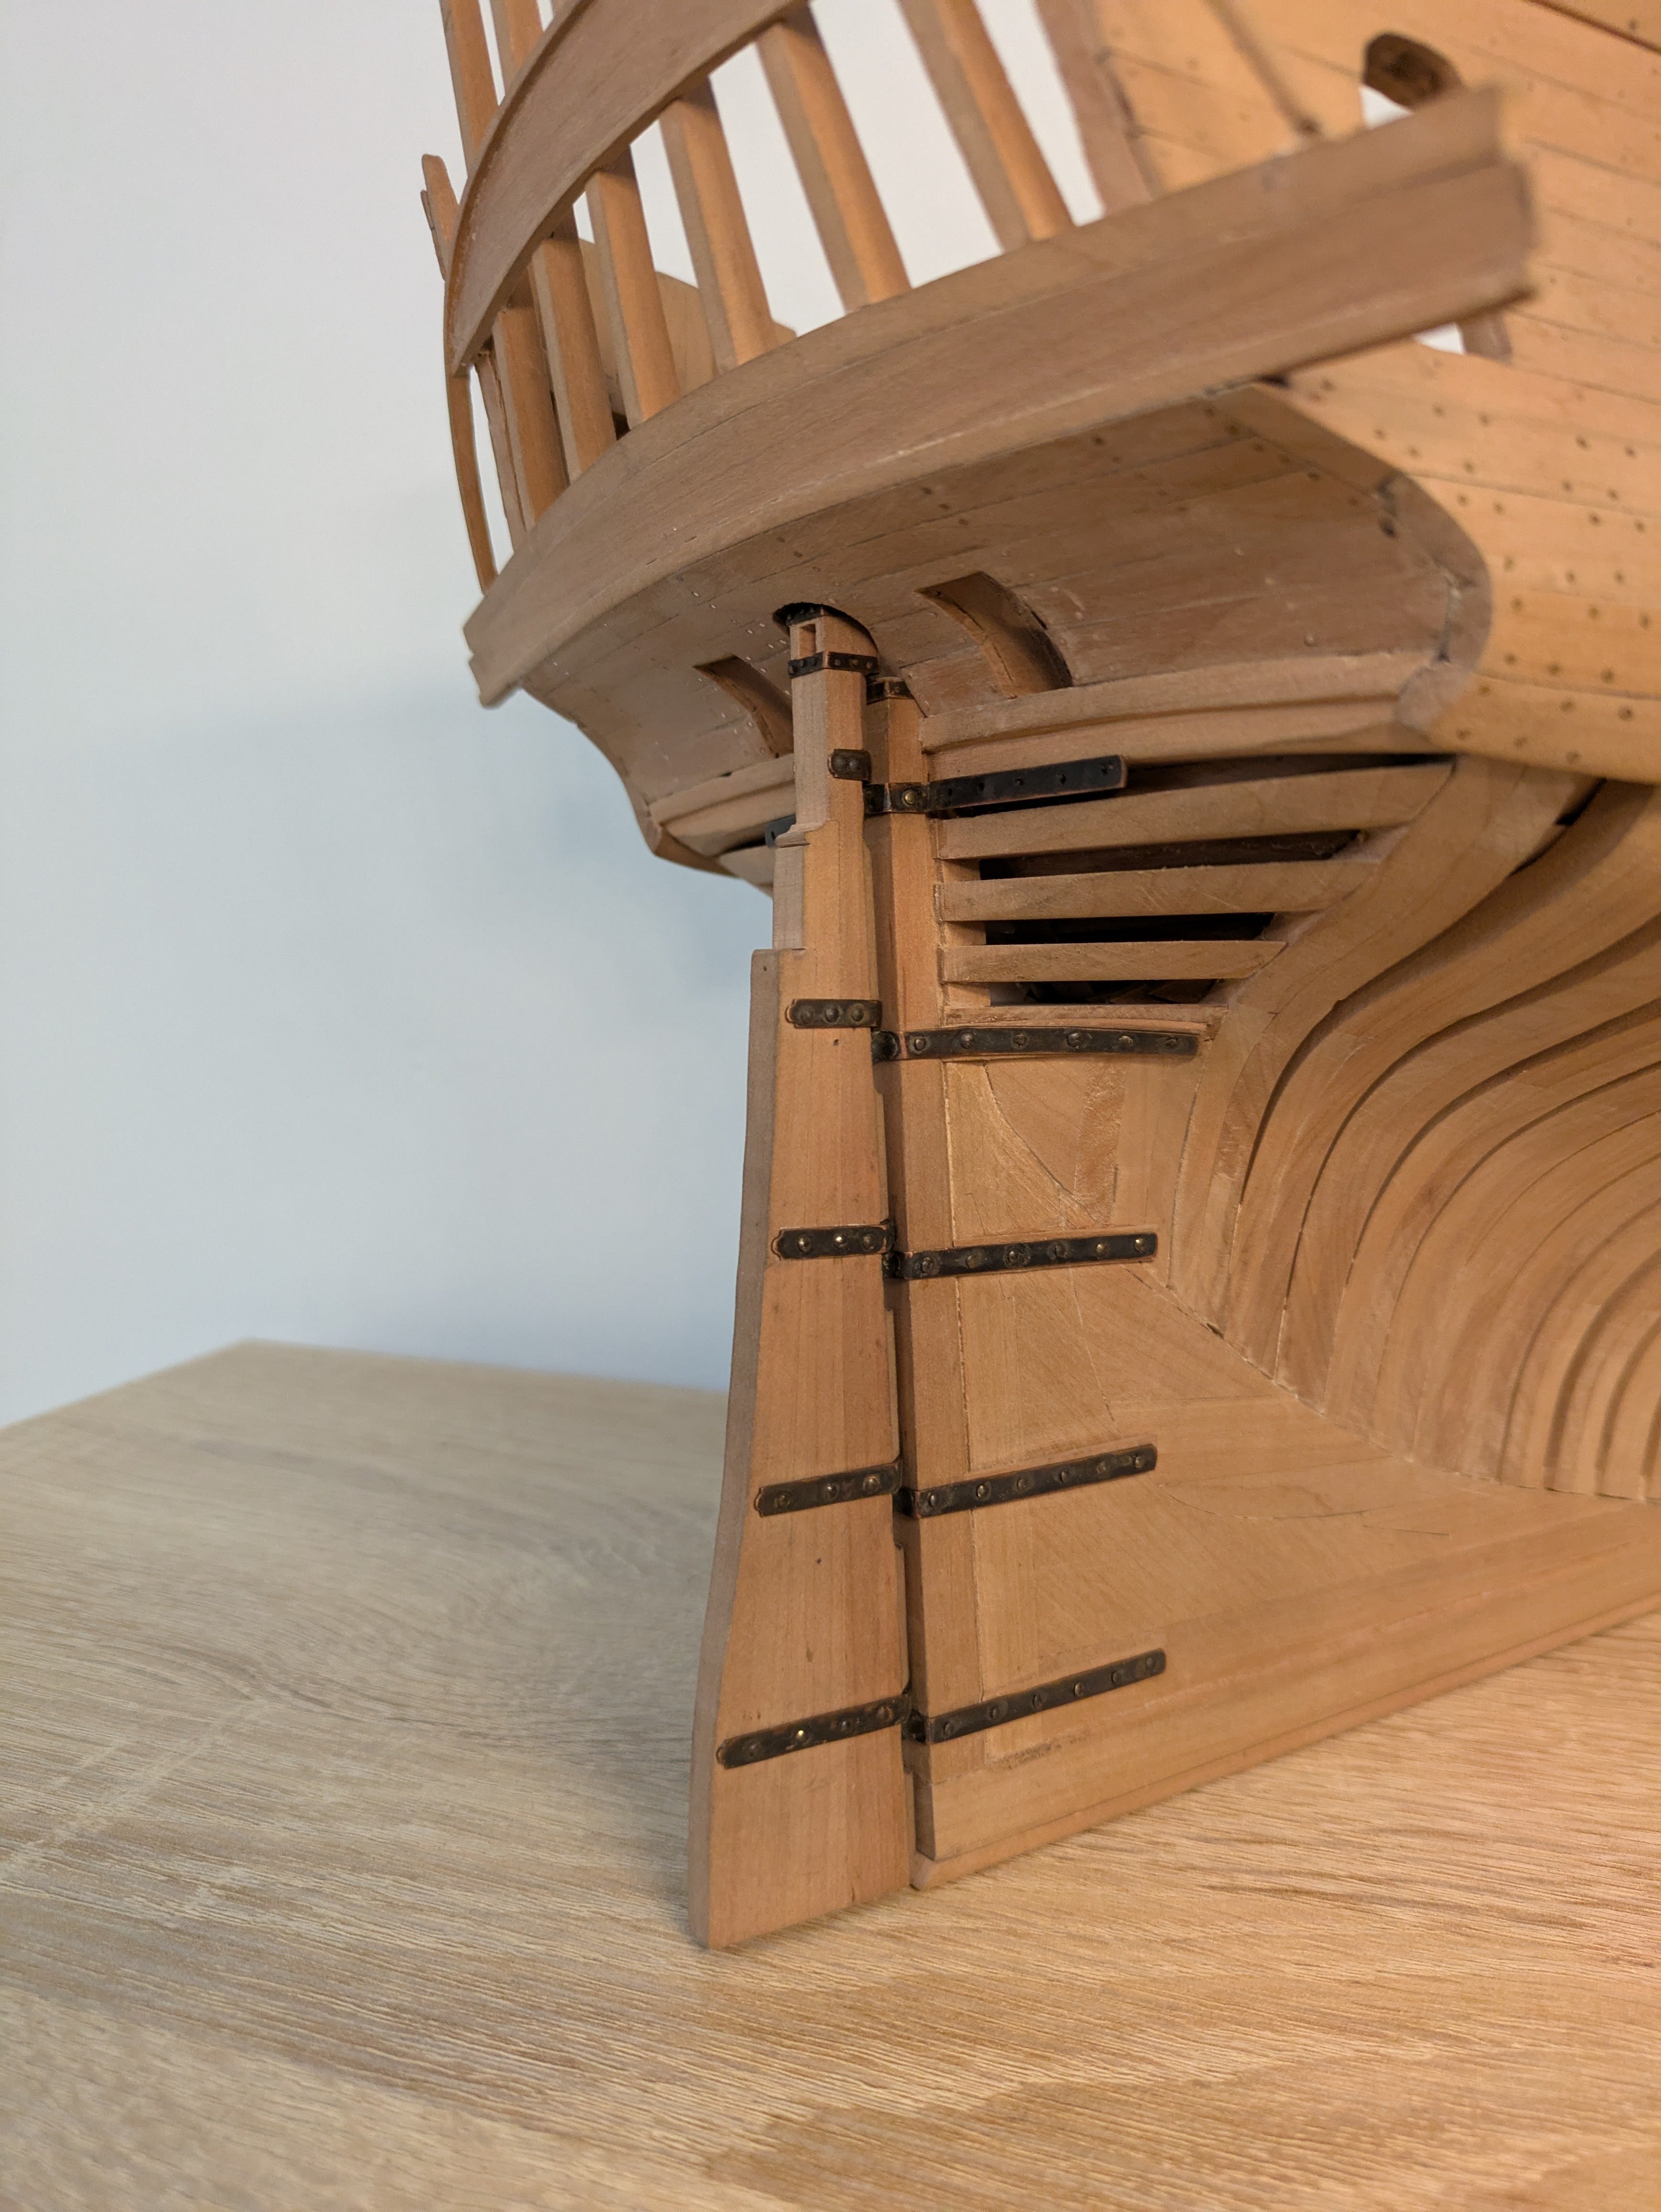
During the last couple of weeks I finished all the rudder hinges, they weren't easy to make but I'm happy with the result. I haven't decided what to do with the upper hinge on the stern, the rest have a piece of planking beneath them but this one has a lot of curvature so I'm not sure if it'll look good. Also, keeping in mind that the planks would go across the hinge, not along it.
By the way, the rudder turns just fine on the hinges. 😄

I've also been working on the main deck, much of what you see is only loosely attached until I install the rudder and the tiller (I'll need access below in order to seize the rigging).
After finishing the tiller I'll most likely start working on the stern and side galleries, I'm getting a bit tired of making decks so the stern deck will have to wait.
-
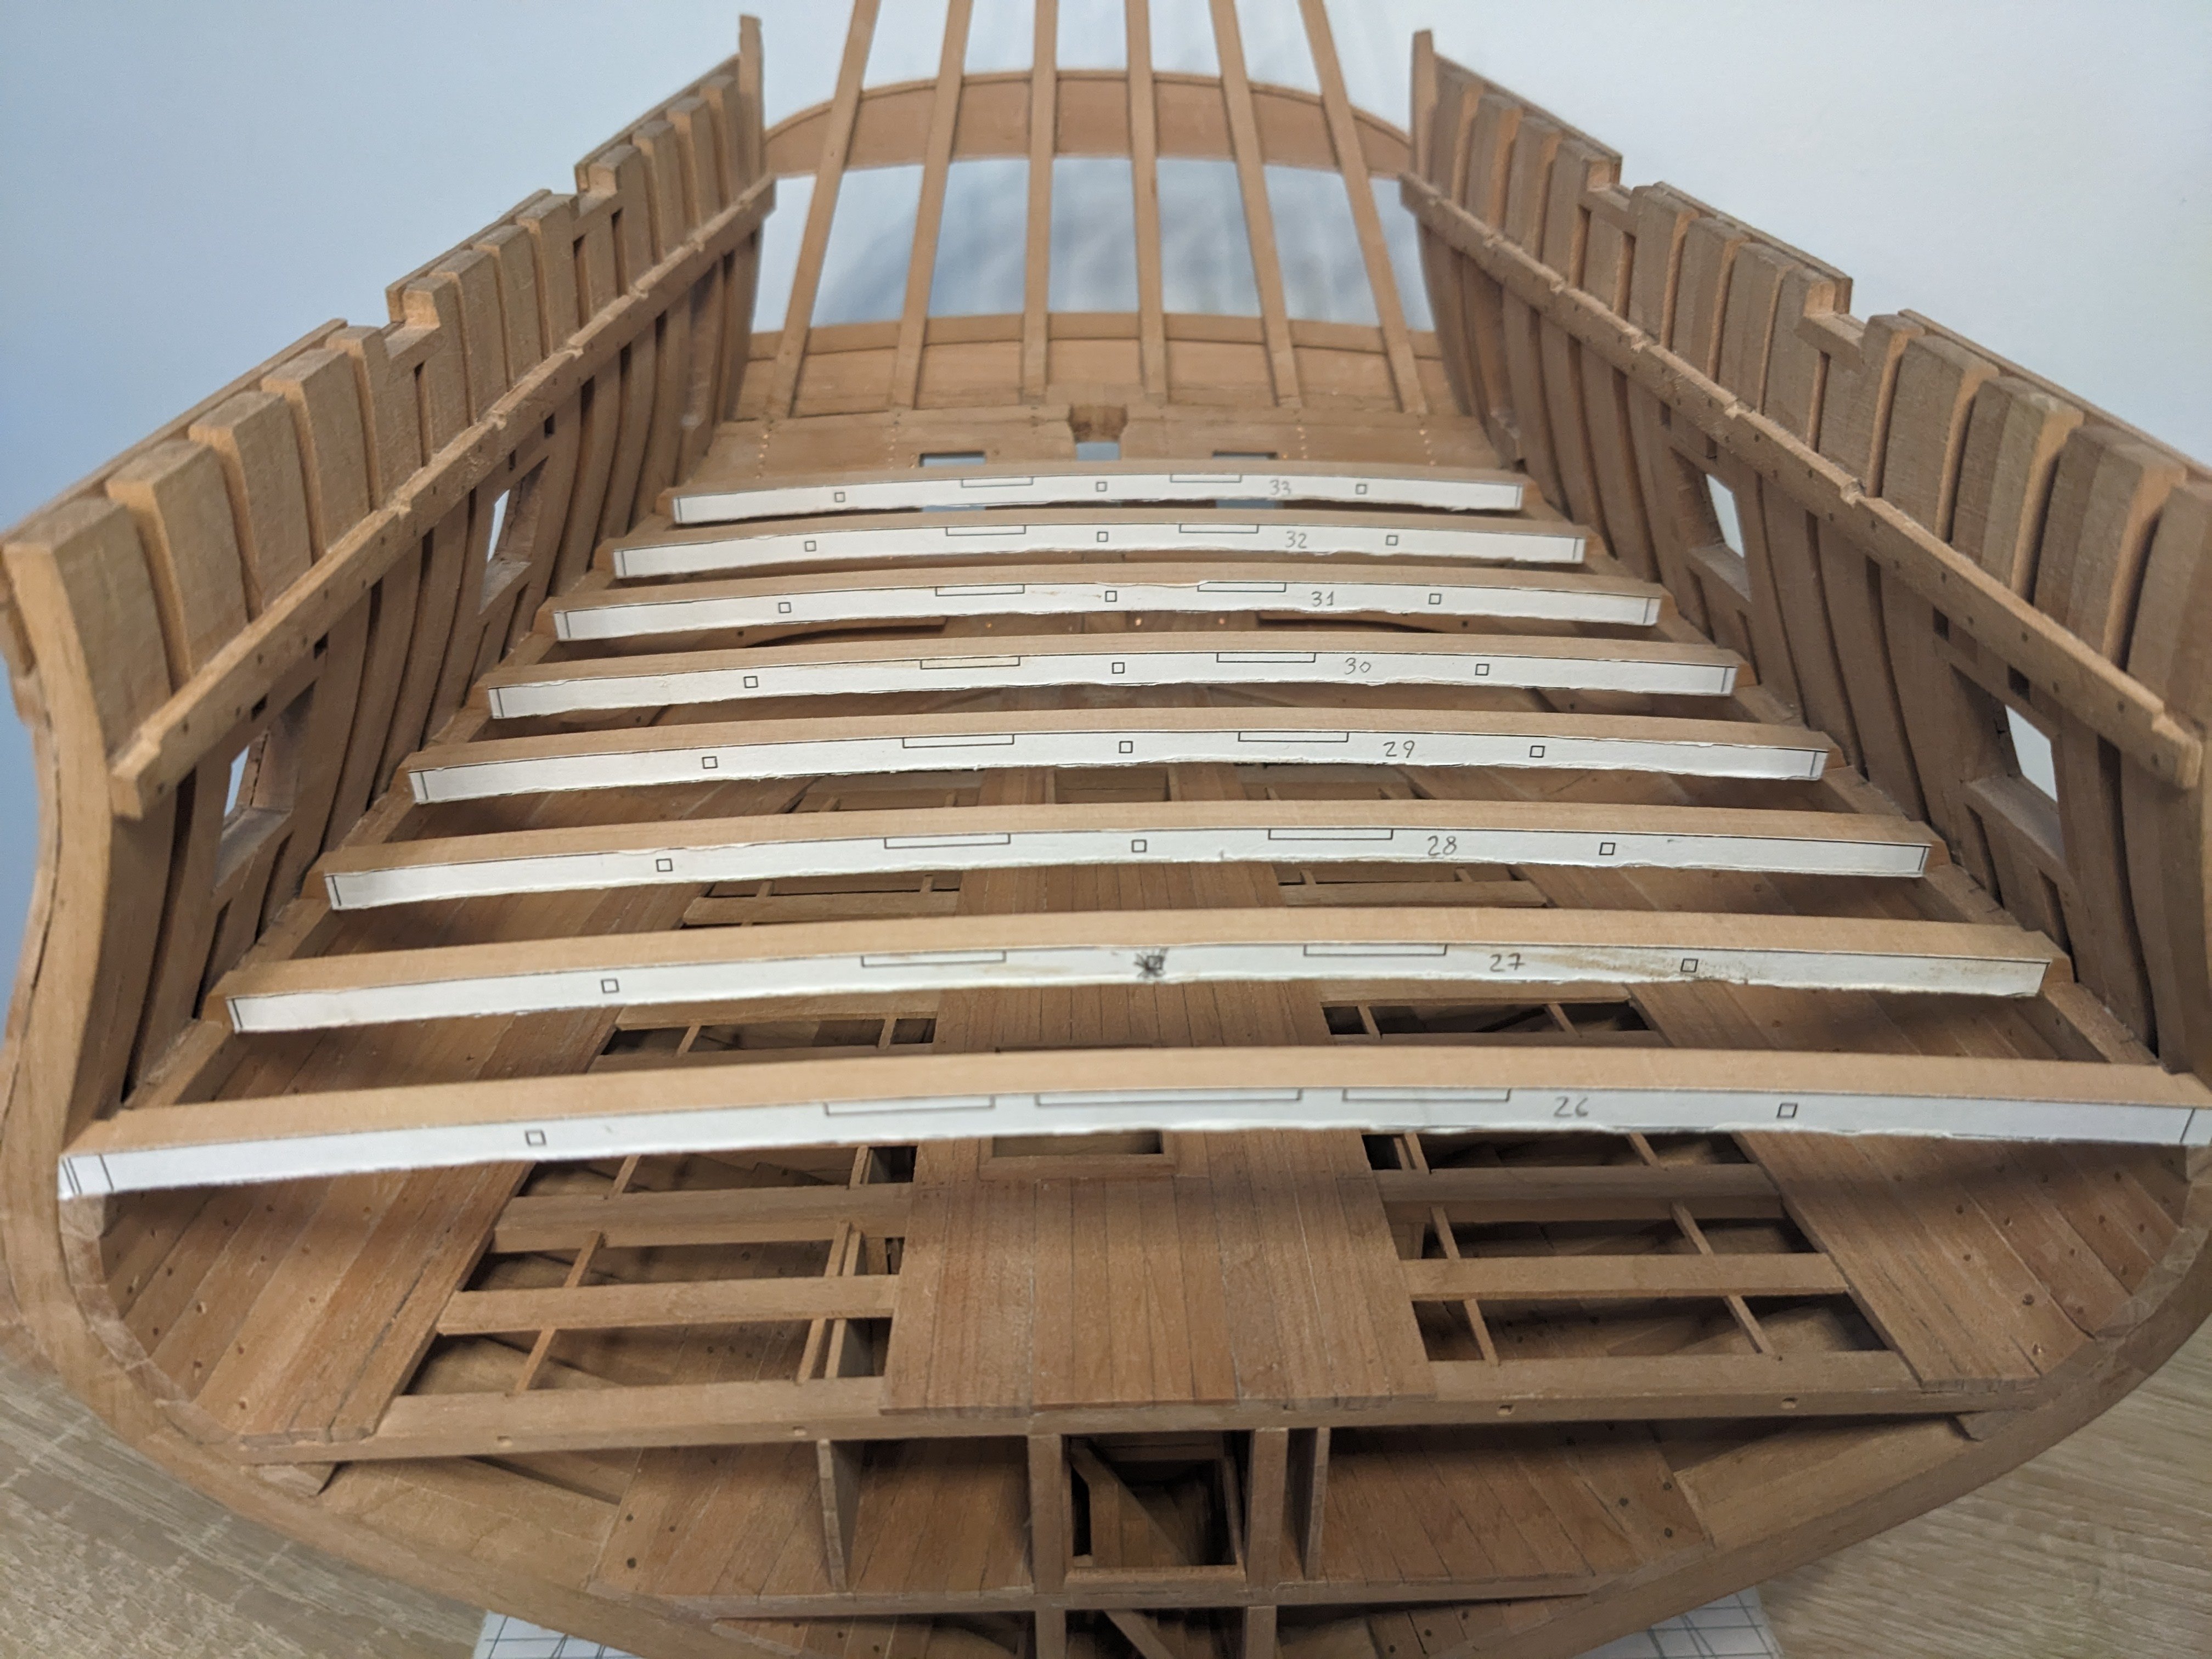
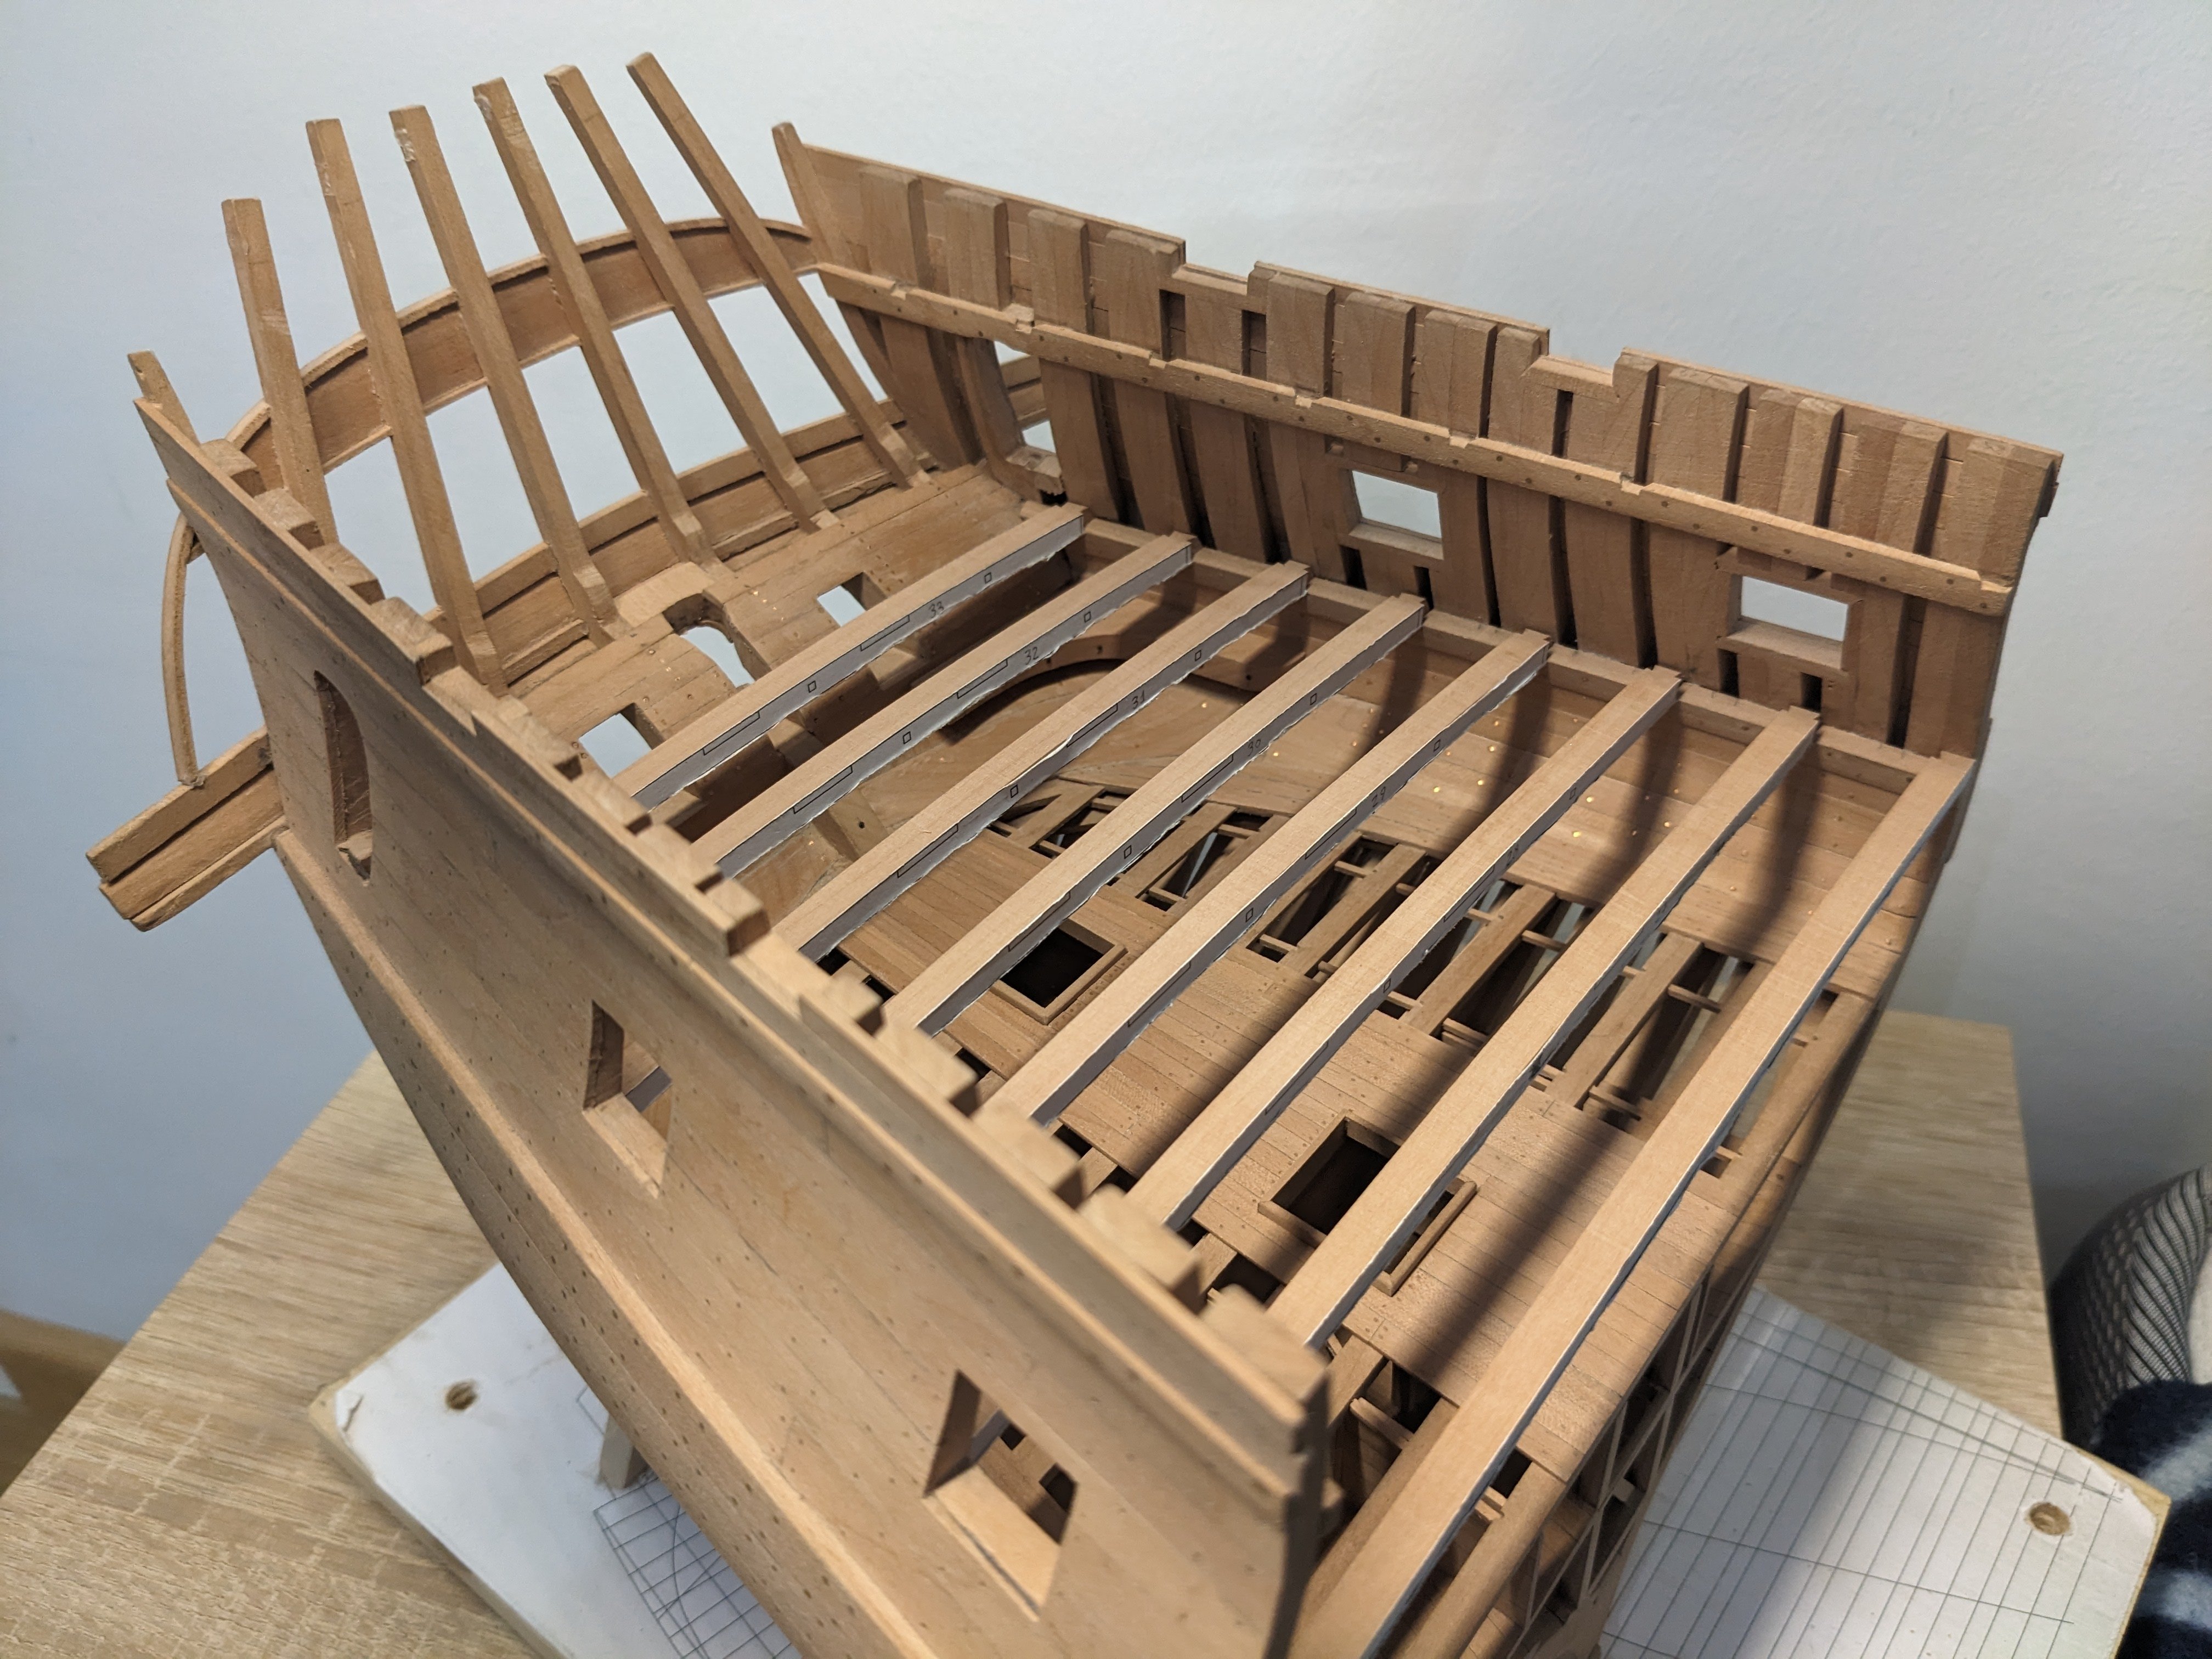
Very nice work, it's coming along great!
However, when you lay out the frames to cut, try and use the curved part of the sheet to your advantage: some of the frames could have had the veins running all along them instead of across them. I always try to maximise the curved veins in a sheet when I'm lucky enough to get them 😁
-
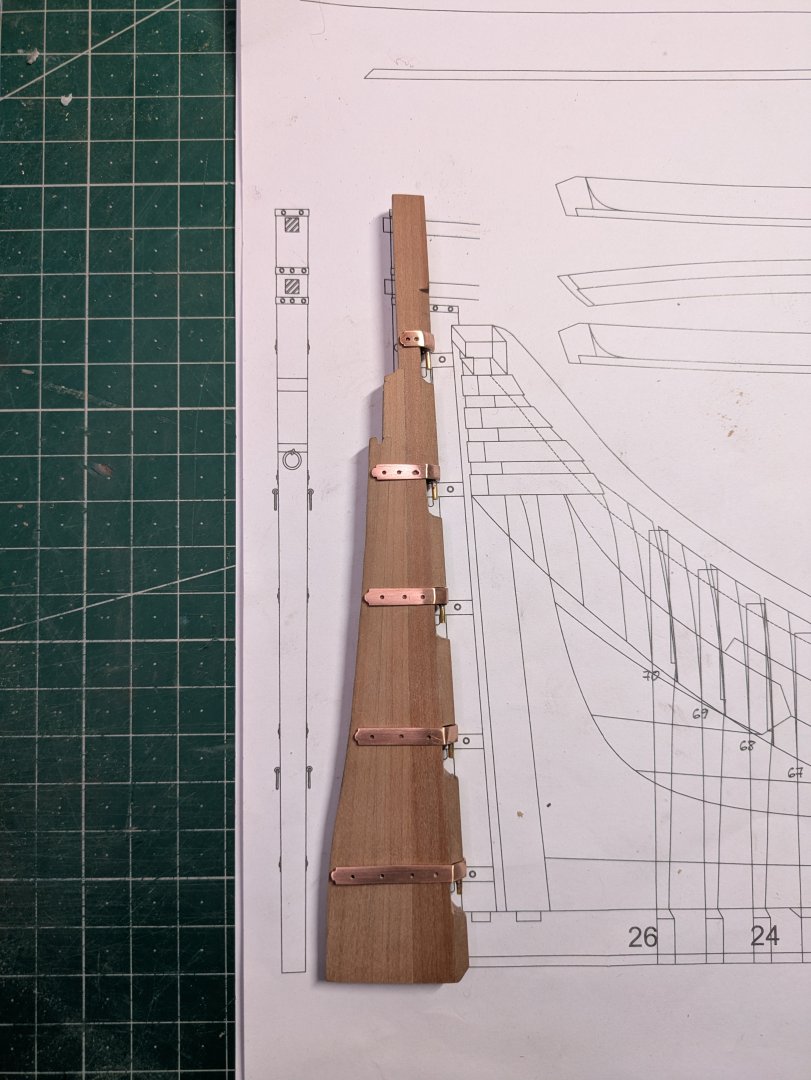
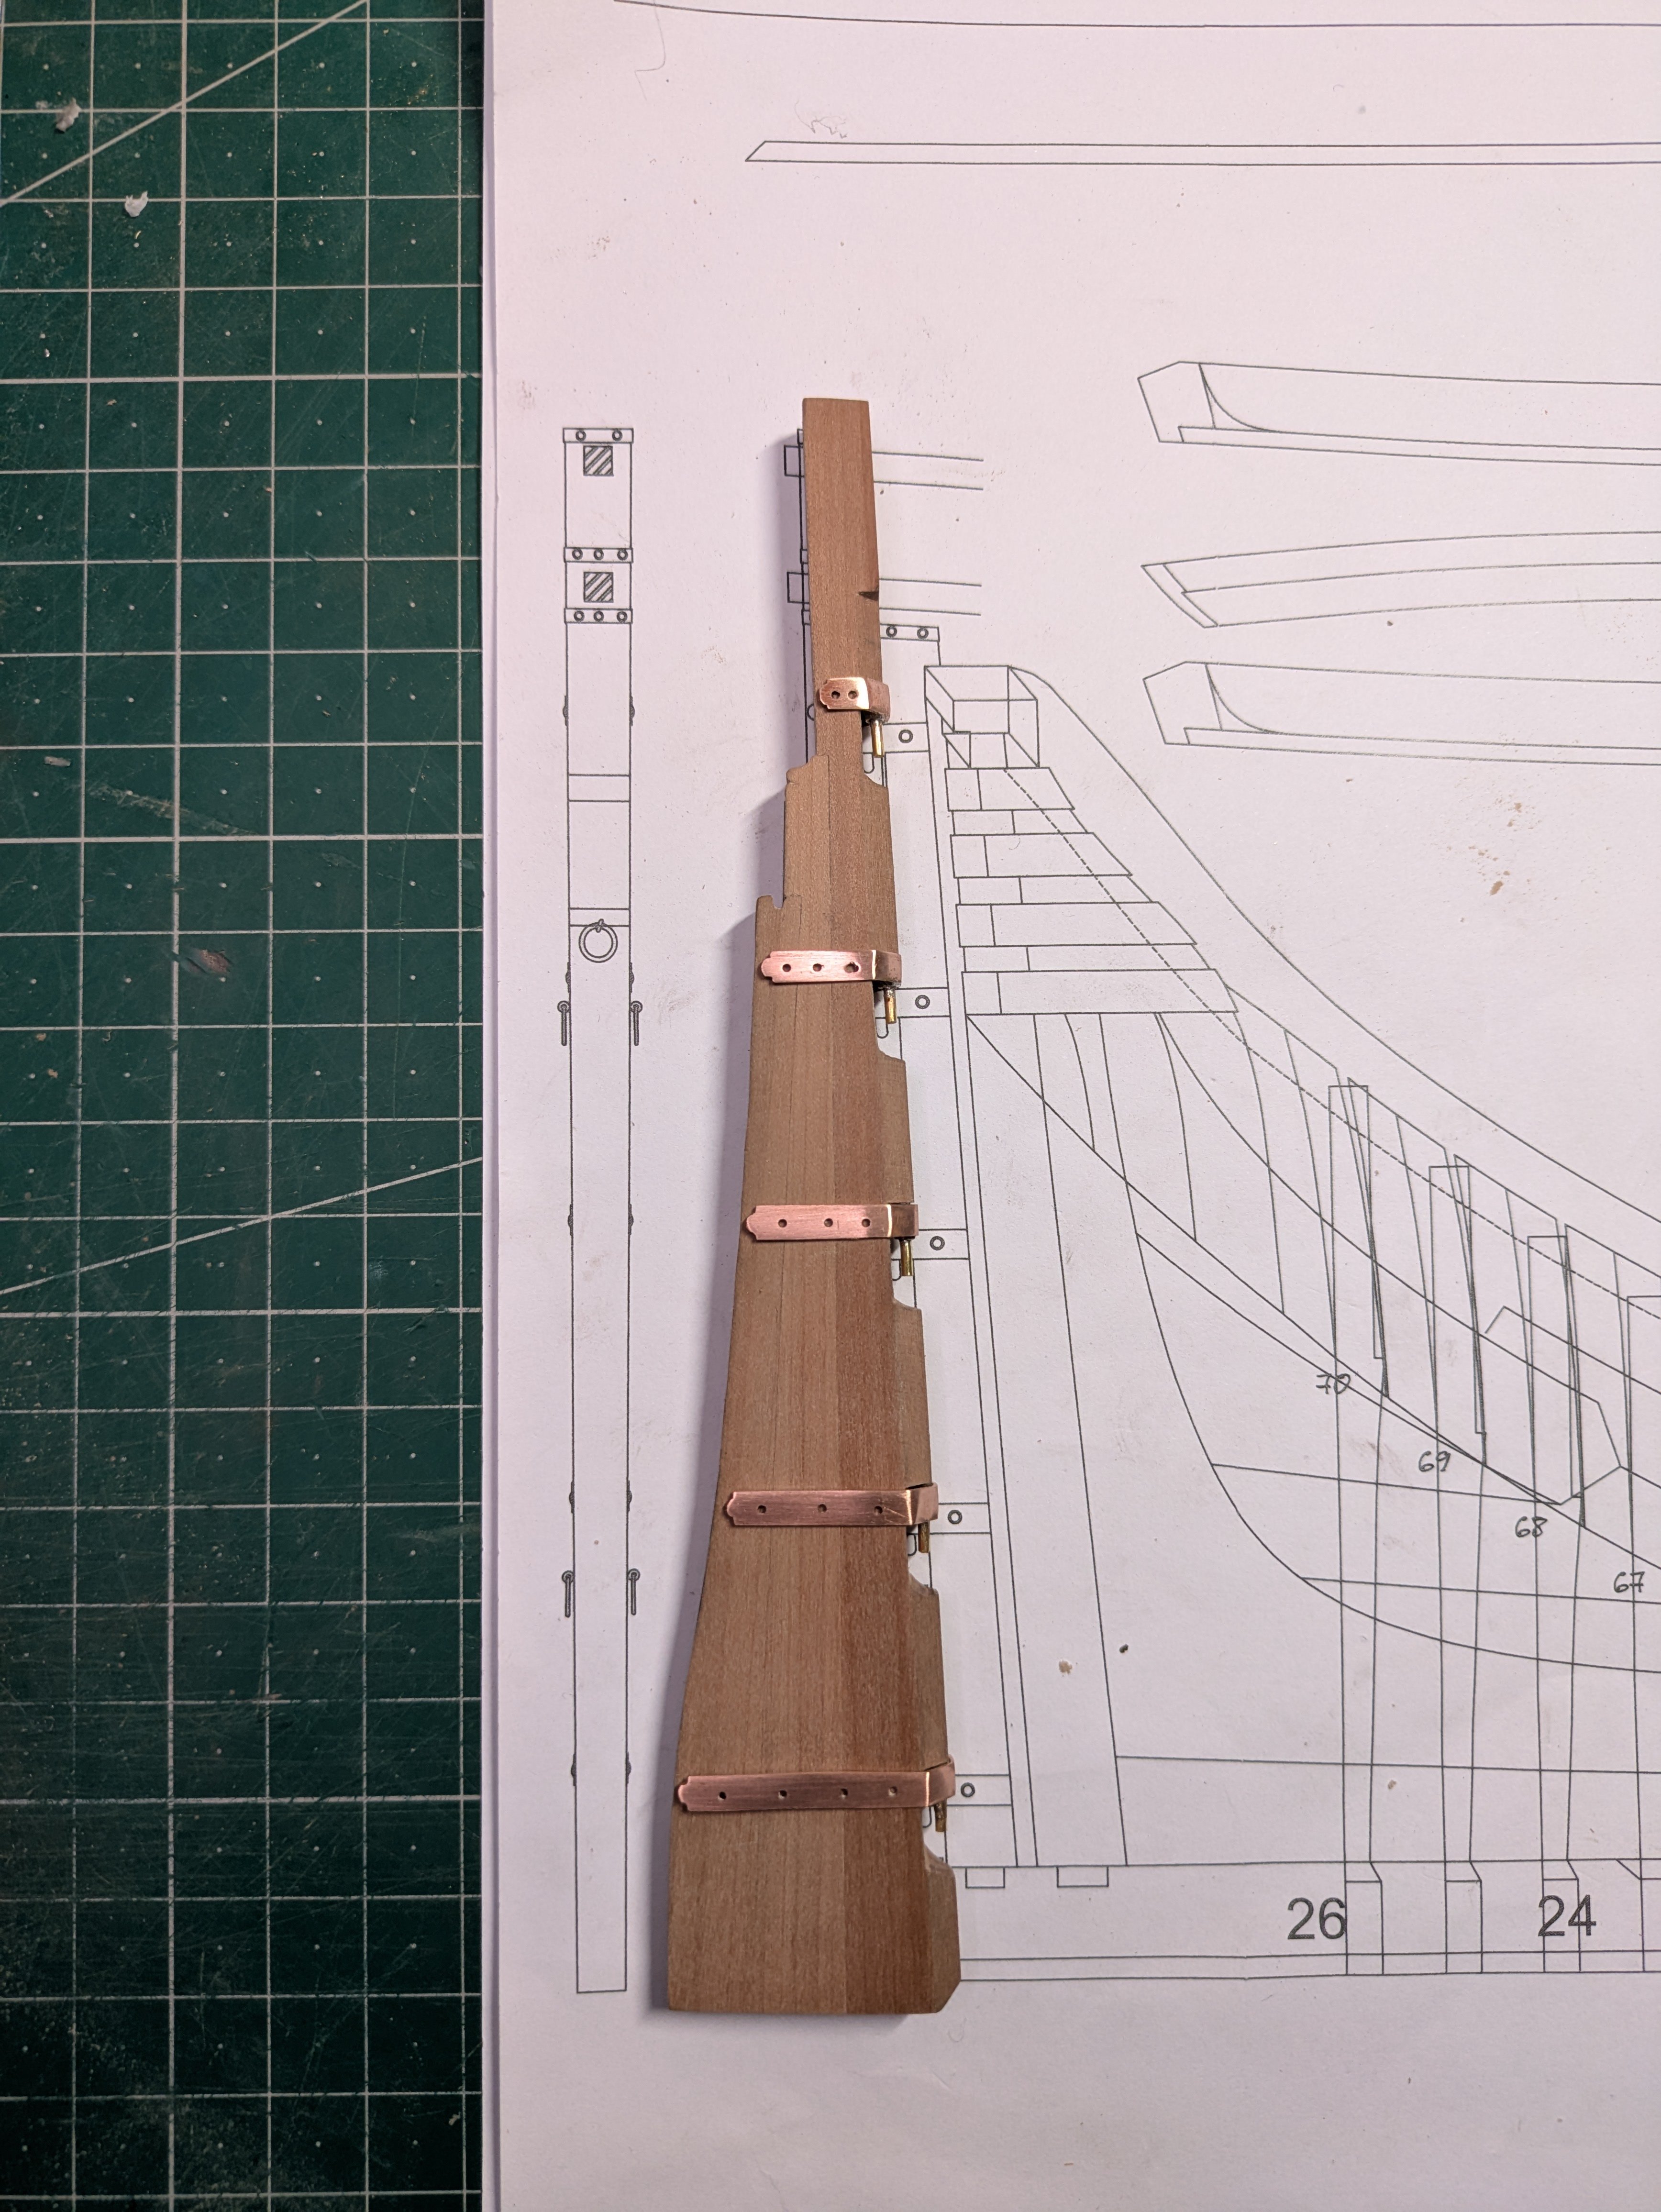
I finally got around to working on the rudder. Metalwork is something I'm very bad at, and I've been struggling a lot with the rudder hinges. In the end they turned out fine and I think the solder is strong enough so the pinion won't break off. 🤞
-
7 hours ago, Fritzlindsay said:
Can you post a picture of the guns from Ancre?
Thanks
Fritz
There are only some low resolution photos on the Ancre website:
https://ancre.fr/en/monograph/123-la-mahonesa-fregates-espagnoles-1789-9782382820131.html#/langue-1_2_serie_de_canons_au_1_48
Anyway I've got a friend of mine to create a 3d model of the cannons from the Ancre monography, if they turn out well I'll get them printed locally.Thanks everyone!
-
34 minutes ago, Fritzlindsay said:
If these are 3D printed resin barrels this is a crazy high price. As mentioned above I have never paid more that about $US 0.80 per barrel including freight.
Find a 3D printer service within Spain and email them the 3D drawings of the ones you want. There are drawings by Ron Thibault that might be useful, depending on the nation and era you need. https://thenrg.org/page-1075420
I just looked at the Articles Data base and there are 2D drawings labeled Armstrong but they are not correct. The ones shown are Armstrong Frederick pattern guns (circa 1760-1791) where as the Armstrong pattern guns were made between about 1725 and 1759.
Fritz
Thanks, however the Spanish guns on that page are almost 100 years too early, so I'd need to create the 3d model myself from the Ancre plans. And as I said, I don't have the skills to do that.
That's why I don't mind paying a higher price for 3d prints of the correct cannons from Ancre, if the quality is worth it.
-
Sorry for reviving this thread, but has anyone bought any of the cannons offered by Ancre and can tell if they are of good quality?
I'm thinking of buying some for my La Mahonesa cross section, and Ancre has confirmed that I can buy them piecemeal without having to buy a full set. They charge 4€ per cannon, which seems reasonable.
I would make them myself, but my Blender/3D skills are basically non existent... -
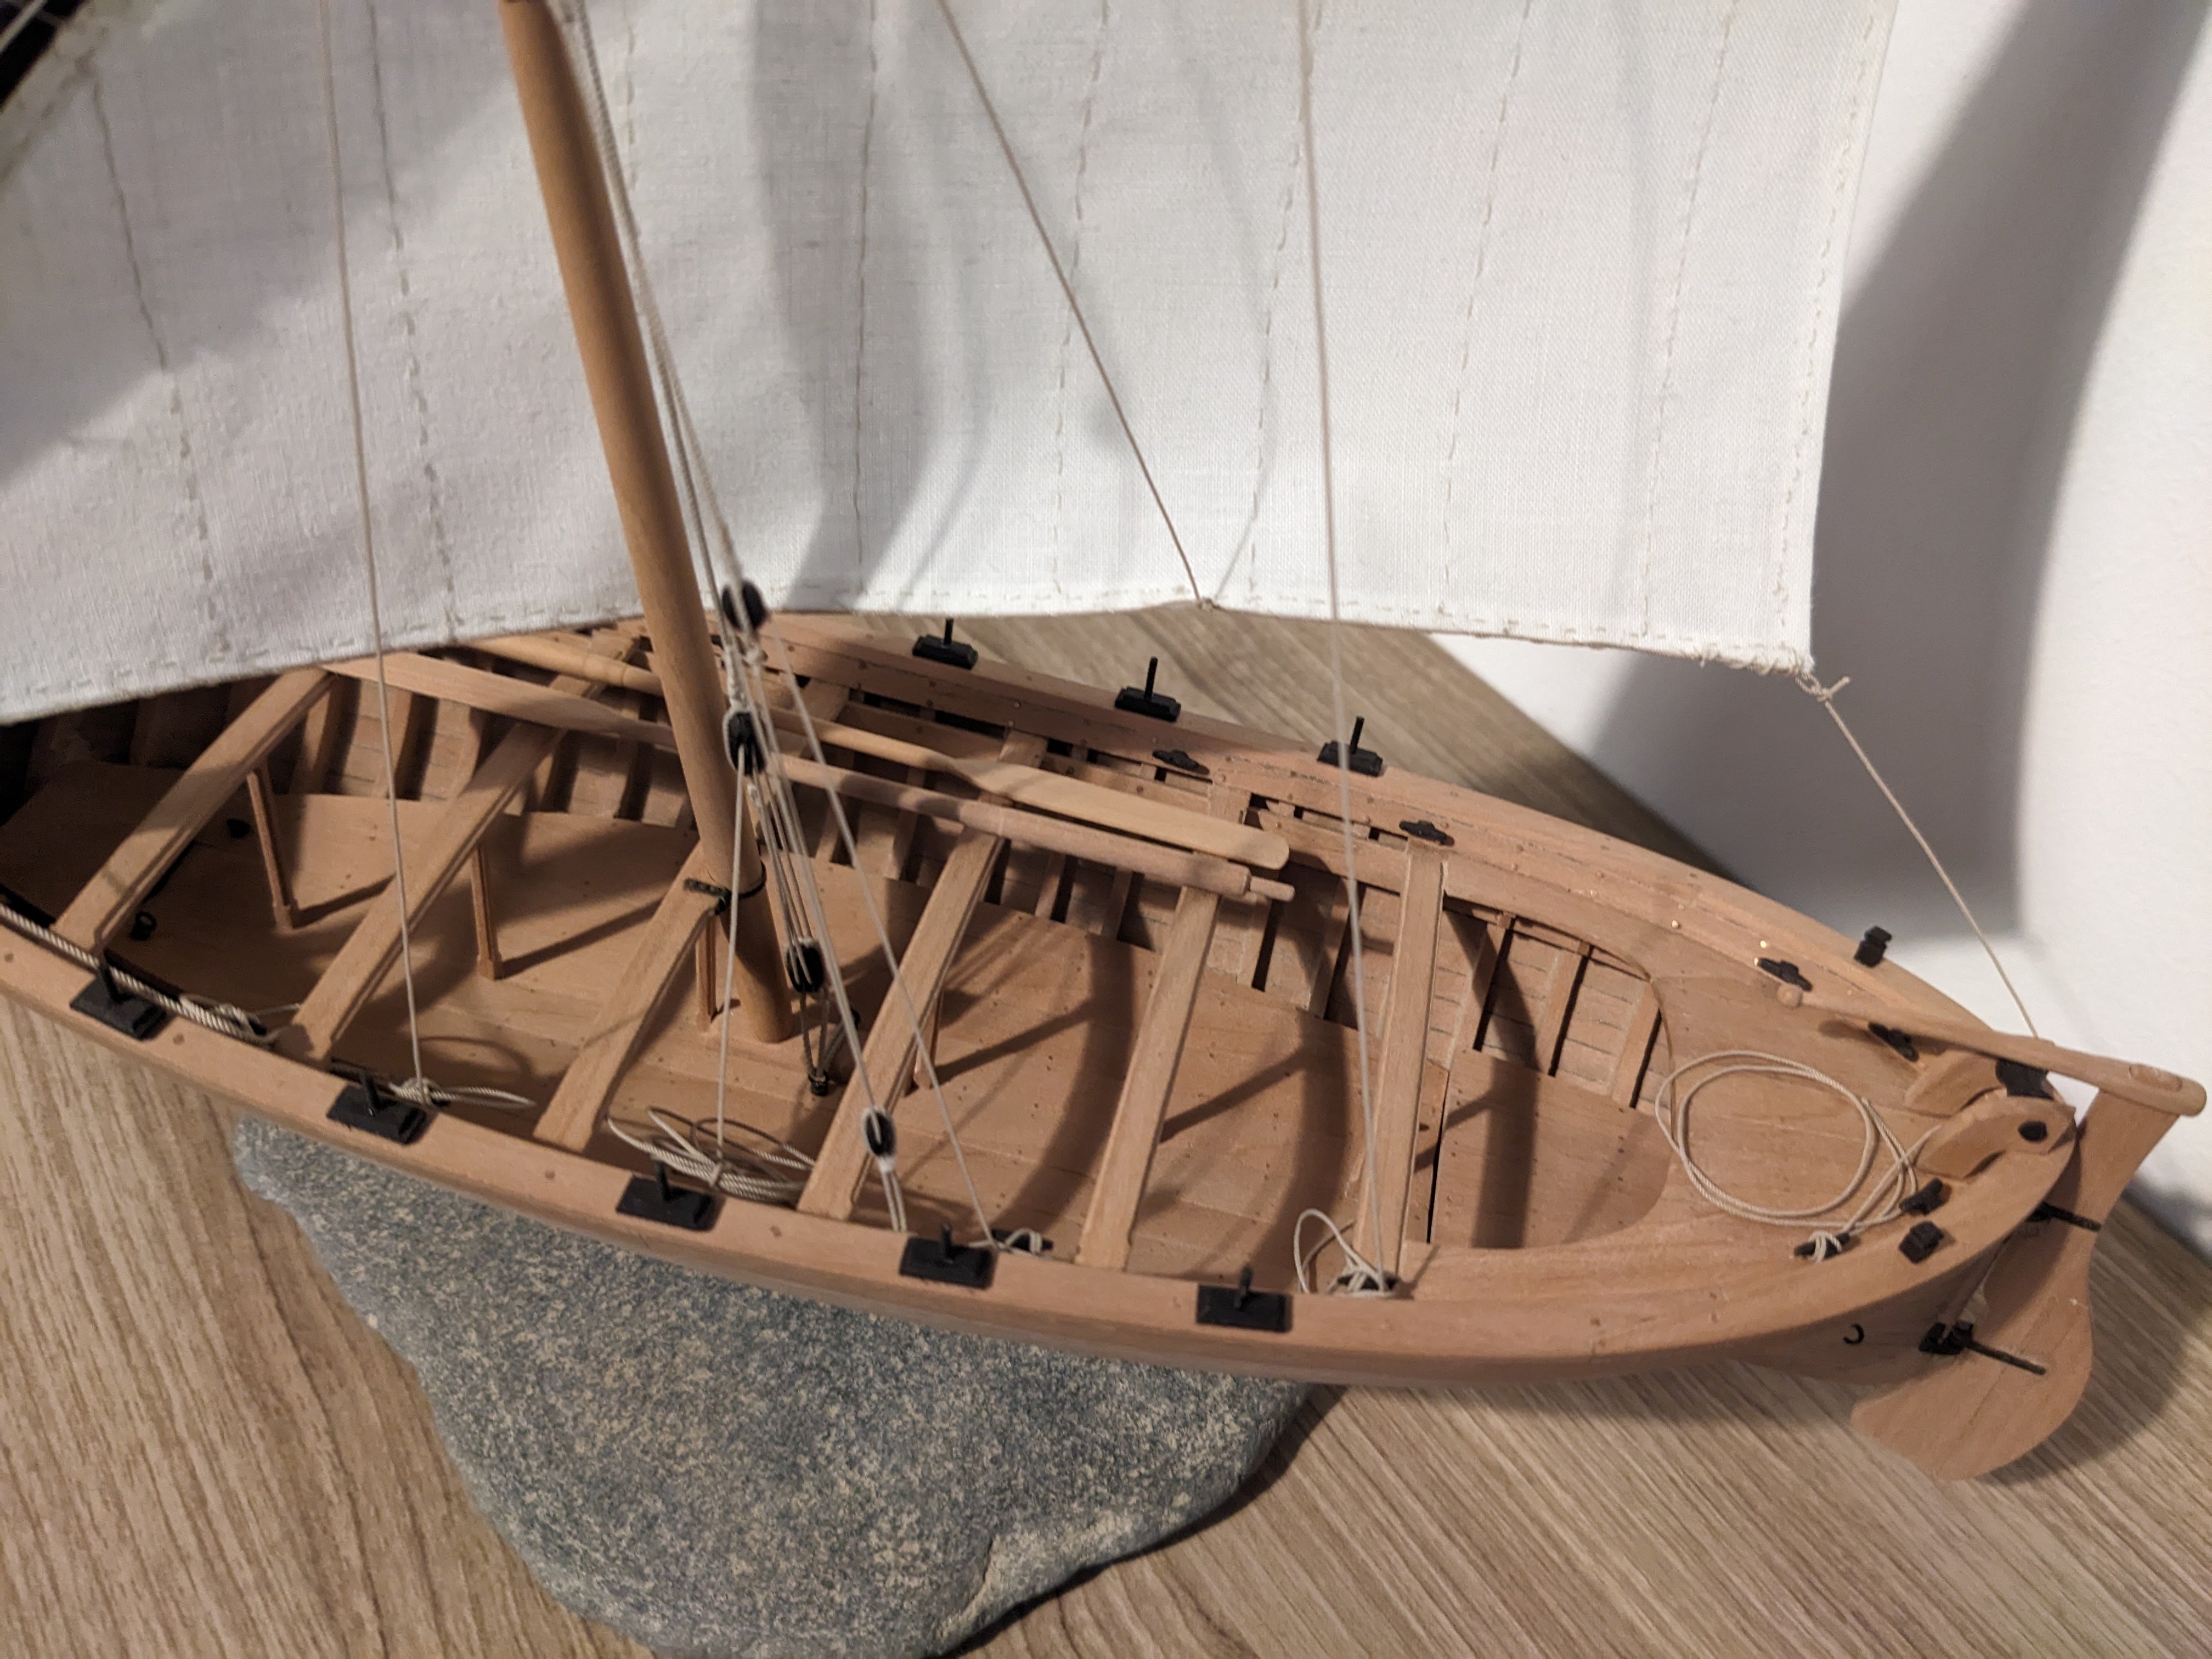
Great start to a very interesting boat, I'll be following your log! 😄
-
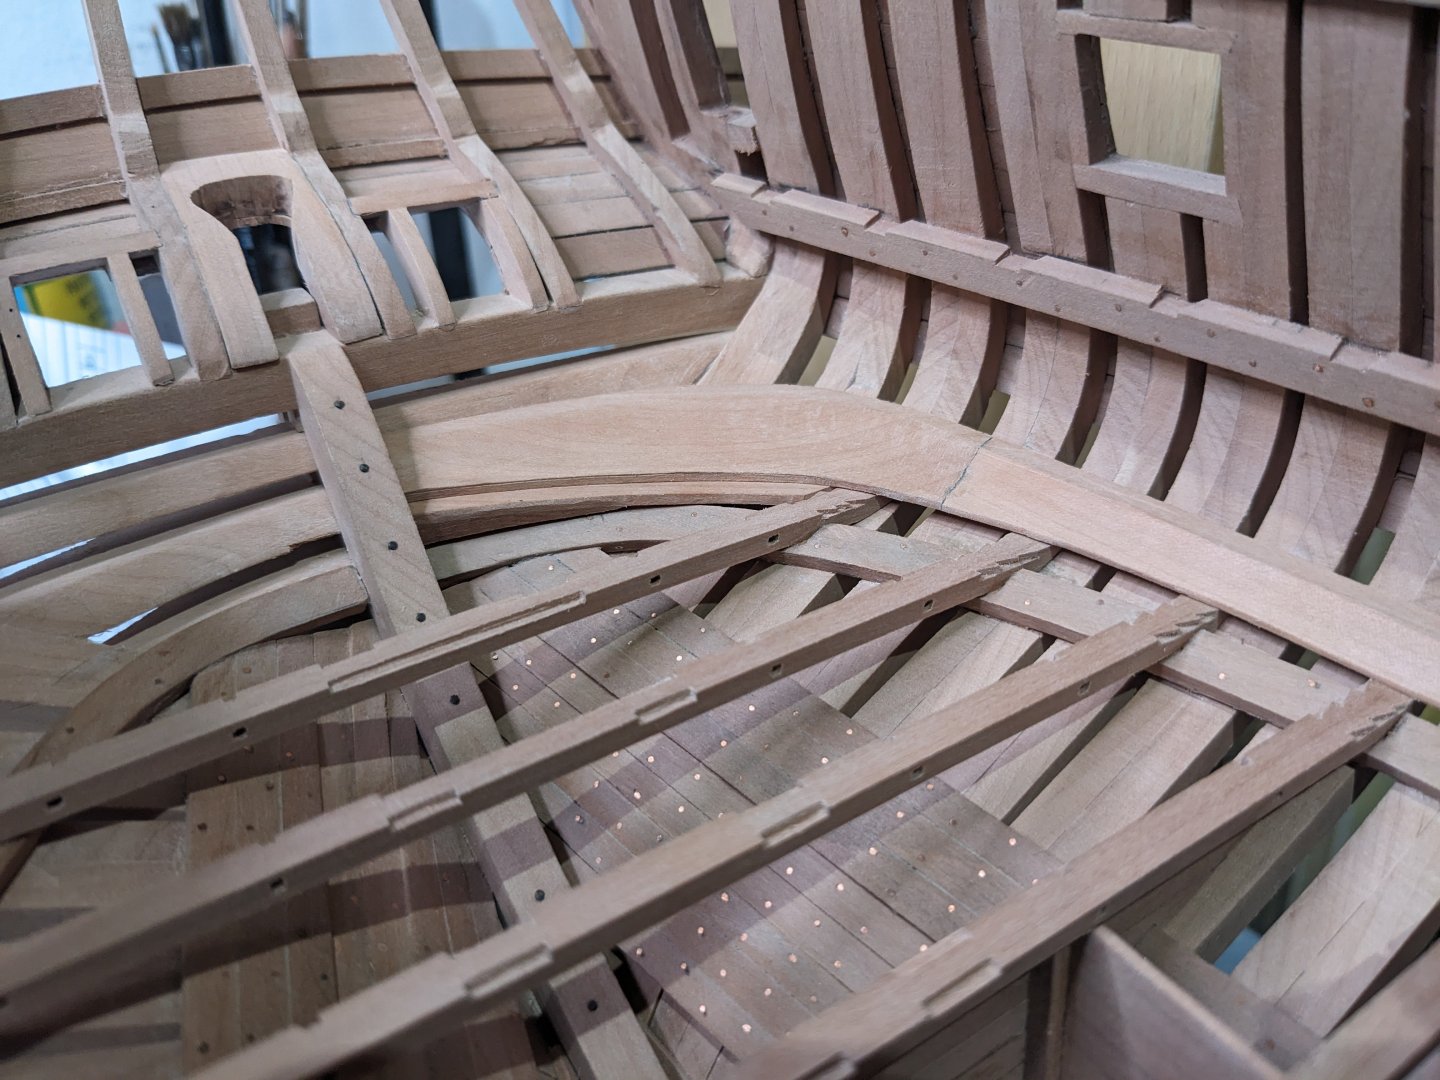
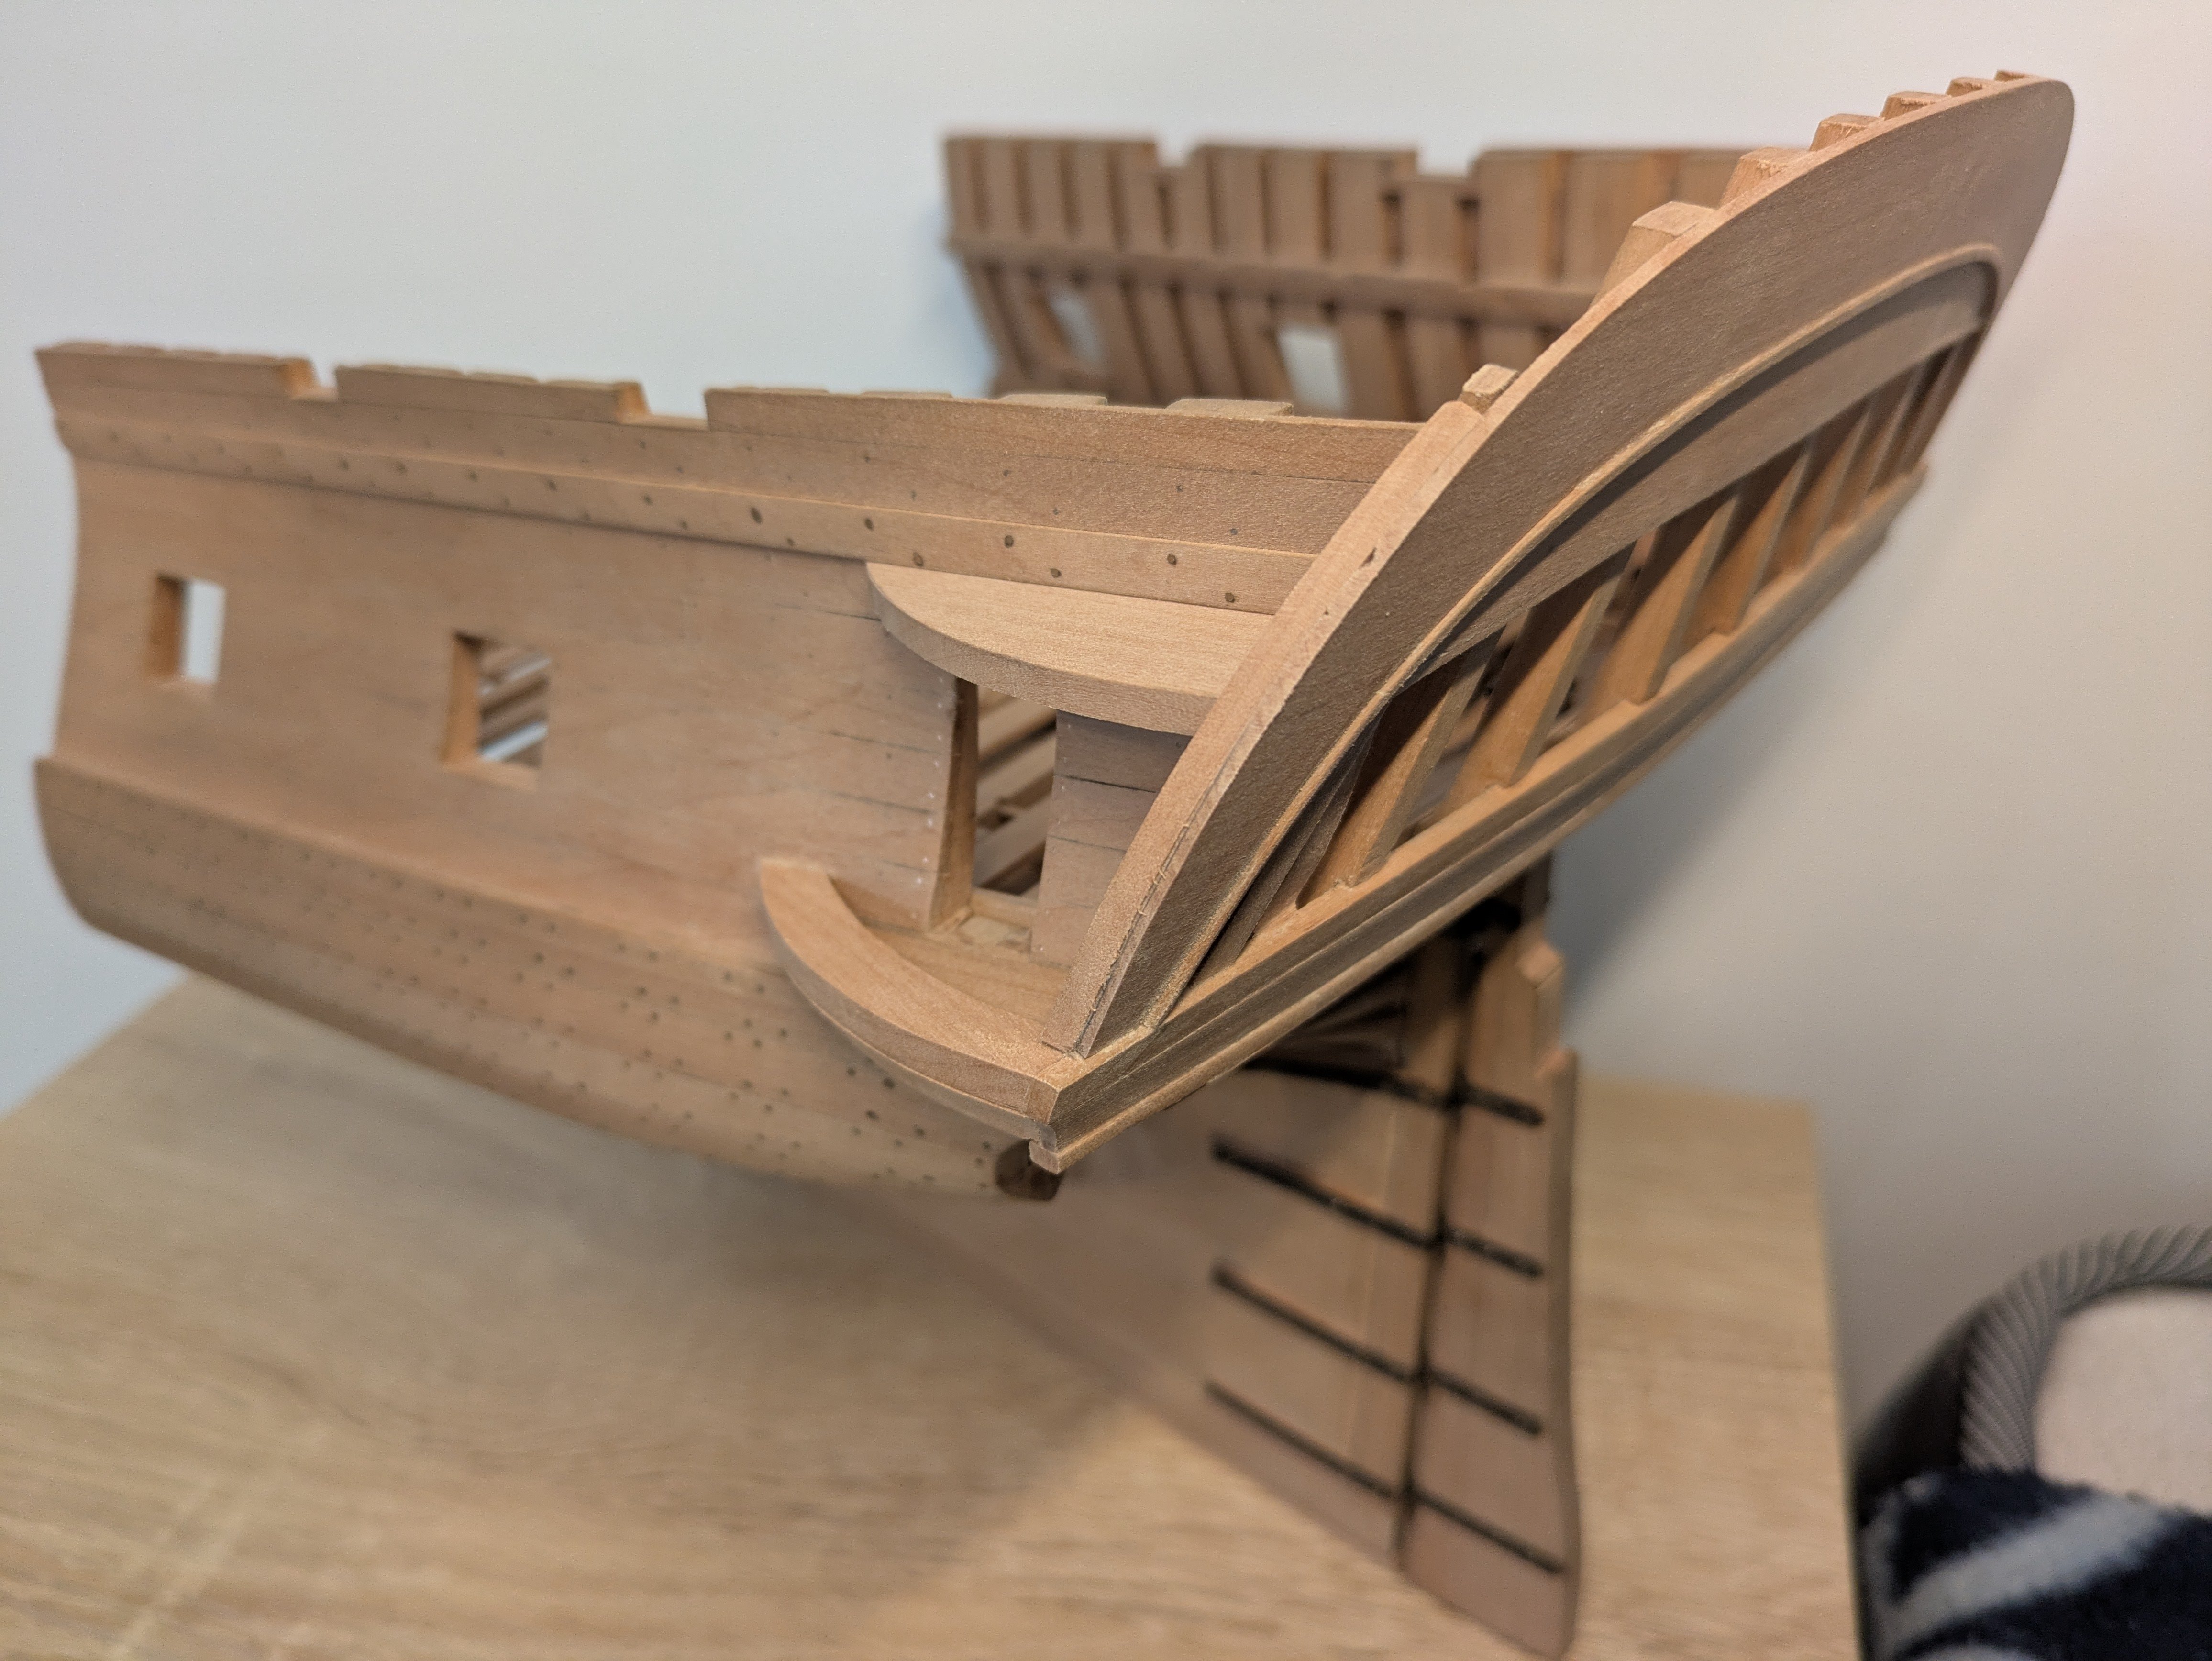
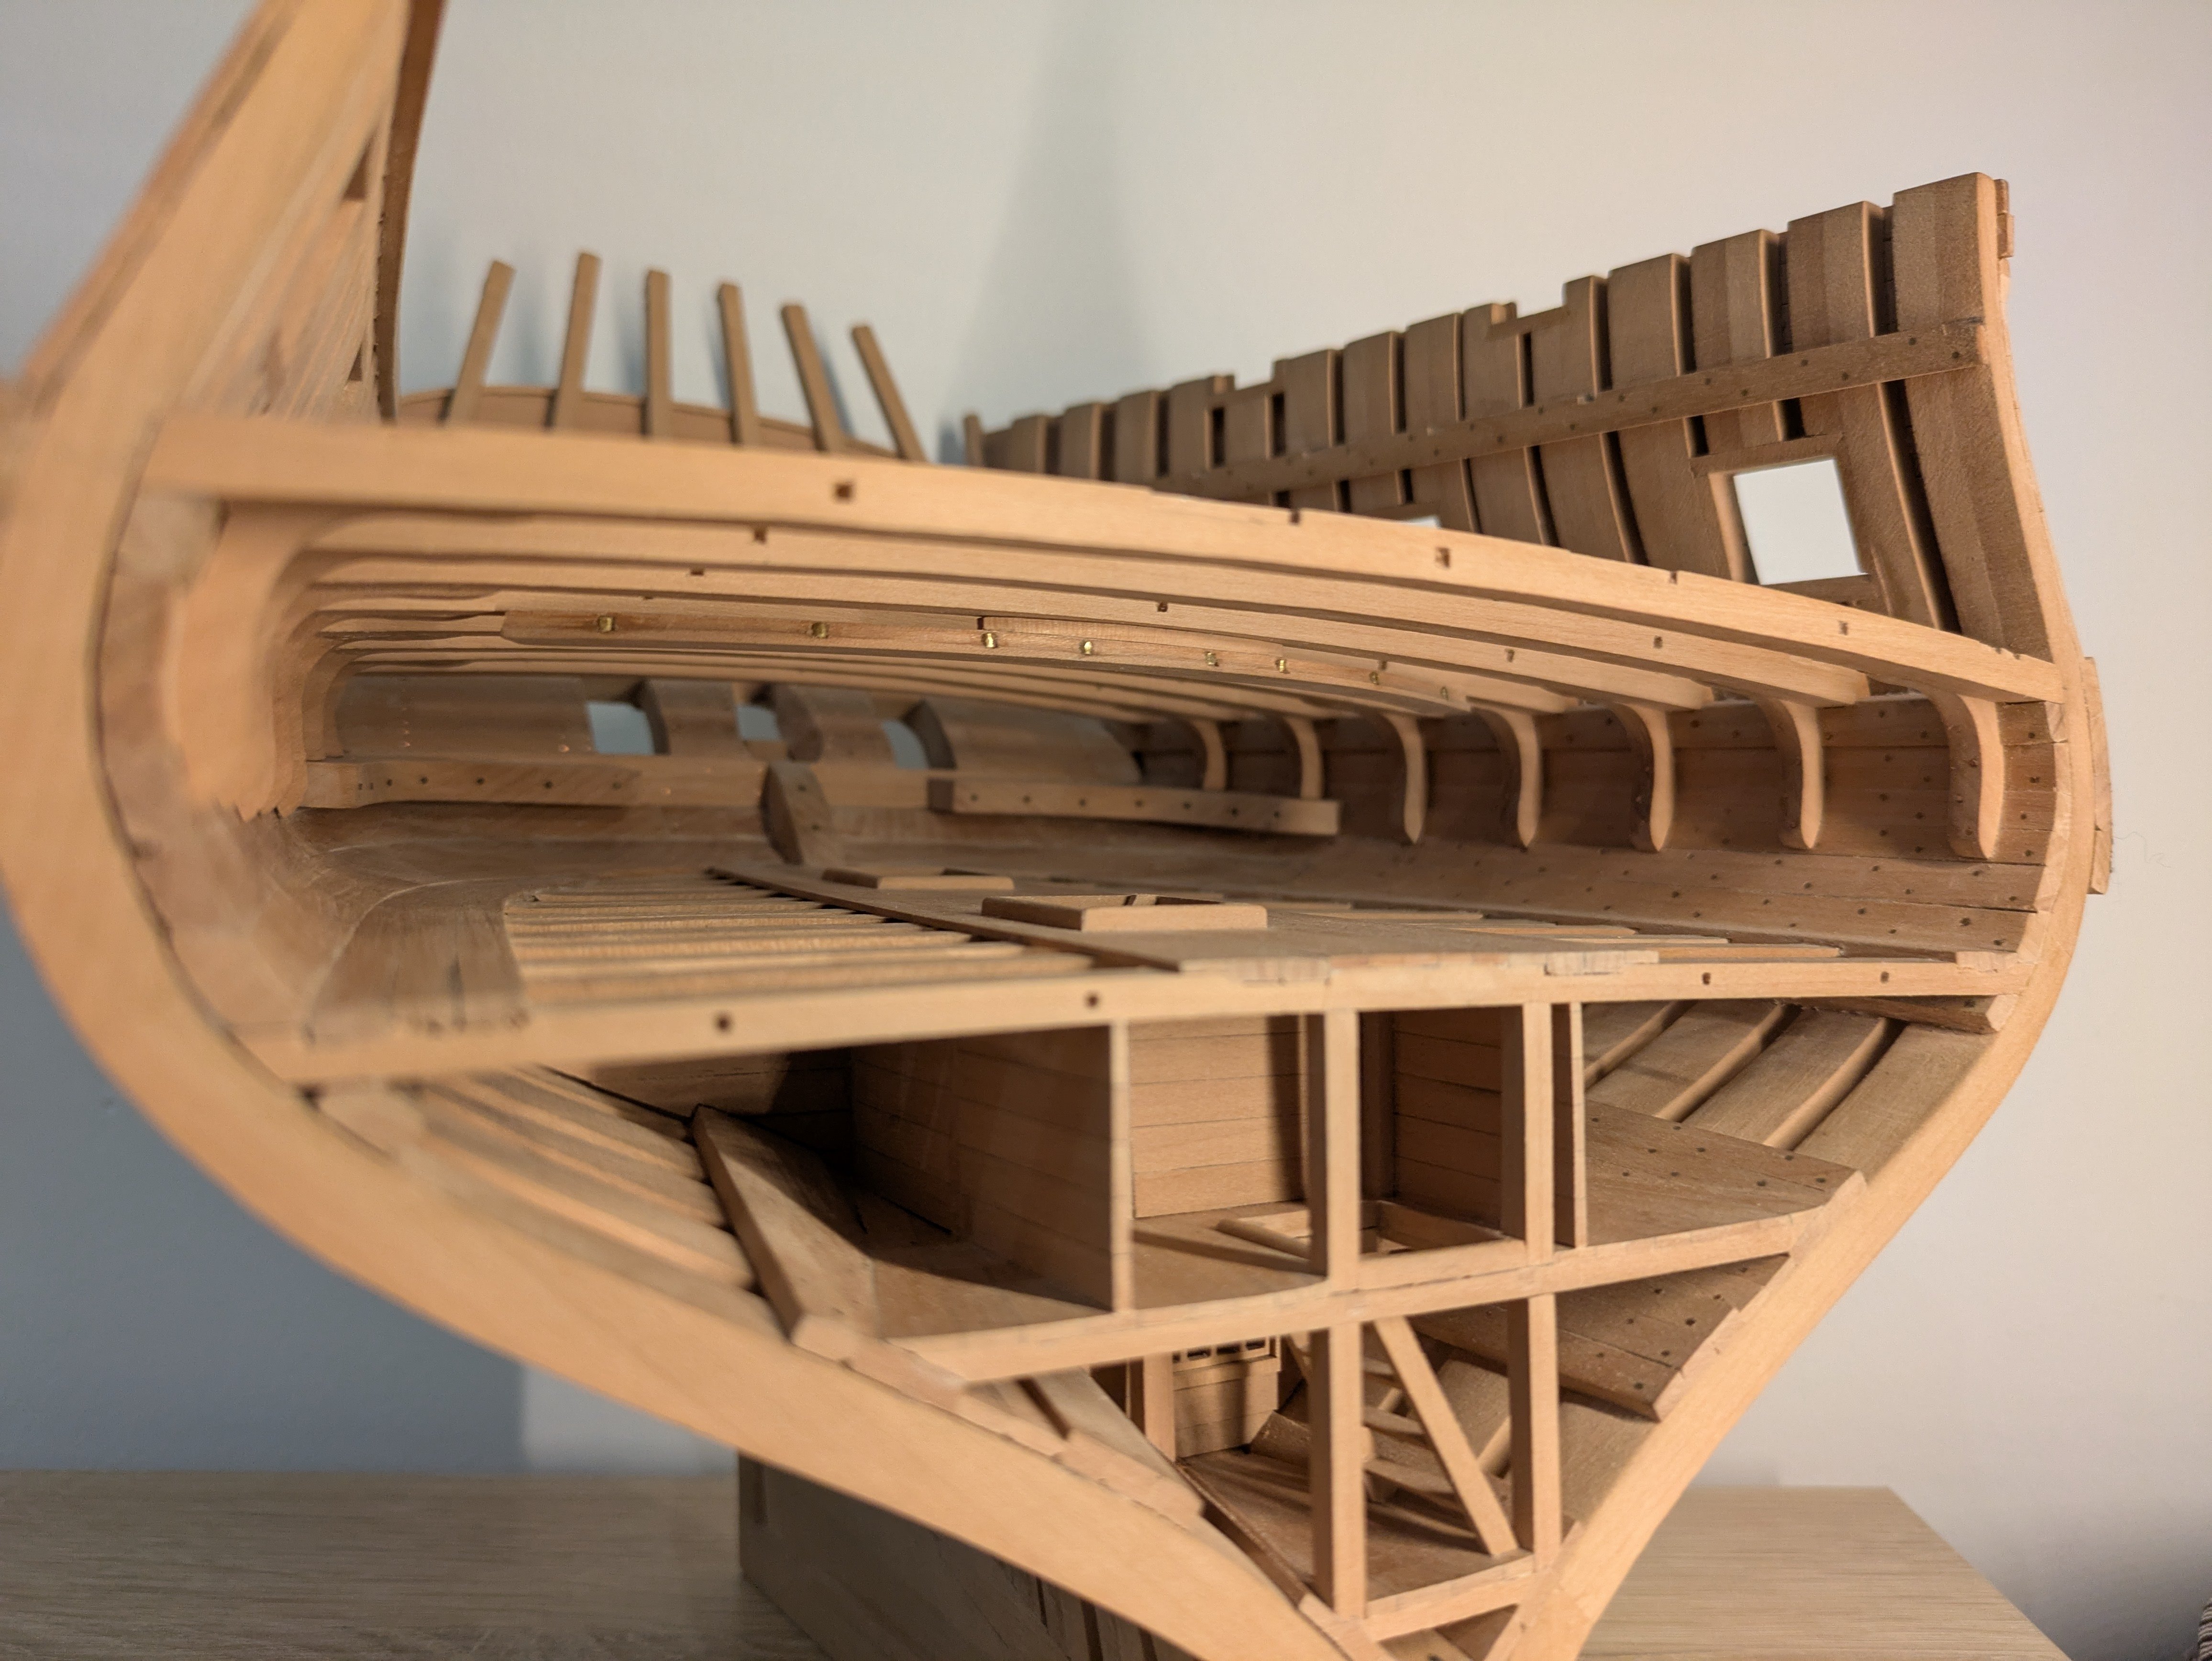
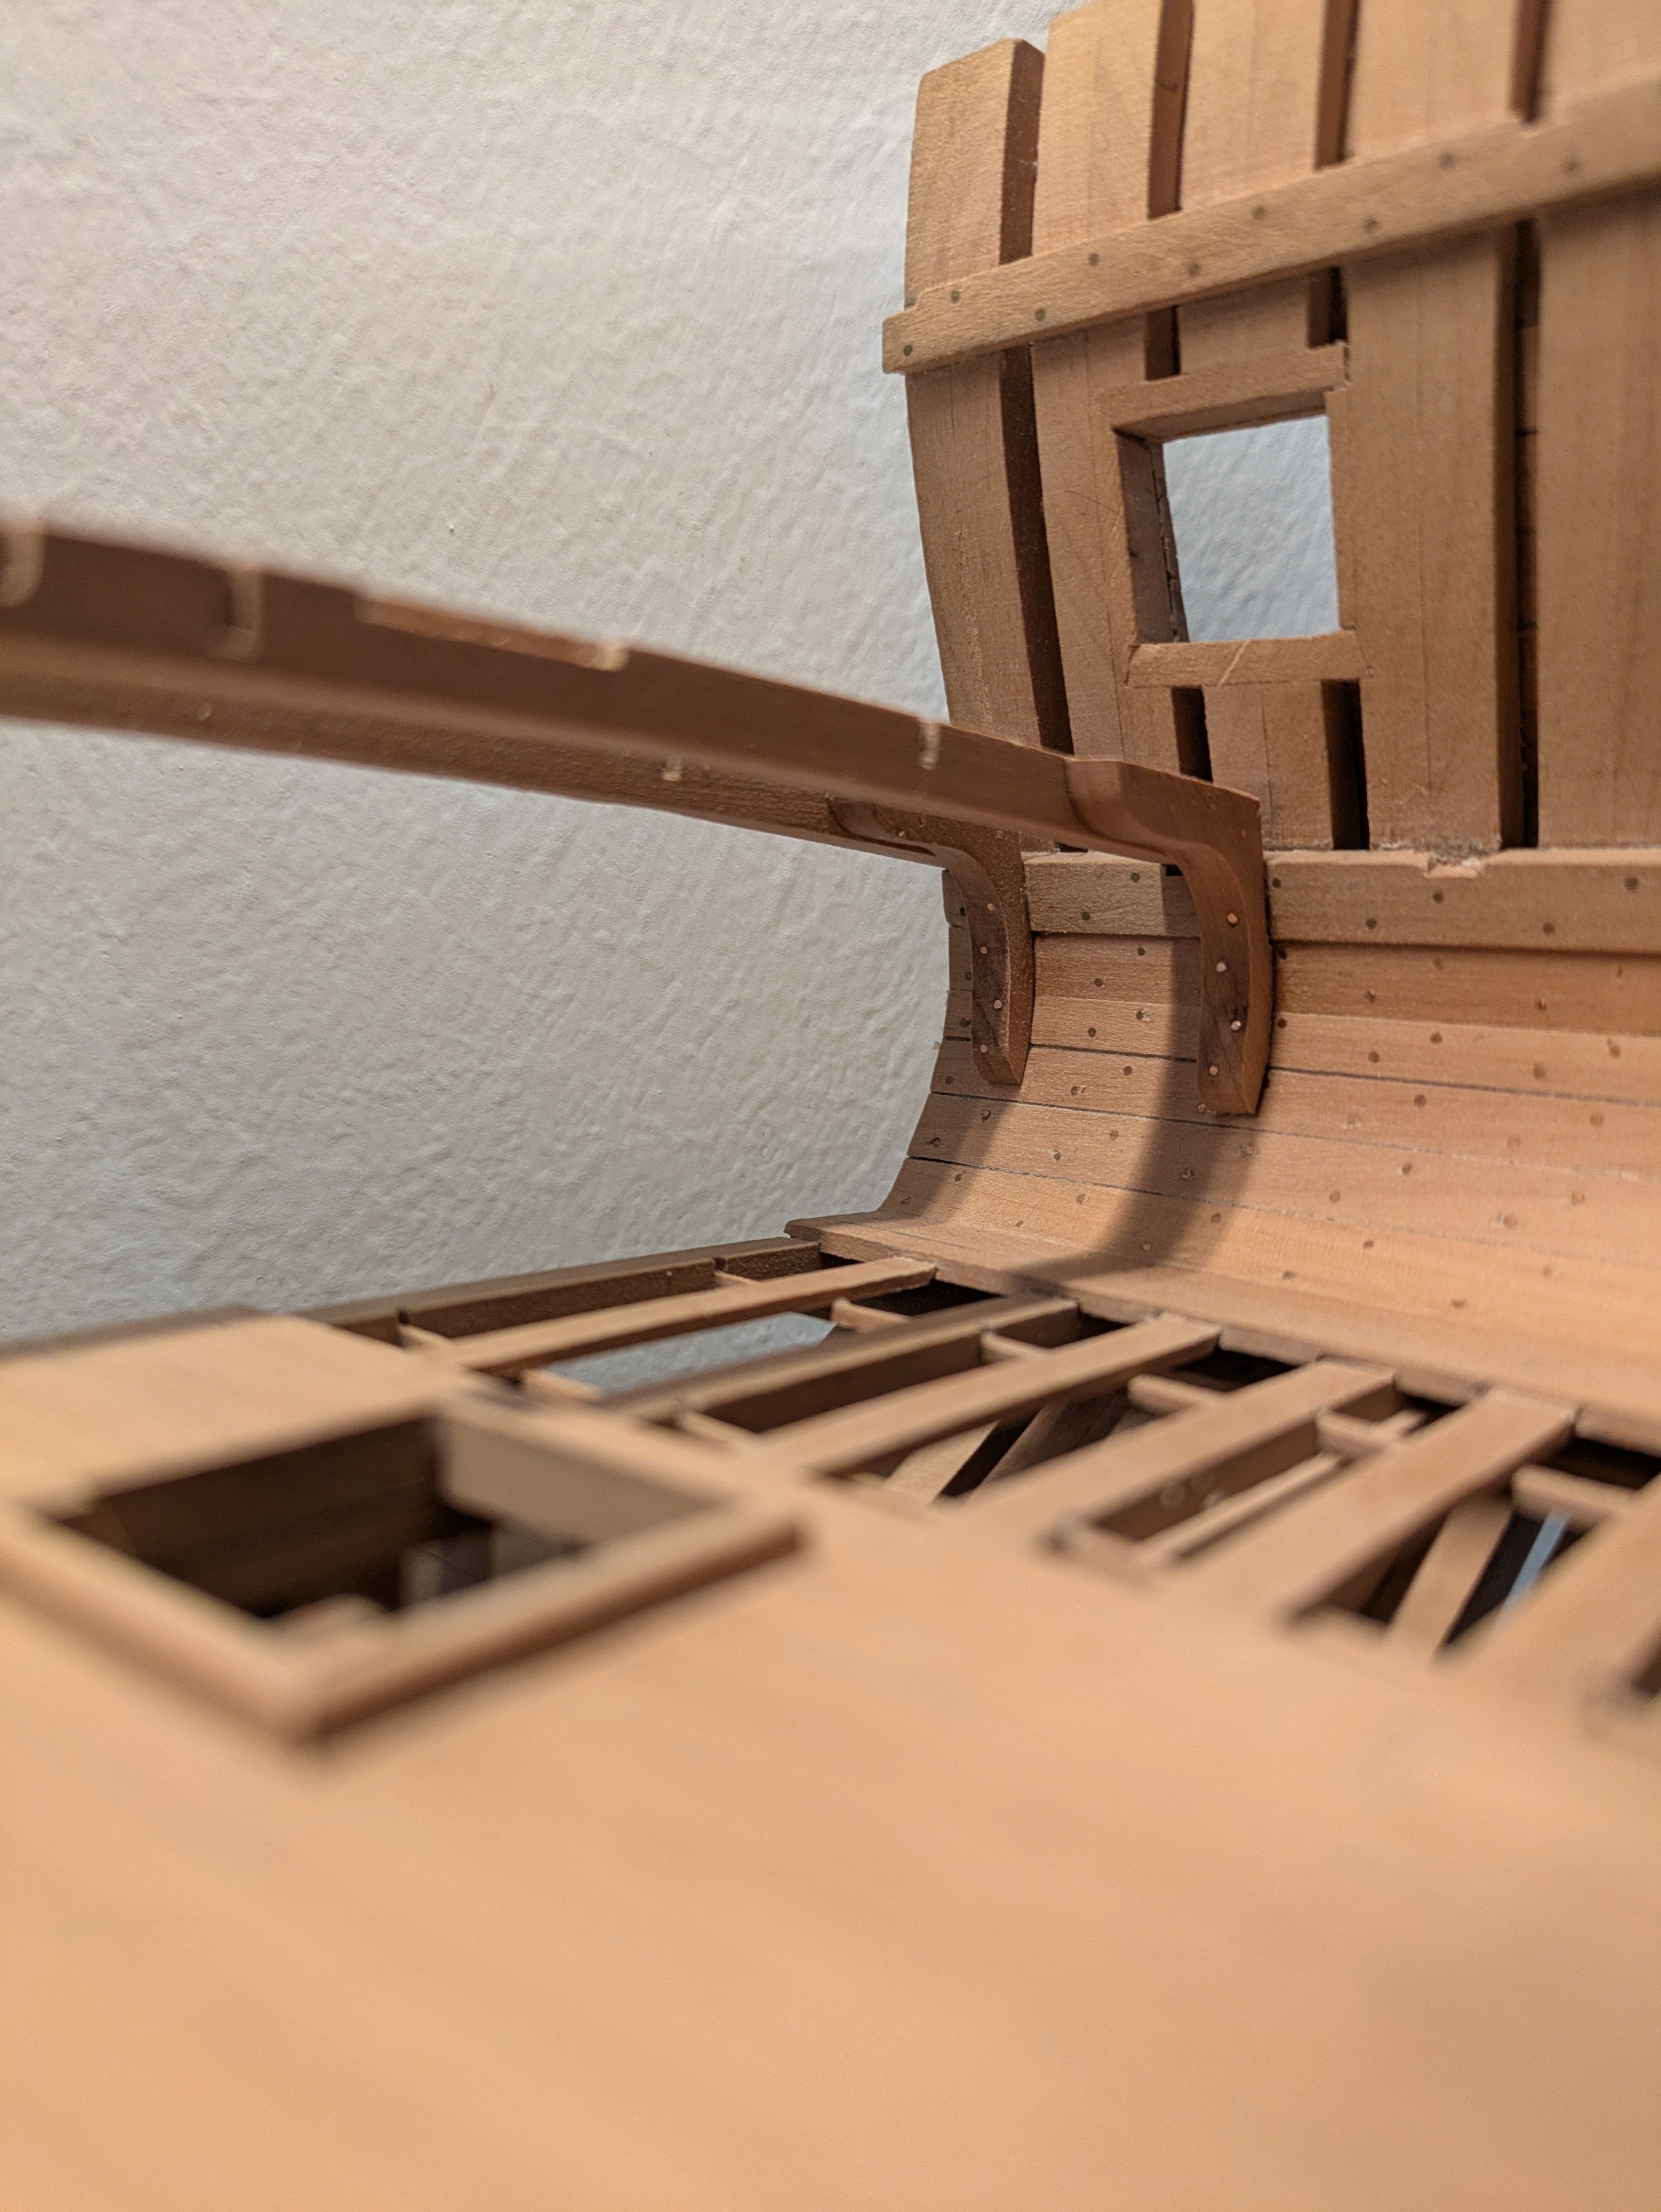
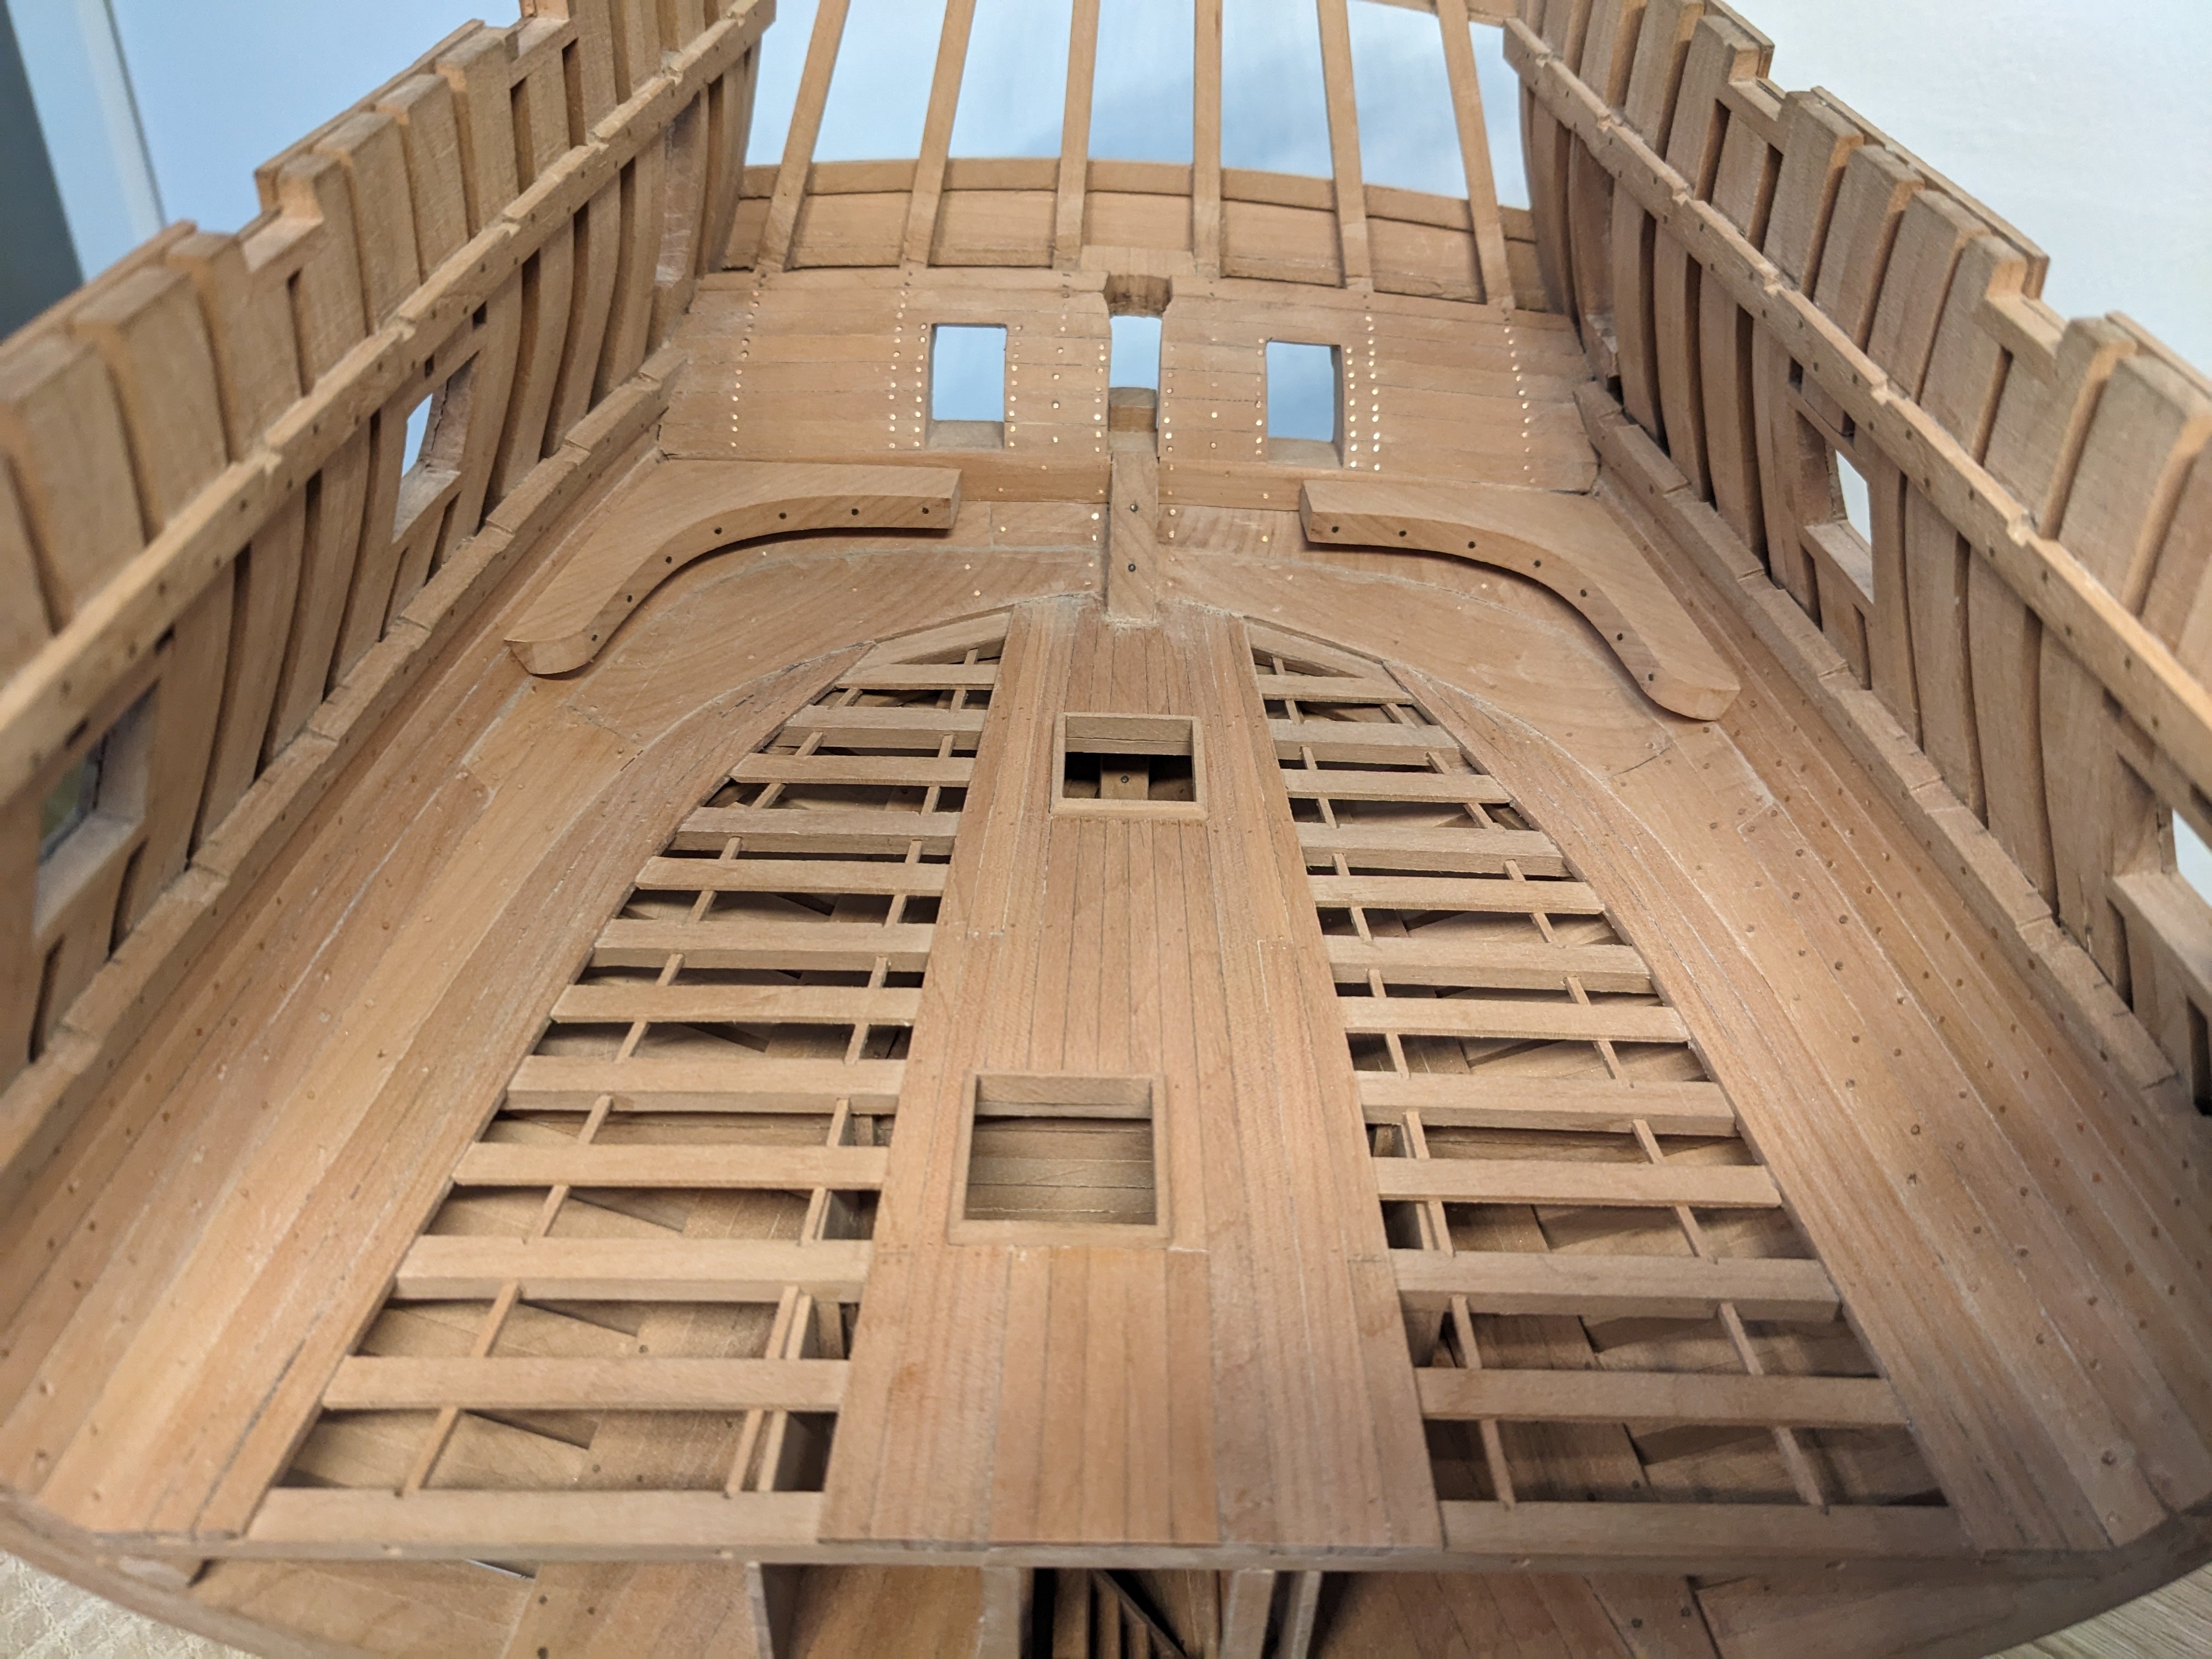
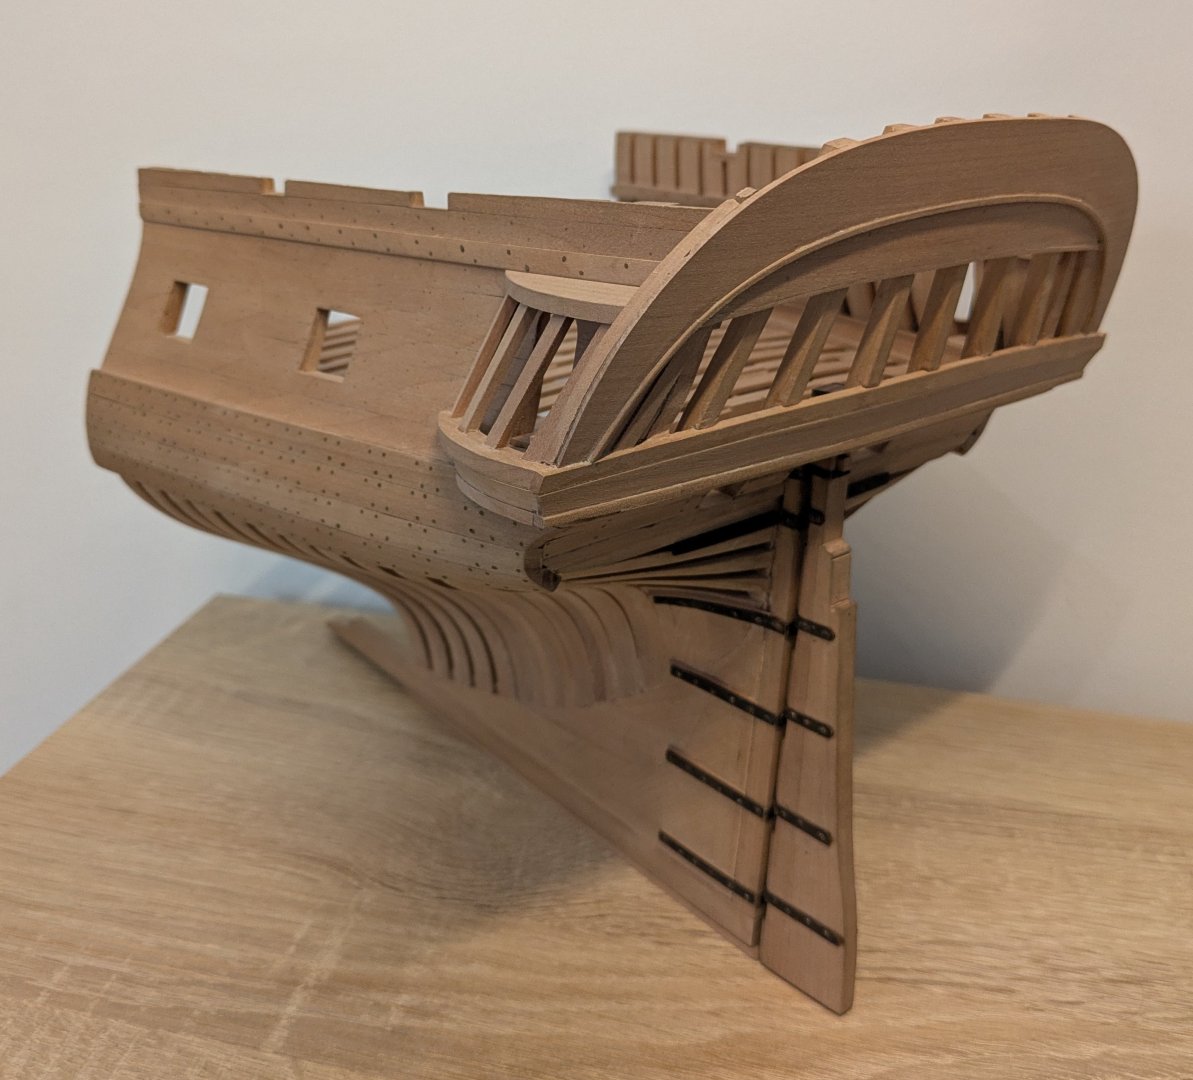
I finished the knees over the weekend and also created and installed the curved rail for the rudder tiller. Although I'm still missing the rearmost angled knees which are tricky to make.
I had some difficulty installing the curved rail at the correct height under the beams, I opted to install it under a riser so the ends were at the correct height and the rail perpendicular to the keel. I looked at some photos of the HMS Victory for comparison.
Next I will be partially planking the battery deck and preparing the pulleys for the tiller.
Also, you might have noticed my photos are better quality, I just bought a new phone. 📷


- eatcrow2, native one, Stavanger and 16 others
-
 19
19
-
-
-
By the way, I realise the way I've done the inner stern planking and the water way is wrong: it shouldn't be this wide but should have been more curved. I'm not sure why I didn't realise this earlier.
Anyway I'm not going to redo it, I'd destroy more than I could fix, I'll just take it as yet another lesson learnt.- Mike Y, mtaylor, JacquesCousteau and 2 others
-
5
-
On 11/20/2024 at 4:24 AM, bdgiantman2 said:
My guess is that the planks would butt against the keelson, that is what happens in the other ships. Great building project, this is looking great.
Brian D
")
This is what I ended up doing, thanks! In the end, no one will be able to see it anyway.
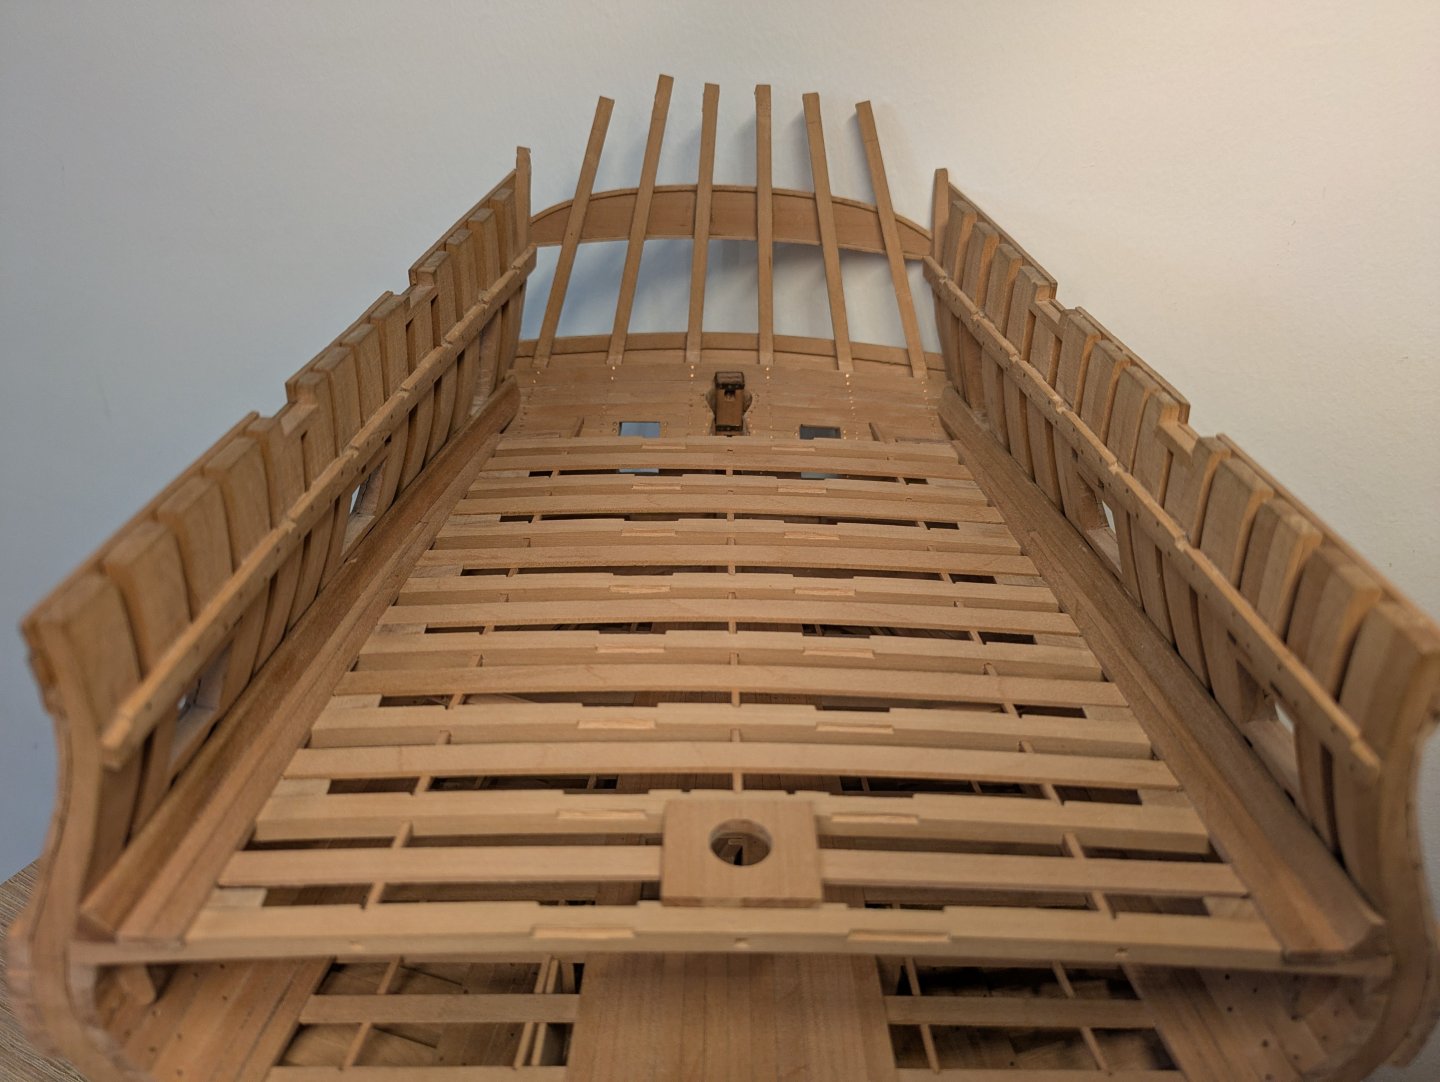
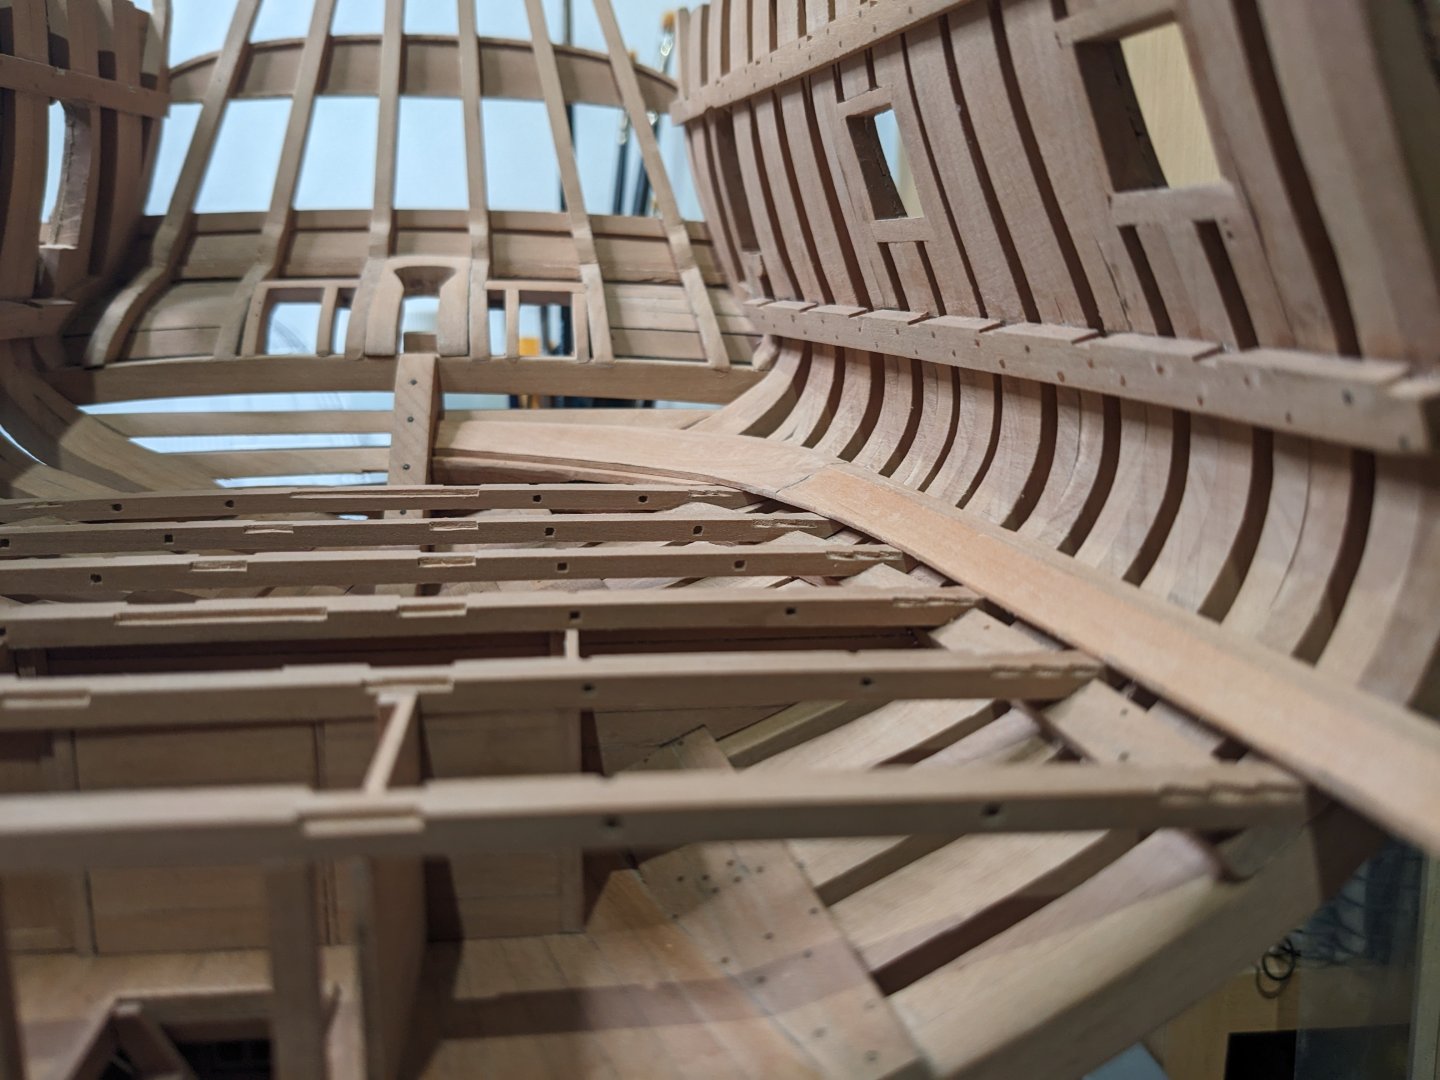
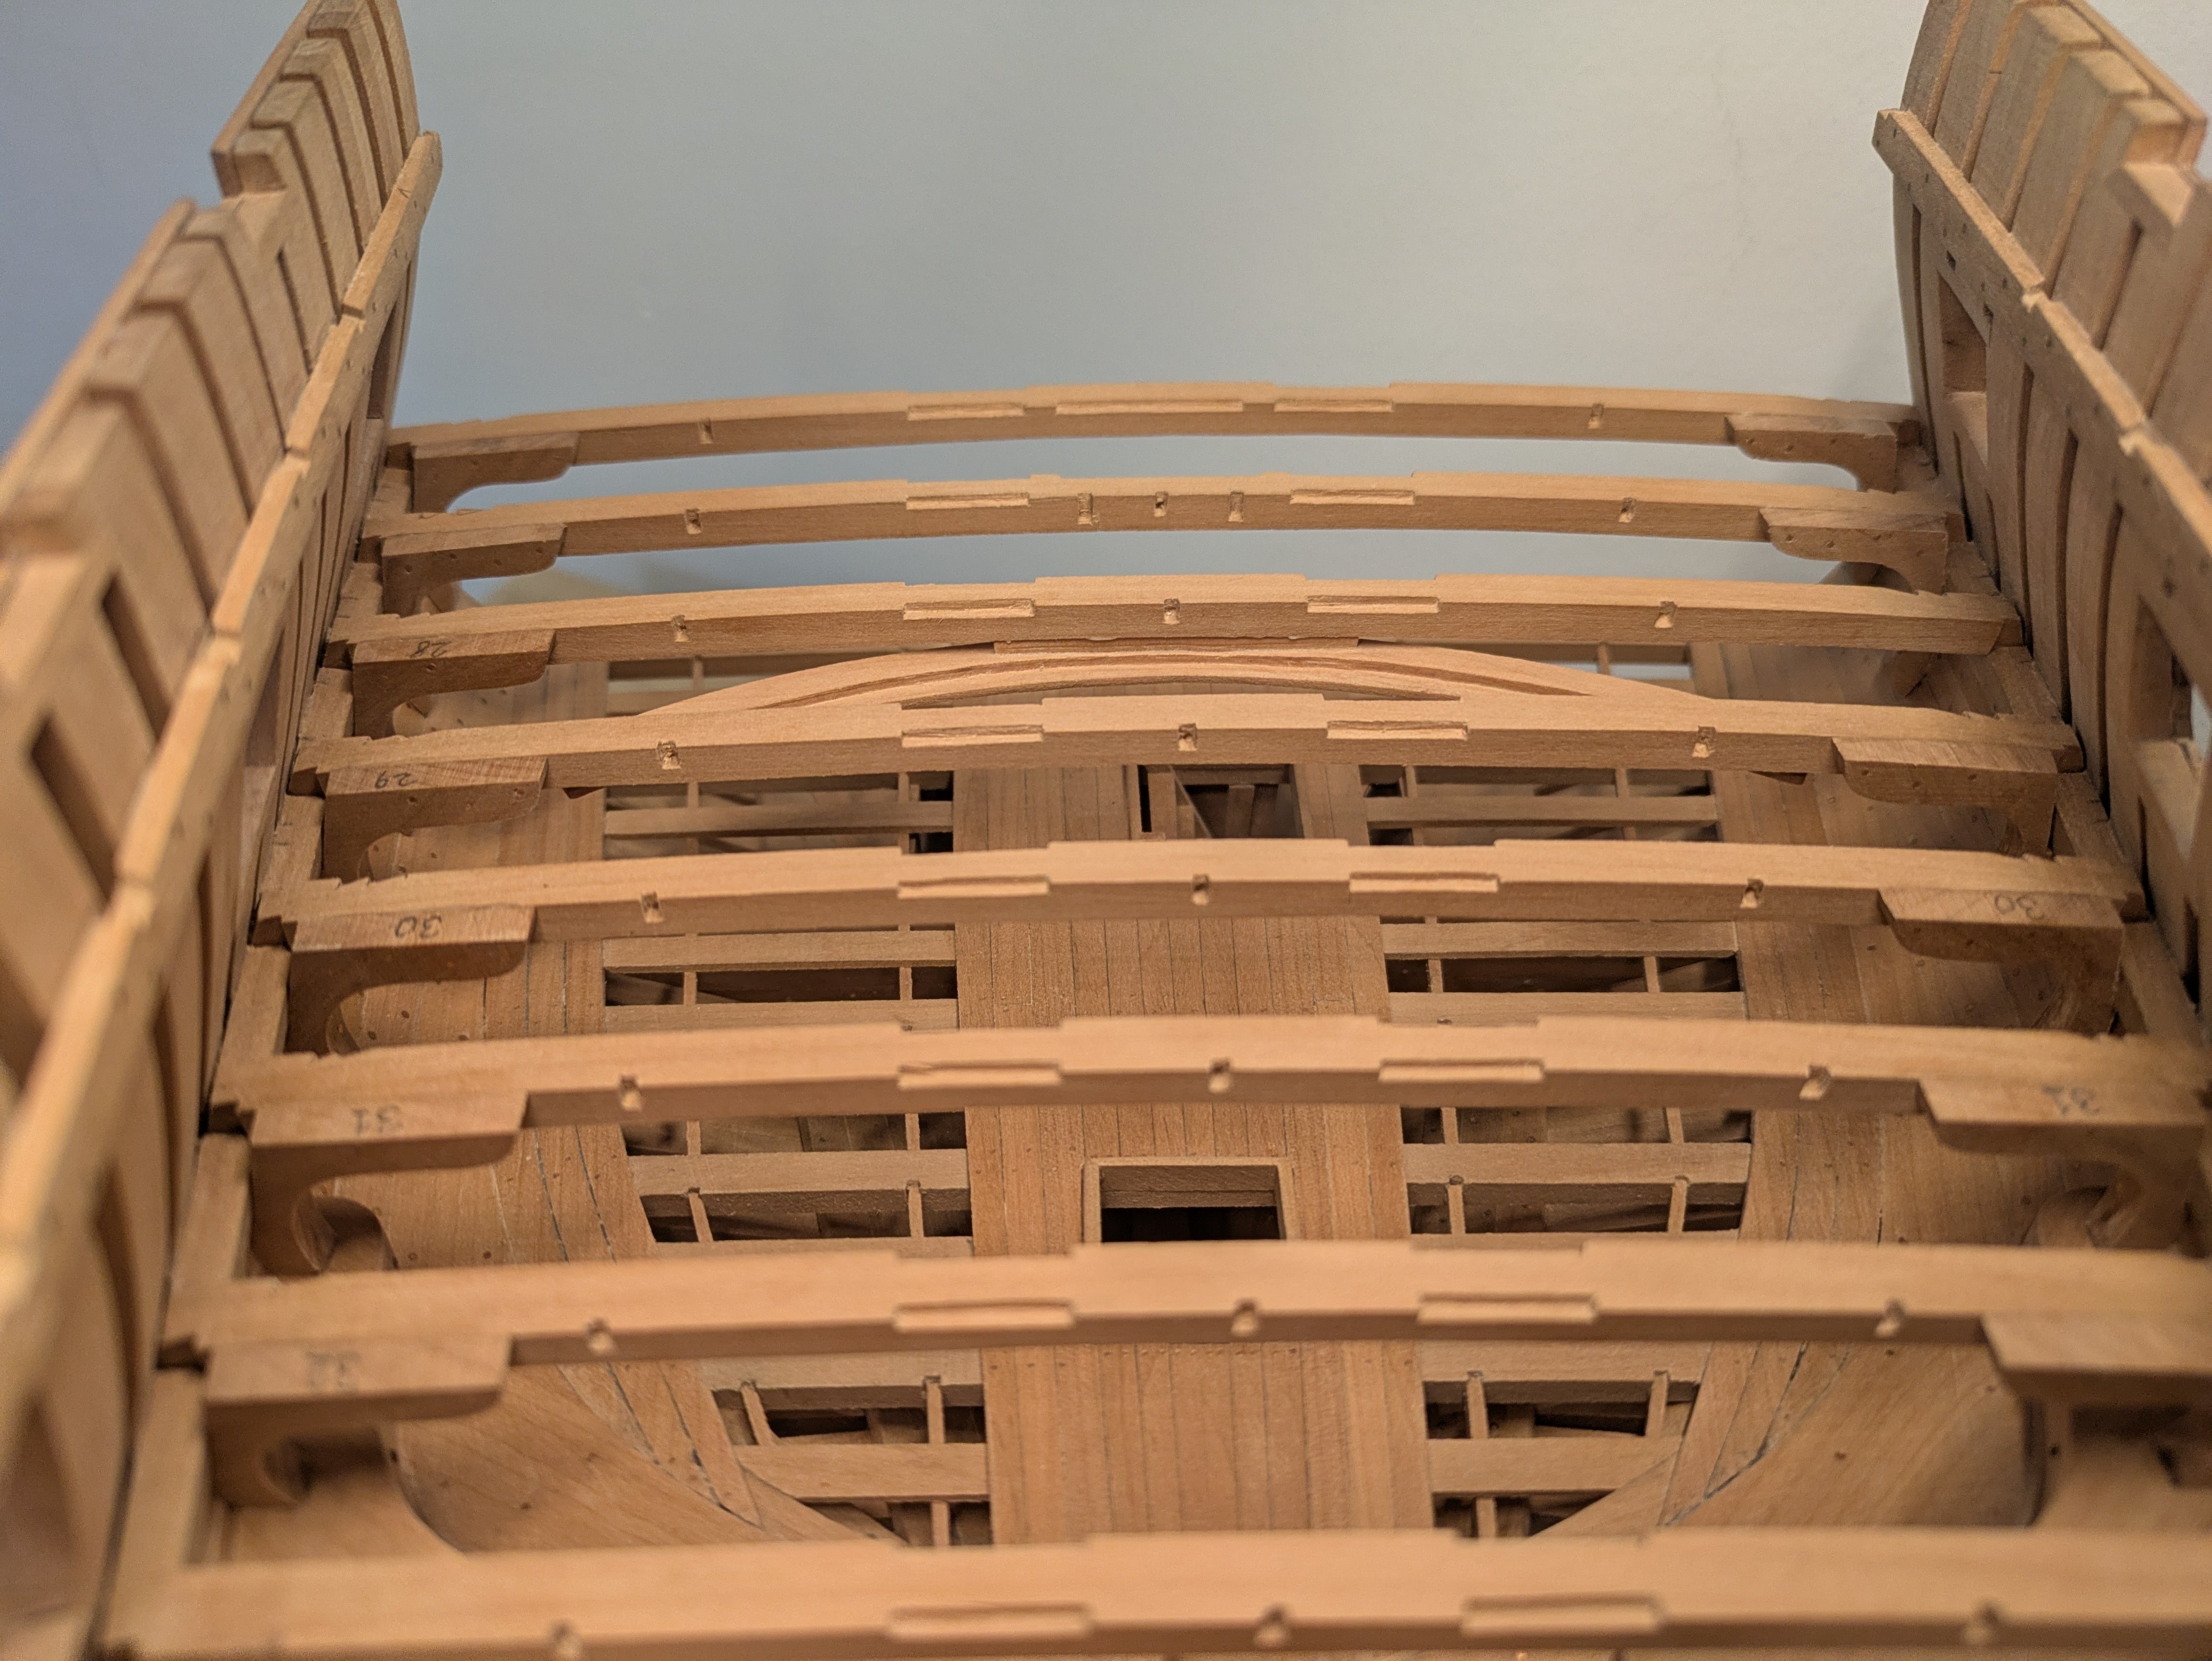
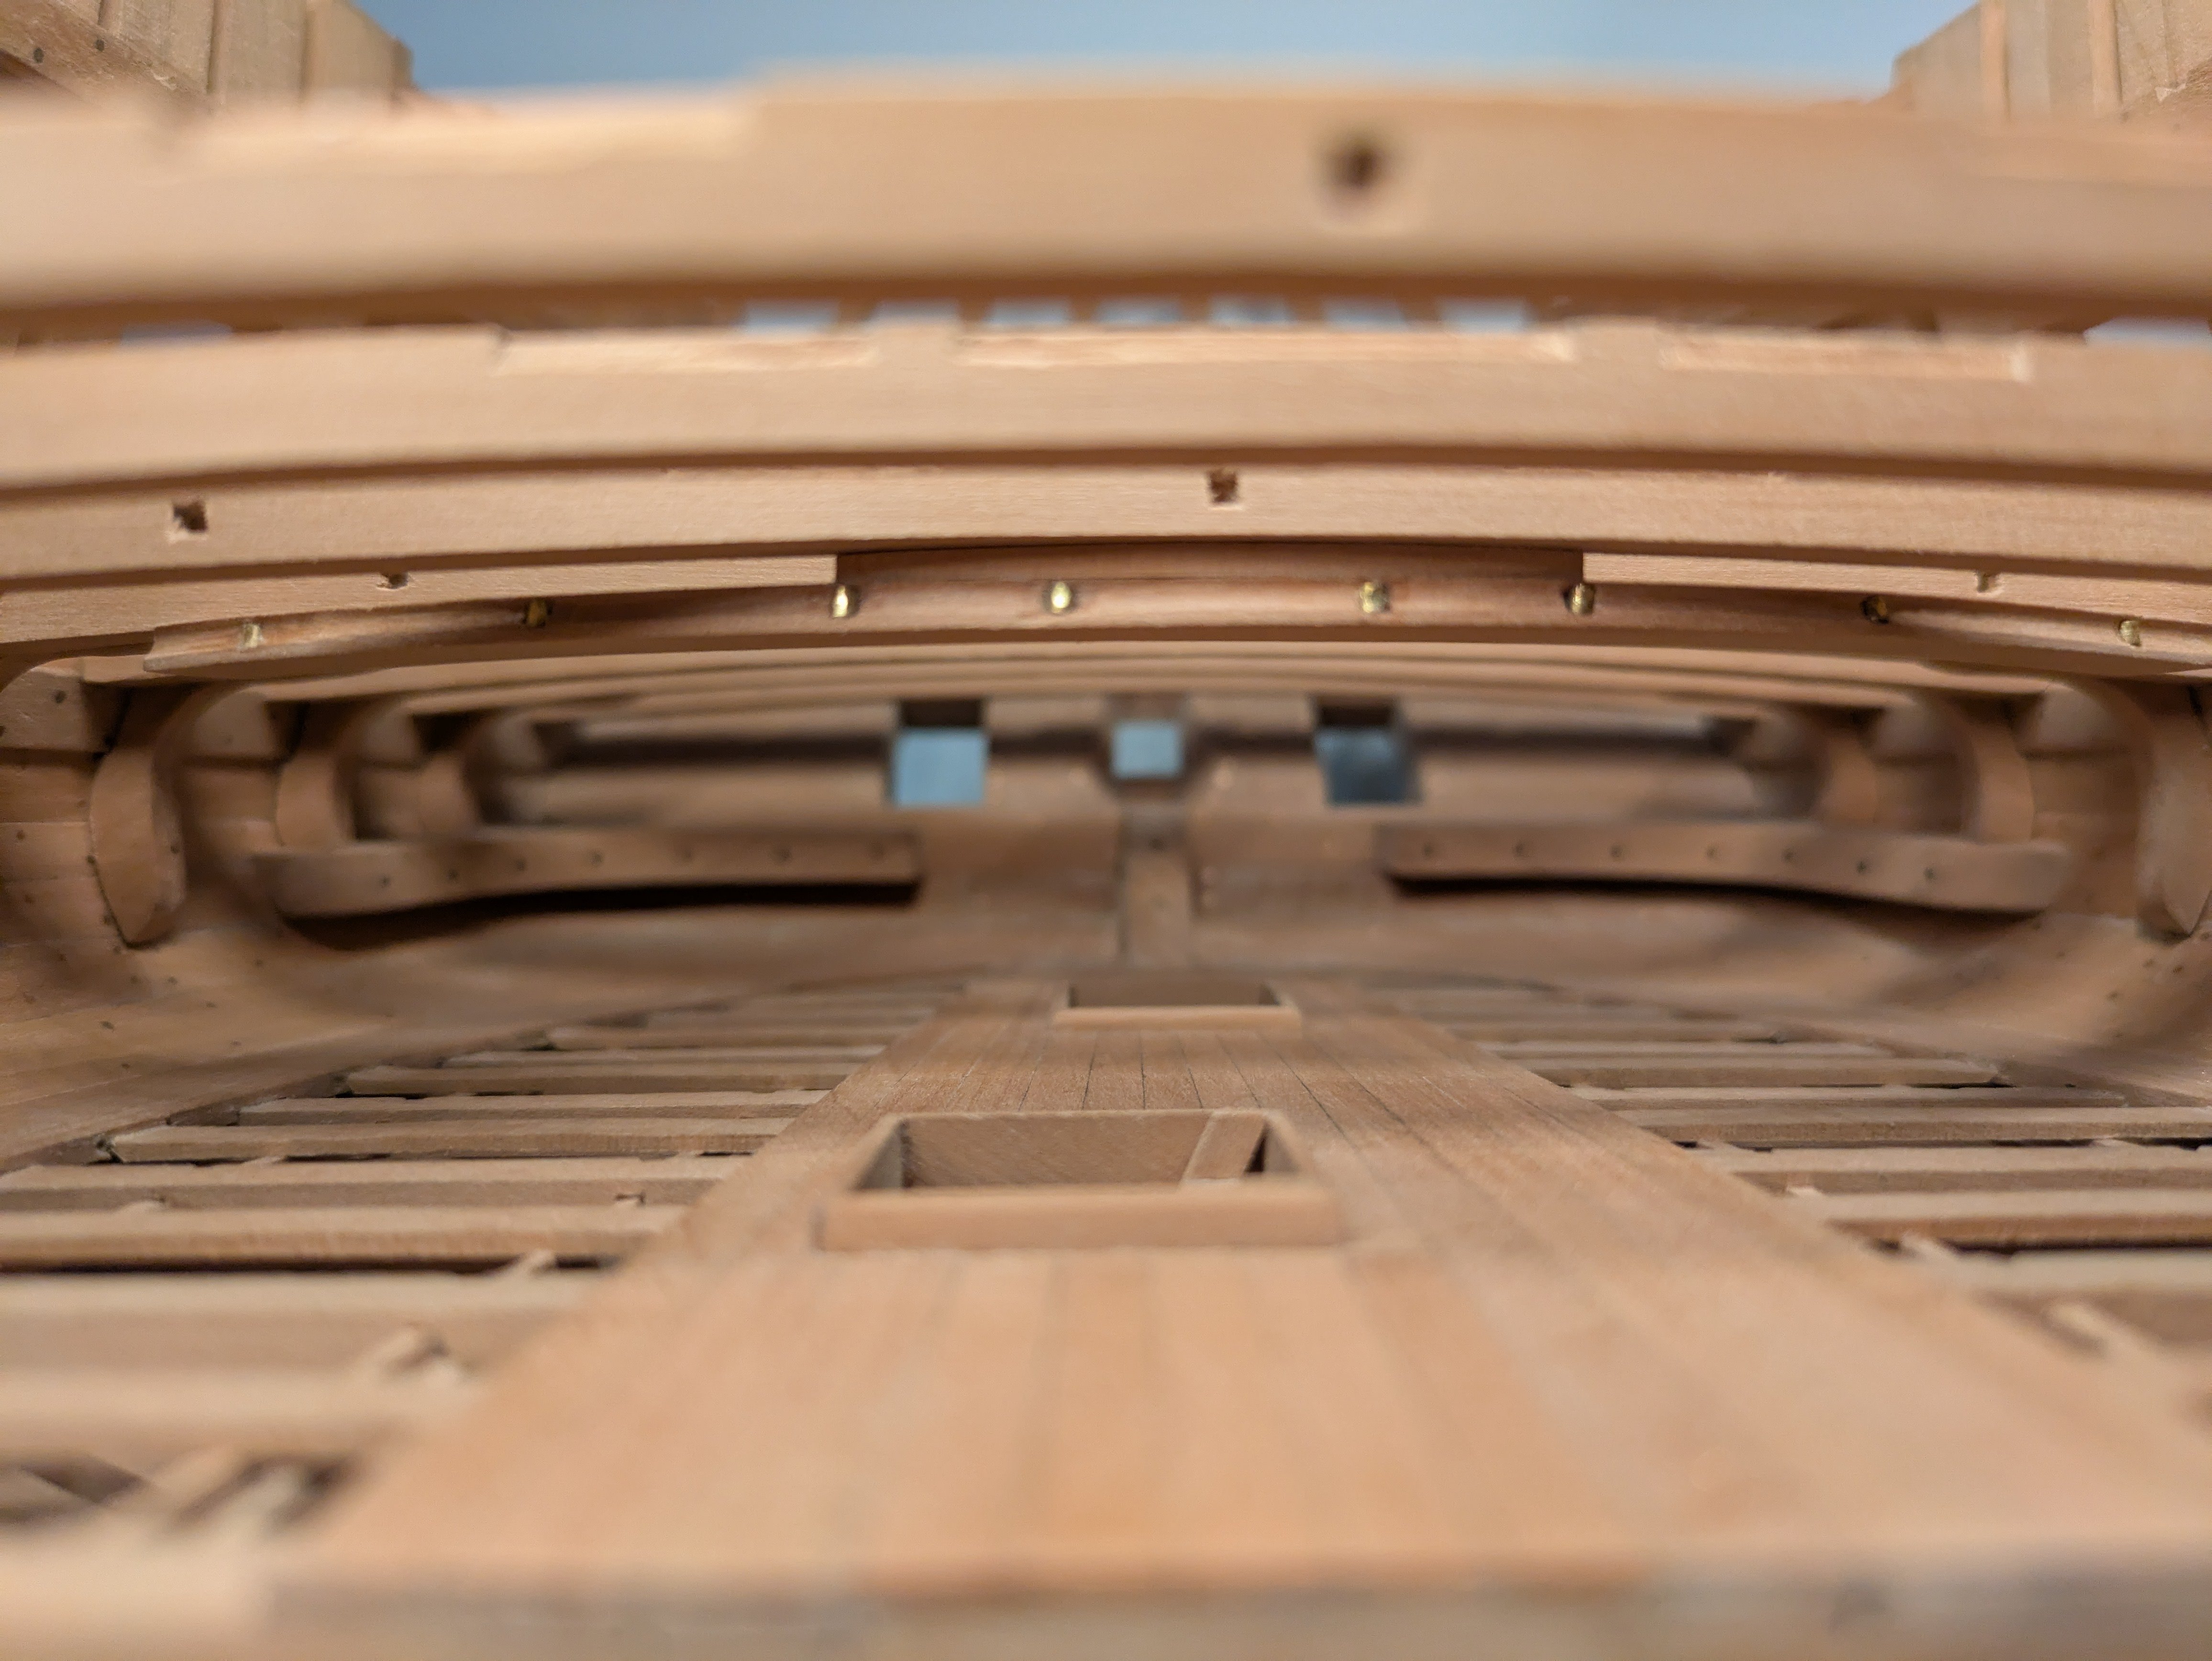
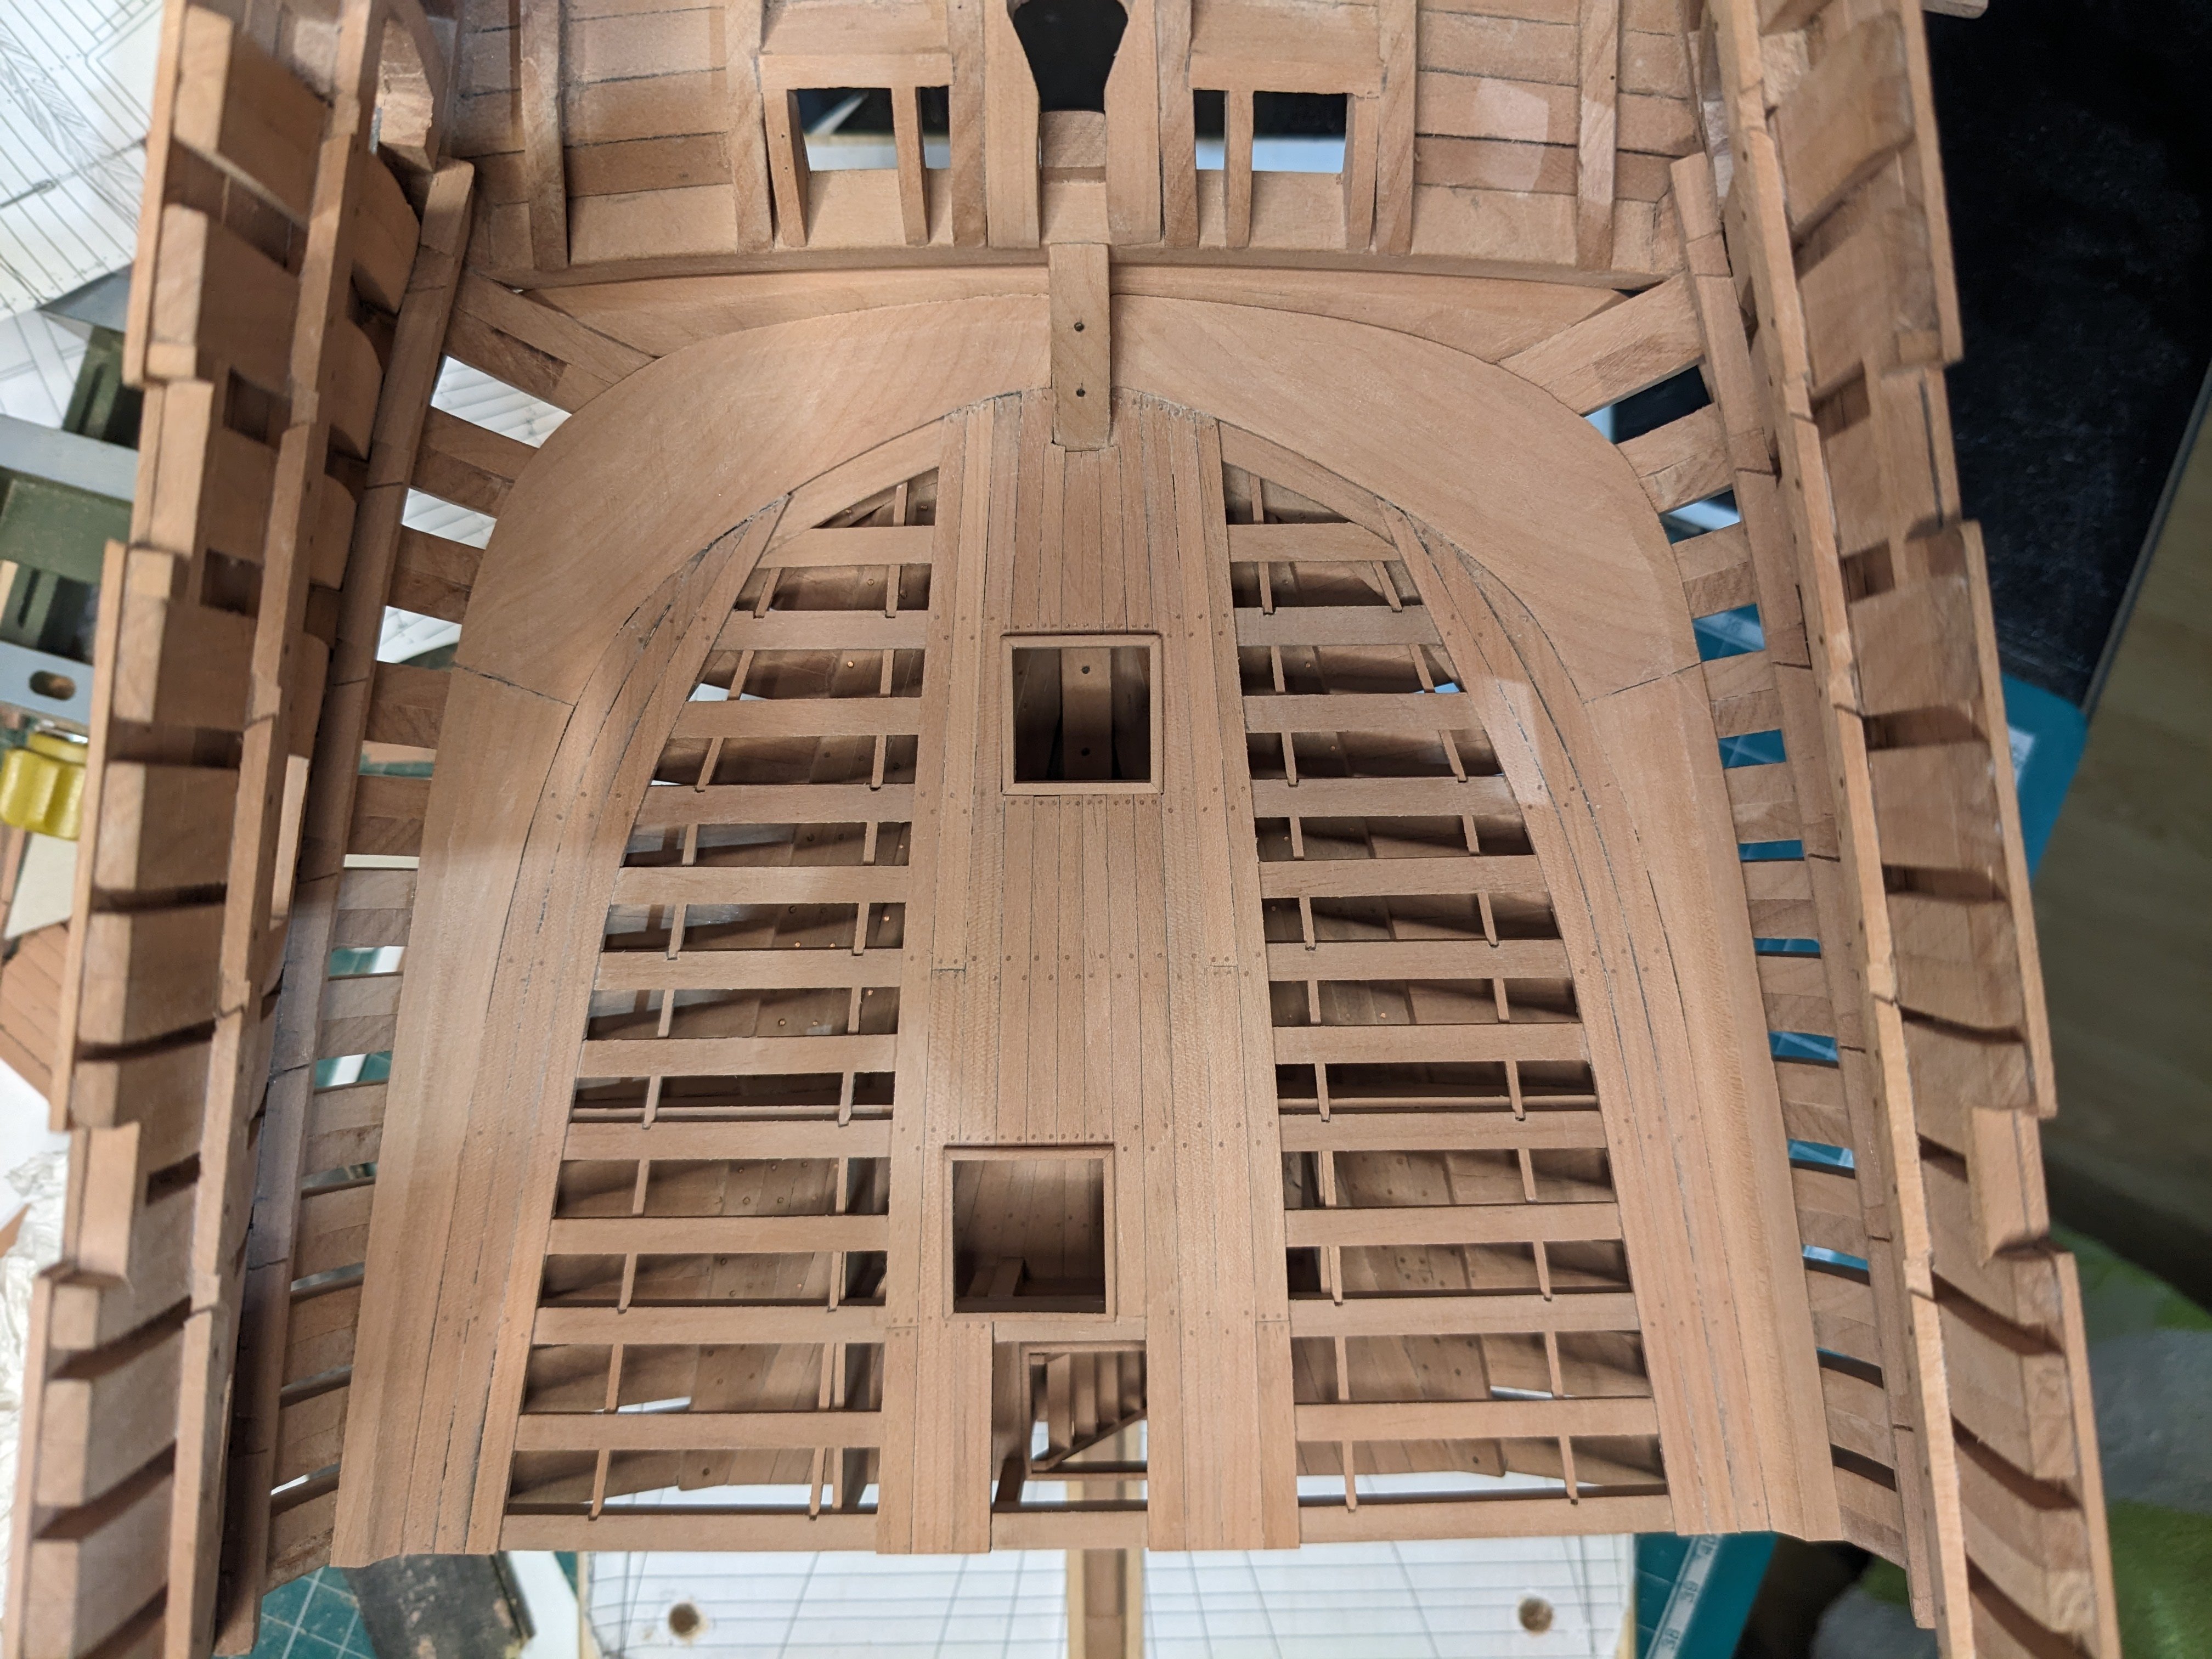
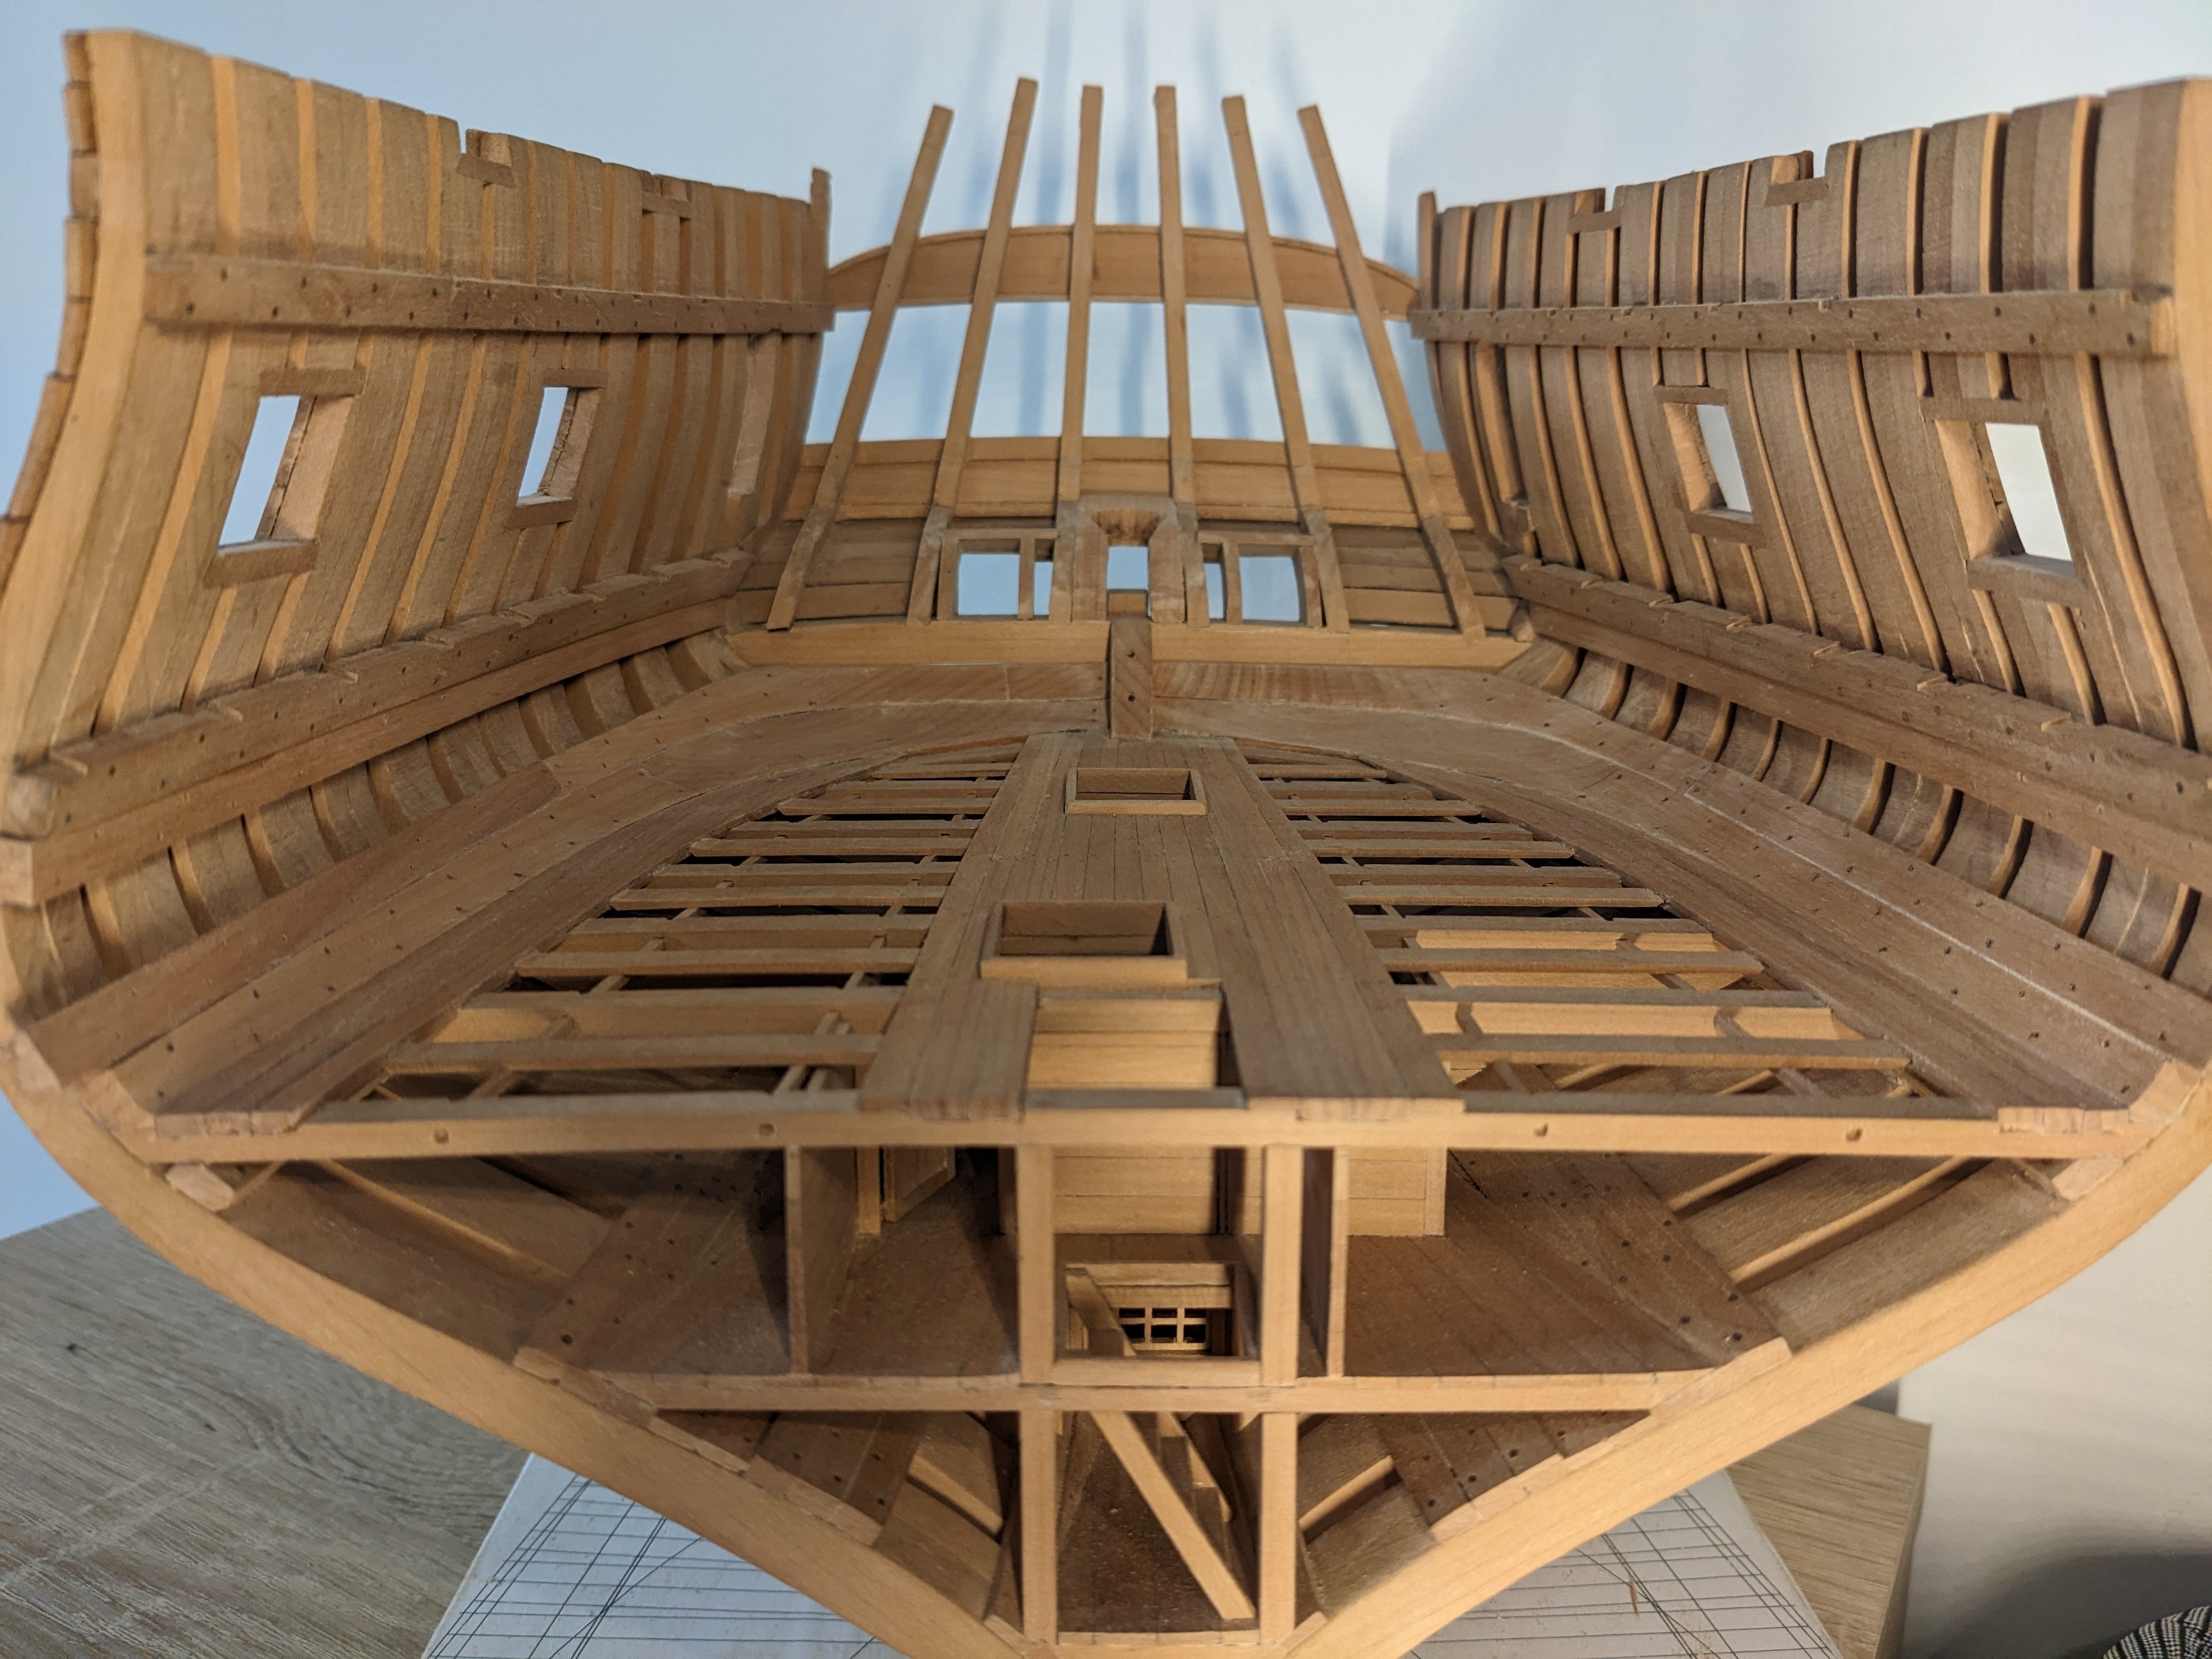
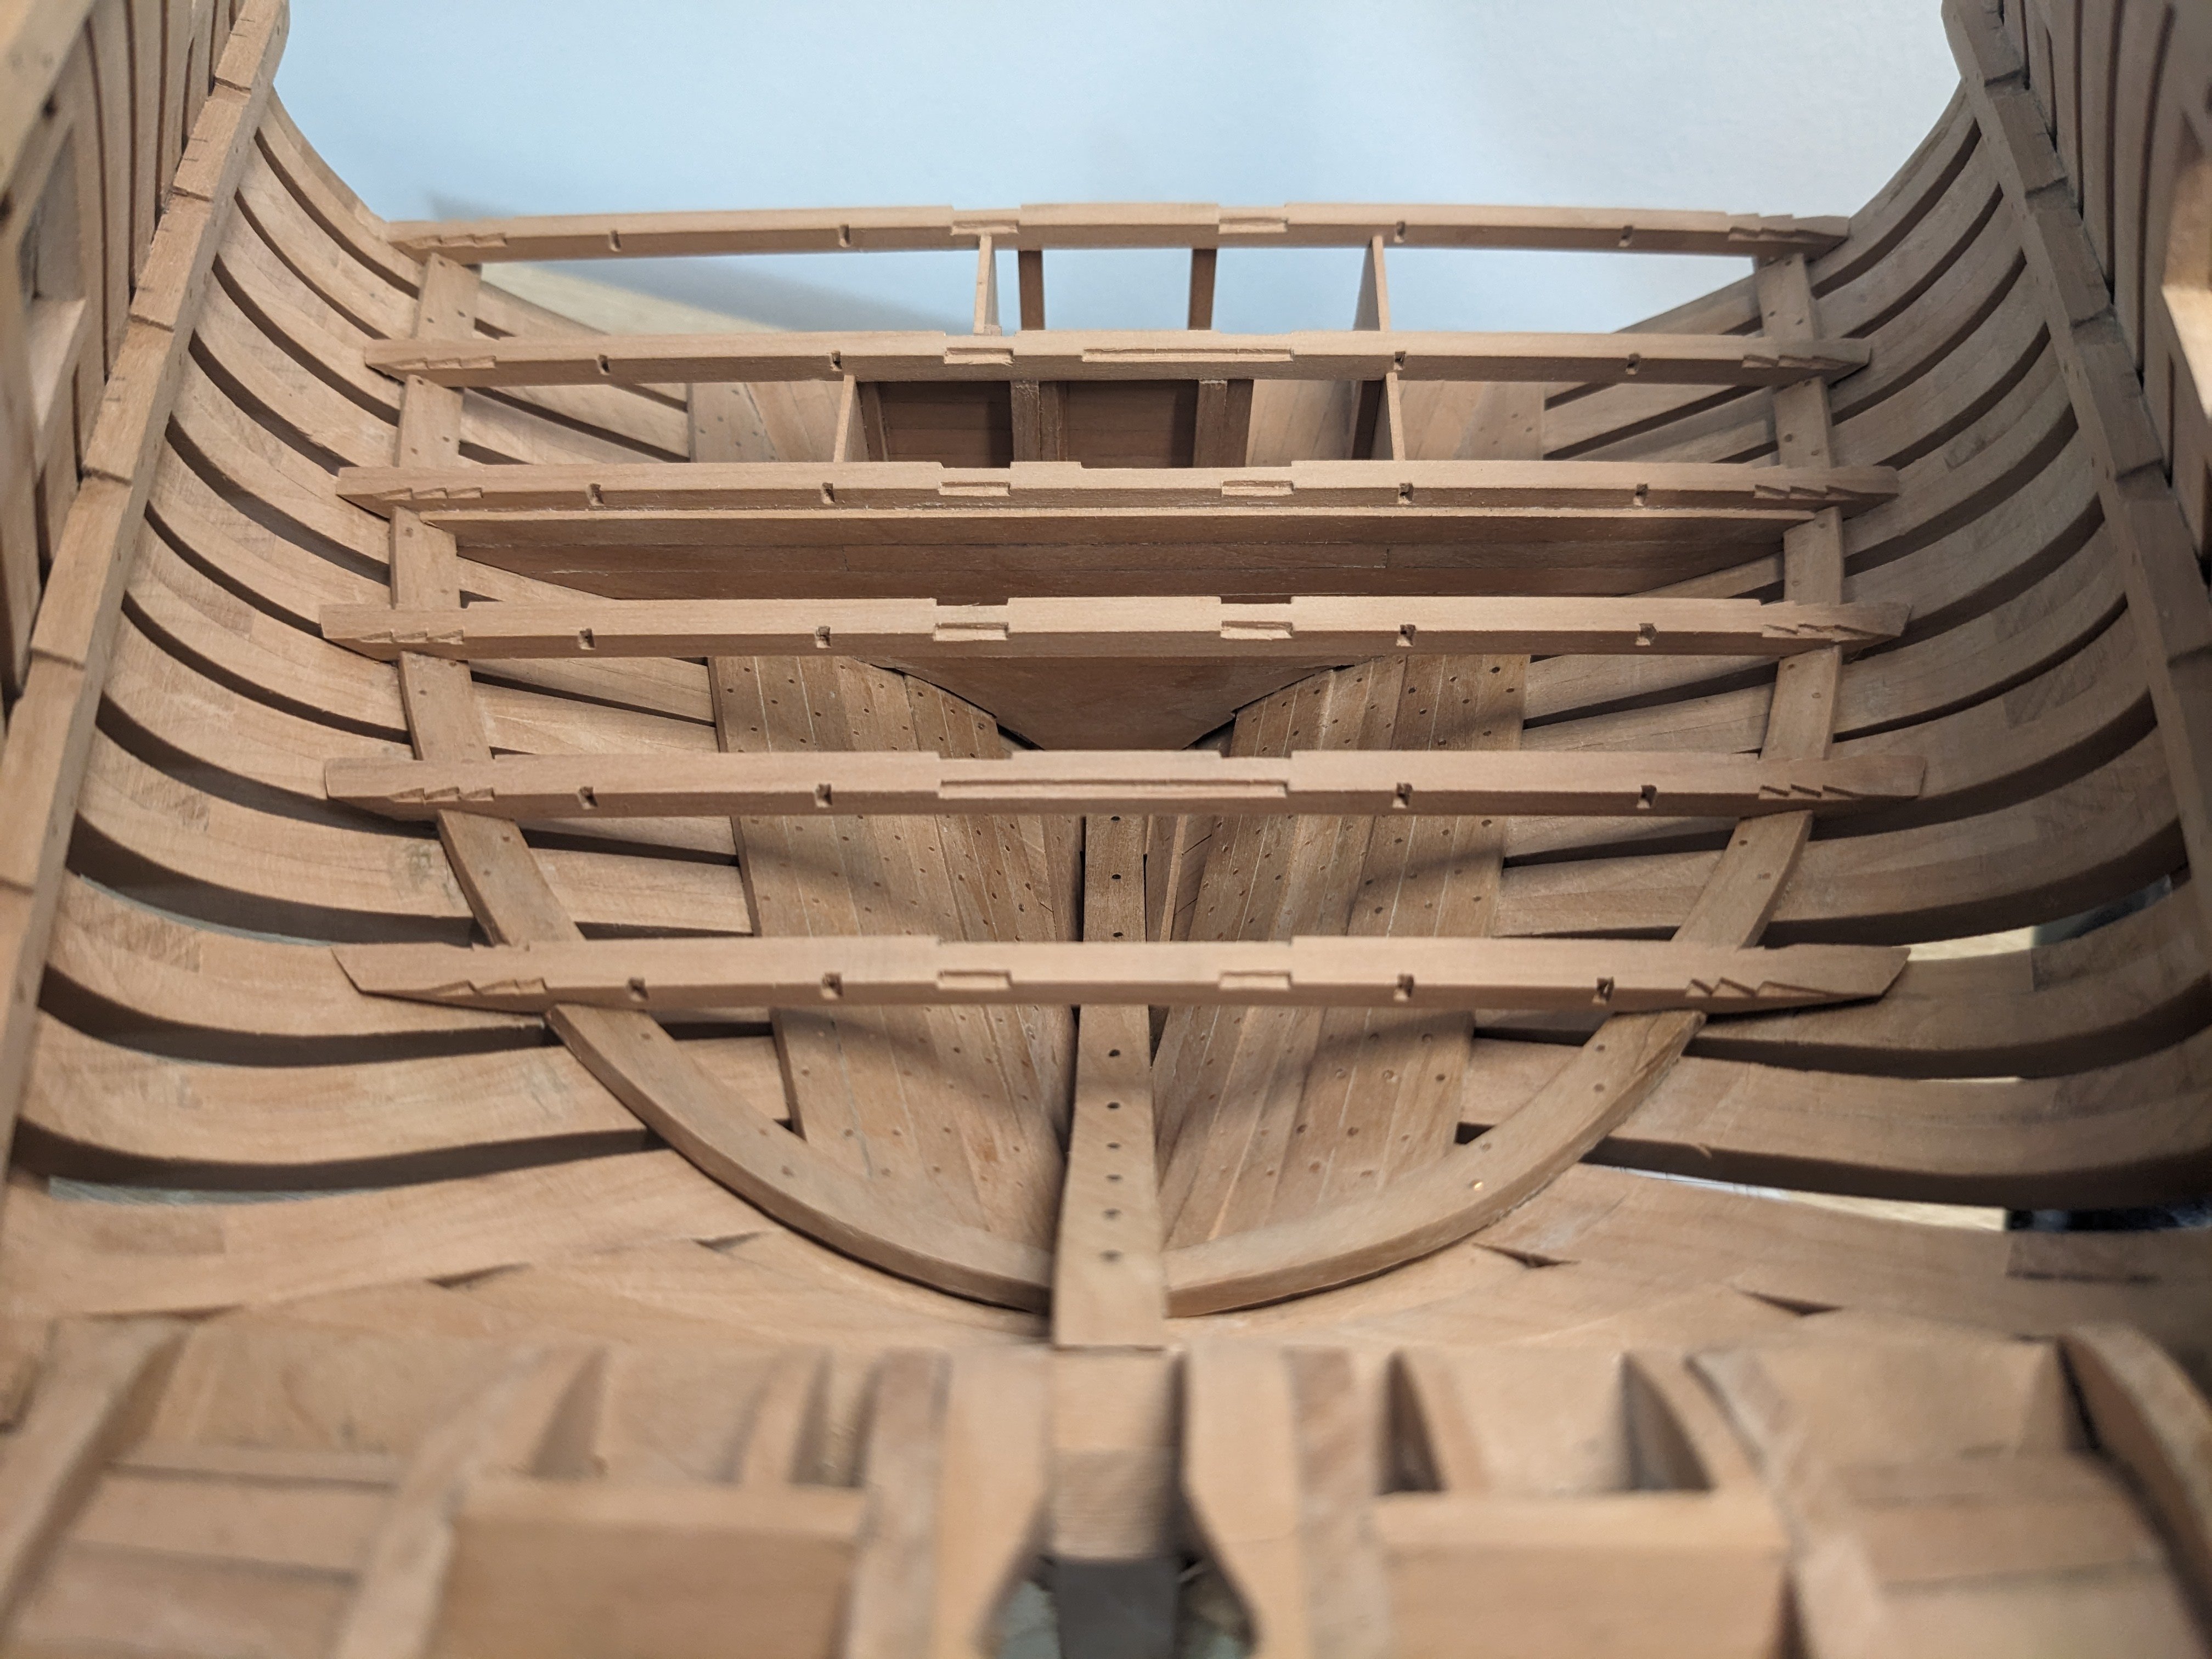
I finished planking the middle of the orlop deck. I decided to leave the rest unplanked so the underlying structure can be seen, as well as the sail room below which is otherwise only accessible by the small hatch.
The inside of the frames will be planked, this way it's easier to install the knees supporting the battery deck beams and the yoke. And since the wales cover the outside of the frames at this height, it wouldn't be possible to see much anyway if I were to leave the inside open.
For the stern area I had to cut a piece from a sheet and shape it to fit the inside curves. There was simply no way I could bend a strip this much. Sadly the starboard piece broke at the end just as I was gluing it on, so there's a seem there that I probably won't be able to sand away.


-
-
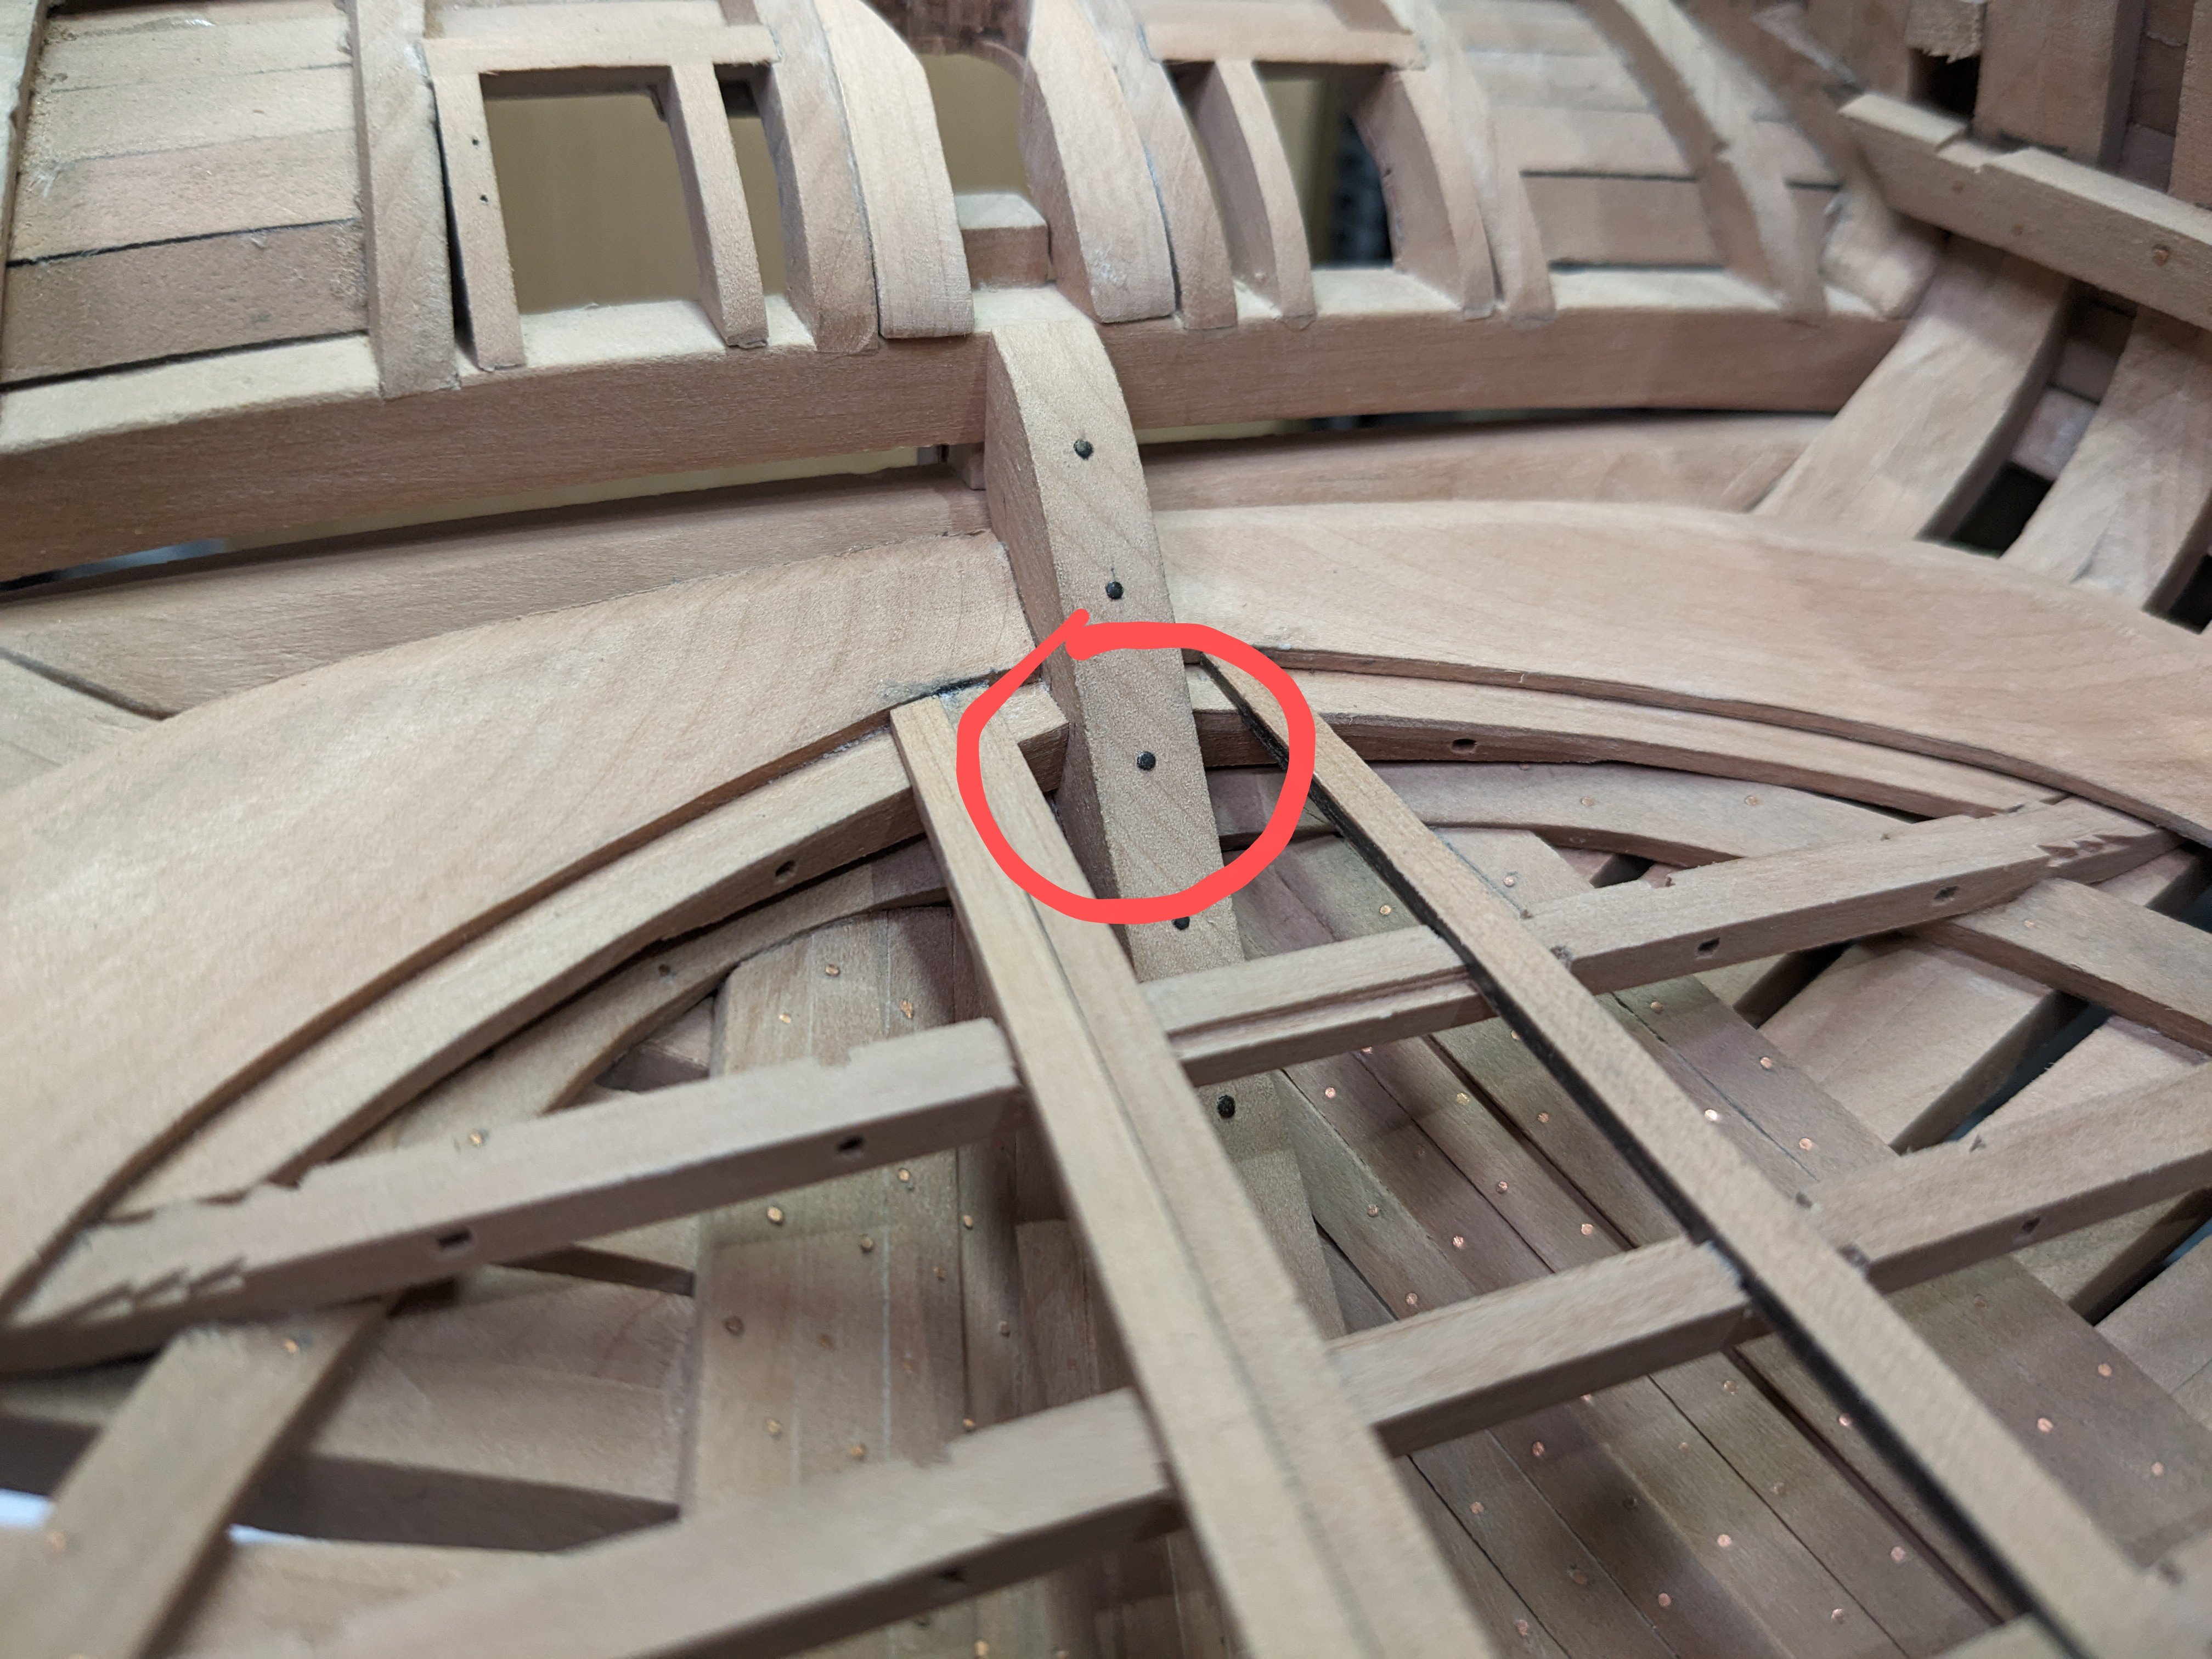
Question: Does anyone know how the middle deck planks should terminate on the keelson? The plans don't really tell. I could either just make the planks butt up against the keelson or glue a strip onto the keelson and let the planks rest on that, nailing them in place. I'm leaning towards the last solution, I'm just wondering how it would have been done on the real ship.

-
The main reasons I build models are:
I like how I'm able to bring something I only have a mental image of into a real object. These days I only do scratch building from plans and have to interpret those and create a mental object of the ship, then start cutting the wood and actually build it. It's very satisfying to then see the final object realised.
I build with wood because I like working with it and it is challenging; you need to know how to cut it the right way, it is not like plastic that can be cut any way you want.
Also, I love the colour and finish of the wood.
Why ships? Probably because I have a romantic view of them, there's something timeless and beautiful about wooden sailing ships. I build both civilian and military vessels but am mostly interested in Mediterranean ships from the earliest times till around 1800. The look of the ship is more important to me than its history. I'd much rather build a model of a completely unknown merchant ship than the HMS Victory.
And lastly, it's relaxing! Sometimes when building I get completely absorbed and don't even know what time it is.
- Keith Black, Nirvana, GrandpaPhil and 6 others
-
9
-
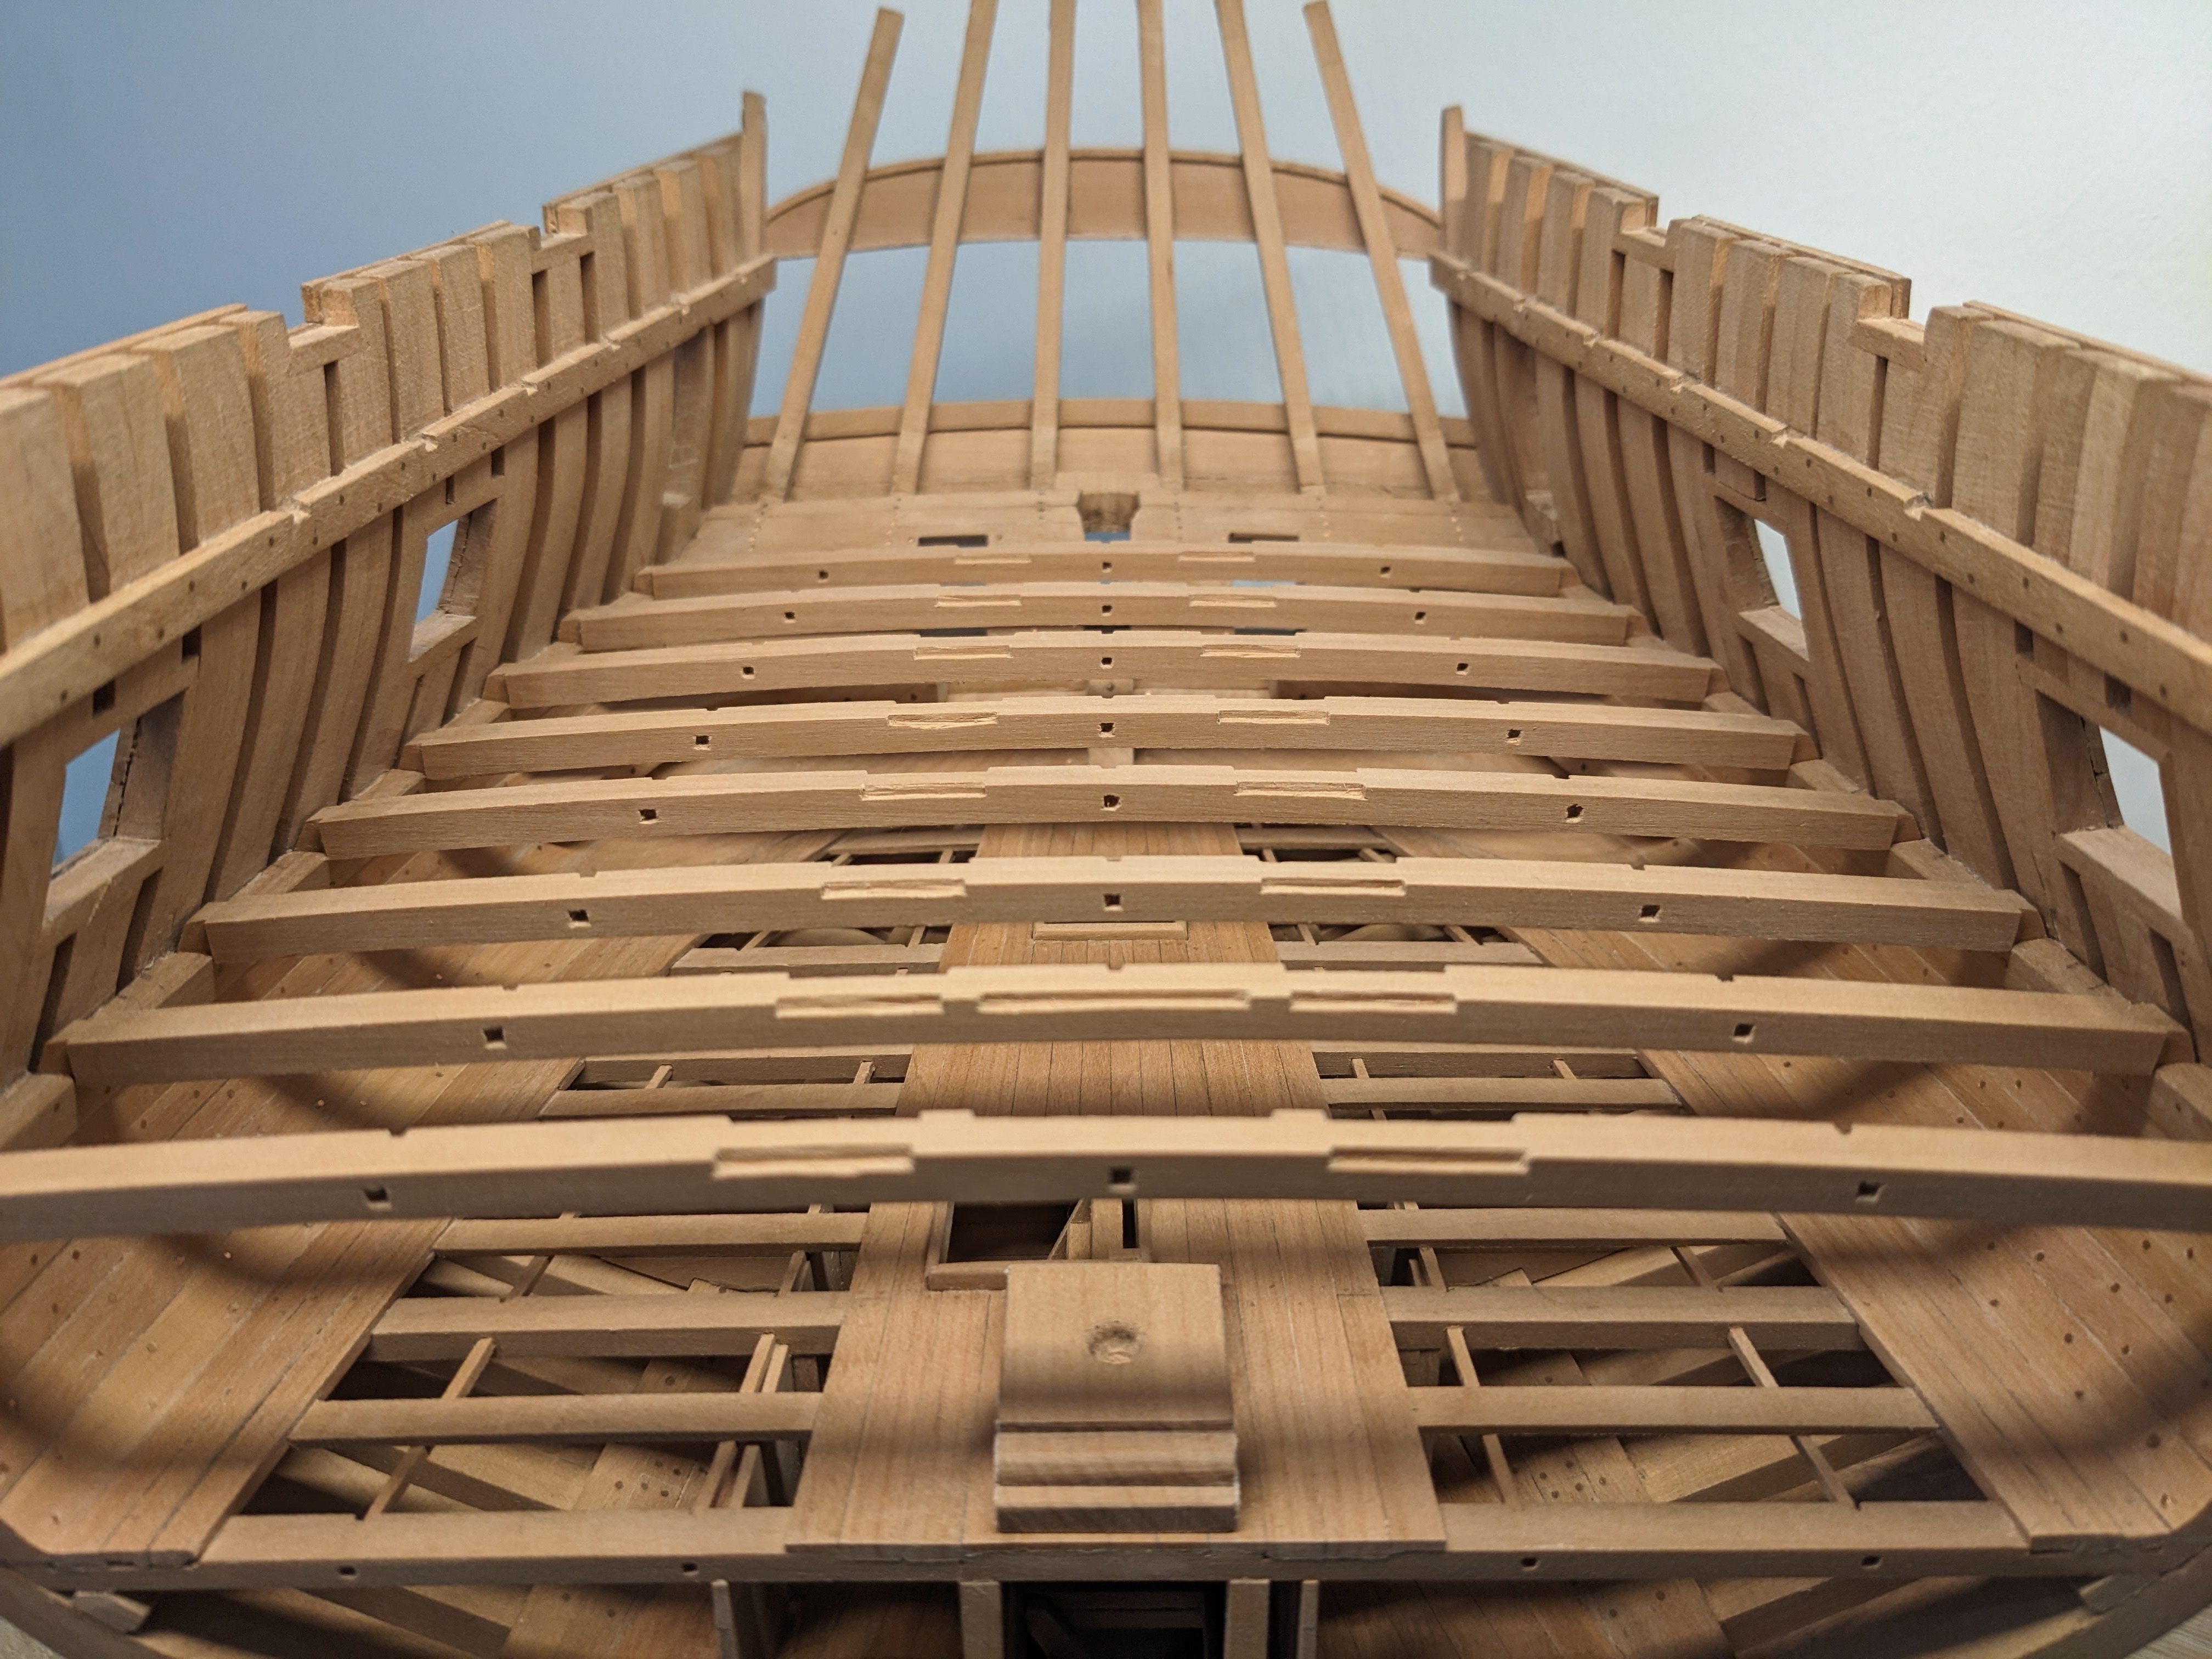
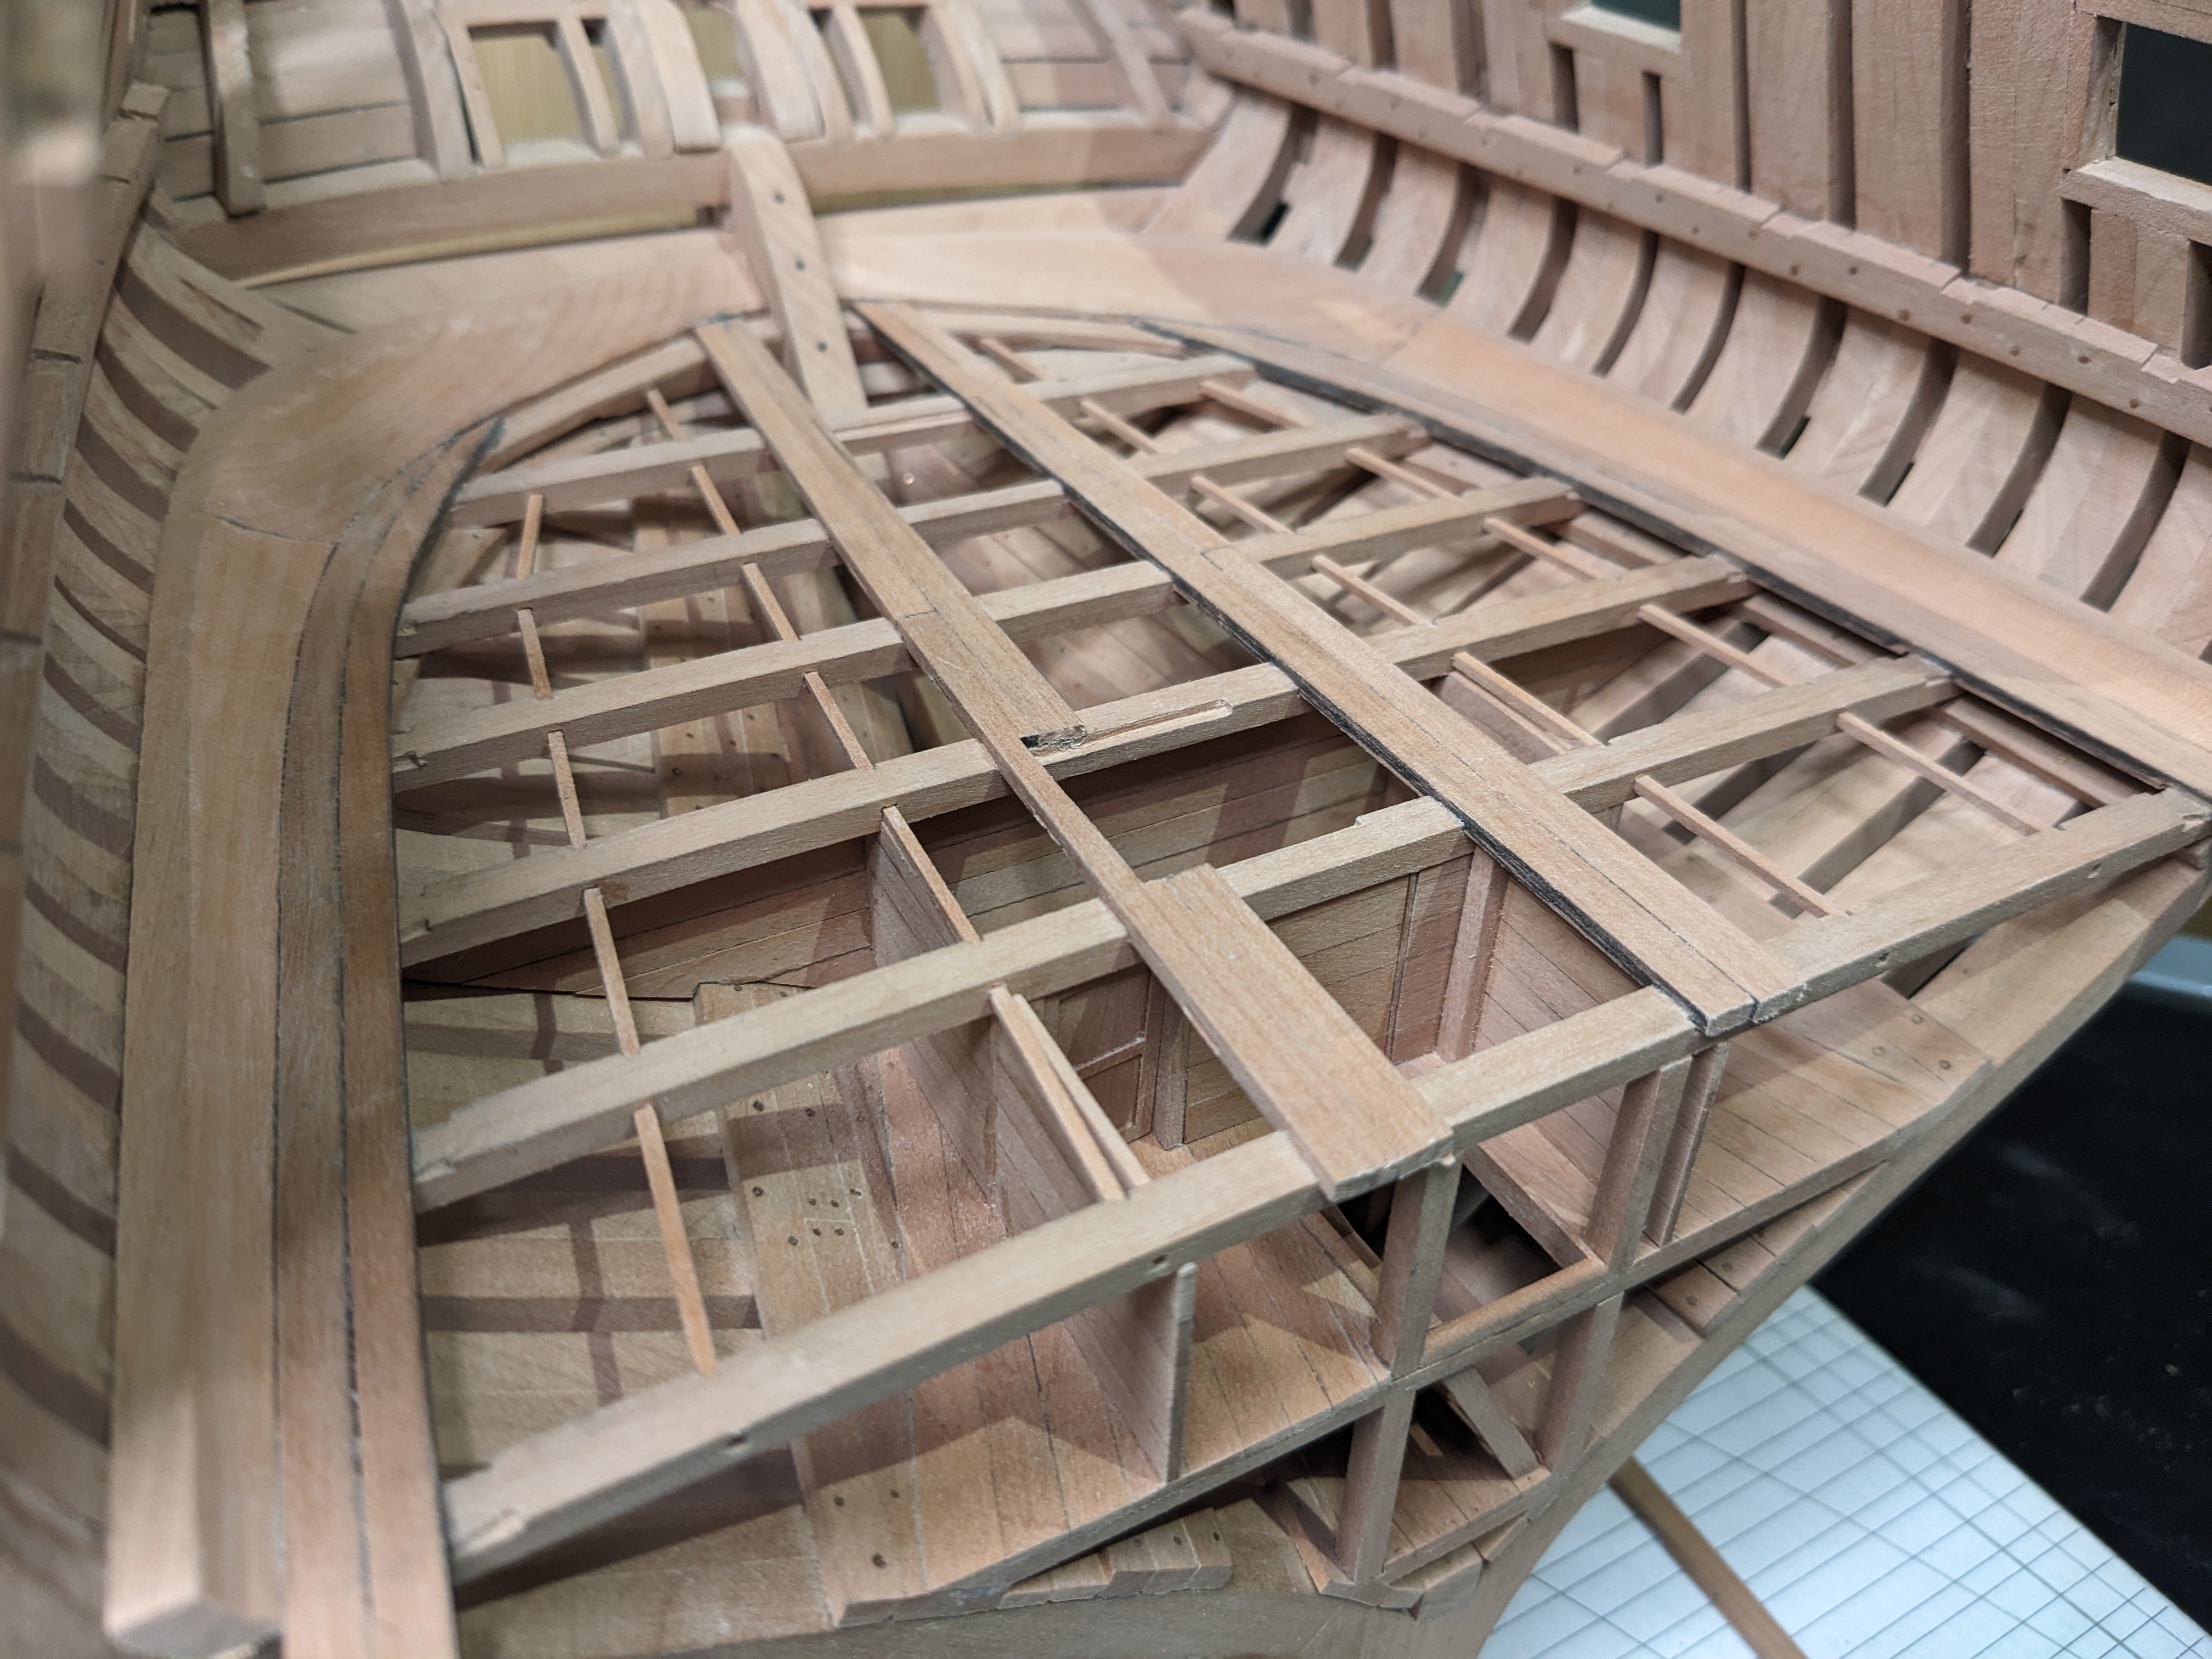
To create the waterways for the orlop deck I first built up a template from thick crafting paper, then cut out the piece from wood and shaped it. It was the only way I could think of to get the complex curves correct.
The plans don't show how the deck planks would be fastened at the very end, so I created a small piece and put it on the deck clamp. It's far from perfect but it won't be possible to see it once the deck is planked.
I'll most likely plank the whole insides of this deck up to the main deck clamp, including the stern. Especially because I don't like the way the stern is looking right now where you can see the back of the outer planking.
-
-
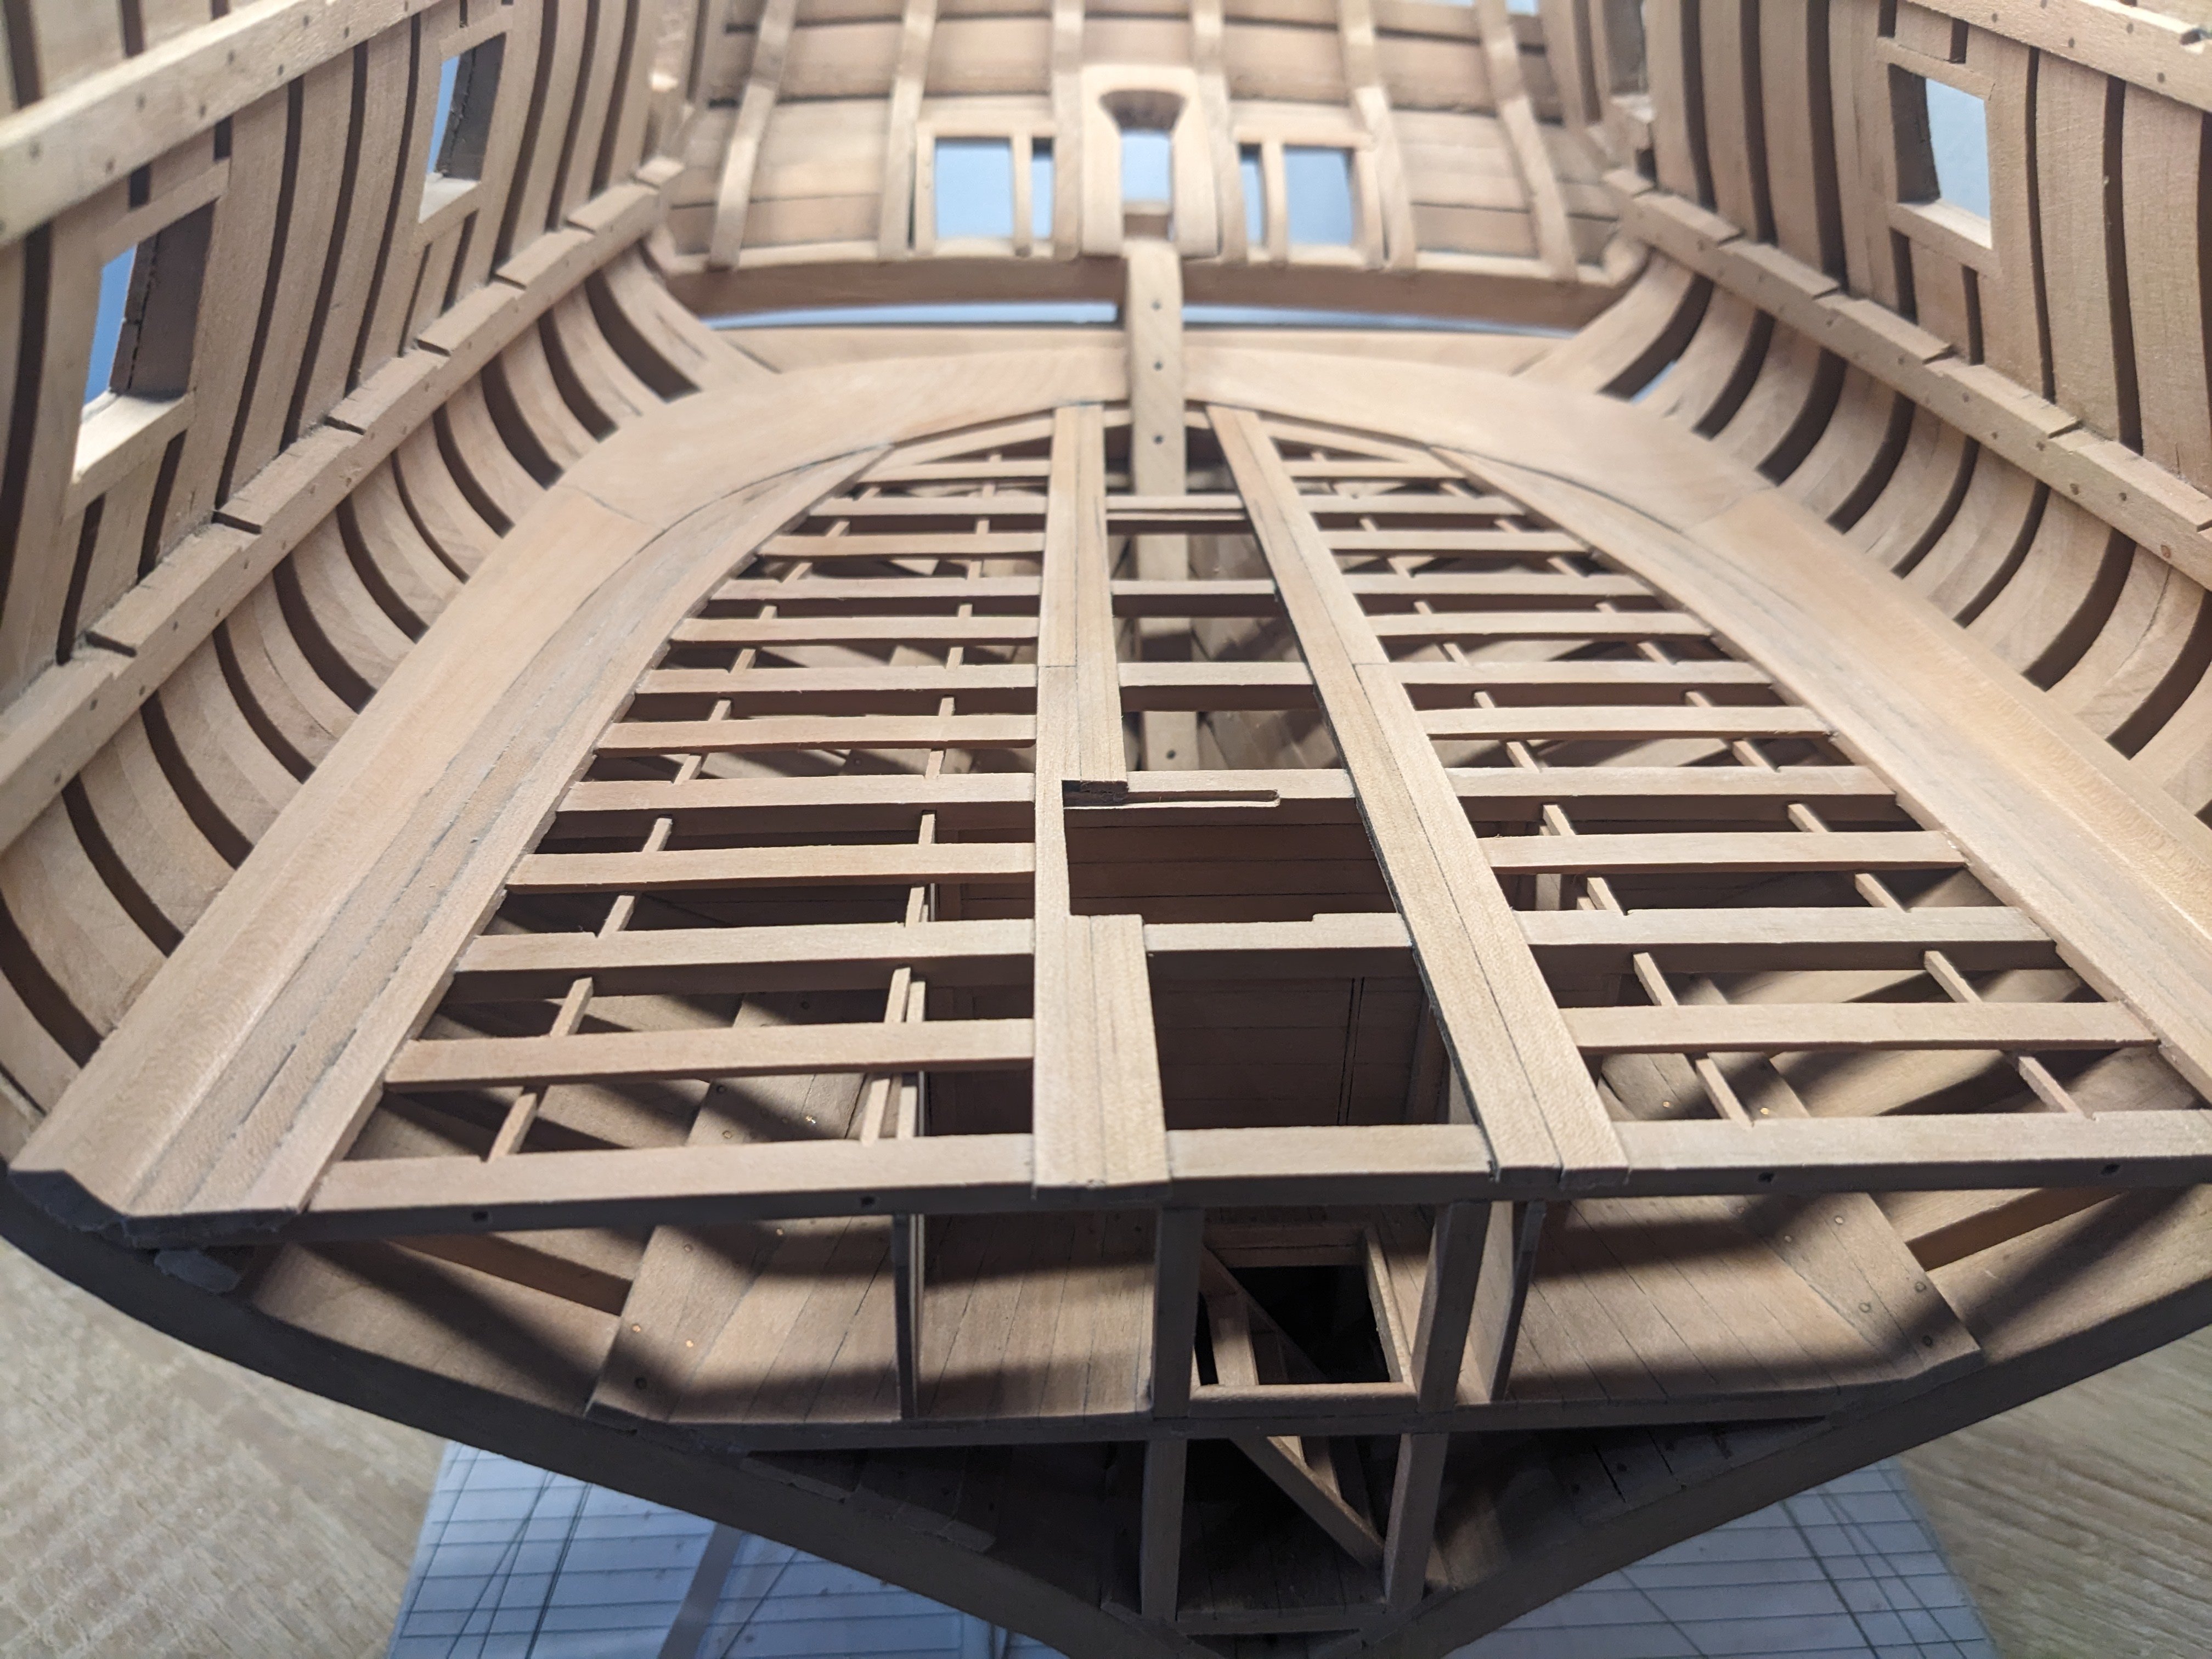
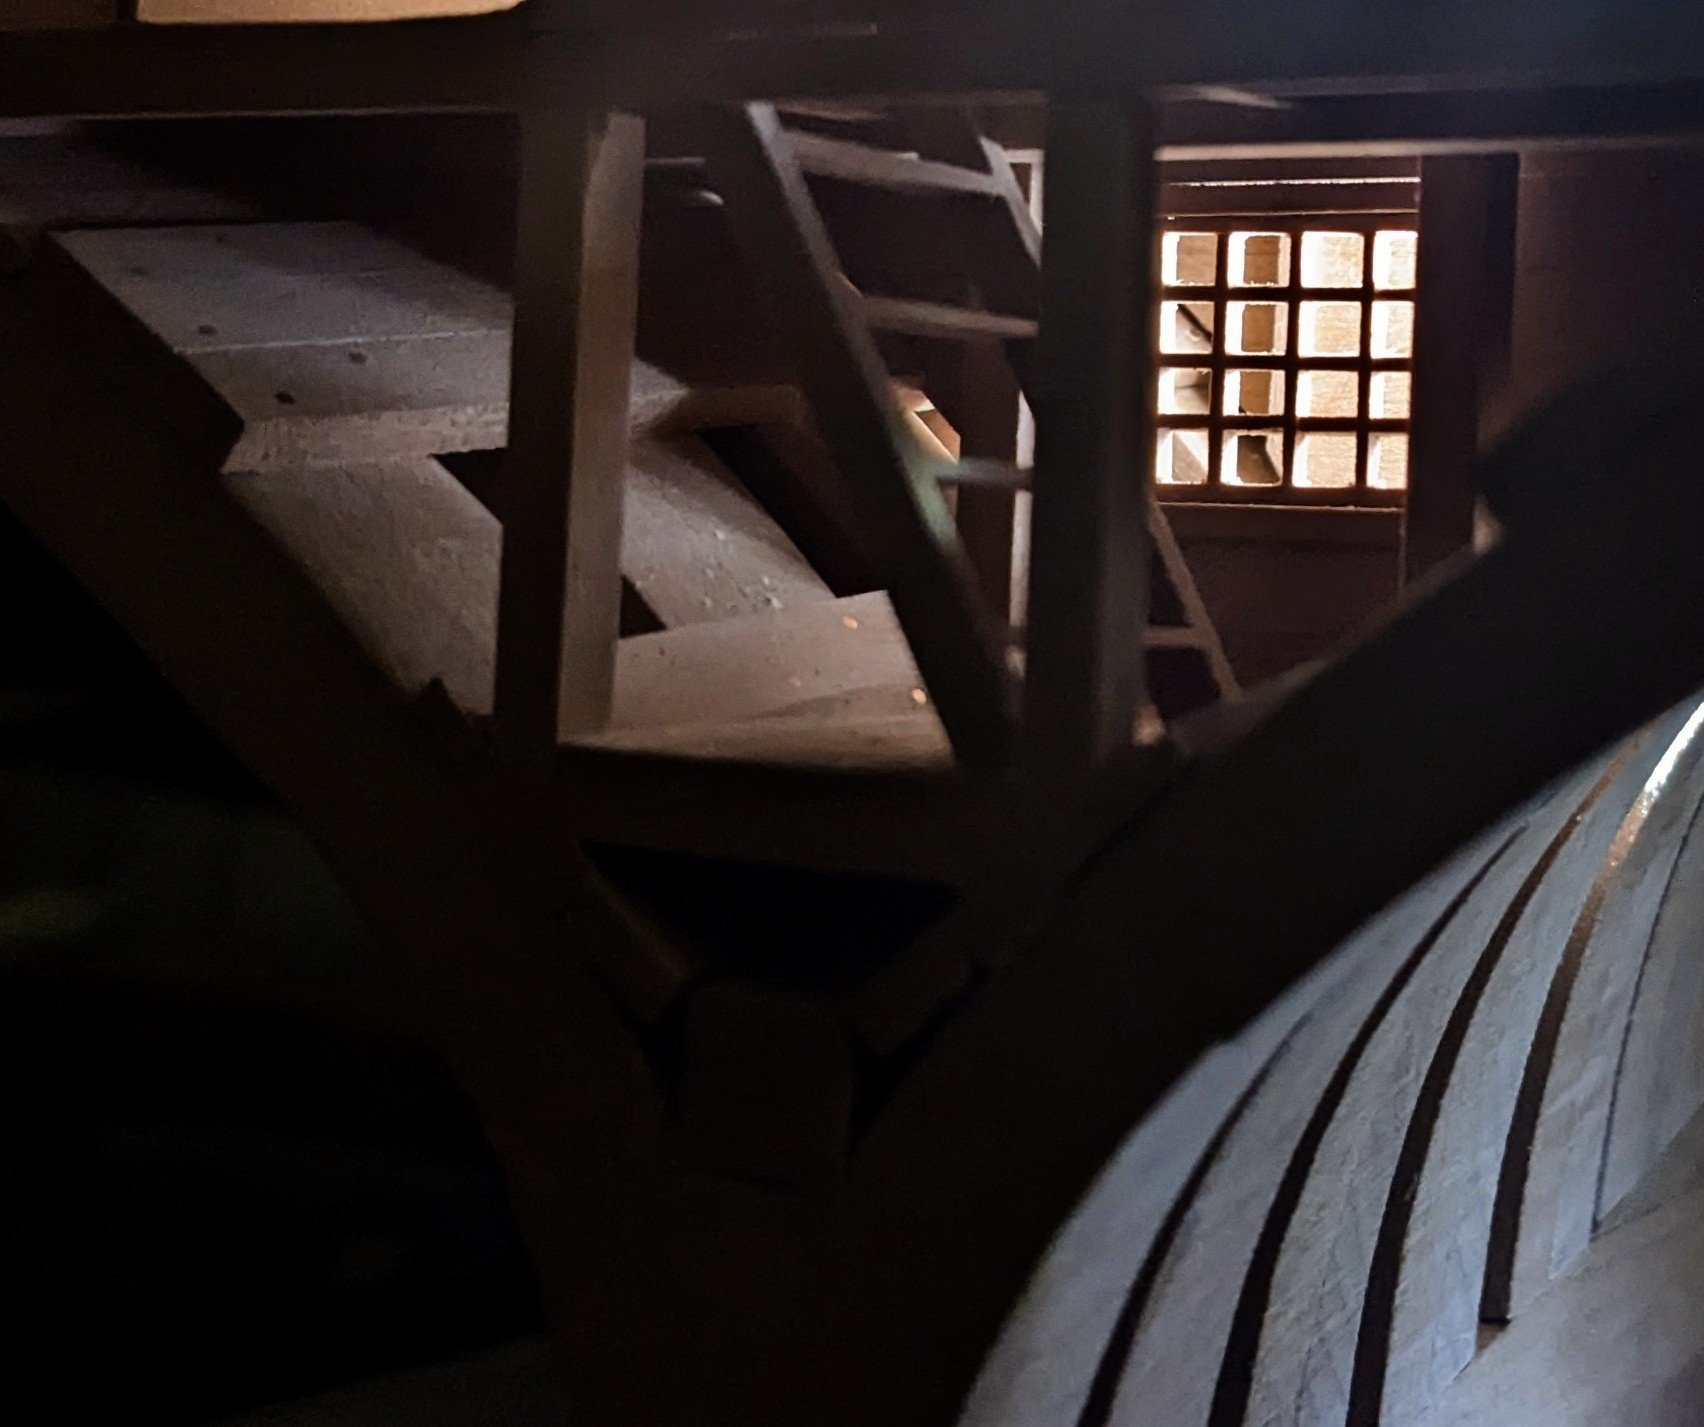
While I won't be installing any LEDs I couldn't resist simulating the light coming from the light room.

Also, I installed the last deck beams for the orlop deck. Now comes the difficult task of creating the crazily curved waterways. I'll probably have to cut it from a sheet as there's no way I'll be able to bend a strip to follow those curves at the stern.

-
@James Flynn does it have to be that exact ship of would you consider building another similar one? Ancre has several top quality monographs (fully detailed plans and descriptions of construction) of similar French ships of the line. You could consider buying one of those so you don't need to do any lofting and a lot less research.
- tlevine, mtaylor, G. Delacroix and 2 others
-
5
-
Another option would be to build a cross section of the ship to get a taste of what it involves. This way you could detail all of the interior without it being covered by the frames and decks.
- mtaylor, wefalck and JacquesCousteau
-
3
-
5 hours ago, James Flynn said:
I'm hoping to do a (POF) it's my plan to build it as authentic as I possibly can and then fix it so I can open it up for viewing and make some of it remote controlled. I understand I have a lot of research ahead of me this is just my beginning. Thank you for your post
I would strongly encourage you not to make a POF build, it's a HUGE undertaking (I'm not exaggerating). It requires you to have a good understanding of how the real ship was built. Take a look at the many build logs here to get an idea of what's involved.
- mtaylor, wefalck and JacquesCousteau
-
3
-
10 hours ago, mgdawson said:
Perhaps try putting the text between the 2 body plans into google translate it may give you a clue as to what's going on.
It says:
"Horizontal and vertical sections equidistant from the hull, outside [including] the planking".By "hull", I suppose it means the centerline.
- mtaylor and Keith Black
-
2


La Mahonesa by KLarsen - Scale 1/48 - stern cross-section
in - Build logs for subjects built 1751 - 1800
Posted
The structure of the side galleries is finished. Later I'll create all the decoration.
 Oh, and the most important part: