HOLIDAY DONATION DRIVE - SUPPORT MSW - DO YOUR PART TO KEEP THIS GREAT FORUM GOING! (Only 53 donations so far out of 49,000 members - C'mon guys!)
×

j21896
-
Posts
287 -
Joined
-
Last visited
Content Type
Profiles
Forums
Gallery
Events
Everything posted by j21896
-
 Looking very nice Grant! Knowing when to step away for a bit is a valuable modelling skill -- it can save a lot of time in the long run. Cheers, Robert
 -
Hi Bill, I just found your Baltimore -- looking good! I'll be following along the rest of the way. Cheers, Robert
-
Hi Bob, Take some boxwood, add your modeling skills, and you've got a pretty good recipe for a beautiful ship model. Robert
-
Hi Lou, I just found your Harvey build. Your work is beautiful -- so crisp, clean and precise! Great choices on the wood replacements from the kit, and great scratchbuilt enhancements. I'm happy to have caught on to follow your progress the rest of the way! Cheers, Robert
-
Outstanding research Mike! And outstanding job putting it all into practice! Cheers, Robert
- 153 replies
-
- 1
-

-
- badger
- caldercraft
- (and 1 more)
-
Hey Grant, Those blocks looked great on their own, but attached to the yard? Gorgeous! You're going to love that Byrnes thickness sander! Cheers, Robert
-
Hi Elia, Great to see progress photos on Arethusa! Love that overall shot of the hull -- she's so sleek, and that is fine paint work! And nice job with the deadeye fabrication as well. It's always a pleasure to view your work. Cheers, Robert
-
Hi Wes, She is looking just fantastic! That main hatch structure is so impressive! The last time I visited her in Charlestown, I was really struck by how massive that hatch is, and you have absolutely nailed it. Robert
-
Dark Colored Glue
j21896 replied to Kenneth Powell's topic in Painting, finishing and weathering products and techniques
For a great tutorial on making your own dark glue, check out post # 201, on page 14 of EdT's Young America build here: http://modelshipworld.com/index.php?/topic/3453-young-america-by-edt-extreme-clipper-1853/page-14 Cheers, Robert -
The pumps look fantastic Ron! Great craftsmanship! Robert
-
Great job Bob! She's going to be a fine addition to your already prodigious fleet. Which is the last one of your builds that you coppered? Syren? Robert
-
Thank you very much guys! I REALLY appreciate your encouragement! Robert
-
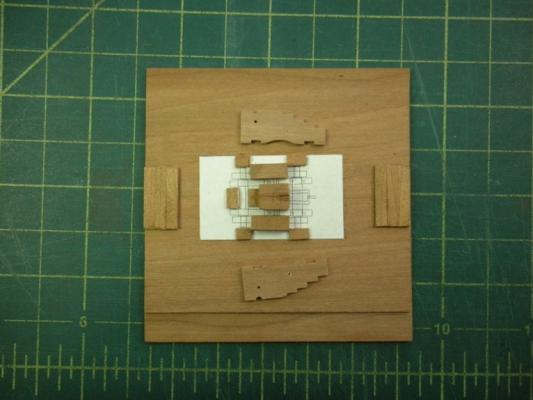
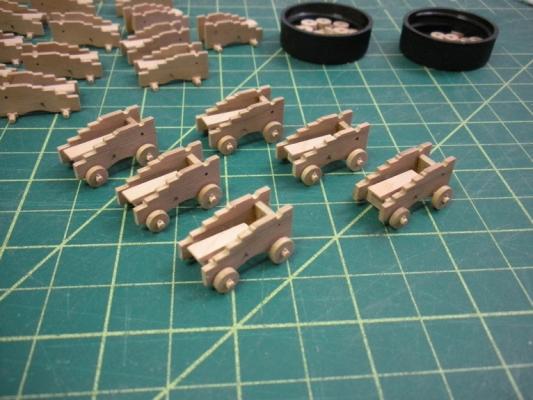
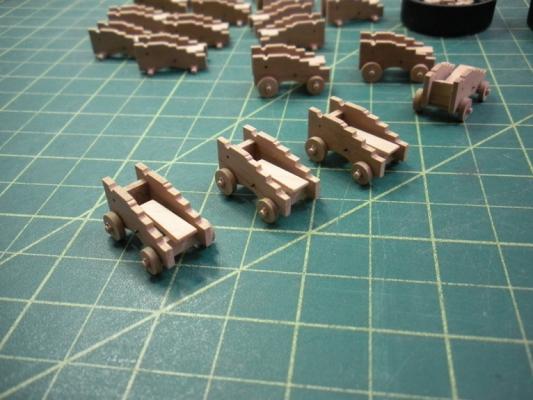
Gun Carriages (scratch-built) - continued Assembly of the carriages is underway. Placement of the brackets on the axles is aided by a typical jig on a copy of the plans. Though not really visible, I used copper wire blackened with liver of sulphur instead of brass (taking a cue from Ed Tosti), for the rods that support the carriage beds. I also plan to use copper and LOS for the carriage bolts, eyebolts, and rings. Trucks are being added. Axle pins are Swiss pear drawn through the smallest hole on the Byrnes draw plate. These are proving to be very time consuming items to make – fortunately there are only eighteen! The process continues … Robert

-
Nicely done Ron! Robert
-
Looking good Augie. She is definitely a big ship, huh? Robert
- 2,191 replies
-
- 1
-
-
- confederacy
- Model Shipways
- (and 1 more)
-
Thanks very much folks! Robert
-
Does anyone have any good tips, tricks, jigs or techniques for making eyebolts? I’ve never worked with wire, and need to make some eyebolts with an internal diameter of about 1/32 of an inch (2 inches to scale). I saw some jewelry eye pin making tools on-line, but they all seem to be limited to larger diameters, and just fiddling around with needle nose pliers hasn’t yielded much success. Thanks, Robert
-
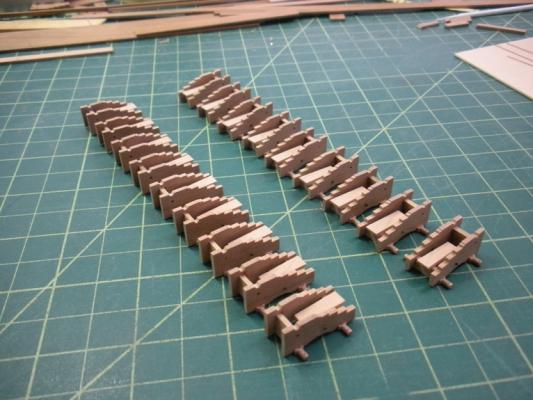
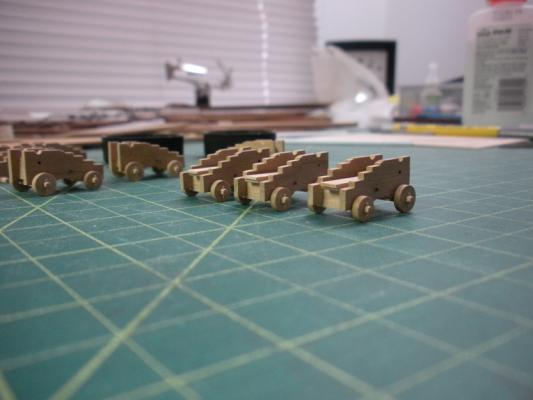
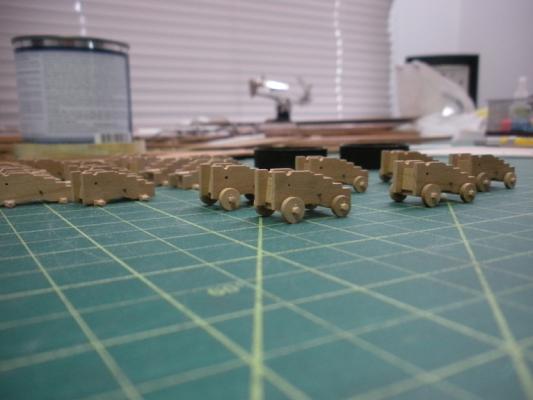
Just a brief update, barely worth posting, as progress has been extremely slow with all the various carriage components... Transoms and carriage beds are ready: Drilling the axles for their pins, and rounding them to accept the trucks: Robert


-
Hi Wes, I just caught on with your build, and everything about it is absolutely beautiful! The hull planking, the deck planking (love that color), and your hatch coamings are the best I've ever seen! Looking forward to following along! Cheers, Robert
-
Hi B.E., I just like to revisit your Superbe every now and again -- it is so beautifully done! Those sails ... that water ... really and truly a work of art! Got me to thinking ... I'm sure you have nothing but free time on your hands , but if you ever have a chance, some photos of her in the completed model Gallery sure would look nice. You know, maybe just a couple dozen. Cheers, Robert
- 126 replies
-
- 1
-
-
- le superbe
- heller
- (and 2 more)
-
You're creating one beautiful model ship Jason! Cheers, Robert
- 800 replies
-
- 1
-
-
- snake
- caldercraft
- (and 1 more)
-
Typically beautiful Bob! What brand of wipe-on poly do you use? Cheers, Robert