


mtdoramike
-
Posts
2,062 -
Joined
-
Last visited
Content Type
Profiles
Forums
Gallery
Events
Posts posted by mtdoramike
-
-
-
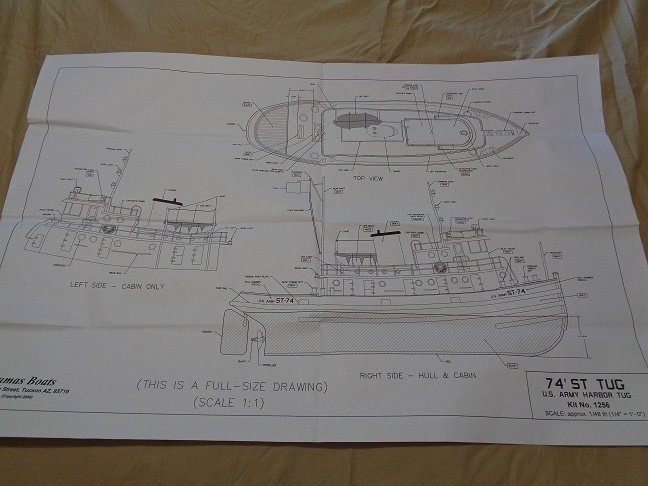
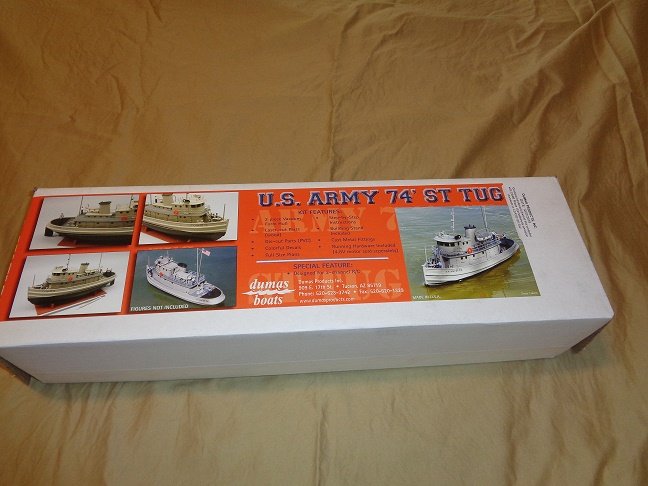
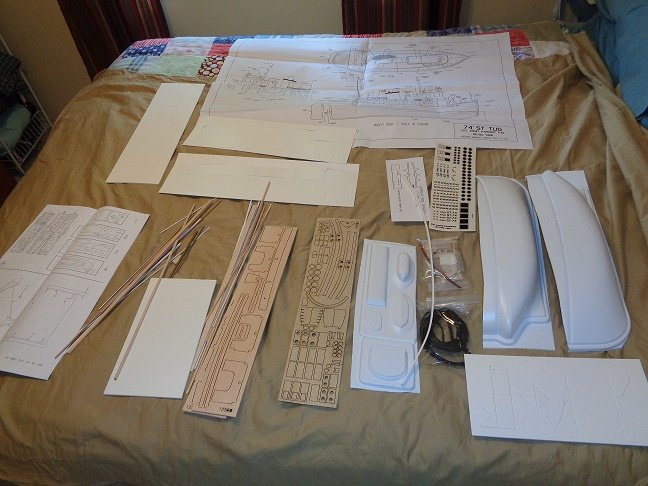
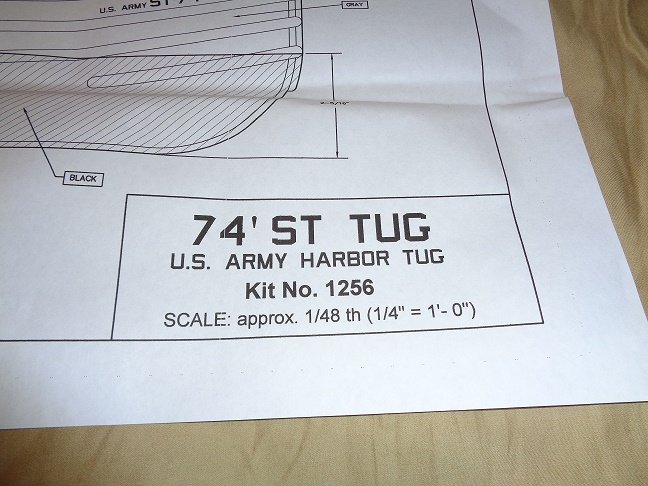
I purchased this kit from an on line retailer for about $95.00 with the intentions of building it for my grandson for either a birthday or Christmas present. But then life stepped in and then I wound up in the hospital for a triple bypass. So now that I'm back home and on the mend, I hope to make some head way on the Army Tug.
- GrandpaPhil, lmagna, hexnut and 1 other
-
 4
4
-
-
I'm really tempted to build this kit one of these days and donate it to either a VFW or American Legion. I would build it radio control. But plastic models and late war ships are really not my expertise and not sure I could really do it justice.
mikie
-
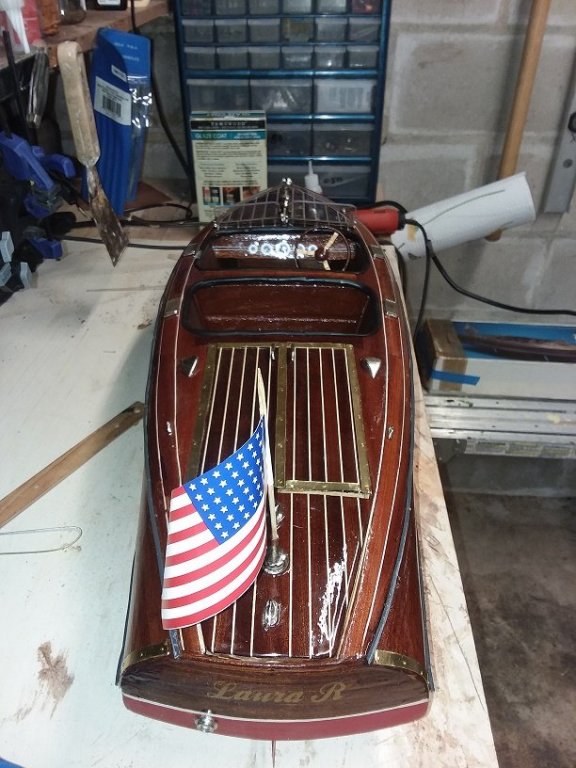
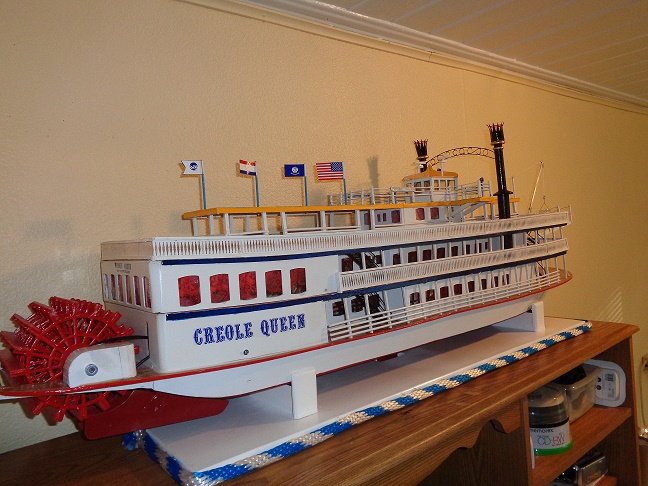
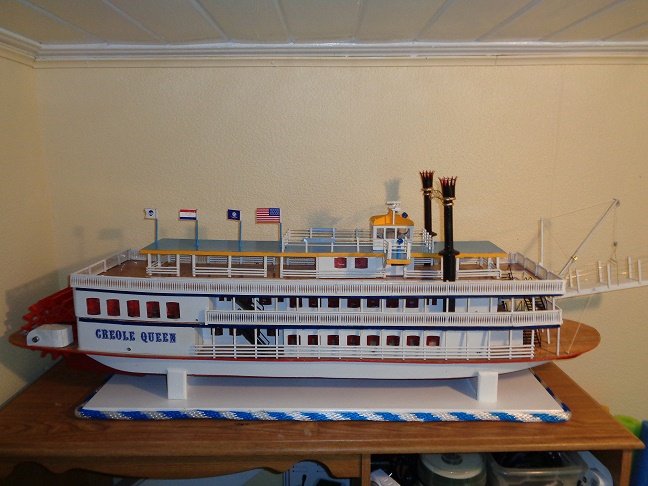
I'm finally getting around to posting a few pictures of the finished product. It took me about two months to finish her working a few hours a week. She is resting peacefully at her new owners residence.
![20190419_082138[938].jpg](https://modelshipworld.com/uploads/monthly_2019_06/920115878_20190419_082138938.jpg.4568fde7213596db5d06dd082aa3885c.jpg)
- BLACK VIKING and GrandpaPhil
-
2
-
-
Come on OC, you should finish the Grey Hound, you are better than 60% completed on it now. Just think about that warm fuzzy feeling you'll get when it's finished.
mike
-
3 hours ago, CDW said:
I never intended to build it R/C, although that's probably the most popular option with a model of this size and hull type. It certainly has all the space one would ever need to equip the boat with R/C gear.
Many years ago, in the '70's, I built a Dumas Hydroplane kit that came out real nice. I had intended from the beginning to R/C that model, and equipped it with one of the K&B inboard glow engines it was designed for. By chance, I learned about a nearby pond where R/C boaters raced on the weekends. While I was there, a helicopter flew in and landed. Aboard the helicopter was Bernie Little, the owner of the Miss Budweiser unlimited hydroplane (the 1:1 version, not a model). He just stopped by to watch the R/C boat races. 🙂 Bernie Little was our area Budweiser distributor/owner and a very wealthy guy.
At that race, I was rather disappointed to learn how frequently our R/C boats would flip over during the course of a race. A john-boat was an absolute requirement to retrieve the boats before they sank. Instead of racing my boat (which wasn't completely finished installing the R/C gear), I decided I would sell it because it was going to be too much hassle and I wasn't prepared for that. I realize of course, an R/C/ boat like the Calypso would have just a very small chance of capsizing.
The only thing that would worry me about the Calypso would be mechanical failure. When I would run any R/C boat in any pond that there were no boat traffic, I would bring an inflatable float with me just in case I had to go out and retrieve the boat. I have only had to use it once, due to fishing line getting tangled up in the props. I don't remember if Billings gives the option of R/C on the plans like some other manufactures, but if you have built and R/c boat before, it's pretty straight forward. I have seen the Calypso built R/C and man is it a majestic beauty on the water and a real head turner as well.
mike
-
I have not built one of these for R/C, but I have seen them built R/C, they use servos to work the rigging and booms to catch the wind like the real ship does and yes, it takes some playing with it to get the hang of it just like sailing does. They also have motor and prop in case of no wind, you get into trouble or you just want to pudder around. These Sterling kits can be scarce as hens teeth to find.
-
-
WOW, that is some pretty bad looking orange peel finish for sure. You would have been better to use slow drying enamel and a foam brush. Yeah I don't see any way around the sanding it down.
- Old Collingwood, lmagna, Canute and 3 others
-
6
-
The model is absolutely stunning and the cross stitching is awesome as well. There's nothing like keeping your hands busy especially if you can turn out stuff like this.
- CDW, Canute, popeye the sailor and 3 others
-
6
-
-
-
What a shame, I wish I lived close enough to them, I would have been more than willing to finish the model and give it back to them to cherish and have something to remember their father by. I hope someone on here fairly close to them will step up and help them out. I hate seeing models like this half finished especially when it's a situation such as this one.
mike
- Keith Black, mtaylor and CDW
-
3
-
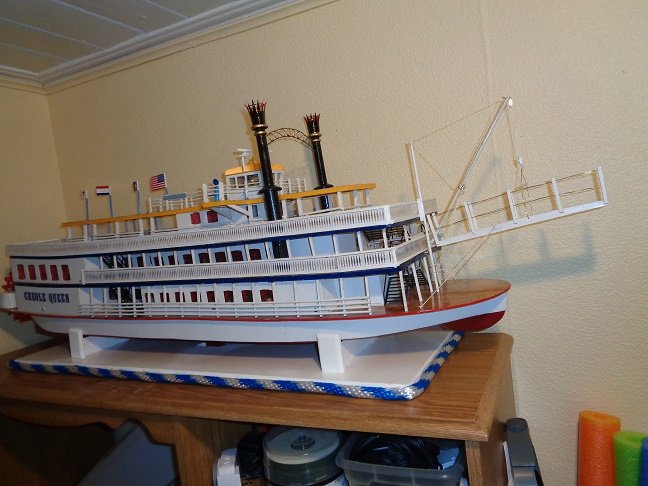
Darn Kurt, this would have come in very handy when I was building the Dumas Creole Queen from a half or less built kit. I had to improvise on some things because there were quite a bit missing from the kit contents I received. I imagine this would work on any paddle wheeler as far as suggestions and tricks for an easier build.
mike
-
Well the Queen embarked on her maiden voyage to her new port in a storm last night. The new owner was ecstatic over the results and wasted no time in picking her up. I hated to see the Queen leave, but a deal is a deal even with my wife who at times will let me fudge a little. But I promised I would let current and future models go once they are completed and not hoard them (once I had as many as 15 ship models, 12 of them in a eight foot by eight foot storage cabinet the length of a wall that I built to house a few model hahahaha).
mike
-
Thanks John, it was a pleasure and an honor to finish Tony's model. I just wish he were still around to see it. The display base was actually part of the building board. It was some what of a pain because there is an aluminum fin that is built into the center bottom of the hull that sticks down from the center of the hull a good two inches, so I had to cut out a slit in the center of the board to accommodate that fin. I believe the fin is supposed to give assistance in turning and makes the boat a bit more maneuverable with the paddle wheel and the three rear rudders.
The white pickets between the railings were supposed to be placed on thin plastic sheeting and just wrapped around each deck on the boat. I hated that idea, so I bought some heavier plastic, transposed the pickets onto the thicker plastic and then took my trusty Dremel tool and grooves into some thin wood stock, glued in the plastic between the two railings and then installed them onto the model. To me, this gives it a more finished look. This was just one of the modifications I made to the model. I also caulked all around the bottom or boiler deck just in case water splashed up over the deck, water wouldn't be able to make it down to the hull interior and the electronics.
Unlike the original model, I made each deck to be able with just a bit of effort to be removed separately with the removal of 4 small screws on each deck.
mike
-
-
-
for Presidents day using code PRESDAY2019. It covered my shipping cost and then some. Sorry, it won't allow me to post a link to their website.
-
I had contacted them once to see what a display case would cost me and after shipping added, it was going to be like $2500.00. I bought one from Abordage for less than $1000.00. I used to build model on commission as well as sell models through a site call Tallshipmodels.com out of Canada owned by Morey Benton. I had several posted through his site at one time and wound up selling several models through his site and shipped them throughout the United States. I believe Morey went out of business after got hooked up with some Russian exporters and he quickly lost most of his builders in the US after that, me included. I can tell you that I averaged about 50 cents to as much as $2.00 an hour for my time. The higher fee was for commission pieces. So to me it's a hobby and only a hobby and not something you can retire on.
- Landlubber Mike, mtaylor, Canute and 1 other
-
4
-
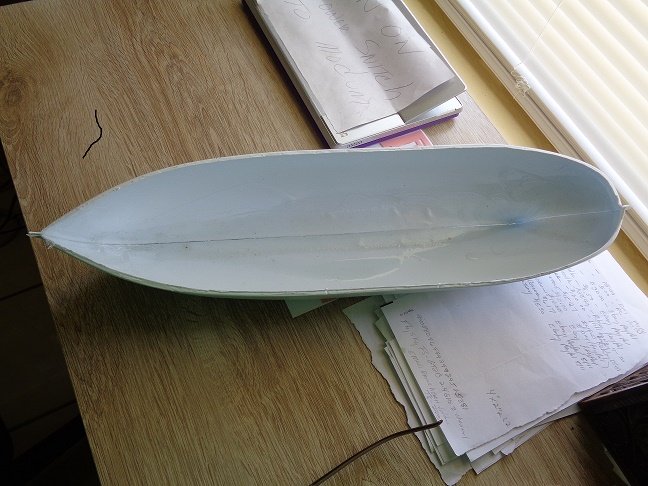
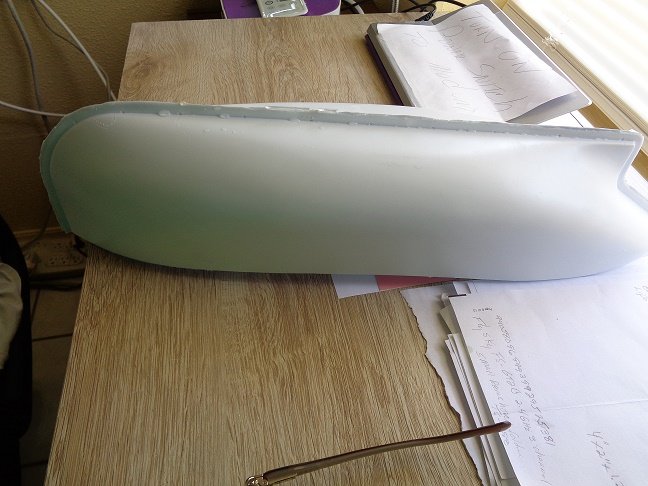
Yes, if you look at the 4th and 5th photo above, you can see where two of the planks have a small gap between them. You can clearly see the planking underneath, if it were stained a darker color, you wouldn't notice it. You did a fantastic job on the stealers and such. Very good planking job so far.
-
Do yourself a favor and STAIN those white first layer of planking before putting on the second layer. This way if you get a plank that might have a small gap between them once you lay it down, it won't stick out like a sore thumb. Try and stain it as dark or darker than the second layer of planking. Just a little tip.
- Wiktor.L, J11 and popeye the sailor
-
3

Kit Value
in New member Introductions
Posted
Also, you can check ebay for those kit values. You will be surprised at how different the actual price they achieve is compared to the retail value.