-
Posts
625 -
Joined
-
Last visited
Content Type
Profiles
Forums
Gallery
Events
Posts posted by 72Nova
-
-
Nothing really compares to the satisfaction of actually creating something with your hands, this is just excellent stuff Marc!👍
Michael D.
- FriedClams, Jeff T, druxey and 1 other
-
 4
4
-
Very intriguing build, curious as to what varnish you used that caused the issue and what you used with success?. My usual go to is Testors dulcote or Tamiya flat clear, also nice tip on using those little floss brushes👍. Your work is fantastic.
Michael D.
- modeller_masa and Keith Black
-
 1
1
-
 1
1
-
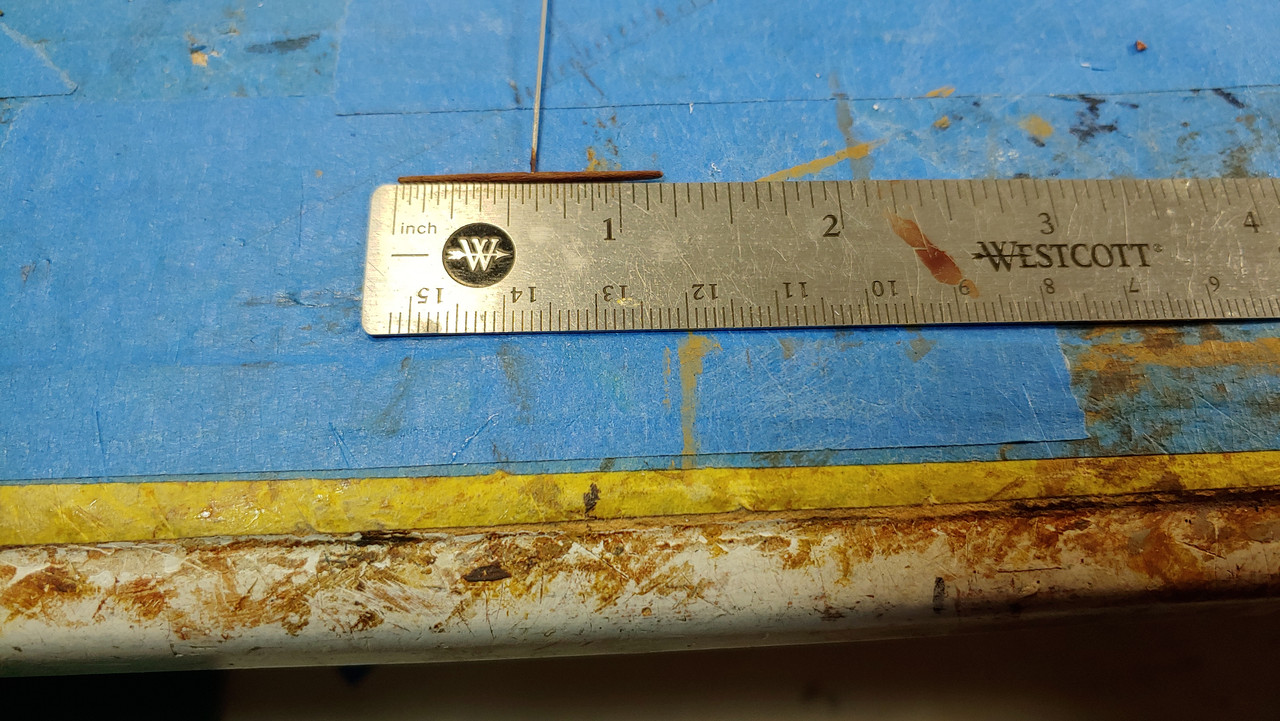
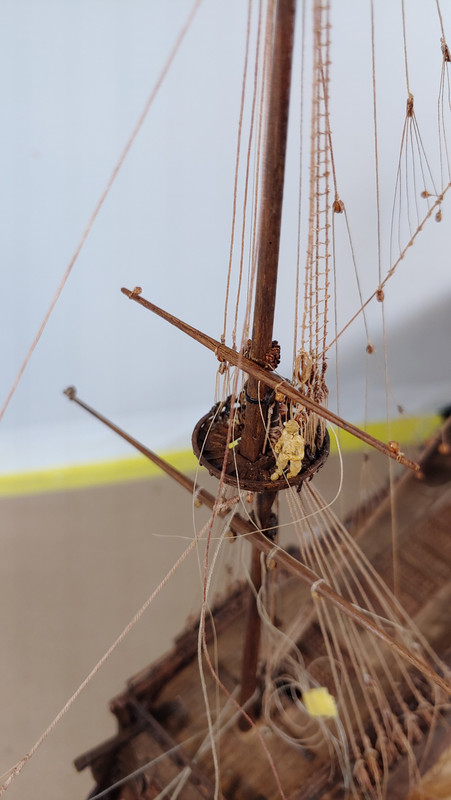
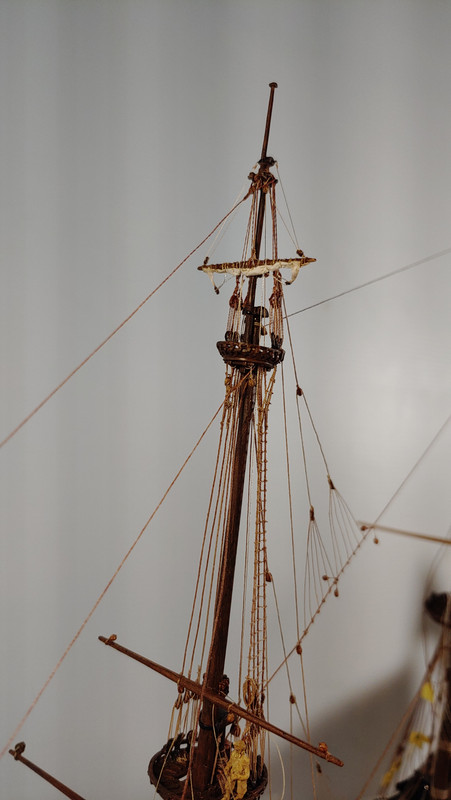
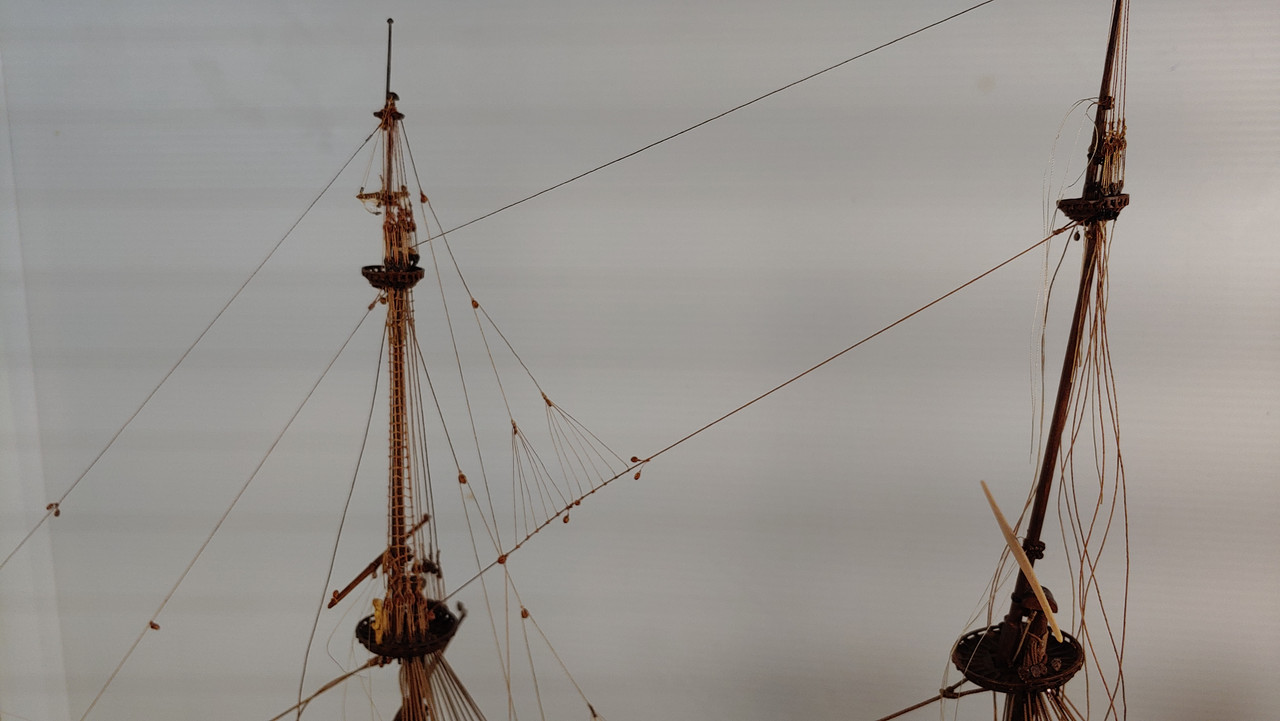
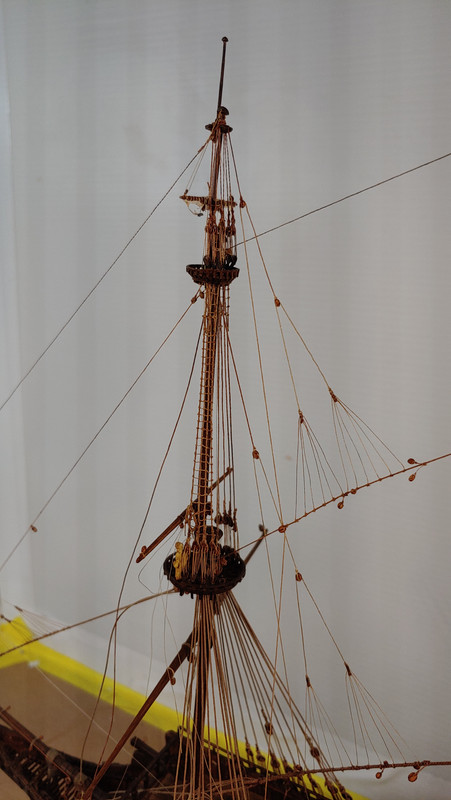
This build has been very enjoyable and maddening at the same time thus far. I have renewed respect for the late, great Donald McNary.... what that man was able to accomplish at much smaller scales are mind boggling! Here's a few pictures of the progress I'm making on the fore mast, that topgallant yard is so small I couldn't use the 1.5mm blocks so I fabricated some using styrene and they look much better scale wise vs detail but oh well.
Thanks for looking.
Michael D.
-
-
Thank you Ian, you can tell your friend I'm using the #100 wt silk thread from superior threads...Hehe.
Michael D.
-
-
A great Review Johnny, so essentially this is a cross over kit from Imai. I do have the big Revell CS that I plan to build in harbor rig fashion after my current build. You don't see too many builds of the CS at this scale for various reasons, but I see a lot of potential with this kit , my wheels are turning!
Michael D.
-
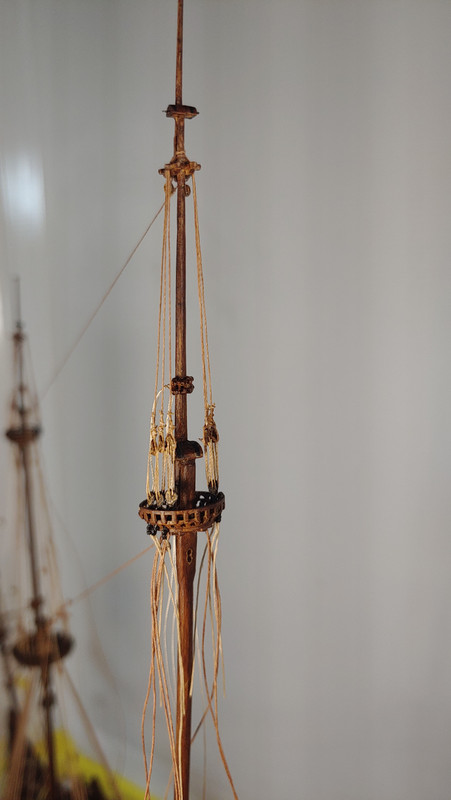
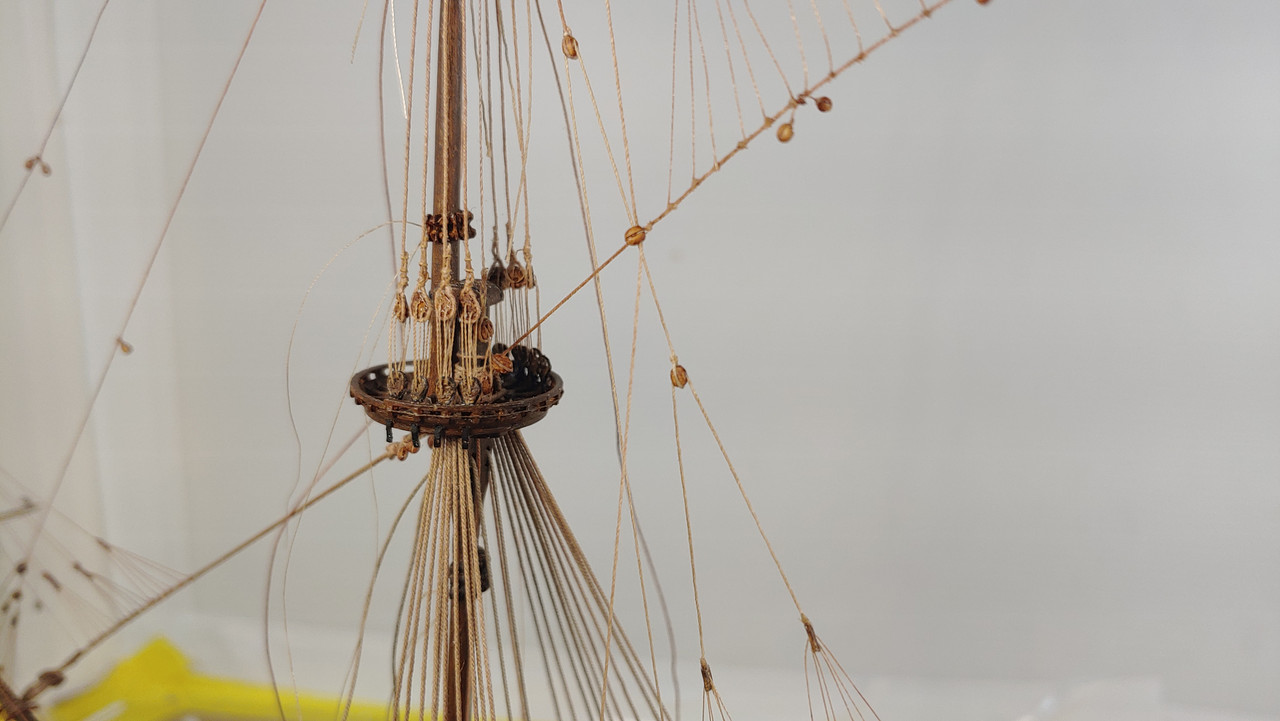
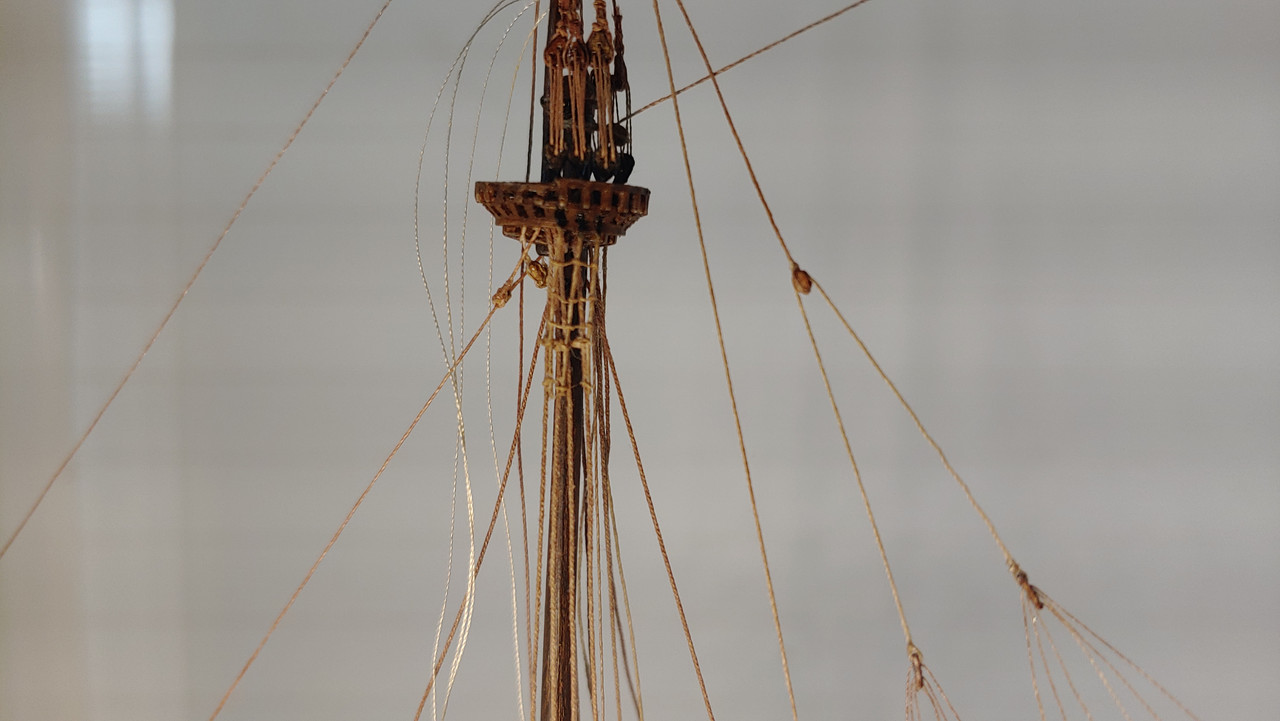
Thanks Johnny, I'll will check it out. Work continues on the fore topmast shrouds, just one left to do, also rigged the main topgallant stay and associated tackle, I made a mistake on this by starting the fall on the lower single block I had installed awhile back in the top instead of a single block at the end of the stay and did not feel like redoing it, so I had to use a double block at the end the stay, normally in most cases, not all, it would just made fast on the top.
Completed one futtock and the topgallant parrels.
Michael D.
-
No worries, God Bless and many prayers to your family.
Michael D.
- John Clements and Ian_Grant
-
 2
2
-
Thank you, Shipman, I checked out the numbers on my box and it's dated 1/20... nothing special and the only parts that had excessive amounts of flash were the deadeyes which I knew I wasn't going to use anyways and the trestle-trees, rest had the usual amount you'd normally find.
Johnny I'll be looking out for your review/pictures of the Monogram CS as it's piqued my interest .I appreciate the information guys.
Michael D.
-
Marc I recall you had the same marring issue with the window panes earlier but can't remember your fix back then?. The petroleum jelly worked like a charm though and your masterpiece is progressing nicely👍
Michael D.
- FriedClams, Hubac's Historian and mtaylor
-
 2
2
-
 1
1
-
-
Likewise SHJ really appreciate your efforts, very informative info there.
Me personally I prefer the more pliable/ bendy plastics that lesson the break factor so to speak, up to this point I've had no issues with this reissued kit,( keeping fingers crossed) in regards to the masts not being up to the task.
Michael D.
-
Thank you Shipman,
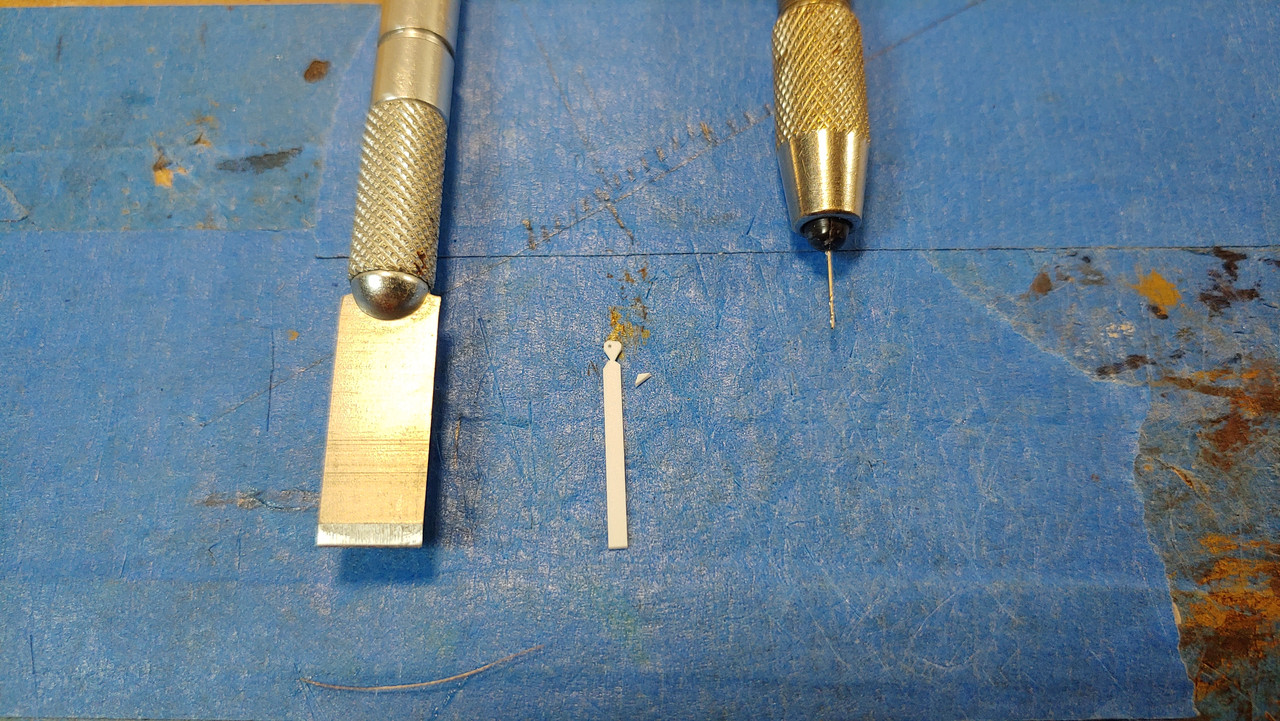
For the smallest deadeyes I used 0.50mm x 1.70mm styrene, using a chisel blade I just trimmed the corners off and cut out a notch on either side and used a #79 micro drill bit, once painted just cut it off the make ship sprue.
I believe the Golden Hind was their first sailing ship issue but have not found any timeline info/issue dates on the others, they did reissue the St louis around 1973 thru the 80"s but is not included in their vintage classics anymore, so it will be difficult to locate one these days. I will have to check out the science museum.
Michael D.
-
-
-
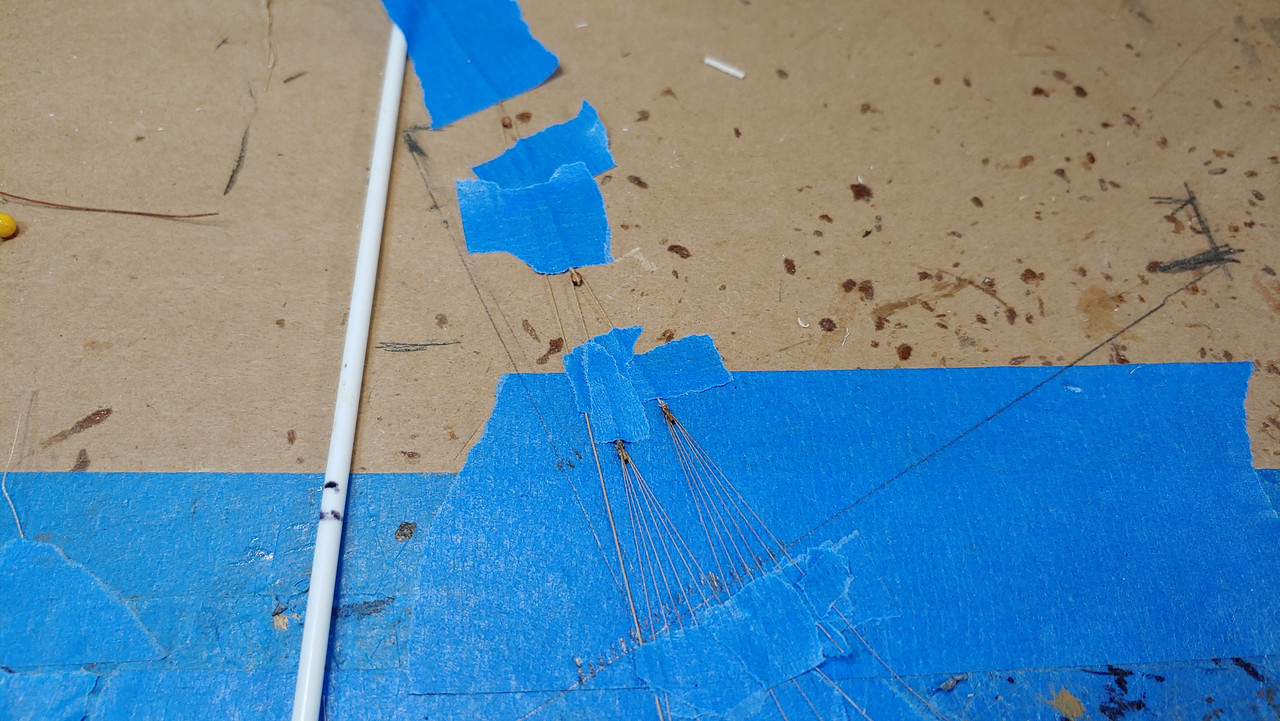
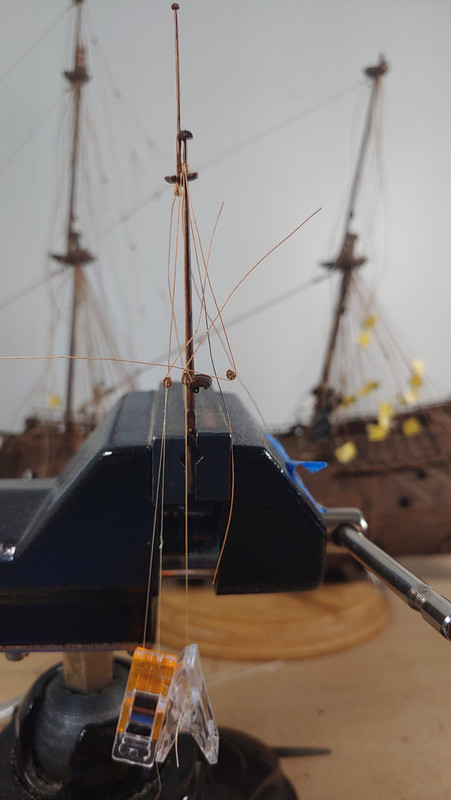
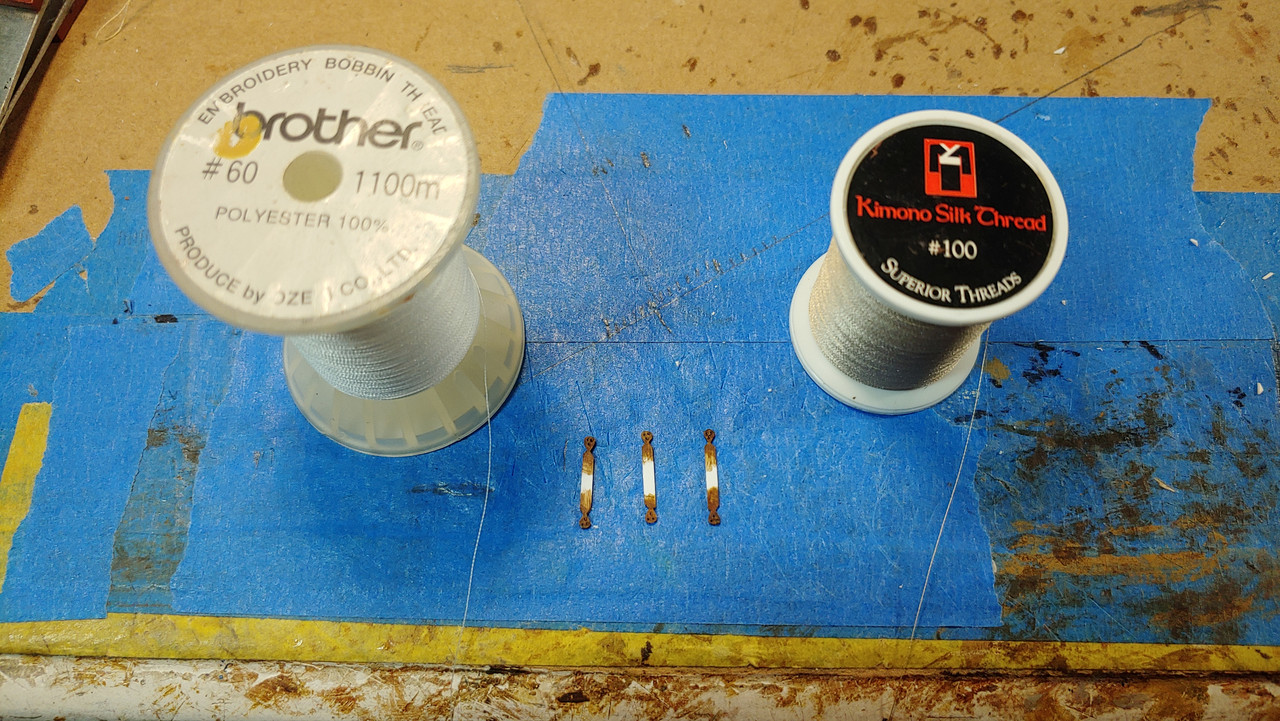
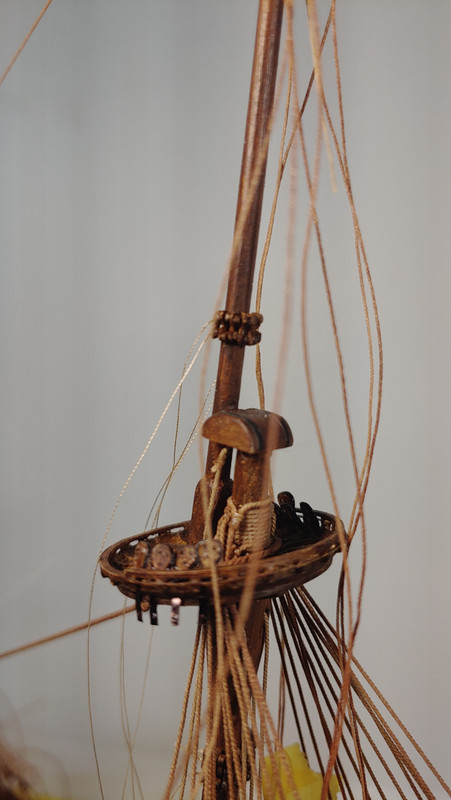
While I am gauging my build to that of Rex's build, there's no way I consider myself in the same league as Rex, but I will gladly accept that gracious compliment Kirill!. I hope the following pictures shed some light on the materials used and the process. The Hilliard's are mocked up on the bench using a simulated mast and penciled in main stay to scale taped into place to allow a spot of CA to hold the line in the blocks, the crows feet, (100wt silk thread) once painted are coated with flat acrylic clear and to hang for about 10 minutes before threading through the euphroe blocks and spot of CA after forming the tight crease just in that area only as the dried clear gives enough stiffness. The 60wt thread will be for the topgallant bowlines.
Currently working on the main topgallant shrouds, the deadeyes follow the same rake as the top, also completed the topmast parrels and thanks for bringing up that link Marc, that will be the next Airfix build if I can I find one?
Michael D.
-
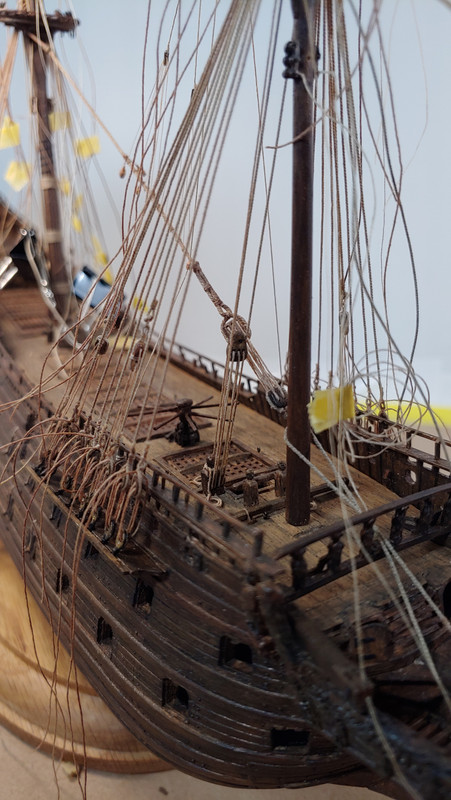
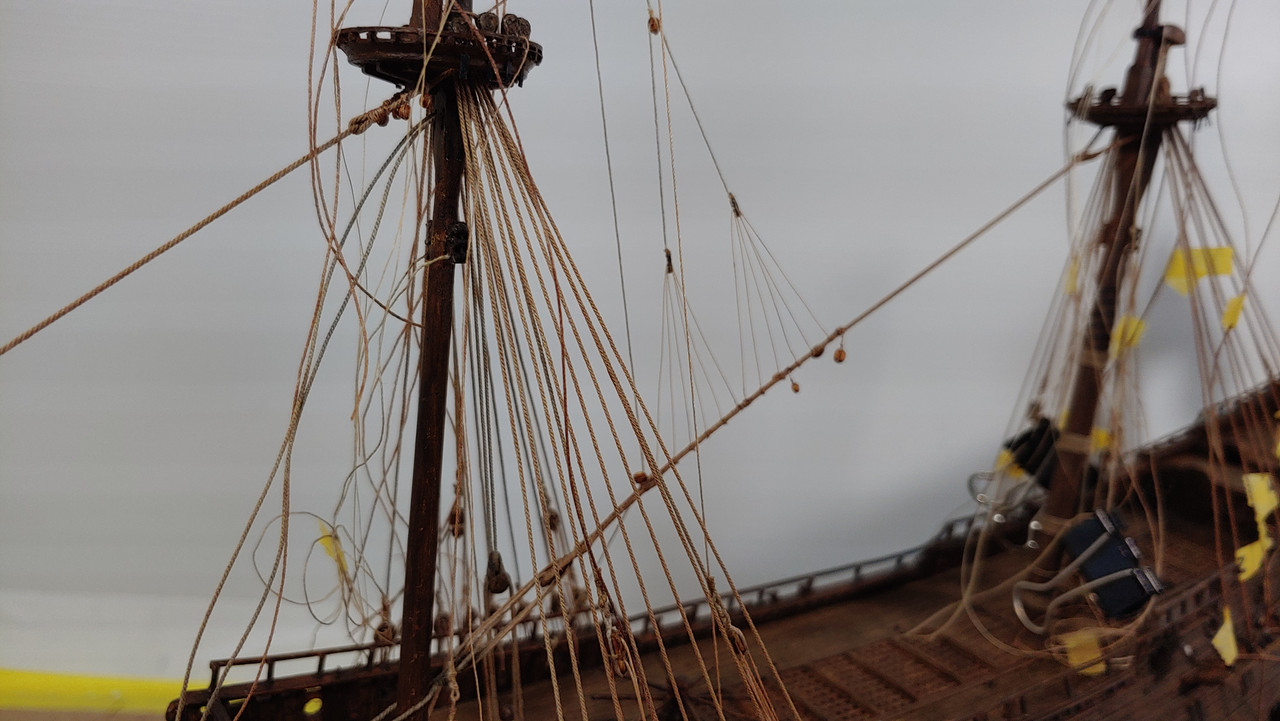
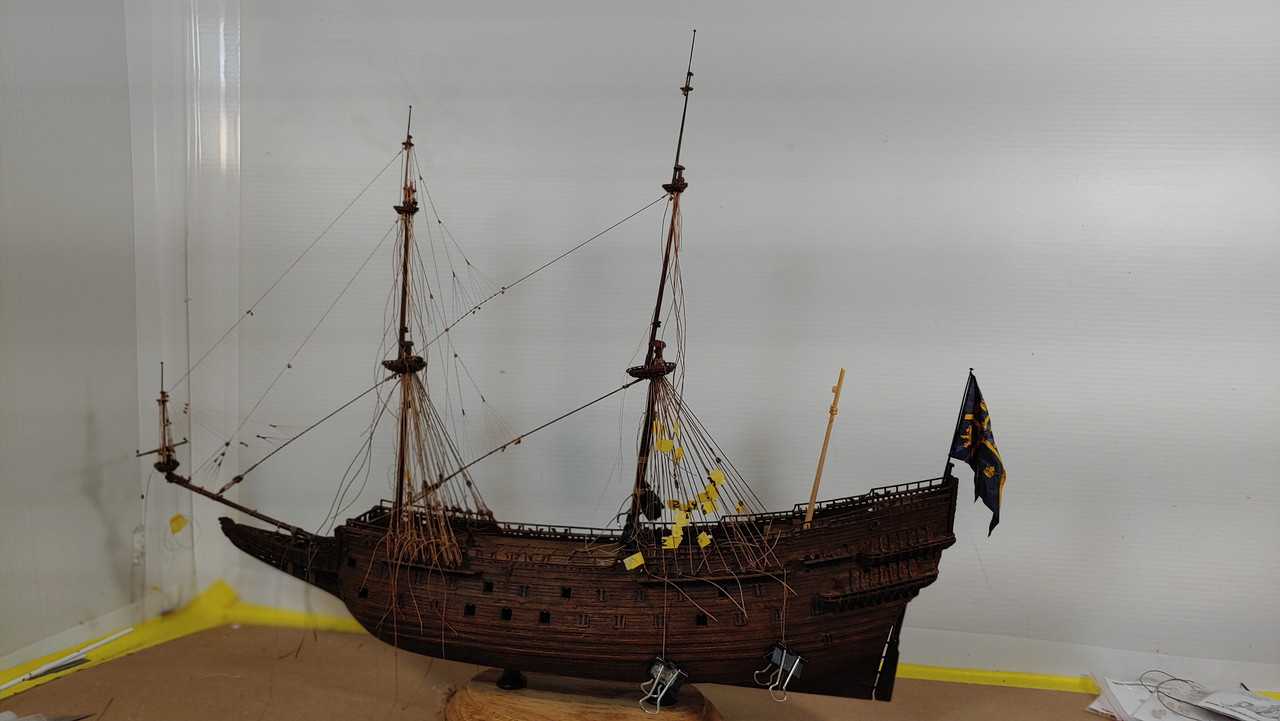
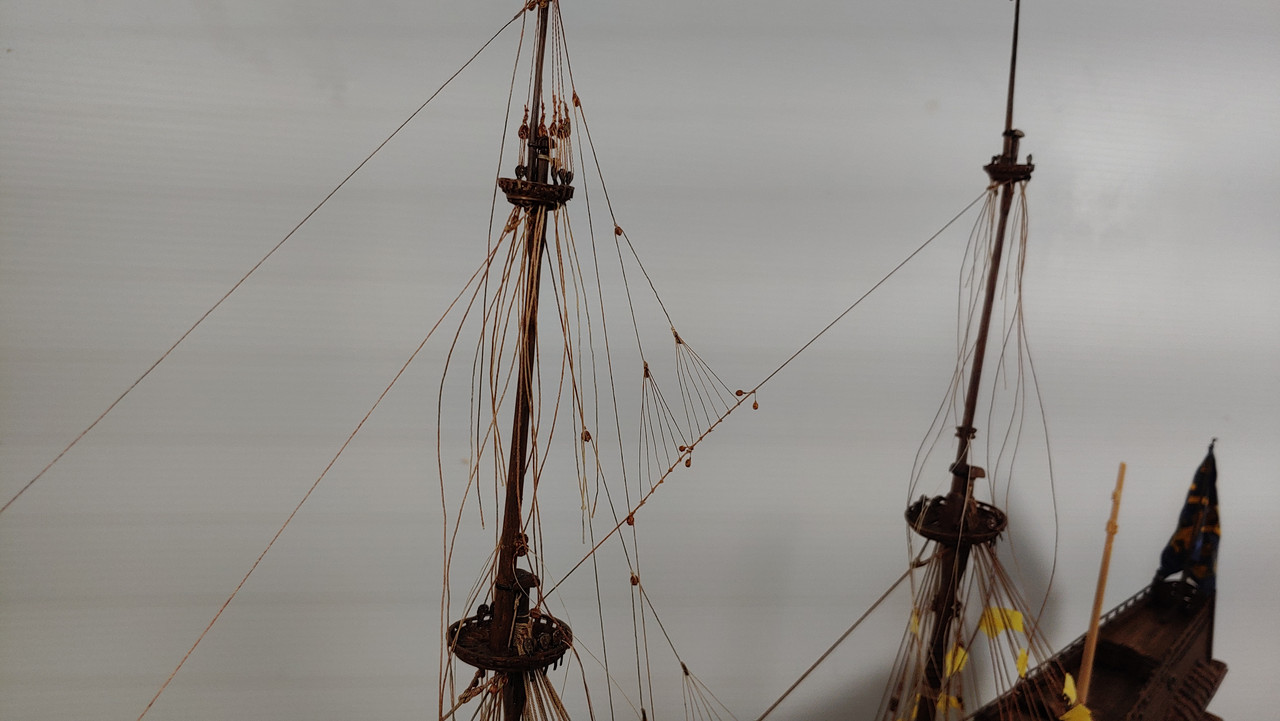
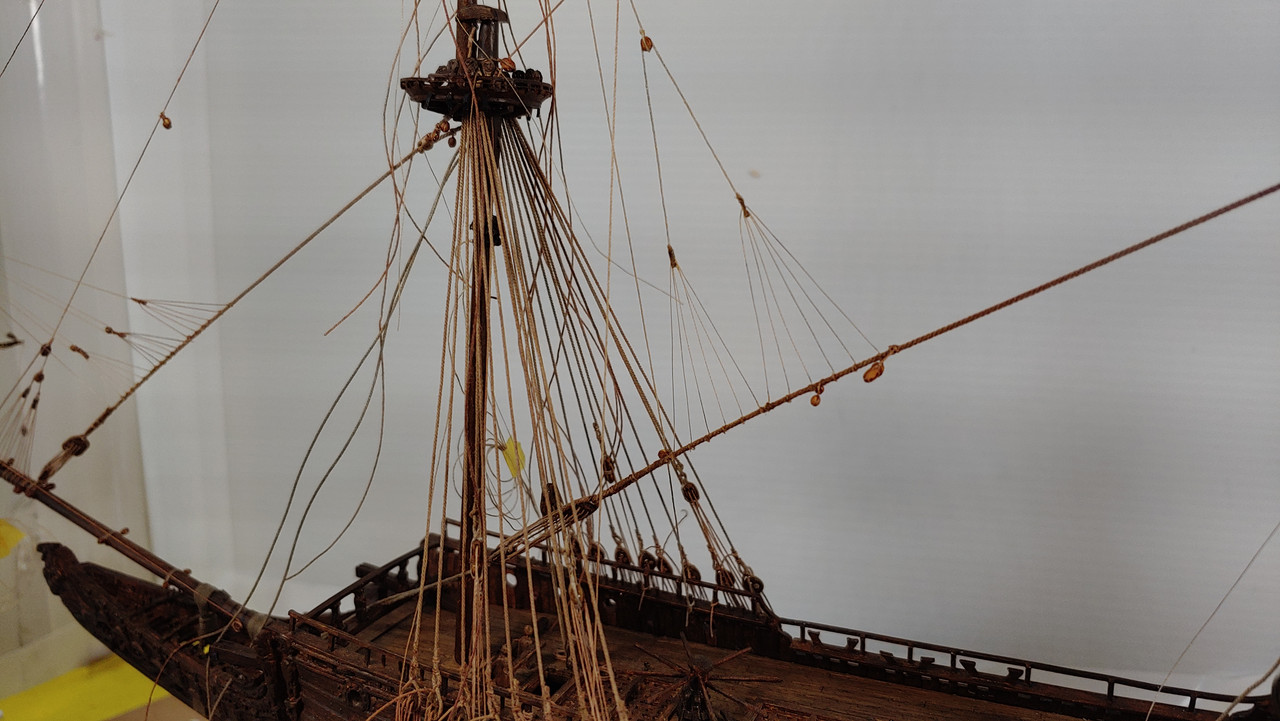
A small progress report, installed the main topmast stay, fore topgallant stay along with some of the necessary blocks and completed fore halliards. Arguably the crows feet are the most challenging part at this phase of the rigging in trying not to distort the stays too much, but pretty much unavoidable the higher up they go with the lighter stays especially at this scale, they could use a bit more tweaking to make them a little better, but overall they look ok. Thanks for looking.
Michael D.
-
Thank you Kirill.
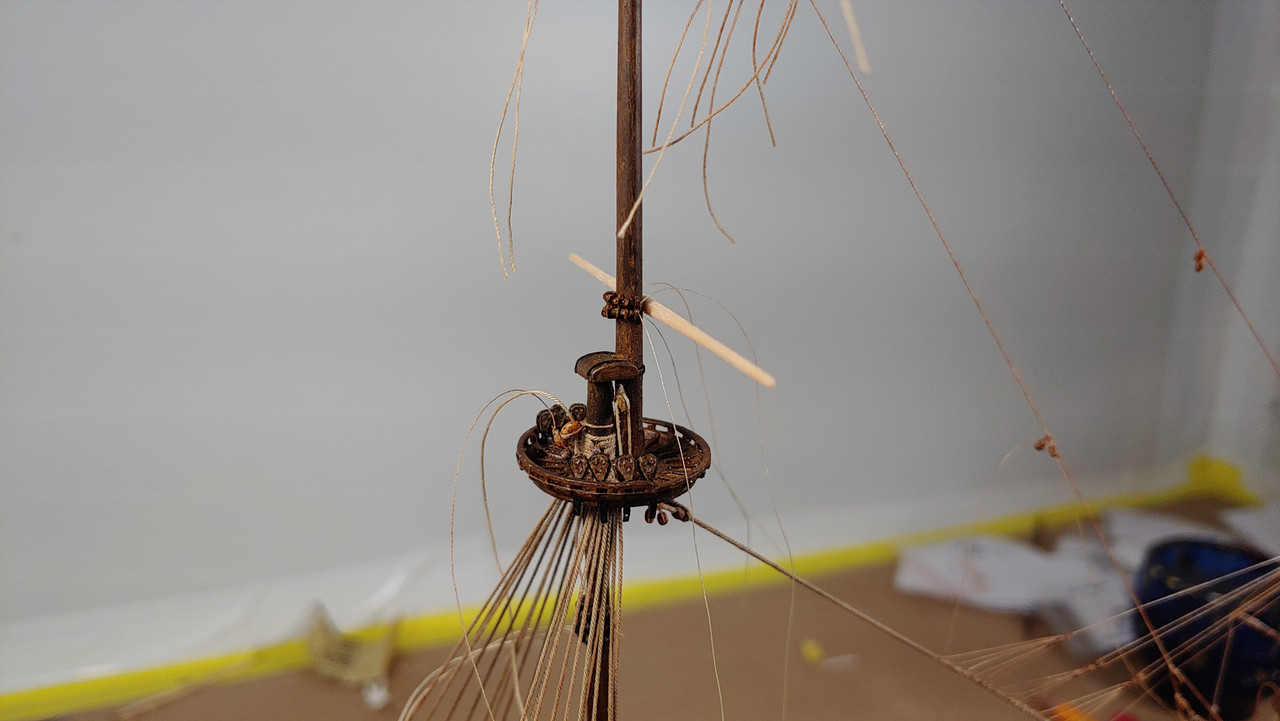
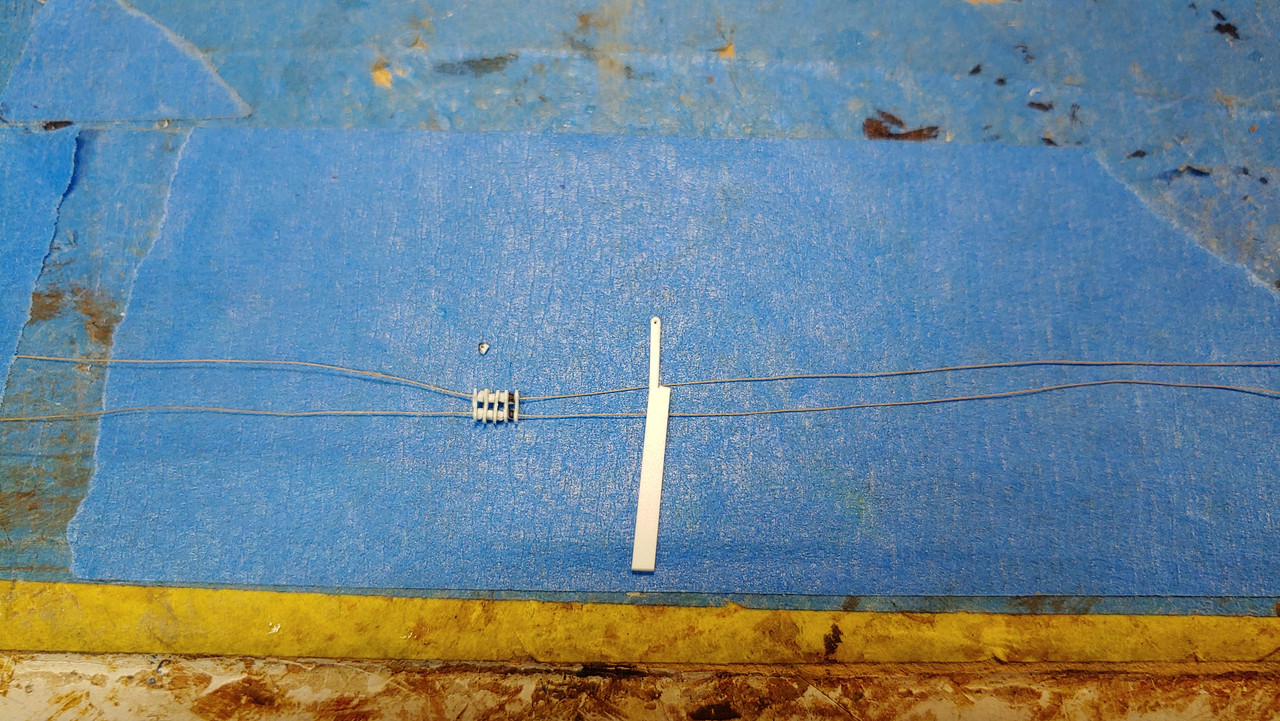
I figured before I get too involved with the topmast shrouds I better deal with attaching the topmast yard parral while I have better access. The ribs I used 0.30mm styrene cut to just under 3mm in height, for the trucks I used 0.50mm styrene cut into a D shape for simplicity and used 100wt thread, the end result looks pretty good.
Michael D.
-
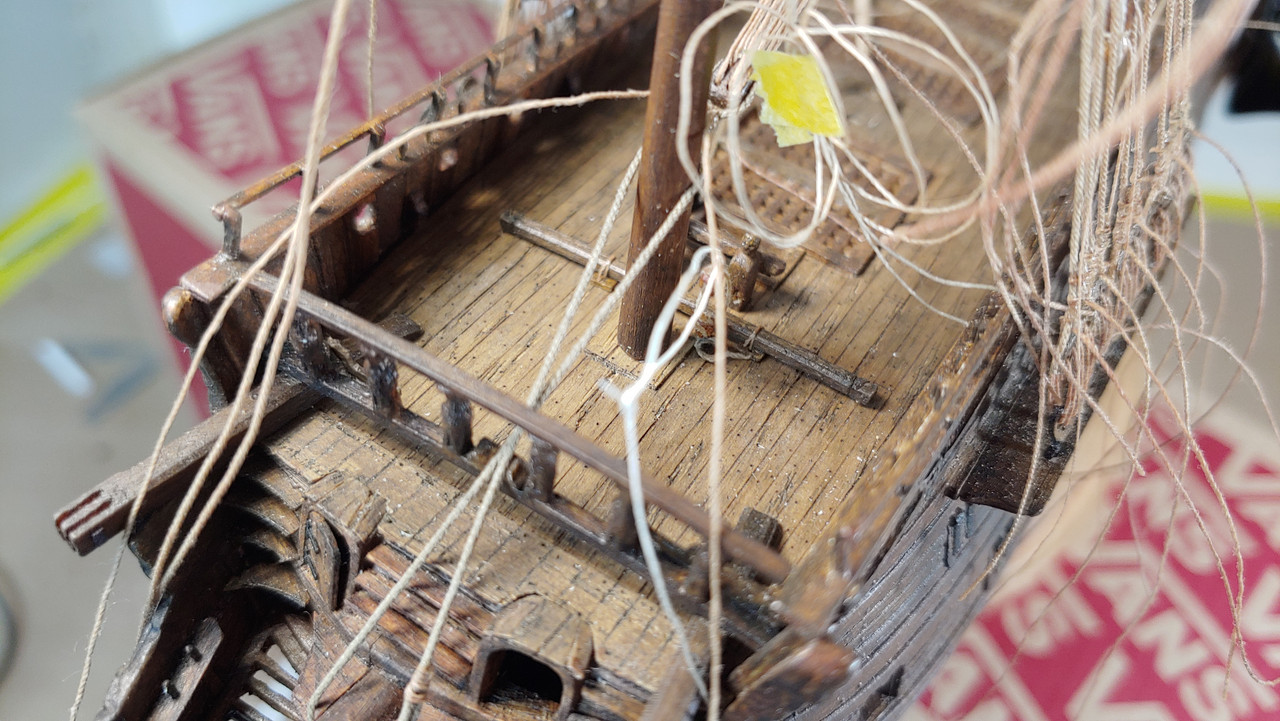
In between the work going on with the shrouds I decided to tackle the fish davit, the Vasa carried one and measures approximately 19' in length and around 9.5"x10.5", I used 1.5mm x 1.5mm styrene cut to 40. 6mm in length and is curved to match the camber of the deck, looks pretty good while being slightly undersized in thickness and is just set in place at the moment if I decide to redo it. Looks like it's time for some dusting!
Michael D.
- kirill4, scrubbyj427, Baker and 5 others
-
 8
8
-
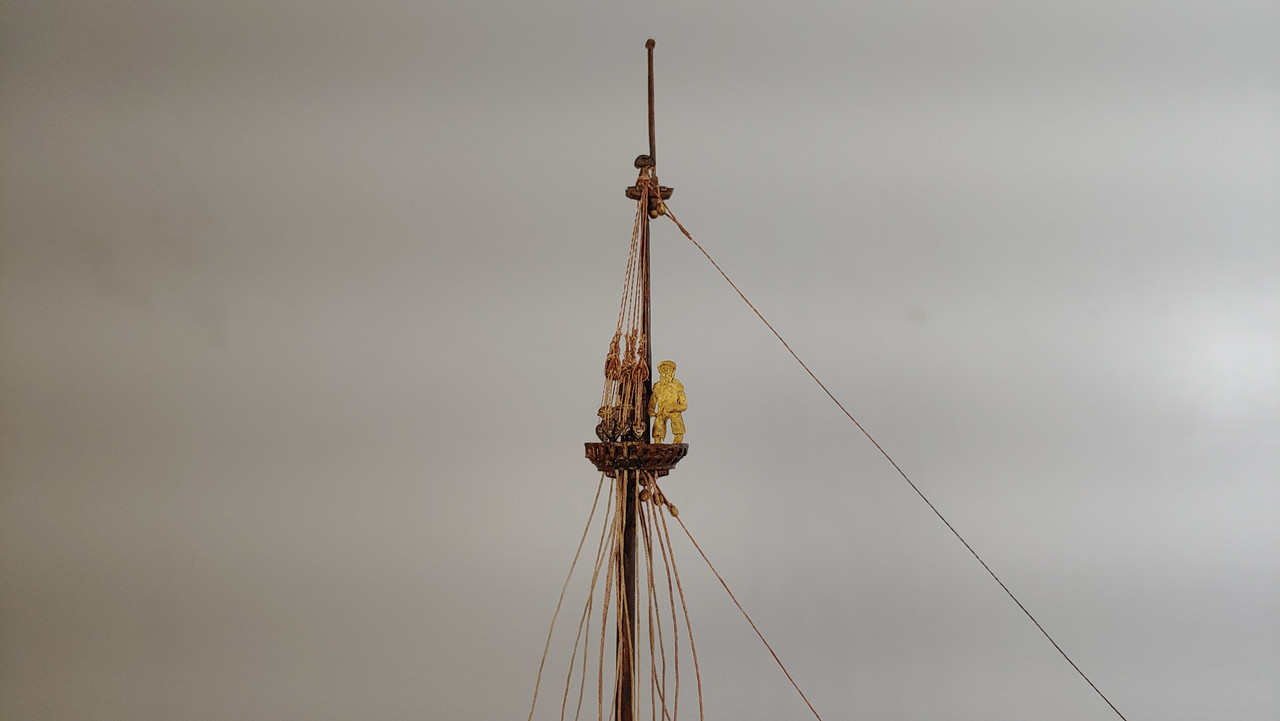
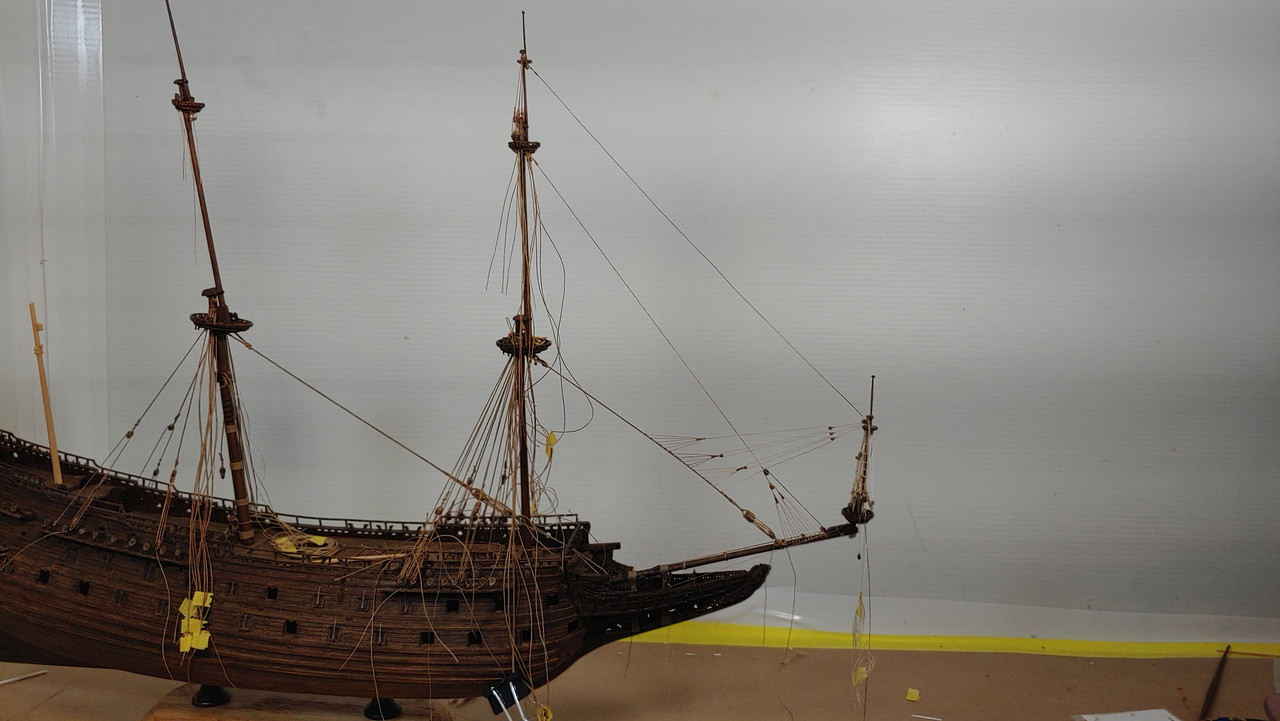
The fore topgallant mast shrouds, lanyards and stay are completed and there will be no ratlines, this was quite a fiddly process to say the least to make everything look right at this scale and while I'm not overly happy with results the up close camera shots provide, the model as a whole does look pretty good to the naked eye. Up next I need to fashion the topmast and topgallant parrals, topmast shrouds and lanyards. Thanks for looking.
Michael D.
-
-
Thanks Kirill,
What I meant the stay was twisting, the top crows feet turned out great as there was nothing in the way of my big hands and I able to pierce the needle directly on top of the stay but now they were in the way for me to do that when I started the middle set as the needle was passing through at different angles causing the stay to twist, what I needed to do was start from the bottom and work up but at that point I running out of talent and went with plan B. I will try again on the main stay working for the bottom up but ideally they should be installed on the stay/partially rigged prior to installing the stay at least at this scale anyways and I will try this on the main topmast and top gallant stays, although the thread might be too thin to pass a needle through.
Michael D.
-
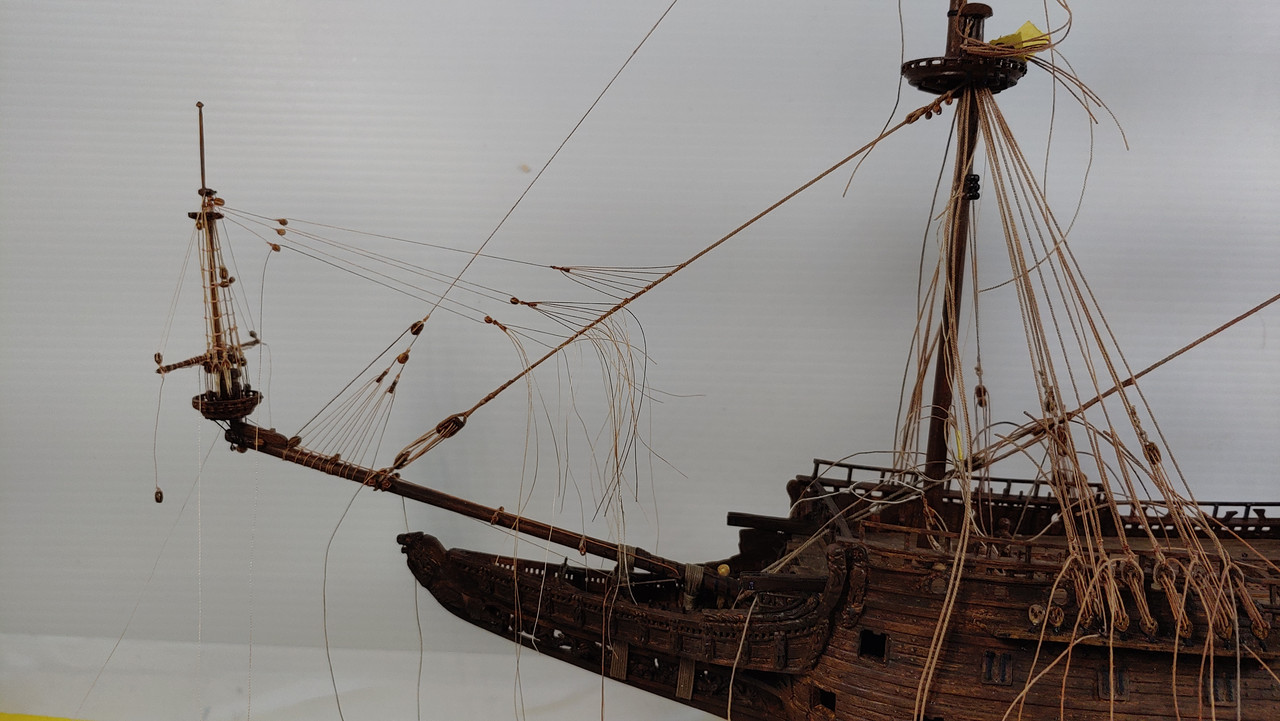
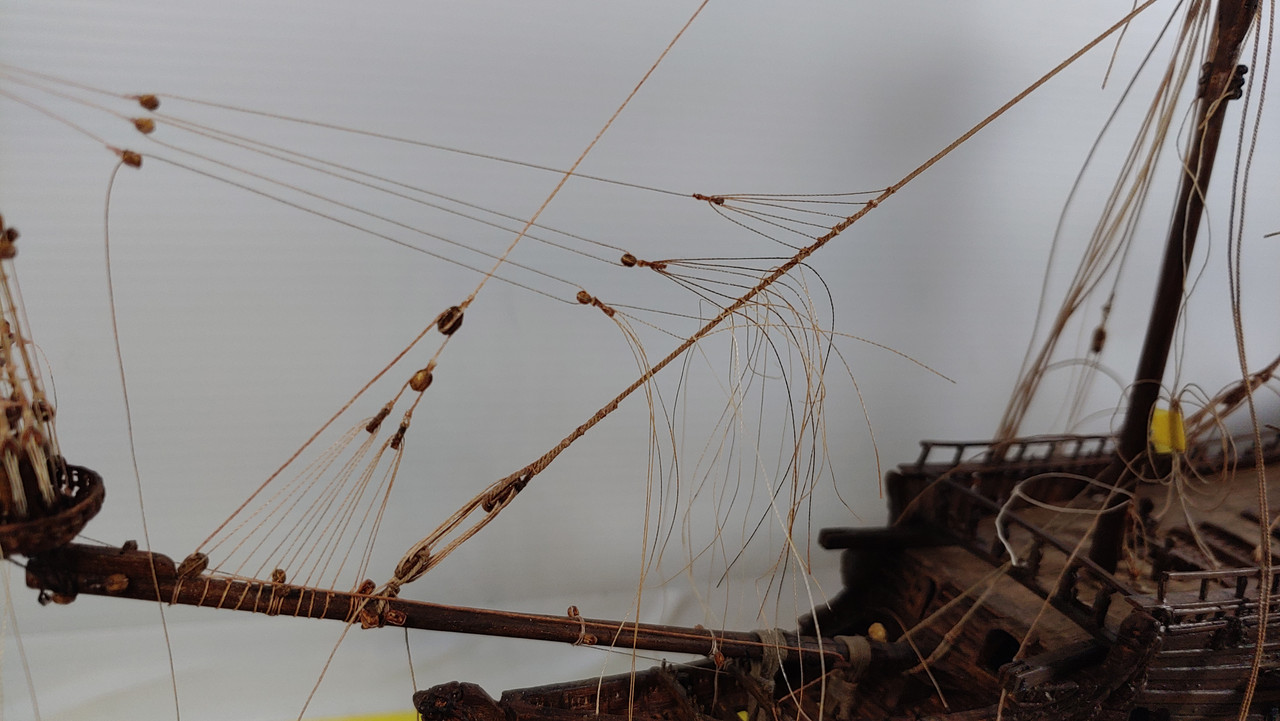
I have the fore top mast stay completed, I used 3mm and 2.5mm blocks for this, currently working on the spritsail topmast back stay, I failed miserably on my first attempt by piercing a needle through the stay, it took multiple tries to get the spacing to look right which I expected but trying to keep the alignment/angle of the needle as it passes through the stay on a consistent basis proved to be too much of a battle resulting in twisting and thus fouling the crows feet for the fore topmast stay. Plan B I just created a loops around the stay with a simple overhand knots, fed the crows feet through and tightened the knots then adjusted accordingly , once satisfied I put a spot of glue, overall I'm pleased with result with the stay having a slight even upward curve.
Michael D.
- Prowler901, Baker, BLACK VIKING and 7 others
-
 8
8
-
 2
2


Vasa By 72Nova - FINISHED - Airfix - PLASTIC
in - Kit build logs for subjects built from 1501 - 1750
Posted
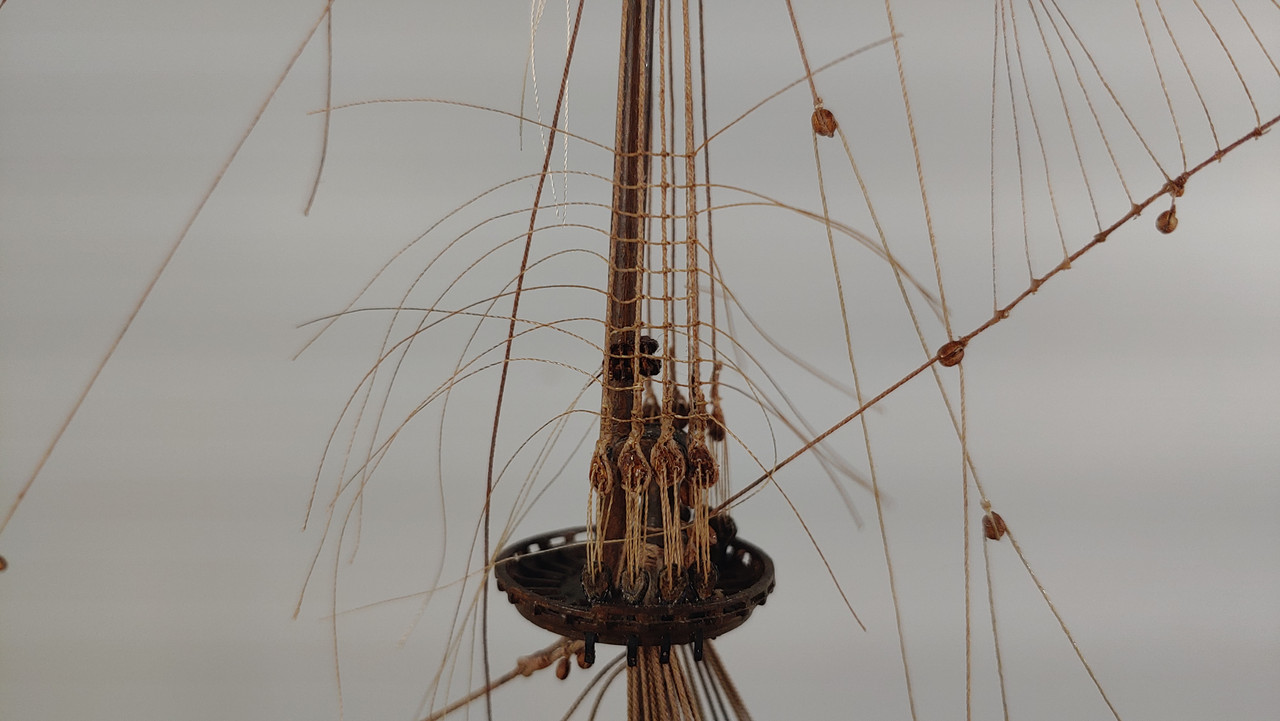
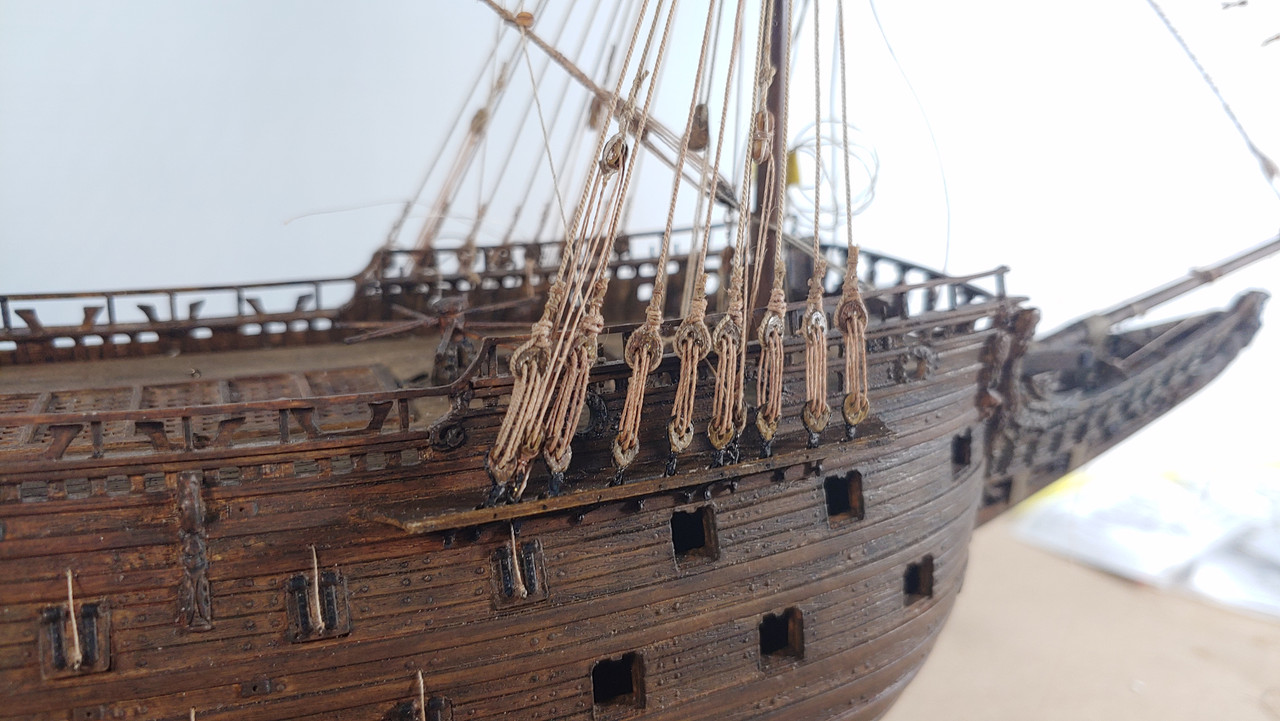
The Fore course is just about complete, working on the martnets at the moment, I fabricated six hole euphroe blocks for the crowfeet and once I complete the starboard side, I'll remove the yard, rig the lift tackle pendants and reinstall the yard and clean up some loose lines.
Michael D.