


72Nova
-
Posts
531 -
Joined
-
Last visited
Content Type
Profiles
Forums
Gallery
Events
Posts posted by 72Nova
-
-
-
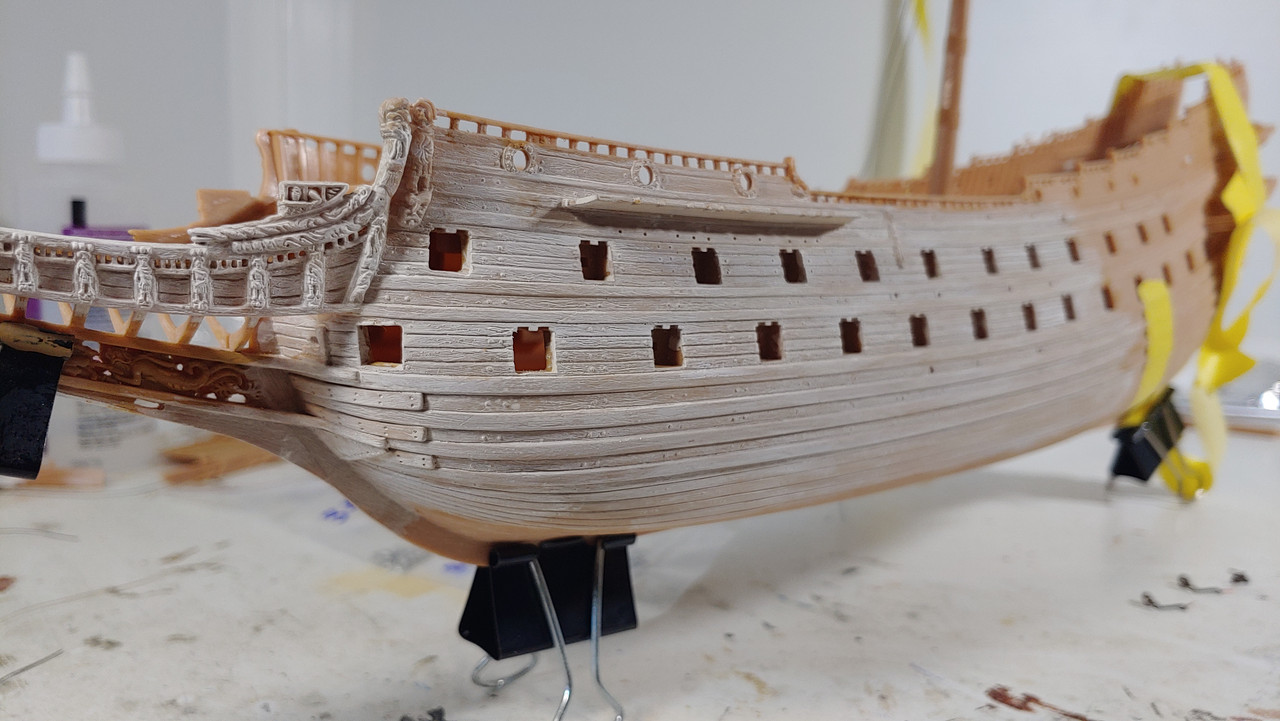
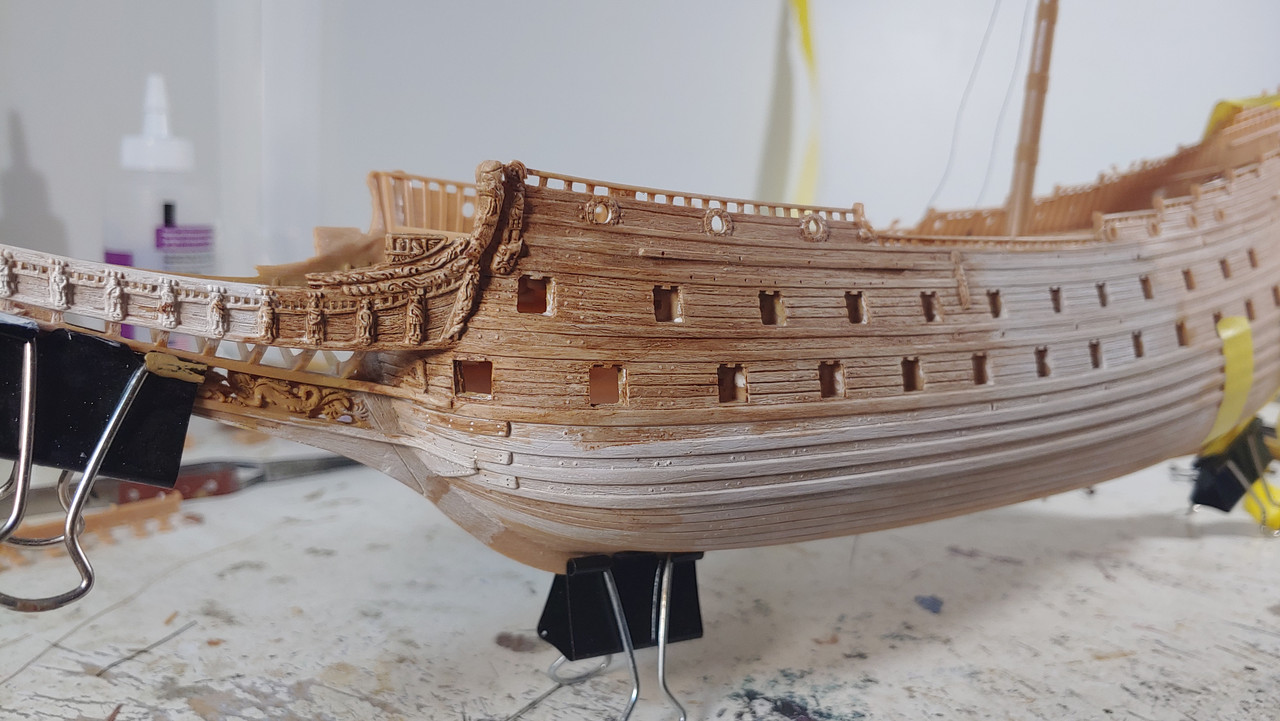
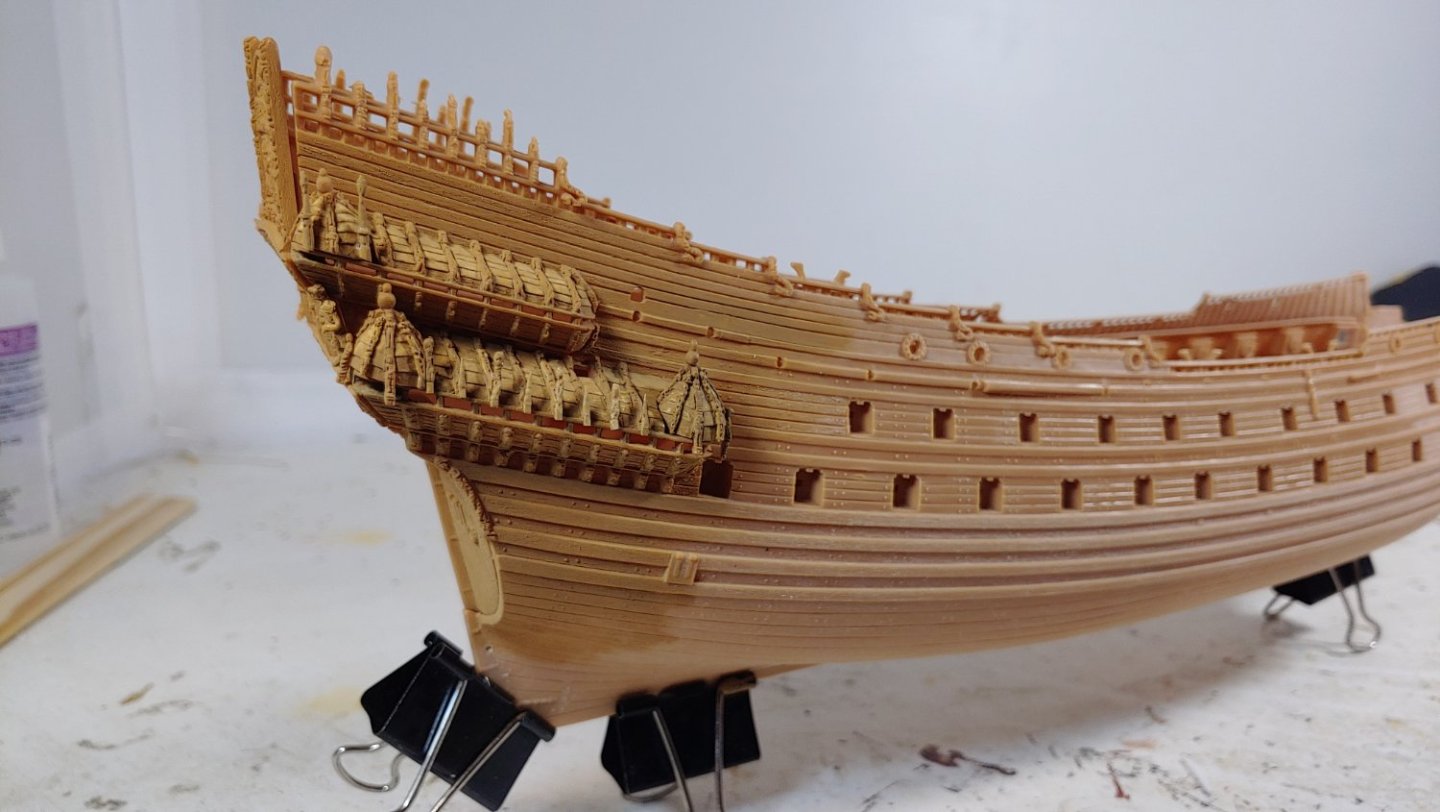
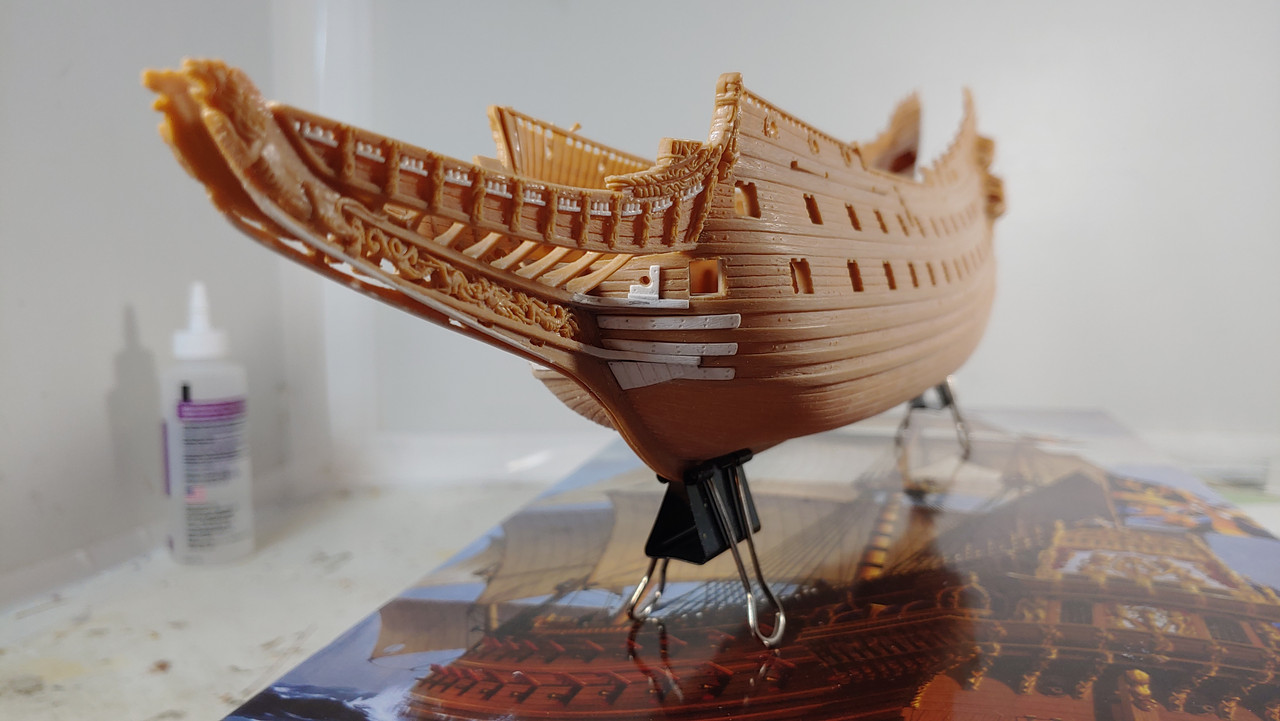
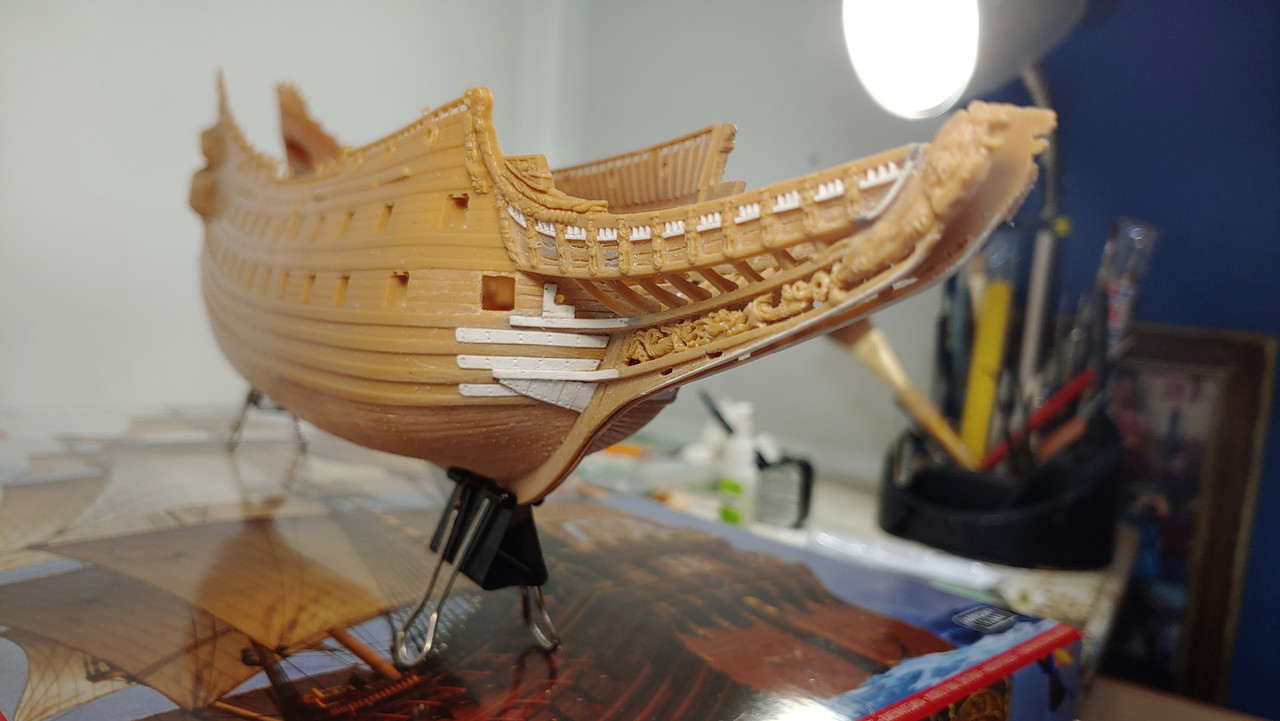
With 90% of the hull sanding complete I've focused my attention to the channels, with the fore channels completed I wanted to try out my new process to achieve the desired look I'm after.
Base coat is Tamiya flat desert yellow followed a thin wash of Tamiya flat white. up next is a thin wash of burnt umber followed by slightly thinned almost dry brushed raw umber then a thin wash of flat black on the middle gun deck ports, once I spray some dulcoat on it, it should give it a deeper tone. I'm quite pleased thus far with the results. The last picture is taken without flash.
Thanks for looking,
Michael D.

-
-
Thank you Kerry, it's putting what skills I have left to the test for sure.
Michael D.
-
Yet another magnificent build Maurice!, whether for yourself or others you keep setting the bar higher!
Michael D.
- hollowneck, Dave_E, Blue Ensign and 1 other
-
 3
3
-
 1
1
-
-
Looks like you're nearing the finish line Frank! just looks absolutely fantastic!
Michael D.
-
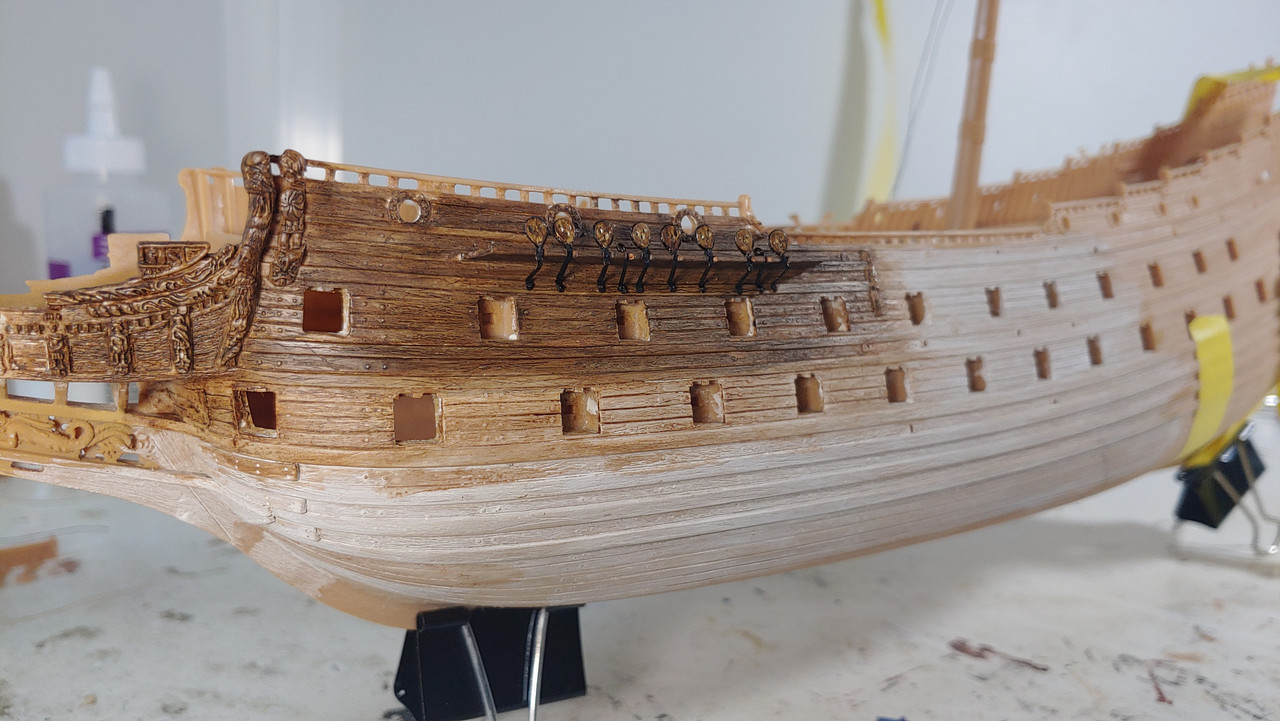
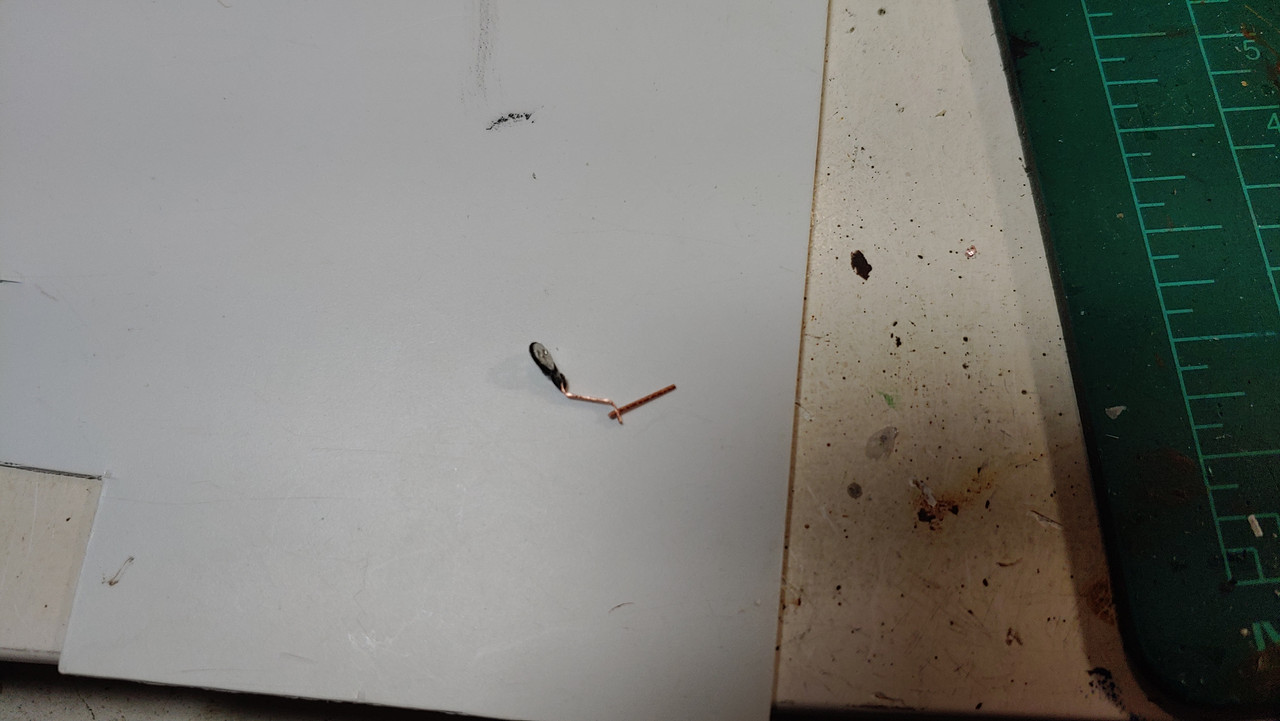
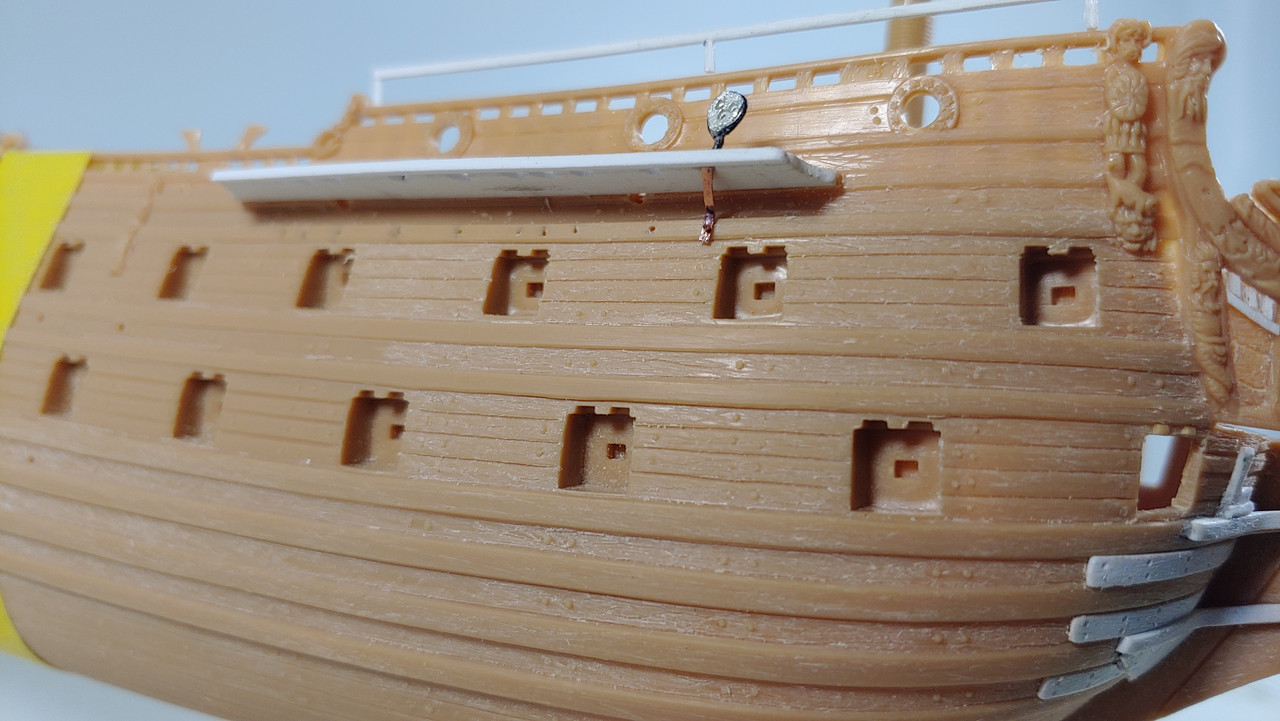
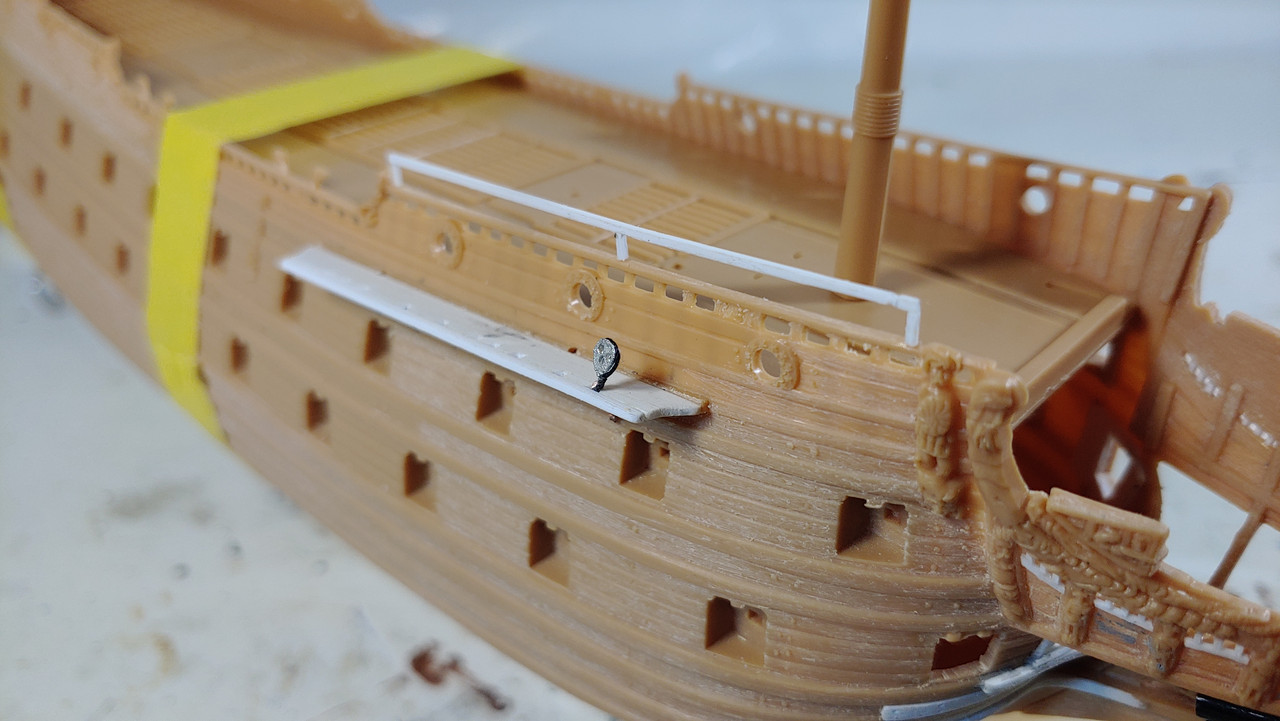
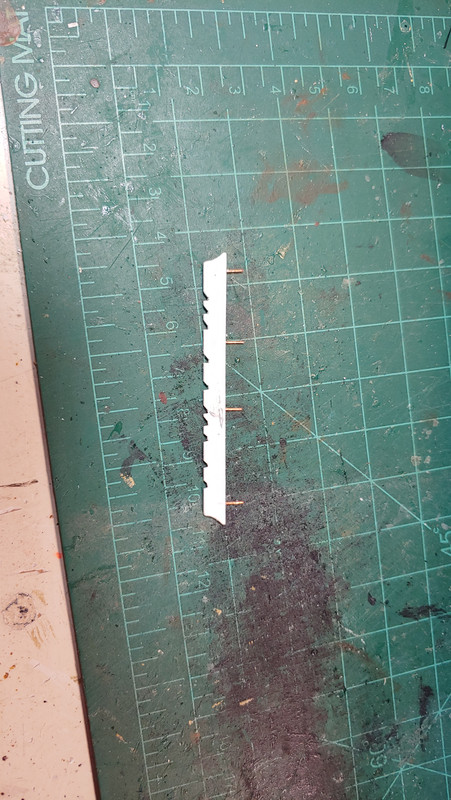
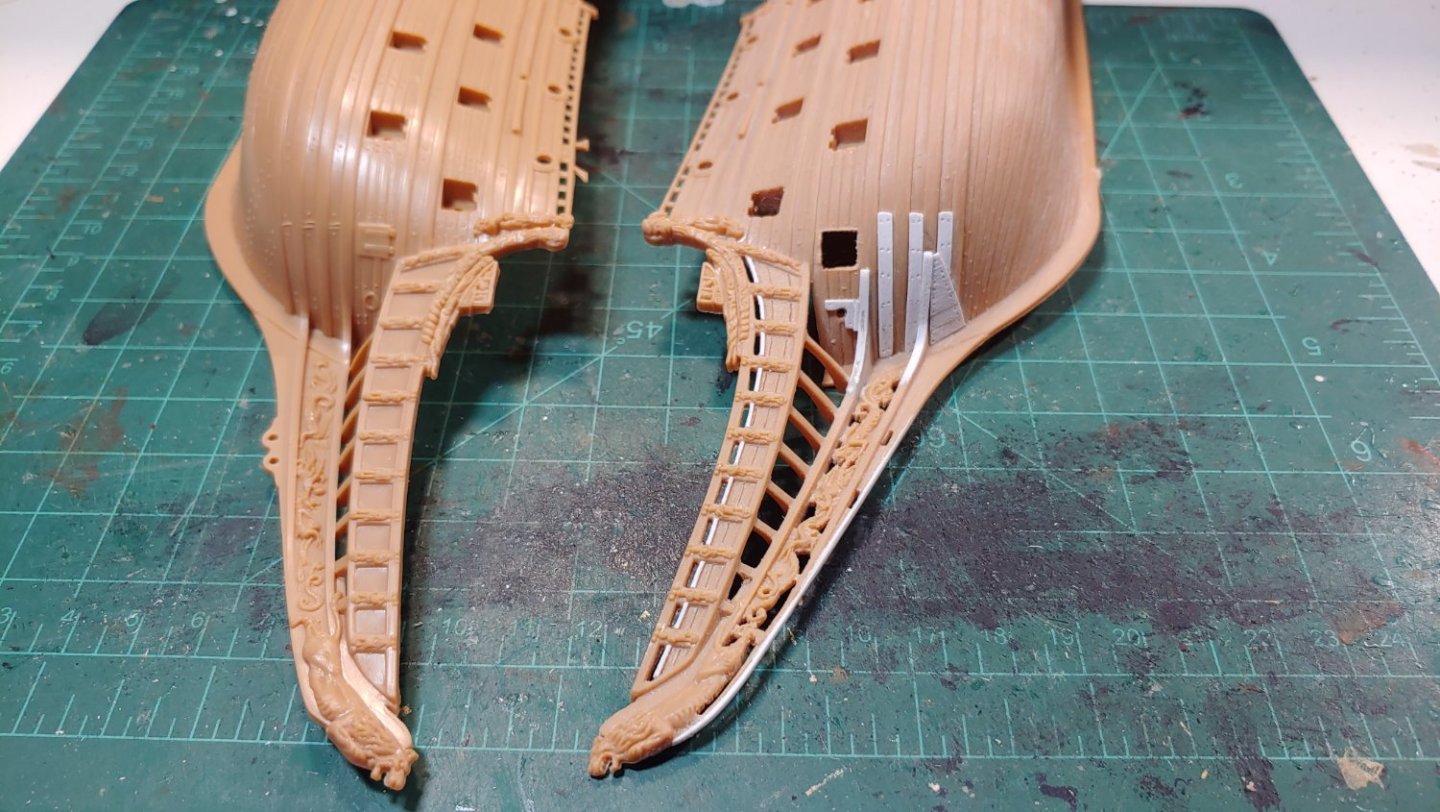
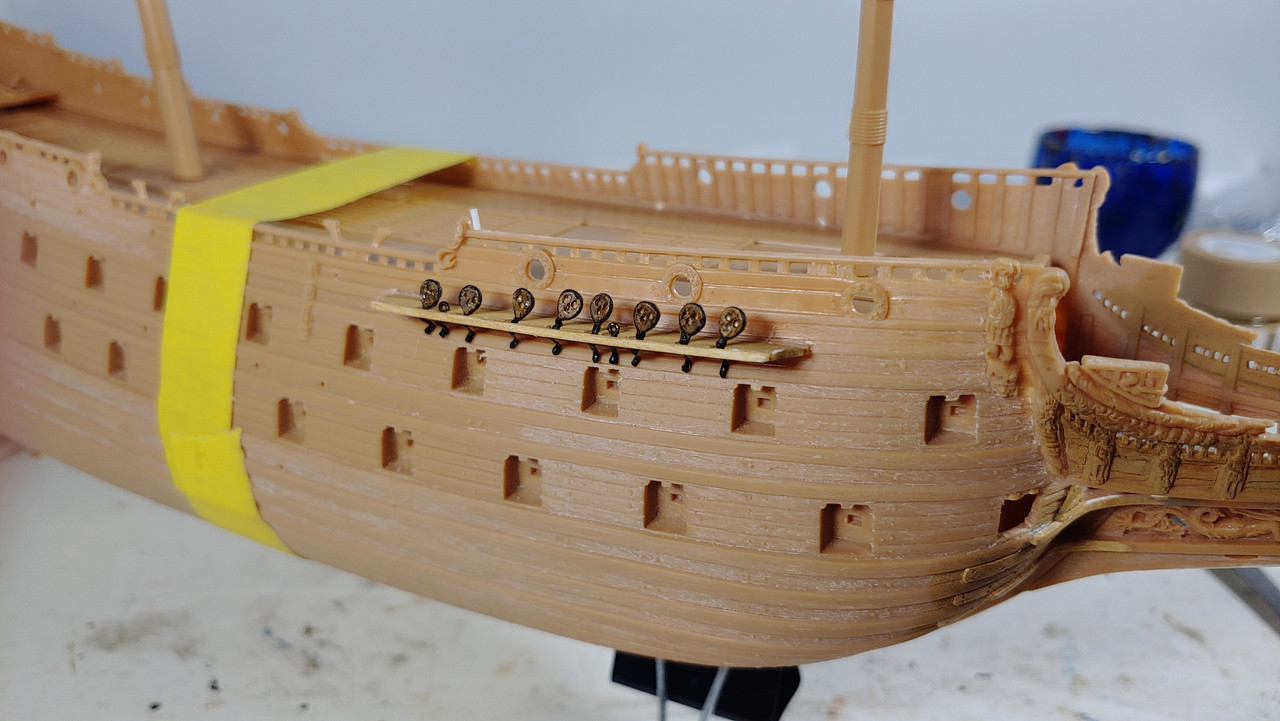
Channels and chain plates, this is something I needed to take into consideration since I will not be using the kit supplied ones and that is chain plate bolt locations in the wales. I made the new channels out .040" styrene sheet and used 24g copper wire as dowels to pin them to ship, the chain plates are the same gauge copper wire hammered flat and bent to the necessary angle, I stropped the 1/8" heart dead eye with thread that is run through a hole in the chain plate and glued and the chain plate is pinned to the wale with 24g copper wire. Obviously the objective here is to get all the channels/chain plates built and fitted prior to painting the hull although the channels will remain in place for that phase.
Michael D.
- Rudolf, Ian_Grant, BLACK VIKING and 5 others
-
8
-
The starboard Qtr galleries completed vs out of box port galleries...now I get to do it all over again, oh joy! I will note that none of the modifications are permanently fixed yet as they will be removed during paining process and reattached. Thanks for looking.
Michael D.
-
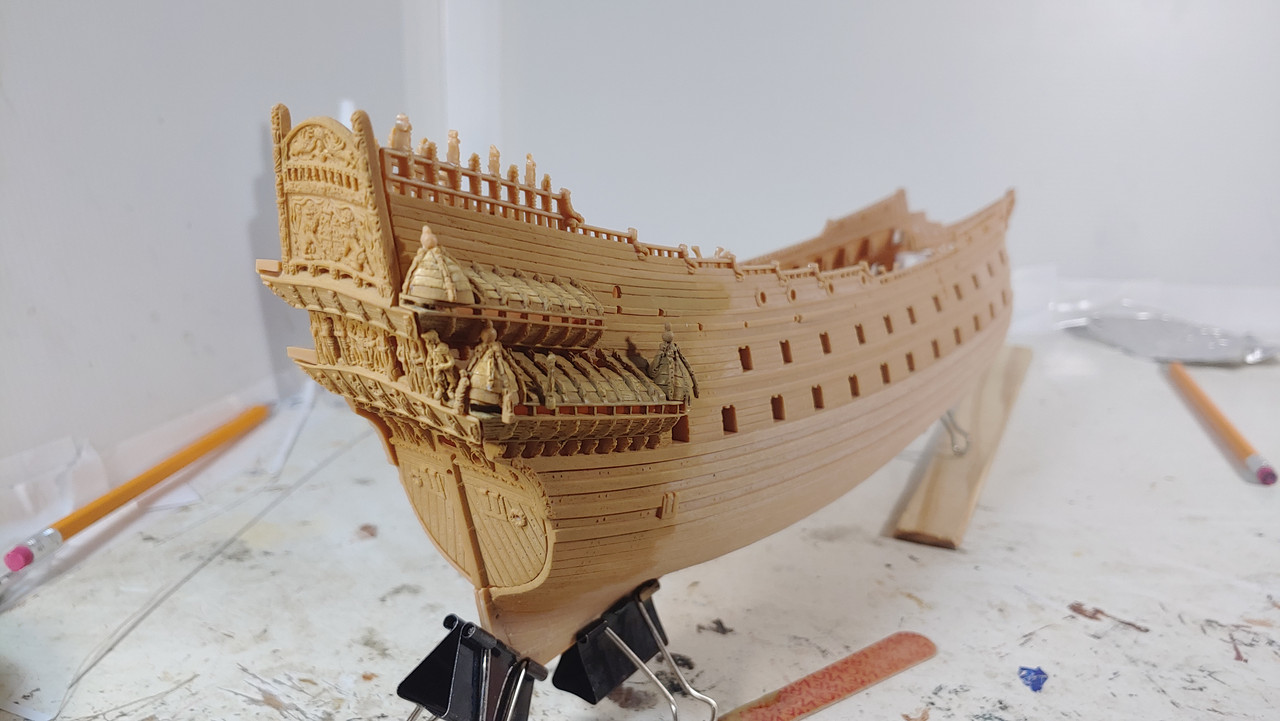
Modifications to the stern are complete, I decided not to open up the gun chaser ports, but gave them a bit more definition. The starboard Qtr galleries are just about completed.
Michael D.

- Nirvana, Bill Morrison, Jeff T and 6 others
-
9
-
As I ponder the idea of modifying the stern bulwarks to simulate clinker-built construction, I focused my attention to check the dry fit of the stern and in this case not too bad! I've started the mods to the stern which will be many for sure, but one area was bugging me and that is the space between the gallery and the side, so I mocked up a figure to fill the space and while this individual doesn't represent anybody in particular, I think it fills the void nicely although maybe a tad over scale.
Michael D.


- shipman, Hubac's Historian, Baker and 5 others
-
8
-
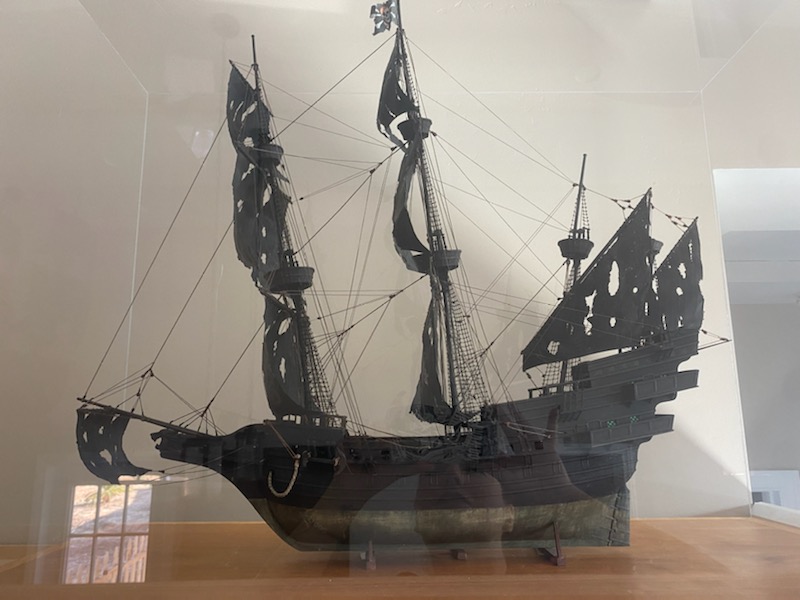
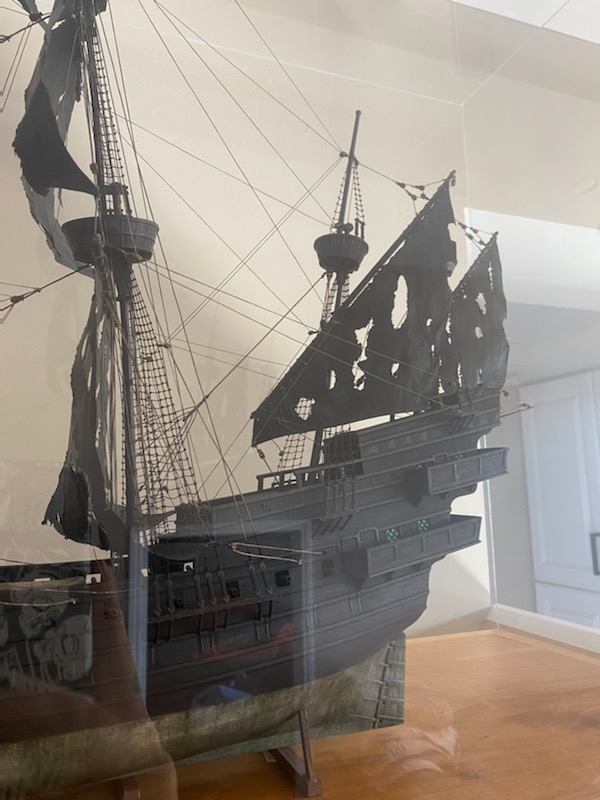
I'm all for adding as much detail as you're capable of. Unfortunately I've lost all the build progress photos, now keep in mind this is my first kit bash so to speak and my first experimentation with paper sails and rigged out of box. I'd love to have a second crack at it with the kit you have, looks so much better.
All the best Michael D.
-
-
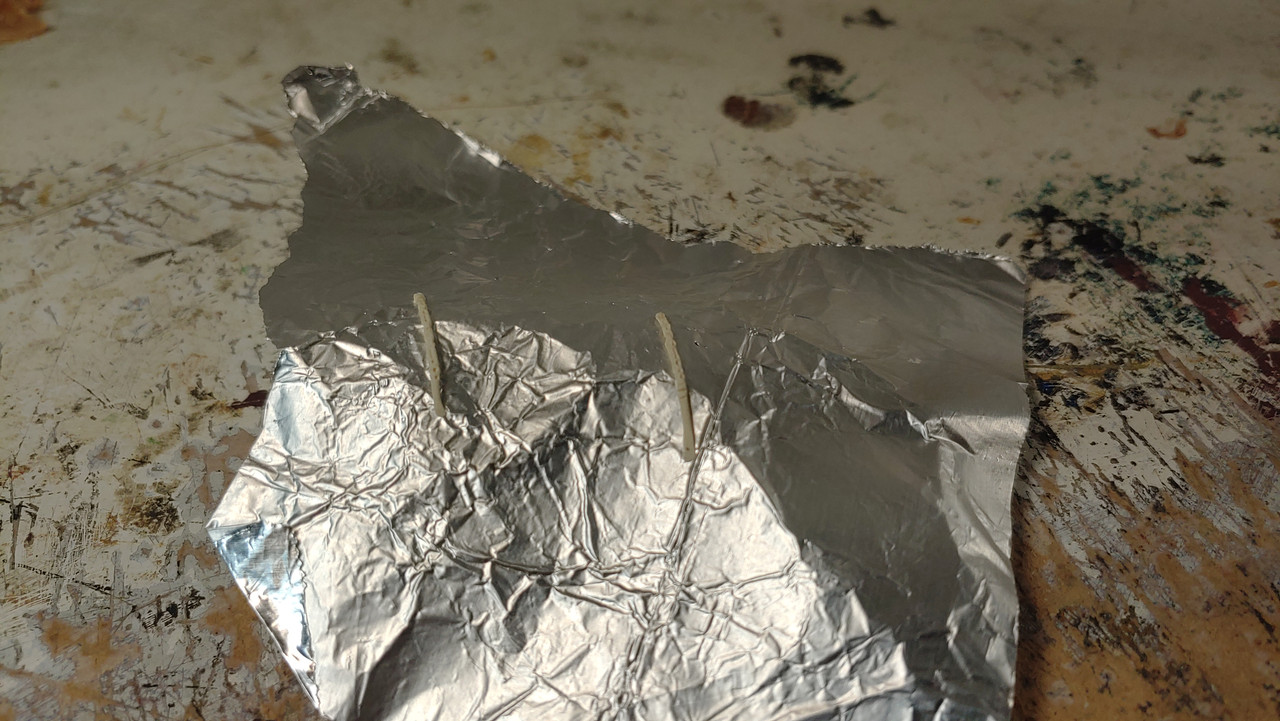
The Sulpey clay fresh out of the oven.
Pieces attached to the aft dome and roof modification completed.
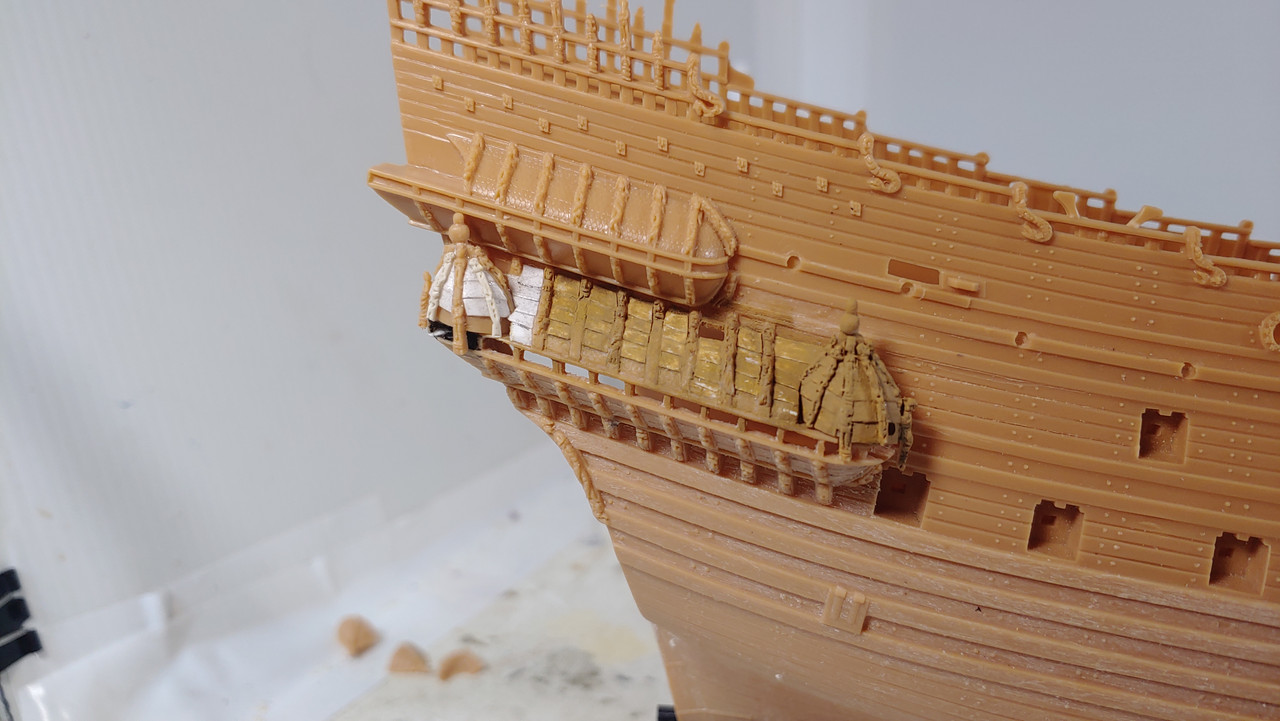
A base coat of Desert Yellow to check the effect, I still have a few more mods yet to do to the lower Qtr gallery before I move to the upper. While not perfect it looks acceptable at this scale, thanks for looking.
Michael D.


- Jeff T, Old Collingwood, Rudolf and 8 others
-
11
-
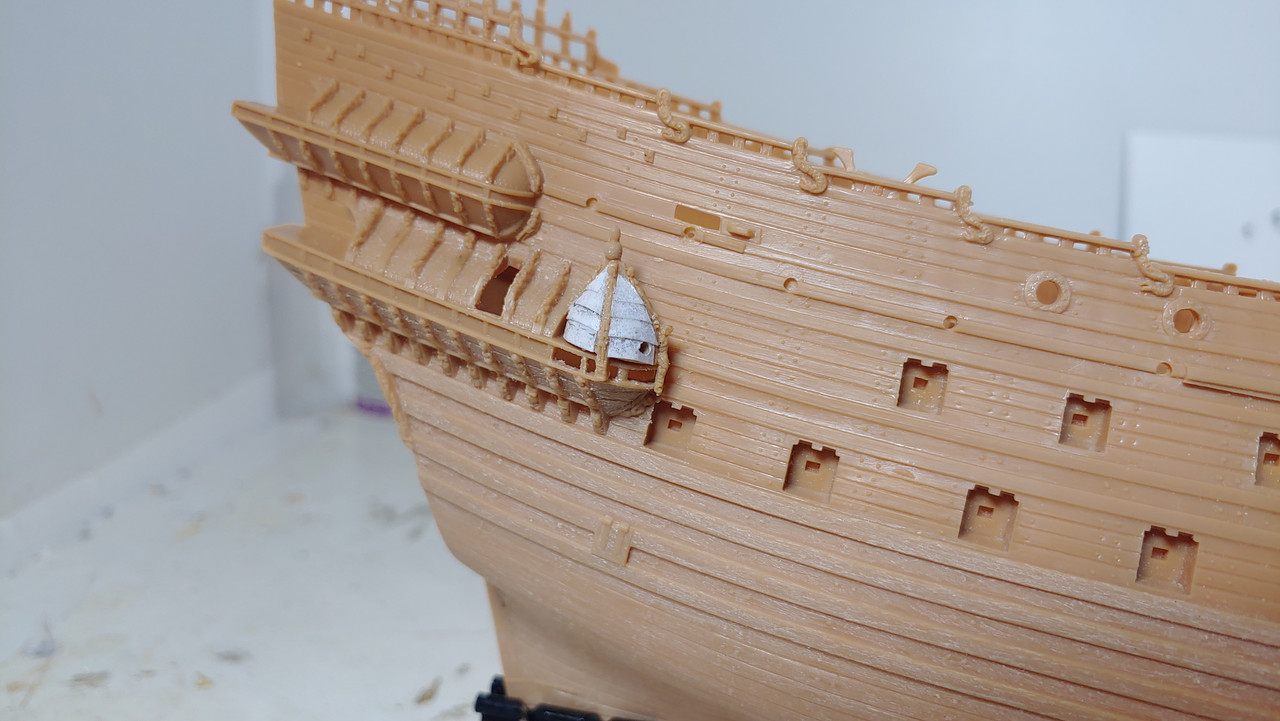
The gallery roof just did not fit tight enough up against the domed sections, I've extended the forward section of the roof and you can see how much the rear section needs to be extended, once that's done I can finish the roof, using printer paper for this process.
Michael D.

-
Nirvana, I'll try my best to produce something close to resembling her as she appears, but at this scale any modification seems out of scale a bit. harlquin that is tempting.
As I continue to open up the port side gun ports I decided to perform the necessary mods to the galleries, removing the molded scalloping on the roof, scribbling the planking on the underside, opening up the galleries and clinking the roof.
Michael D.
- Baker, Bill Morrison, Nirvana and 3 others
-
6
-
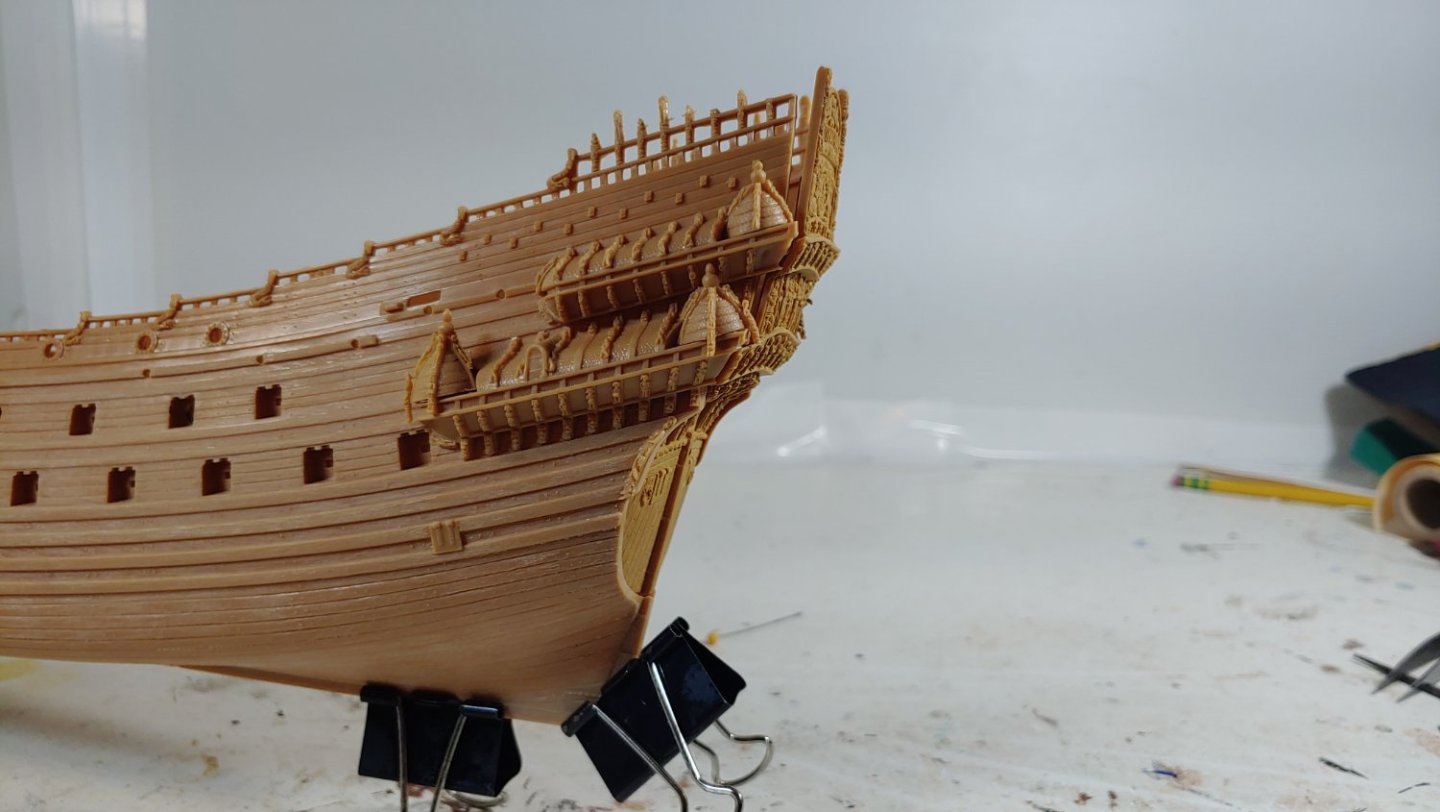
Thank you, Patrick and Jan, just what I need👍. While still in the rough in stage the modifications to the beakhead are complete at this stage until the hull is glued up. Thanks for looking.
Michael D.
- ccoyle, Landlubber Mike, Jeff T and 7 others
-
10
-
I'll need Baker that's for sure. Doing some modifications to the beakhead and bow using reference info in Landstrom's book and what I can make out from the pictures on the Vasa Museum site, the biggest struggle is trying to acclimate myself to this small scale.
Michael D.
-
Me too at first until I started replacing the QTR panels and discovered they are galvanized steel.👍
Michael D.
-
Hi Marc,
I bought the car in 1984 off the original owner for $75 and had rust in the usual areas that I fixed when I painted her up back then, but after 25 years new areas started to rust so I made the decision to replace all the sheet except the roof, tail light panel, rockers and windshield cowl. This was the 3rd and final go around, needless to say I put in countless hours to get it into the shape its in.
Michael D.
-
-
-
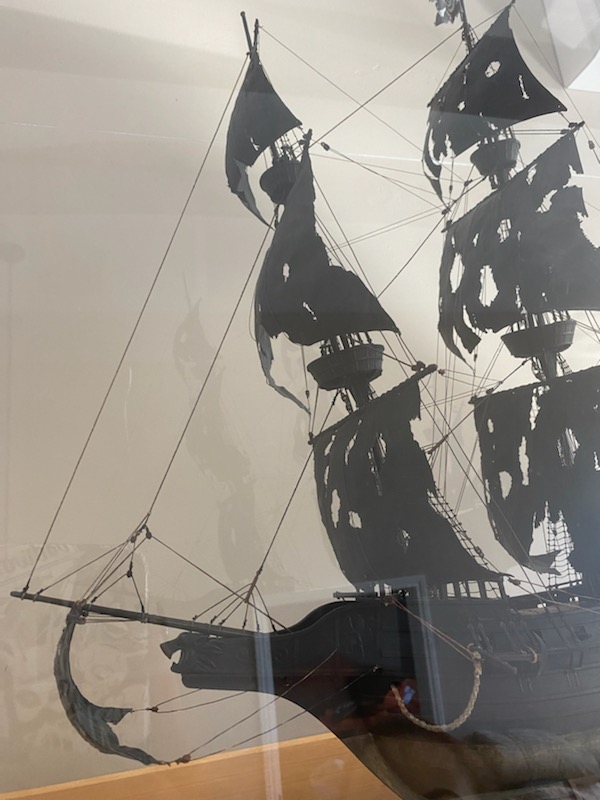
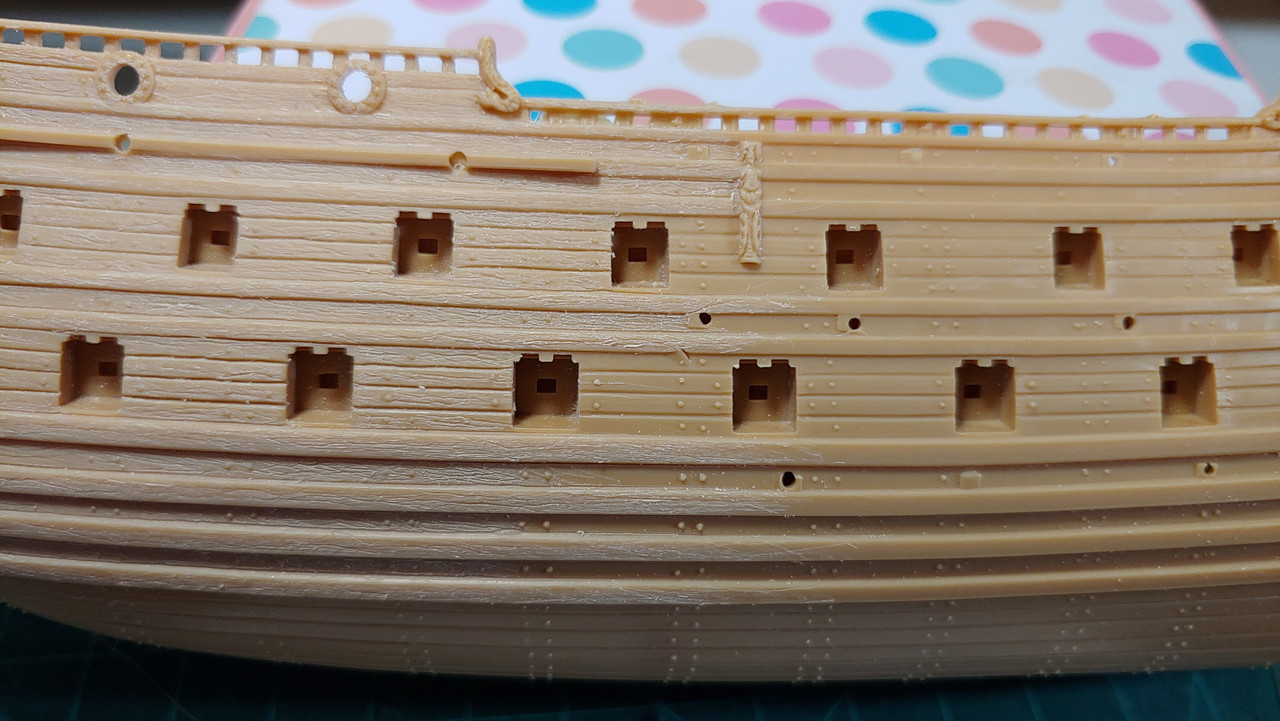
I've been wanting to build this one for quite a while and now it's time to roll up the sleeves. I'm taking different approach on this build, I'm building her as she looks in the Vasa Museum except fully masted and rigged as if they found the complete ship, there will be no guns, paint etc. My first course of action is to introduce more graining into the ship to give it a more weathered look, this process will take a few months. Thanks for looking.
Michael D.
-


Le Soleil Royal by Bill97 - FINISHED - Heller - 1/100
in - Kit build logs for subjects built from 1501 - 1750
Posted
Thanks for the Kudos Marc! Unfortunately I didn't really describe my leafing technique/tricks I used but will be more than happy to explain it to you Bill when the time comes.
Michael D.