HOLIDAY DONATION DRIVE - SUPPORT MSW - DO YOUR PART TO KEEP THIS GREAT FORUM GOING! (Only 72 donations so far out of 49,000 members - Can we at least get 100? C'mon guys!)
×


Louie da fly
-
Posts
7,989 -
Joined
-
Last visited
Content Type
Profiles
Forums
Gallery
Events
Everything posted by Louie da fly
-
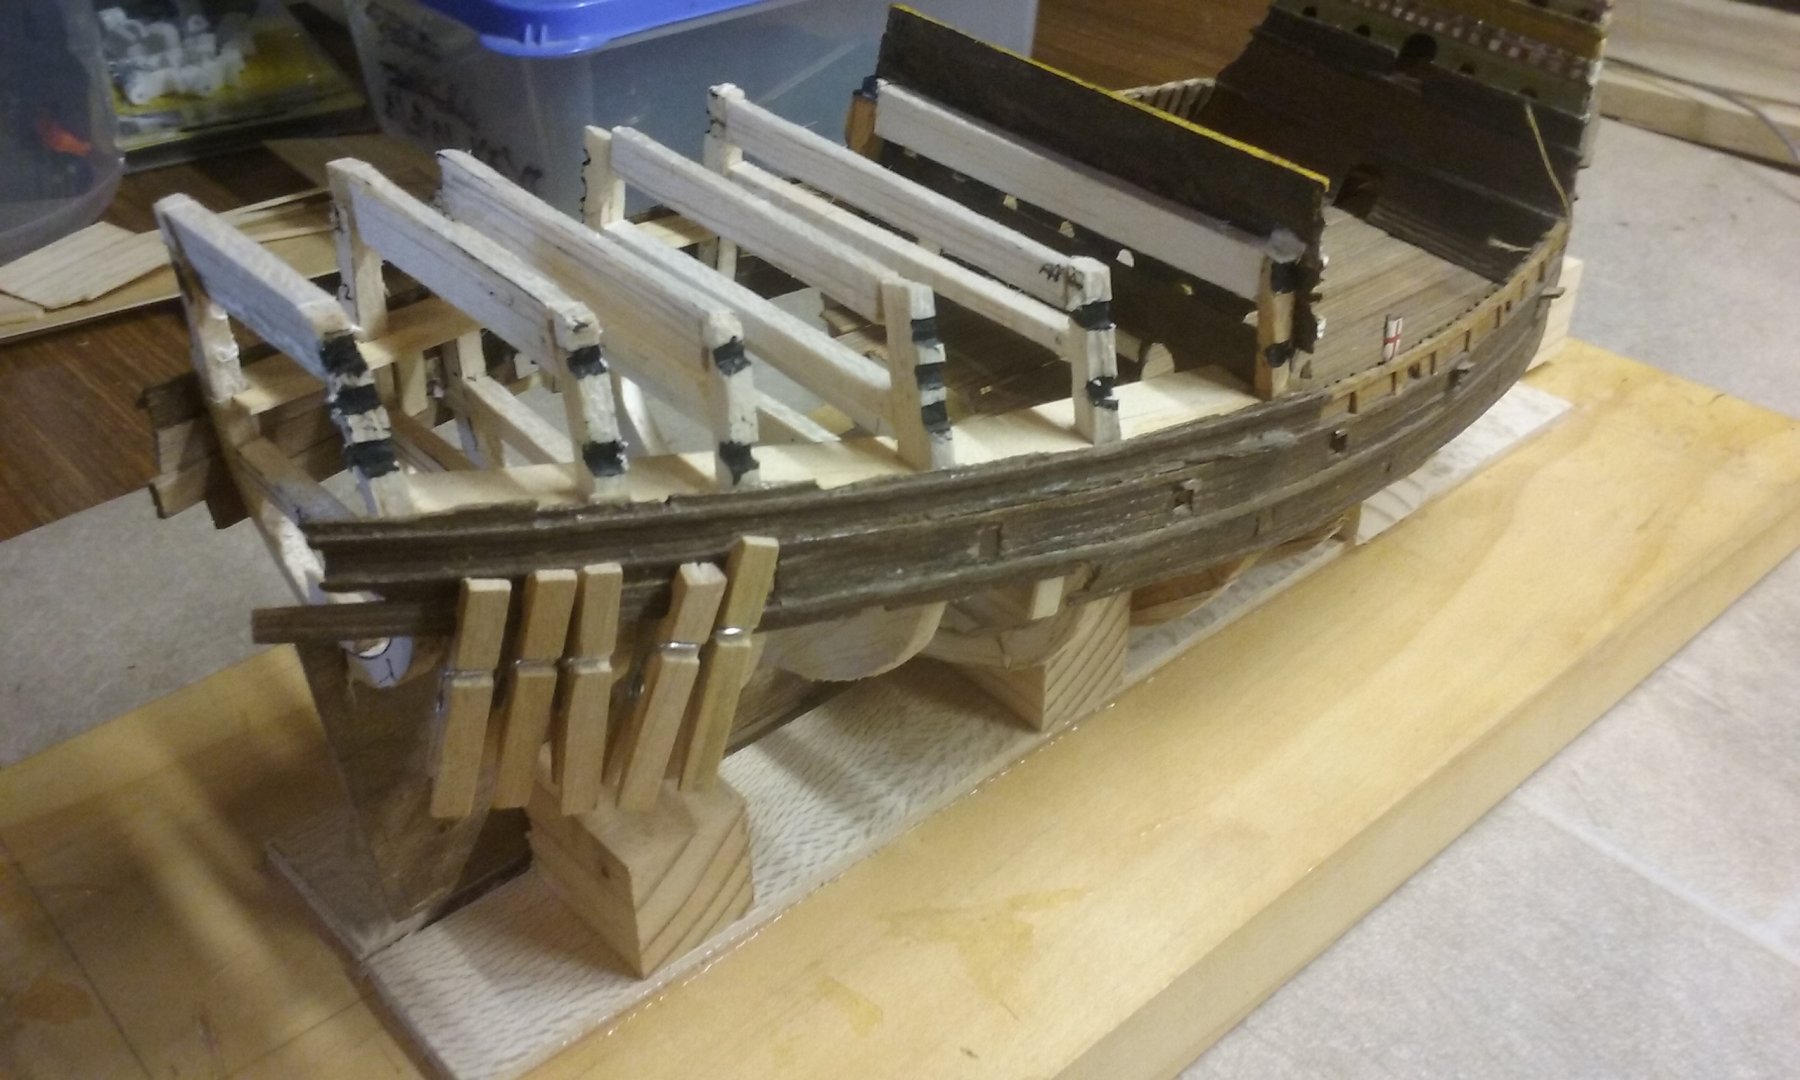
 Thanks everybody for the likes and the encouraging comments. Mark, that was my original intention - see my post #19 on the first page of this build log - the cross-section shows a row of vertical posts labelled "oar rack" which would "sandwich" the oars lengthwise between the oarbenches and the side of the vessel. To put them anywhere else would cause a lot of tripping over oars for anyone trying to get to and from the oarbenches. On further consideration, and taking into account also the likelihood that as the upper oarsmen doubled as marines, and if therefore they'd stop rowing and pick up their weapons before contact with enemy vessels, the upper bank of oars would obstruct the lower oars if they were just hanging from the oarstraps, I think that after all I'll go back to the original idea. Steven
 -
No worries, Carl. You can buy drill bits in both metric and imperial (inches) here in Oz. Steven
-
Looks just like a bought one! Seriously, Dick, that's beautiful work, and it really does look like the picture you're basing it on. Steven
- 263 replies
-
- 3
-

-
- nave tonda
- round ship
- (and 2 more)
-
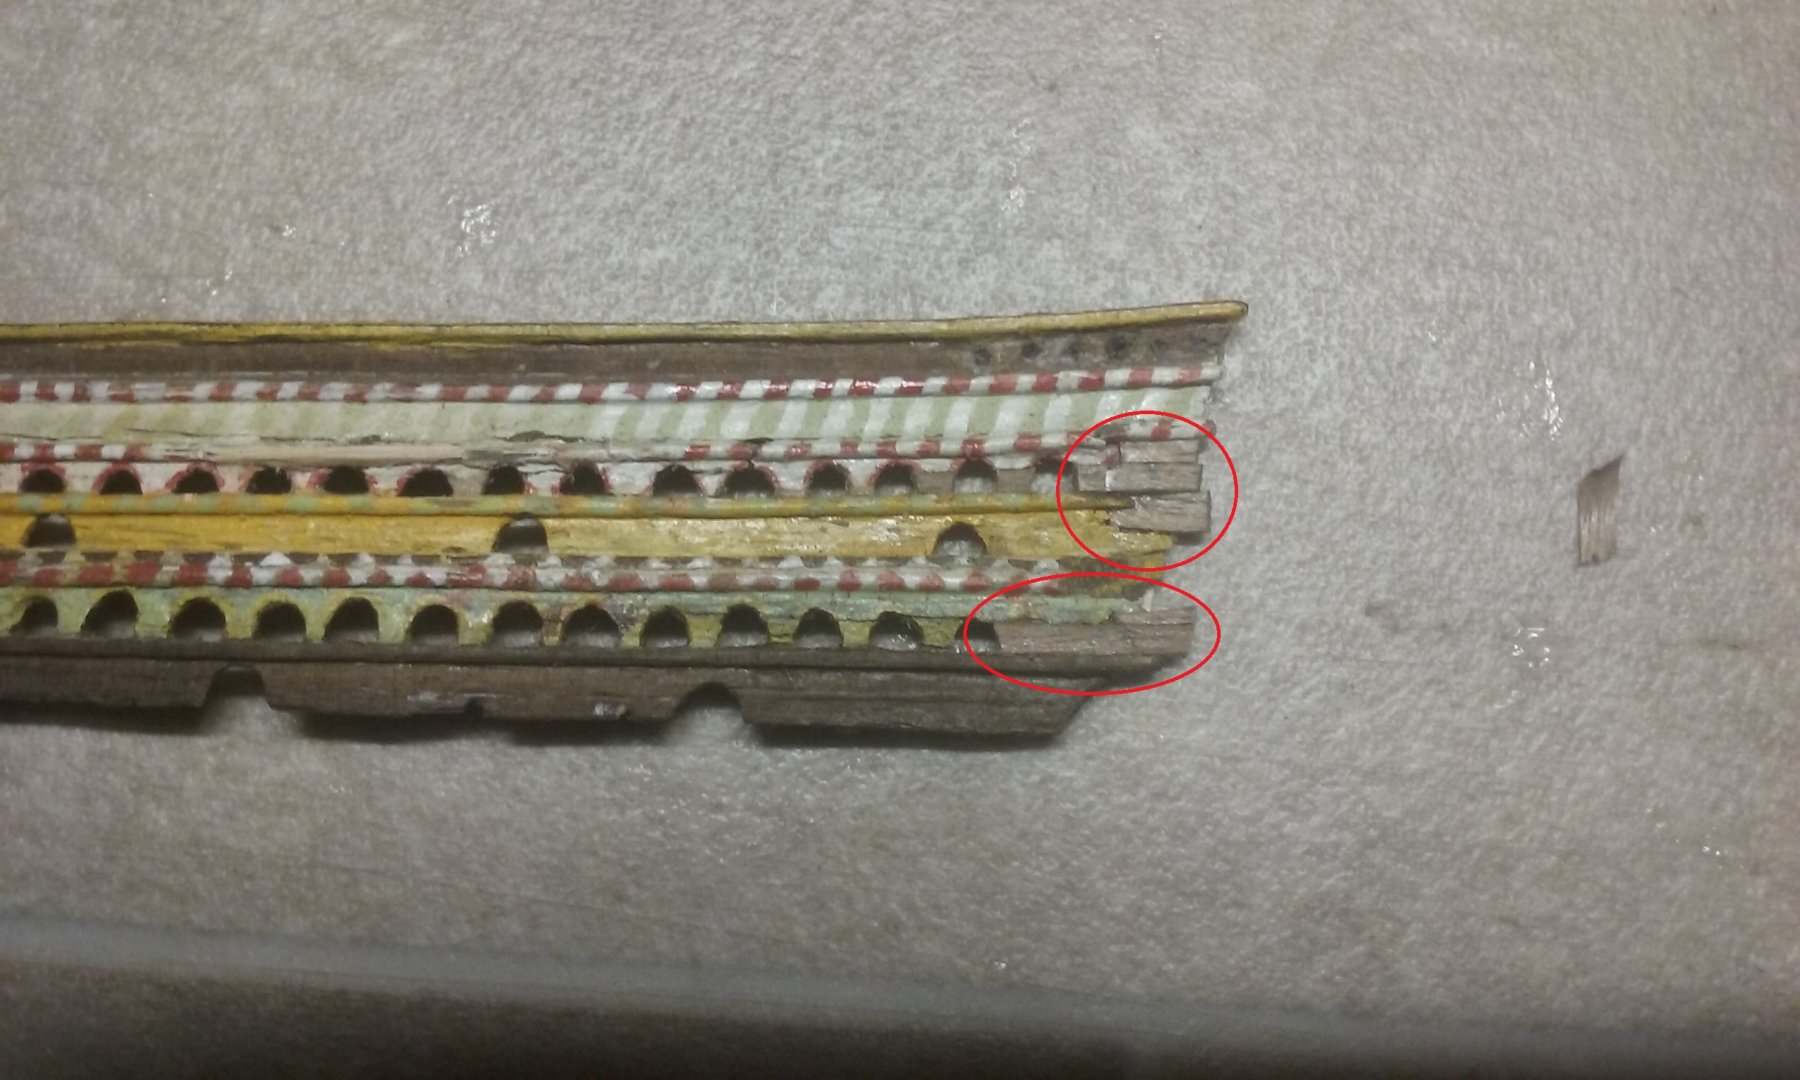
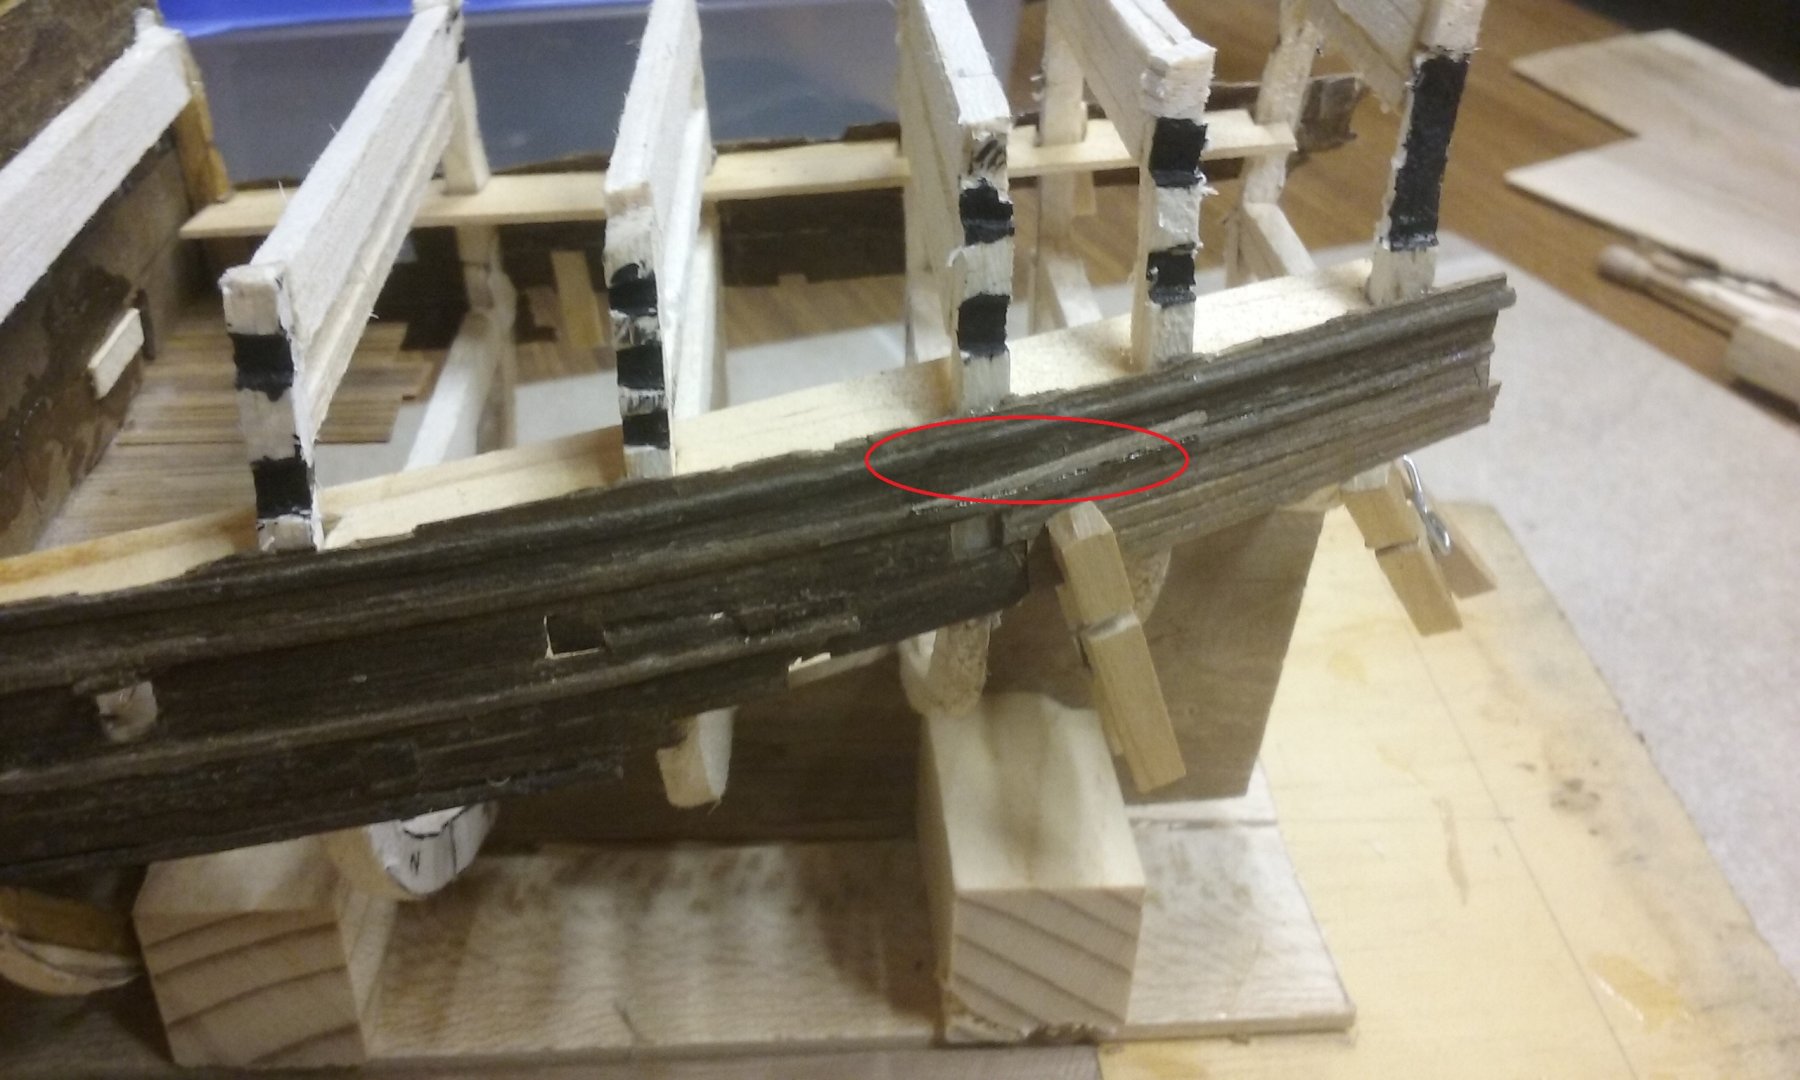
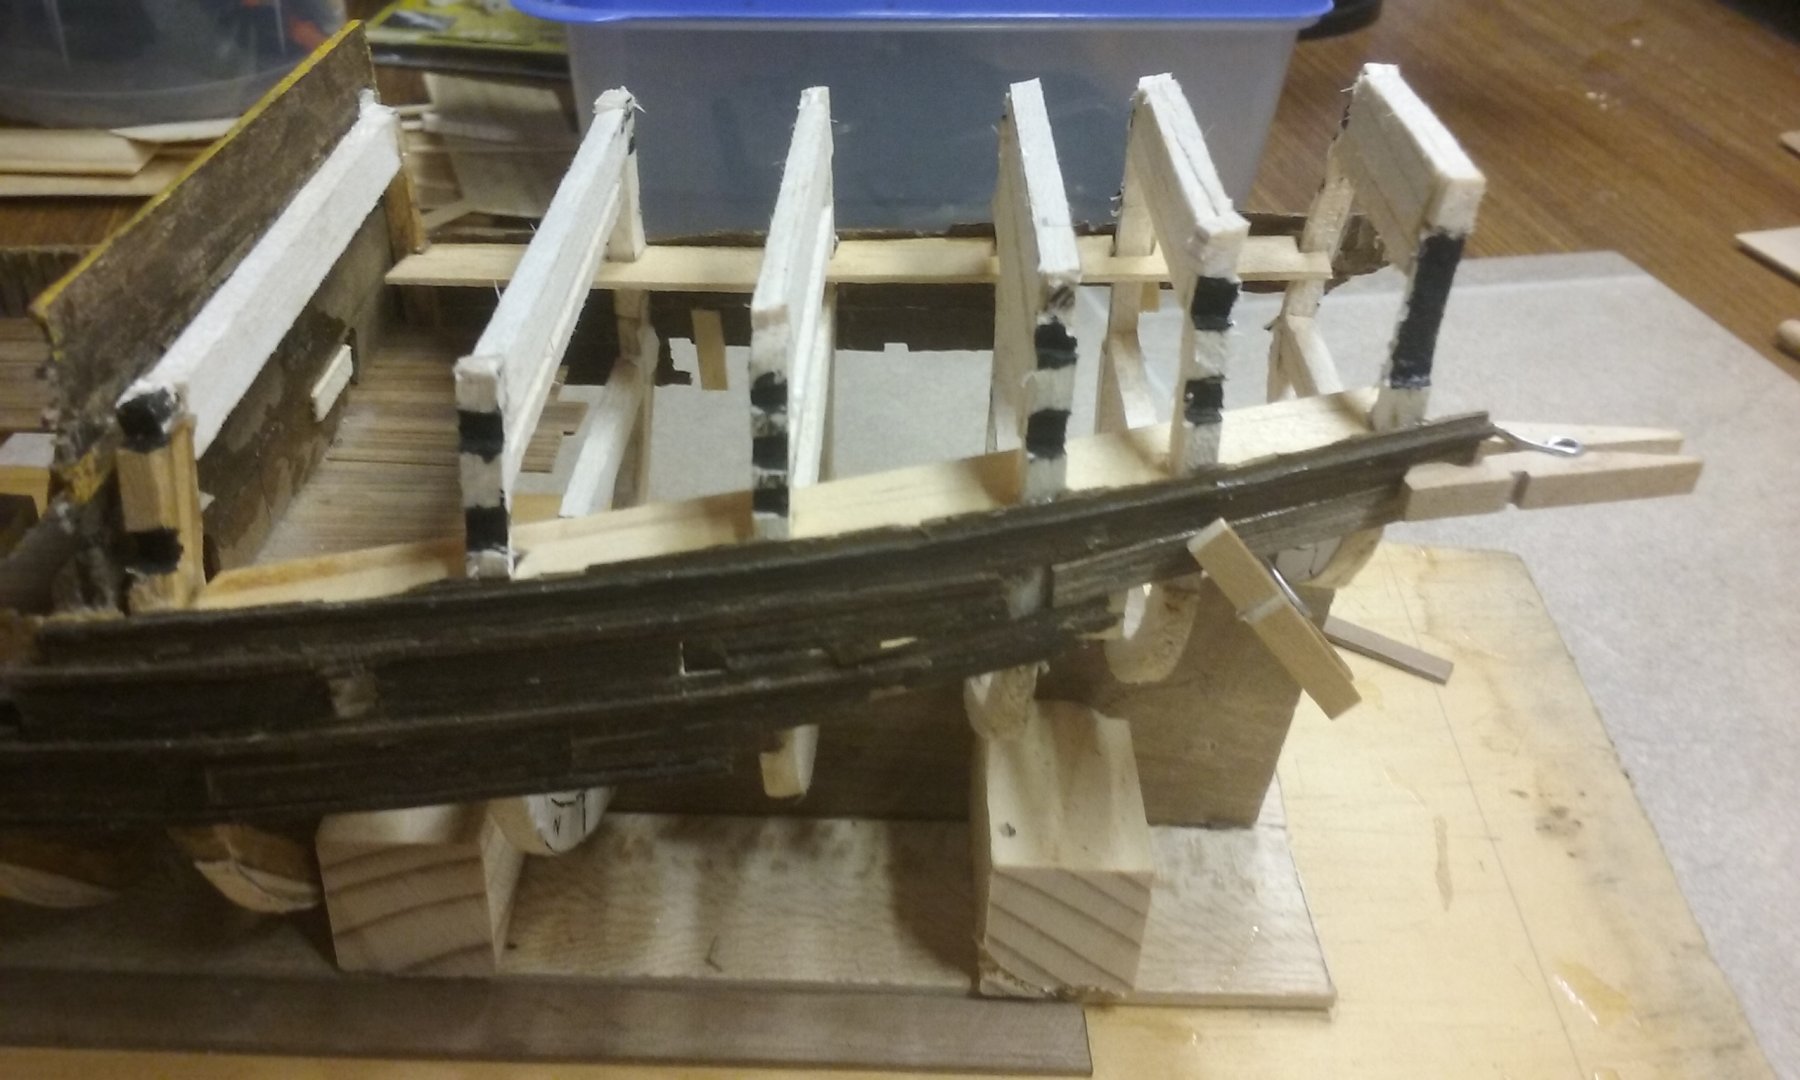
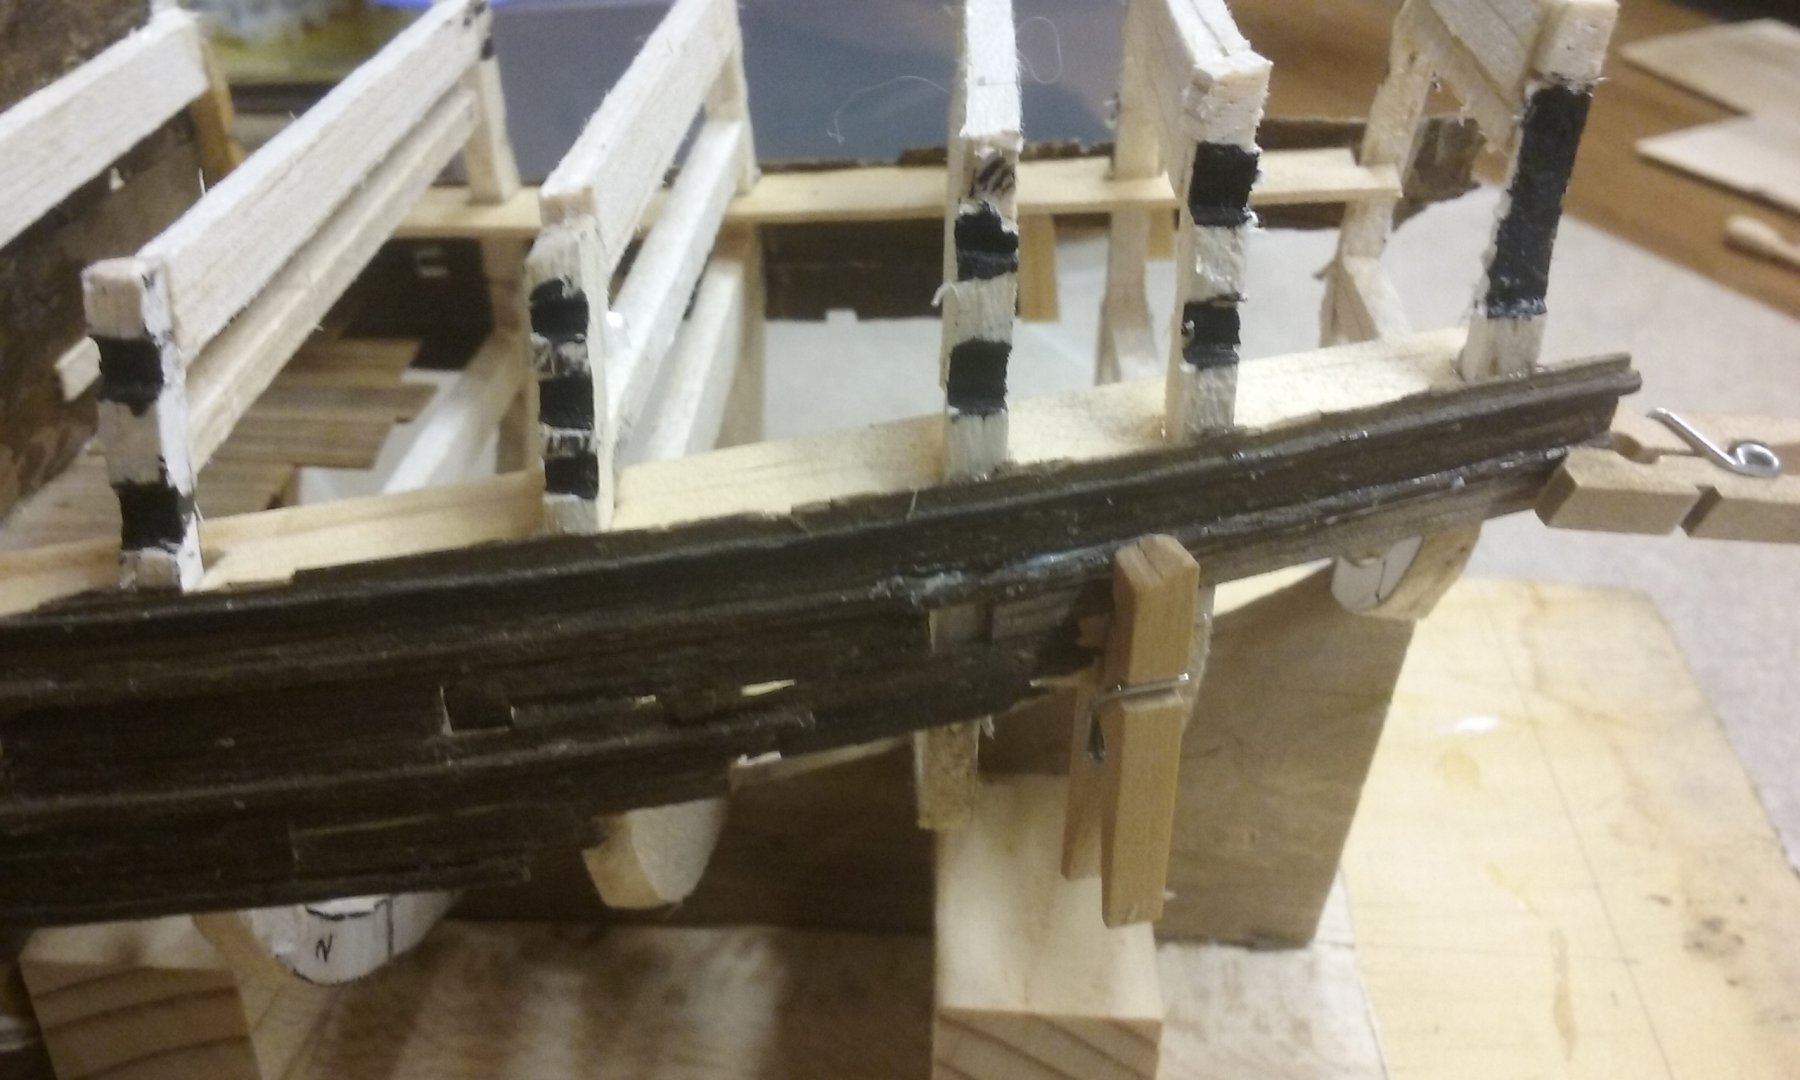
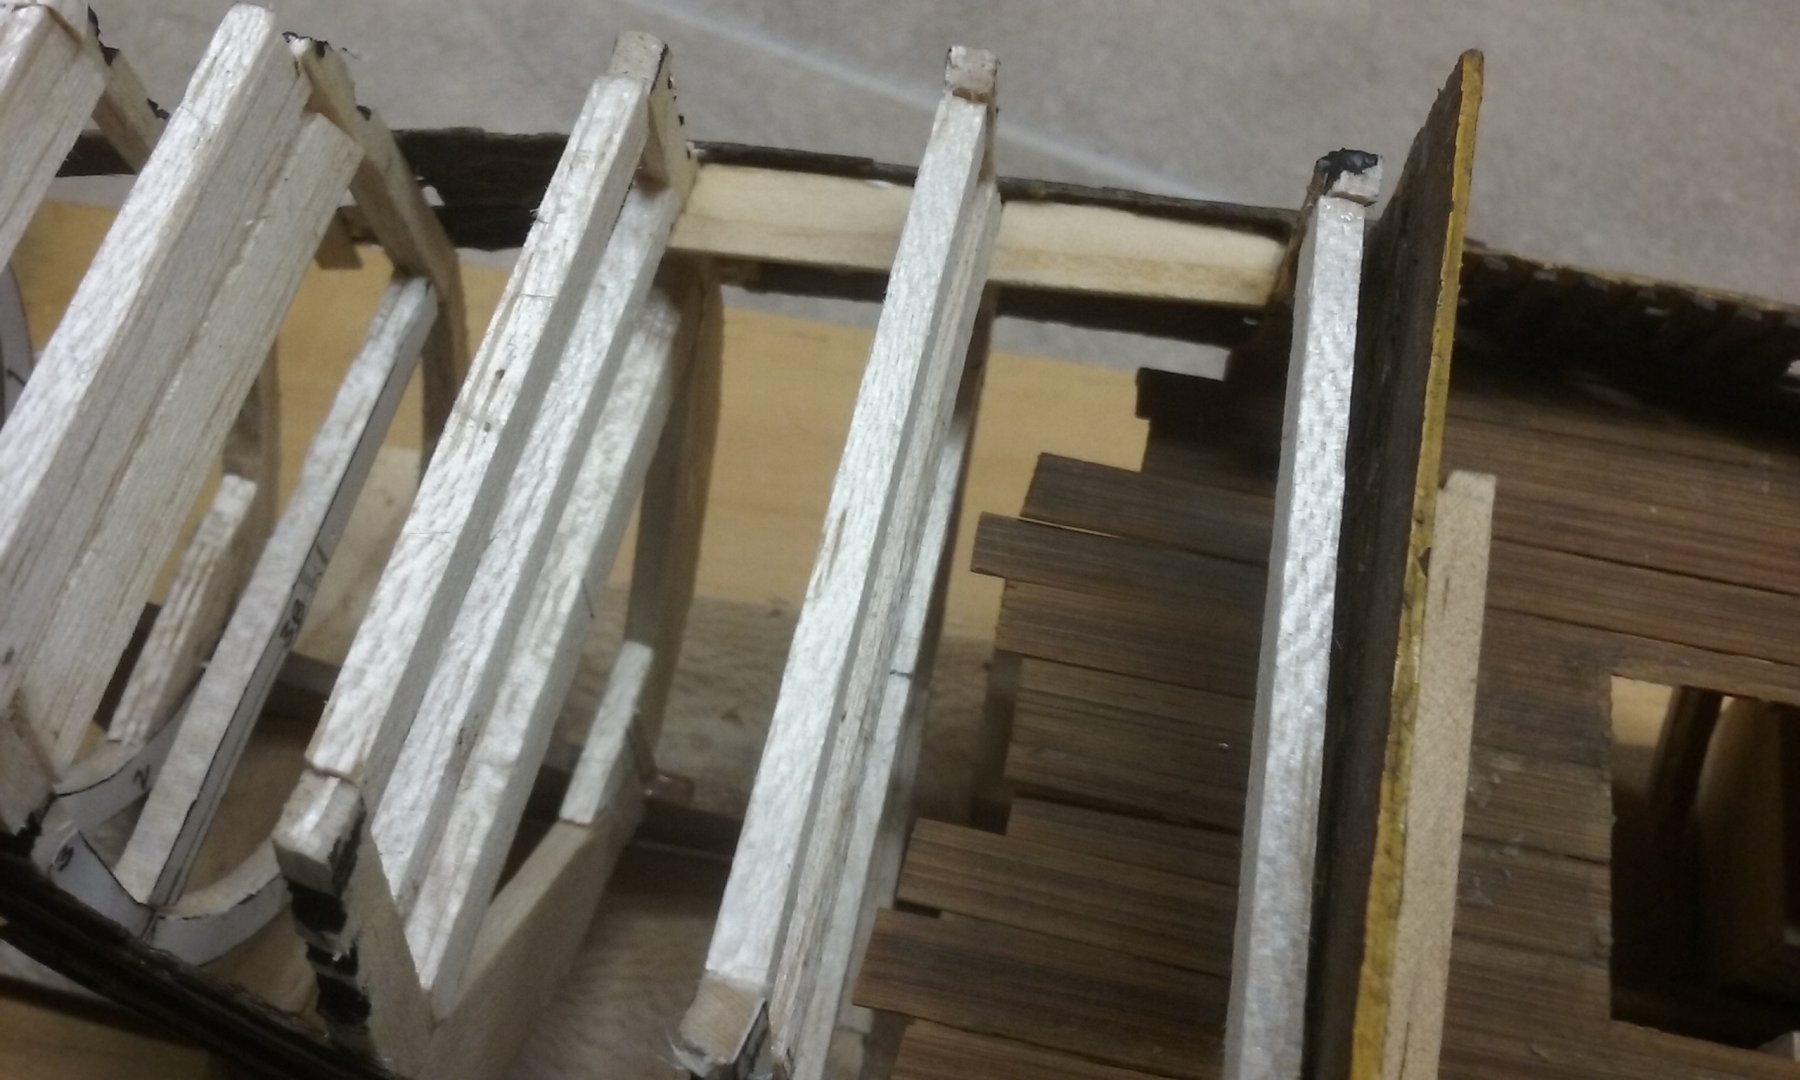
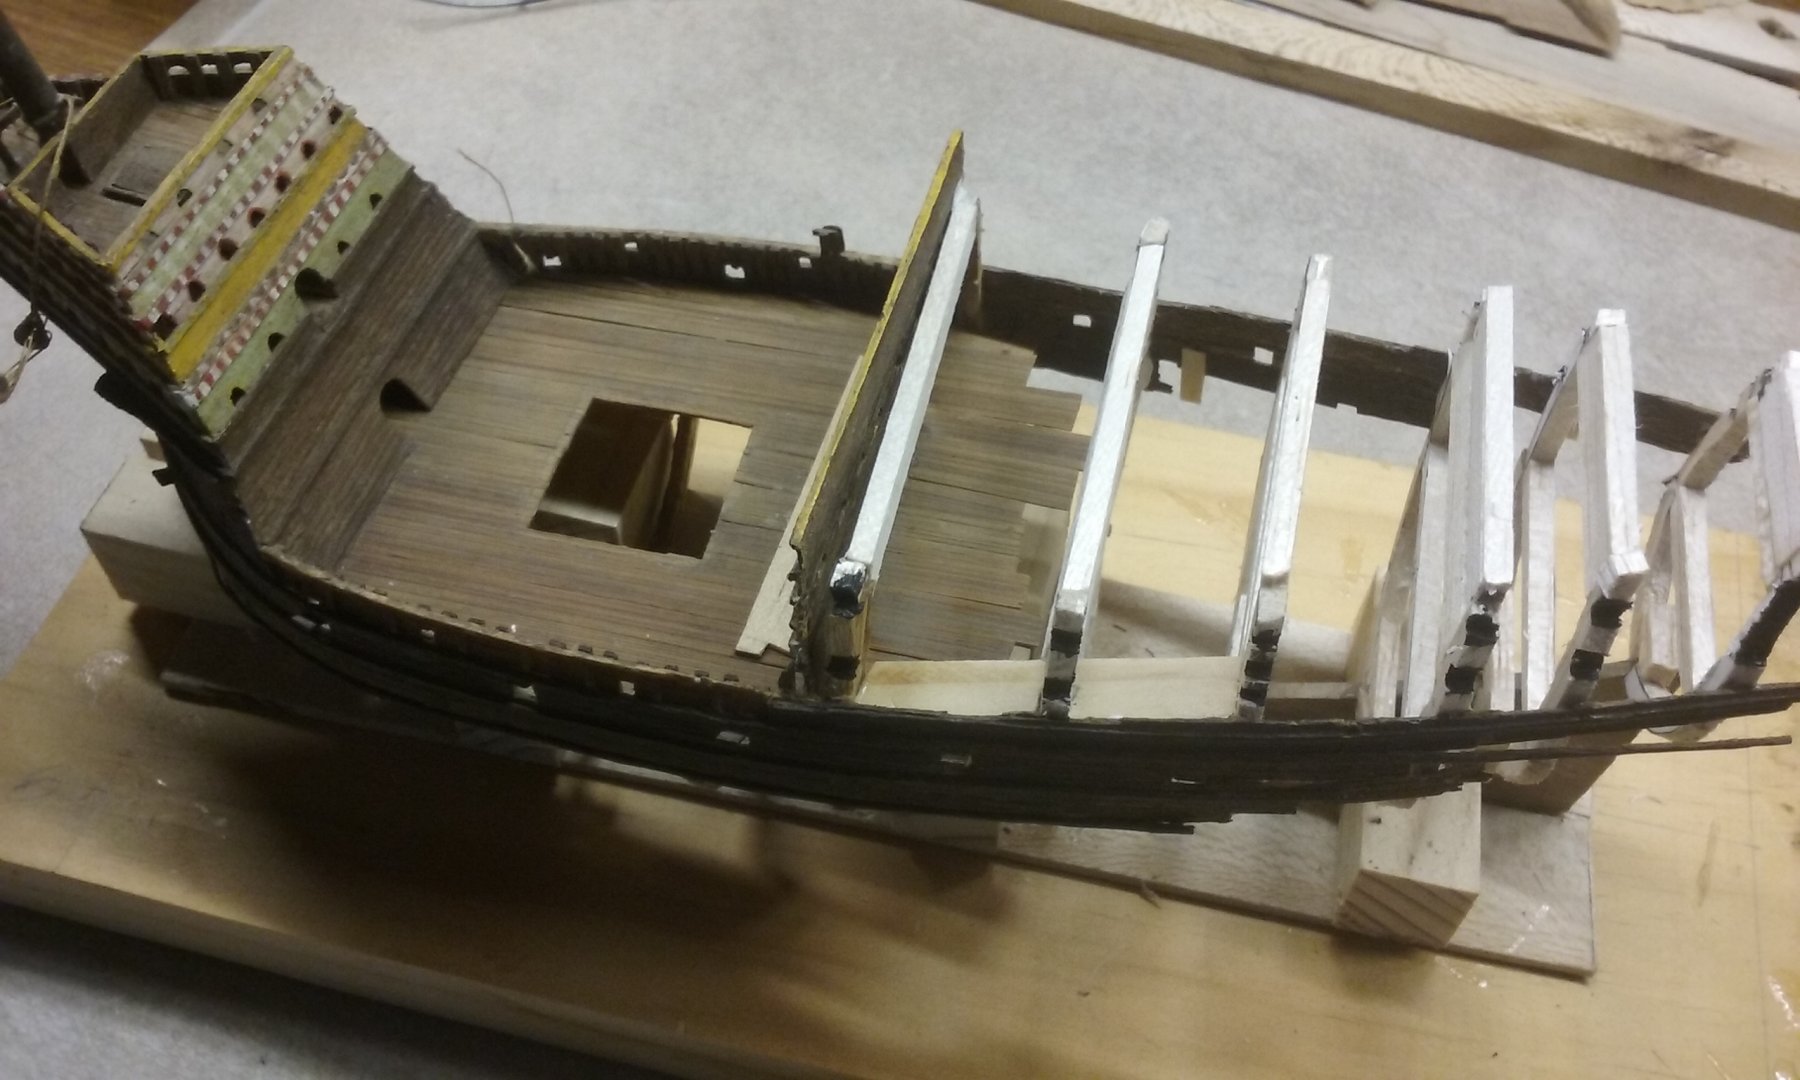
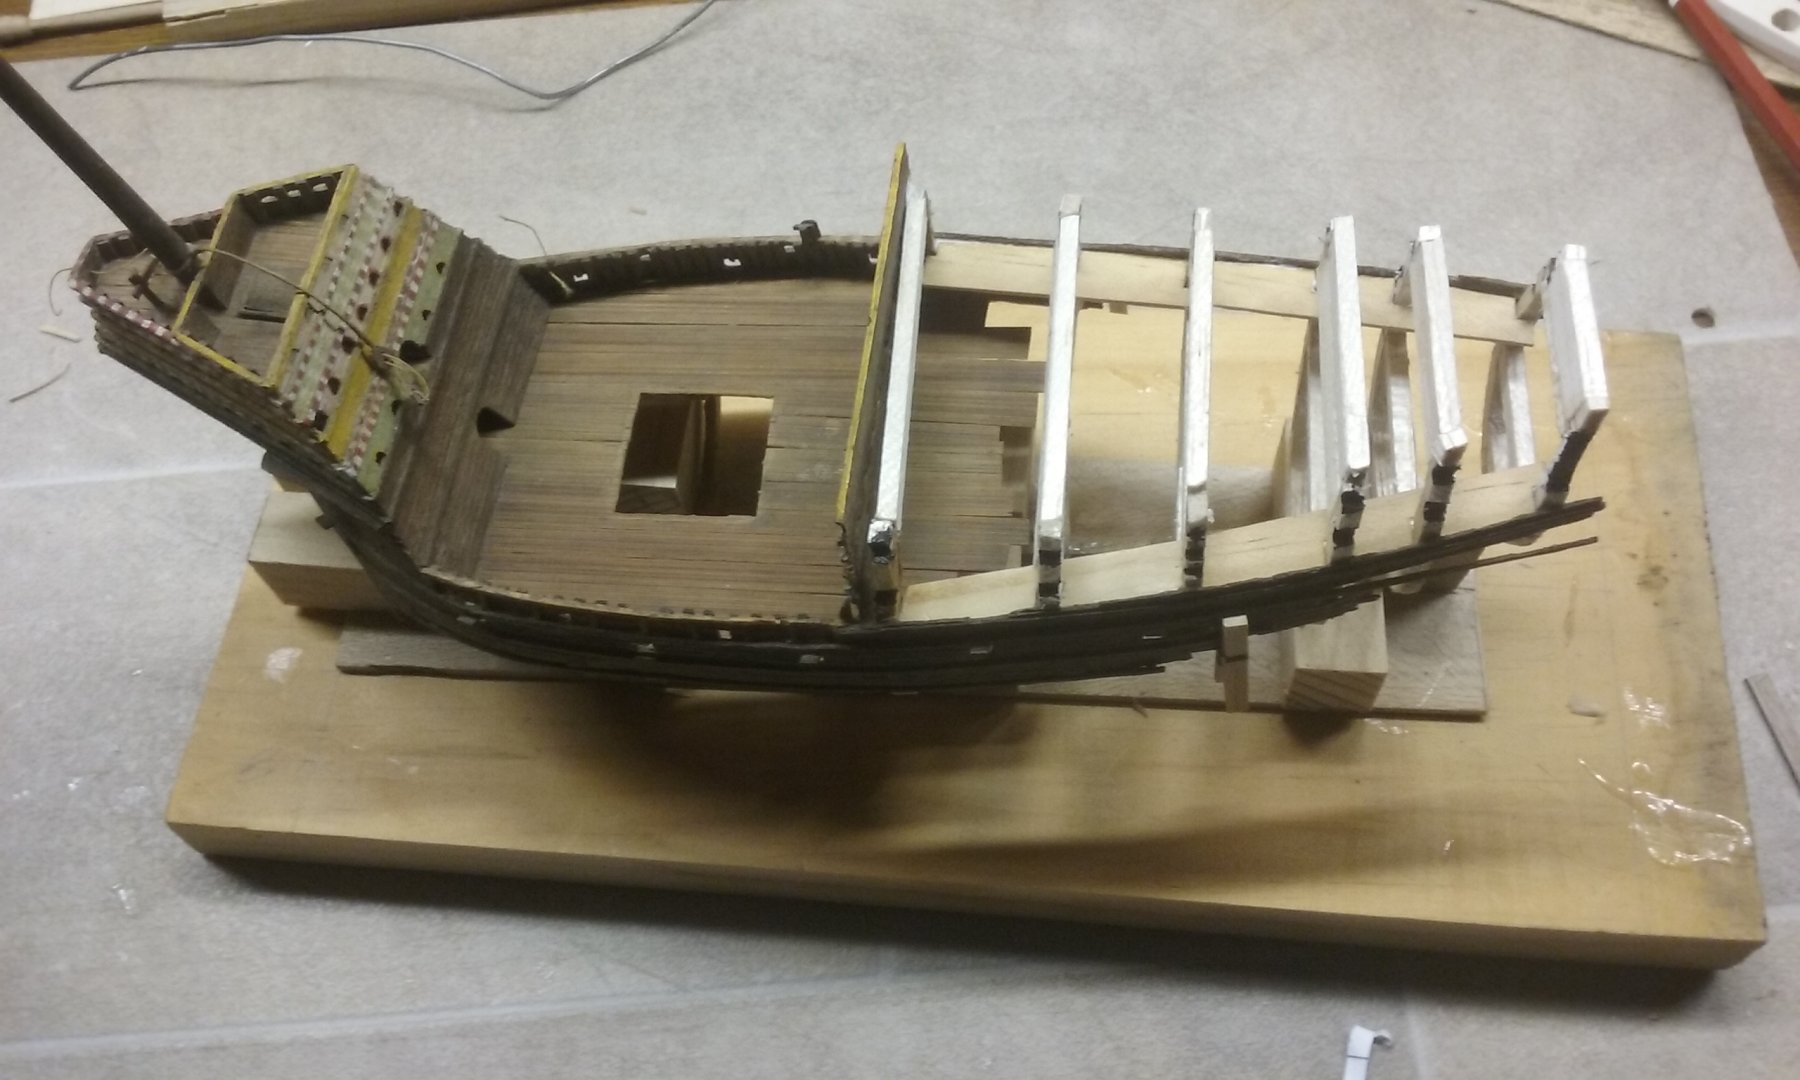
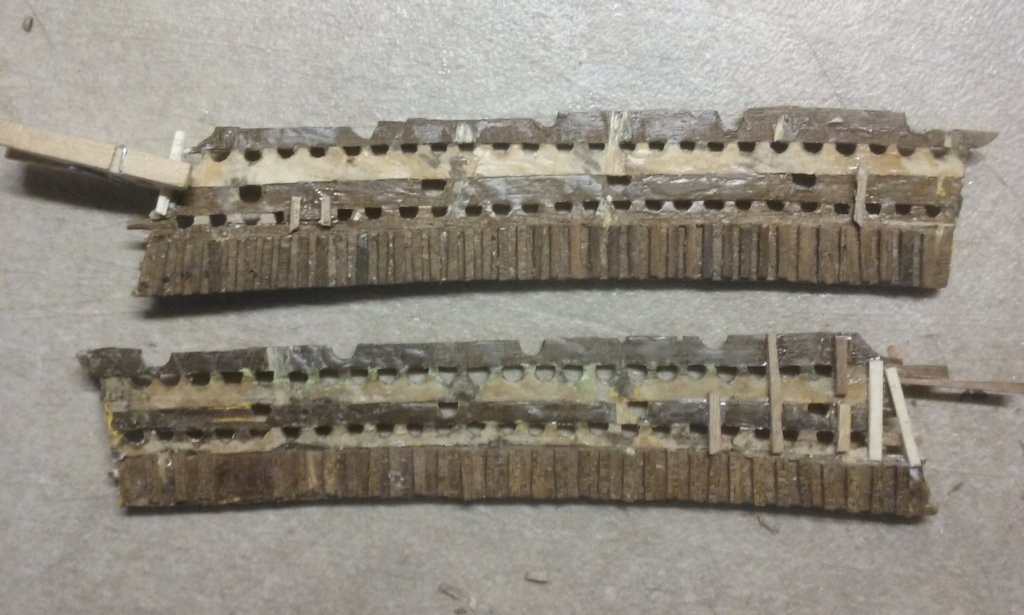
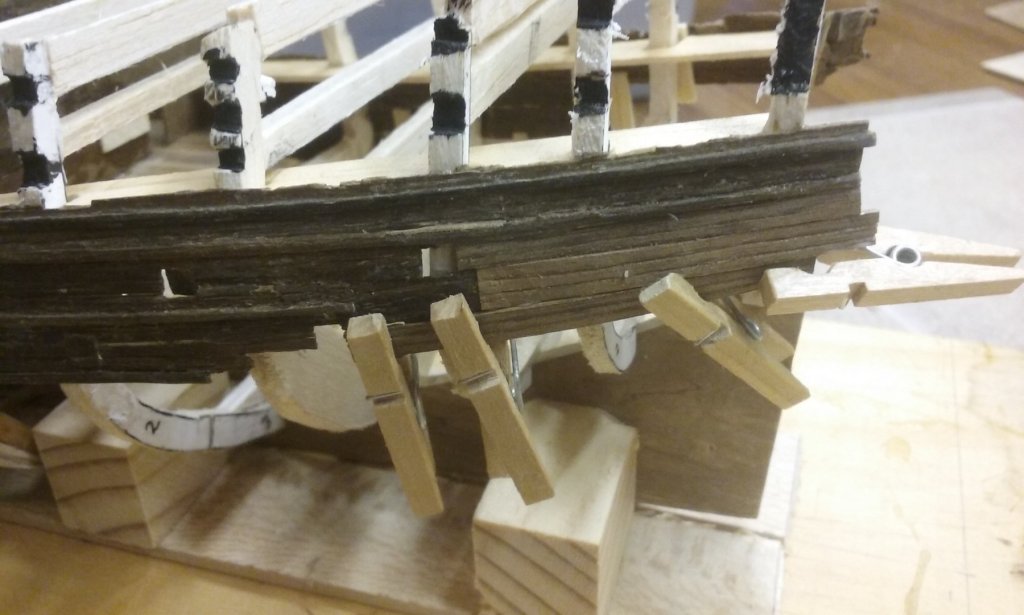
More filling in gaps: Port lid for the aft larboard gunport Filling in the last gap on the starboard side upper works: taking the larboard planking down to the waterline, creating the aft gunport of the lower deck Filling in the final gaps on the starboard side upper works: Repairing breakages takes quite a bit more work than building from scratch - apart from anything else, you have to fill in strangely shaped gaps caused by the breakages. Also (at least in this case) the thickness of the wood you're using to repair the damage is almost always different from the original. So once it's in place you need to carve it down flush with the original planking. Or the break is along an angle so you have to trim the replacement piece on an angle so it'll fit in. Or both. Still, it's nice to see it all coming together. Still have to carve out the arches in the infilled areas, and . . . and . . . and . . . Steven


- 740 replies
-
- 5
-
-
- Tudor
- restoration
- (and 4 more)
-
That's really interesting, Dick. A nice bit of detective work on your part. Steven
- 263 replies
-
- 1
-
-
- nave tonda
- round ship
- (and 2 more)
-
Beautiful work, Dick. Really enjoying following this build. Steven
- 263 replies
-
- 2
-
-
- nave tonda
- round ship
- (and 2 more)
-
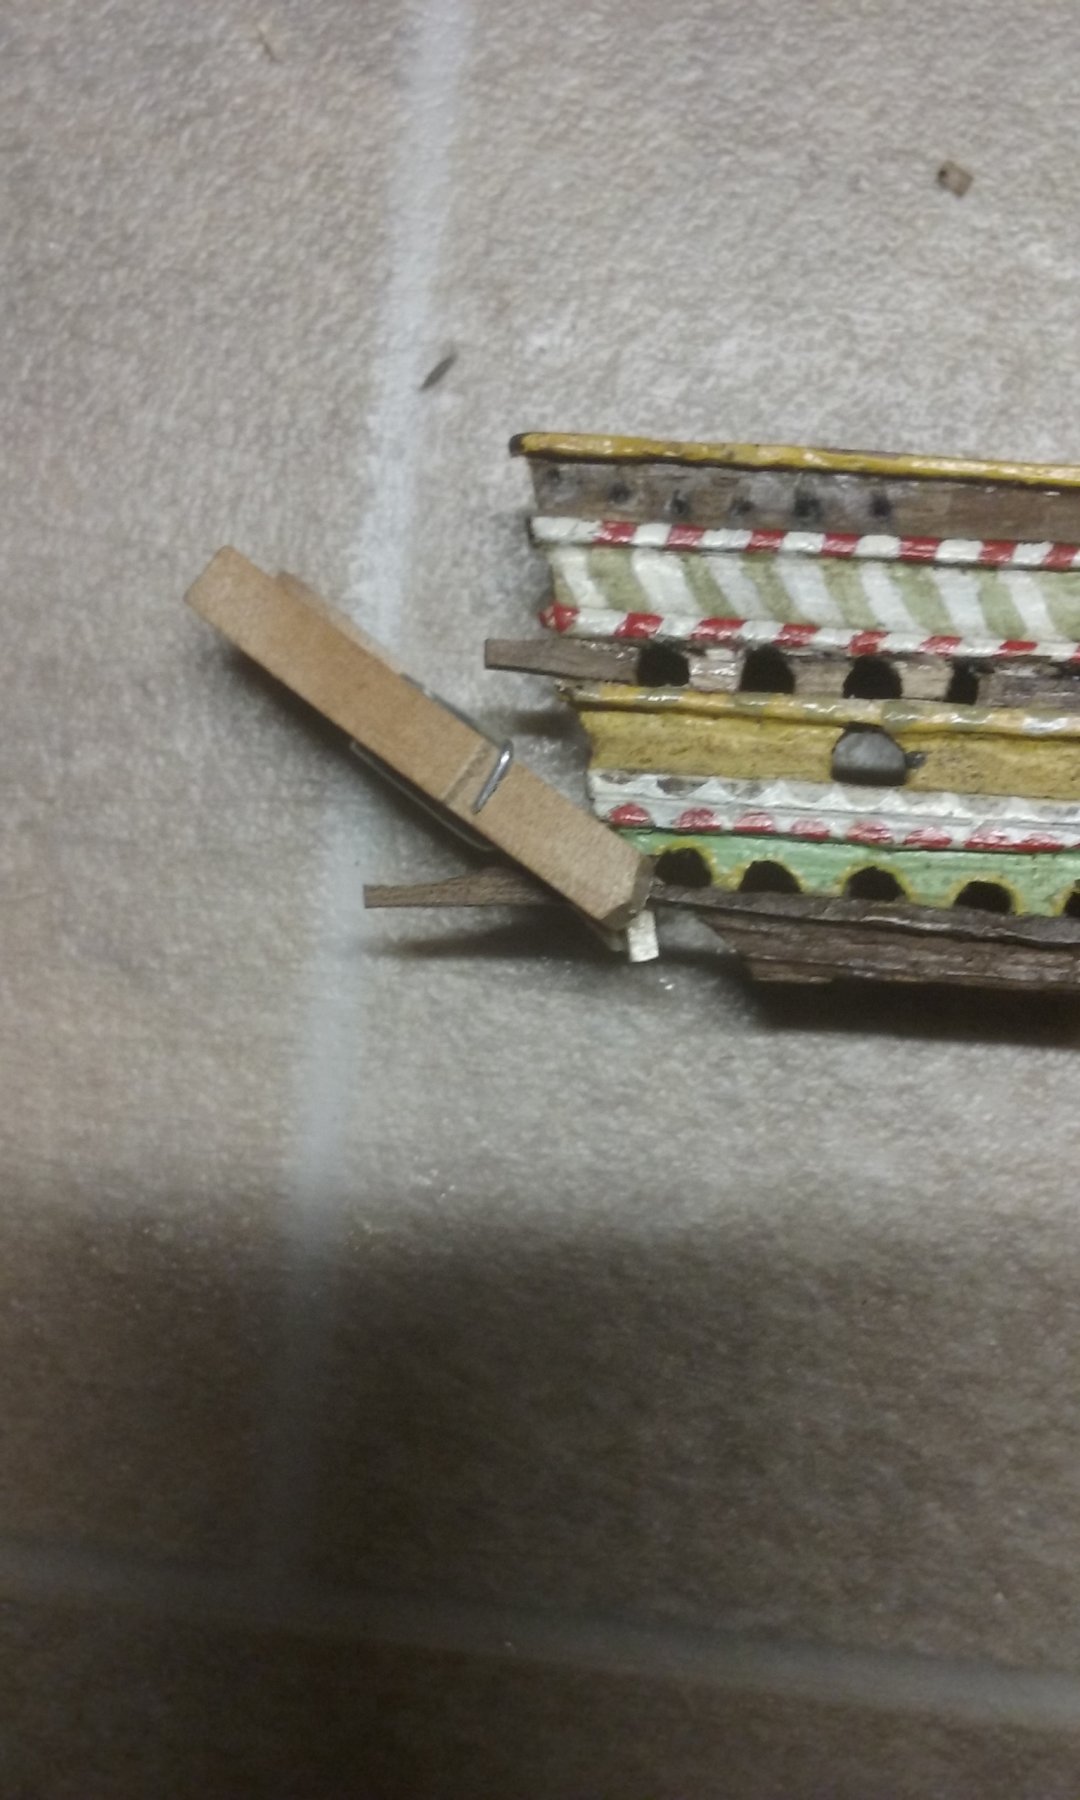
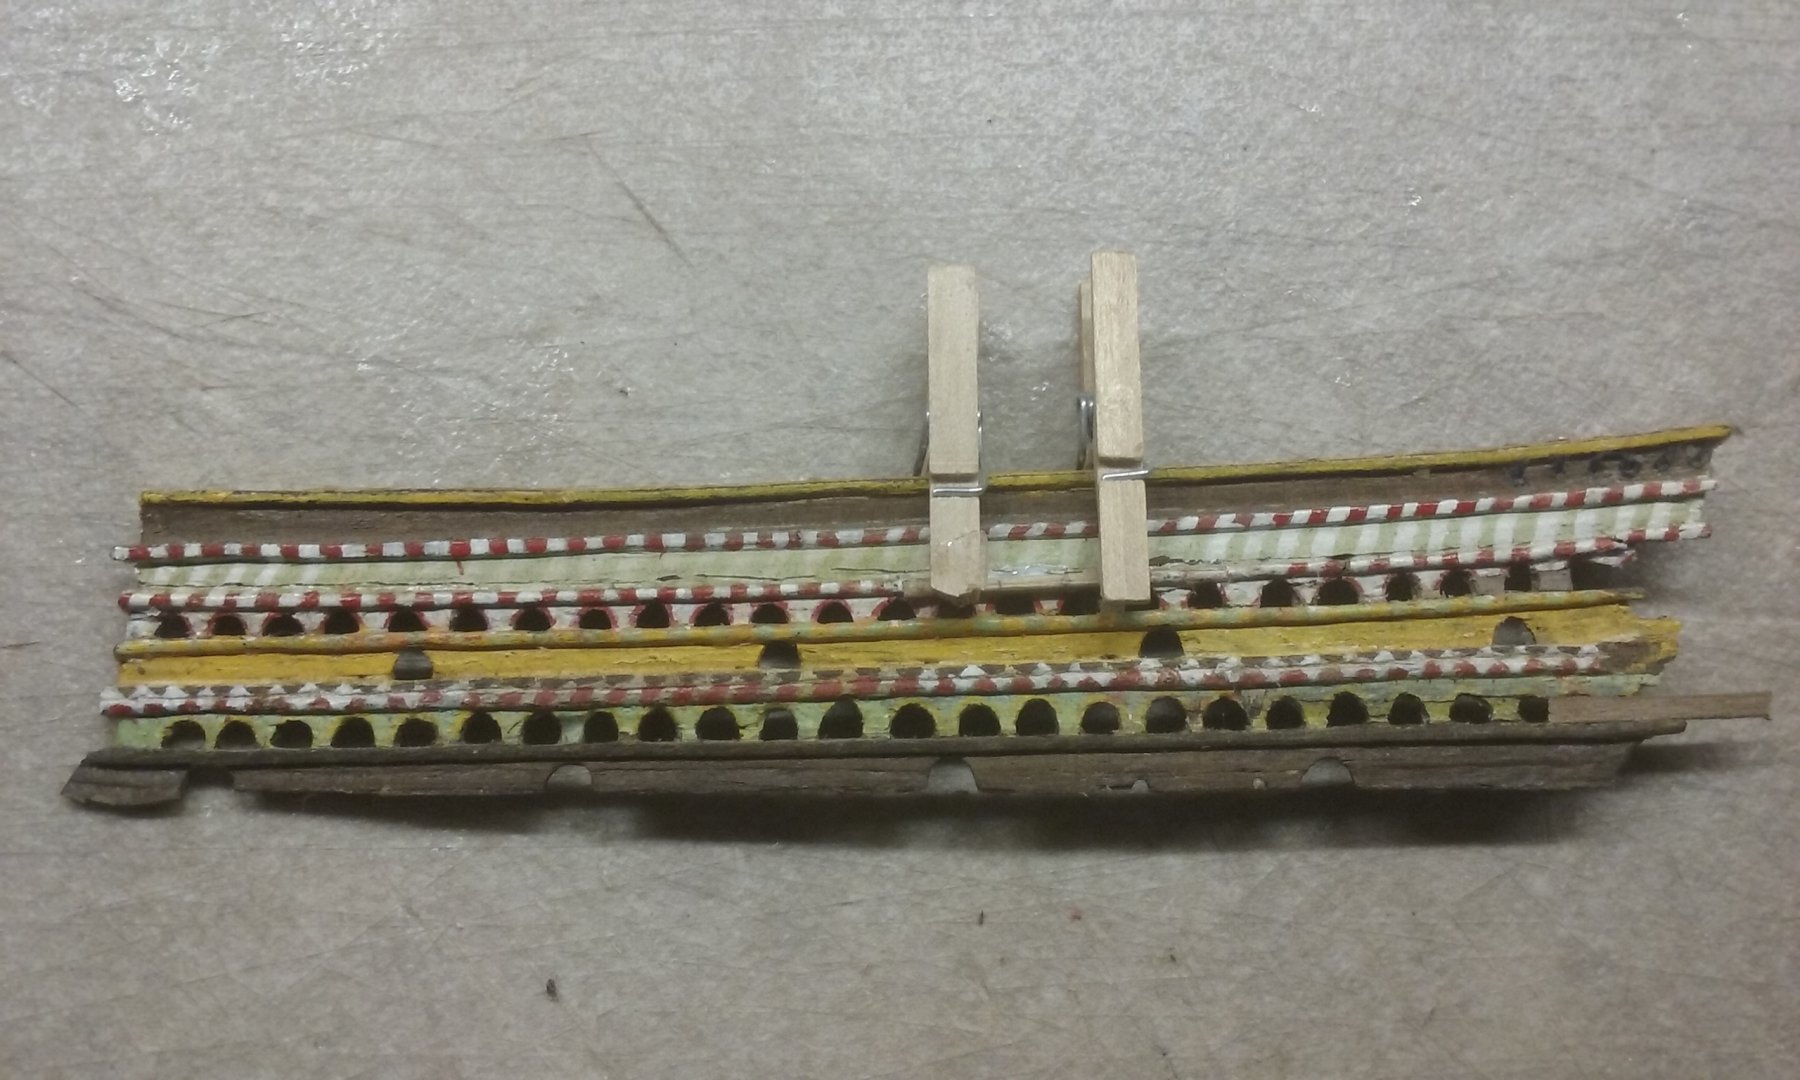
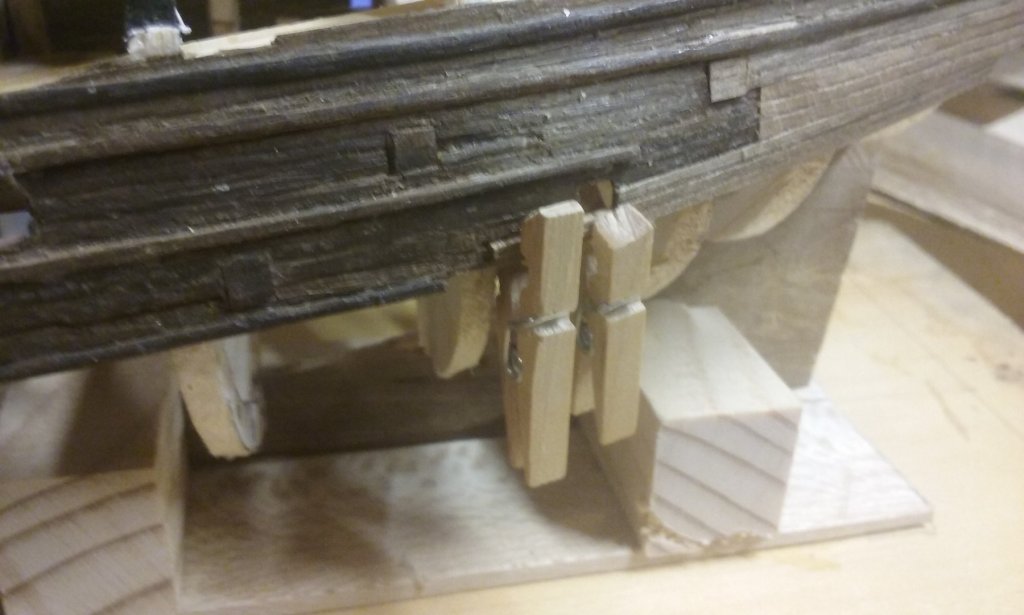
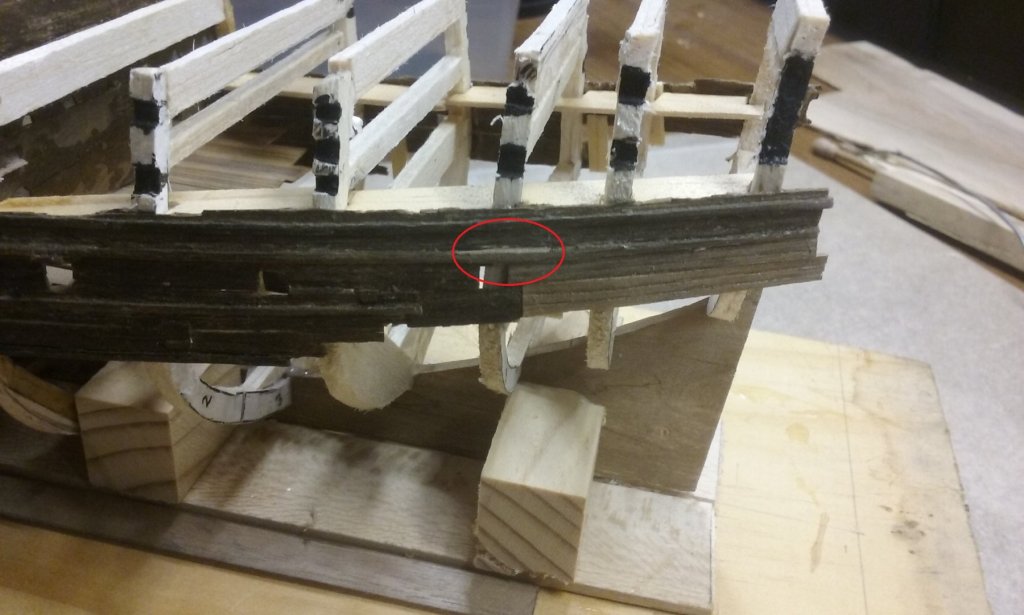
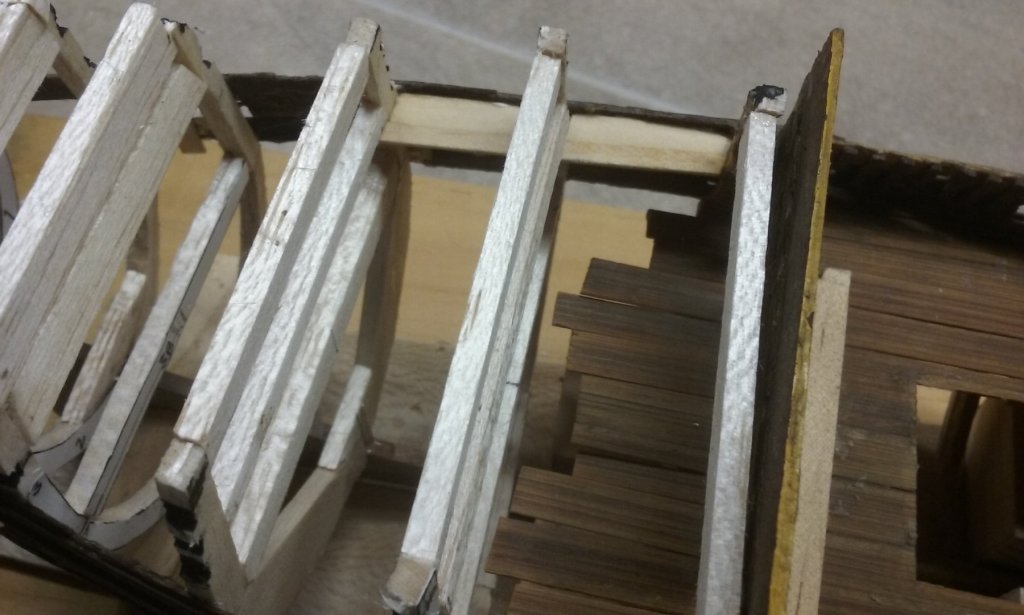
More fiddly stuff. Almost complete on the port side above the waterline. Just a little to add beside the gunport, then repair the two broken wales, and it's pretty much done. Many of the gunports were open on the original, but I never solved the problem of making the guns. So rather than make lots and lots of gun barrels, I'm just going to make a few to go in the waist where they're visible, and have the ports closed. New planking panel on the starboard side. Because it's both short and wide (and a little thicker than the original planking) I had to peg it very thoroughly to get it to follow the curve of the hull. And yet more reinforcements at the rear of the superstructure to support the repairs to the rows of arches for the arquebuses and swivel guns. More to come in the fullness of time . . . Steven


- 740 replies
-
- 5
-
-
- Tudor
- restoration
- (and 4 more)
-
Couldn't agree more. I'm looking at doing a Bachelor of Arts degree in history, specialising in Byzantine studies. I realise that's not flavour of the month, but apart from the obligatory "history of the world to 1500 AD", most unis don't touch it at all. But there are plenty of units available in flavour of the month subjects that are hardly history at all. Back to the wreck itself, since they found what could well be the Tudor Rose "figurehead" back in 2014 I think there's a good chance a fair bit of the forecastle could be nearby, and perhaps recoverable. Steven
-
This is looking so good, George. It's hard to believe you're getting such a quality of detail at such a small scale! Steven
- 90 replies
-
- 3
-
-
- bomb ketch
- pyro
- (and 1 more)
-
Could be, could be. Most of the above 14th century representations (where colour is visible) show black rudders - though the hulls are also black. Maybe they were coated with pitch as well? The Cantigas de Santa Maria (late 12th century) though the hulls are brown, have black rudders on some of the ships but not all. Two hundred years different, so perhaps not relevant. Steven
- 263 replies
-
- 2
-
-
- nave tonda
- round ship
- (and 2 more)
-
Very interesting. Herodotus has been called both "The Father of History" and "The Father of Lies", depending on who's saying it. He never claimed that everything he said was true, but was honest enough when he reported something he was told, to say that he couldn't vouch for its truth. So we get reports of feathers from the sky in Southern Russia (snow?), and flying snakes. But his eyewitness stuff I think was probably pretty reliable. Steven
- 1 reply
-
- 5
-
-
I hope they find the forecastle! I've always had a problem with the forecastle in the commercial kit. It looks too much like one for a galleon. Looking at contemporary pics of similar ships, the forecastle is like a big slice of cake - triangular. Steven
-
So if the Great Harry is 1:200, the meshes should be 100/200 = half a millimetre (about 1/50 inch). I'll have to start looking for something suitable. Steven
-
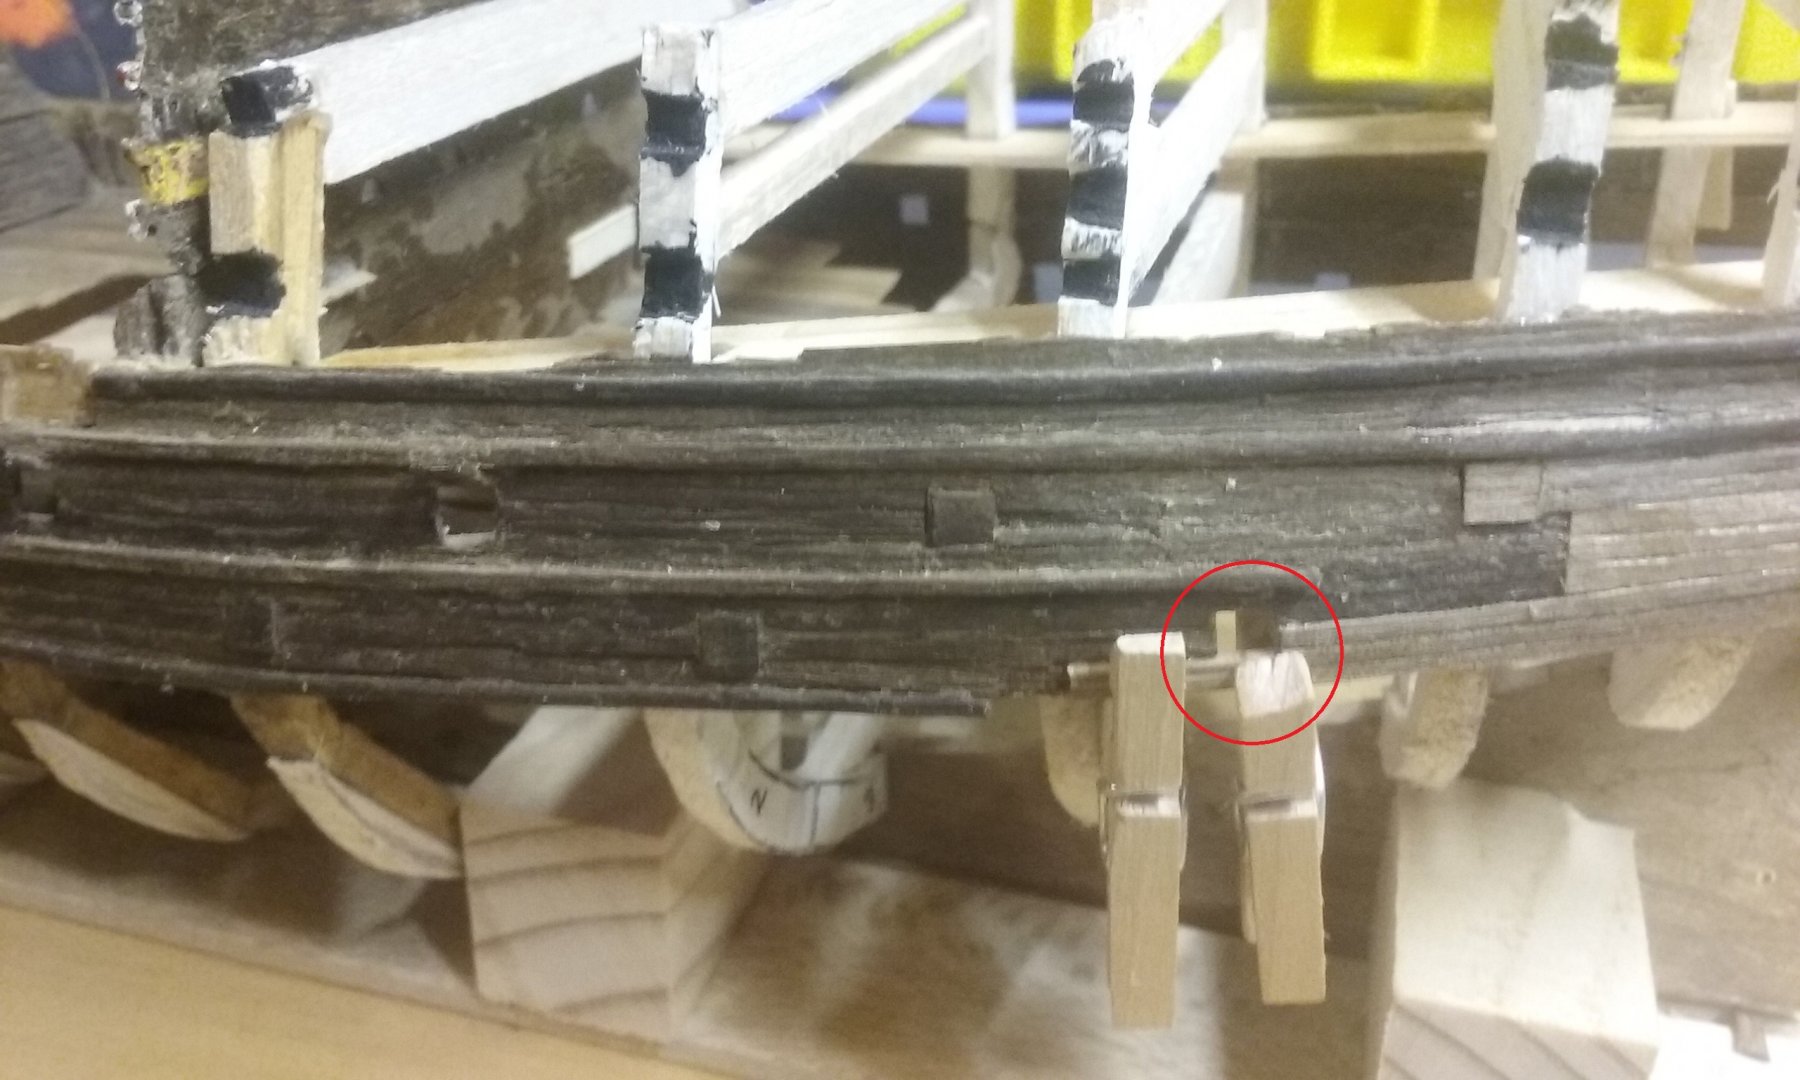
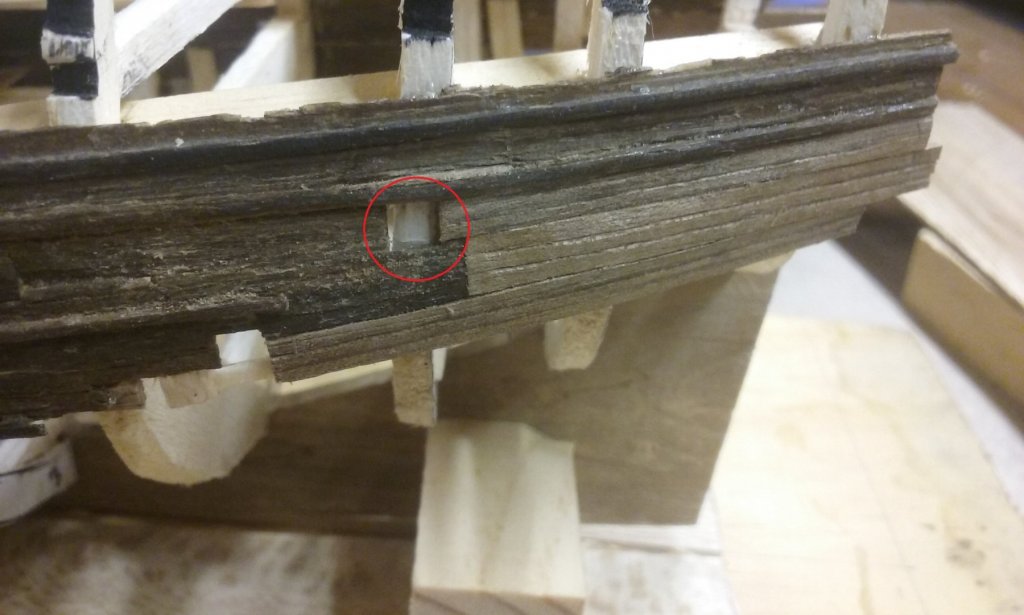
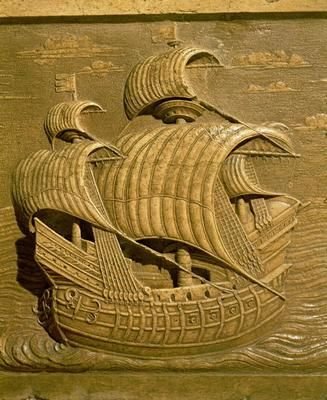
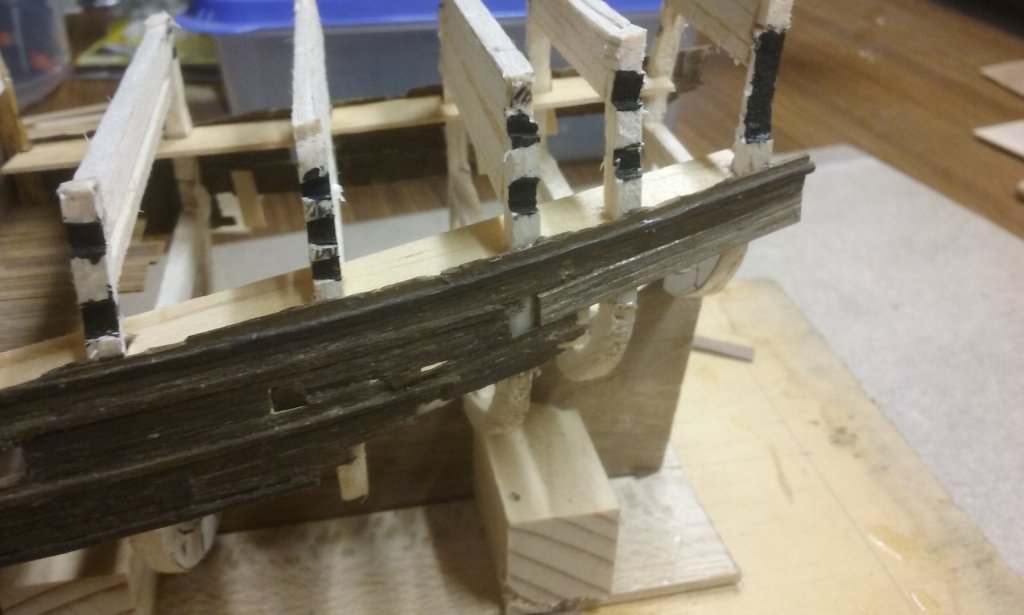
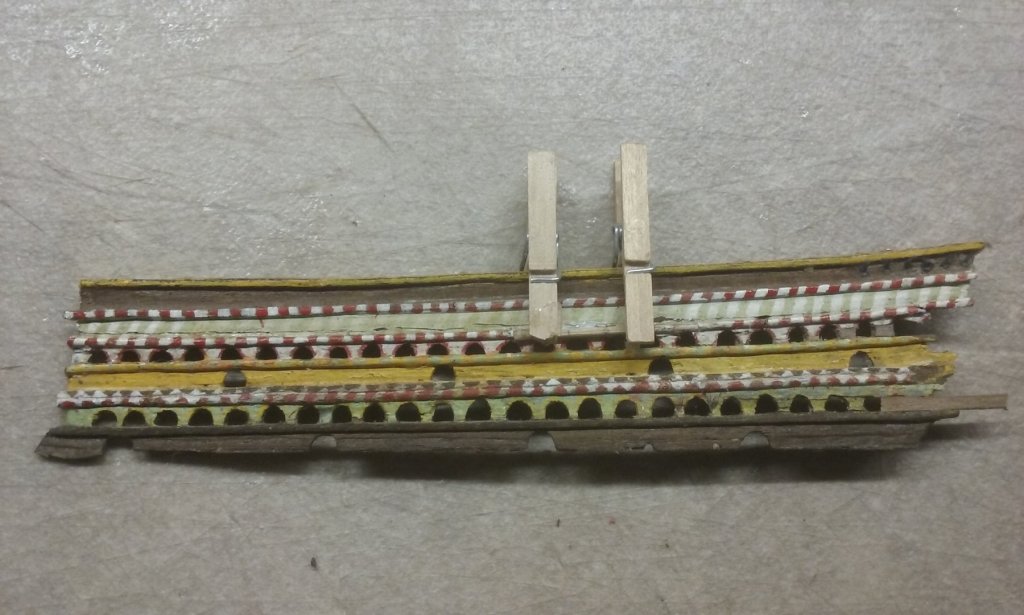
A new panel in place, and because the mended wale in the previous post came out a bit crooked, I've added a small piece of wood to straighten out the wale. Trimmed the wale to shape. Added another panel: And the planking following the curve of the stern (thought I'd never get here!) The colour of the wood is a bit of an issue, as I'd expected. It's not that far off the original, but enough to be noticed. Some of the joins might be a bit too obvious, since I'm doing it as panels rather than individual planks. I'm hoping this will become much less obvious when I solve the problem of the colour. Also at least one of the joins will be partly hidden when a new length of wale is added to the broken one below the top row of gunports. Still plenty of fiddly stuff to do, but it's nice putting a bit of external shape on the hull. Steven


- 740 replies
-
- 5
-
-
- Tudor
- restoration
- (and 4 more)
-
You think? From this end it seems to be taking forever 😫 Steven
- 740 replies
-
- 1
-
-
- Tudor
- restoration
- (and 4 more)
-
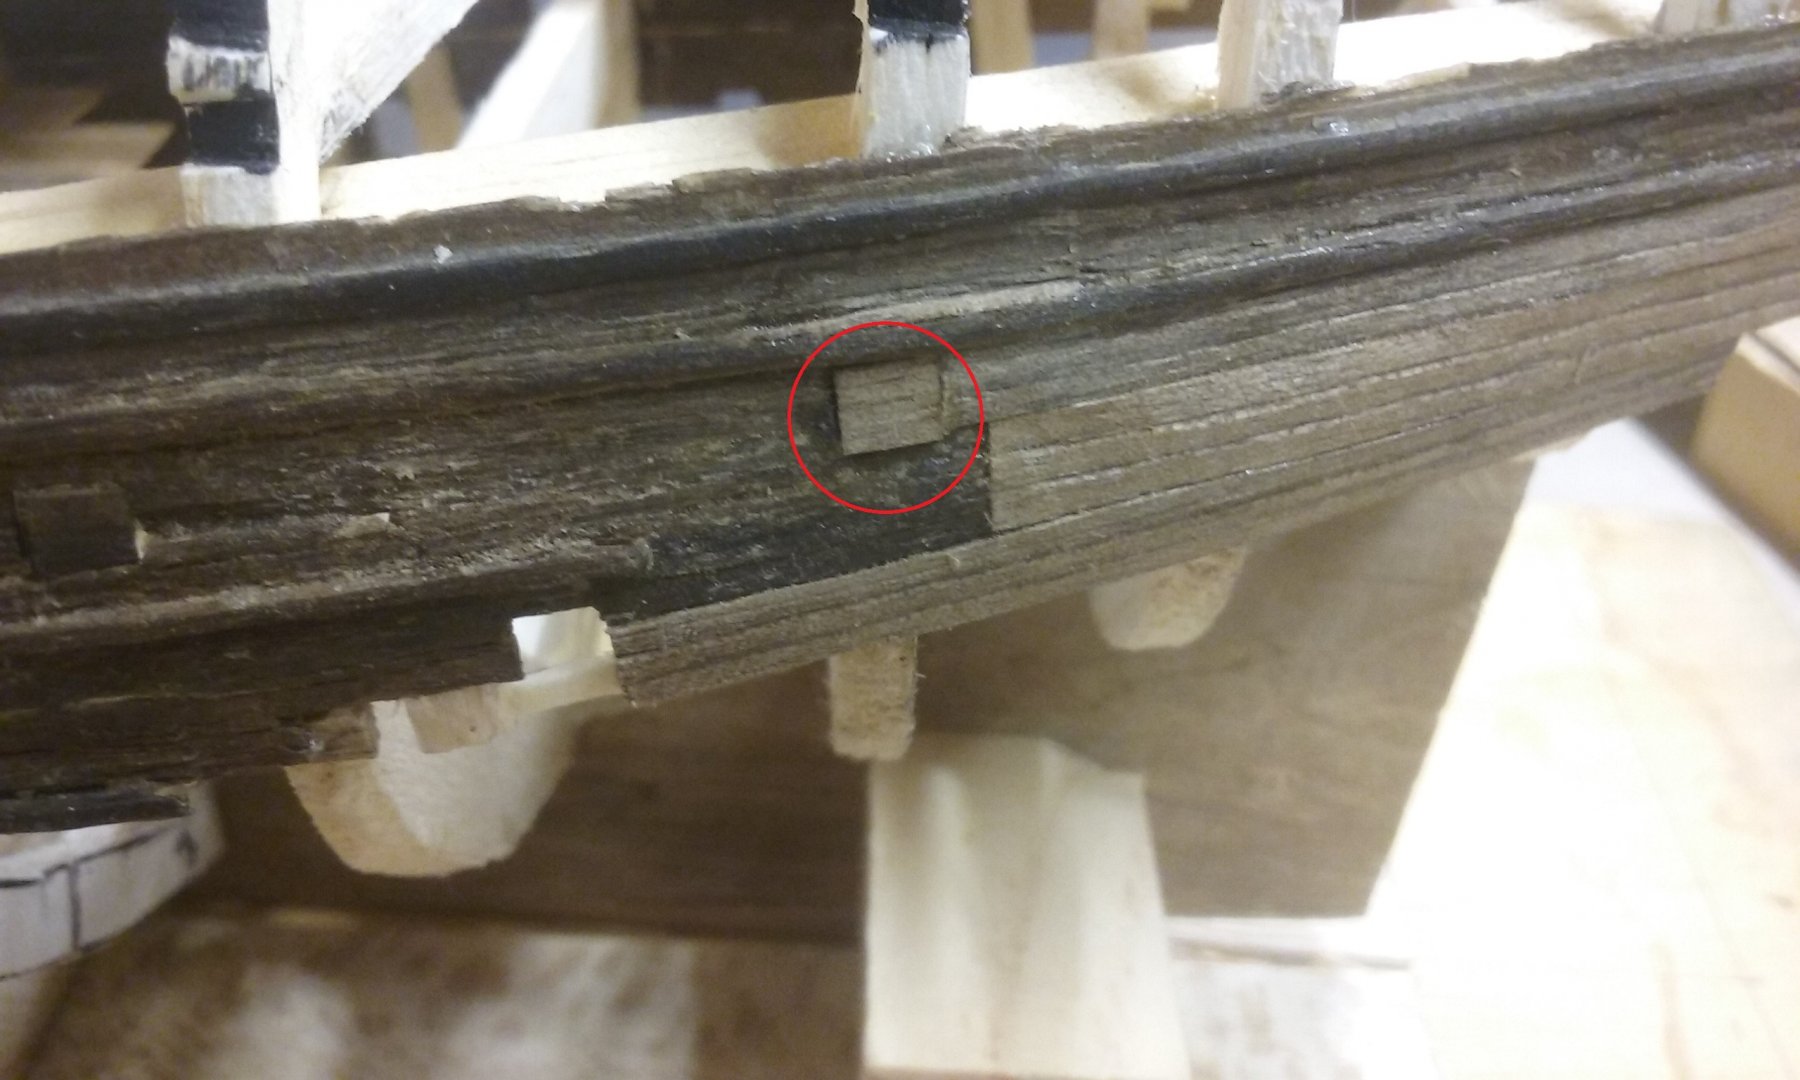
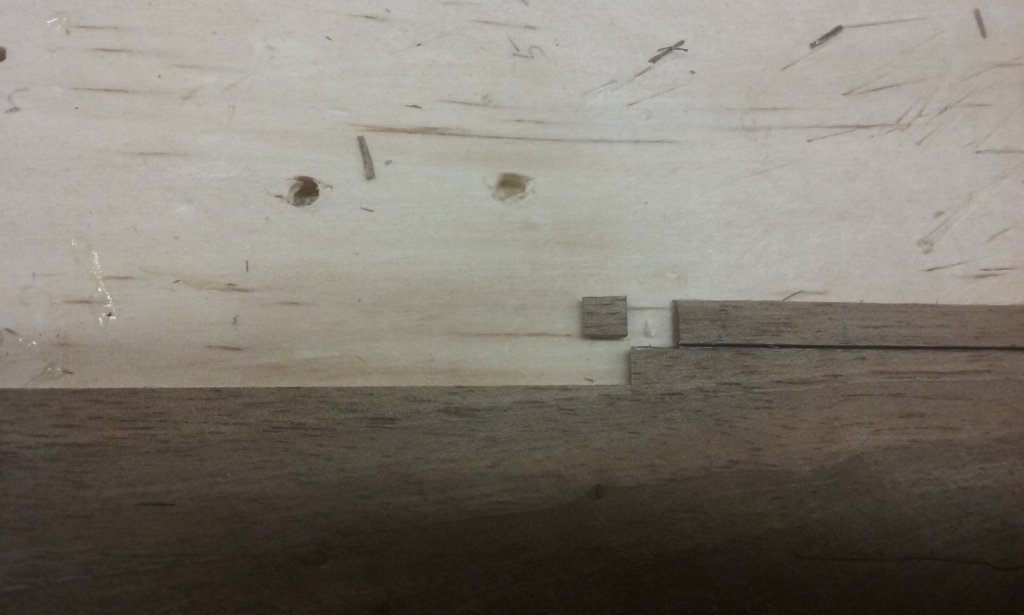
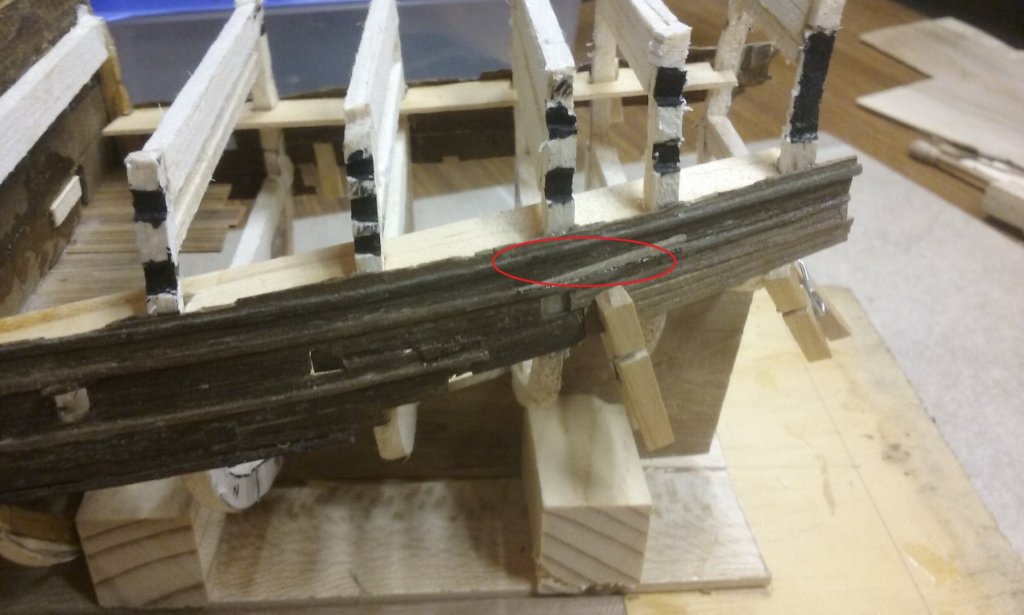
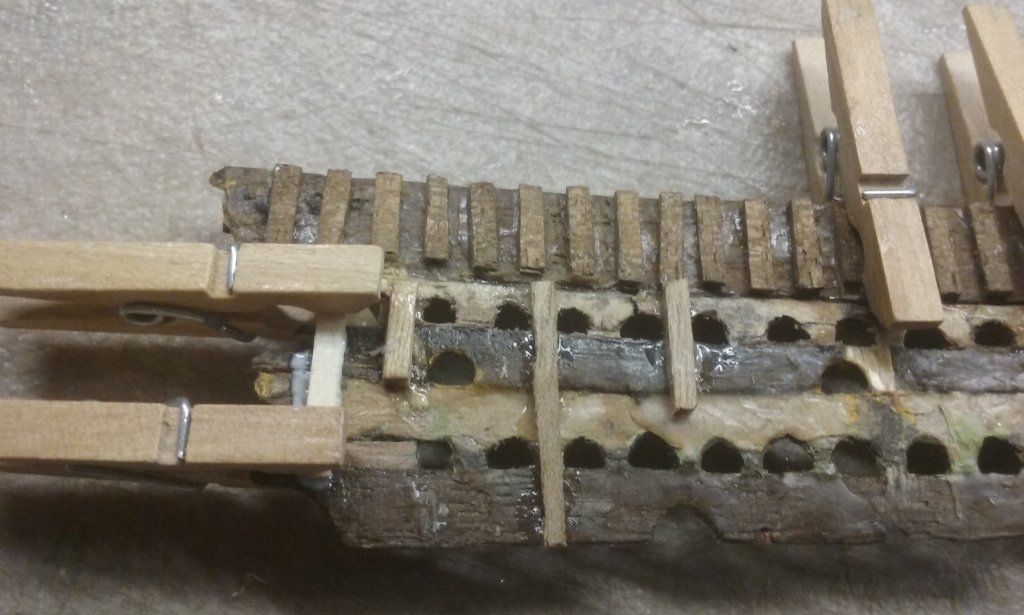
Added a panel of planking. (The "planks" are carved into the surface of the panel - I've decided to do it the same way I did it back in the day - at least above the waterline). The panel sticks out somewhat from the original at the forward end, so I then carved it flush with the existing planking. Once that was done I replaced a piece of the wale that had broken off. A little rough and ready I'm afraid, because of the state of the existing bits. I'll have to do a bit of tidying up once the glue's dried. Steven


- 740 replies
-
- 6
-
-
- Tudor
- restoration
- (and 4 more)
-
Am I right in thinking the top of the curved guides is closed with a removable piece, so the rudder can be removed in port?
- 263 replies
-
- 1
-
-
- nave tonda
- round ship
- (and 2 more)
-
Looks really good and very workable, Dick. I like the "aerofoil" rudder, and the poop superstructure is really impressive. Steven
- 263 replies
-
- 4
-
-
- nave tonda
- round ship
- (and 2 more)
-
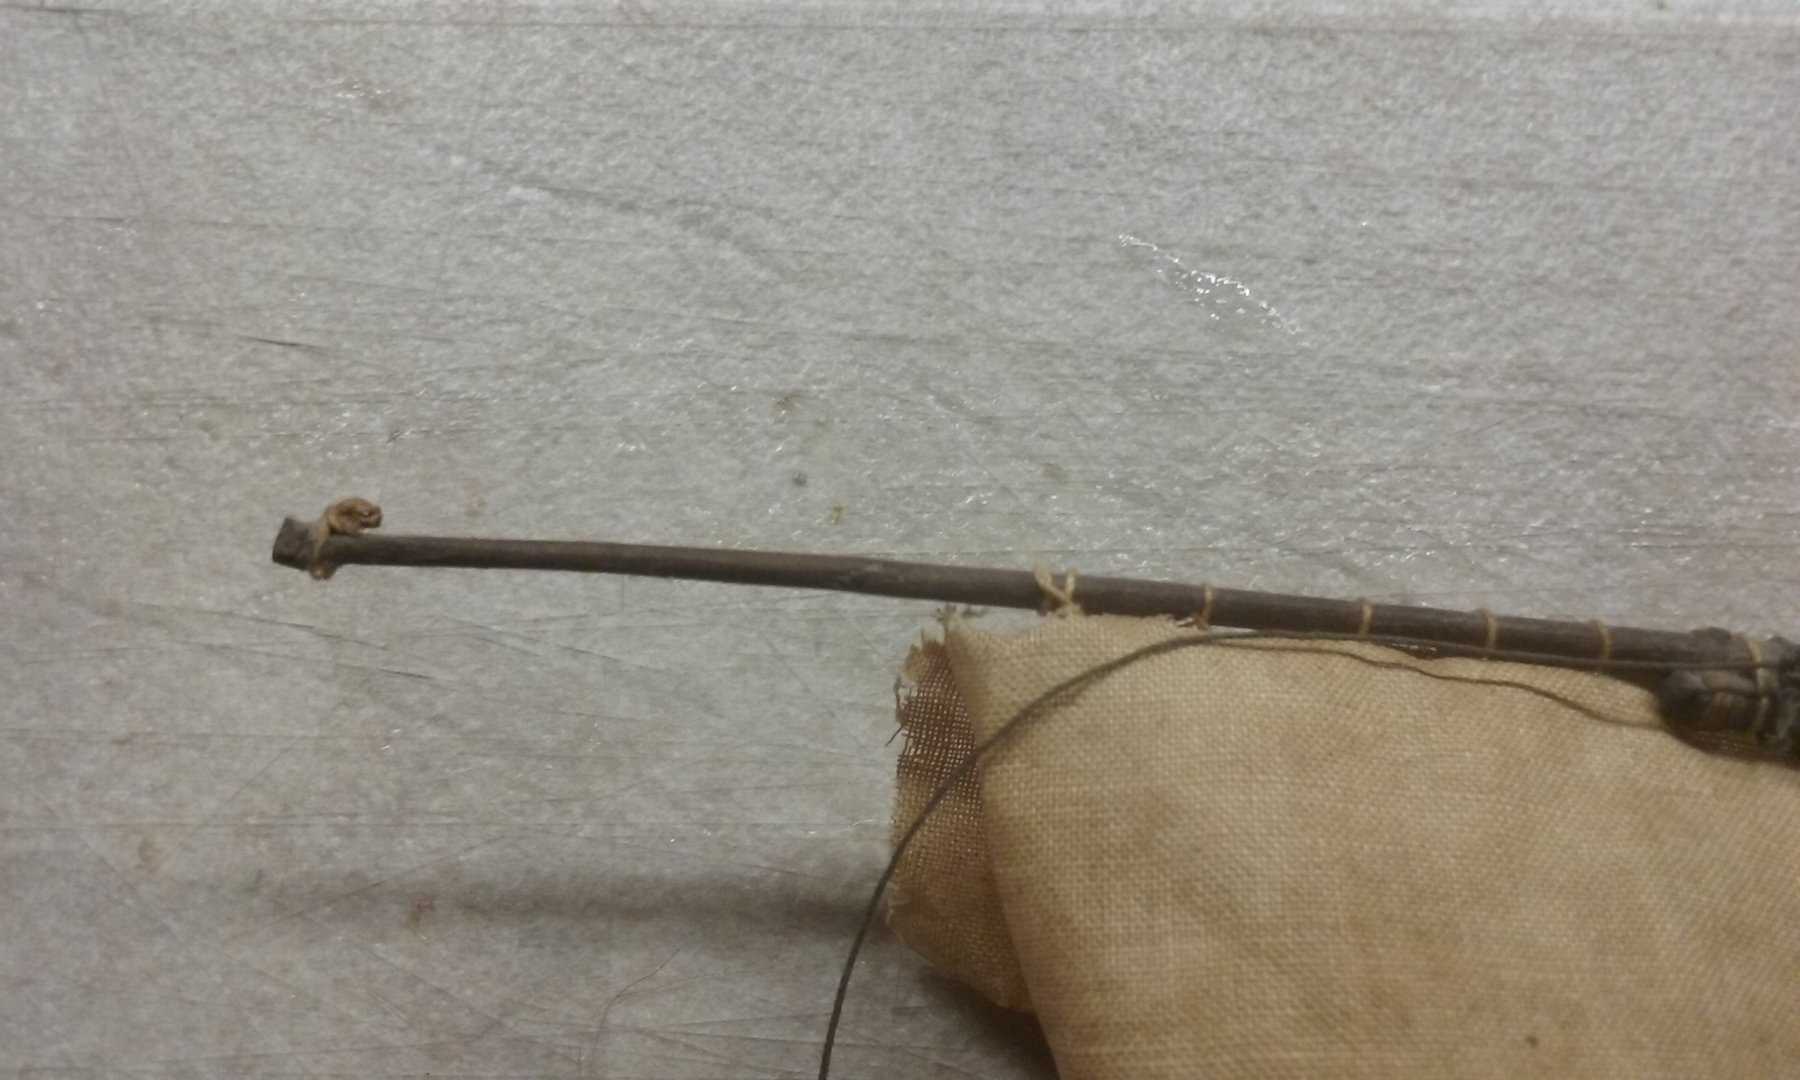
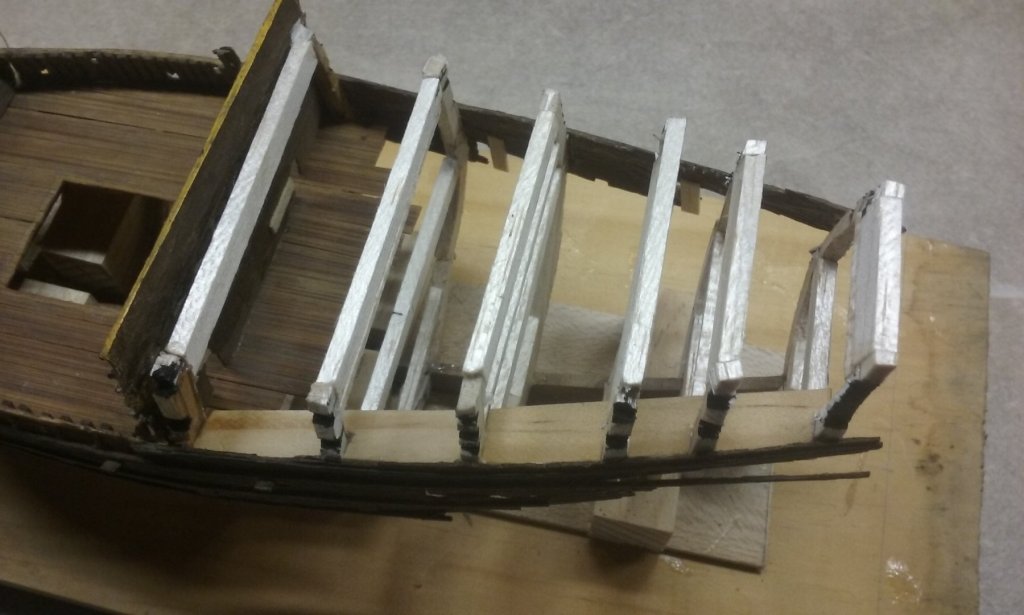
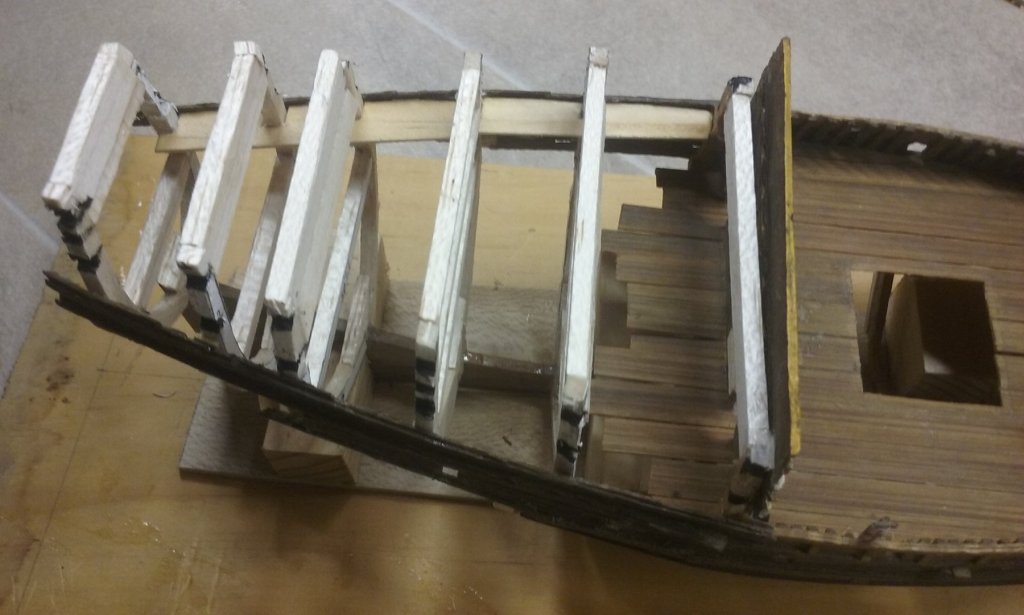
More fiddly stuff. Fixing up breaks in the upper works - mending a broken wale and a couple of arches Reinforcements from behind And adding false decks to support the cannons that will poke out of the arched gunports. Repairing a break in the mainyard Perhaps a little slow, but I'll get there in the end. Steven


- 740 replies
-
- 5
-
-
- Tudor
- restoration
- (and 4 more)
-
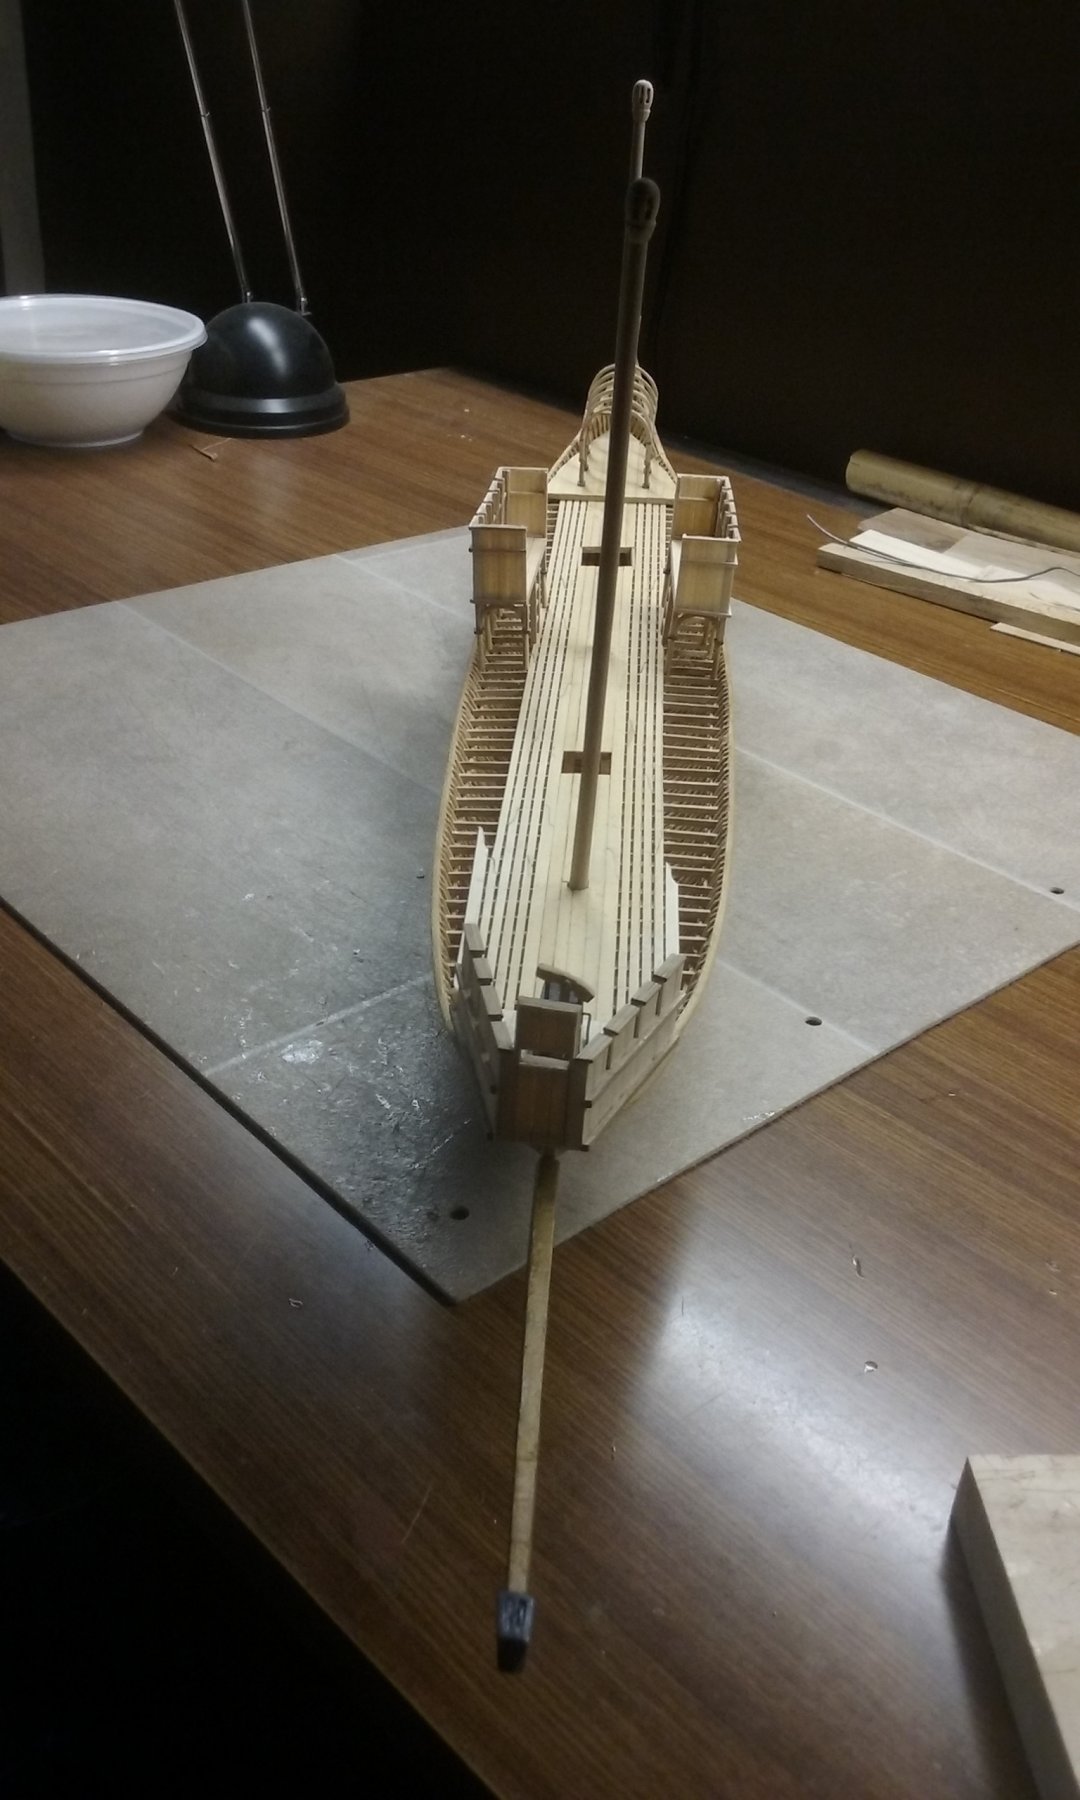
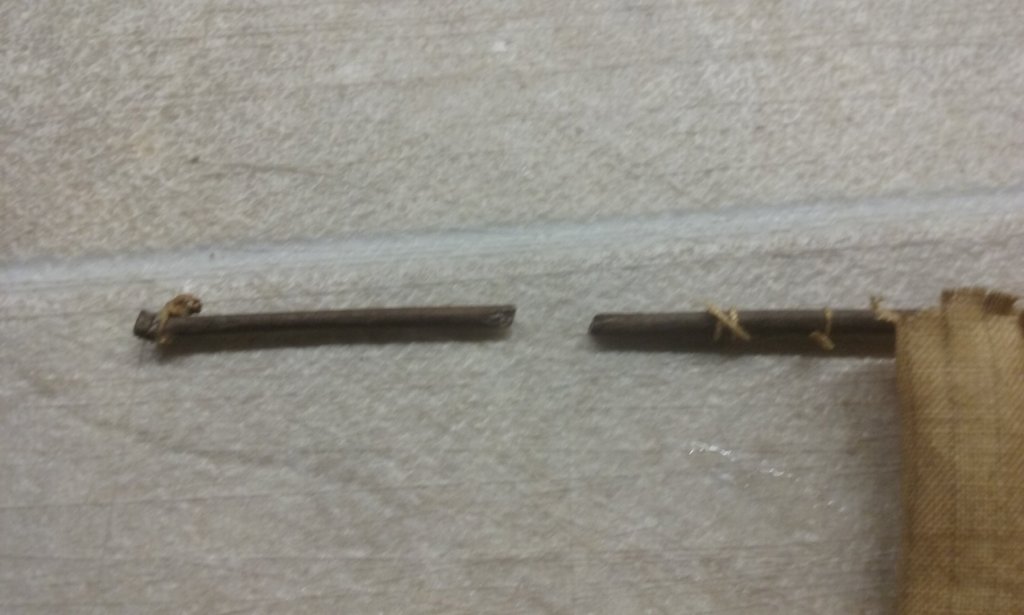
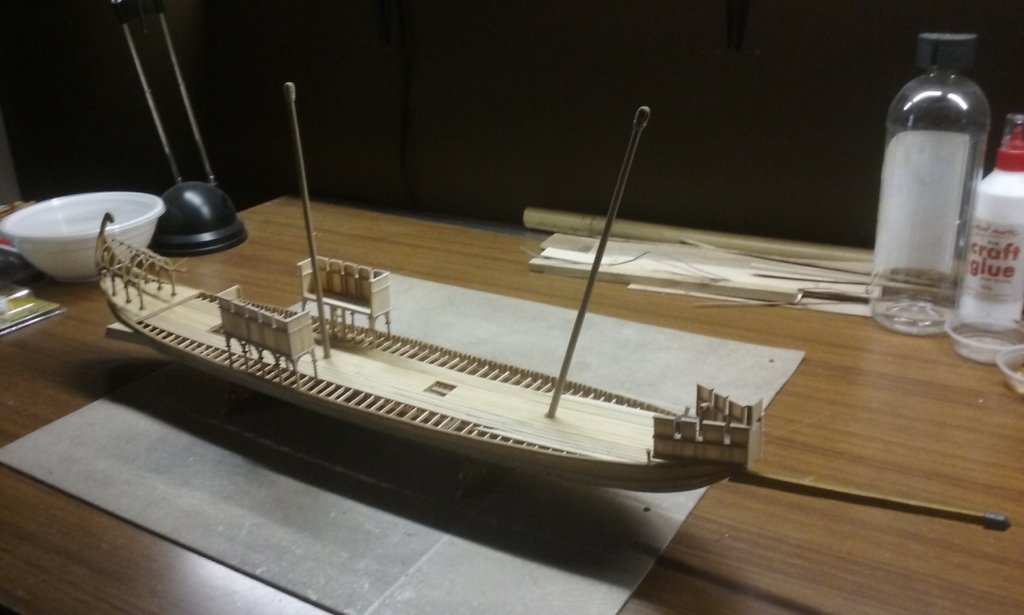
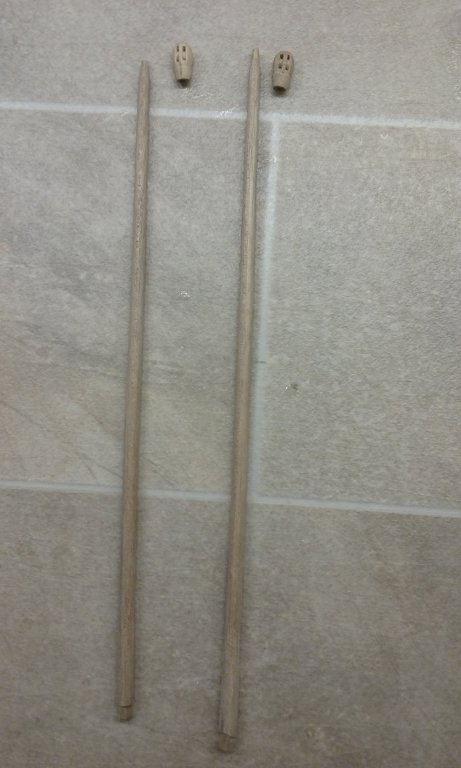
I've made the replacement foremast - this one is nice and straight (and hopefully will stay that way!) The calcet was made as a separate piece, so I can swivel it round till it's pointing exactly fore and aft when the mast is in place. I've also made a double sheaved calcet for the after mast to replace the single sheaved one it used to have. And here are the two masts in place, with the spur, forecastle, side castles and awning structure dry fitted. Nice and straight now. Thanks Woodrat for pointing out the crooked mast. More work, but worth it in the long run. Steven

-
"Car bog" is the filling compound they use to fill dents in car bodies. Usually comes in a can. It's an Australian term, like bonzer and dinkum or "I'm off, like a bucket of prawns in the sun"😁. Steven