hornet
-
Posts
690 -
Joined
-
Last visited
Content Type
Profiles
Forums
Gallery
Events
Everything posted by hornet
-
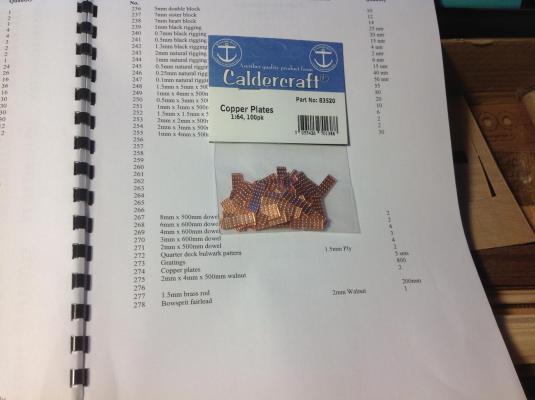
Just re-reading this thread and realised that the number and size of plates for the Amati 1:60 version could be similar to my current build the Caldercraft Bounty (1:64) Supplied with this kit are 800 plates which you can get from Cornwall model boats. I bought some from them a while back for my HMB Supply build. It was actually cheaper to get them from England than buy locally - although our $$$ has dropped in value somewhat since then They come in packs of 100
-

Made the leap, the Caldercraft HM Brig supply
hornet replied to Telp's topic in Wood ship model kits
Hi Terry. Having completed this build myself, I can say that there is very little literature out there about her. I used the Sydney Powerhouse Museum model as well as some contemporary paintings (found on the net) as a guide. Also used Dan V's and Dfel's models ( in kit gallery). I found that the most useful resource was 'Rigging Period Ships' by Lennarth Petersson. It was most helpful as the rigging plan in the Caldercraft Supply seemed to be somewhat 'Dumbed Down' for beginners. Best of luck with her, I look forward to following your log. Steve -
Proxxon Scroll Saw Problems DSH 37090 UPDATED
hornet replied to bigcreekdad's topic in Modeling tools and Workshop Equipment
I have a number of Proxxon tools including a scroll saw. Haven' t had any issues yet. Proxxon tools come with a 2 year warranty. If it were me I would return it to the supplier rather than stuff around with it and perhaps void any warranty. -
Copper Plating help
hornet replied to Shazmira's topic in Building, Framing, Planking and plating a ships hull and deck
Hi Robbyn Check this one out. https://m.youtube.com/watch?v=9JWlSFzJ8uA Steve -
After watching that clip, I am glad I left my Victory unpainted
-
airbrush for wooden ship?
hornet replied to michael101's topic in Painting, finishing and weathering products and techniques
I agree with the above posts. I have a badger Model 200 single action brush. It is a little beauty. -
airbrush for wooden ship?
hornet replied to michael101's topic in Painting, finishing and weathering products and techniques
Michael, in addition to the advice given above I would suggest you go for a single action airbrush. I have both a single and double action brush and have been using both for a couple of years. The single action is usually cheaper to buy than the double action. It is easier to use and clean. It does a great job when painting small and large areas. I assume you will be using acrylic paints as they are much easier to clean up and dry a lot quicker. I use Admiralty paints exclusively. They give good coverage, are authentic colours and can be thinned with water for use in an airbrush. My recent build, HMB Supply (in my gallery) was almost completely painted using a single action airbrush and Admiralty Paints. Cheers Steve -
Proxxon TG125 Bench Disk Sander
hornet replied to pompey2's topic in Modeling tools and Workshop Equipment
Hi Nick. I have had one for about 18 months. It has done a lot of work in that time. I have found it to be robust, accurate and very quiet. Changing disc pads is easy and quick. You should be happy with your purchase if you decide to get one. Steve -
Long Term Paint Storage
hornet replied to mikiek's topic in Painting, finishing and weathering products and techniques
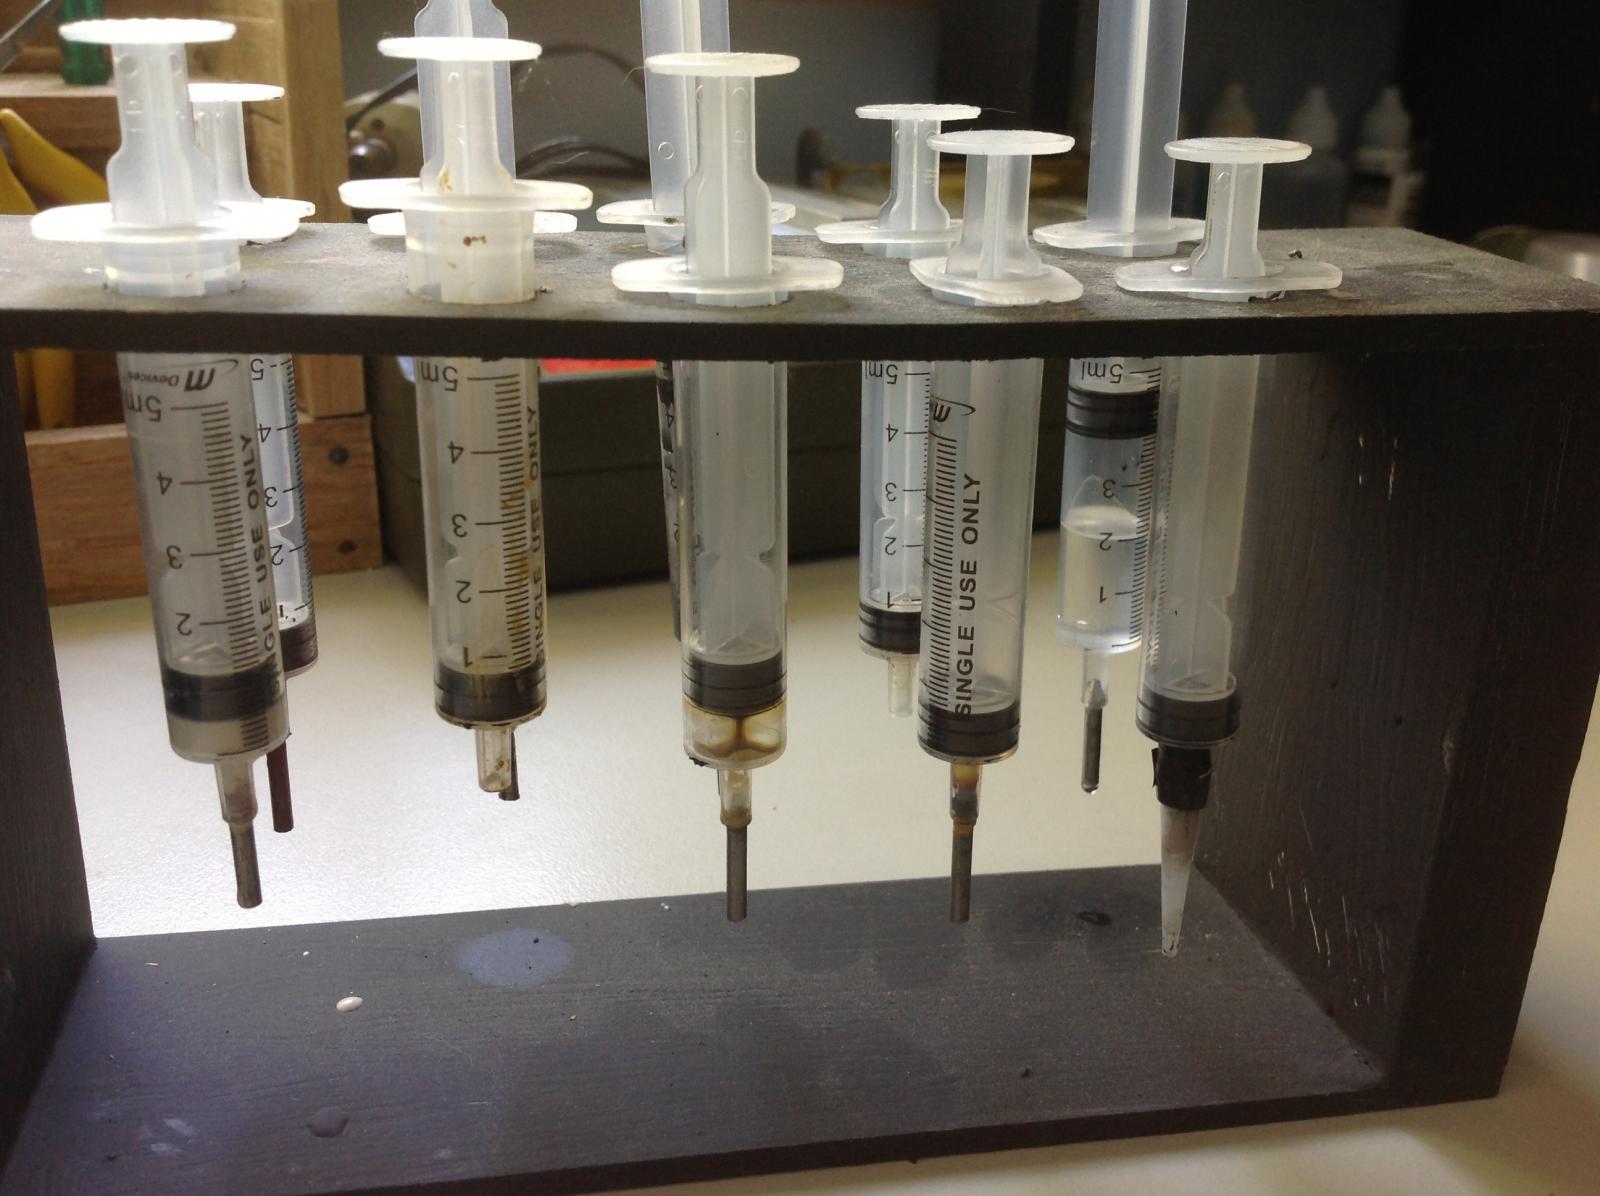
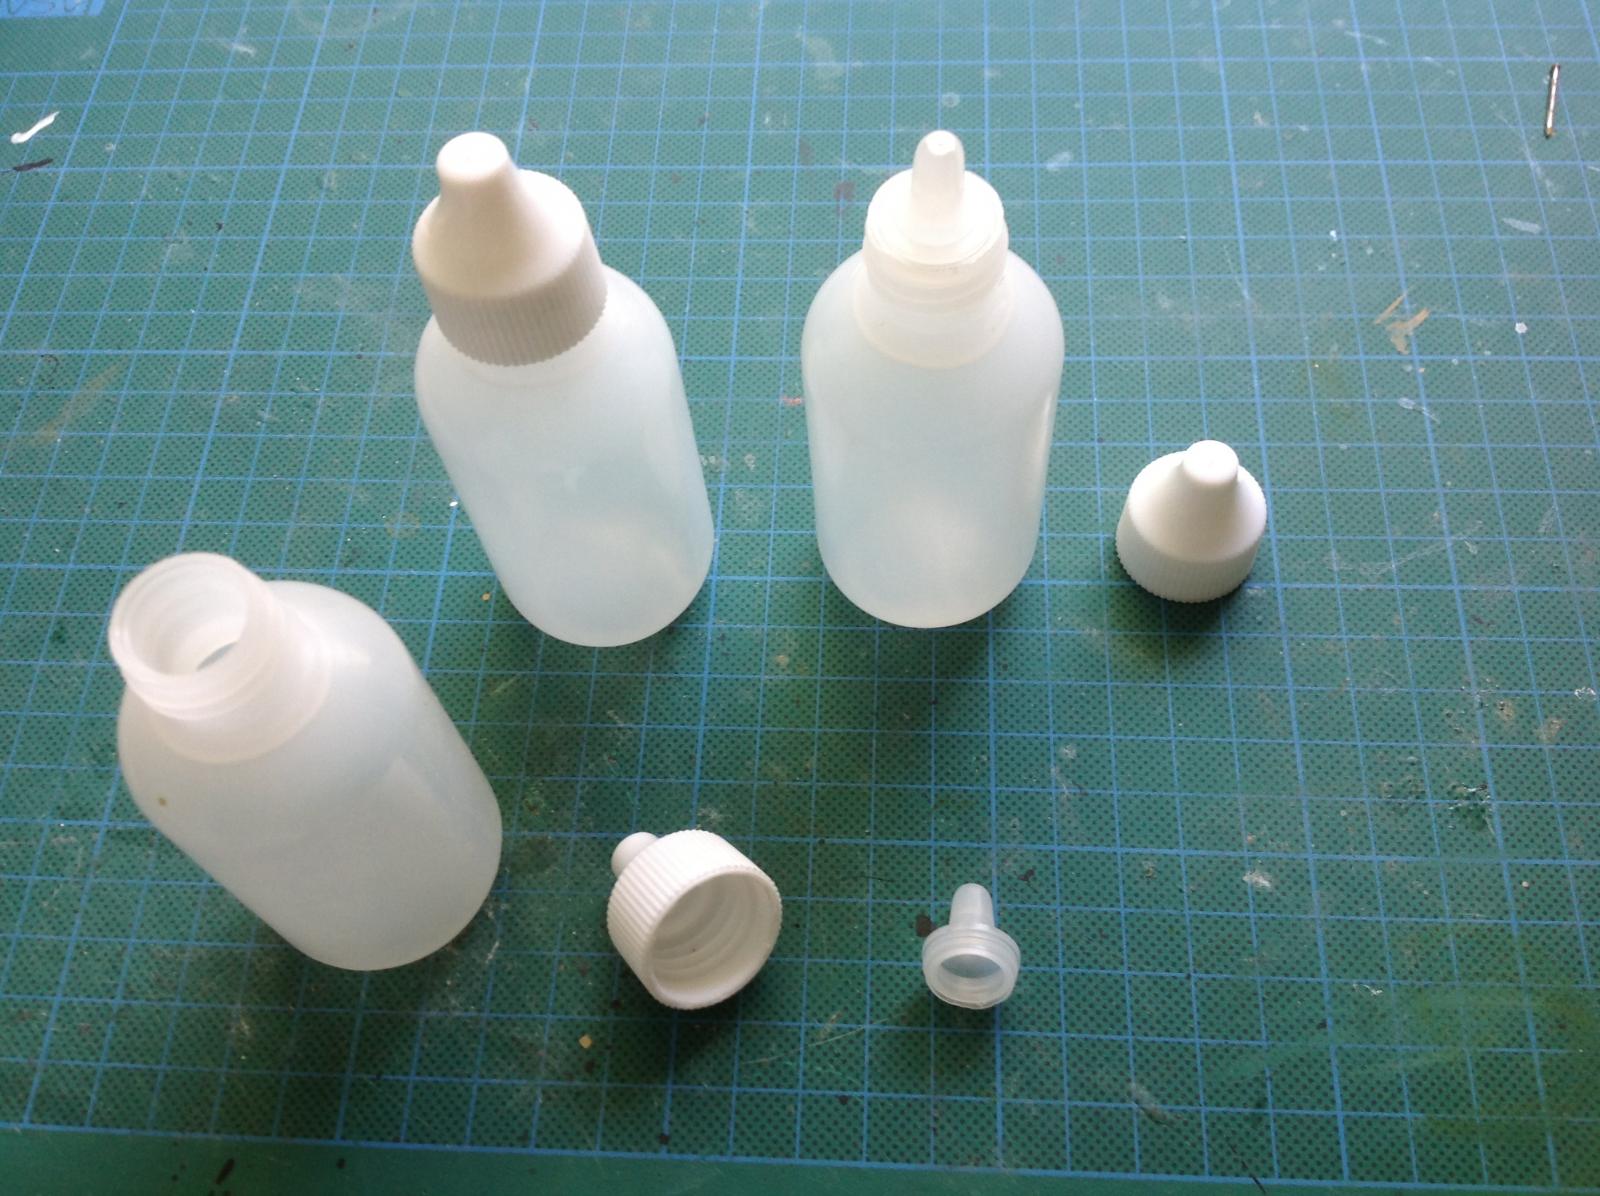
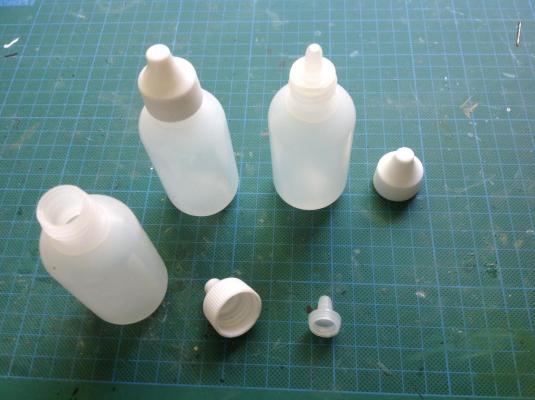
After mixing and using acrylic paint in my airbrush, I store the surplus in syringes which I seal with the end of a nail. I have stored paint this way for many months. Syringes are available cheaply on eBay and I have made stands to store them. Being transparent makes it easy to determine the colour of the paint and being stored in a syringe makes it very easy and economical to reuse the paint. In addition, also available on eBay, are plastic bottles designed for storing acrylic paint for use in an airbrush. These are also quite economical to buy. Search airbrush supplies on eBay if interested.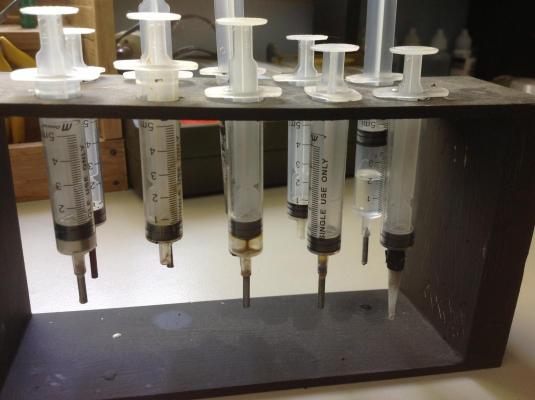
- 15 replies
-
- 11
-

-
Work station clutter
hornet replied to Senior ole salt's topic in Modeling tools and Workshop Equipment
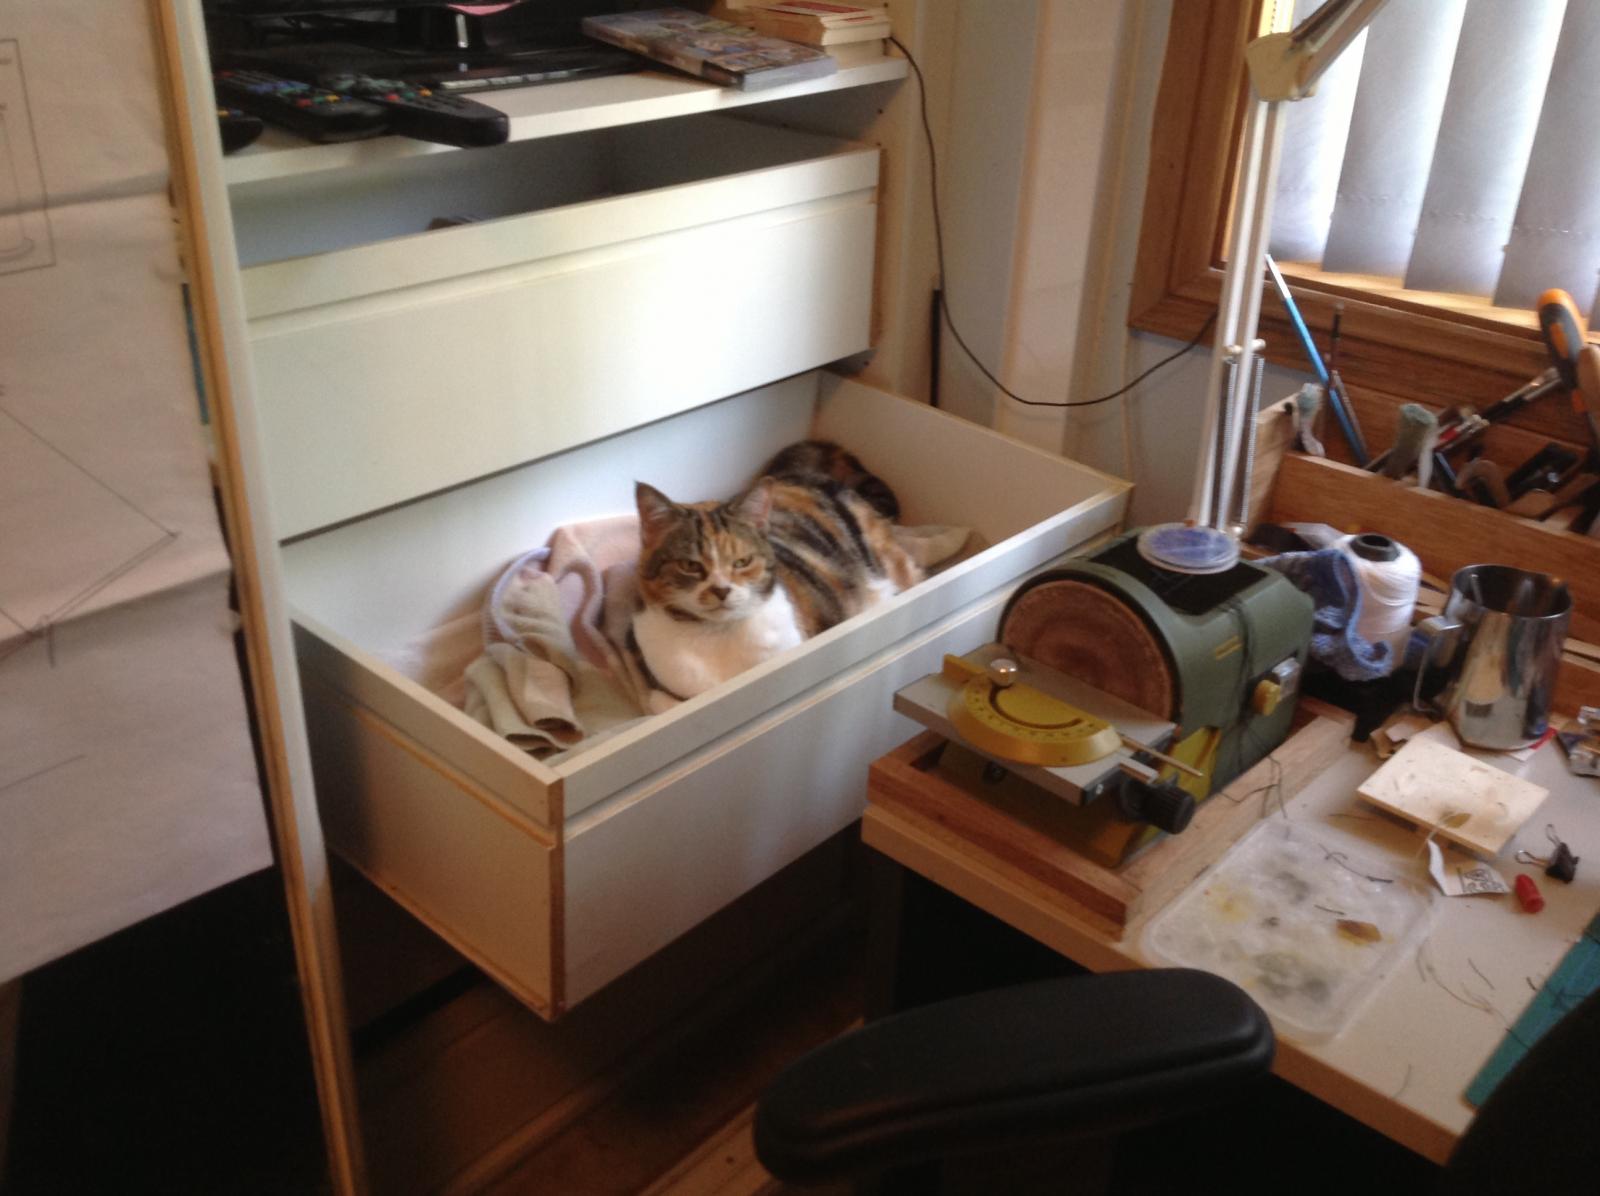
I have a vacuum next to my to my workspace which removes any sawdust very soon after it s created. I also have a CAT who enjoys seeing how far she can belt anything that has been left out overnight or chew anything that looks remotely edible. Needless to say this encourages me to put things away after use maybe you should get a CAT???? Said CAT waiting for her opportunity to create havoc:)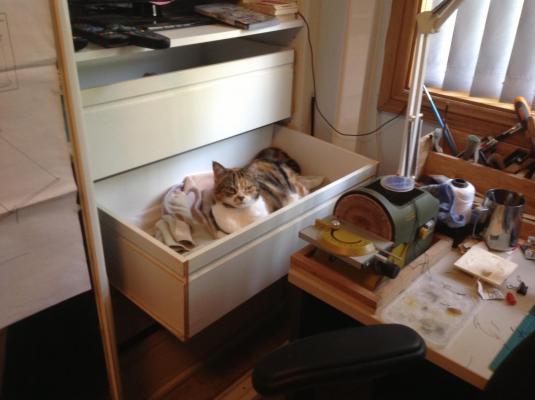
- 39 replies
-
- 12
-
-
You are correct Daniel it is 1:50. Your build leaves it for dead though Cheers Steve
-
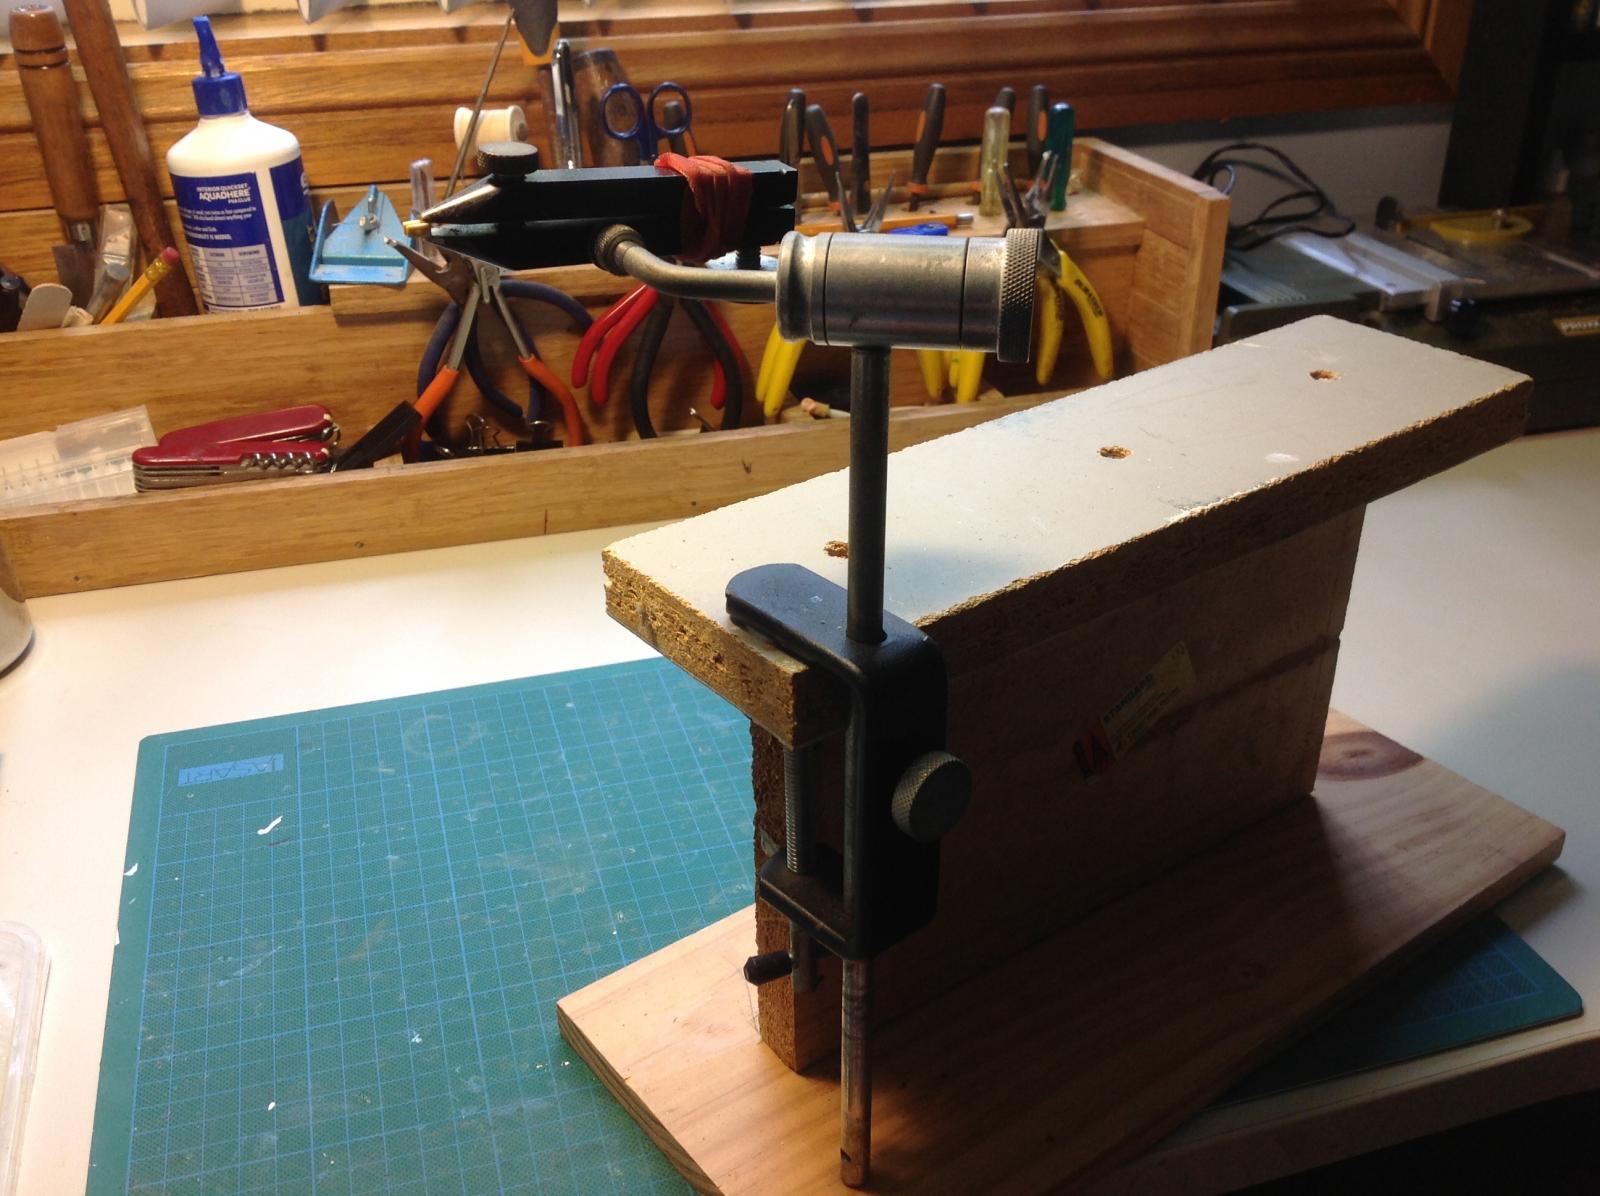
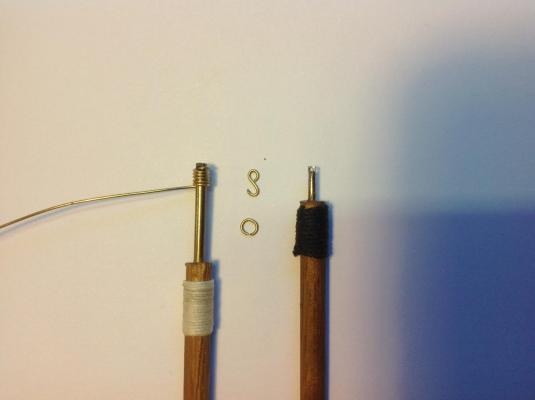
Hi Captain Steve I use a similar method with a bit of a 'twist' so to speak. I have taken two different diameter brass nails and cut off the heads. I filed one side of the top of each nail flat so that I could drill a 0.8mm hole through each. The nails were then whipped into dowel handles. Using two different diameter nails allowed for different sided rings and hooks. Rings are produced in the same manner as you demonstrated except that I start by placing the brass wire in the hole before wrapping it around the nail. This allows more 'grip' and produces a 'tighter' ring. Hooks are made similarly. I place one end of the brass wire in the hole, bend to shape then cut the wire, reverse it and bend again. I usually then place them in my fly tying vice and silver solder before blackening with Birchwood Casey Brass Black. Cheers Steve
- 396 replies
-
- 15
-
-
- Idea
- Bright Idea
- (and 1 more)
-
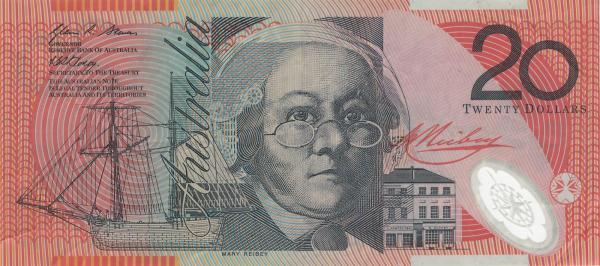
Hi Siegfried Just discovered your Mercury build. It looks great. I have built this one myself - from the kit by Modeller's Shipyard/Central. Could I ask, is this based on that kit or is it a totally scratch build? Also, earlier in your build log you stated that the Mercury is depicted on the Australian $10 note. It is in fact depicted on the Australian $20 note along with its owner Mary Reibey. She was a VERY interesting character. If you have not read about her, she led a very interesting (and long) life. I have scanned a $20 Aussie banknote below for you to have a look at and a brief biography of Mary as well. http://adb.anu.edu.au/biography/reibey-mary-2583 Cheers Steve
-
Agree 100% John. I reckon there are countless unfinished Corel Victories around the world that were purchased by inexperienced builders who became disillusioned and gave up. At the time I bought mine ( mid eighties) it was half price - Unfortunately I couldn't resist a bargain Cheers Steve
-
Holding Small Items
hornet replied to mikiek's topic in Painting, finishing and weathering products and techniques
Hi Mike I have suggested this before on this forum but here goes. One of the most valuable tools in my collection is my fly tying vice (designed for tying fishing flies) It will hold very small items without crushing them. I tend to use it for tying blocks and rigging. I usually use small alligator clips to hold items when airbrushing, but I see no reason why it couldn't be used when painting. There are many inexpensive fly tying vices on eBay and amazon. Hope this helps you Steve
-
You probably have a point John, but I still think that the instruction booklet ( not the actual plans) were pretty daunting for an inexperienced builder - at least that is what I found at the time. I gave up on them and used the plans alone. Reading back through them now (over 20 years and 8 builds later) they are a little easier to follow but still bloody awful in my opinion.
-
If it were me, I would not put heat anywhere near the side of that build. The heat transfer through the brass would almost certainly melt or distort the plastic. Why can't you snip the eyebolts off flush with the hull, carefully drill out the shafts and then build the eyebolt/chain/ strops off the model. The eyebolts could then be epoxied back in place - just my 2c worth
- 196 replies
-
- 5
-
-
- plastic
- soleil royal
- (and 2 more)
-
Hamilton. I have a total of 10 different Proxxon Tools including one of their Scroll Saws. All have a small footprint and are reliable and accurate. You won't go wrong if you buy one of these. I also ave about 8 different Makita tools in my 'big shed' - not the scroll saw though. Can't fault any of them either. If it were me, I would probably go the Proxxon. It is a very quiet saw.
-
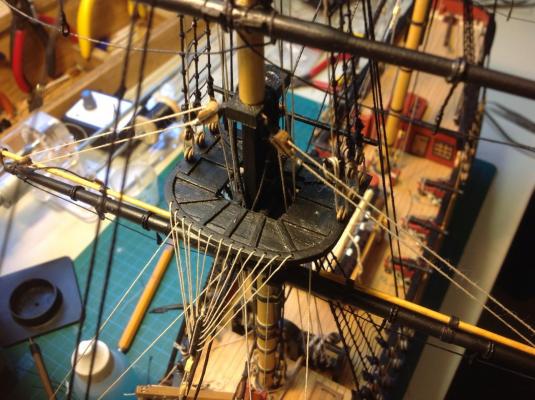
Hi Barbossa. My current build - Caldercraft 'Supply' did not have crowsfeet in the plan either, but I decided to include them. Before drilling the holes required to fit the crowsfeet, I glued the two pieces ( lower tops & lower tops rim) together, then drilled through both using my drill press for accuracy. I only needed to drill 0.8 mm holes as the thread I used to produce the crowsfeet was 0.25mm so there was plenty of room to thread through the holes. If you are worried about the fact that the front of the lower tops rim is only 2mm wide, why not shape and fit anther piece of ply behind it? In fact the laser cut ply that the lower top rim was cut from would already be in that curve. The join could then be filled with a PVA and wood dust filler. Once painted back - I assume you would be painting it, it would not be noticeable. One of my crowsfeet is shown below, admittedly the tops rim on the Supply appears to be a little wider than the Diana, but I think it could still be done.
-
Hi Chris. There are a few ideas on making coils in the following thread. I devised a method using transparent plastic 'counters'. It works very well for any sized coils/thread. Check it out below. http://modelshipworld.com/index.php/topic/1310-making-rope-coils/?hl=%2Brope+%2Bcoiler#entry210607
-
Hi Paul I also use bamboo skewers for treenails. I did some research regarding diameter using the treenails on the deck of the Endeavour Replica as a reference. See first link below b [url="http://modelshipworld.com/index.php/topic/8317-to-treenail-or-not-to-treenail/" In addition I made a tool for splitting treenails so they were easier to fit in a drawplate. See link below. http://modelshipworld.com/index.php/topic/2959-treenail-detail-option/
-
I'll go with Pompey2. Caldercraft's range of Admiralty Acrylics are historically accurate and excellent quality. I now use them exclusively. They work very well with both brush and airbrush and would be perfect for the 'Victory'
-
Hi Don Read through the thread below. It will give you some guidance as to the best kit brands for beginners as suggested by members of the forum. Remember that clear PLANS are probably more important than written instructions. Any confusion you may have can usually be cleared up by asking for help from this great forum http://modelshipworld.com/index.php/topic/12105-poor-instructions/?hl=%20best%20%20instructions
-
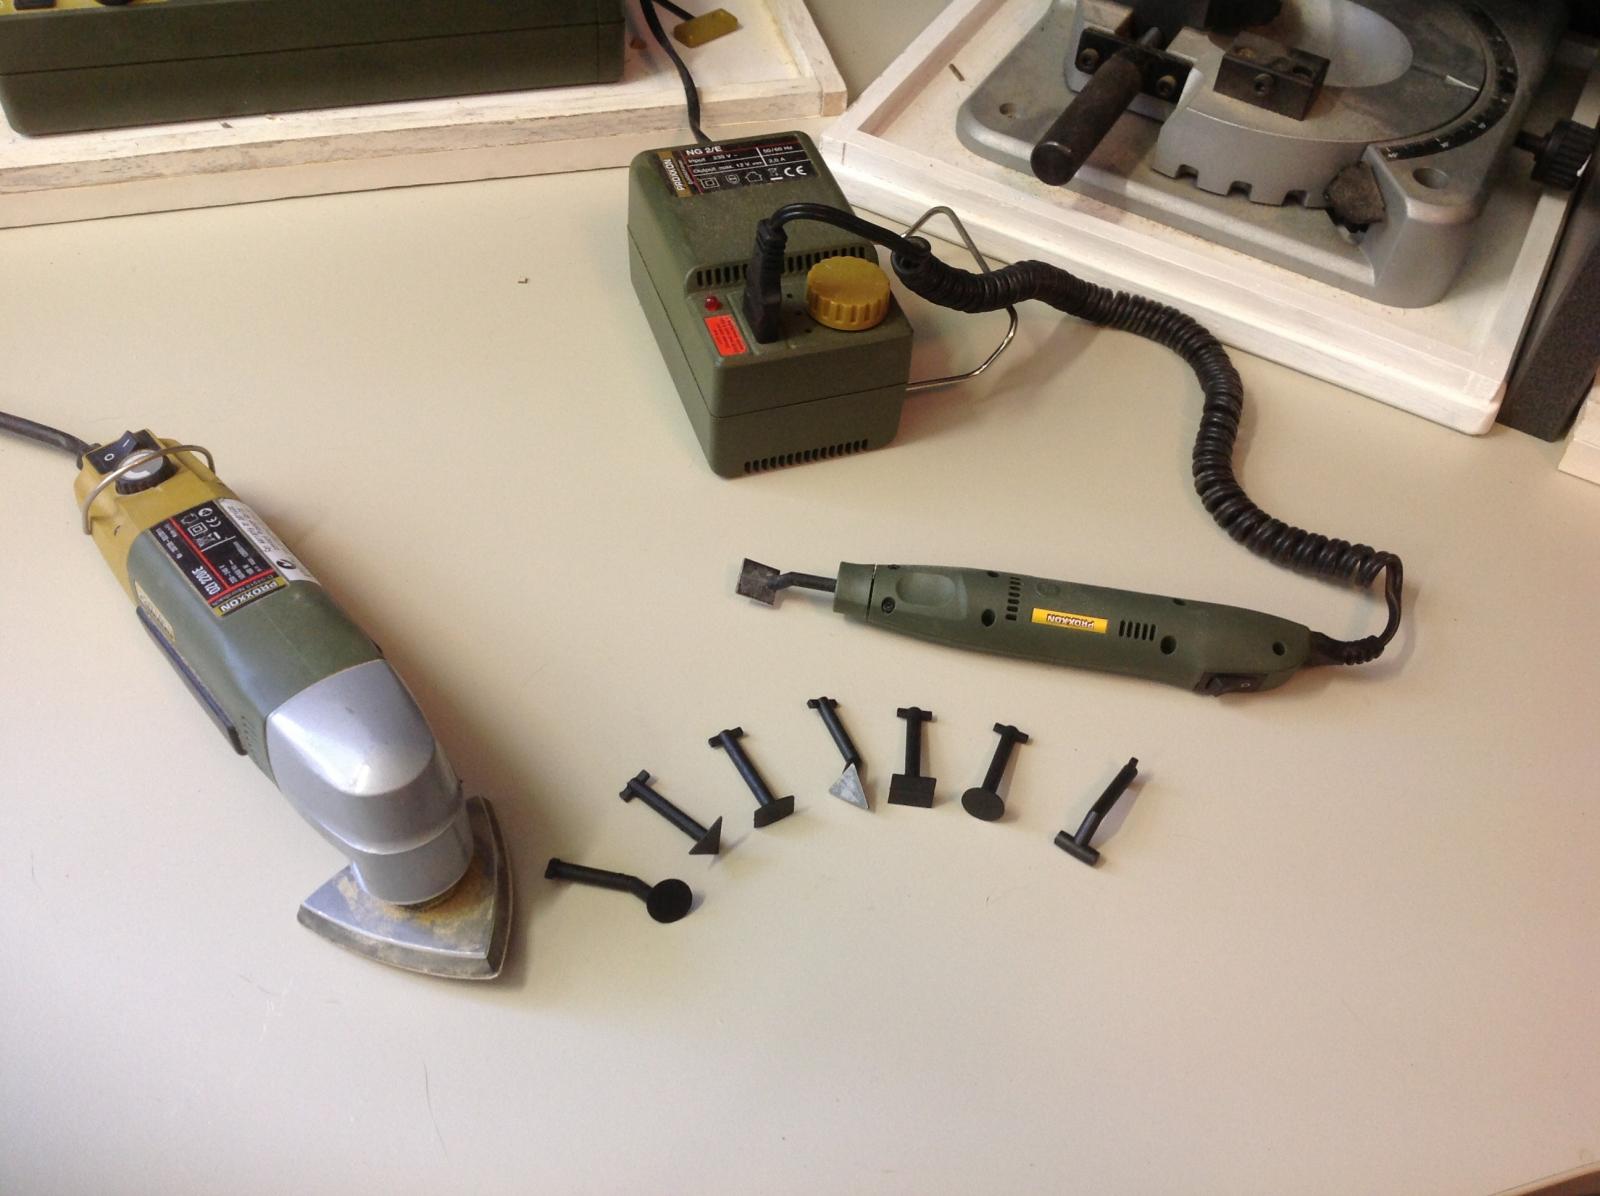
As well as a range of different grit sandpaper on different wood blocks, I use my Proxxon delta sander and pen sander. The delta sander comes with a range of different grit pads and is great for sanding larger areas. The pen sander comes with different shaped attachments and is useful when getting into tight corners.

-
Vossey I would also suggest you get a Squadron Super Glue Applicator. They are very cheap and deliver a small drop of glue to the back of each plate quickly and easily. Combined with tweezers, I found that fitting plates was made much easier than the method shown on the Modeller's Shipyard YouTube Clip ( applying a line of glue to the hull then putting on the plates) I managed to glue the entire hulls of my Sloop Norfork and the Supply without glueing my fingers together even once. I bought my squadron applicator from Frontline Hobbies here in Newcastle, but I imagine they would be available in most hobby shops. See link below. http://www.modelsrgo.co.uk/squadron-tools-precision-super-glue-applicator.html