MORE HANDBOOKS ARE ON THEIR WAY! We will let you know when they get here.
×


Keith_W
-
Posts
1,145 -
Joined
-
Last visited
Content Type
Profiles
Forums
Gallery
Events
Everything posted by Keith_W
-
 Thanks for your replies Vince and Max. Looks like the hull below the waterline will be painted white. BTW, I like the look of timber as much as anybody else, but I like the look of a white painted hull. It makes the boat look a little more sleek, if you know what I mean. A bit like a two toned car
 -
Yes Brian, I agree. Those hinges supplied by Euromodel are way out of scale. BTW I found another supplier of hinges: https://www.mantuamodel.co.uk/3_Model_Boat___Ship_Fittings_/Gunports_deckports__hinges/ Where did you get your rigols from?
-
Brian, the other two boats I have at home are not copper plated. The potential size of Chris Watton's Victory means that it will not be displayed next to Royal William, so I don't need to contrast the two ships I am more concerned about historic accuracy if I do embark on copper plating. BTW, did you ever find a source for gunport hinges? I also found this on Amati's website. Pity it doesn't tell you what the dimensions are: http://www.amatimodel.com/en/accessories/minuterie-e-accessori/hinges-without-pins I am also thinking of putting these on the inside of the gunport lids: http://www.amatimodel.com/en/accessories/minuterie-e-accessori/lions-head 6mm in length, each. The bottom gunports are 14mm in height, the mid-deck gunports are 13mm, and the smallest gunports with a lid are 10mm. It should be OK, but again - not sure about historic accuracy.
-
Can I have some thoughts as to whether I should copper plate this ship? She was broken up in 1813, and copper plating was introduced in the British Navy around 1750. If I don't copper plate, I will paint the hull below the waterline white. (edit) I would probably use these: http://www.amatimodel.com/en/accessories/minuterie-e-accessori/photoetched-copper-plates
-
Zheng He's Massive Ship from Ming Dynasty
Keith_W replied to mkmossop's topic in Wood ship model kits
I have my doubts as to the historical accuracy of that ship, to be honest. There is an upper limit in size for wooden ships - any larger than a certain size, and they lose structural integrity. I suspect that there is a good dose of historic embellishment going on there. (edit) having said that, a ship that hugs coastal waters where the sea is relatively calm does not have to be as rigid as a ship that has to sail blue water. -
Brian, no I didn't. But thanks for the heads up, i'll go take a look! Day off work today. Unfortunately, no ship building. Have to drive my in-laws around
-
Hi Jeff, sorry for not replying earlier. Somehow your email did end up in my spam folder! I have replied your email. Thanks for your patience. Max, I would like to build a Friedrich Wilhelm as well, but I suspect my next ship will be Chris Watton's Victory. I am always thinking of my next ship! Richard, thanks for dropping in. Yes, hopefully i'll do a better job with the second planking than I did with the first. In any case, I will probably start the second planking (below the waterline) very soon. I may as well get this done while there are no fragile elements that project out the top.
-
Looking forward to follow your build, Bob. Anything in the public domain can be used in any way that you like, provided credit is given and you do not make a profit from the information.
-
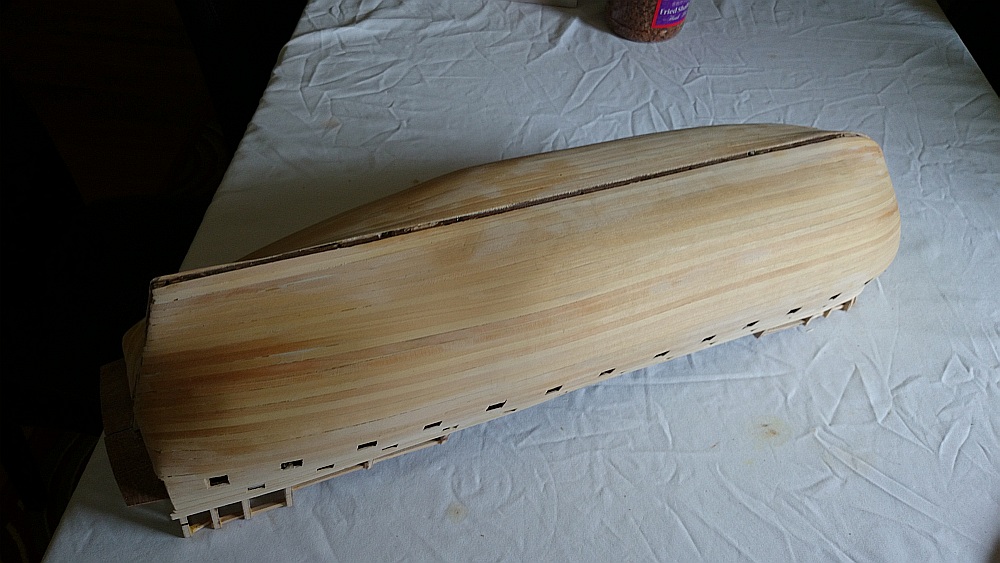
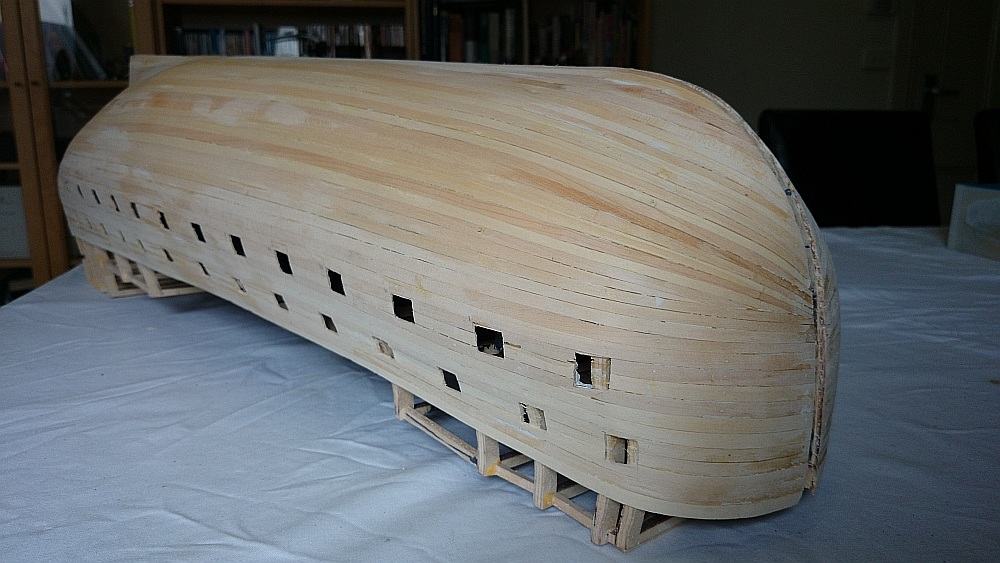
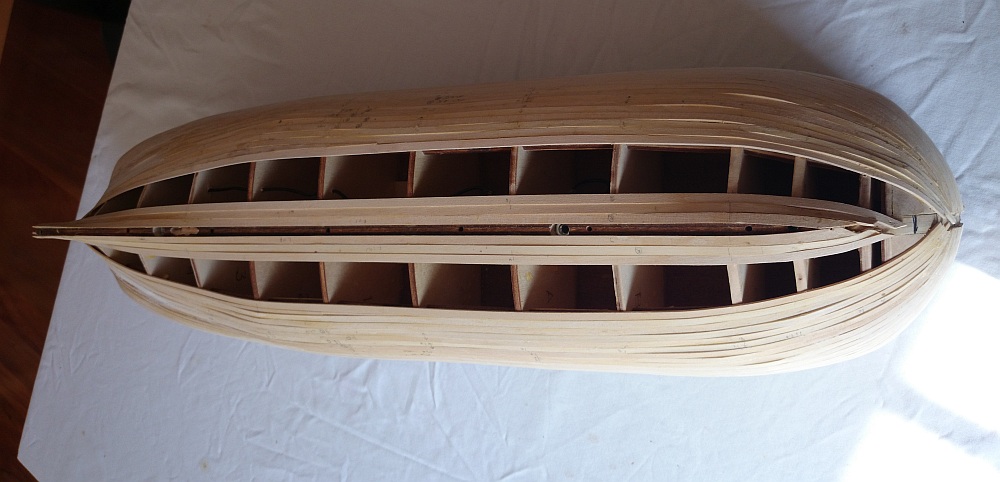
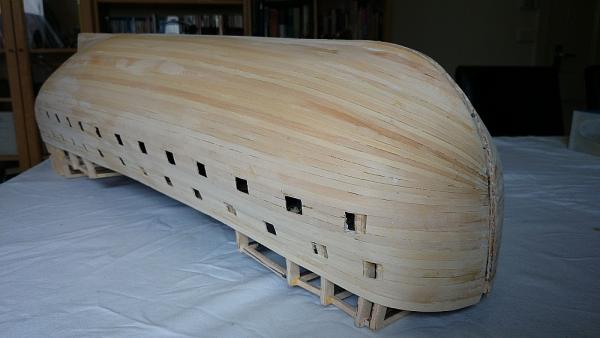
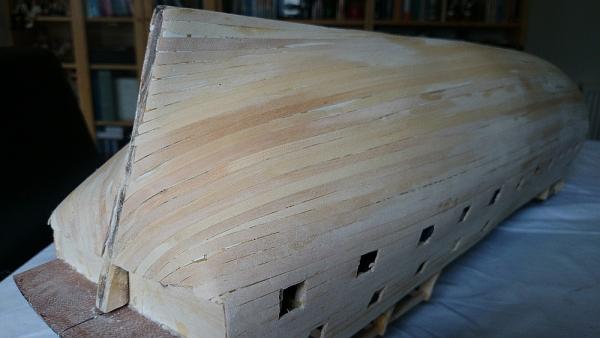
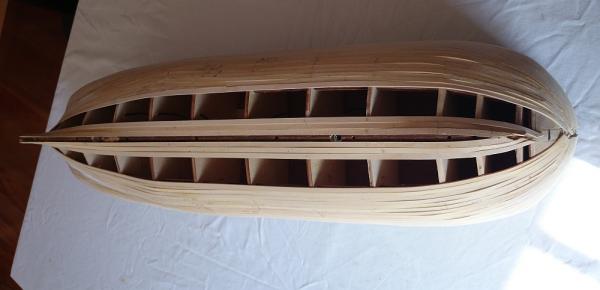
Planking down to the keel is now completed. I have also cut out the second row of gunports. Here she is, all sanded down and ready to go ... while I ponder what to do next. My ambition when I started out was to use no filler. Sad to say, I had to resort to the dreadful stuff. At least I didn't have to use much of it! Yes, I know it will be hidden by the second planking, but it would have given me a lot of satisfaction if I did not have to use any of it.

-
Chris, I would give one of my kidneys for a Prince or the 64th scale Victory. At least I know that the Victory is close by, she should hopefully be on the market by the time I finish my current build.
-
She looks great, Capn! I remember when my boat was at the same stage, the feeling of relief that I had finished planking AND she still looked decent was palpable. Congratulations, that's probably the most intimidating part of the build over. Hopefully the rest will be smooth sailing.
-
Yes there is sanding room built into the planks. The most critical plank to install is the garboard plank, make sure you don't install it too far forward! That was a mistake I made, and a number of other people as well.
-
Chris, may I suggest that you create an admiralty type model as your next project?
-
I just love your small details. Could you share how you made those buckets please?
-
What is going to be released? The Victory? Or the Roman galley?
-
No it hasn't, Brian. Not even been cut yet. I had the misfortune of placing my order soon after he received a few massive orders, so the backlog was about two months Maybe it would be quicker if I asked him to deliver the blanks and I could borrow your Byrnes saw and thicknesser for an afternoon?
-
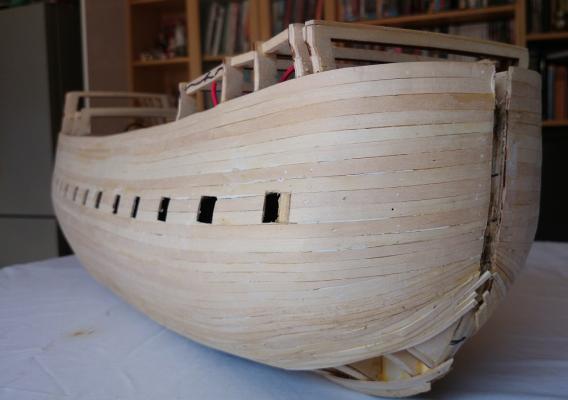
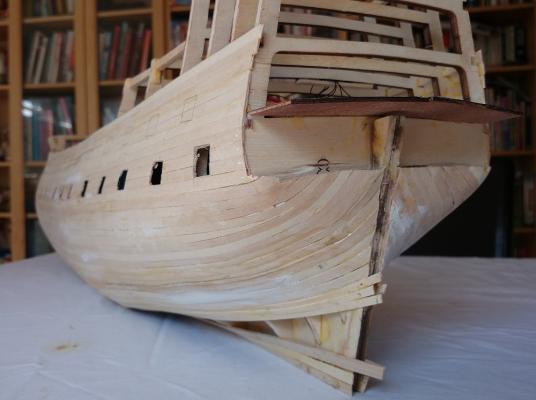
Just a little update to remind you that i'm still beavering away at this little boat. Not much to say except that first planking is almost finished up to the level of the second deck!
-
I built the HMS Bounty from Artesania Latina. I believe that OcCre sell the same kit. The unique feature of this kit is that the side is open, allowing you to see the inner decks and offers scope for more detailing if you so wish. The kit is single plank on frame, meaning that your planking mistakes are there for all to see if you are not careful! Fortunately the wood supplied is good quality. The frames are made from plywood, which means they need to be stained since they will be on full display. The downside of this kit is that the rigging instructions are poor and confusing. You are supplied a full size plan of the ship, but it is not clear where the lines go nor where they start. I purchased the Anatomy of the Ship book to help guide me and found that some of the rigging instructions were incorrect. Nevertheless, I just ran the lines where I wanted to and it produced an acceptable looking ship. This was early in my modelling career where accuracy was not as important as it is now!
-
That's great, keep the updates coming!
-
You will definitely lose tactile feedback by using surgical gloves. I am a little confused as to why your skin is splitting. Do you have a skin condition? Perhaps you should see a doctor?
-
I'll be watching this one too. Can I ask - what are the daggerboards for?
- 220 replies
-
- 1
-

-
- finished
- volvo open 70
- (and 1 more)
-
Hi Richard, don't worry about the cherry frames being loose. The only structural role they have is to hold the planks together. They are too weak to hold the shape of the boat. As you will find from reading several build logs, the boat seems to get wider after she is removed from the plug. The most important structural element, apart from the planks, are the thwarts. You will notice your boat will feel much more solid after you install these ... much later in your build!
-
I suggest you view this thread and watch the video. It is VERY helpful. http://modelshipworld.com/index.php/topic/5471-new-video-on-basic-soldering-for-scale-models/
-
Hi Richard, I sanded it down freehand. But if I were to do it again I would glue a handle on it with some PVA and sand it face down on some sandpaper. The handle can be removed with alcohol later. Any residual glue marks would be hidden under the planking.
-
Yes Richard, that's what I did. I sanded it back and then planked over it.