BobG
-
Posts
3,109 -
Joined
-
Last visited
Content Type
Profiles
Forums
Gallery
Events
Everything posted by BobG
-
Congratulations! You did a wonderful job on her especially for your first build.
-
Thanks everyone for the likes and thanks very much Chuck and VTHokiEE for the info on coiling ropes and making them hang naturally. The California governor has advised that everyone over the age of 65 stay home indefinitely. I guess I should be able to get quite a bit done before I go stir crazy. We are living in unusual and uncertain times. If there ever was a time for the whole world to come together for a common cause, this is one of those times. Stay healthy and safe everyone. Hopefully, we'll get through this sooner rather than later. Be well my friends,
- 170 replies
-
- 4
-

-
- medway longboat
- Syren Ship Model Company
- (and 1 more)
-
I could use some advice about how to make natural looking coils of rope and how to seize them to belaying pins etc. Thanks.
- 170 replies
-
- 1
-
-
- medway longboat
- Syren Ship Model Company
- (and 1 more)
-
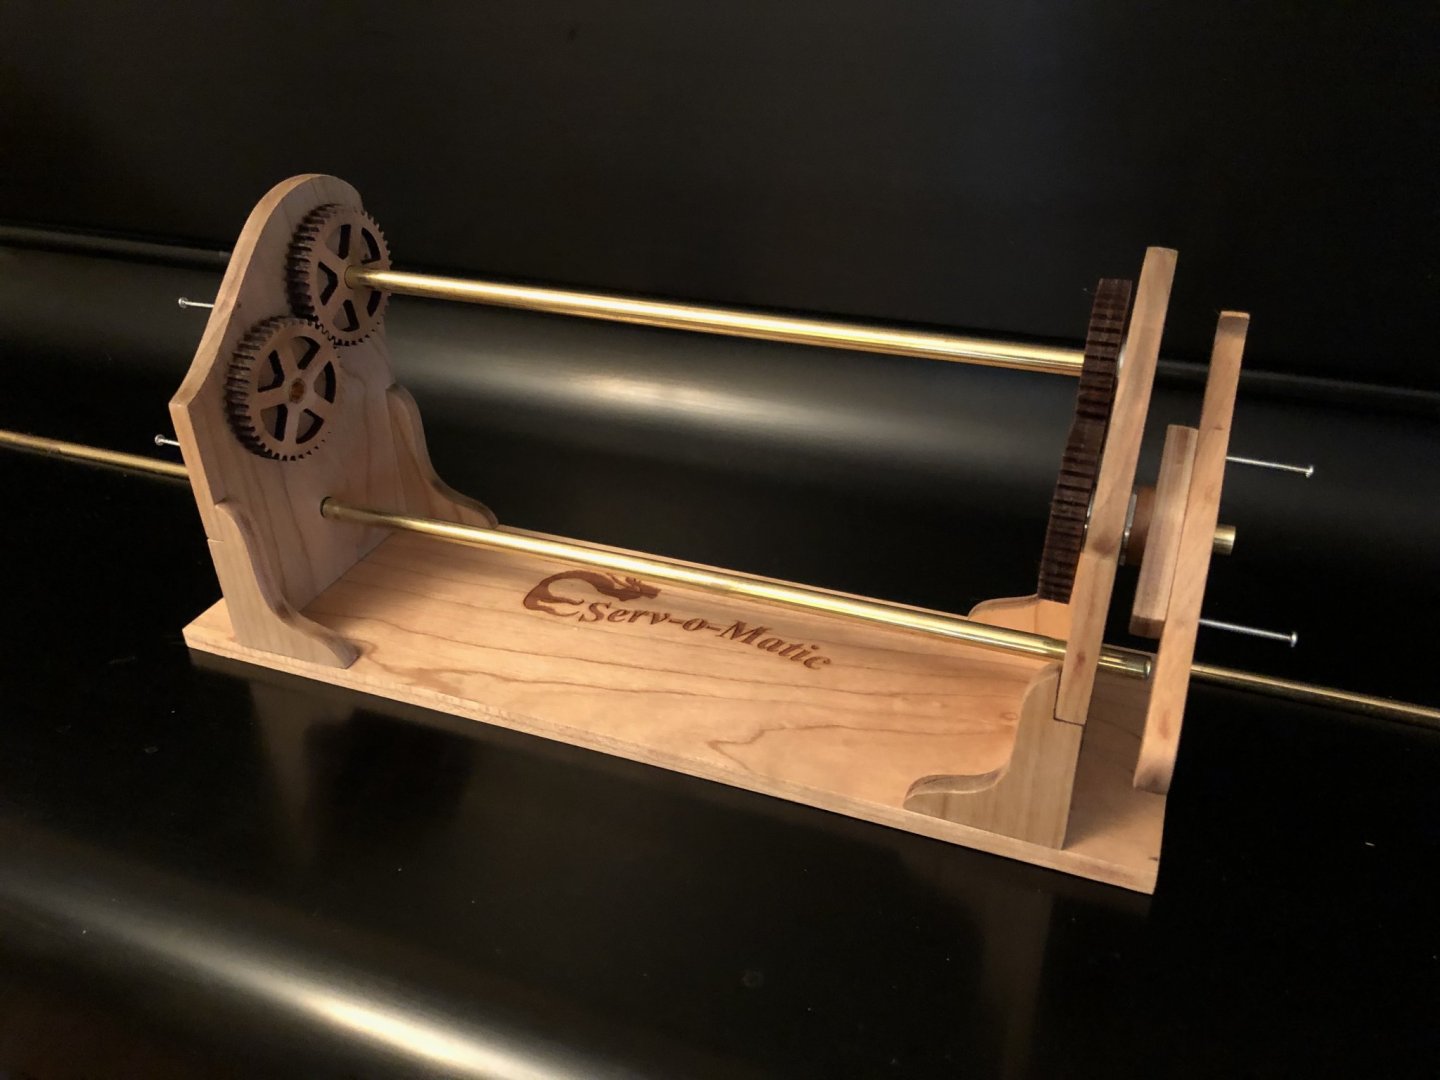
I got a Syren Serv-O-Matic and had fun assembling it. Now I need to try it out so I can learn to serve the rope for the shrouds. That's my next task along with making the chainstays and getting them mounted on the boat and rigging the deadeyes. I've still got a ways to go but there's a light at the end of the tunnel!
- 170 replies
-
- 9
-
-
- medway longboat
- Syren Ship Model Company
- (and 1 more)
-
So I'm finally making some headway in the rigging. There's been a lot for me to learn and it's been a slow process for me. Strangely, as bewildering as it seems at times, I'm actually enjoying it!


- 170 replies
-
- 14
-
-
- medway longboat
- Syren Ship Model Company
- (and 1 more)
-
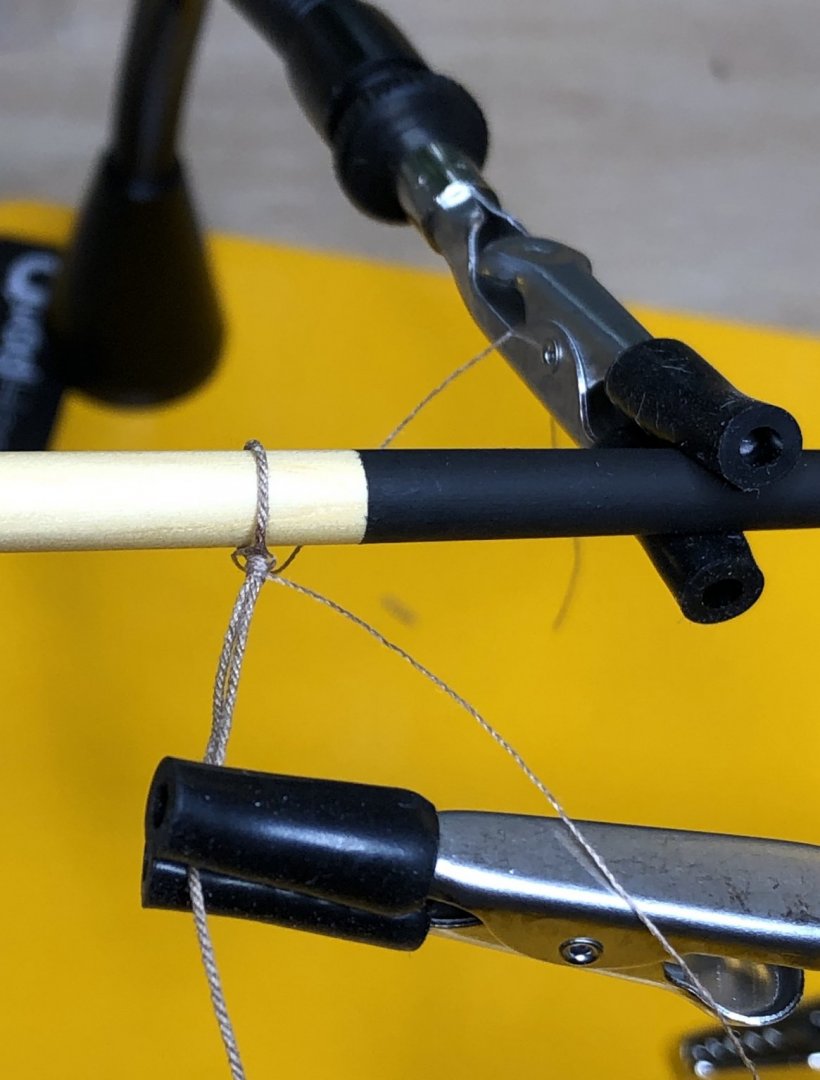
I struggled to find ways to securely hold blocks while stropping them with rope and seizing the rope with rounds of thread. The "Helping Hands" thing I have was practically useless since it is so light and tippy. A tool called Quadhands was recommended in another post I read and so I got one. It's fantastic. It's highly adjustable, extremely stable and heavy and gives you plenty of space to work in. Here's a link to that discussion: Here is a photo of me seizing a loop on the boom using the Quadhands
- 170 replies
-
- 8
-
-
- medway longboat
- Syren Ship Model Company
- (and 1 more)
-
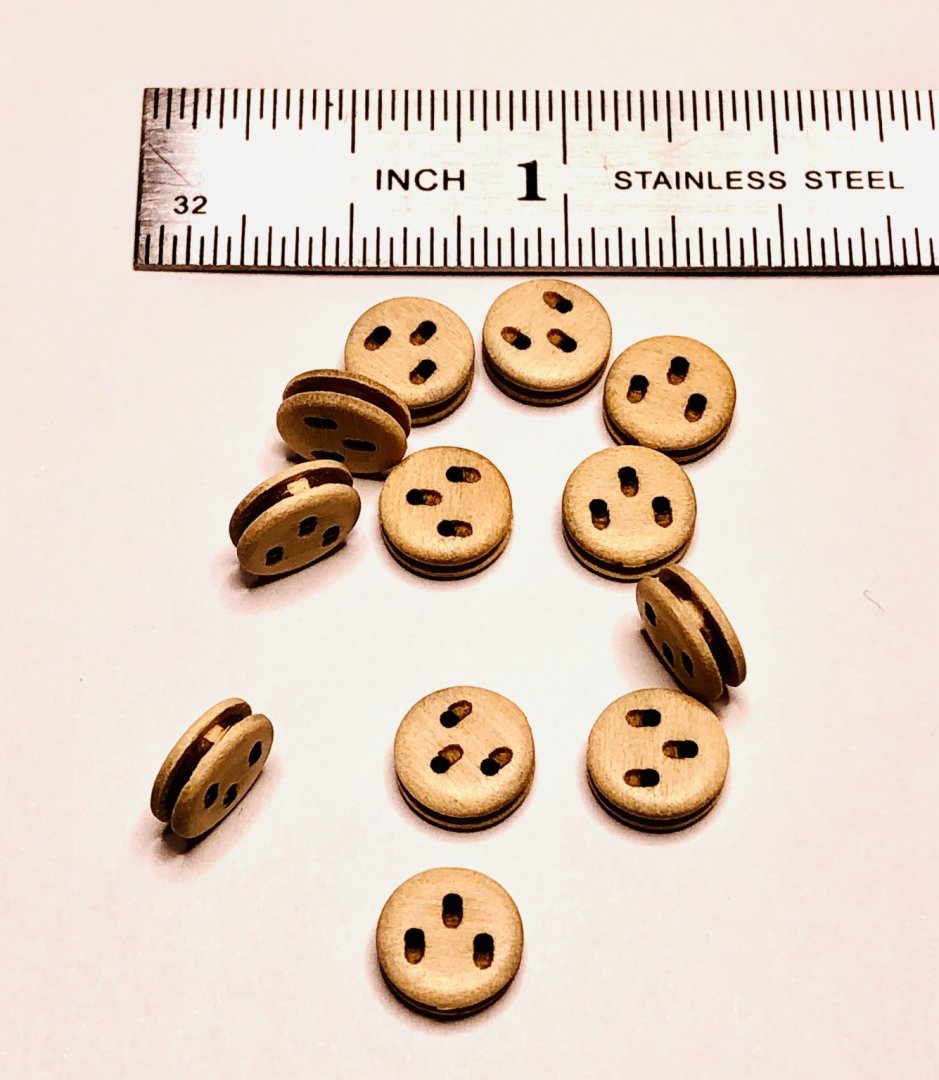
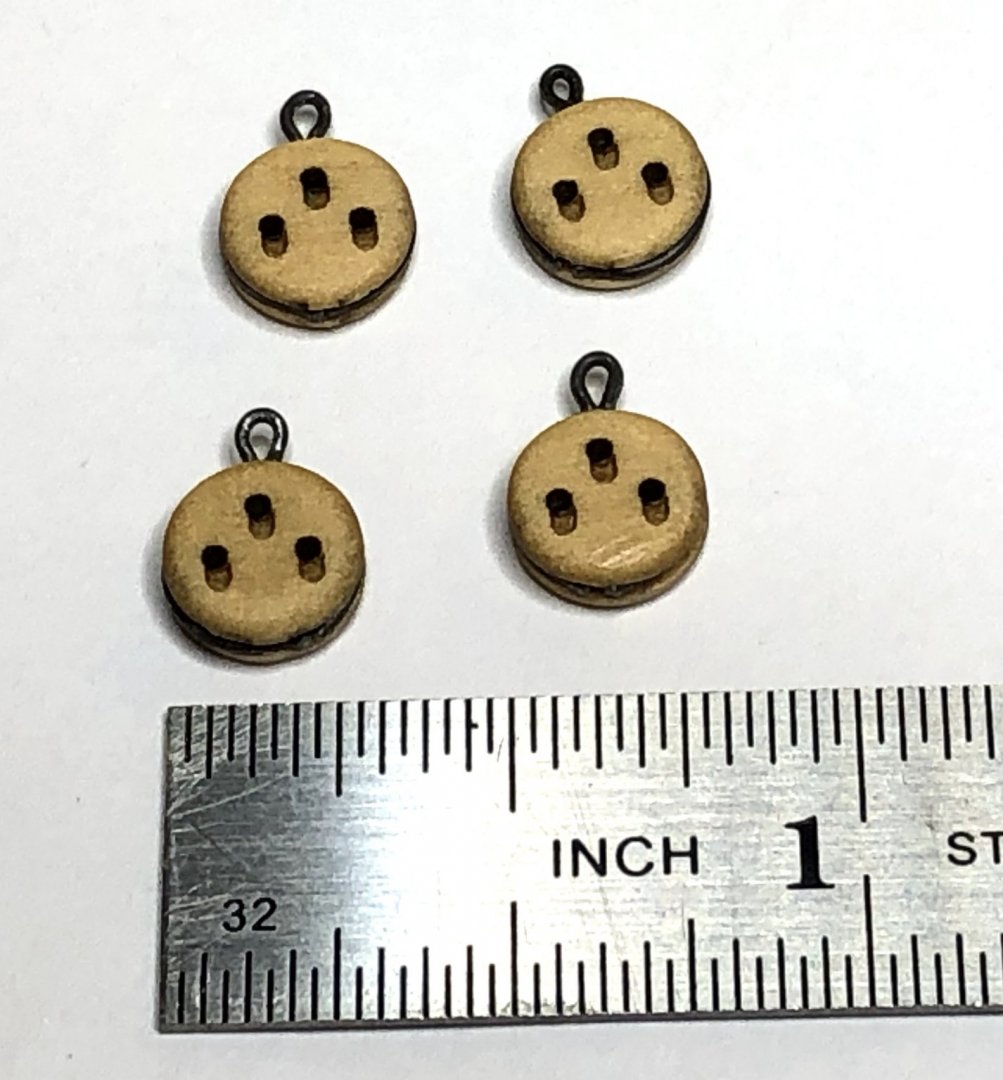
I put together the Syren deadeyes and tumbled them using the Model Shipways Block Tumbler modified like Chuck recommends on his instructions for making the deadeyes. I gave them a coat of Wipe-on-Poly and stropped them with wire and they look good. Here's a link for his instructions: https://www.syrenshipmodelcompany.com/resources/Assembling your Syren Ship Model Company Deadeyes.pdf
- 170 replies
-
- 8
-
-
- medway longboat
- Syren Ship Model Company
- (and 1 more)
-
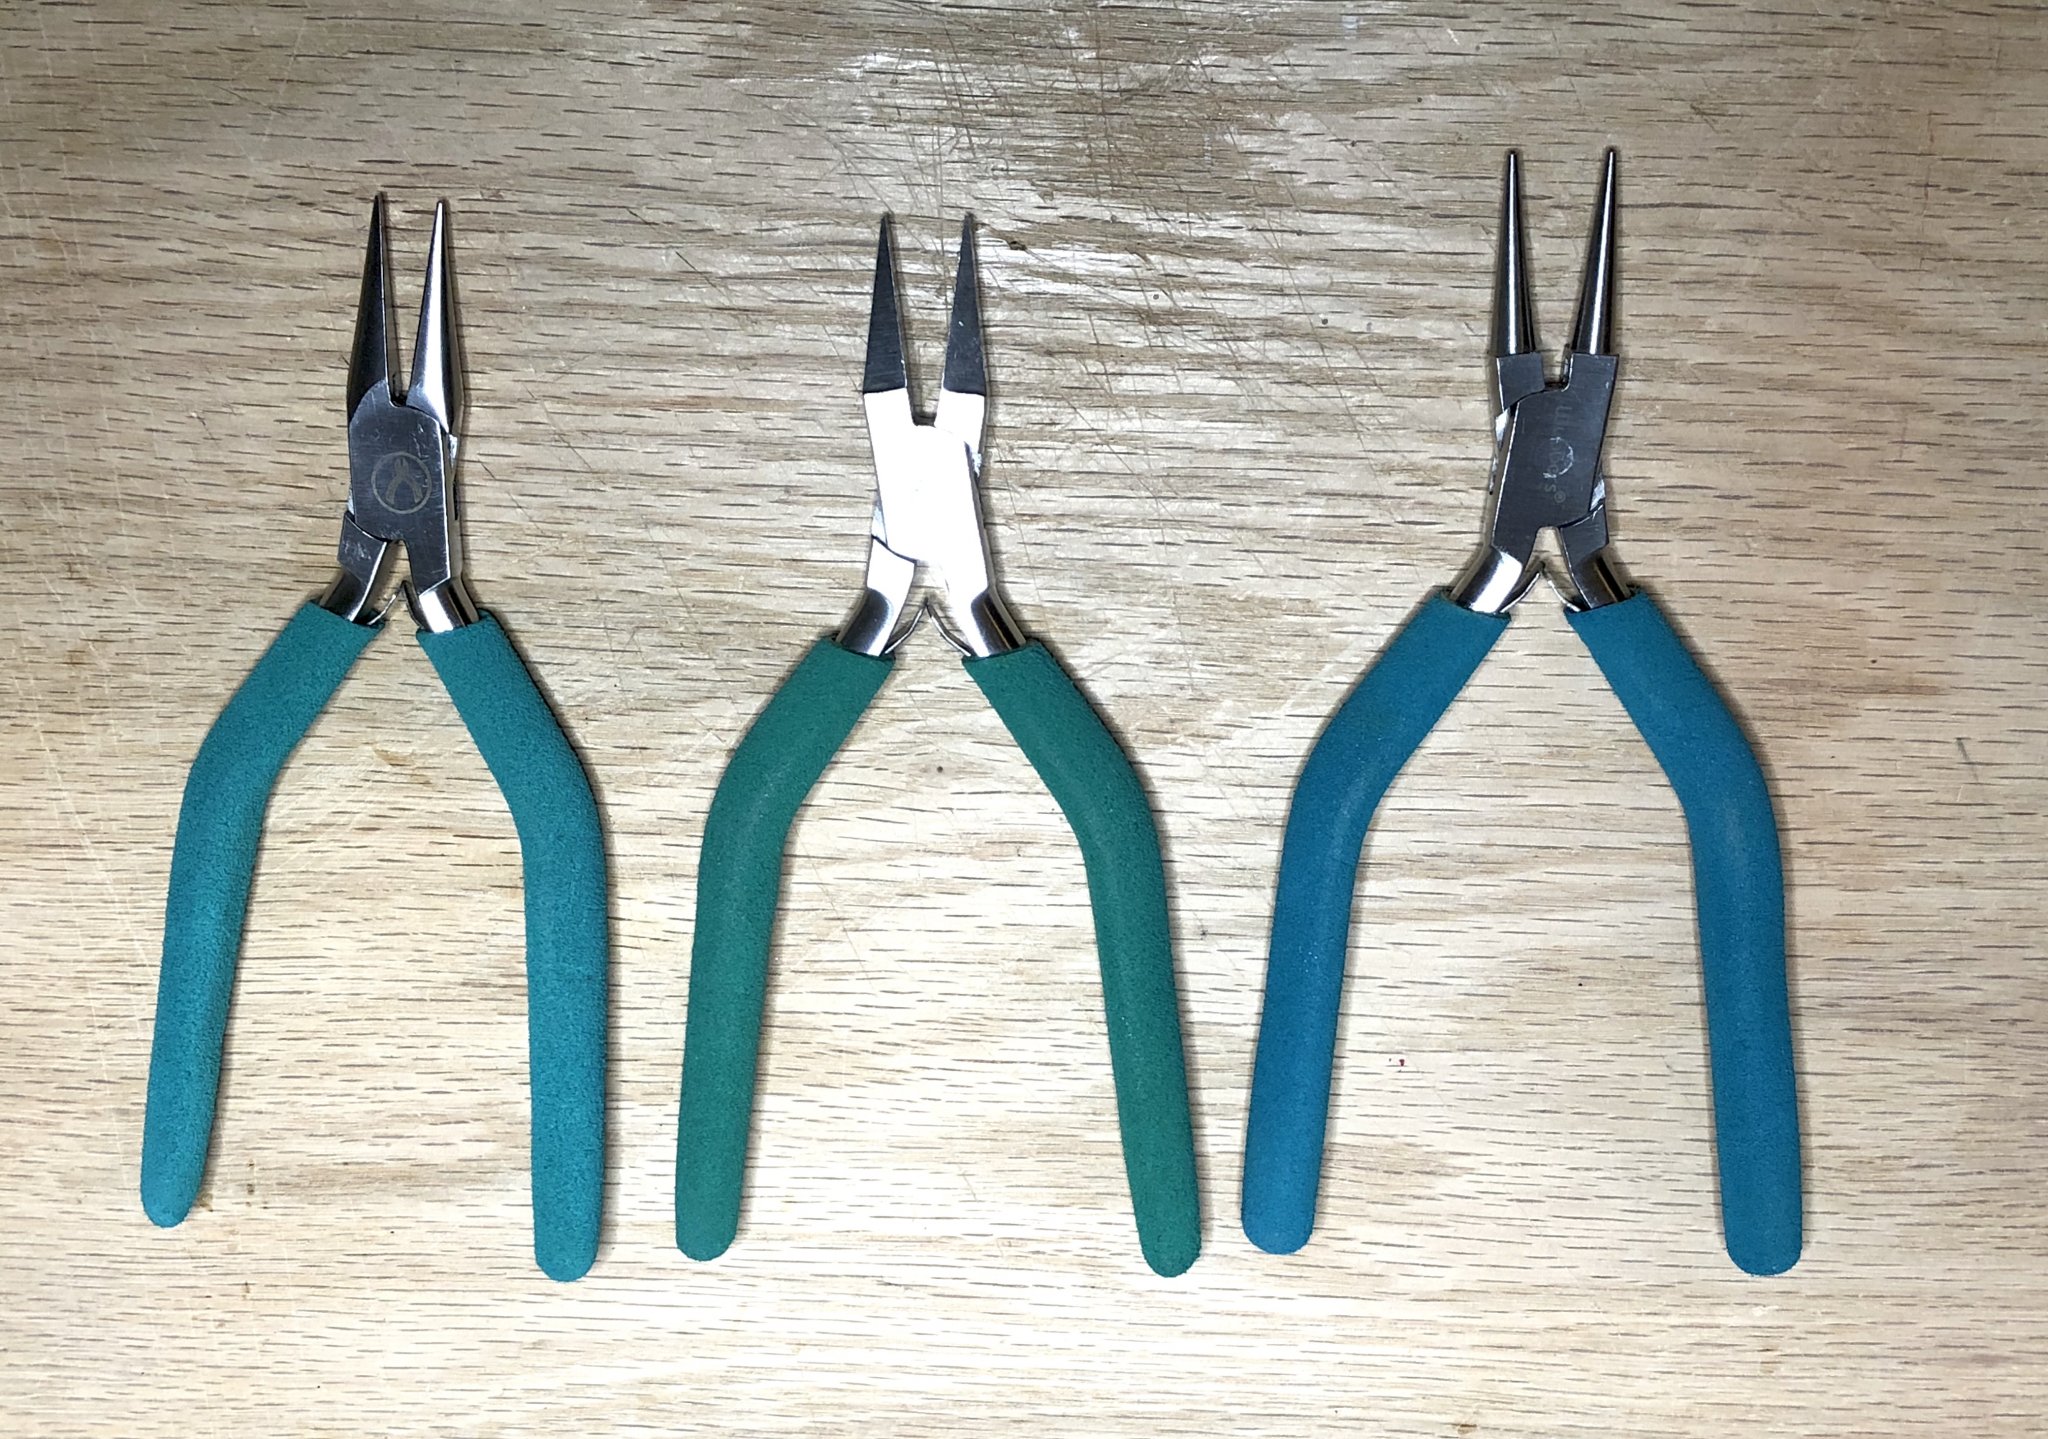
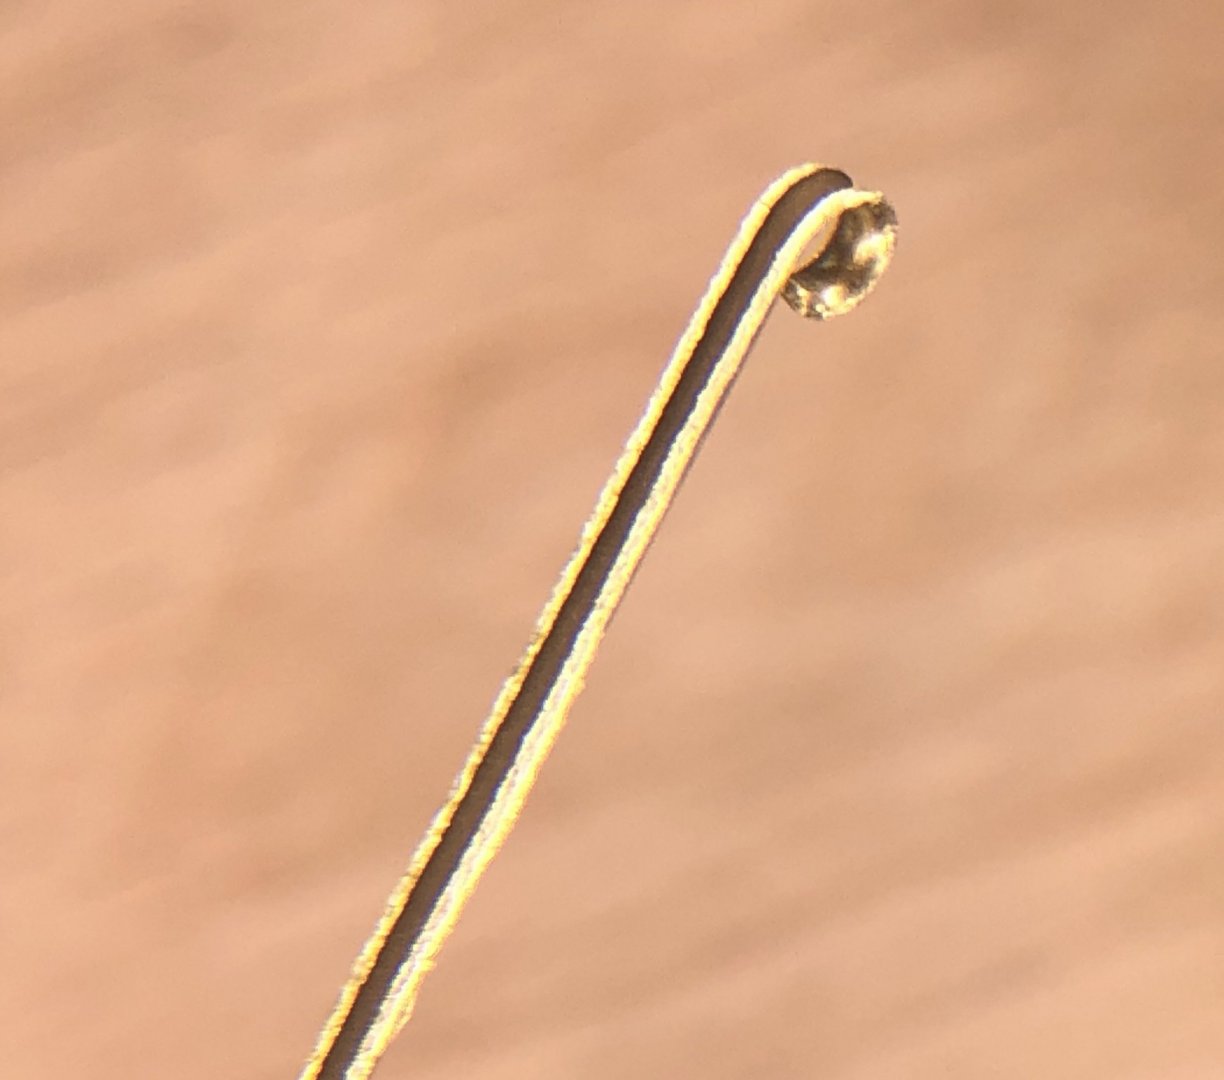
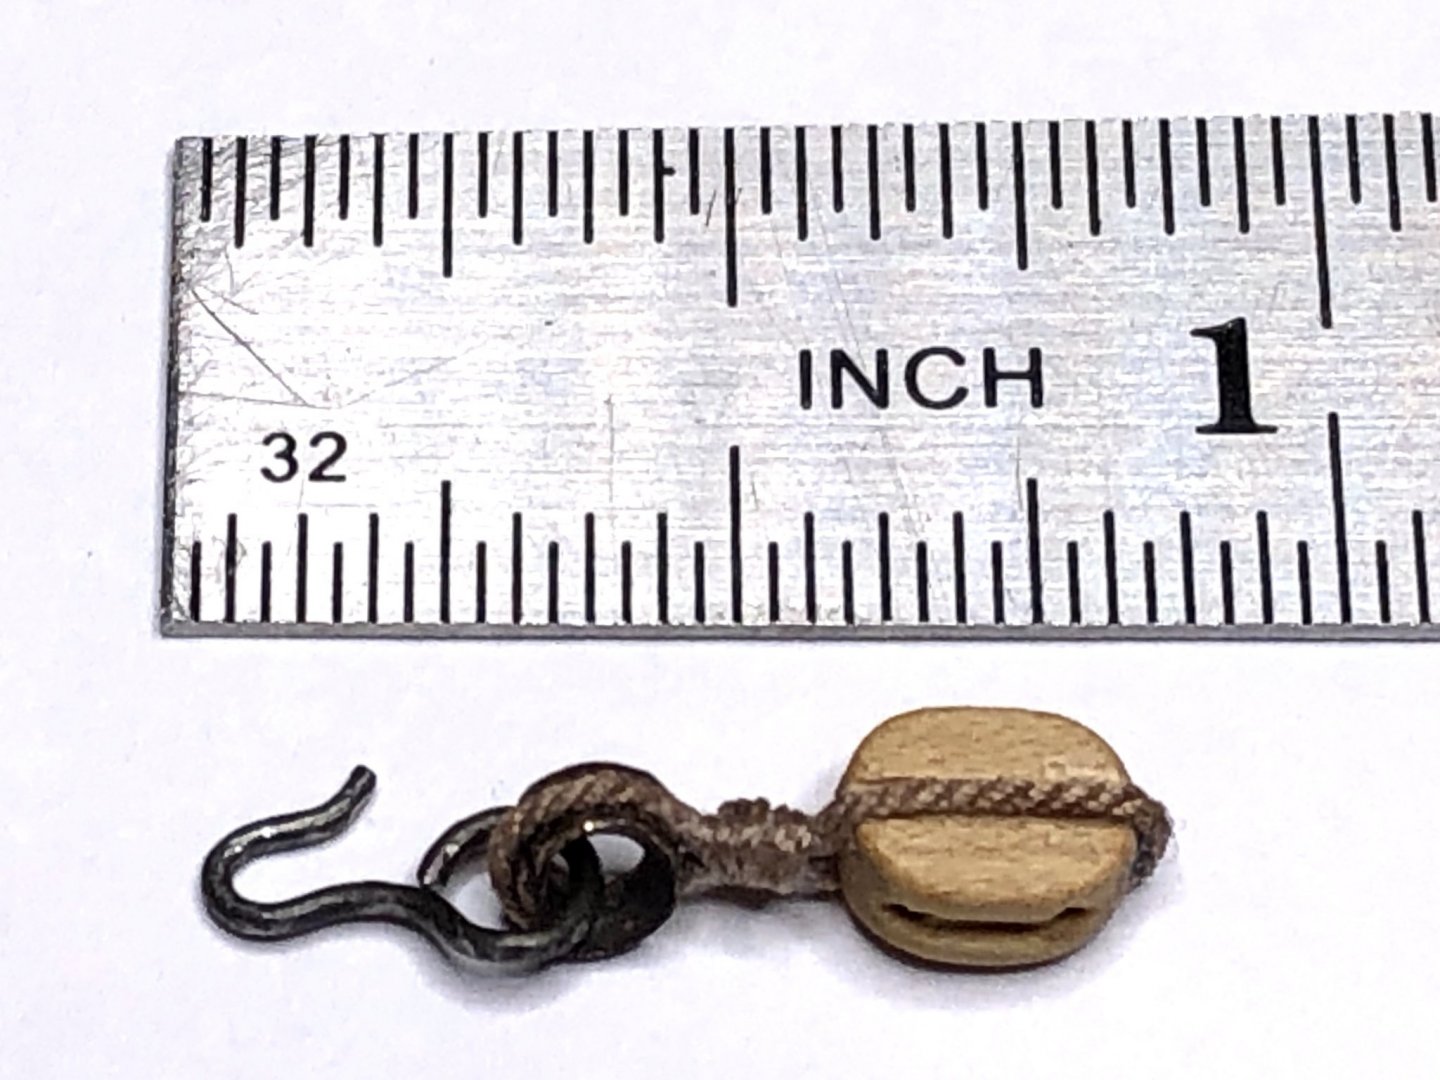
Chuck says that making thimbles are optional but I wanted to try and make them. His are really nice. I tried the method that he describes but, try as I might, I couldn't get the edges rounded symmetrically. I was using a nice set of Starrett mini center punches but they weren't quite right. So I went to a plan B. I took some 1/16" brass tubing and filed it it half. Then I took the resultant U-shaped tubing and bent them into small thimbles and used Jax Pewter Black to blacken them. I got a couple of Wubber's jewelry pliers recently and they work great for working on small metal and wire parts like eyebolts, hooks and thimbles. My thimbles don't look as good as Chuck's but they are so small they actually look ok in use. The photos below look really rough but that's because they are so magnified. The pliers in the first photo are from left to right: needle nosed, wide flat needle nosed and round nosed: This is what the brass tubing looks after I filed it in half and before it is rolled into a circular thimble and then blackened. Here is a block that I stropped with a thimble in the eye and a hook that I made

- 170 replies
-
- 9
-
-
- medway longboat
- Syren Ship Model Company
- (and 1 more)
-
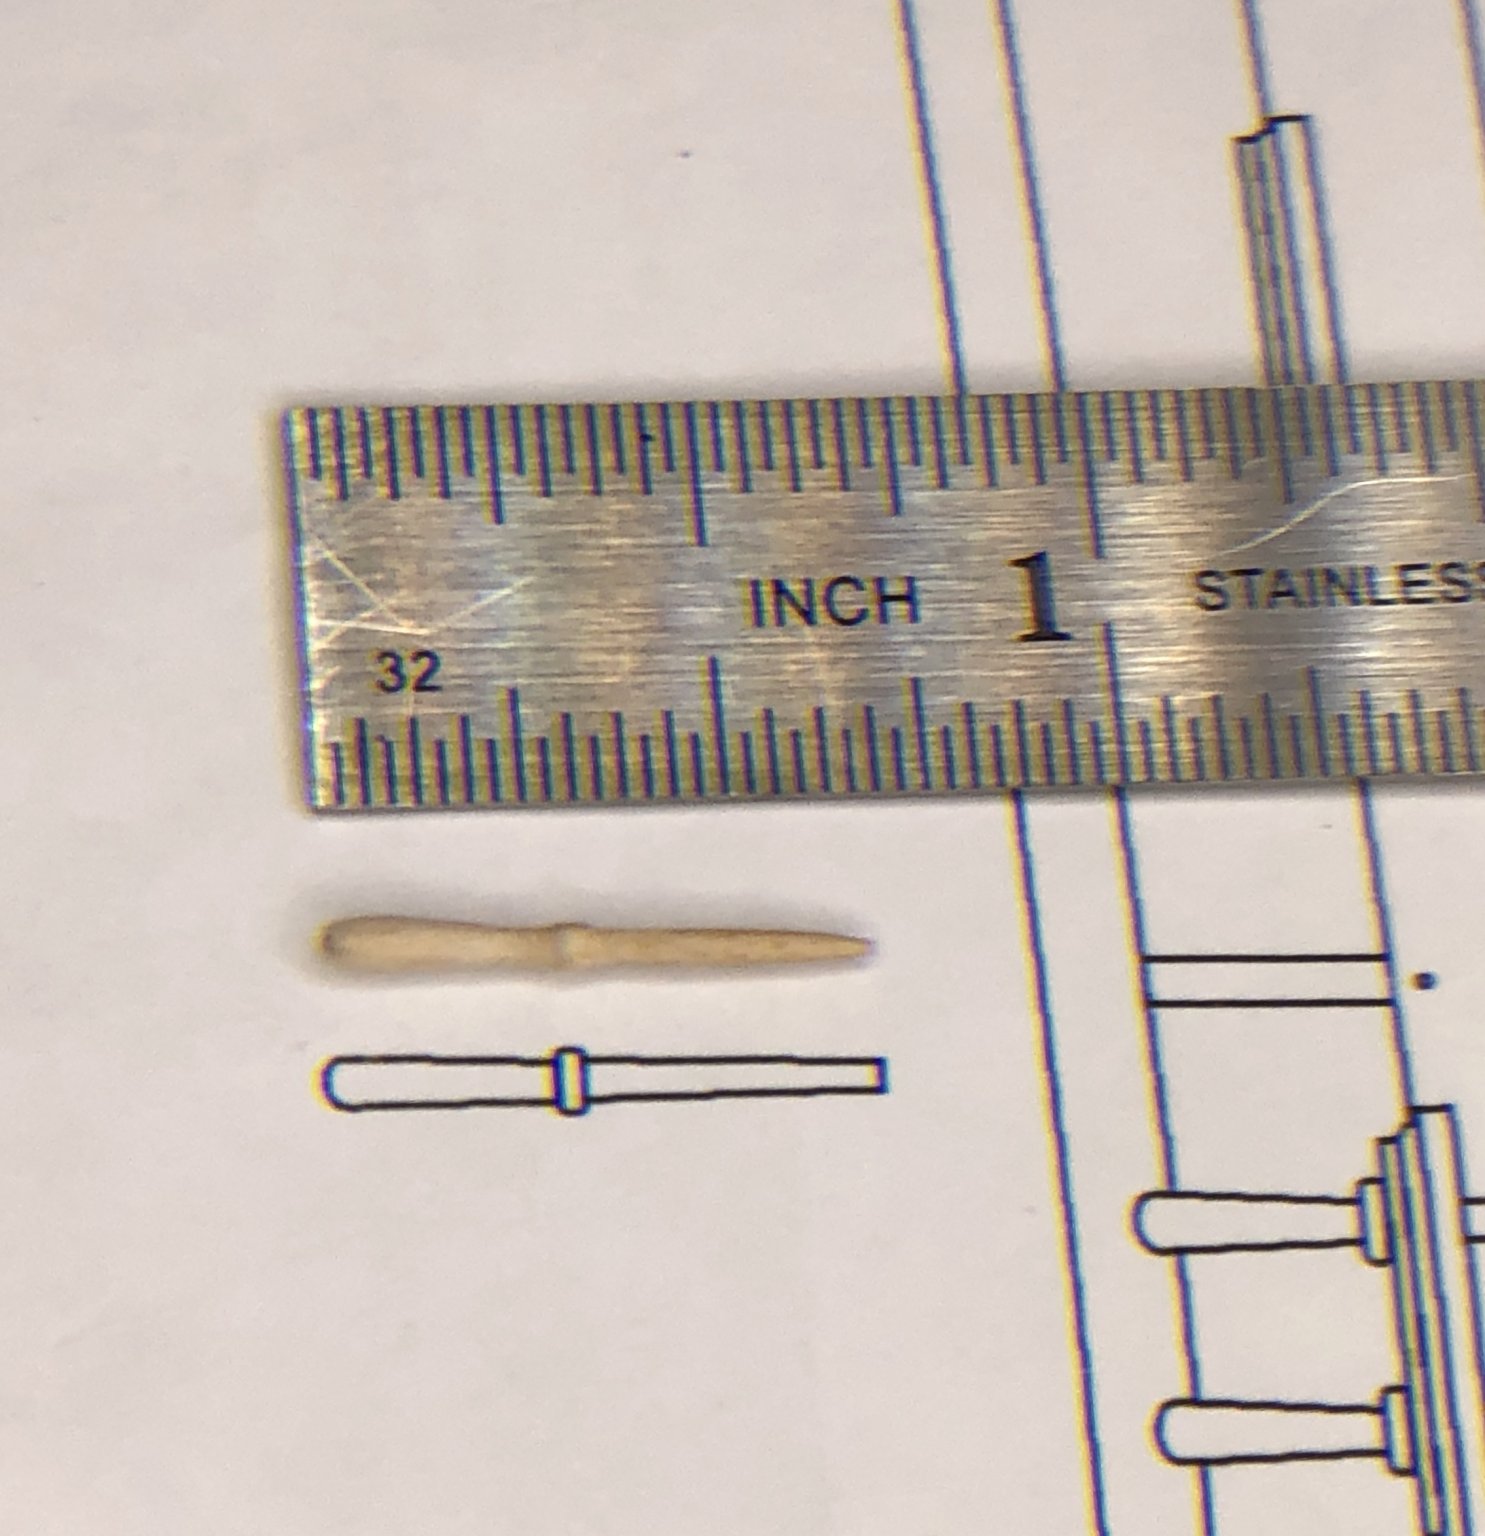
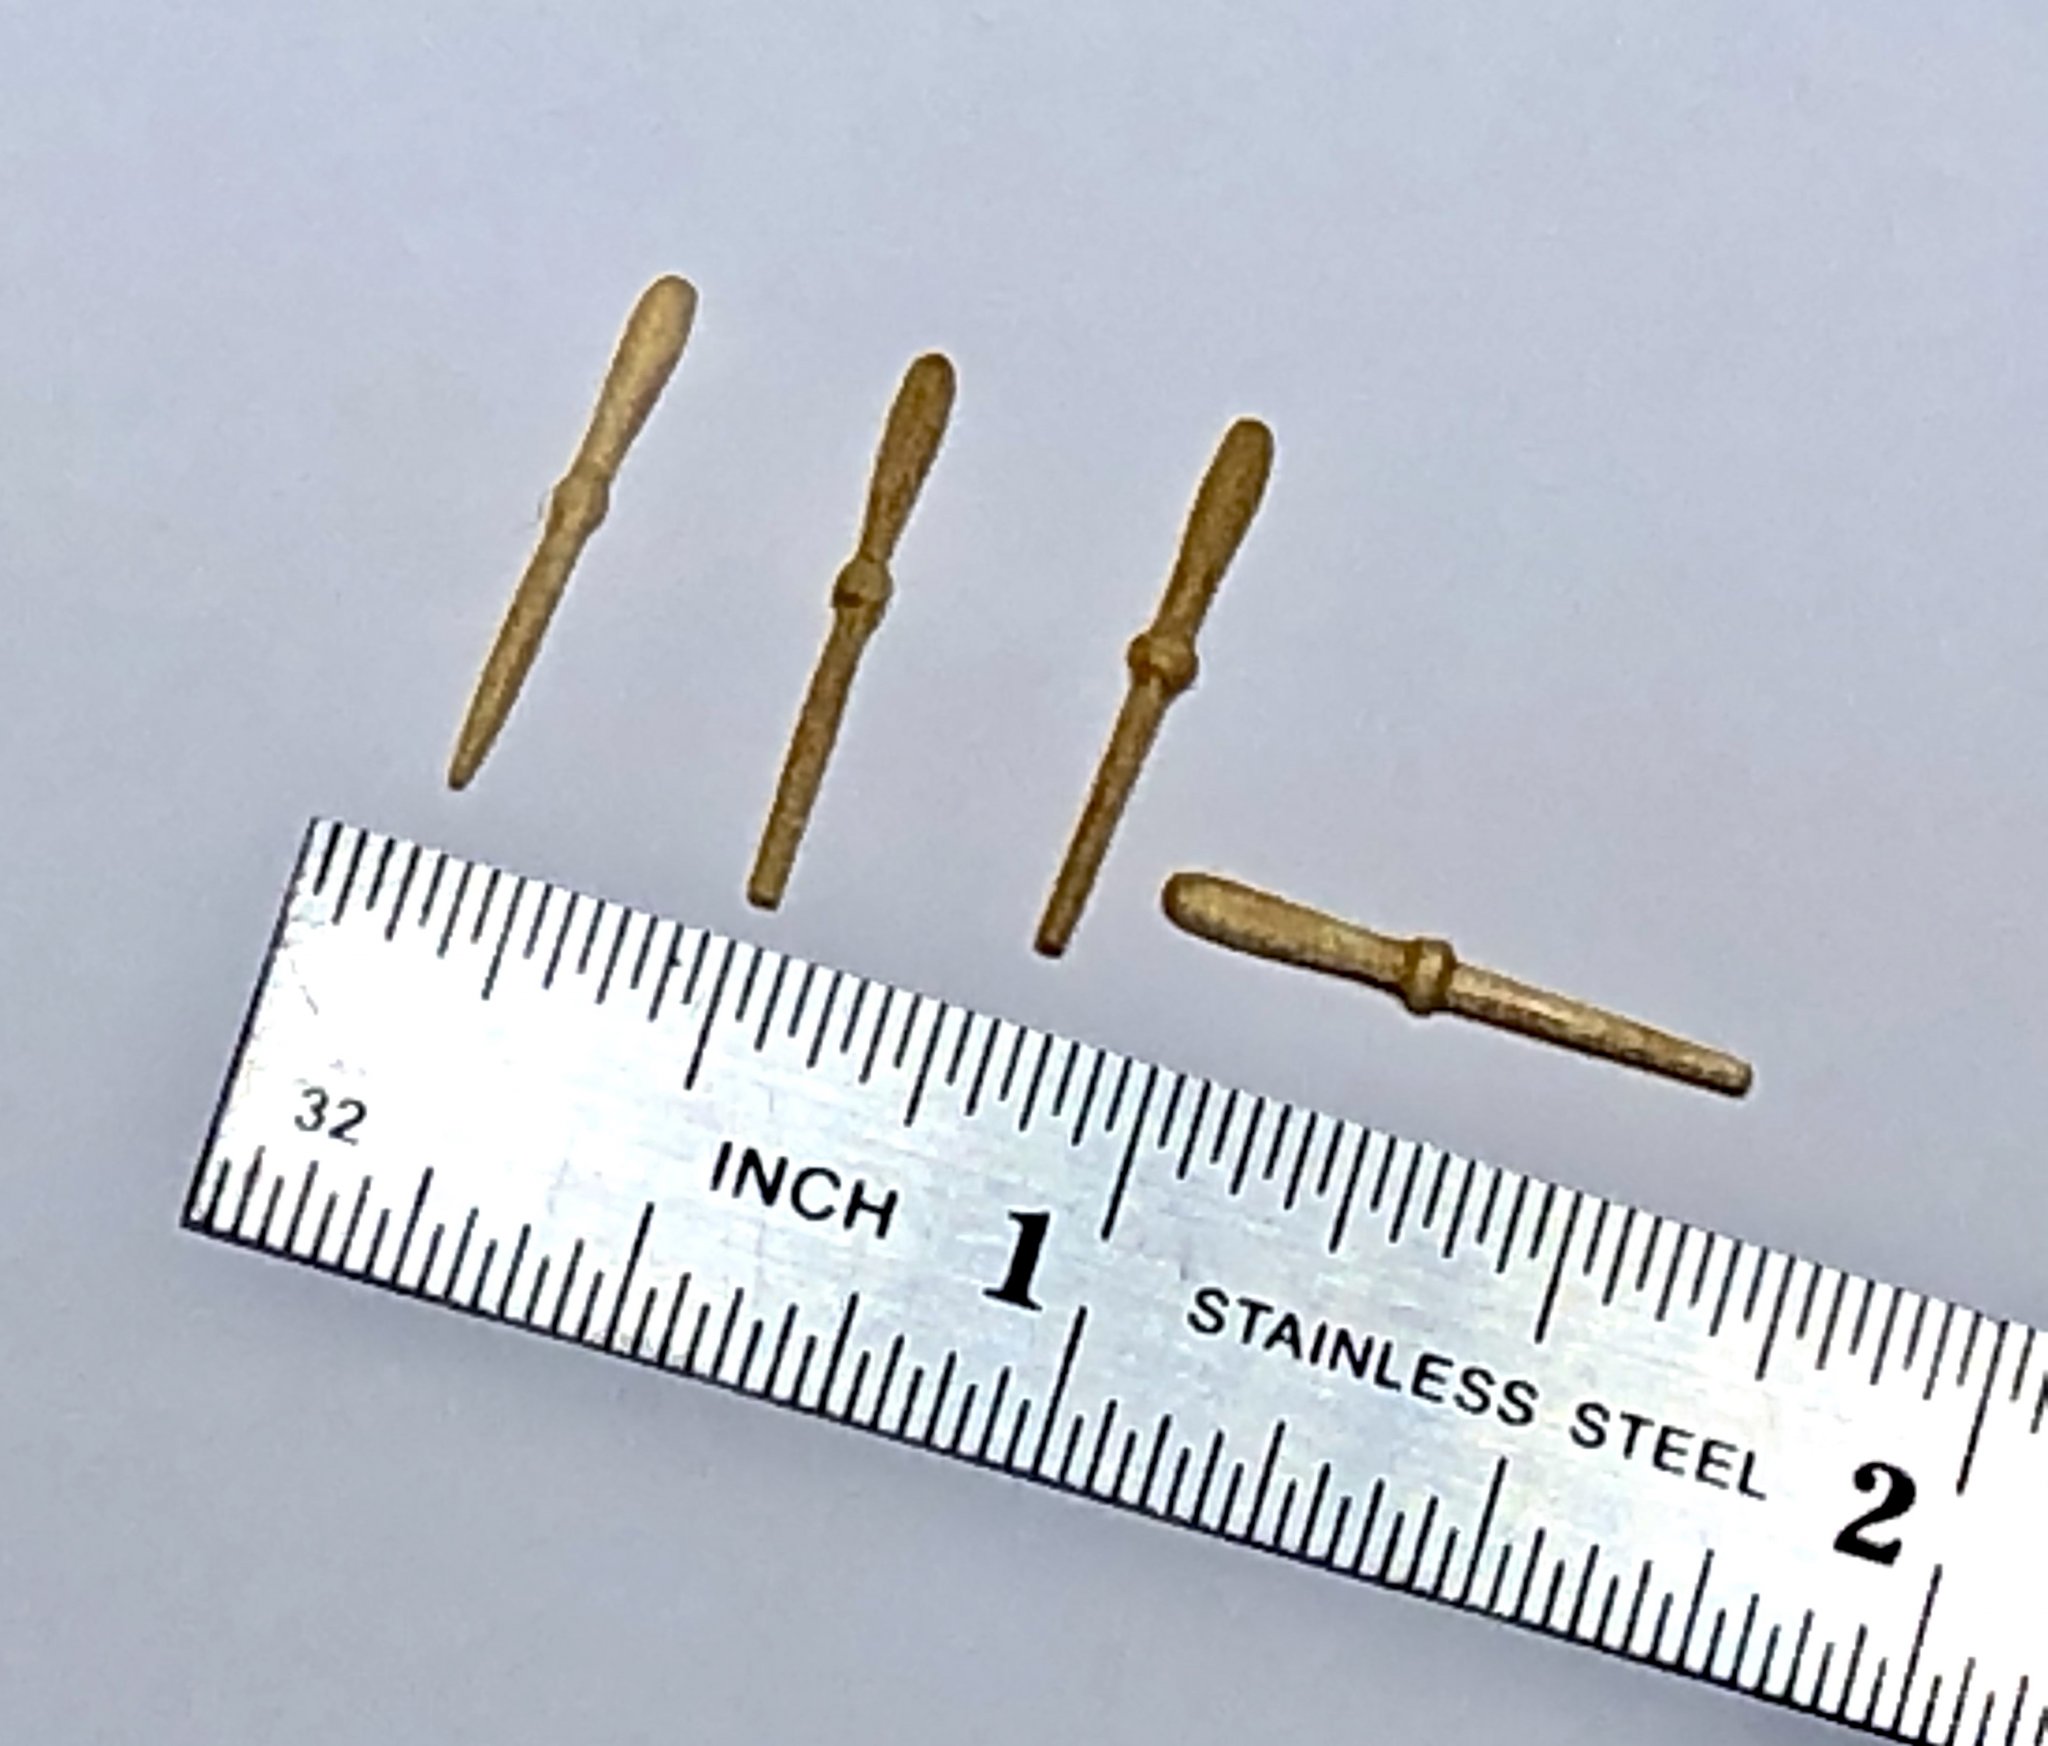
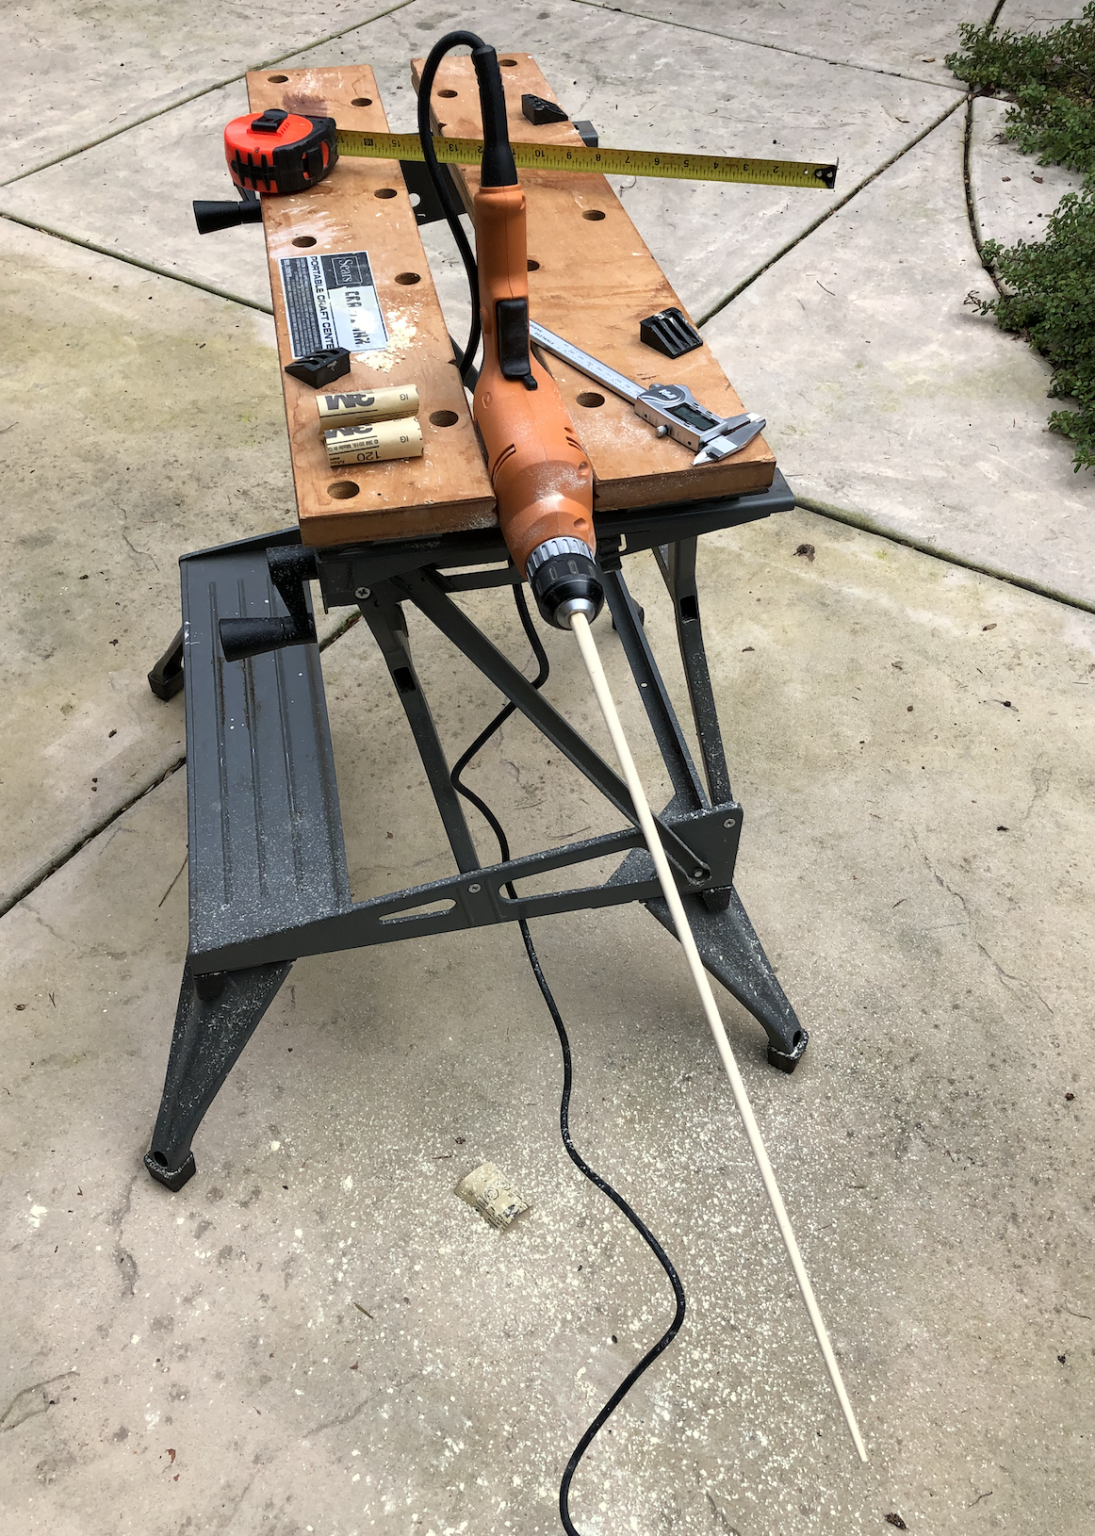
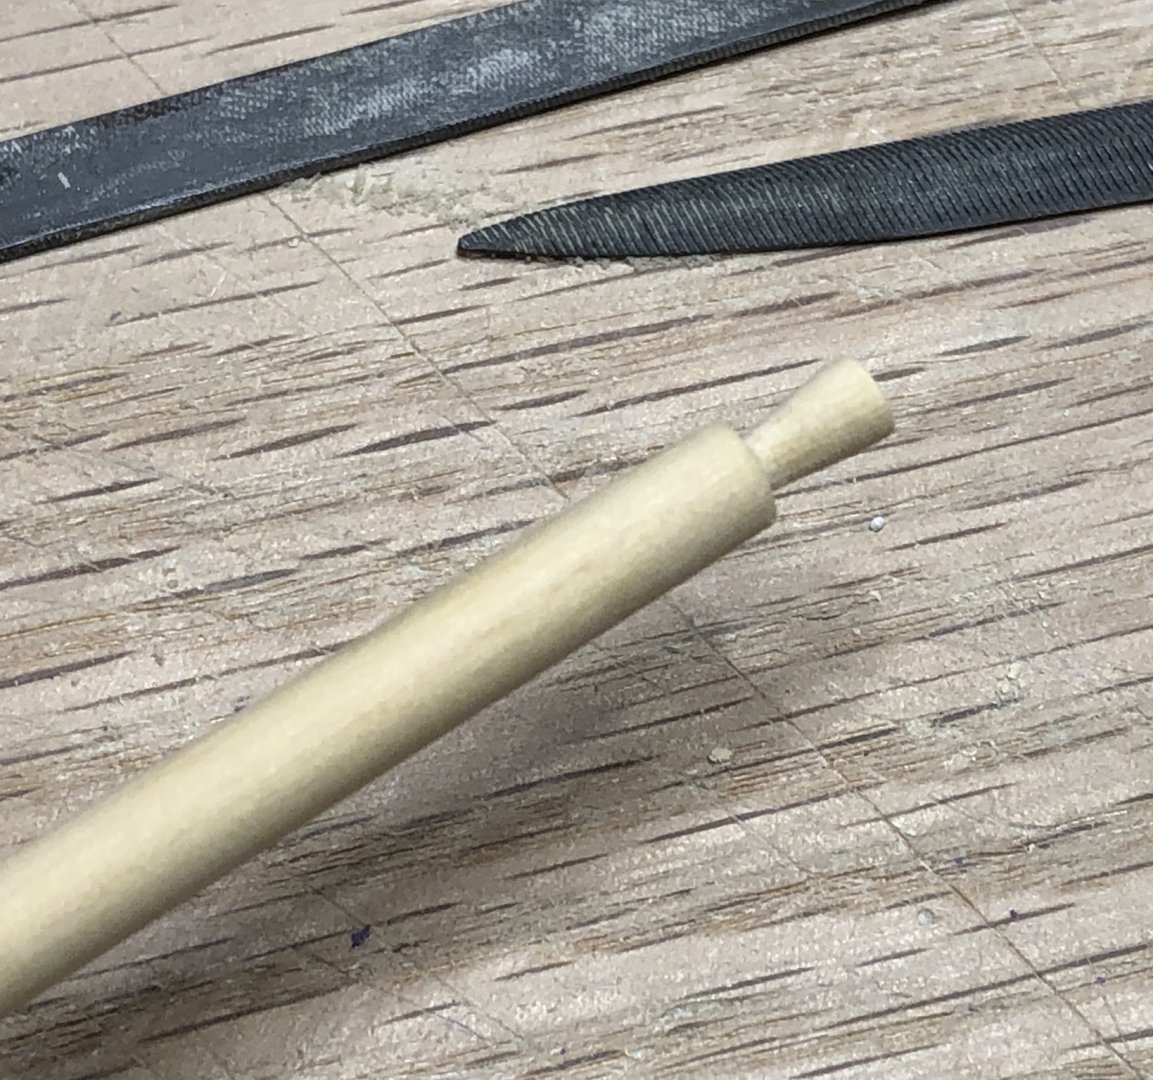
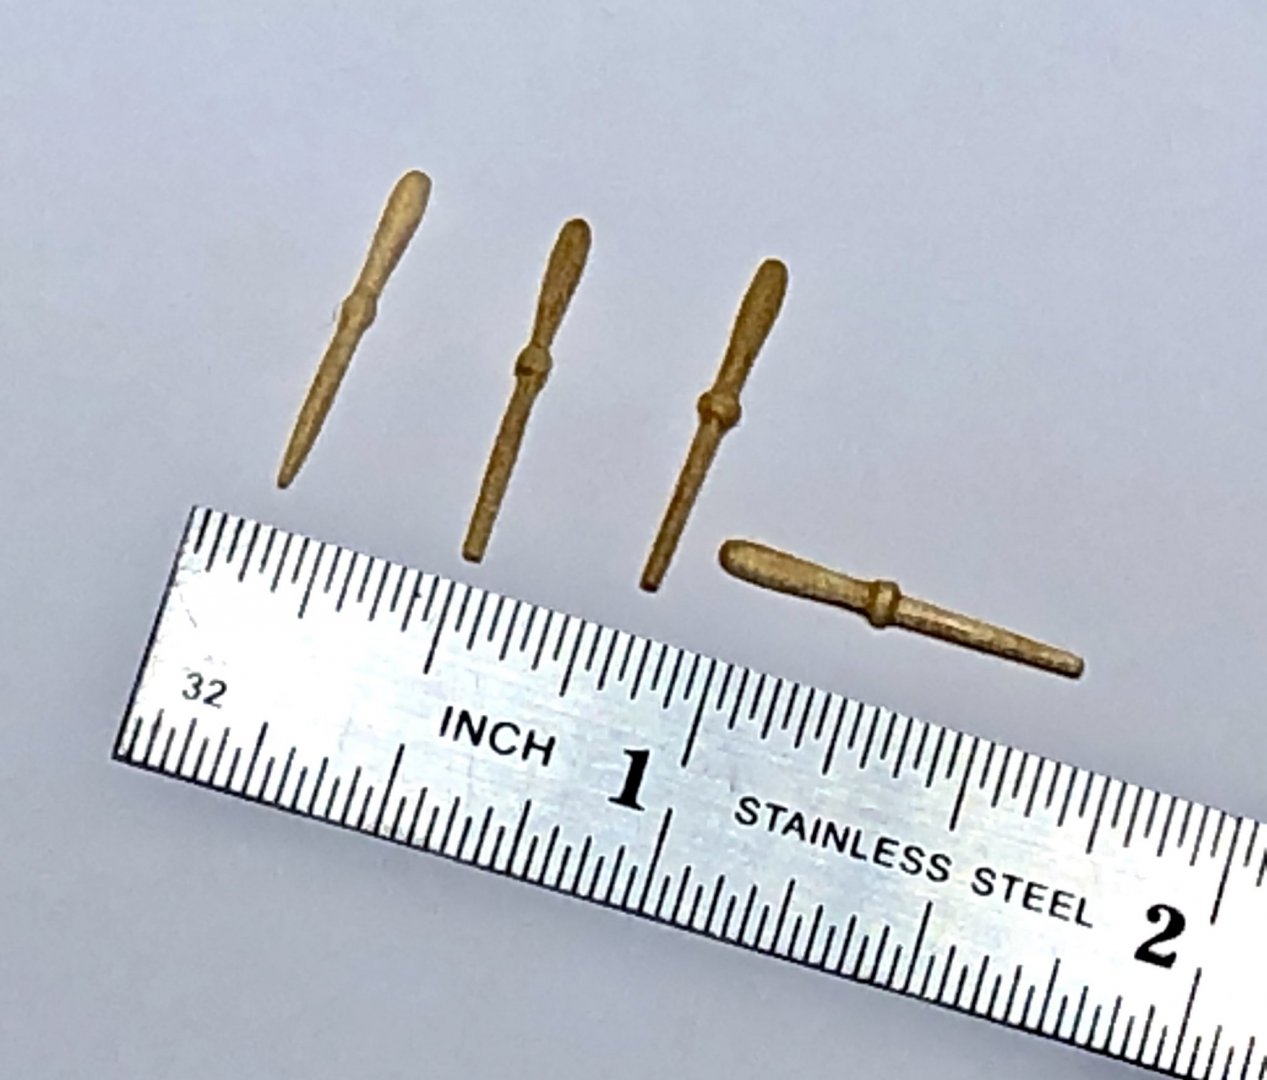
I shaped the end of the gaff using small files and sandpaper. I made the belaying pins using by chucking the square stock in my Dremel and shaping them with 220 sandpaper. It wasn't easy to get 4 of them that were closely similar but they turned out pretty good.

- 170 replies
-
- 11
-
-
- medway longboat
- Syren Ship Model Company
- (and 1 more)
-
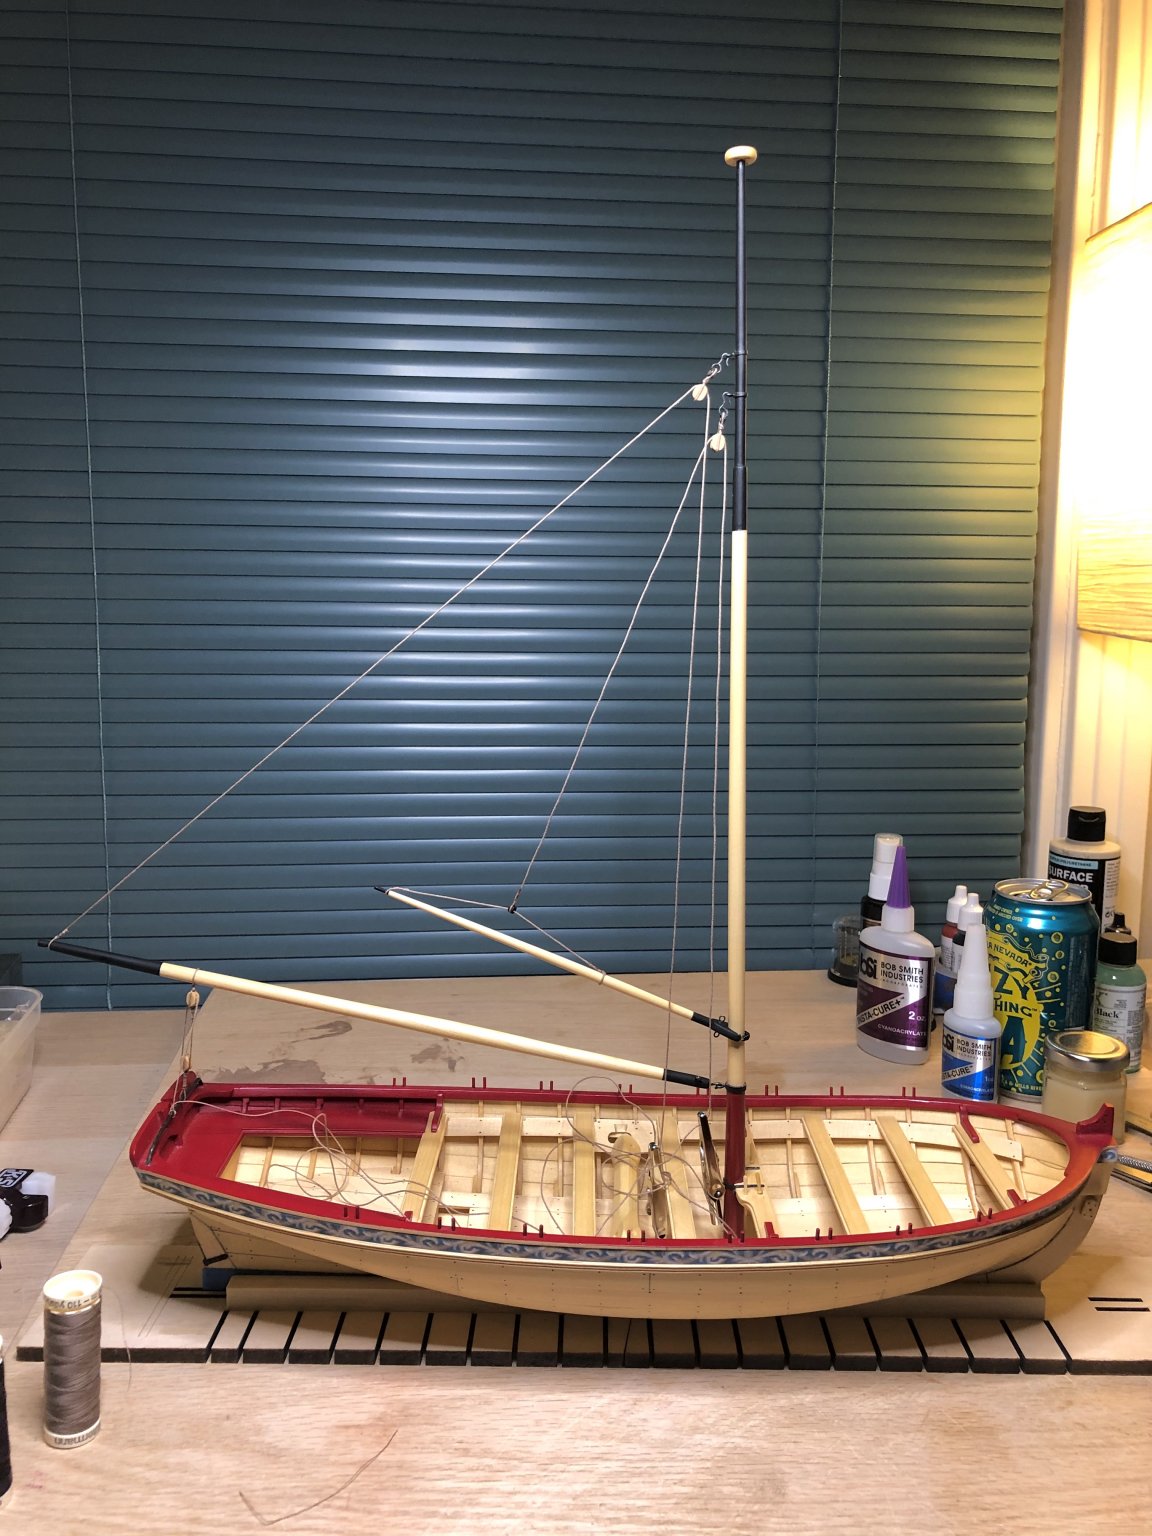
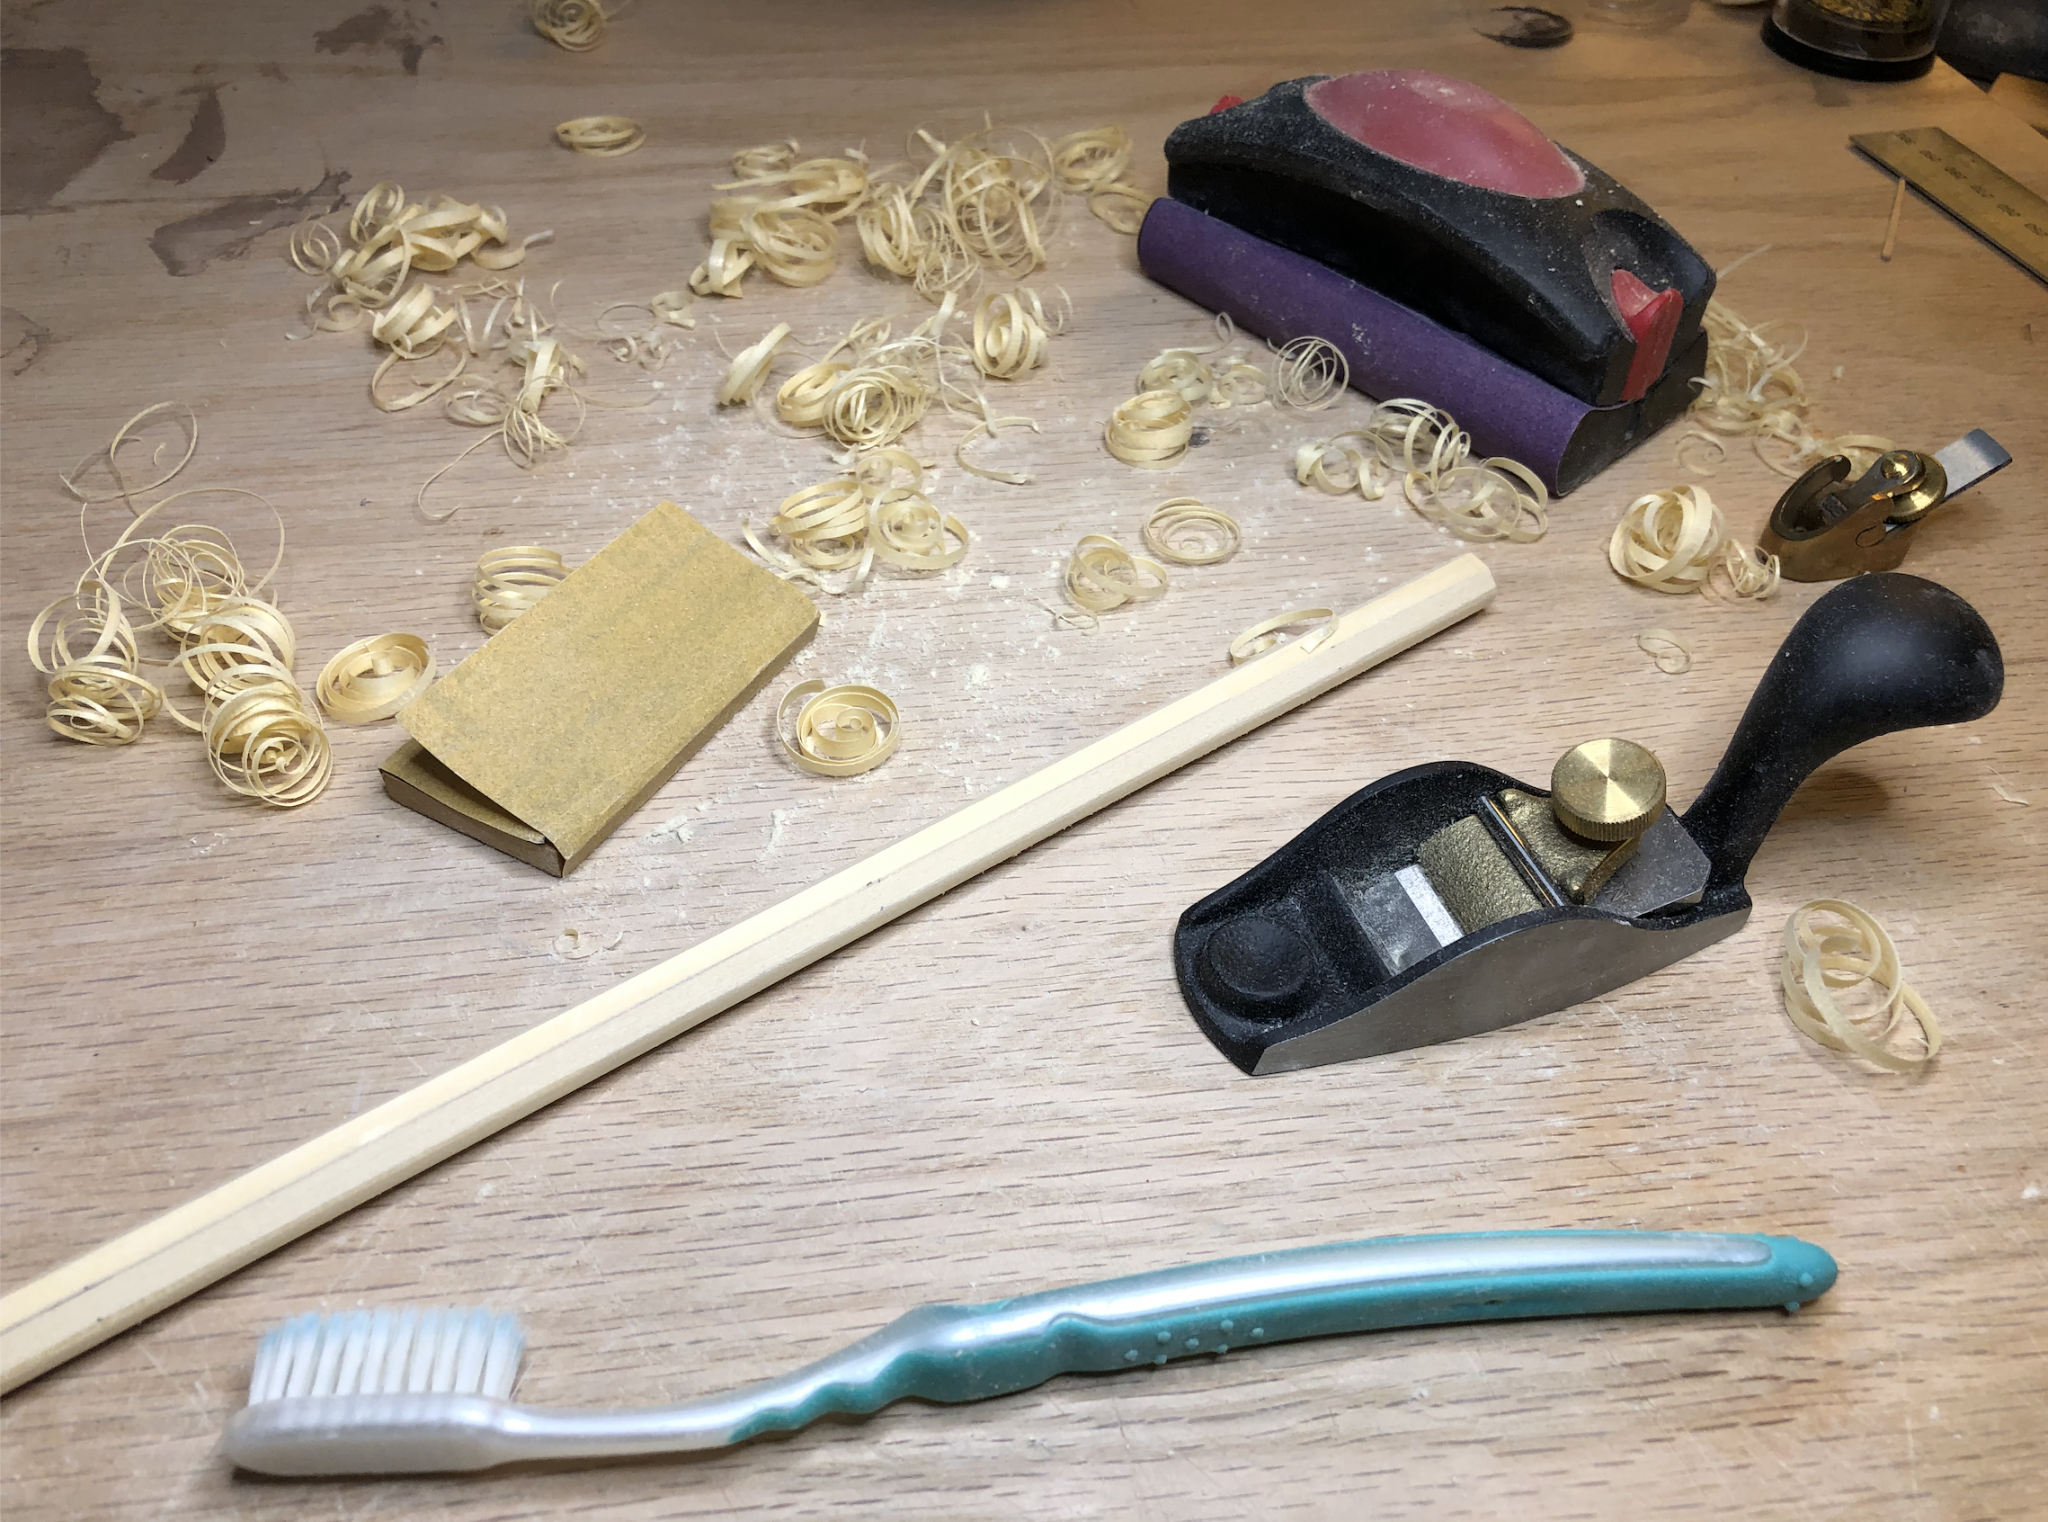
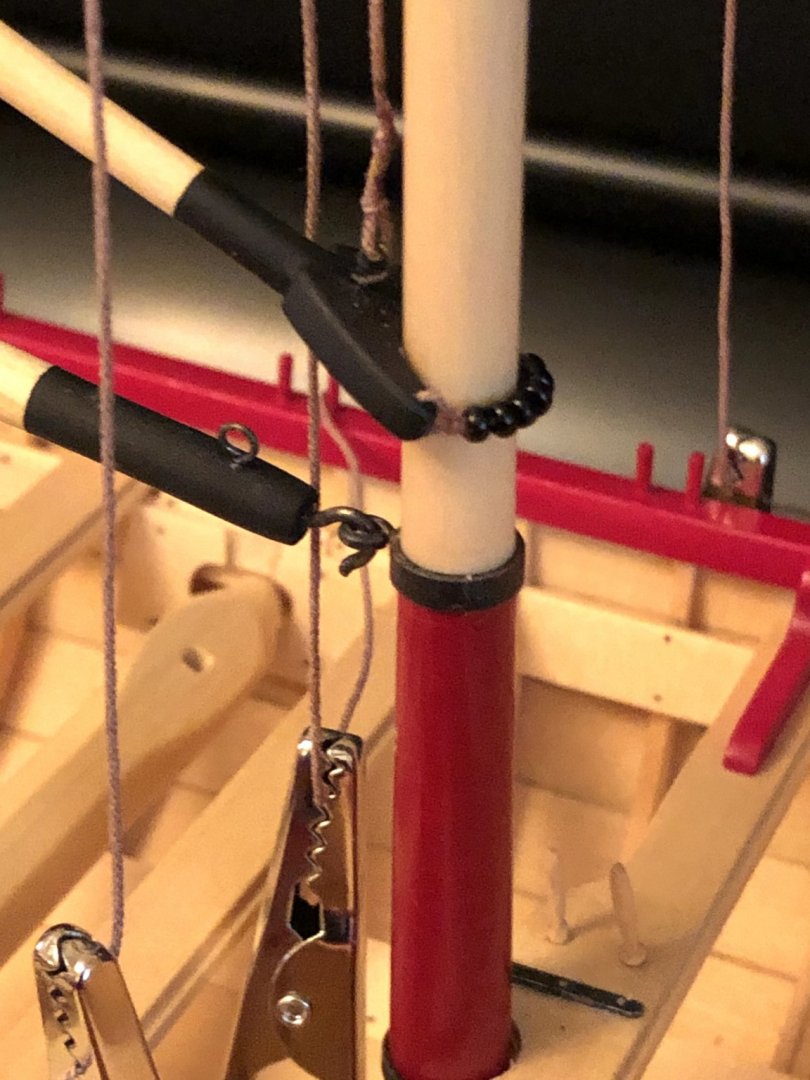
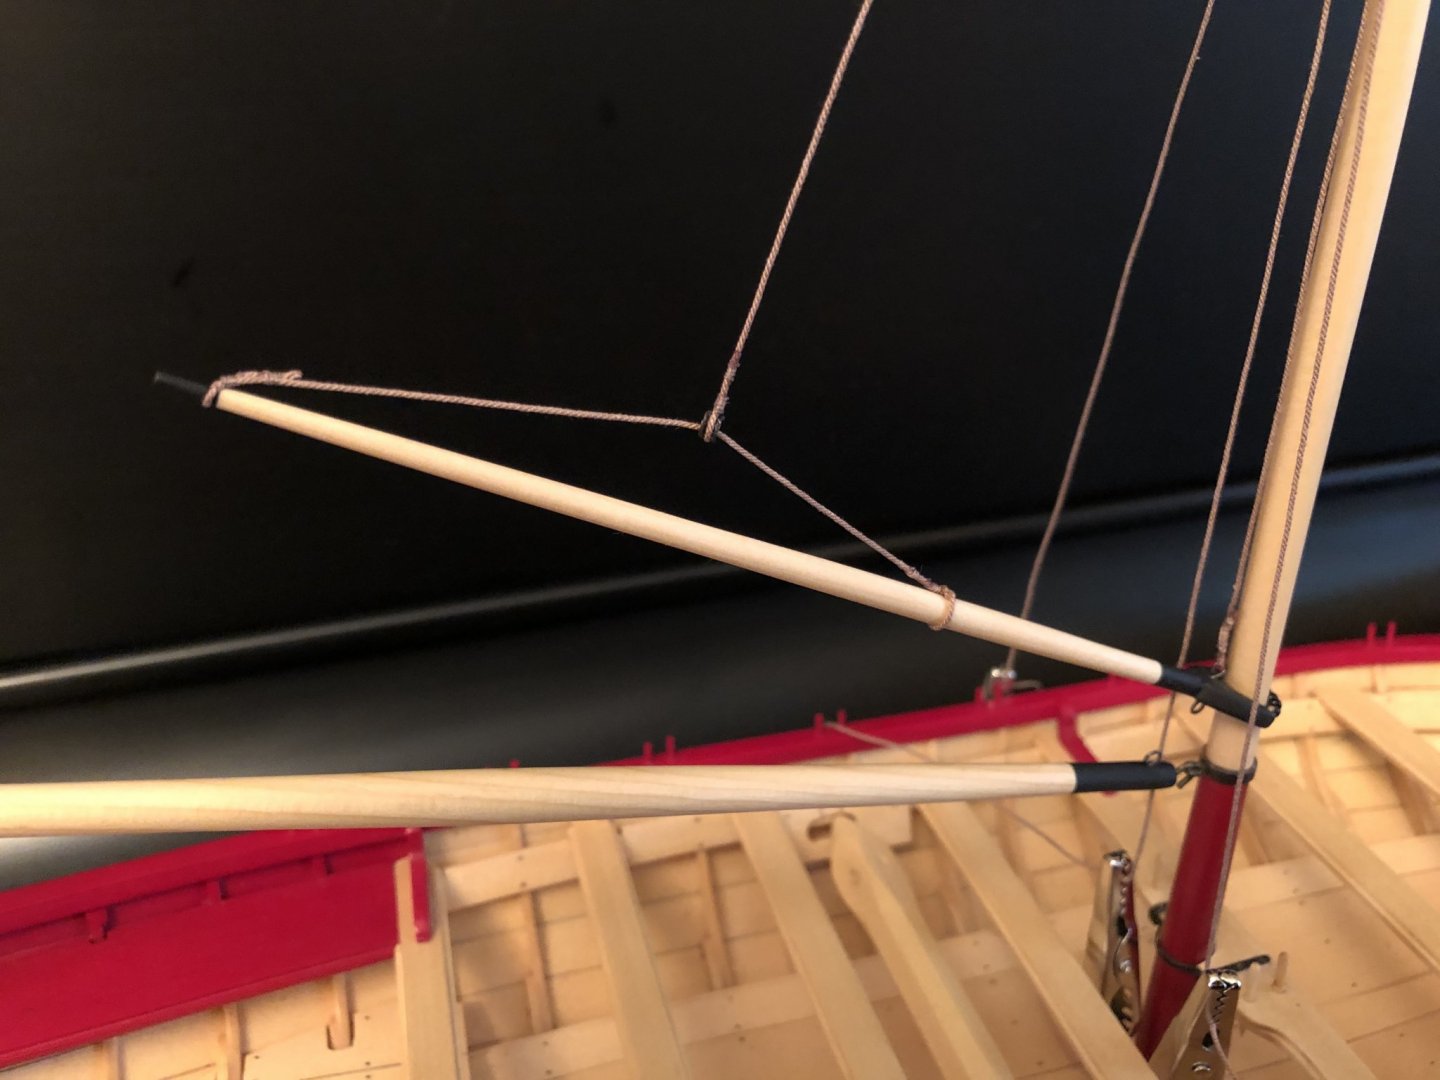
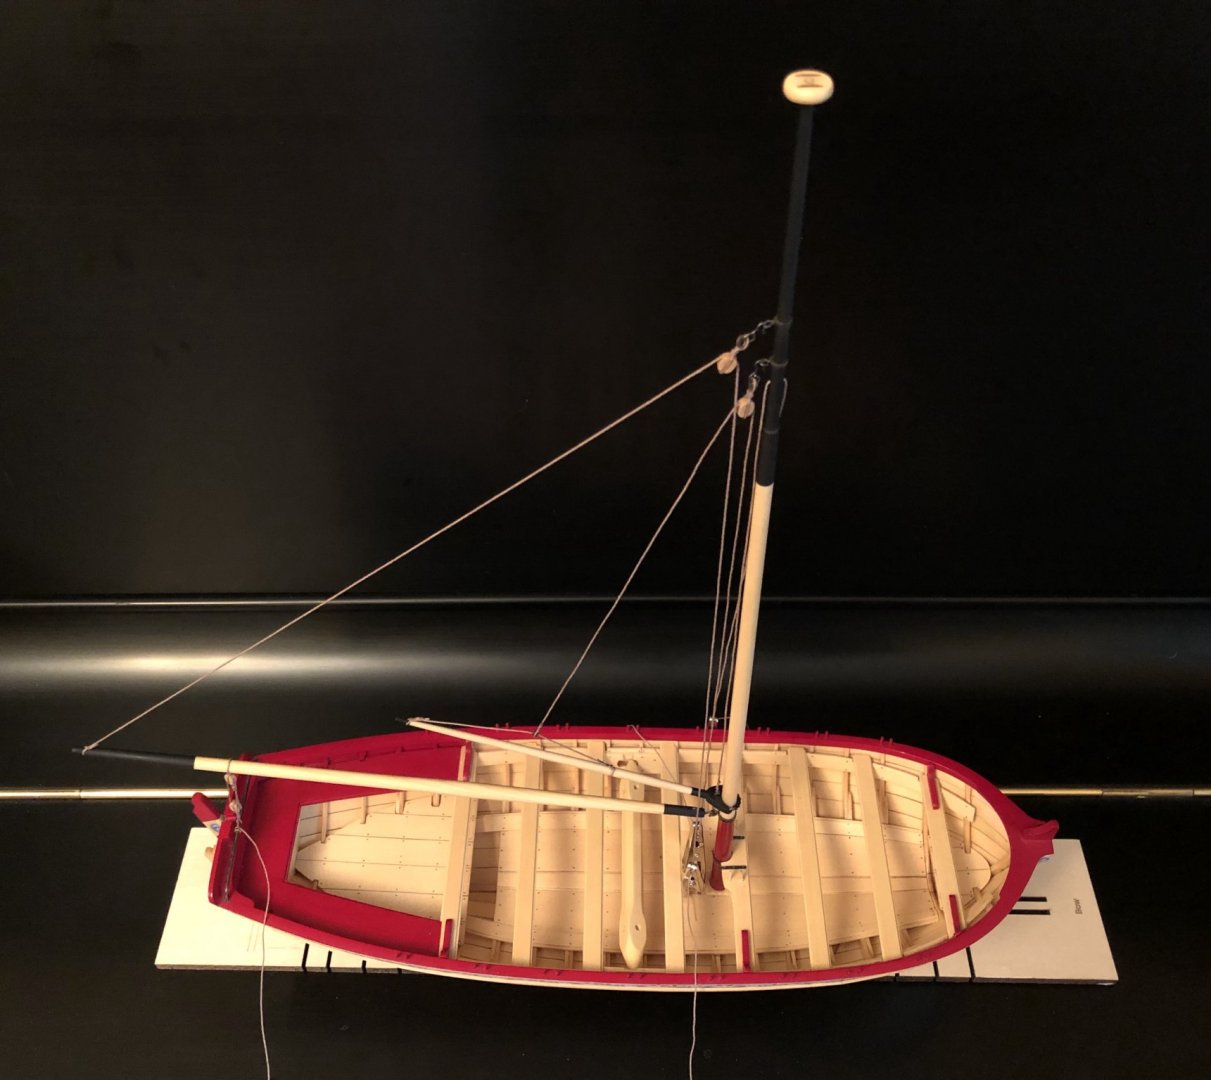
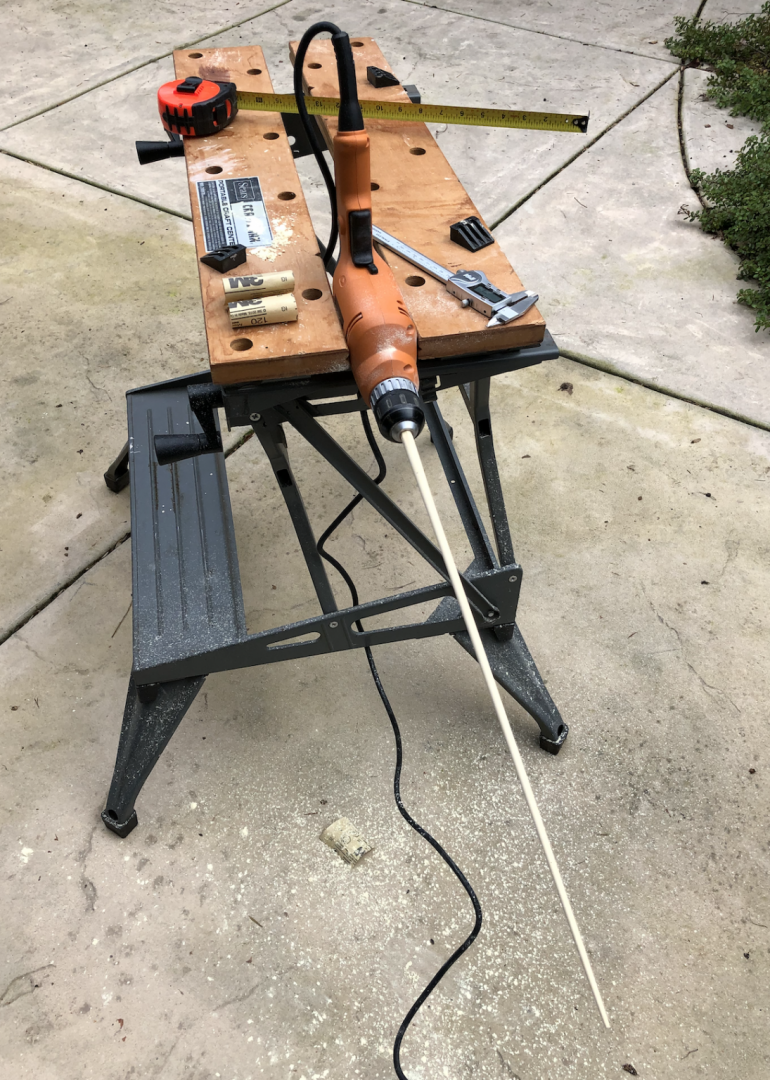
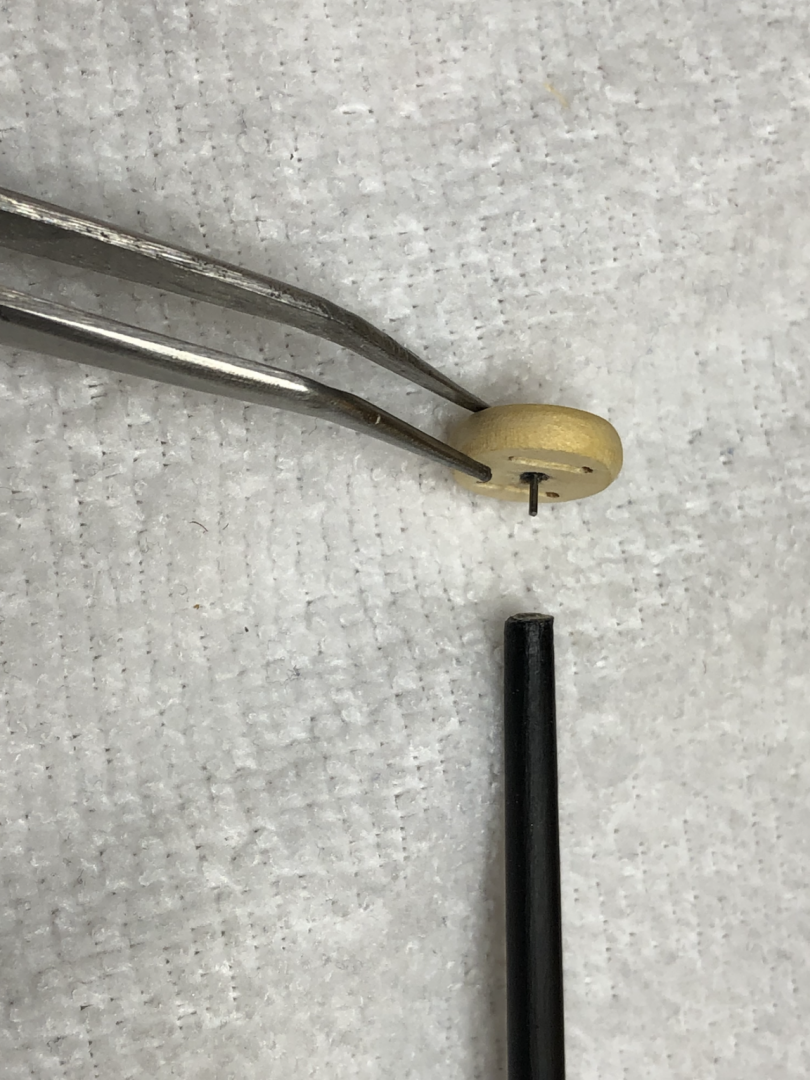
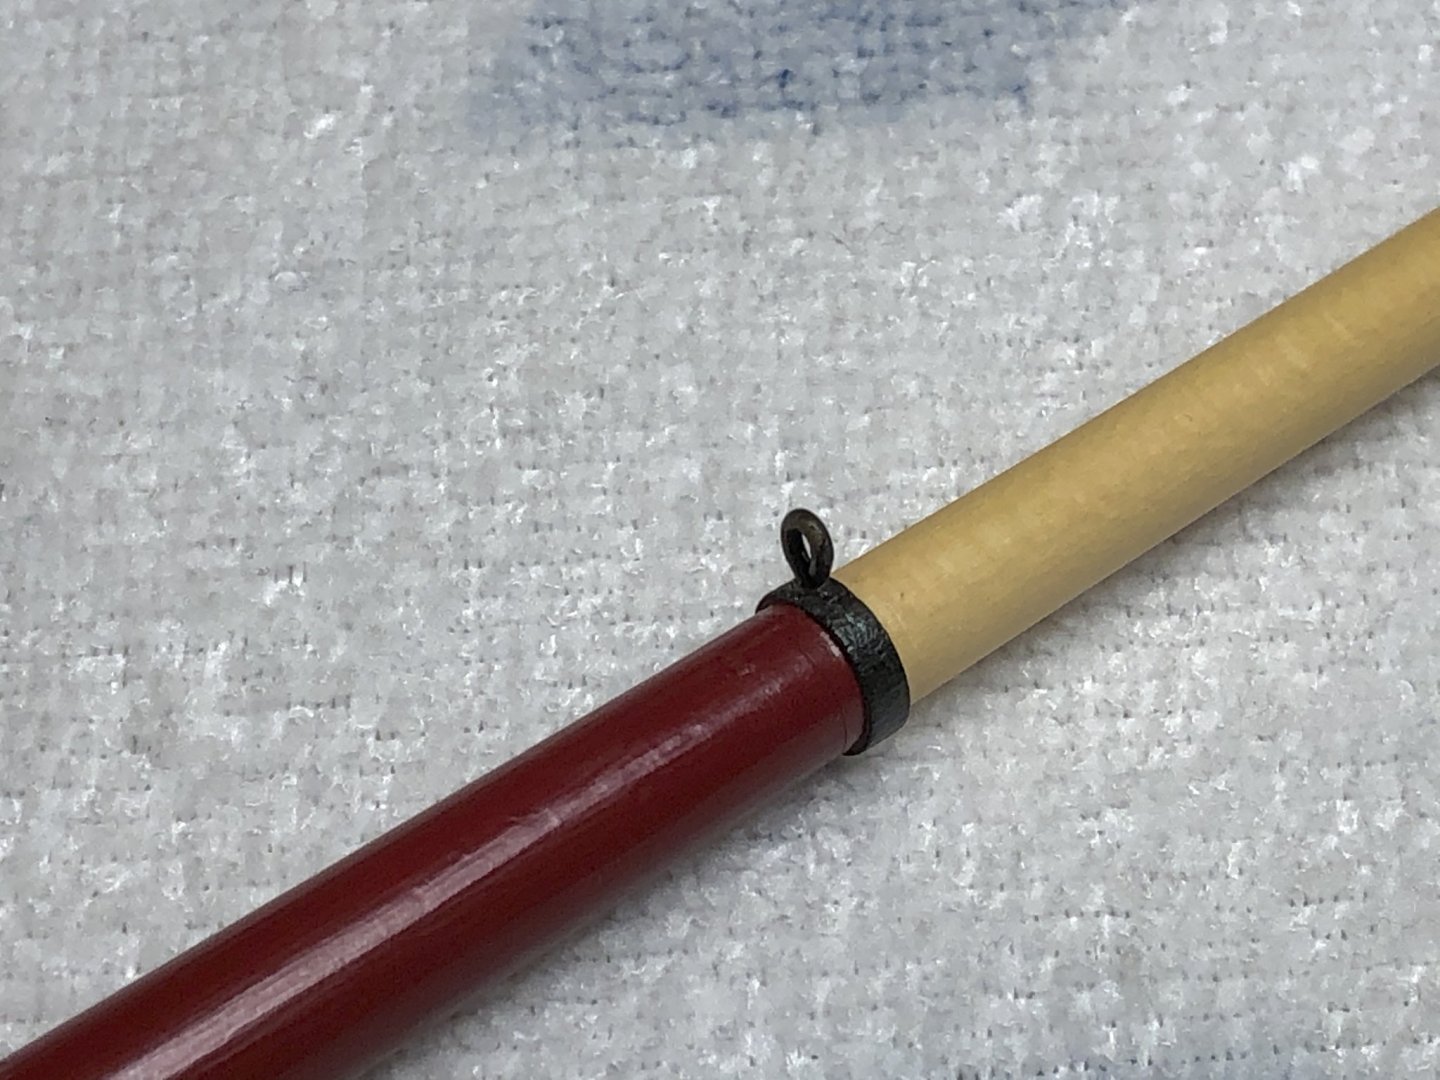
My build log updates are overdue but I have made some progress although it has slowed to a snail's pace as I learn to do the rigging. It will take me a few posts to get completely caught up. So here goes: I used my electric drill to sand the mast, boom, gaff and bowsprit to shape after shaving then into octagons with a mini plane. I had to do the boom twice since I assumed that it simply tapered from the middle towards both ends identically. It doesn't. I noticed that it tapers less severely towards the forward end and is thicker as it tapers towards that end as a result. I should have checked the plans more carefully but I was able to make another one and get it right checking it often with my digital calipers. I broke the tiny tendon off at the top of the mast so drilled holes in the top of the mast and ball truck, glued a piece of wire in the ball truck with CA and glued it to the top of the mast. I used Chucks method of using black masking tape to simulate the iron mast bands, made some eyebolts and used some Doc O'Brien's Rusty Brown Weathering Powder on them.

- 170 replies
-
- 12
-
-
- medway longboat
- Syren Ship Model Company
- (and 1 more)
-
Ok, I'll post any future questions on my build log. I keep thinking I should update my build log but I get too engrossed in working on my build and researching the forum for information. I guess I will be spending quite a bit more time working on her since the governor of CA just asked everyone over the age of 65 to stay at home and not go out anywhere... 😞
-
That's a really nice paint job on him!
-
I thought the same thing at this point with my Indian Girl canoe. Those 1/16" planking strips seem to go on forever!
-
It's a wonderful model. I've slowed down to a snail's pace learning how to do the rigging but I think I will get there eventually...I hope... 🥺
- 221 replies
-
- 1
-
-
- queen anne barge
- Syren Ship Model Company
- (and 1 more)
-
I'd be careful with that dust especially, Dave. Wear a good mask when doing any sanding. Wefalck says you can use acetone to help clean up white metal. I'd try that also.
-
I just did some minor clean up and sanding in the interior of my Indian Girl and then gave it of couple of coats of Wipe-on-Poly and I thought it looked great...easy peasy. Painting the exterior was another story but I eventually got it to the point that I was really happy with it. Go for it!
- 114 replies
-
- 1
-
-
- small
- Peterboro Canoe
- (and 2 more)
-
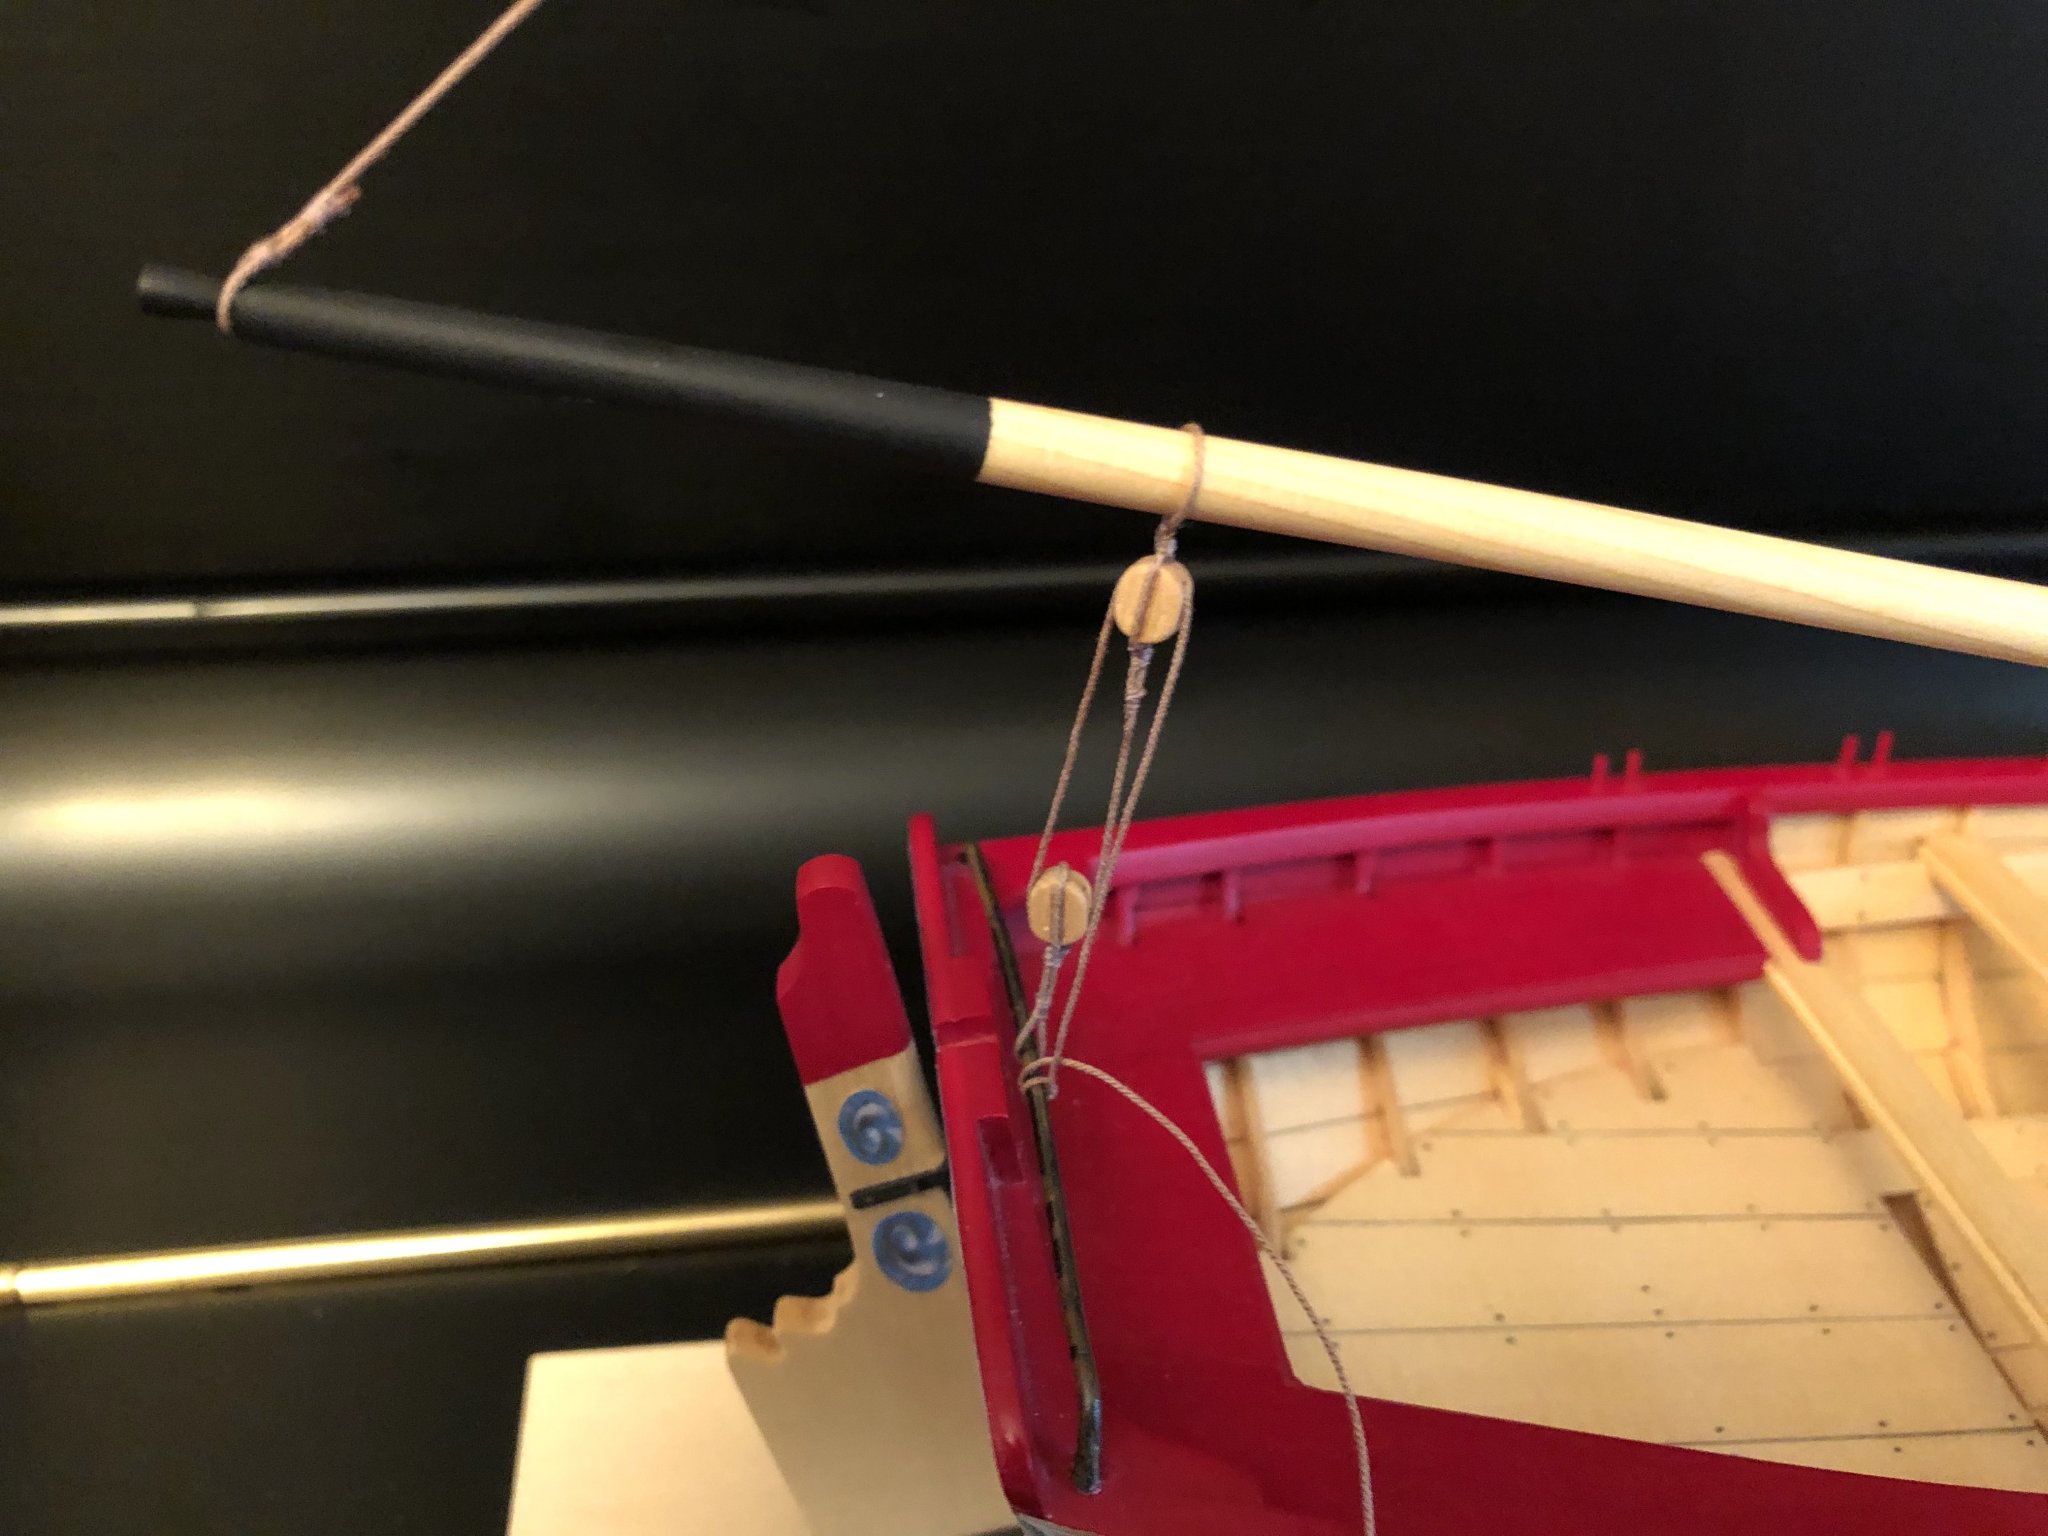
Chuck, I went ahead and used a thimble on the eye splice at the end of the peak halliard. I hope that is correct. I have another rigging question too. Are the deadeyes rigged with .018 rope or .025 rope? Sorry for all the newbie questions. This is my first time rigging anything and it's going slowly as I work my way through this. Slowly but surely I'll get there...I think... Many thanks, Bob
-
Well done, Michael. The build process of the Queen Anne Barge is very similar to the Medway Longboat I'm building. I think the QAB will be on my tick list. It's a beautiful model.
- 221 replies
-
- 1
-
-
- queen anne barge
- Syren Ship Model Company
- (and 1 more)
-
This is an interesting and beautiful mode. Amazing! Thanks for your great build of this unusual model.
- 97 replies
-
- 1
-
-
- Turtle Ship;
- Korean Turtle War Ship
- (and 1 more)
-
I looked up white metal to see what it is made from and found this on Wikipedia: "A white metal alloy may include antimony, tin, lead, cadmium, bismuth, and zinc (some of which are quite toxic). https://en.wikipedia.org/wiki/White_metal Is it wise to take precautions when working with it?
-
Did you decide how you want to finish your canoe? I'm looking forward to seeing it completed.
- 114 replies
-
- 1
-
-
- small
- Peterboro Canoe
- (and 2 more)
-
Do you have to prime that cast metal you see in so many older kits before painting it? I've never worked with it yet.
-
Chuck, does the peak halliard go around a thimble on the end where it meets the short length of rope attached to the gaff? The short length of rope attached to the gaff appears to run through an eye with a thimble in your photos. It looked that way on Rusty's build also but it's hard for me to see clearly even when I blow up the photos. Am I seeing that correctly? Also, what is your preferred glue for knots and seizings? Thanks, Bob
-
Nicely done, Art, and wonderfully illustrated. Your canoe should be a model of perfection by the time you're done.