HOLIDAY DONATION DRIVE - SUPPORT MSW - DO YOUR PART TO KEEP THIS GREAT FORUM GOING! (89 donations so far out of 49,000 members - C'mon guys!)
×


BobG
-
Posts
3,109 -
Joined
-
Last visited
Content Type
Profiles
Forums
Gallery
Events
Everything posted by BobG
-
Hmmm...that's kind of strange... I'm not sure why that would happen. Maybe Chuck will chime in with some thoughts...
-
Beautiful, Art.
-
Beautiful boat!
-
I'm looking at your photos but I still can't seem to see and understand what the problem is? Can you get some good light on the area you are concerned about and get then get a close up photo or get a photo and enlarge it so we can better see the problem?
-
Brian, I'm doing my first ever bit of rigging on my Medway Longboat build and, even though it is very simple rigging, I have found it rather confusing so I've been going at a snail's pace trying to learn how to do it properly. I just wanted to say thanks very much for your detailed descriptions about rigging the deadeyes and shrouds. I'm about to do that on my build and reading about how you did it has been extremely helpful. I think I'll go back and read your whole build log to see what other gems of information I can glean from it. Your model ended up being fantastic!
- 831 replies
-
- 2
-

-
- Armed Virginia Sloop
- Model Shipways
- (and 1 more)
-
That's a nice looking kit. The Mini-Mamoli kits are meant to be simpler to build but, when they are built well, they can be very beautiful when they are completed. Good luck with your build.
-
Jean-Paul, I agree with Ron that you should try and paint the friezes on the sides also. You did such a beautiful job of painting on the transom that I'm sure you could do the sides just a well. I thought about trying to hand paint the friezes on my longboat but wasn't sure how well it would turn out. I think I should have tried that after seeing yours. Your build is looking fantastic!
-
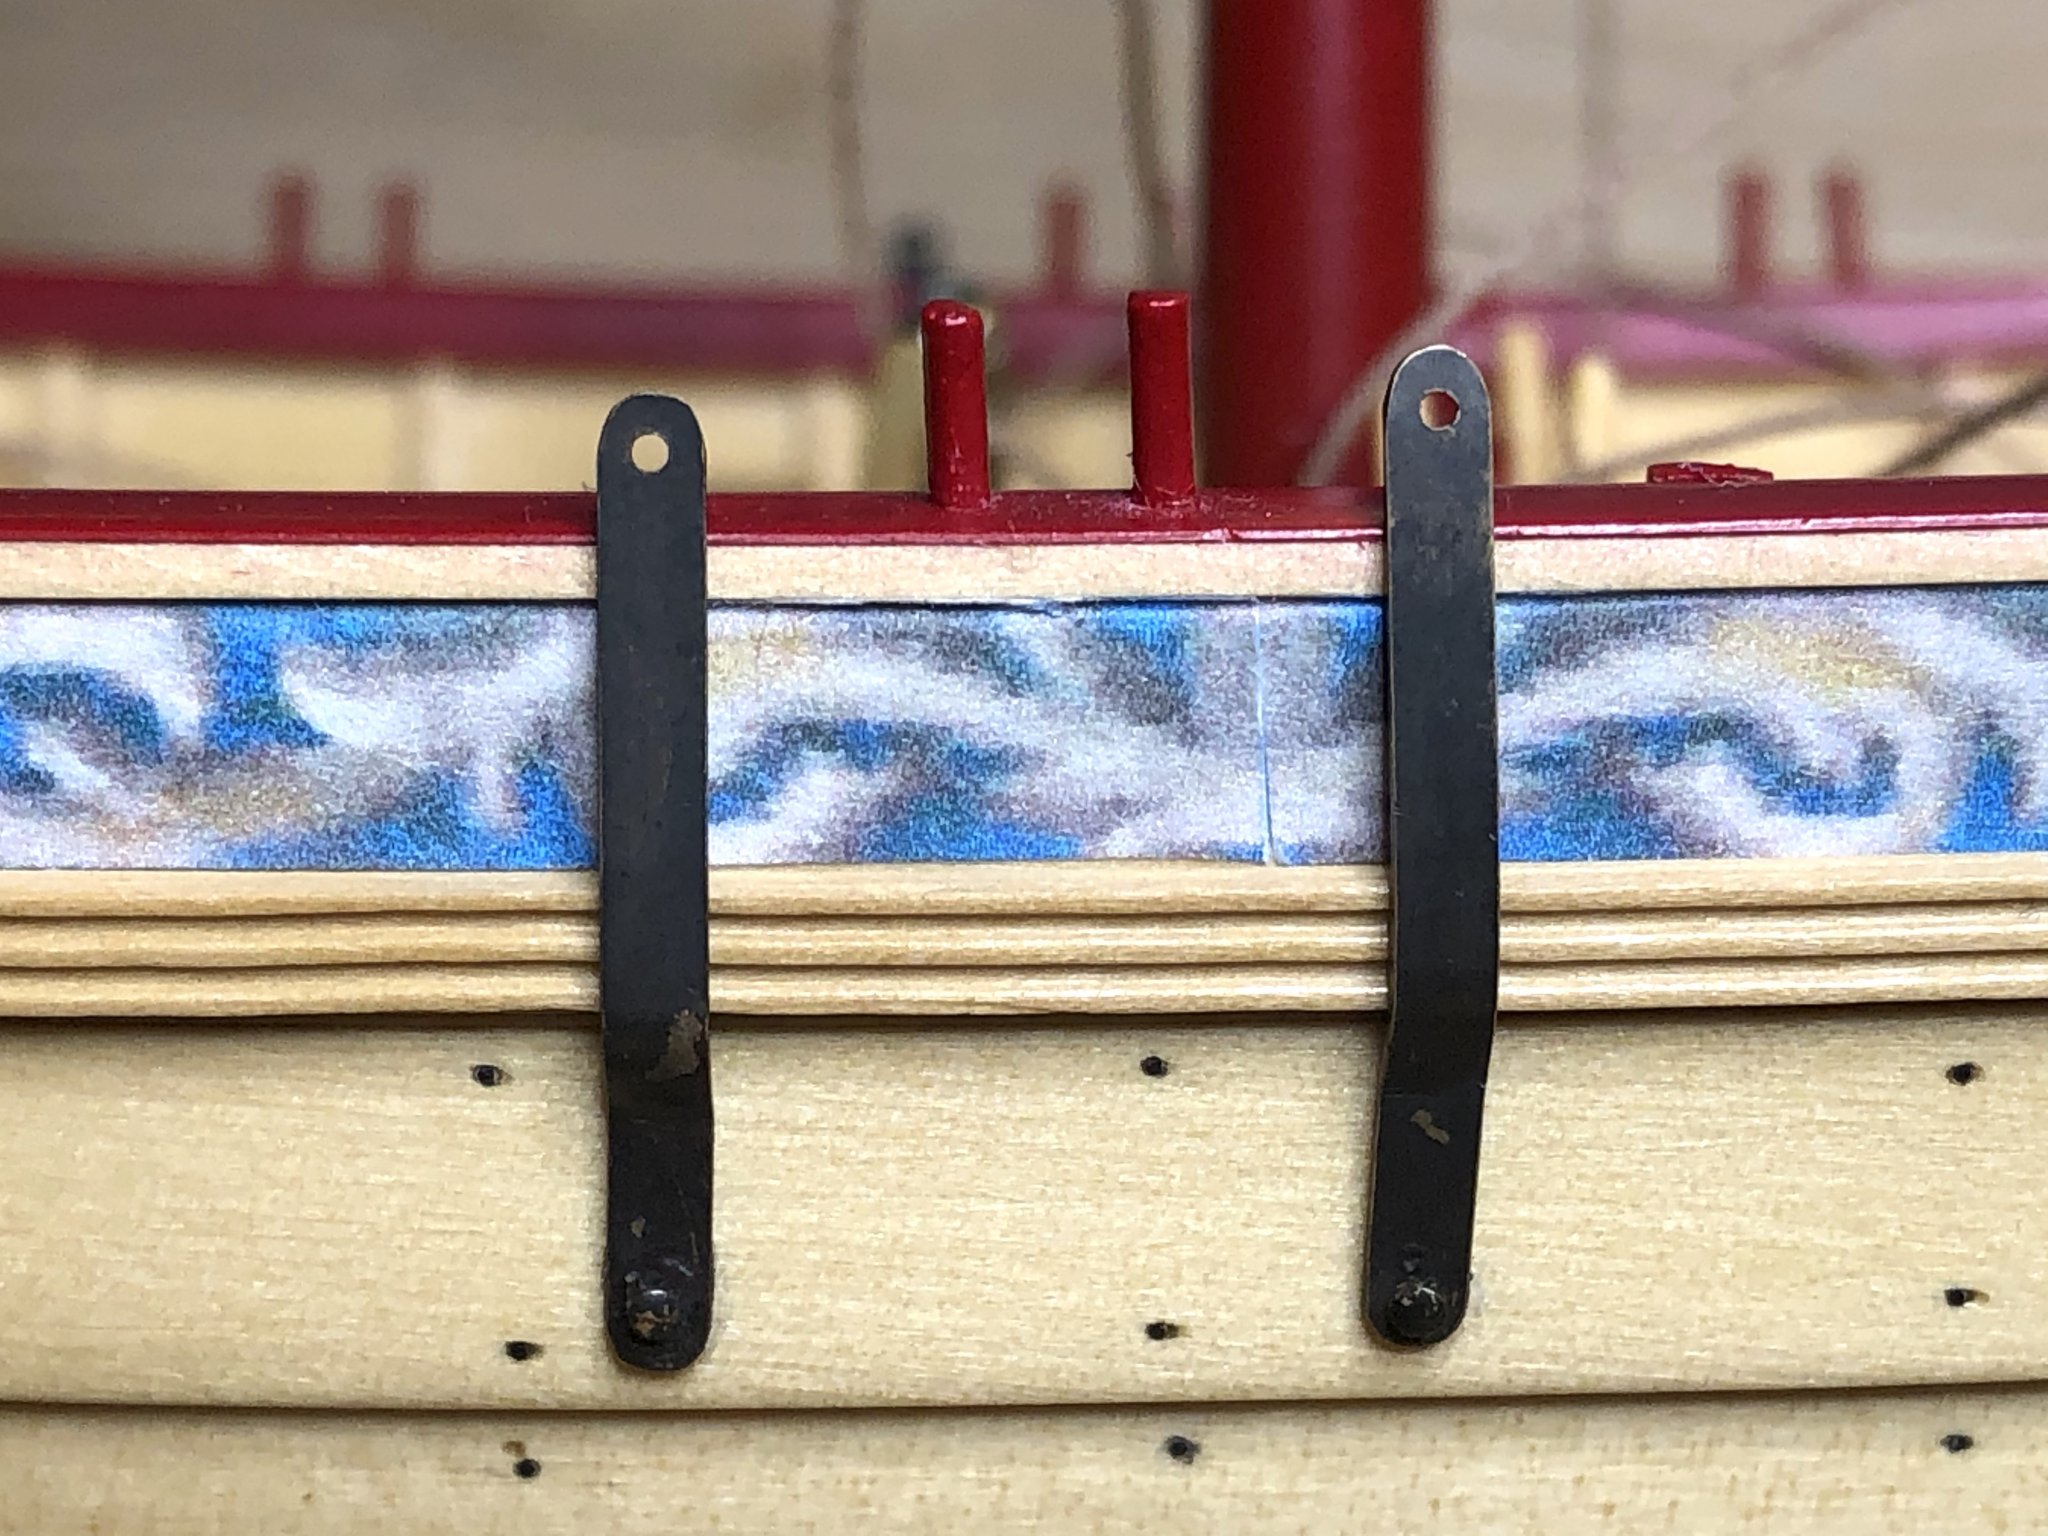
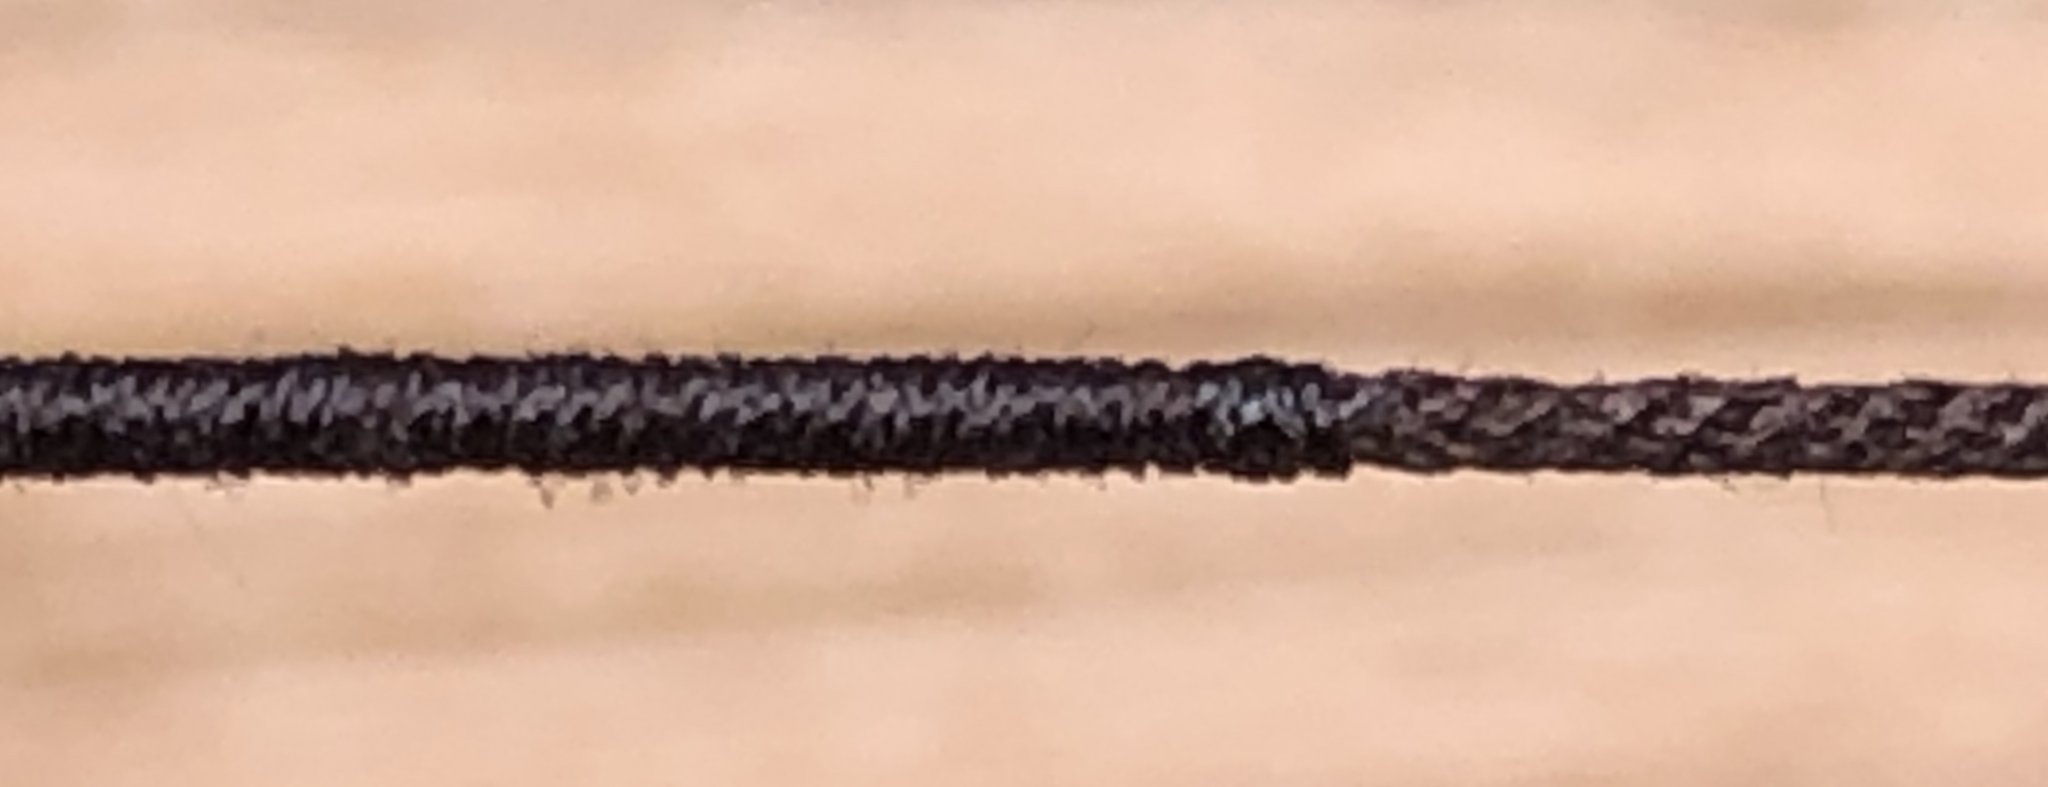
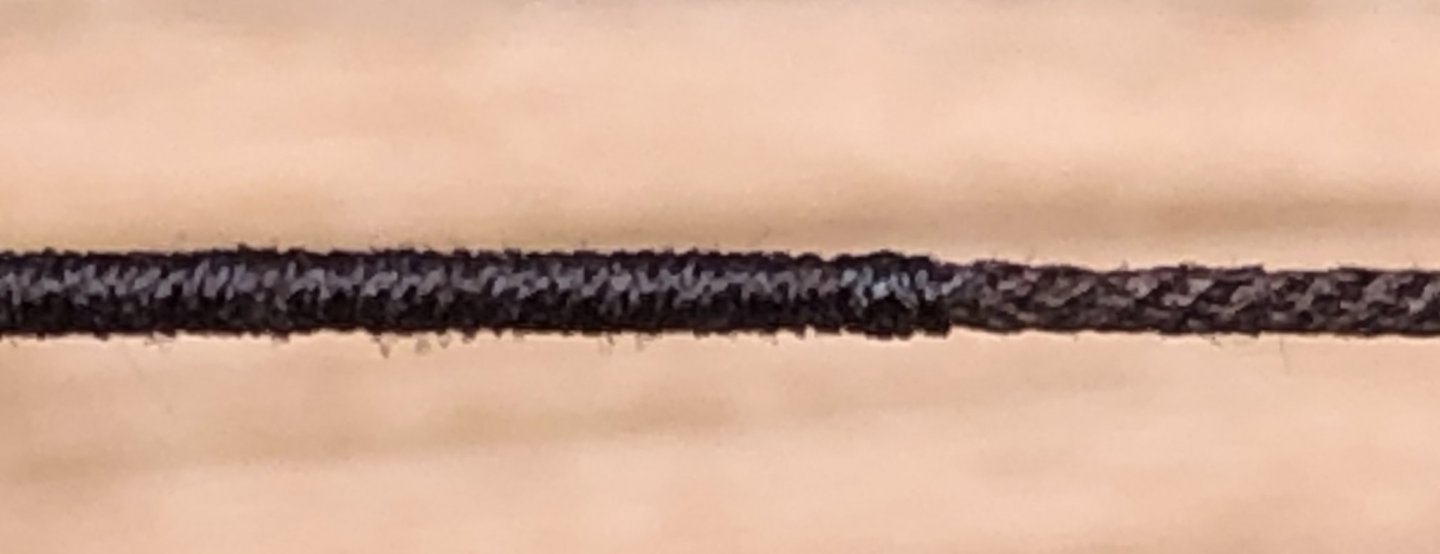
I made a little progress today. I made 4 of the chainstays and got them mounted on the boat. I also used the Syren serving machine for the first time. It went well and the machine was fun to use. I was slow and careful at first but, once I began to get the hang of it, I was able to go much faster. I have a couple more questions about the rigging. I am about to to thread the lanyards on the deadeyes. It looks like a lanyard ends up being tied off to a shroud. Is that correct? If so, what kind of knot is used to tie a lanyard to a shroud? Also, is it best to get all the the rigging lines rigged up in their places but left loose before doing a final tensioning on all the rigging or is there another better sequence where certain lines are tensioned and tied off before others? I am just leaving the lines loose with an alligator clip on the ends to provide some tension as I continue the rigging the rest of the lines and then do a final tensioning before coiling and hanging the ropes in their places. I'm not sure if this is the best way to go. I hope what I'm asking about makes sense. Many thanks.

- 170 replies
-
- 9
-
-
- medway longboat
- Syren Ship Model Company
- (and 1 more)
-
Super well done!
-
Thanks Chris, that would be wonderful!
-
Ooof...that's some complicated looking booms and rigging! I'll be very interested to see how this comes along for you. Good luck!
-
Wonderful job on the carvings. Impressive!
-
That's an interesting plank bender, Tom. I was getting "folds" like that at times near the bow on my Medway Longboat. I used an Amati electric plank bender to help ease the creases. I eventually worked out pretty good but it wasn't easy because the plank not only needed to bend but it needed to twist also with a slight upward curve as well. I'm looking forward to seeing your future progress.
- 82 replies
-
- 1
-
-
- spray
- BlueJacket Shipcrafters
- (and 1 more)
-
Welcome Sergio. I would love to see some photos of your ships.
-
Most definitely start a build log. I waited until I had pretty much completed the hull on my Medway Longboat build before I started a build log after others encouraged me to do so. I should have done it from the beginning because it would have helped me avoid some of the difficulties I encountered. Don't worry about any of the questions you ask in your build log no matter how basic they may seem. You'll get lots of help from friendly forum members. Everyone here was a beginner at one time too. The other big piece of advice I have is to go slow and take your time to thoroughly understand what you are doing before you do it. We all make mistakes or end up doing things over when they don't turn out as well as we would have liked but that's just part of the learning process. Enjoy the journey!
-
I'm making the chainstays and I have a question about their final shape. I see where they are bent around the molding and extend up a bit over the cap rail. Are they glued to the outer edge of the cap rail or just lay up against it?
- 170 replies
-
- 1
-
-
- medway longboat
- Syren Ship Model Company
- (and 1 more)
-
kit review 1:8 Ferrari Timossi Racer ‘Arno XI’ (Special Edition)
BobG replied to James H's topic in REVIEWS: Model kits
Well, that's nice to know...it just moved up the list!- 12 replies
-
- 1
-
-
- hydroplane
- arno
- (and 2 more)
-
I'm so glad you are creating these models, Chris. There are lots of period warships to choose from but these working boats are, I feel, an underrepresented segment of good quality model ship kits. They are wonderful boats with important and interesting histories and they come in all kinds of interesting and often unusual and colorful designs. I would love to see more of them in your line of boats in the future.
-
kit preview 1:64 Zulu fishing Boat - Vanguard Models
BobG replied to James H's topic in REVIEWS: Model kits
I'm right there with you, James. -
kit review 1:8 Ferrari Timossi Racer ‘Arno XI’ (Special Edition)
BobG replied to James H's topic in REVIEWS: Model kits
Oh man, yet another fantastic model to add to the tick list...should I be so fortunate to live long enough to compete it! -
kit preview 1:64 Zulu fishing Boat - Vanguard Models
BobG replied to James H's topic in REVIEWS: Model kits
I agree. There are lots of period warships to choose from but these working boats are, I feel, an underrepresented segment of good, quality model ship kits. They are wonderful boats with important and interesting histories and they come in all kinds of interesting and often unusual and colorful designs. I would love to see more of them from Chris in the future. -
I was just looking over your build log again, Bob. Your metal work and sail making is exceptional. I'm looking forward to seeing your progress on this beautiful build.
-
Wouldn't it be ok to wear a mask and some disposable latex gloves to carefully get rid of the dust and clean it up with acetone before painting? The paint would seal the metal. I live in a house that was built in 1942 and, when we bought it many years ago, a lot of the moldings, doors and window sills and frames were in poor shape. They were cracked and chipped and coated with many layers of old paint. I tested a deep, chipped area and it indicated lead paint under some of the more recent layers of paint. I decided not to sand these surfaces to prevent creating some lead dust. So I filled the cracks and chipped areas with filler and covered the woodwork with a couple of coats of primer. Then I lightly sanded the primer without sanding through it... just enough to get a really nice, smooth surface. Finally, I top coated the primer with latex enamel which sealed everything. I tested it in several places and no lead was detected. So I think it would be reasonable to paint over the white metal and it would then be safe too.
- 77 replies
-
- 1
-
-
- point berlin
- diorama
- (and 1 more)
-
I love boats with lateen sails. I'm anxiously awaiting to see more of your build.
- 100 replies
-
- 2
-
-
- zulu
- vanguard models
- (and 2 more)