HOLIDAY DONATION DRIVE - SUPPORT MSW - DO YOUR PART TO KEEP THIS GREAT FORUM GOING! (Only 44 donations so far out of 49,000 members - C'mon guys!)
×


BobG
-
Posts
3,109 -
Joined
-
Last visited
Content Type
Profiles
Forums
Gallery
Events
Everything posted by BobG
-
It might just have to happen although it's about as big as my work space which would present a challenge.
- 221 replies
-
- 1
-

-
- queen anne barge
- Syren Ship Model Company
- (and 1 more)
-
Gorgeous!!
-
The detail is jaw dropping! I want to pick your brain about your wonderful weathering techniques...
-
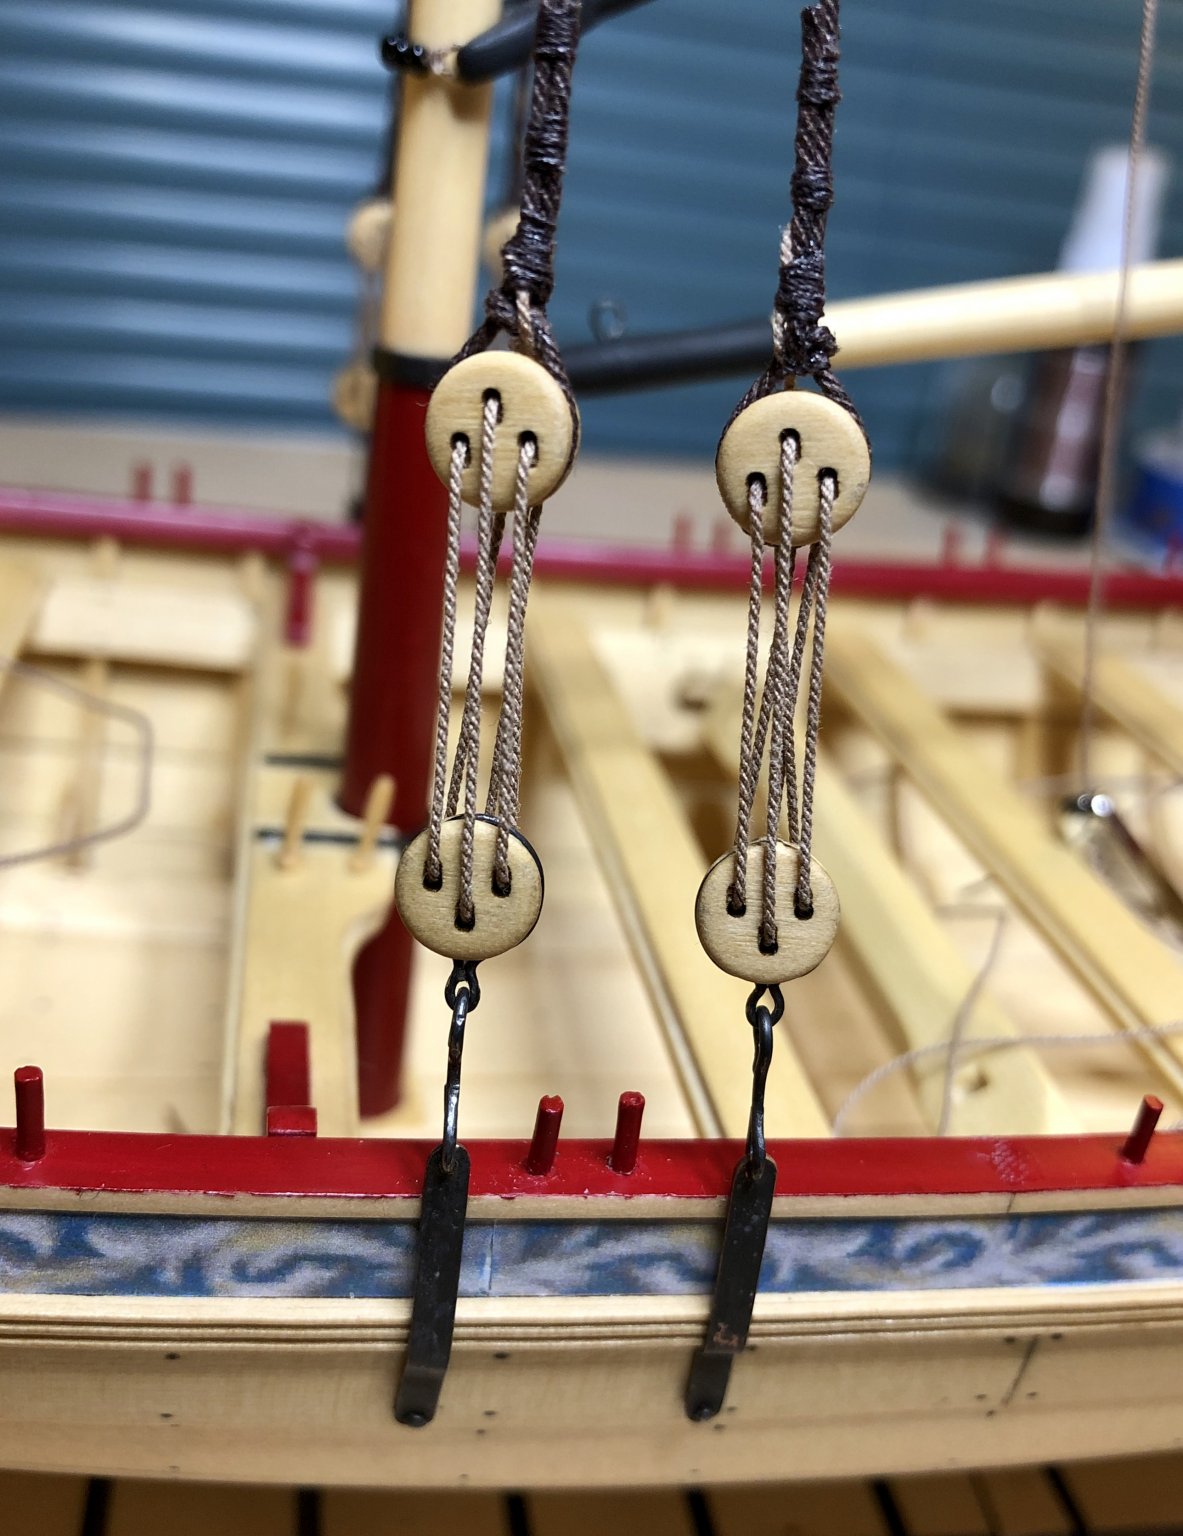
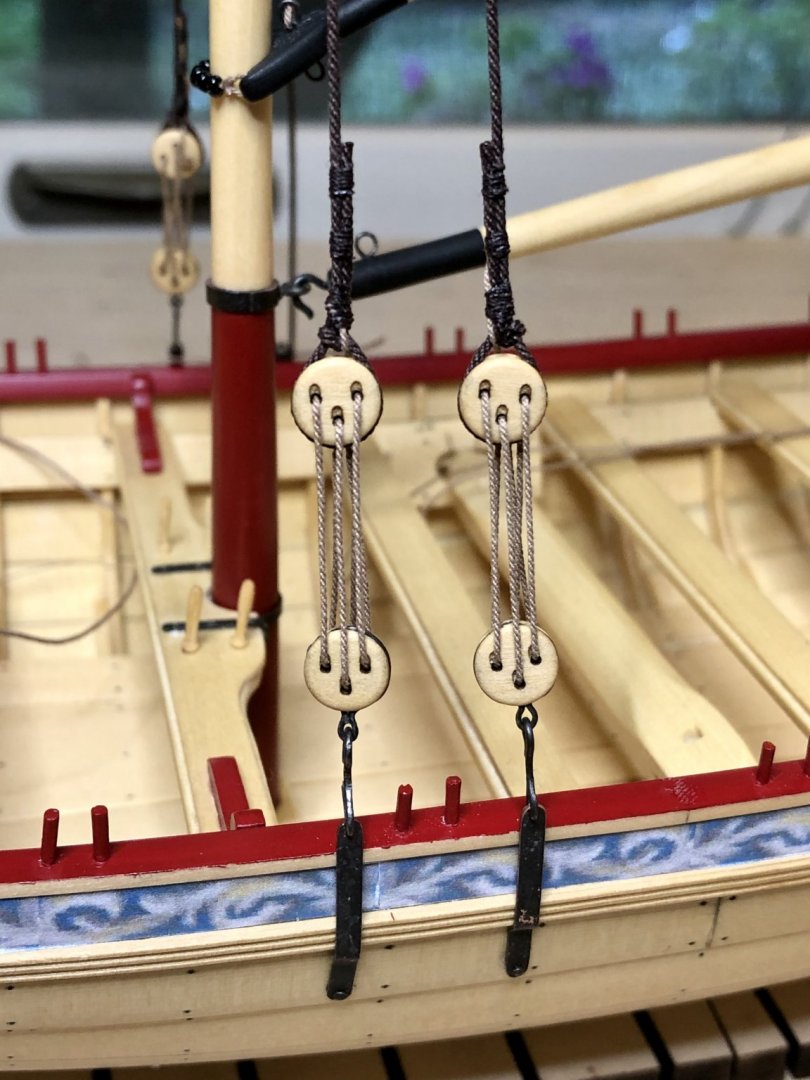
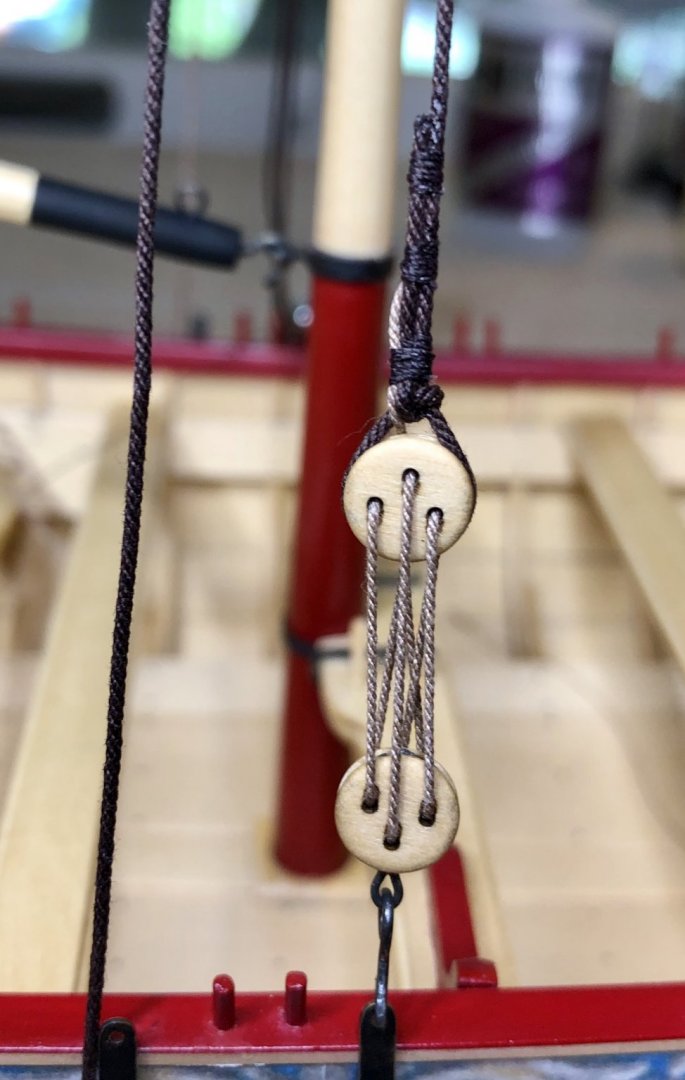
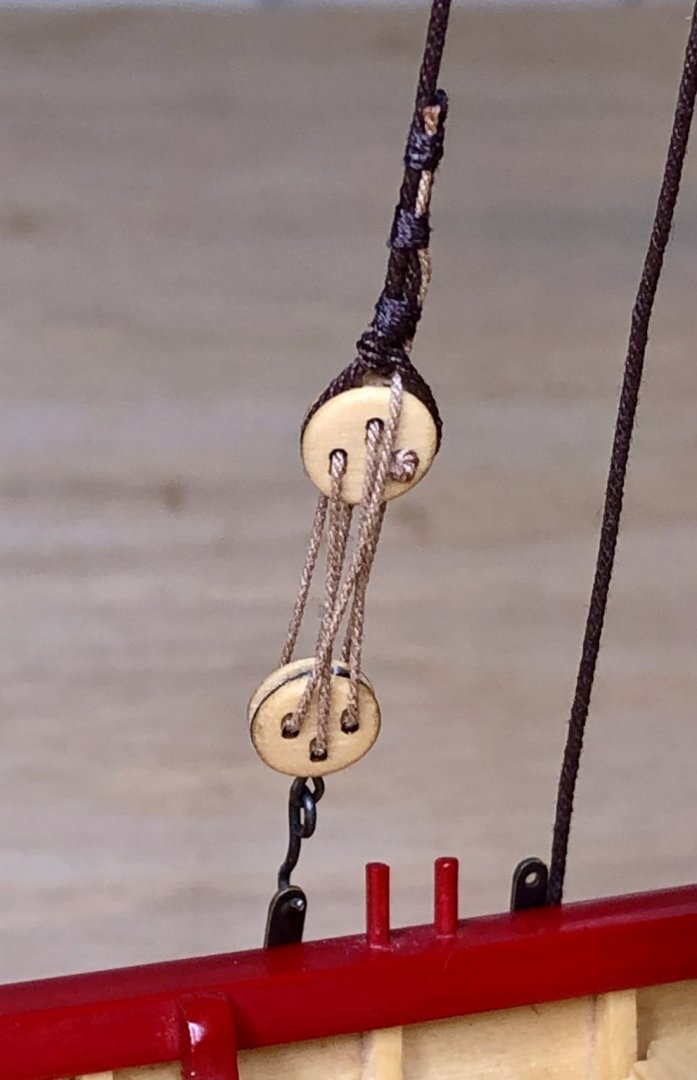
I got two more shrouds and deadeyes rigged. Rigging the deadeyes and seizing them to the shrouds is easily the most fiddly thing I've ever done in my rather brief time model ship building. Getting the blocks at the same height, reeving the lanyards so the the holes in one deadeye stays parallel to the other deadeye holes and then seizing the lanyard to the shroud without the deadeyes twisting while everything is wiggling around was an exercise in frustration for me at times. There's got to be a better way than I'm doing it but I'm happy with the results so far. If I had dozens to do I'd be pushing up daisies before I got done! EDIT: Big oops newbie mistake below! I noticed that I have the upper deadeyes upside down on the port side. So guess what? Snip, snip, turn the deadeyes and reeve the lanyards again. I know we probably learn more through our mistakes but I'd rather not make the mistake in the first place! I have the upper blocks upside down in the photo below. the single hole should be pointed up towards the shroud. I corrected it as you can see in the second photo. Here are the deadeyes after in the correct orientation after I rotated the upper ones and reeved them again:

- 170 replies
-
- 7
-
-
- medway longboat
- Syren Ship Model Company
- (and 1 more)
-
Thanks very much. Unfortunately, I didn't heed the good advice to start my build log at the beginning. I thought it would be difficult since I'm a master at screwing things up on the computer at times but it's really quite easy and I'm enjoying it now.
- 170 replies
-
- 1
-
-
- medway longboat
- Syren Ship Model Company
- (and 1 more)
-
Thanks, Art, you're too kind.
-
I'm in the same boat with you. I try and follow the directions carefully but still feel uncertain that I'm doing something correctly. We just have to gather as much information that we can without over doing it to the point of paralysis and then go ahead and give it your best shot. Most mistakes, if the aren't fundamentally egregious, can be fixed or done over. I'm currently flying by the seat of my pants doing the rigging on this boat but, little by little, I'm figuring it out and when it doesn't look good to me, well then...snip, snip...and I do it again!
- 217 replies
-
- 1
-
-
- medway longboat
- Syren Ship Model Company
- (and 1 more)
-
That one is so beautiful I'm a little intimidated by it given my current skills!
- 221 replies
-
- 1
-
-
- queen anne barge
- Syren Ship Model Company
- (and 1 more)
-
Thanks, James. I'm looking forward to watching the rest of your build.
- 100 replies
-
- 2
-
-
- zulu
- vanguard models
- (and 2 more)
-
....and the Winnie? 🤔
-
James, I saw a photo of this boat that you posted in the coronavirus topic that showed you tapering the planks and installing them. I have a couple of simple questions about the plank tapering process that you use. Do you always taper the plank on the bottom edge only and then glue that tapered plank to the previous one so that the untapered, top edge meets the tapered bottom edge of the previous plank? I assume that the top edge of the planks are never tapered, only the bottom edges? Is that correct? Secondly, do you chamfer the edge of the plank before installing it if necessary? If so, how do you typically decide if the top edge of the plank needs to be chamfered? Do you chamfer the whole plank from end to end or just in places that seem necessary? Newbie questions...thanks very much.
- 100 replies
-
- 4
-
-
- zulu
- vanguard models
- (and 2 more)
-
You're doing an excellent job of this fine model and your build log is done very well also. Your boat will be a beauty when it's finished. I'm enjoying following your progress.
-
I just discovered your build log and it's fantastic with great photos also! Superior craftsmanship too!
-
Your boat is going to be a real beauty when it's finished, Mike, and it's nice to see a boat like this being built here on MSW.
-
Gorgeous build, Michael! All of the Syren kits are so tempting!
- 221 replies
-
- 1
-
-
- queen anne barge
- Syren Ship Model Company
- (and 1 more)
-
I'm enjoying following your build, Jean-Paul. Not only are you doing an excellent job but your photos are great also. I just reviewed your build log again and it reminded me of all the steps I have previously completed too. This is such a nice boat to build. The bolsters took me quite a bit of time to carve. The first one I did somehow turned out really well on my first try but I struggled to get the second one symmetrical to the first one. I eventually got it done "good enough" for me. They take lots of tiny adjustments by filing a little here and a little there while constantly checking the fit against the stem and the hull. Making them was one of the more challenging steps in the build for me. I'm sure you will do great given how well you have done already. Good luck!
-
Thanks Don and Ryland. All 40 million California residents are now officially on shutdown so other than riding my bike, working in the yard and taking long walks with my wife, I have lots of time to work on my boat. I have quite a ways to go so I'll just keep chipping away at it. It's extremely satisfying when a task turns out well. I hope to see you both make some progress on your builds soon too.
- 170 replies
-
- 2
-
-
- medway longboat
- Syren Ship Model Company
- (and 1 more)
-
Very nicely done, Art.
-
Thanks, Chuck. It's hard for me to even imagine the patience it would take to do a 3 decker!
-
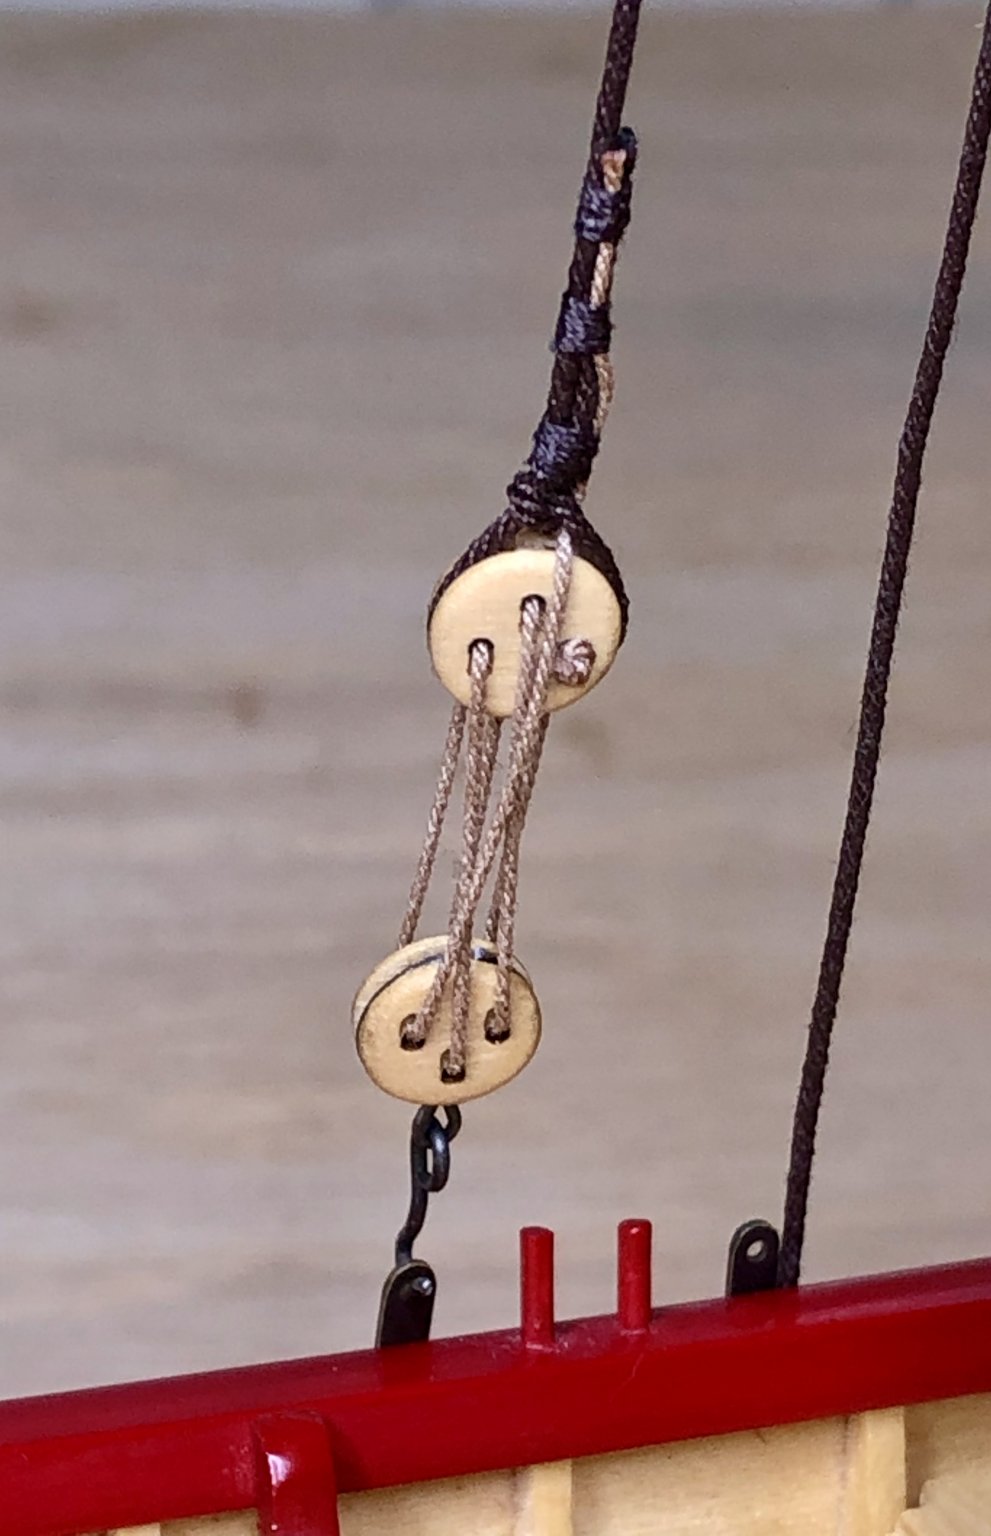
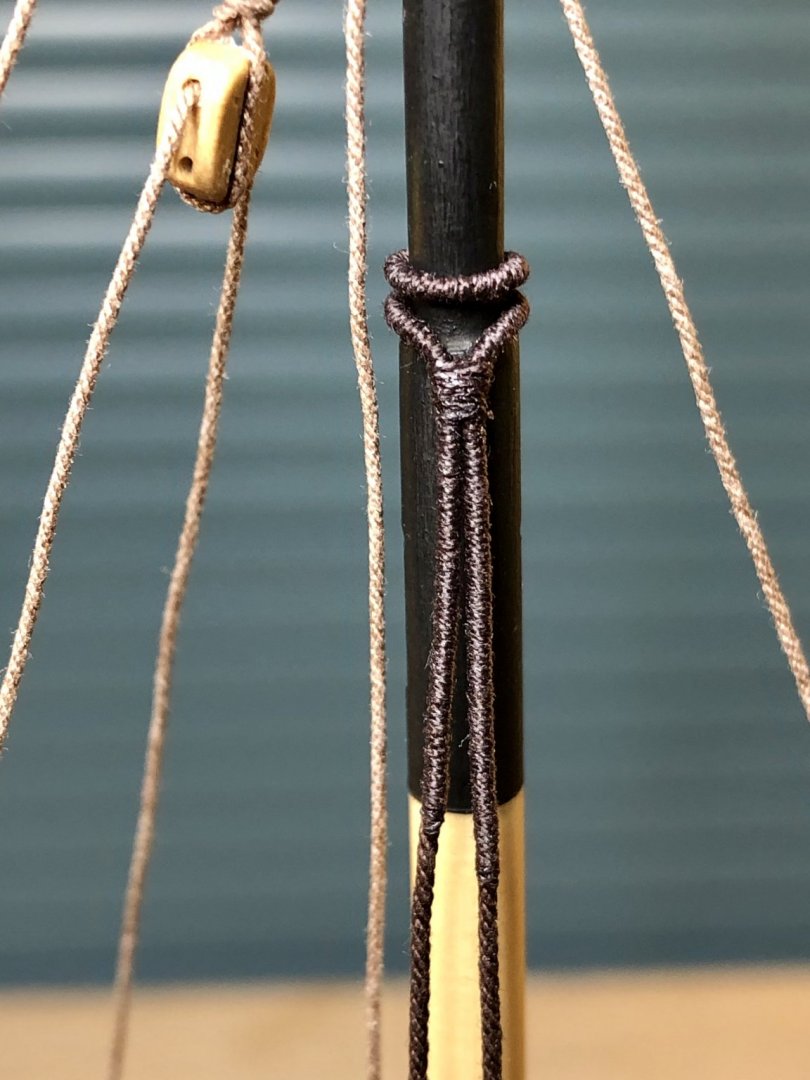
I've just completed a ship modeling milestone for me. I finish rigging my first ever shroud and reeved the the 2 deadeyes to it. How to go about doing this and get a reasonably taut shroud had me a bit befuddled but I figured out a way that worked pretty well for me after a lot of reading here on the forum. I'm pretty excited about it...only 5 more to go! 😅 Outboard view below: Inboard view below: I'll be spending much more time on my model since we have now been officially ordered to shelter in place in Sacramento County. The world has been turned upside down. It's all very tragic. Please be calm, safe and well my friends.
- 170 replies
-
- 14
-
-
- medway longboat
- Syren Ship Model Company
- (and 1 more)
-
She's coming along nicely, Jean-Paul.
-
Good advice from Ryland and Chuck. I placed all of the frames into the stern half of the build board and then tested the fit with the keel and then did the same for the bow half of the build board. Then I test fitted the keel on all of the frames at once. You can see where you need to tweak the frame placements this way. I needed to make some minor adjustments to a few slots in the keel near the bow to get the keel to sit down more uniformly in that area. Once you get everything lined up nicely then you can go ahead and glue the keel in place but practice this procedure to get the hang of placing the keel in place before actually doing your final gluing.
- 217 replies
-
- 2
-
-
- medway longboat
- Syren Ship Model Company
- (and 1 more)
-
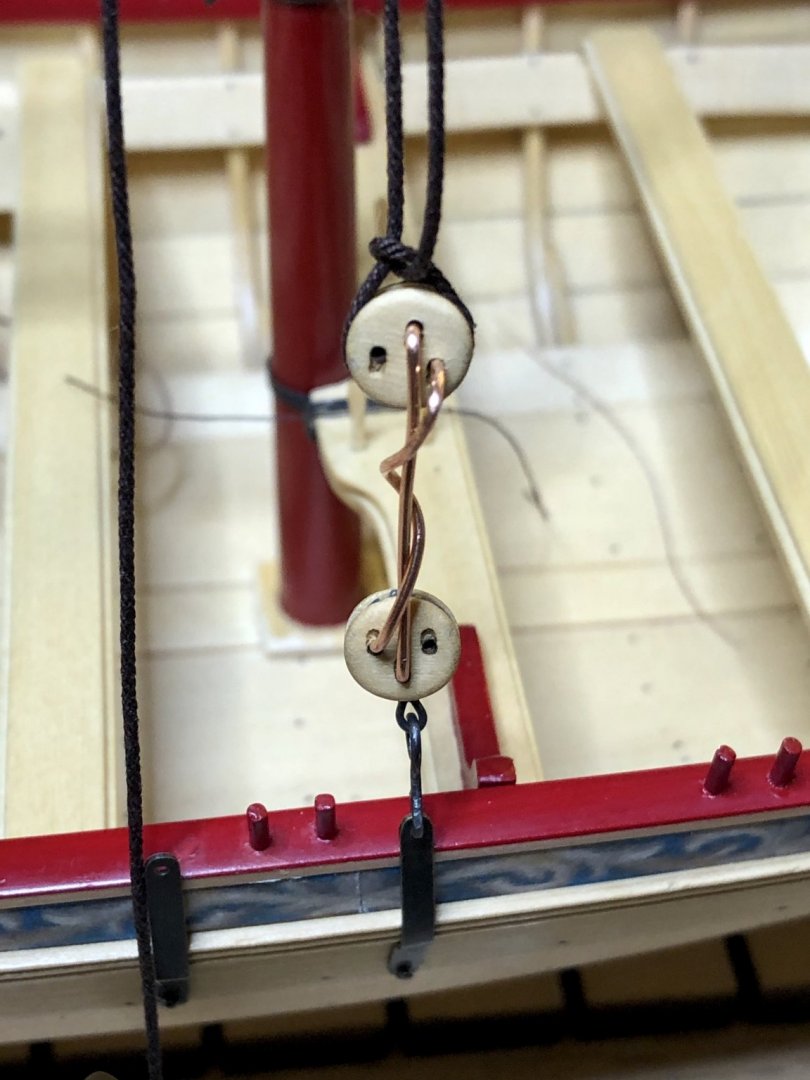
Just a little bit of progress today. I got the port and starboard shrouds seized around the mast and I made a crude jig to help me begin to reeve the deadeyes and seize the lanyards to the shrouds.

- 170 replies
-
- 10
-
-
- medway longboat
- Syren Ship Model Company
- (and 1 more)
-
One thing I would encourage you to do is to extend the tape on the bottom of the build board from end to end so that the bottom of the frames have something sticky to adhere to and help hold them down while you work on the hull. Or you could simply put a small piece of tape at the bottom of each frame to help keep them seated too. At one point during the planking process on my build I noticed that a couple of frames nearest the bow had lifted a bit. It probably occurred during all the handling and manipulating I did at times while planking. It didn't seem to create a big problem for me but I did notice that, when I carefully sighted down the keel on the interior, there seemed to be a very slight twist to the port side at the stem. Not sure if the frames lifting caused that but it may have. No one but me would ever notice it because it is so slight but I think keeping the frames fully seated would be best.