ccoyle
-
Posts
10,546 -
Joined
-
Last visited
Content Type
Profiles
Forums
Gallery
Events
Everything posted by ccoyle
-

Leon by Doug McKenzie - 1:300 - BOTTLE
ccoyle replied to Doug McKenzie's topic in - Build logs for subjects built 1851 - 1900
Okay! Looking forward to seeing your project. -
Leon by Doug McKenzie - 1:300 - BOTTLE
ccoyle replied to Doug McKenzie's topic in - Build logs for subjects built 1851 - 1900
Doug, is your post missing some photos? -
Welcome aboard!
-
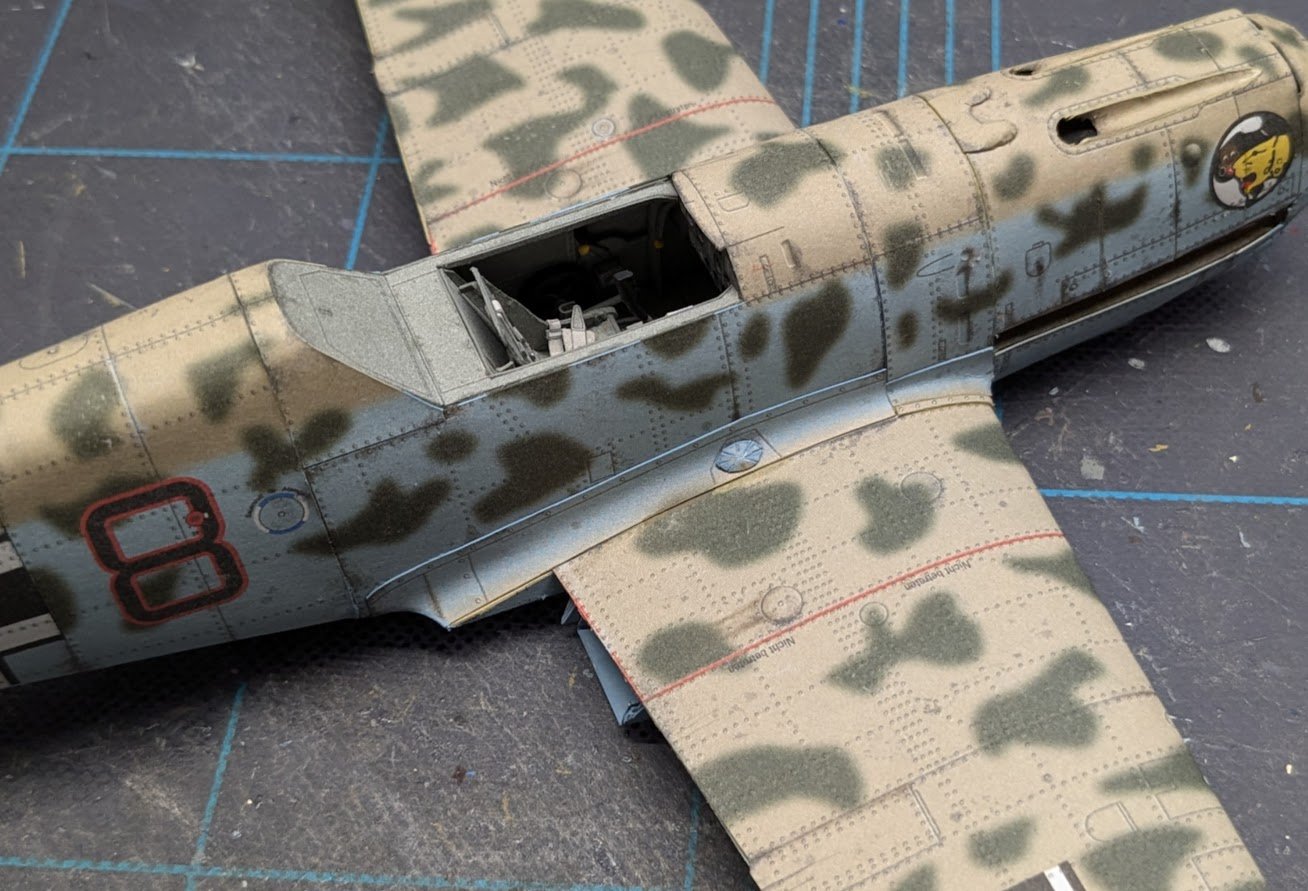
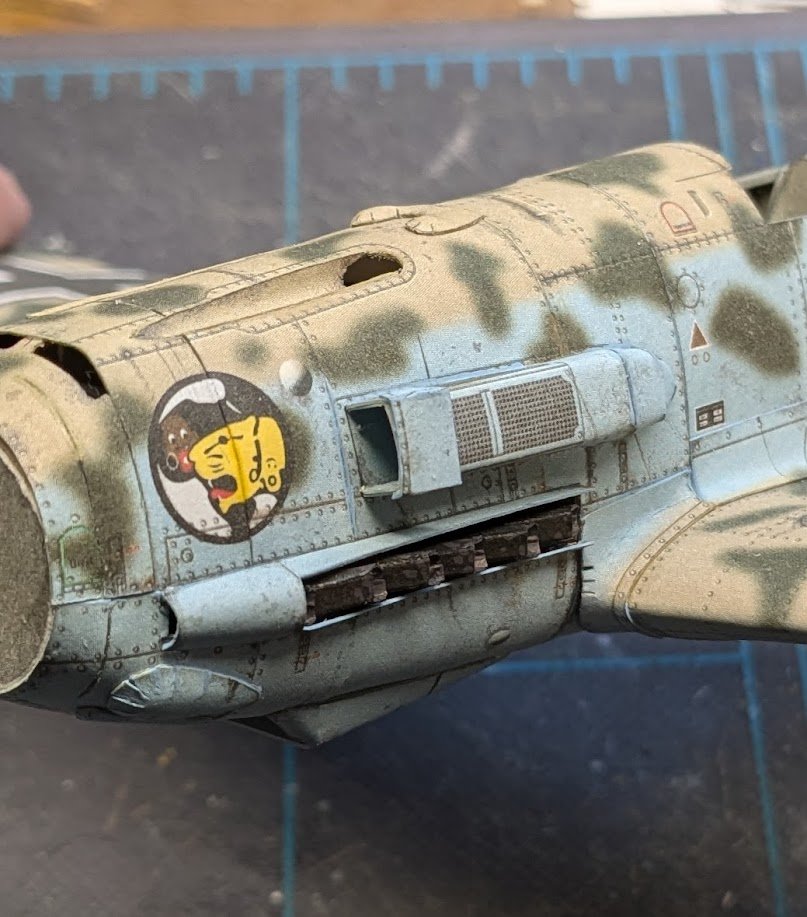
Work progresses. I decided to work on some various fuselage bits rather than stick dogmatically to the numbered construction sequence. First, I killed some white spots on the lower fuselage. Then I made and installed the exhaust stubs (ugh . . . a real chore). And added the exhaust fairings. I learned afterward that the forward opening on each one should be rectangular, not round, but there were no fold indicators on the parts. 😒 Finally, the tropicalized air intake. That's it for now!

- 85 replies
-
- 20
-

-

-
Moin, moin, Jölle! Glad to see you back at the bench -- praying for calmer seas ahead for you and your family.
- 211 replies
-
- 4
-

-
-
- Russo-Japanese War
- Mikasa
- (and 2 more)
-
Some of us love humble workboats! If you wouldn't mind making a final post in each of those build logs, I can mark them 'finished' for you.
-
Intro to Card Models Part VIII: Building V108 - Miscellaneous Bits
ccoyle replied to ccoyle's topic in Card and Paper Models

-
Mike, you alone are responsible for over half the build logs of kits from this manufacturer we don't see every day, which I suppose makes you our resident expert on them. Whatever became of the box stern and the buy boat?
-
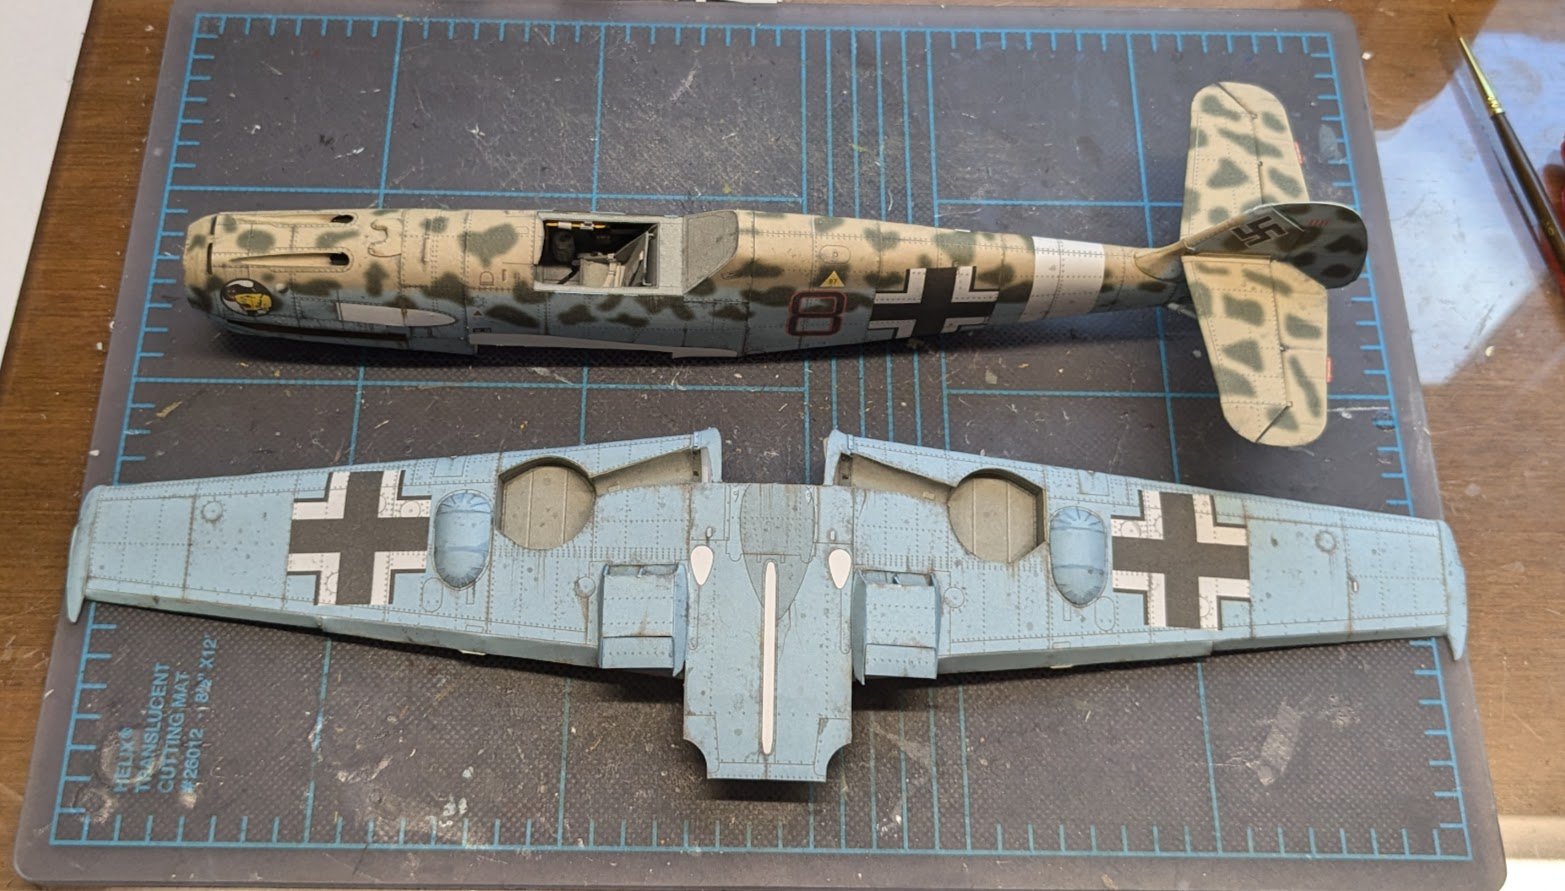
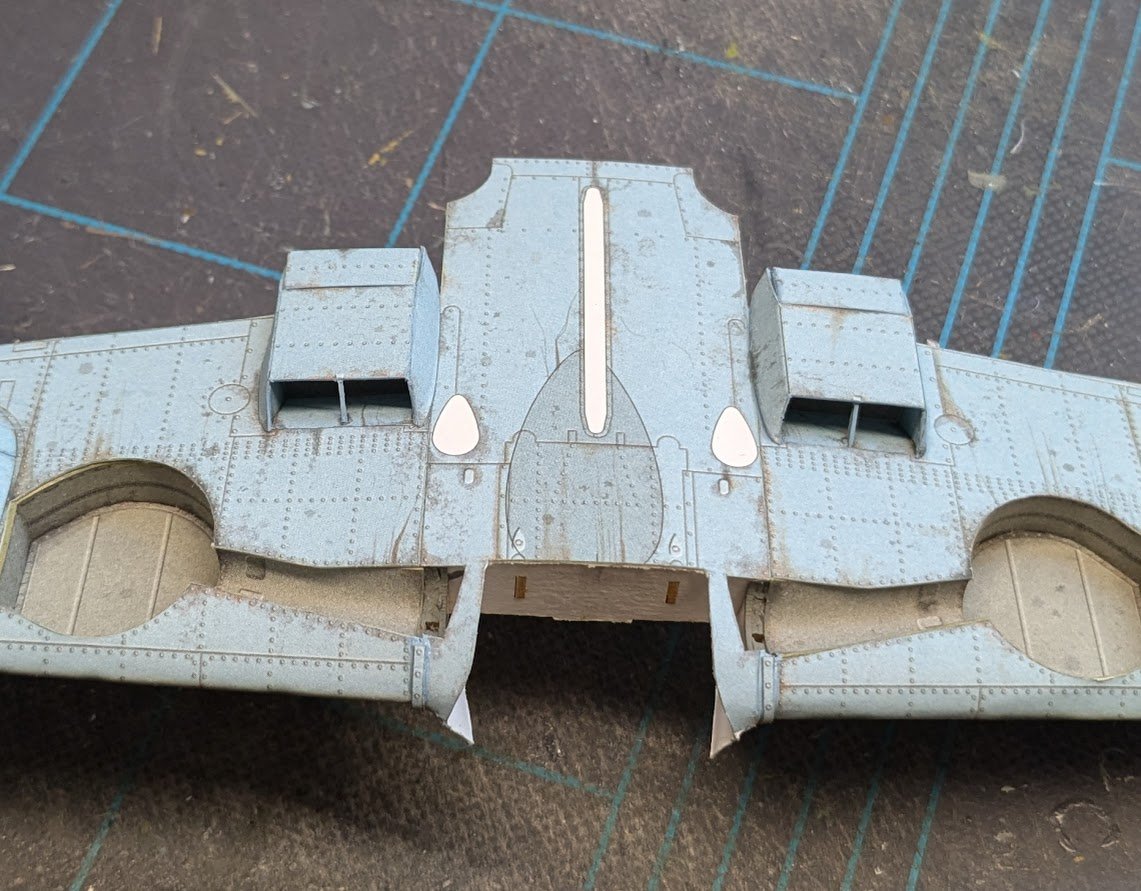
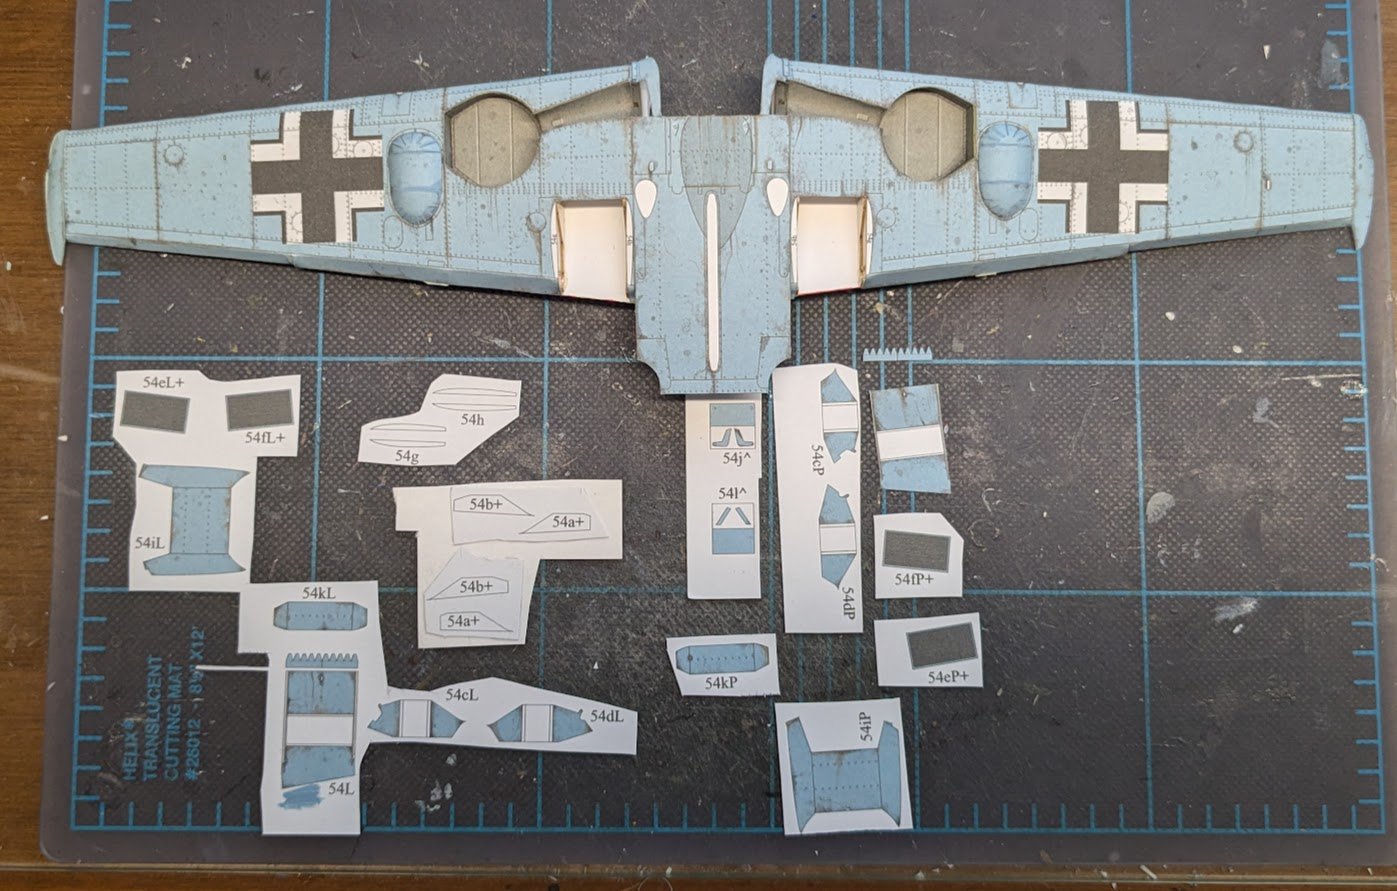
The radiators are finished. Note to future self (I have two more Halinski 109s in my stash): Notice that the port side cover fits better than the starboard cover. That's because I discovered that the internal parts are all about 0.5 mm too tall. Trimmed them all down by that much and got a much better fit. The next step is to add the wing fillets. That means this is the last time you'll see these two sub-assemblies apart. 😮
- 85 replies
-
- 16
-
-
Okay, I said an extra "wow" when I noticed the cloth grommets on your sails!
- 38 replies
-
- 3
-
-
-
- Chesapeake Bay Flattie
- Model Shipways
- (and 2 more)
-
Very nice planking job!
-
Welcome aboard! That is not bad work for a first model -- a lot of first-timers don't even make it this far, so you are ahead of the curve. And it's clear from the photos that you've learned that a wood kit is very forgiving of some 'rough' work if the builder intends to paint it afterwards. Neatness will come with practice. Cheers!
-
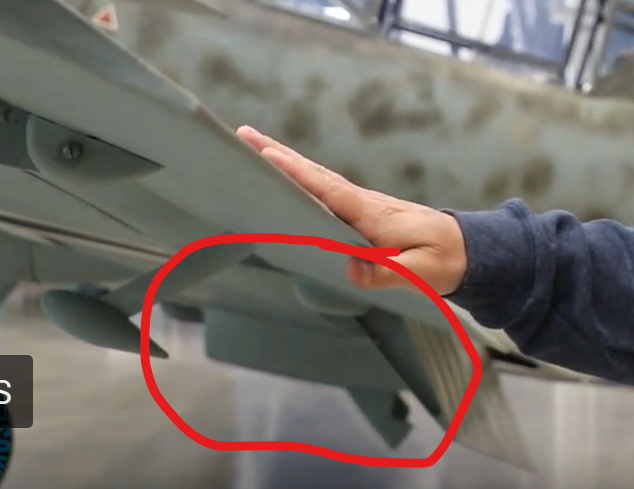
Further to my last post, in this screenshot taken from a Bf 109 walkaround, you can see the flap and radiator door in the lowered position.
-
Intro to Card Models Part VIII: Building V108 - Miscellaneous Bits
ccoyle replied to ccoyle's topic in Card and Paper Models
You are a braver man than I! Well done! -
I guess they must have thought a little extra challenge was in order.
- 5 replies
-
- 3
-
-

-
- cabin cruiser
- Aero-naut
- (and 1 more)
-
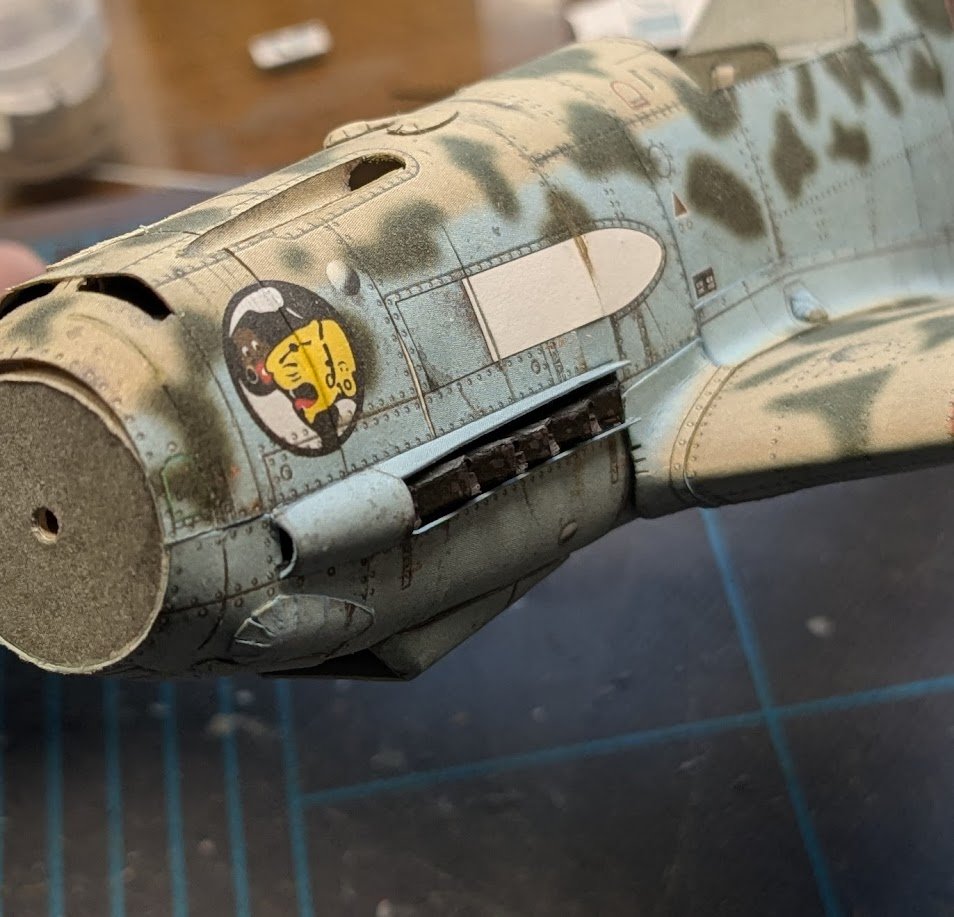
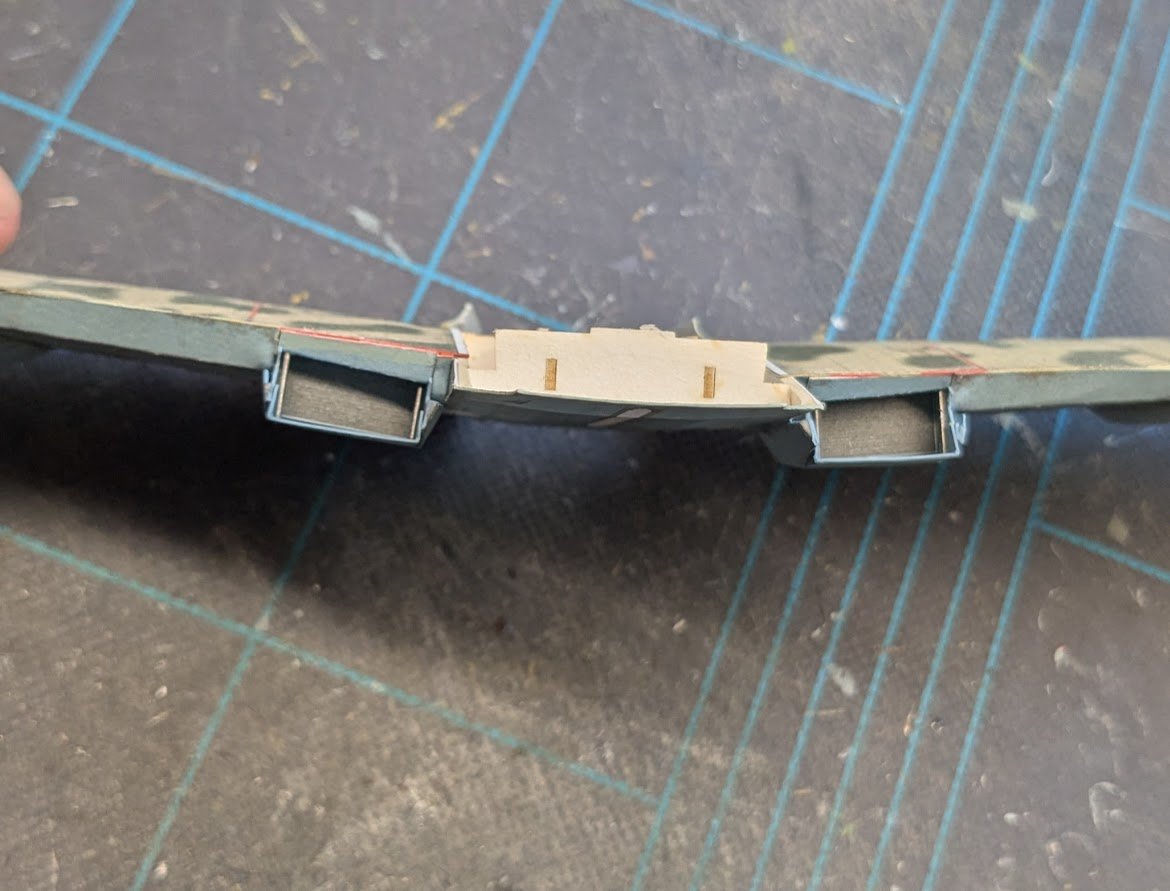
BTW, here's one for the airplane nerds out there: According to what I have read in online sources, the 109's radiator doors were linked to its flaps, the idea being that since the lowered flaps partially blocked the flow of air through the radiators, the flow would be maintained by automatically enlarging the rearward aperture via the linkage. Thus, a model should match the positioning of the radiator doors to the angle of the flaps, i.e., flaps down -- doors down, flaps up -- doors up. The construction diagrams show the doors fully opened, but since I intend to display the model with the flaps up, I will position the radiator doors to match.
-
They are by no means unique in that regard. Misspelling one's native language is a shared human experience!
- 97 replies
-
- 3
-
-
-
- Corel
- Große Jacht
- (and 2 more)
-
A challenge, perhaps, but at least Corel kits typically have good-quality wood. P.S. I have edited the log title, including correcting the spelling of Größe to Große -- the first instance is a noun, the second is the adjective form. Those pesky umlauts!
- 97 replies
-
- 2
-
-
- Corel
- Große Jacht
- (and 2 more)
-
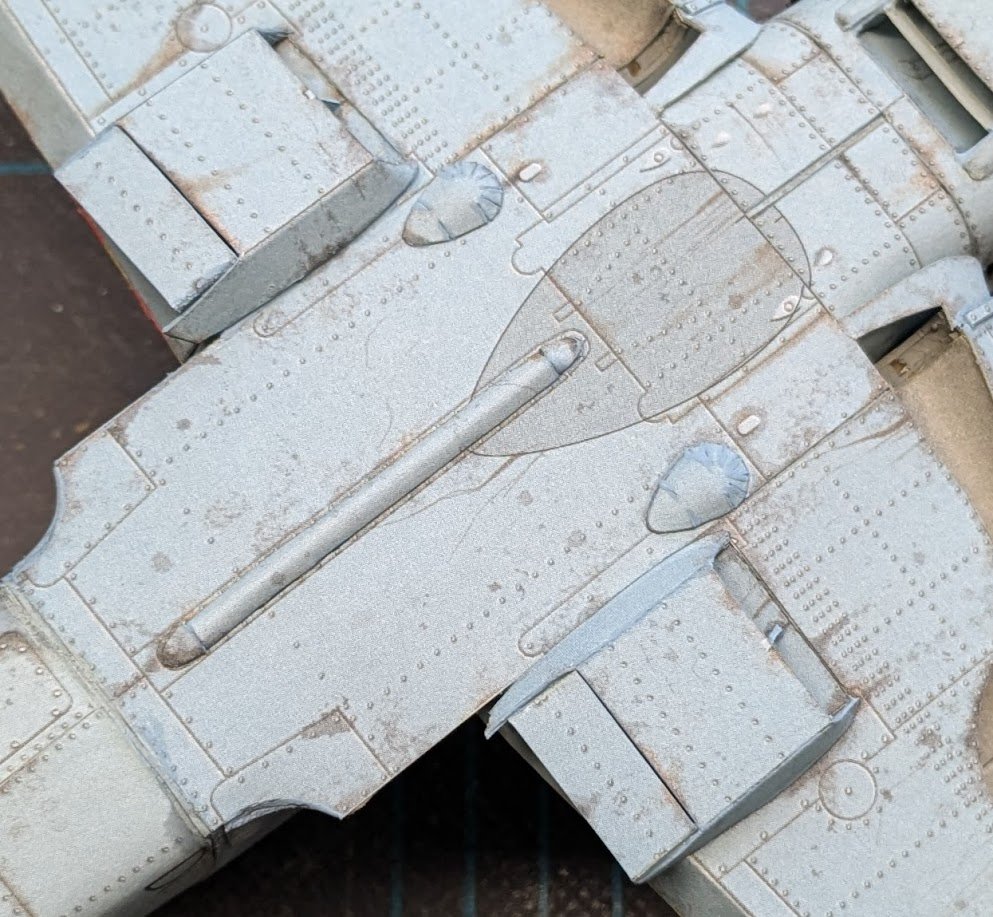
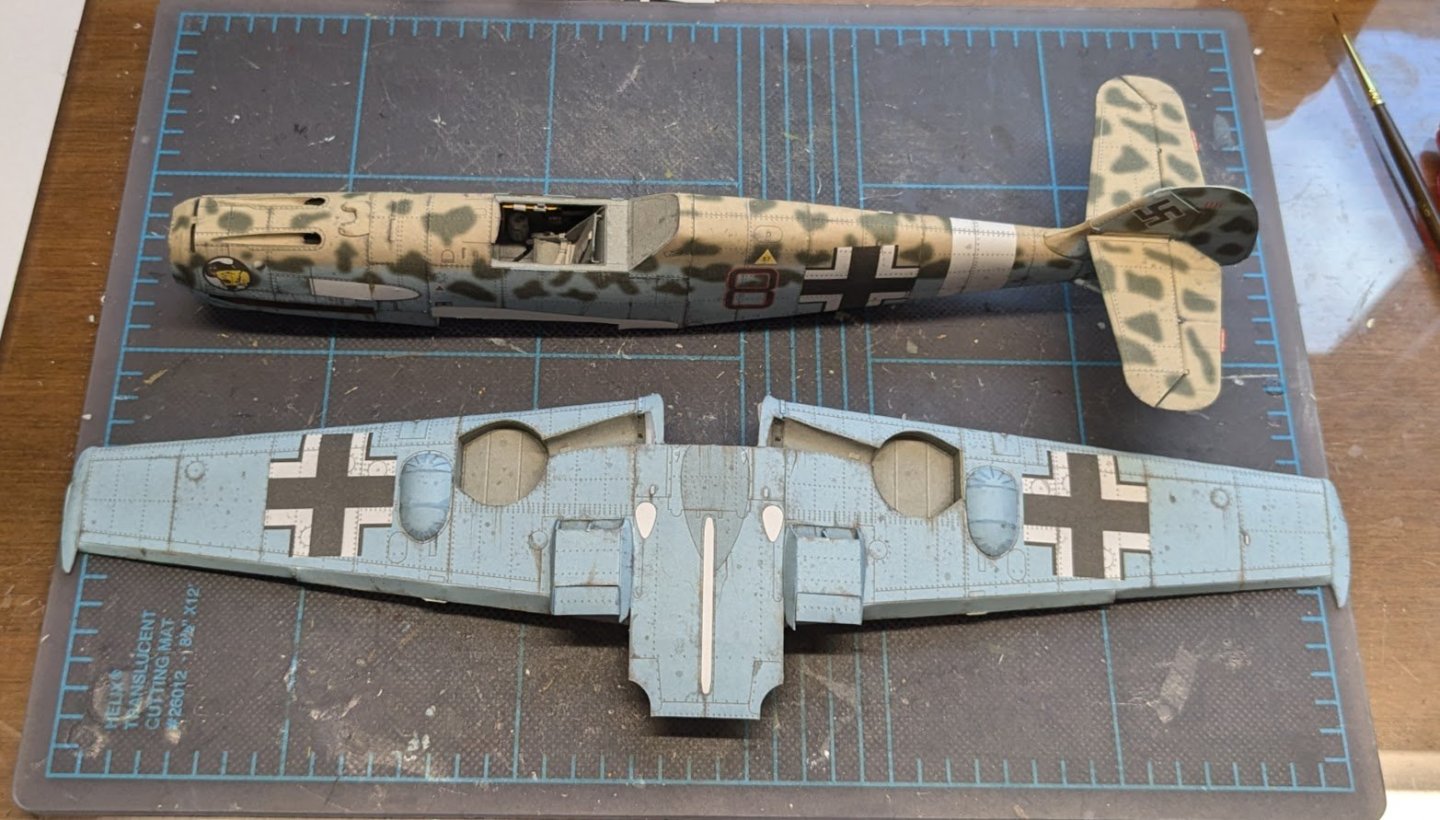
There is quite a bit of work involved in getting the wing ready to mate to the fuselage. So far I have added the wingtips and gun blisters. Still have the radiators left to do (26 parts for the two radiators).
- 85 replies
-
- 13
-
-
Some dimensions would help narrow the field a bit. The construction of the stern galleries is quite crude.
-
Bonjour, Tanguy ! Bienvenue sur notre forum. J'espère que vous apprécierez de parcourir l'énorme quantité d'informations que nous avons ici pour les aspirants modélistes. Veuillez noter qu'il s'agit d'un forum en anglais et que nous exigeons que les messages soient rédigés en anglais. Vous pouvez utiliser un traducteur en ligne pour vos messages – de nos jours, ces sites font généralement un très bon travail. Cordialement, Welcome to our forum. I hope you will enjoy browsing the huge amount of information we have here for aspiring model builders. Please be advised that this an English-language forum, and we require posts to be made in English. You may use an online translator for your messages -- nowadays such sites usually do a very good job. Kind regards,
-
Greetings from a clueless Patrick O'Brian fan
ccoyle replied to Galkar's topic in New member Introductions
Welcome aboard!