Supplies of the Ship Modeler's Handbook are running out. Get your copy NOW before they are gone! Click on photo to order.
×


ccoyle
-
Posts
10,054 -
Joined
-
Last visited
Content Type
Profiles
Forums
Gallery
Events
Everything posted by ccoyle
-
 Wow! I'll just echo the previous comments -- beautiful!
 -
Which may also explain why Mr. Okumoto-san is sold out of this kit!
-
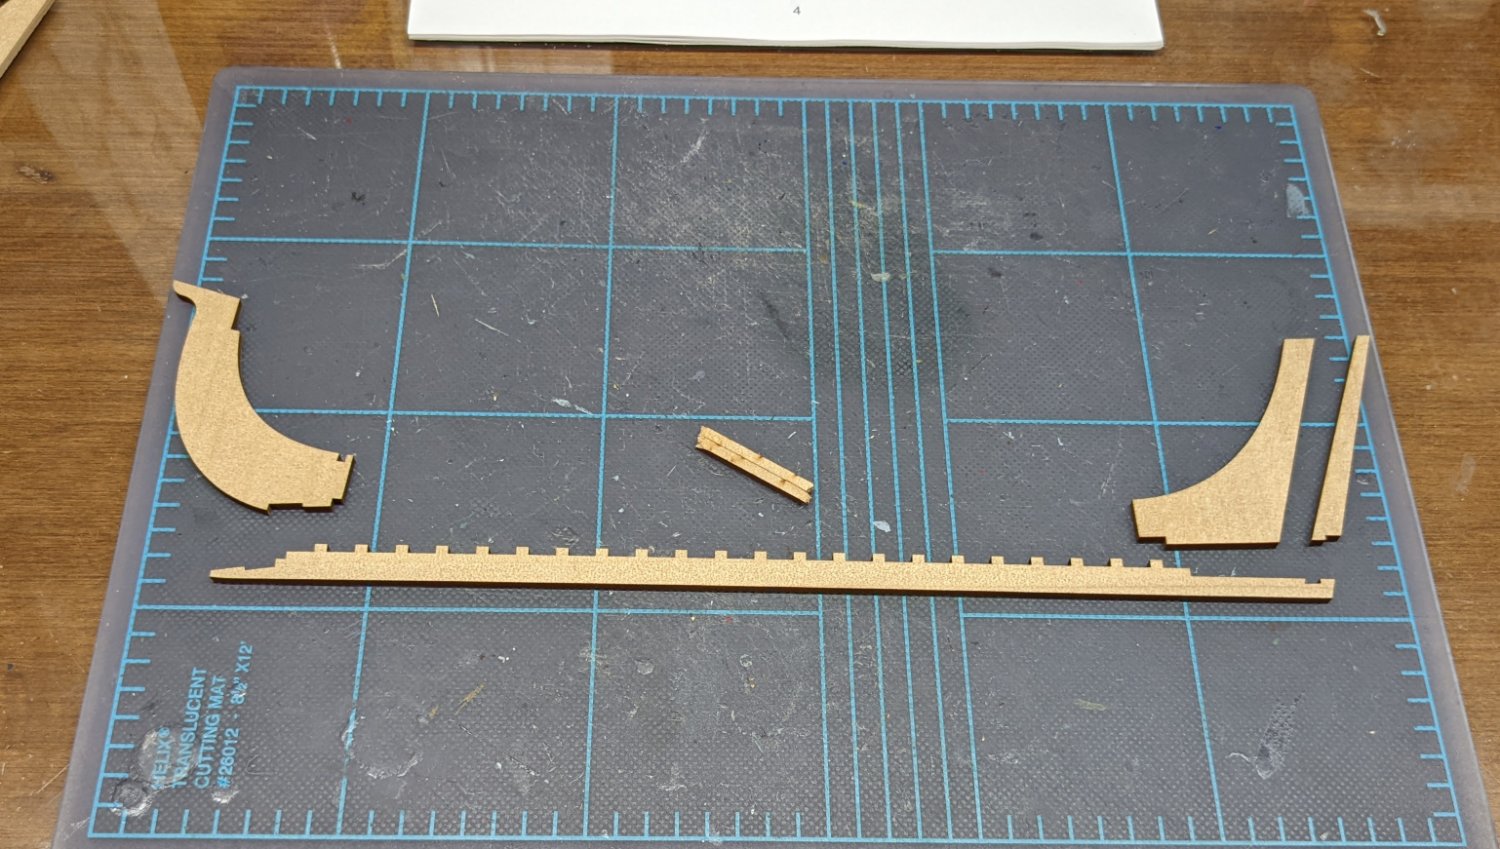
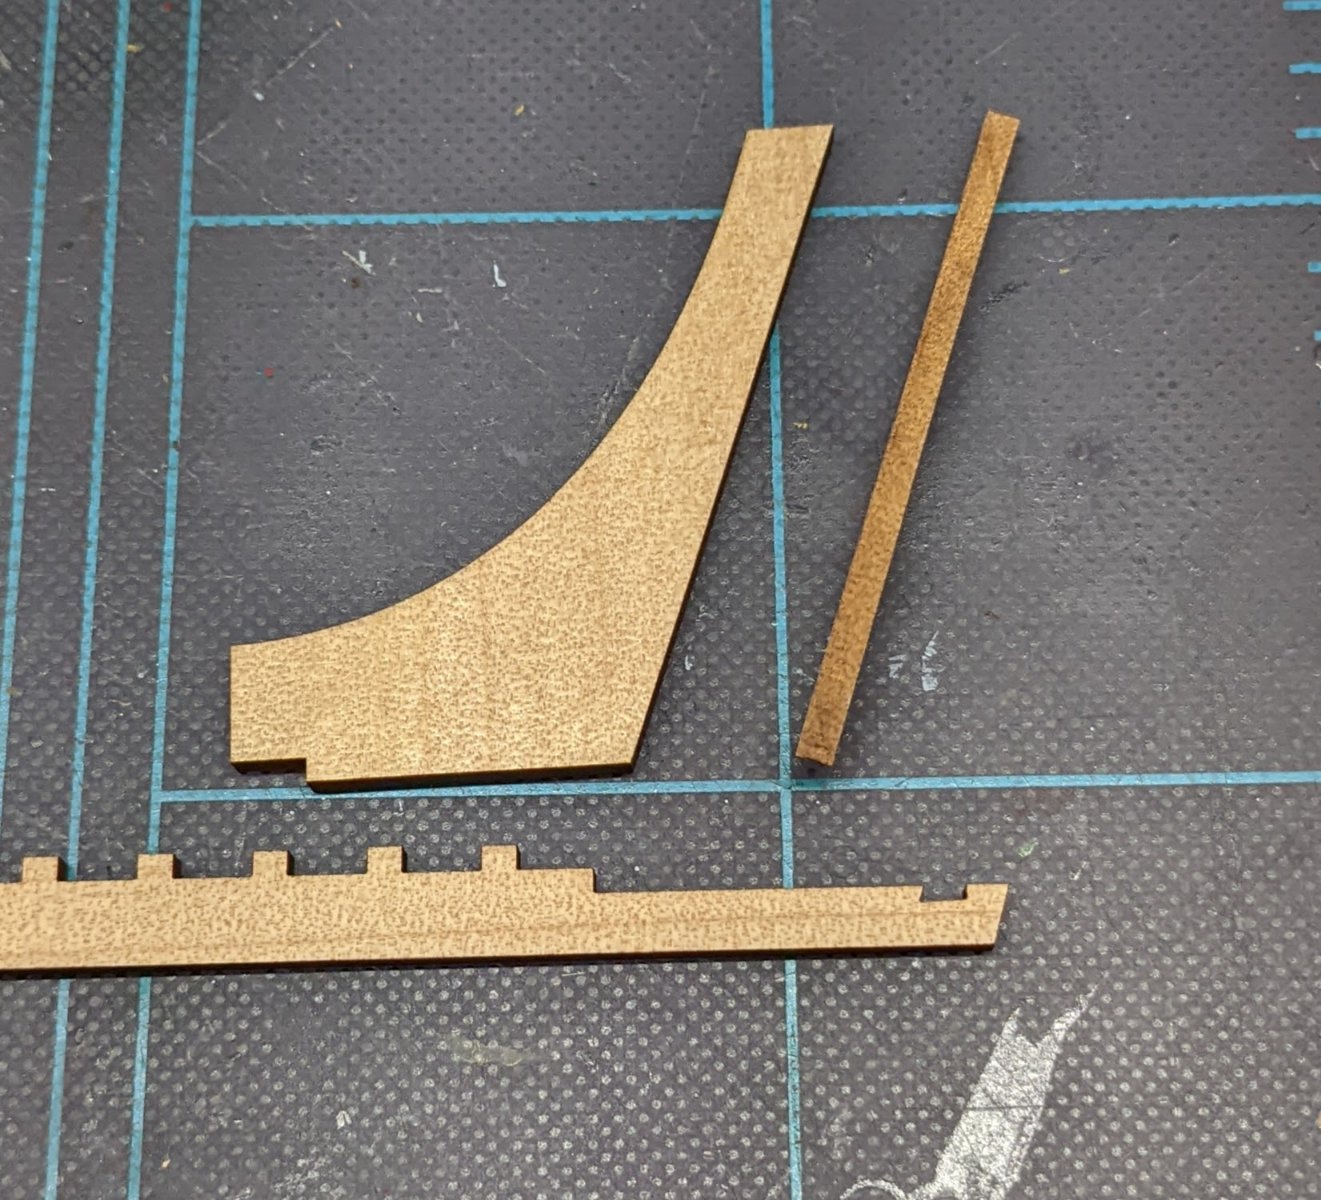
Okay, so here are the parts for the keel. In the center are the two bits of scrap that I test glued and let dry over night. I couldn't get them apart with finger pressure, not even while twisting them, so the char does not appear to be a problem for gluing. Here's a close-up showing a laser-cut edge. Like I said earlier, the char is medium-brown in color, not black, and personally I kind of like the bit of contrast. But what do you think? Fly's name plate arrived in the mail today, but I will wait until the "big reveal" to show what it looks like with the model.


-
1936 Rolls Royce Phantom III by CDW - Revell - 1:16 scale
ccoyle replied to CDW's topic in Non-ship/categorised builds
As a kid, I built Revell's 1/72 scale version of Goering's mount.- 97 replies
-
- 10
-

-
Re-homed from another MSW member.
-
Hi, BG. Check out the work of Bob Wilson (click here for website). He offers quite a few downloadable how-to files. Cheers!
-
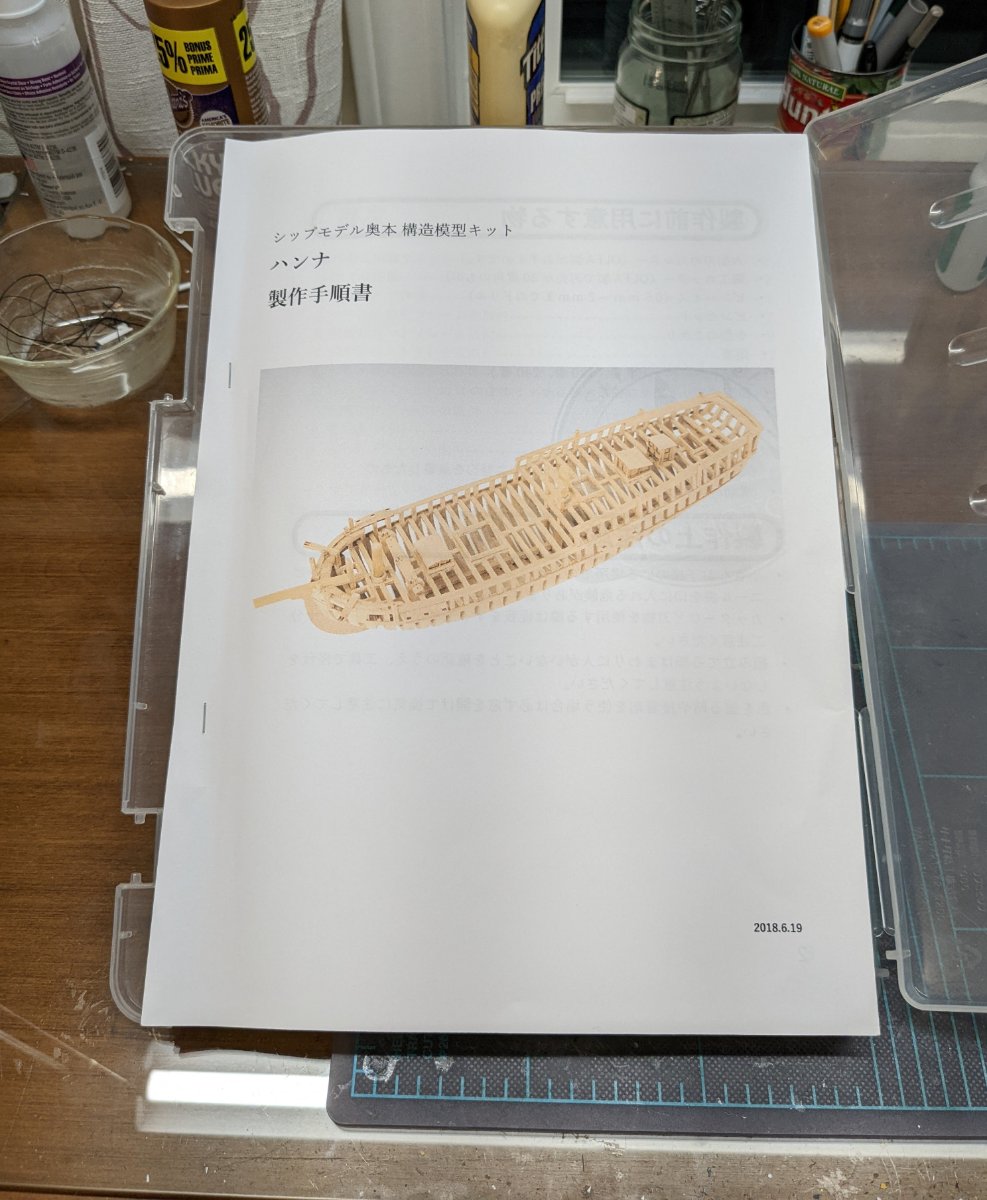
Hi, gang. So, while I'm still waiting for some materials to finish up USS England, I've decided to start up a new project. This is the 1/70 scale Hannah kit from Ship Model Okumoto. I won't do an unboxing here, since James Hatch already wrote up an excellent review of this kit, which you can read here. Mr. Okumoto's kits are basically POF, but without the 'P' part -- just the framing. I may decide to add some planking later to make Hannah more of a conventional POF model. As you will note in James' review, the instructions for this kit are entirely in Japanese -- I am only able to begin work on it now because I was recently forced to replace my dying cell phone with a new one that includes Google Lens, which has a built-in translation capability. I can attest that Lens does a more than adequate job of translating the kanji characters. As James also noted, the laser cutting on this kit is very good, but, interestingly, there are no laser-engraved numbers on the parts. The instructions say that the first step is to write the numbers on the parts in pencil, using the kit's printed part sheet templates as guides. Not knowing in advance how much of those numbers will eventually remain visible, if any, I have gone ahead and written them adjacent to the parts, just to be safe. James mentioned removing the char, but I intend to do a test bond on some pieces of scrap to see whether it is really needed. What little char remains on the parts is not loose or sooty, and its medium brown color actually pairs well with the tone of the wood used in the kit. If I can get away without having to do all of the scraping and sanding, it will save a huge amount of work. We'll see how it goes. Cheers!

-
Yikes! My short-term memory isn't what it used to be -- but your model proves the point I was making! Cheers!
- 114 replies
-
- 1
-
-
- Pride of Baltimore II
- Model Shipways
- (and 1 more)
-
Welcome board, Charlie!
-
Nevertheless, it is to these same cruel taskmasters that we must ultimately answer. 😉
- 69 replies
-
- 5
-
-
- fly
- victory models
- (and 2 more)
-
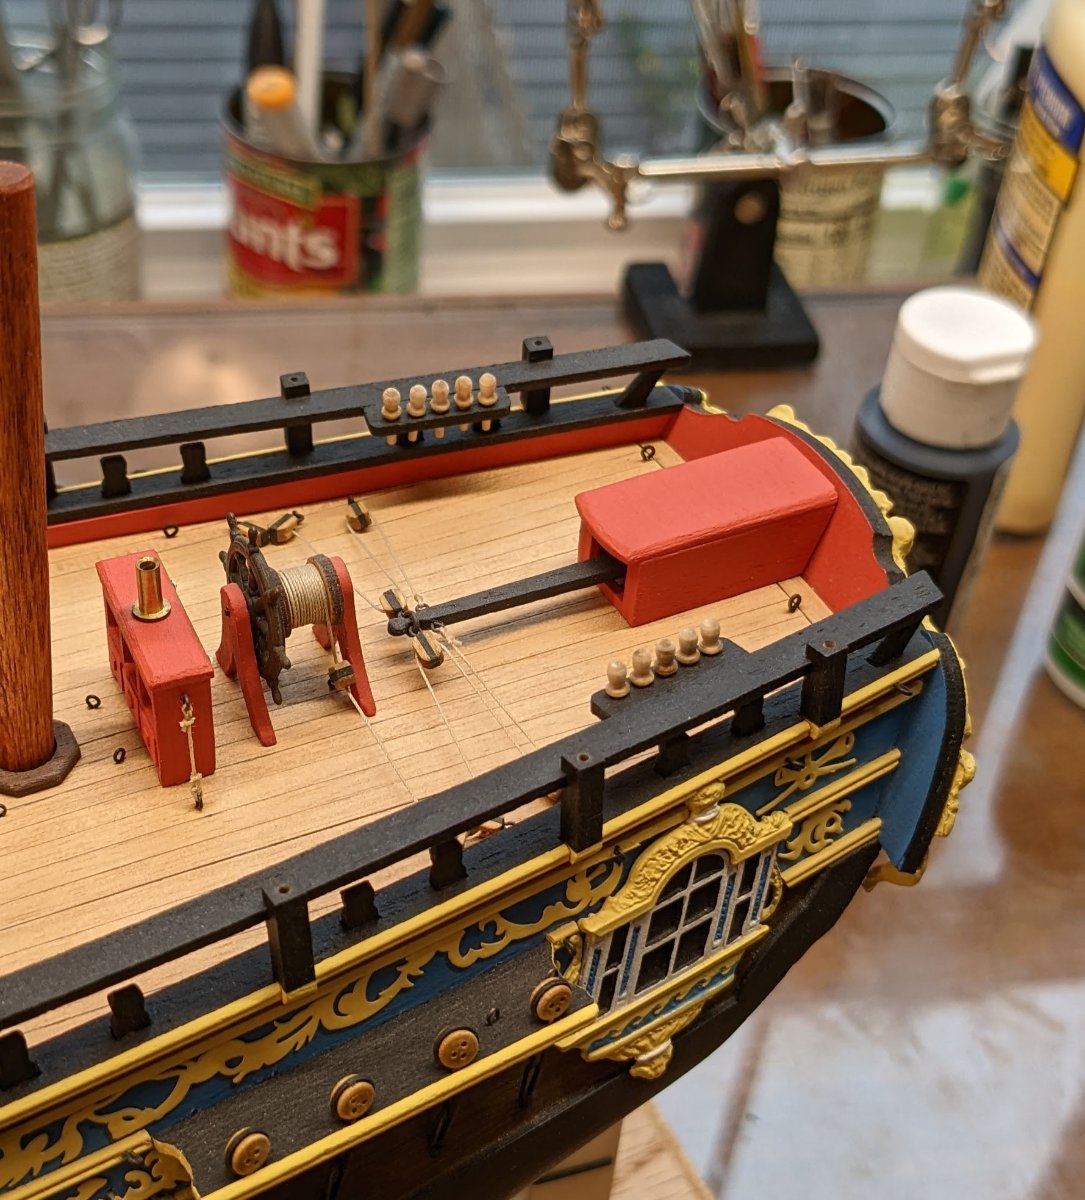
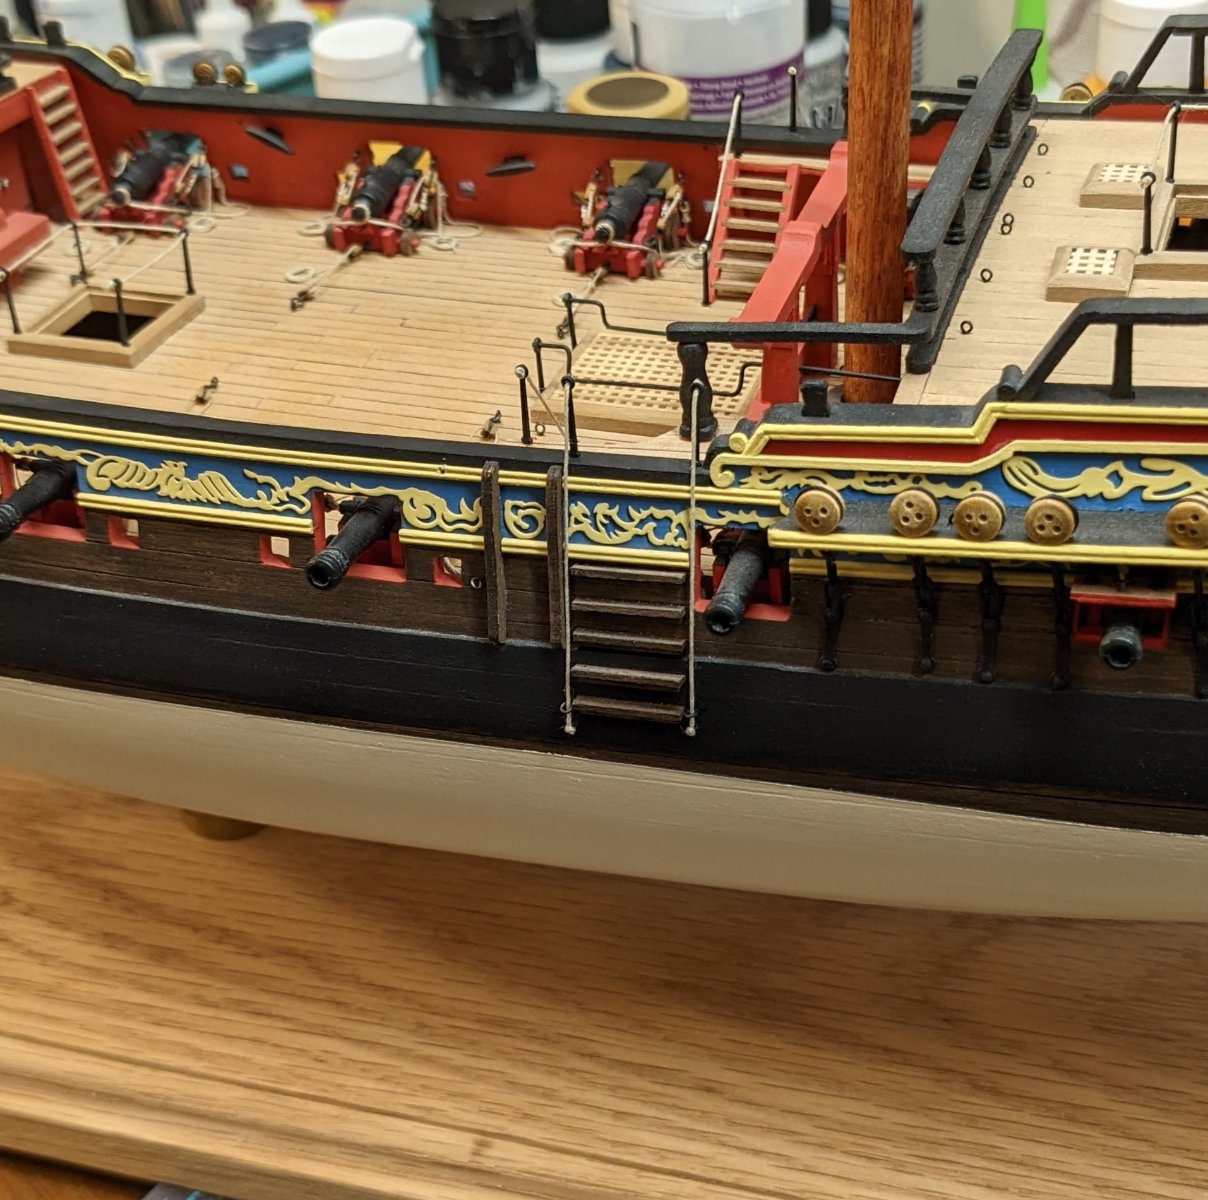
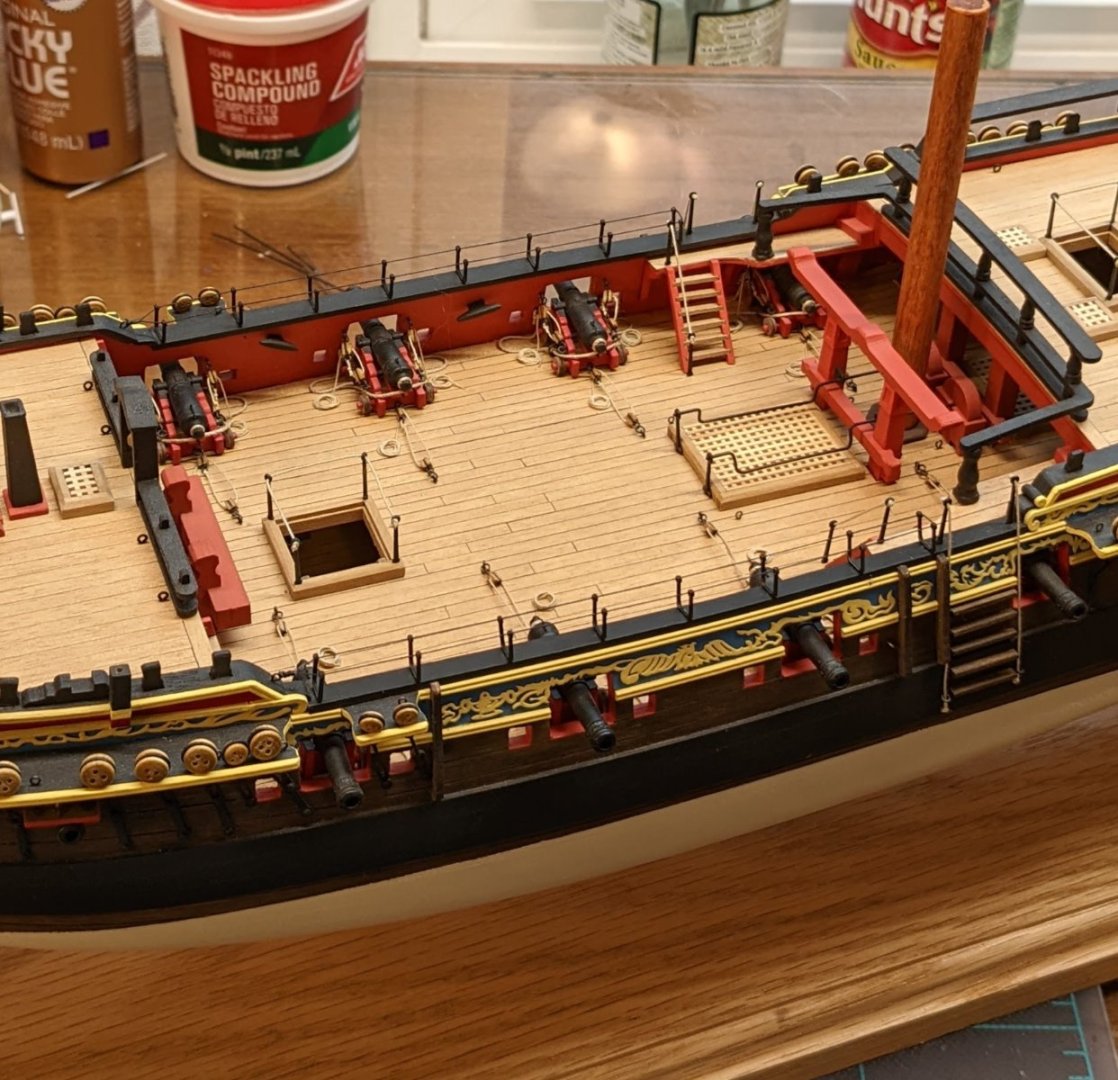
More progress. The Swan-class sloops had a very small number of belaying pins, located in racks along the quarterdeck railings. As usual, these off-the-shelf pins benefit from being chucked in the ol' Dremel and being turned down a bit. And the hammock cranes are done as well. No netting -- sorry. Just don't feel up to the additional effort. The black line is also a little on the thin side, but I didn't have anything on hand that looked 'just right', and all the other available cordage was too thick. Believe it or not, there is not much else to do. I'm planning to replace the kit swivel guns with parts from Vanguard Models once they are back in stock, and I also plan to add one or two of the anchors to the display. I also ordered a brass name badge -- she deserves at least that much. So, once all those things are in place, I will report back, but that's pretty much it for now.

- 69 replies
-
- 19
-
-
- fly
- victory models
- (and 2 more)
-
Good luck with your project! This kit produces a quite spectacular model.
- 114 replies
-
- 1
-
-
- Pride of Baltimore II
- Model Shipways
- (and 1 more)
-
I'd be inclined to believe that they would modify captured vessels to configurations they were familiar with.
-
Yes, those came in the upgrade kit. But if I were to do this one again, I would do the upgrading differently. The guns in the kit are Amati off-the-shelf parts and not period correct; you can order replacement gun sets (including carriages) from Chris at Vanguard, although he does not currently offer 6 pdr guns -- only the carriages. I would also use one of Vanguard's or Master Korabel's wooden boat kits to replace the cast metal boat. None of those aforementioned items was yet available back when I started in on this project. Thanks. Well, the deck is, for the most part, but you'll notice I haven't included close-ups of some parts of the hull, which is the primary source of my dissatisfaction. Lessons learned!
- 69 replies
-
- 7
-

-
-
- fly
- victory models
- (and 2 more)
-
I'd follow the plans. It looks a little odd, but marine engineers often come up with different solutions for the same problem. It will make a nice conversation starter when viewers ask why that piece appears to be crooked -- kind of like the canted engines that some aeronautical engineers opted to use to offset yaw in their designs.
-
Oh, I agree. I guess I didn't make my meaning clear.
- 23 replies
-
- 4
-
-
- Mikasa
- Merit International
- (and 1 more)
-
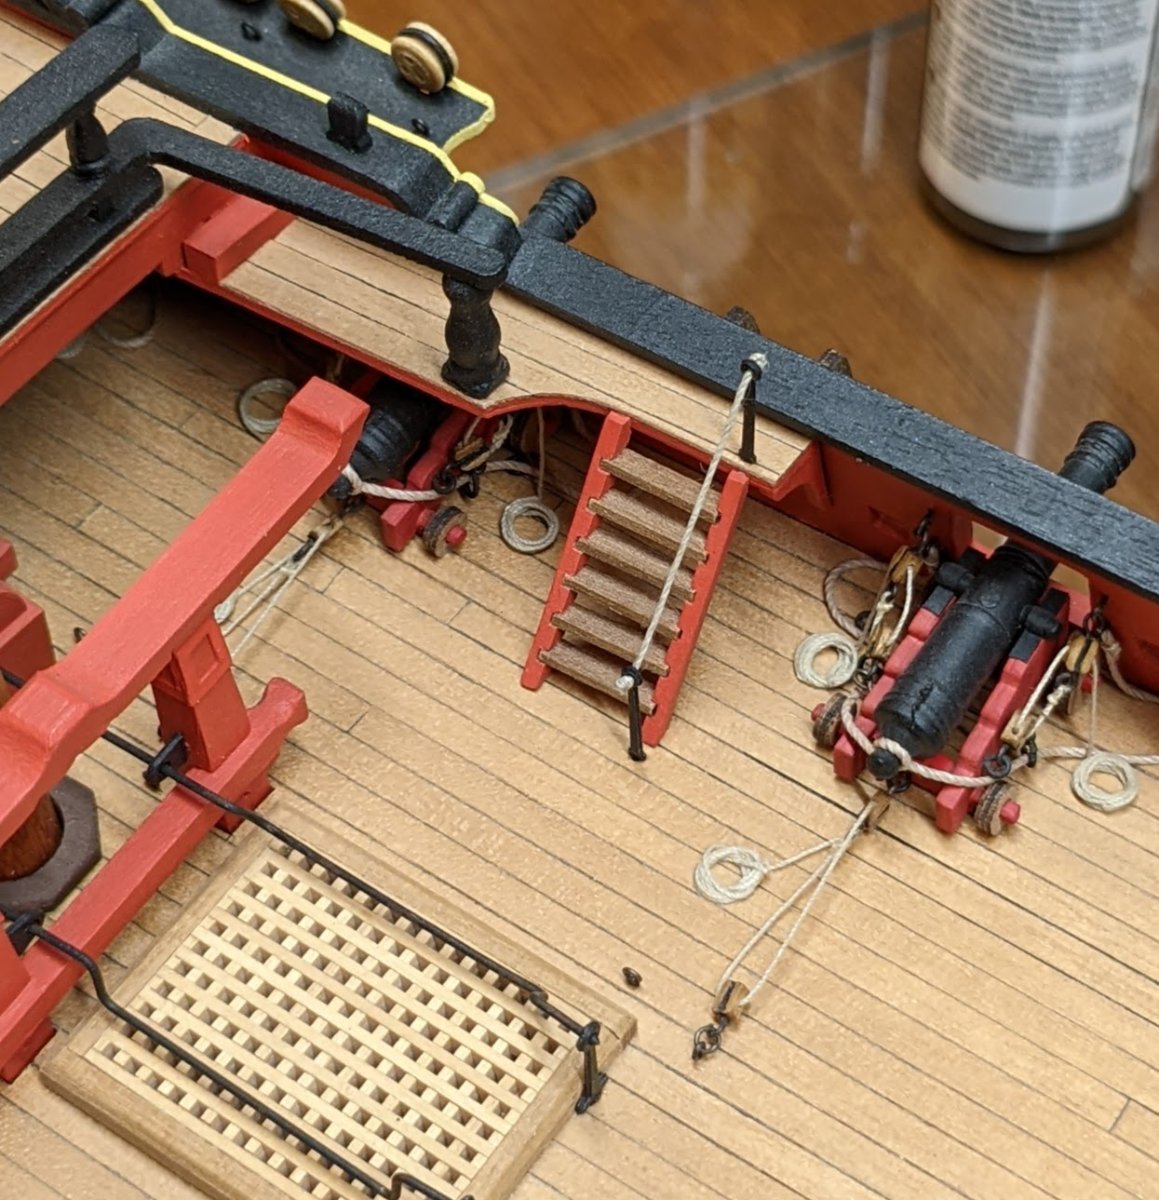
I added rope railings to the inboard entry ladders. Most -- actually all -- of the photos I have seen of these show ropes on both sides, but it seemed to me that the post at the aft side of the top of the stairs would make the already narrow gangway just that much narrower and hazardous, essentially useless, so I decided to add only one railing. I figure anyone who would need to use two in actual practice would have been considered a hopeless landlubber.

- 69 replies
-
- 19
-
-
- fly
- victory models
- (and 2 more)
-
I took a look around at the many fine, completed examples we have of both Fly and Pegasus in our galleries, and I now have a good idea of where to place the hammock cranes and a few other details. I would also like to thank all those builders for not arriving at any consensus at how exactly those details should look, which I feel grants me some leeway on how I wish to proceed!
- 69 replies
-
- 6
-
-
- fly
- victory models
- (and 2 more)
-
I seem to recall that the Russians did draw some inspiration from French designs, but I also know that some of their capital ships, e.g. Retvizan, were built in American yards.
- 23 replies
-
- 3
-
-
- Mikasa
- Merit International
- (and 1 more)
-
Dunno -- have never used them myself. But it sounds logical!
- 68 replies
-
- 2
-

-
-
- Morel
- Master Korabel
- (and 1 more)
-
Michael, I'm pleased as punch to see you've joined up here. And to the rest of our membership, just let me say that Michael's card models are outstanding -- hope to see some shared here soon!