-
Posts
425 -
Joined
-
Last visited
Content Type
Profiles
Forums
Gallery
Events
Everything posted by bdgiantman2
-
Hi Casey, is this the ship model you are talking about modifying with the wheel? If so, my personal suggestion would be right in the middle of the upper deck. The area I circled in yellow over the centerline plank would be a good placement. I really like the ketch rigs myself and some day will make a model of one. Brian D.
- 98 replies
-
- baltic ketch
- corel
-
(and 1 more)
Tagged with:
-
Hello Malazan, welcome to this site. I am in Colorado myself. Success to you with model ship building. Which area of the state are you in if I may ask?
-
Hey Mark. If you visit the blog of Winchelsea by Chuck Passaro (which is the same time period), you will see that he has double-layered the planking where the wales go. This would definitely be more noticeable at the larger 1:48 scale he is building in compared to what you are working with. Your model of the Sphinx is looking great, buddy. Keep up this project. Brian D.
- 505 replies
-
- vanguard models
- Sphinx
-
(and 1 more)
Tagged with:
-
Great detail work on Snowberry and she looks very realistic. Sometimes feels this model is bigger than the 1:48 with the zoomed in photos and details. Keep up this model.
- 321 replies
-
- Finished
- Flower-class
-
(and 1 more)
Tagged with:
-
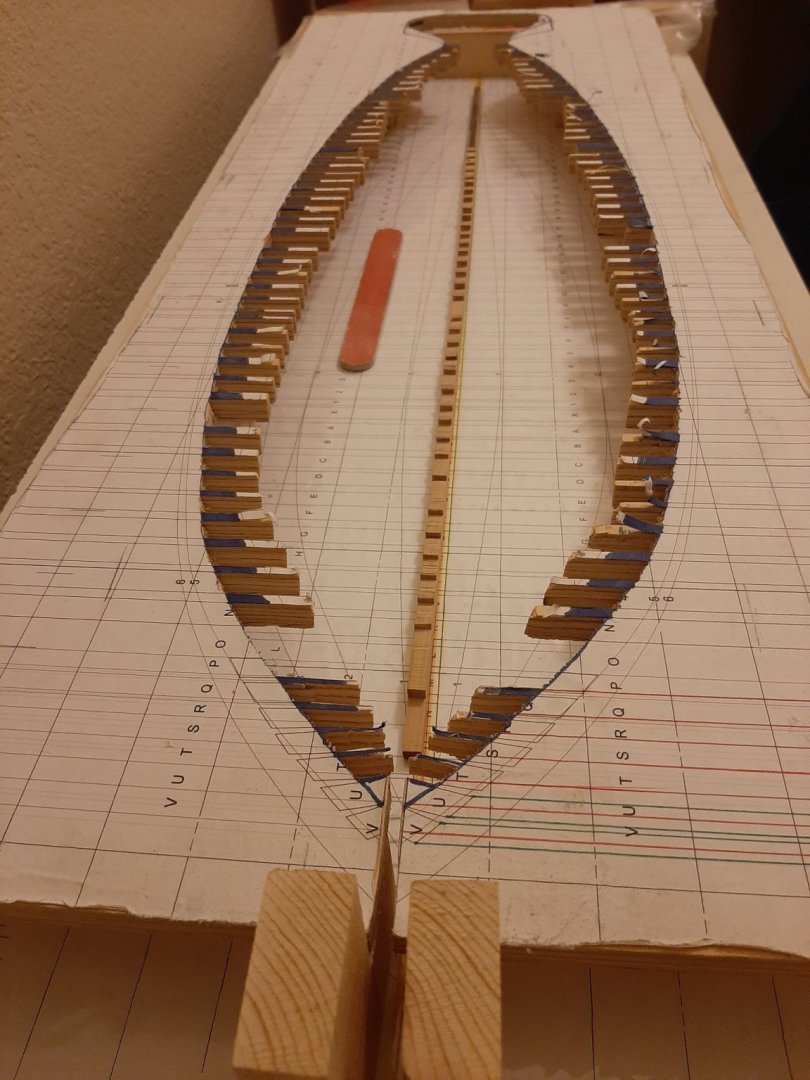
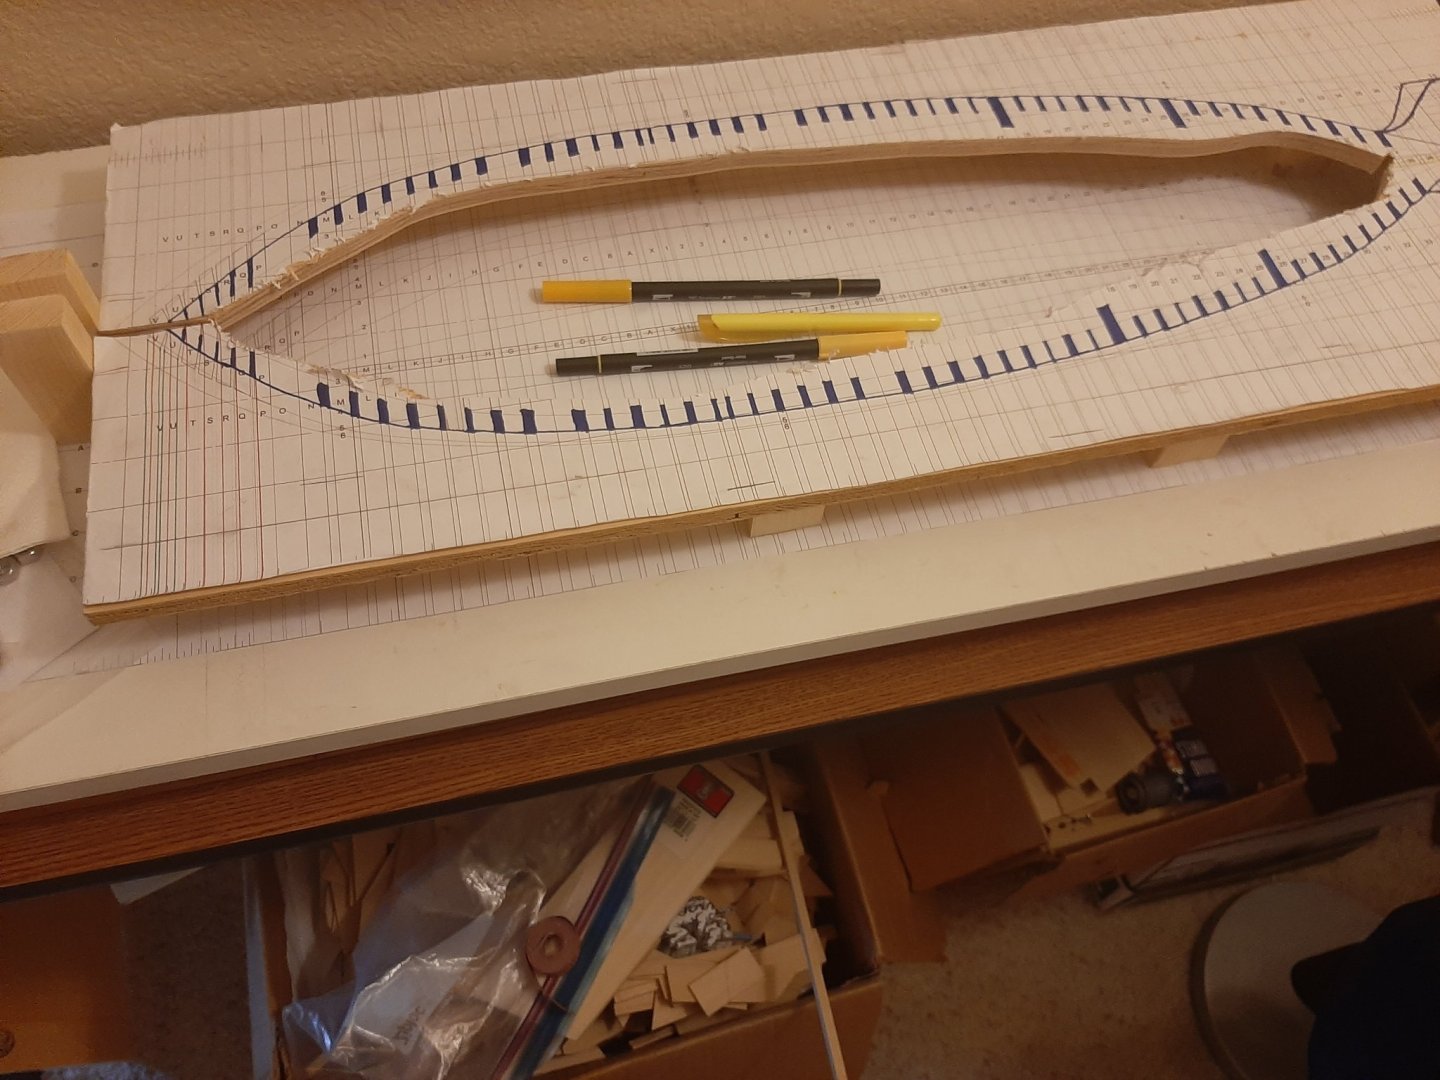
It took longer than I was desiring and expecting, but I have finally finished cutting out the top-board of my building jig. As I mentioned in my last post, I removed a big piece out of the middle using a jigsaw and then was forced to slice and whittle away at the groves using my Dremel scroll saw. Still needing to get the blade back onto the wheels of my bandsaw. Going to glue the top board onto the support pieces overnight and tomorrow I will attempt to drill in the holes for the hex-bolts that will be holding everything steady. Then I will be finishing the remaining pieces of the stem.
-
Looking good there, buddy. I am sure that your Master Shipwright will be very impressed about the deck and construction so far. Some sanding, some time, and one helluva miracle later.....................................a great ship!! Brian D.
- 505 replies
-
- vanguard models
- Sphinx
-
(and 1 more)
Tagged with:
-
As I continue to slowly make progress with my building jig top-piece, I have a survey for those of you more experienced model builders than me. Like ChadB on here, I am planning to make my model with the winged transom pieces in the stern as most real ships styled back then. Using the plans by RobnBill (Bill Edgin), the deck transom is 3/16" thick and he shows no other wing transoms in his plans. Should I use the same thickness for the rest of the transom wings or go more with the same thickness of the other hull ribs, which measure 3/8" thick double-layered? Thanks so much for the input in advance. Brian D.
-
Mighty fine looking ship so far, buddy. Keep up the progress on her. Brian D.
- 505 replies
-
- vanguard models
- Sphinx
-
(and 1 more)
Tagged with:
-

Martindale 4" Saw Blades
bdgiantman2 replied to HReardon's topic in Modeling tools and Workshop Equipment
Micro-marks has blades available, a little smaller than the 4in diameter you are looking for, but I have had good success with this company and they have reputable products. https://www.micromark.com/mini-powertool/power-tools-accessories/saw-blades-cut-off-wheels/table-chop-saw-blades Brian D -
Beautiful job done on that model ship, sir. Very nice detail and looks very well put together and accurate. You deserve to be proud of her outcome. Brian D.
-
My first model ship was the Muscongus Bay Lobster Smack. Looking over the pictures and instructions and pieces, its almost exactly identical in a large amount to the kit by Midwest, which is what I built. Midwest has made better instructions with good illustrations, and most of the pieces all came on laser-etched basswood and Balsa boards. Keep up the good work on this kit. Brian D.
- 26 replies
-
- Maine
- Laughing Whale
-
(and 2 more)
Tagged with:
-
Hello everyone, just a small update. I think that I have better straighten out the deadwood for Brig Eagle after triple-clamped it to a spare piece I have of half-inch ply. I will have to keep it clamped down for a while longer, but I think it looks better. Will have to provide a picture of this later. I am continuing to slow make progress on the building board for this project. After carefully cutting by handsaws a section of desired size, I proceeded to glue a spare copy of the top-view of all frames onto both top piece and bottom piece of the build jig. A while back someone in the condo complex I live in was throwing away a piece of wood that was 1.5x1.5x72 inches that I helped myself to use for this project. I carefully cut pieces off to the right height needed and then sliced in half using hand saw and bandsaw. Having a bandsaw can be super helpful but also have quirks. Today I started to carefully cut out the middle sections of the upper board of building jig only to have the blade twist and slide right off the wheels. Also bought a jigsaw from Home Depot which helped some as an alternative but still cuts too rough in comparison to bandsaw.
-
Greg and Druxey, thank you for providing more details about this. I did not realize that the dales were removeable, but agree that they would be a tripping hazard in a already confined space. Brian D.
- 607 replies
-
- winchelsea
- Syren Ship Model Company
-
(and 1 more)
Tagged with:
-
Mike, your model continues to be an amazement to follow and you give great teaching. Great work on here and keep it up. I have one question involving the chain pumps. Looking at the book Cross-Section Man-of-War, the book shows wooden chutes (apparently named dales) that would transport water from the pumps out the side of the ship. However, these chutes (dales) would be extremely close to some cannons. Neither you nor Mr. Passaro have shown these thus far. Would these be accurate? Brian D.
- 607 replies
-
- winchelsea
- Syren Ship Model Company
-
(and 1 more)
Tagged with:
-
Hi Yves. This has been a fun project to follow and you have been doing a great job of printing and building this ship. I hope the corvette blows up that U-boat! lol. Brian
- 321 replies
-
- Finished
- Flower-class
-
(and 1 more)
Tagged with:
-

NAIAD 1797 by Bitao - 1:60
bdgiantman2 replied to Bitao's topic in - Build logs for subjects built 1751 - 1800
Nicely made Brodie stove. Wish I could get a copy of this design. Great job on this model ship. Brian -
Mark, buddy, I will be following you on this one. I enjoy following your builds on here. From another blog on here it seems a well made kit. Brian
- 505 replies
-
- vanguard models
- Sphinx
-
(and 1 more)
Tagged with:
-
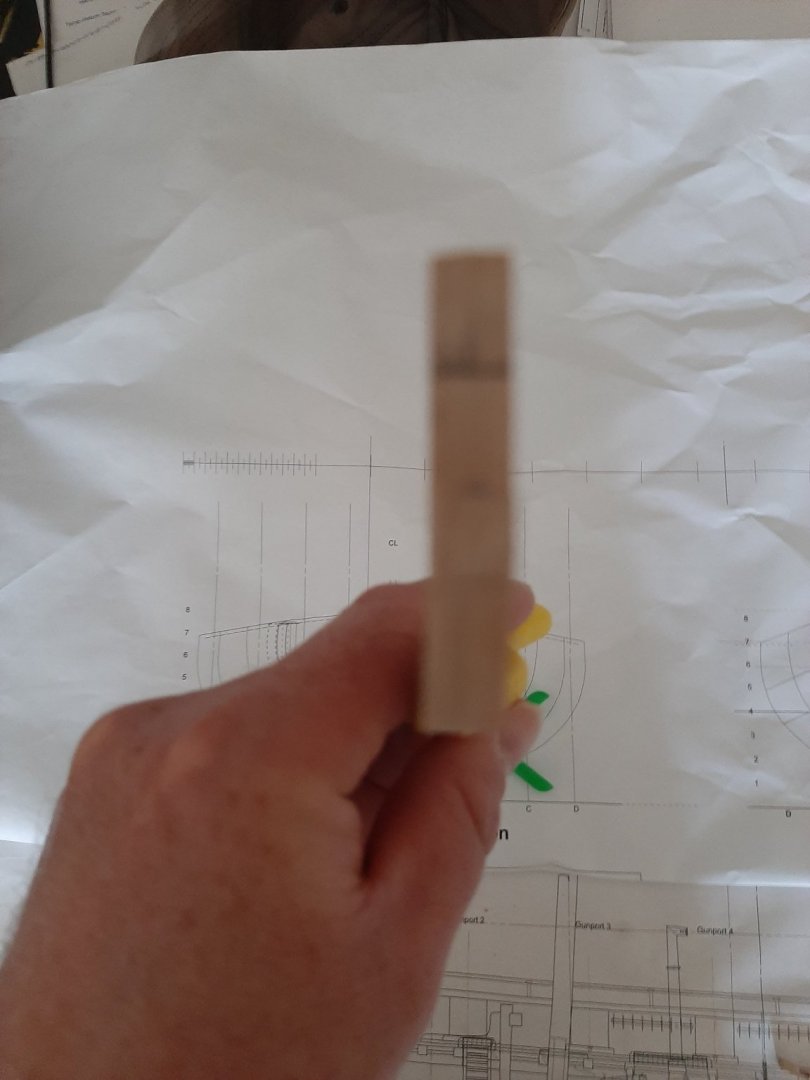
For those of you who may be curious, you can see clearly in this picture how bad the curve is in the deadwood frames. I really thought that using the clamps was going to straighten these out, but the clamps made zero difference. When I was gluing the pieces together, I was able to place clamps on the bottom two pieces of the deadwood; but the upper two pieces, being diagonal, I wasn't able to use the clamps on. I fear that I am going to have to re-make the upper two pieces if not the entire deadwood. Brian
About us
Modelshipworld - Advancing Ship Modeling through Research
SSL Secured
Your security is important for us so this Website is SSL-Secured
NRG Mailing Address
Nautical Research Guild
237 South Lincoln Street
Westmont IL, 60559-1917
Model Ship World ® and the MSW logo are Registered Trademarks, and belong to the Nautical Research Guild (United States Patent and Trademark Office: No. 6,929,264 & No. 6,929,274, registered Dec. 20, 2022)
Helpful Links
About the NRG
If you enjoy building ship models that are historically accurate as well as beautiful, then The Nautical Research Guild (NRG) is just right for you.
The Guild is a non-profit educational organization whose mission is to “Advance Ship Modeling Through Research”. We provide support to our members in their efforts to raise the quality of their model ships.
The Nautical Research Guild has published our world-renowned quarterly magazine, The Nautical Research Journal, since 1955. The pages of the Journal are full of articles by accomplished ship modelers who show you how they create those exquisite details on their models, and by maritime historians who show you the correct details to build. The Journal is available in both print and digital editions. Go to the NRG web site (www.thenrg.org) to download a complimentary digital copy of the Journal. The NRG also publishes plan sets, books and compilations of back issues of the Journal and the former Ships in Scale and Model Ship Builder magazines.


