HOLIDAY DONATION DRIVE - SUPPORT MSW - DO YOUR PART TO KEEP THIS GREAT FORUM GOING! (Only 69 donations so far out of 49,000 members - Can we at least get 100? C'mon guys!)
×


ca.shipwright
-
Posts
483 -
Joined
-
Last visited
Content Type
Profiles
Forums
Gallery
Events
Everything posted by ca.shipwright
-
 E J, Looking real good. I use a Black and Decker Mouse for rough sanding of the convex areas of the hull and a Riobi profile sander kit for the concave areas. This Riobi kit has about 10 interchangeable profile ends. These really take the drudgery out of sanding all that wood filler we so liberally apply. Finish sanding by hand, of course- up to 320 grit. Keep going. I don't know anyone who builds as fast as you do. Regards
 -
Always keep the hand holding the work or, if it is a vise, behind the tool. There is an optimum amount of pressure you can apply. If the cut doesn't work, change the cut. Do not add more force. The tool will slip and most likely wind up going through your hand. Always keep your tools razor sharp. The most dangerous tool is a dull one. Regards
-
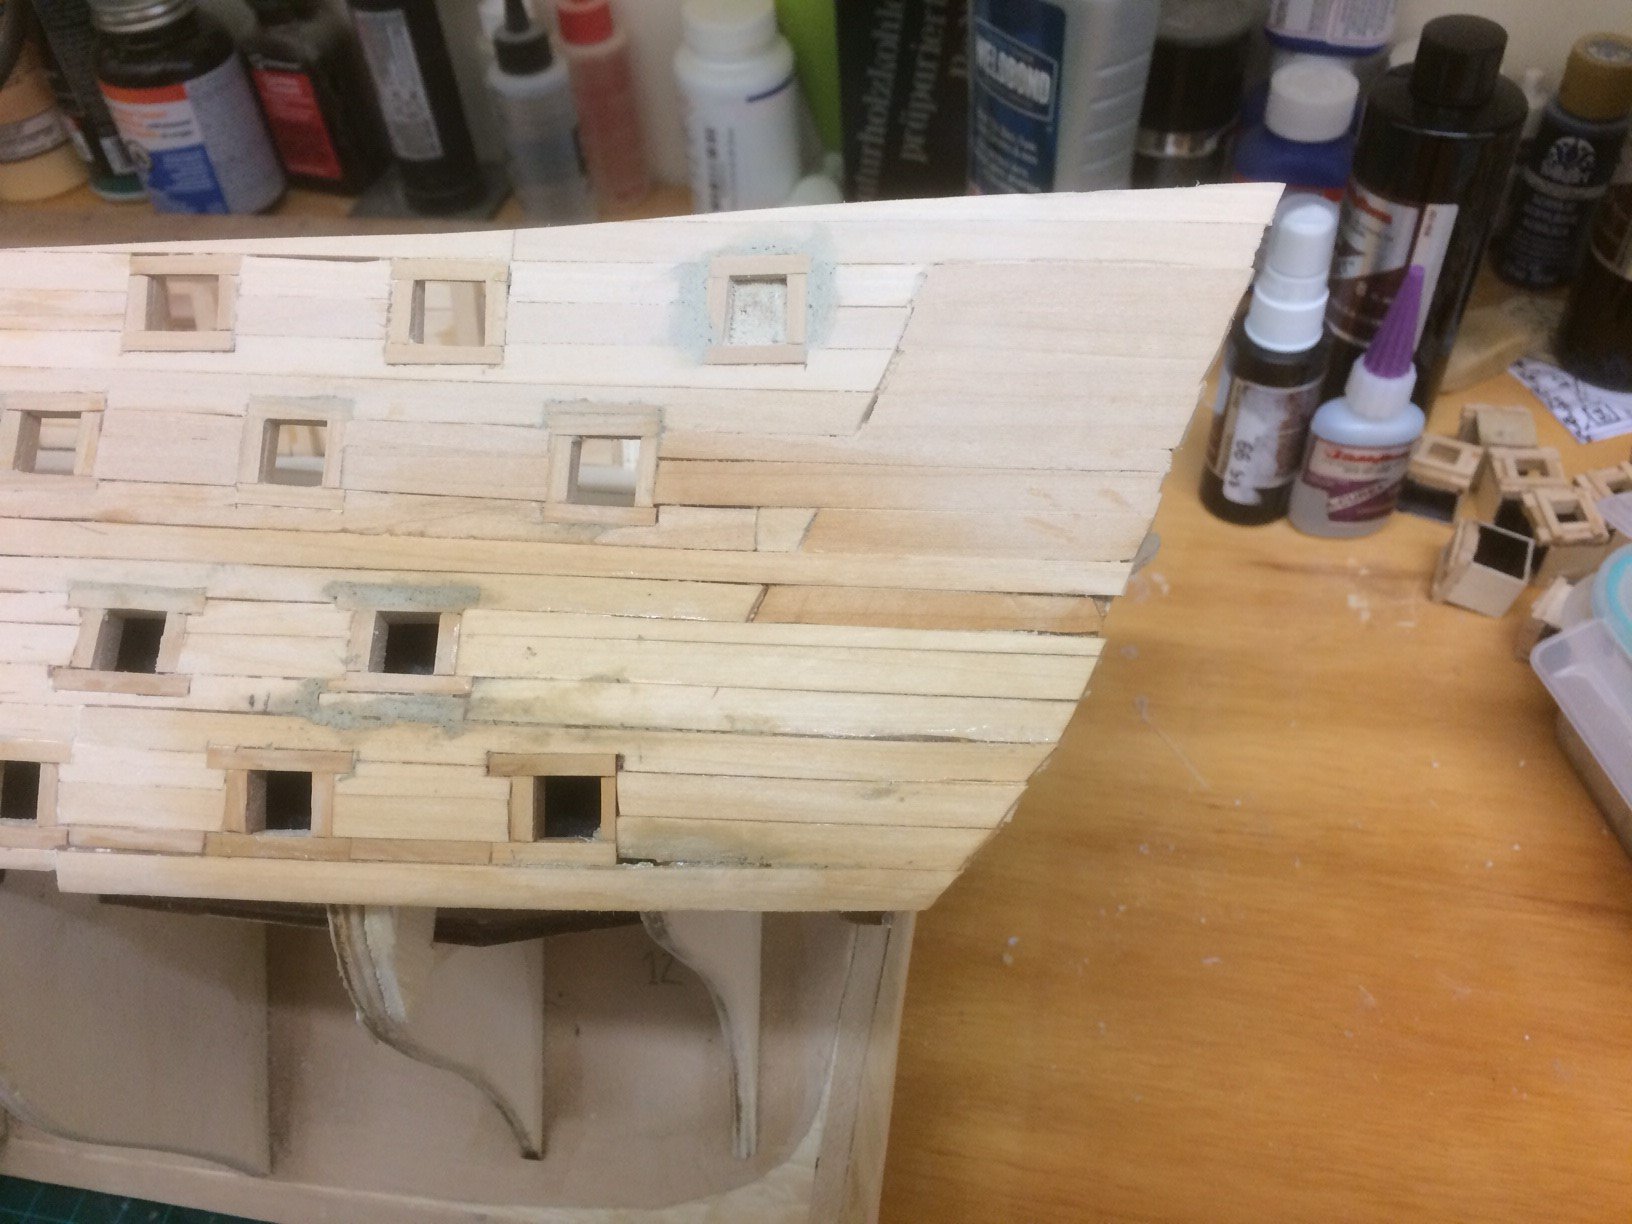
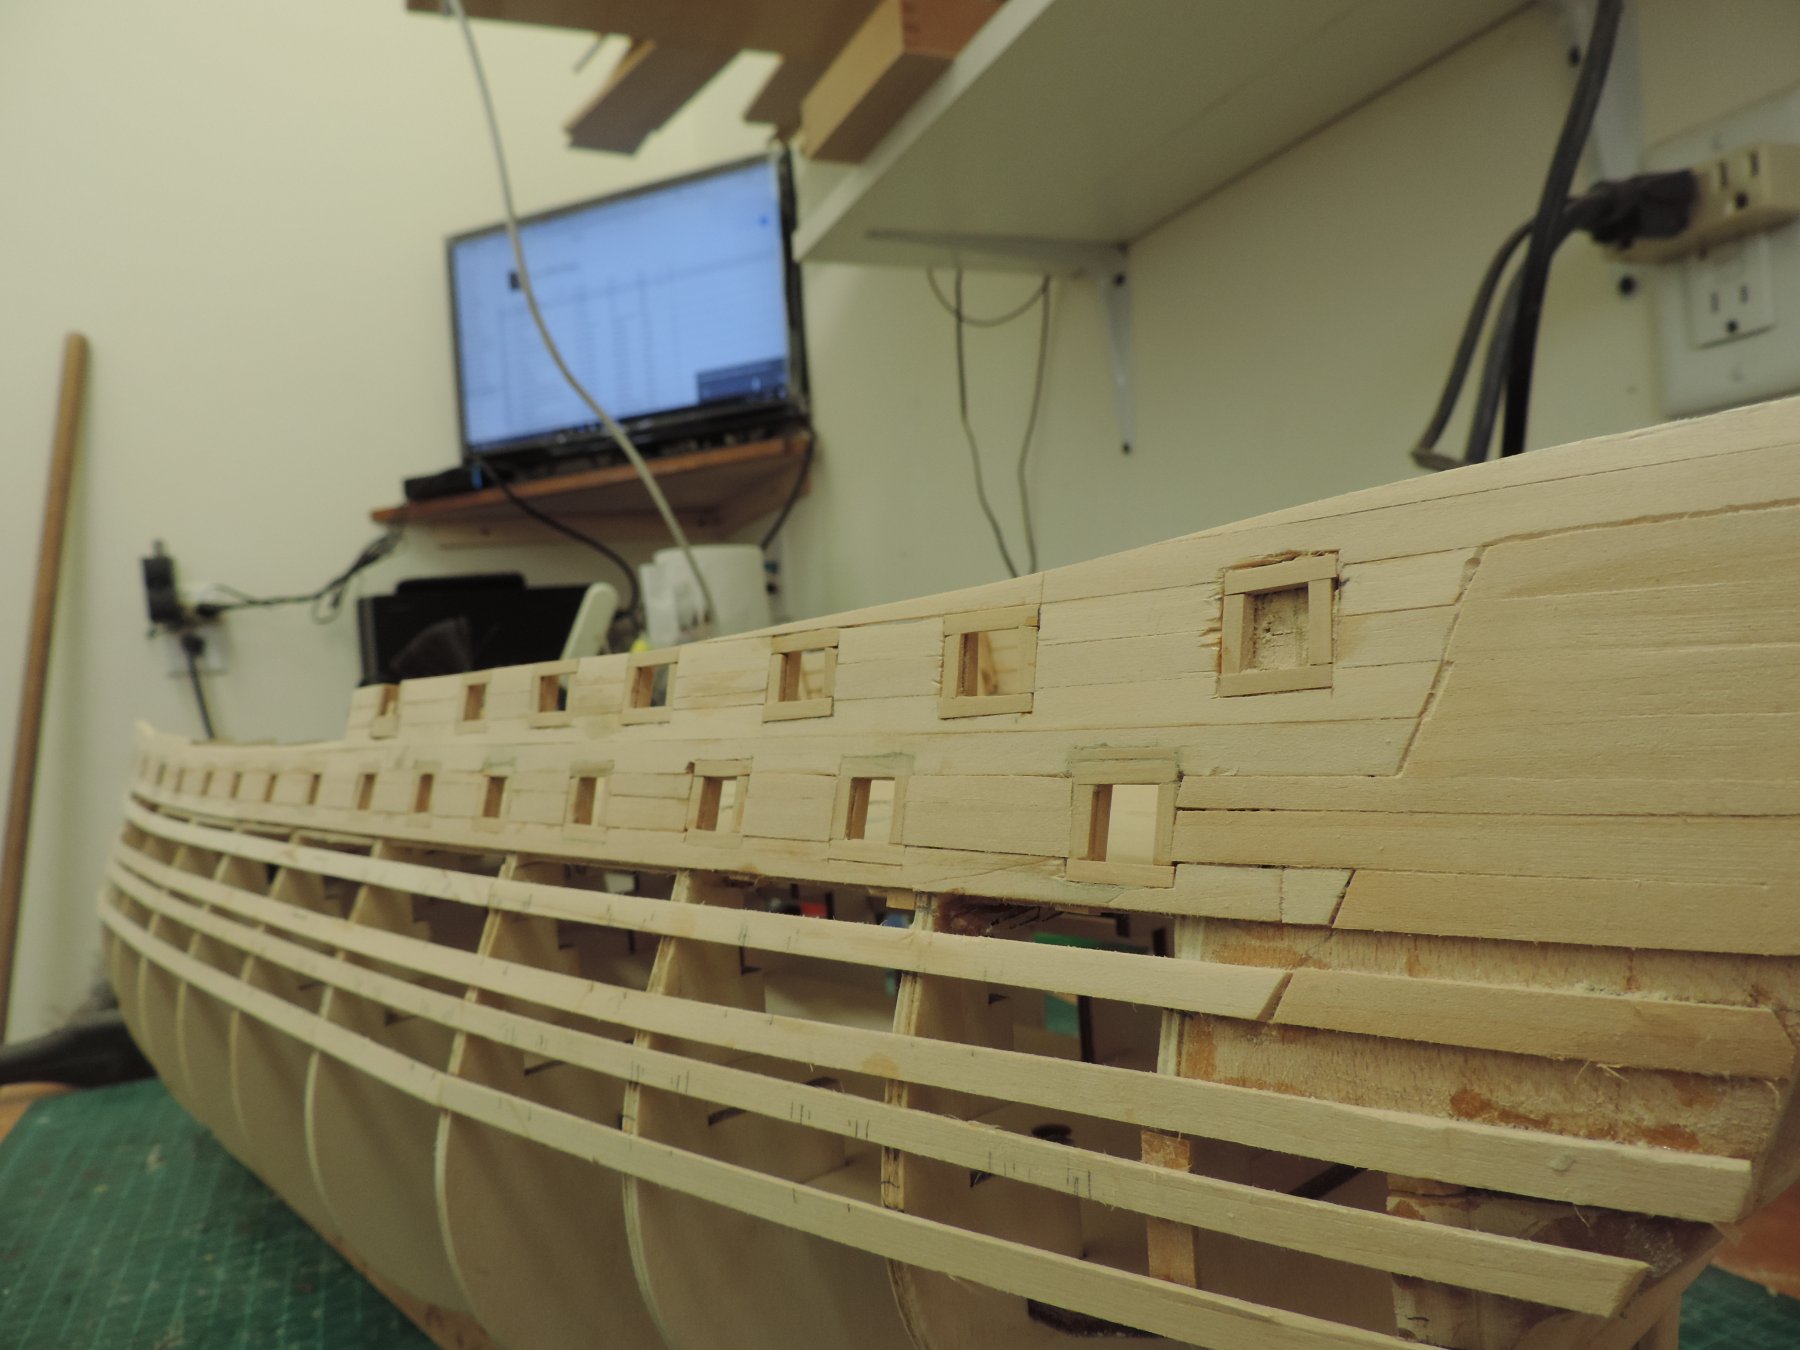
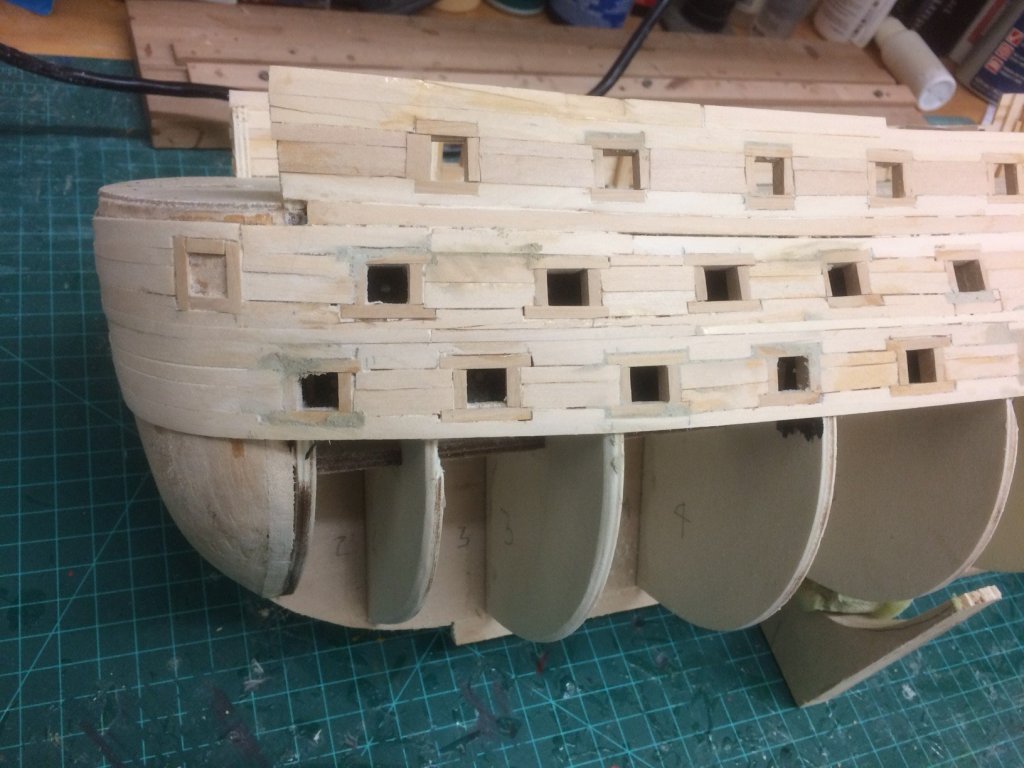
6/9 Milled 80 strips on boxwood and stained a bunch with the India Ink- 2 coats and after an overnight drying 1 coat of wipe on poly. These look very good. The black is dead flat very dense black. Started on the planking. Doing the mixed plank construction that Bob uses. It does help to mark the waste side. This keeps you from running it through the saw on the wrong side. Did this twice before I woke up. The pictures show the first planks installed. A challenge is getting the 1/32” border correct on the gun ports. Hopefully they will improve. I only have 90 chances to get one right. The black planks on the hull look outstanding. What a relief. A couple of observations: No matter how hard you try, you ship is not going to come out with the same dimensions as whatever instructional base you are using. You are going to have to make some adjustments in sizes, locations, and sometimes even methods. No matter how hard you try, your ship’s port and starboard hull sides will not be exactly the same. Get over it. Work with what you have and enjoy the build.
-
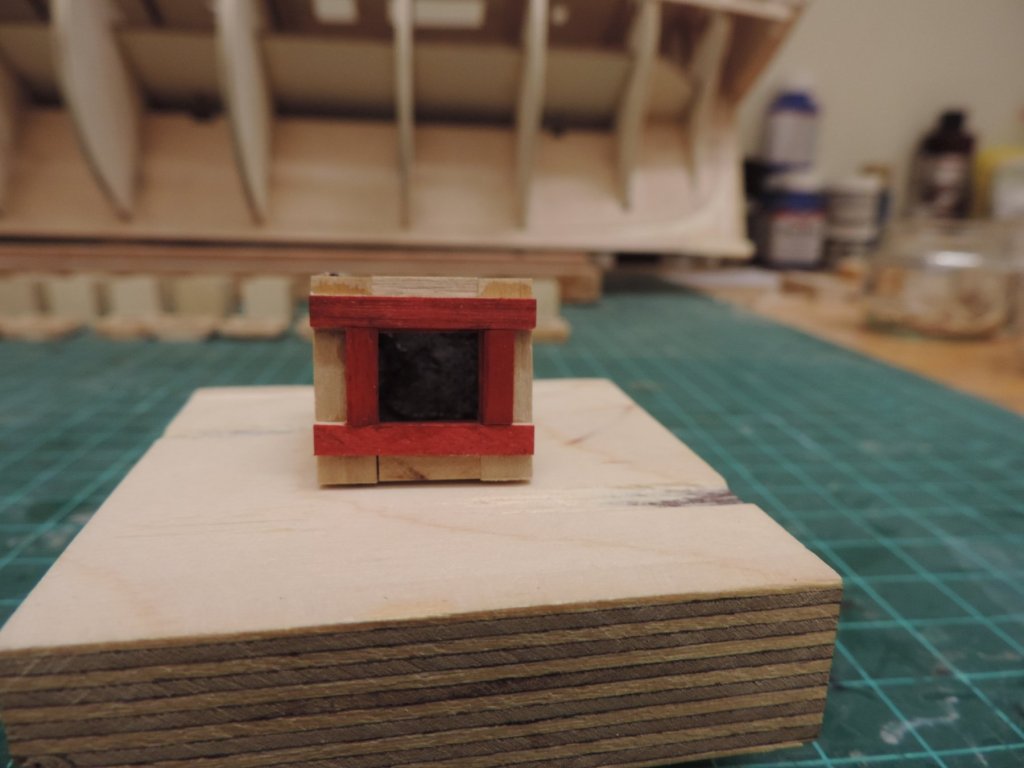
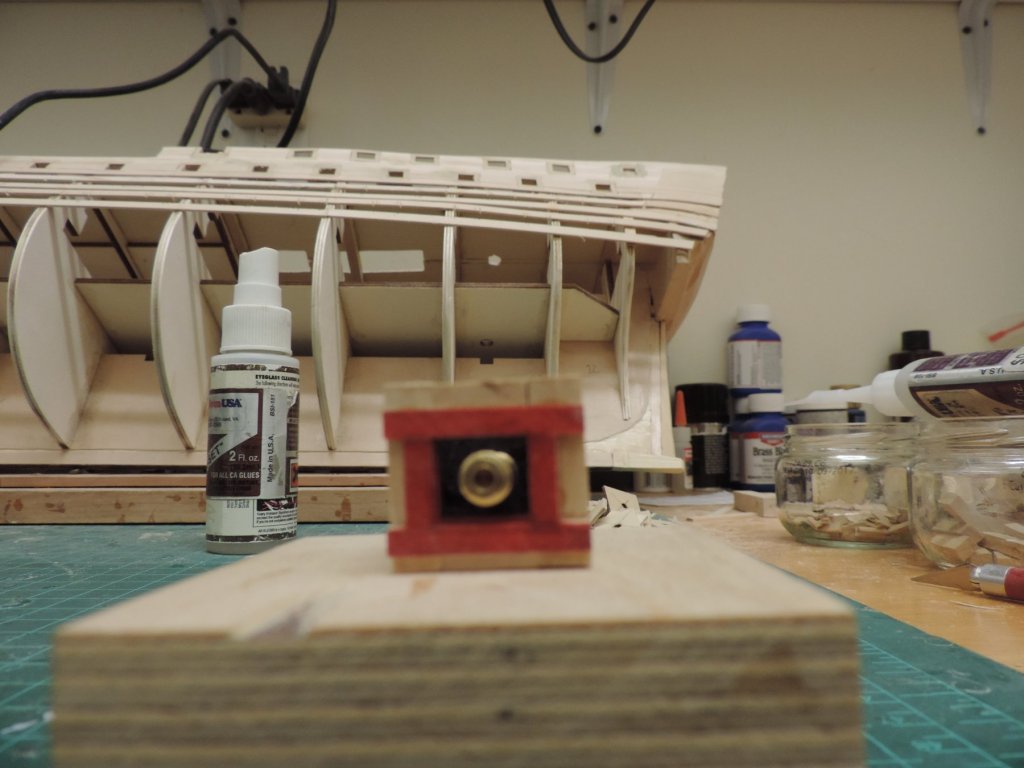
Thanks Keith. You can see how nice the brass with the red border and dark interior run out a little look. I don't think I can do any better by painting the canon. Maybe add the red barrel plug to dress it up a bit. Decisions, decisions Regards
-
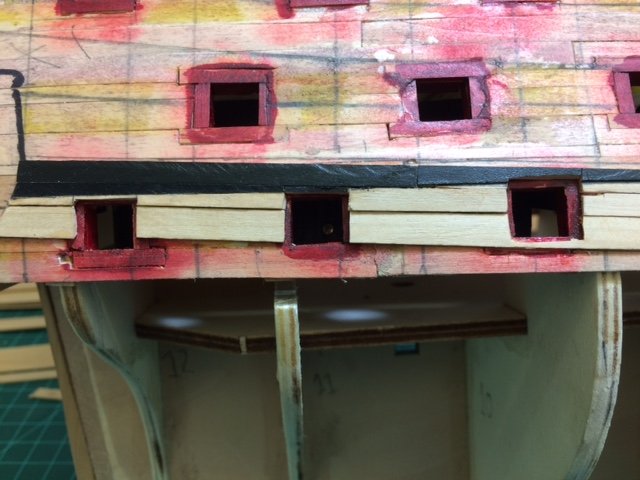
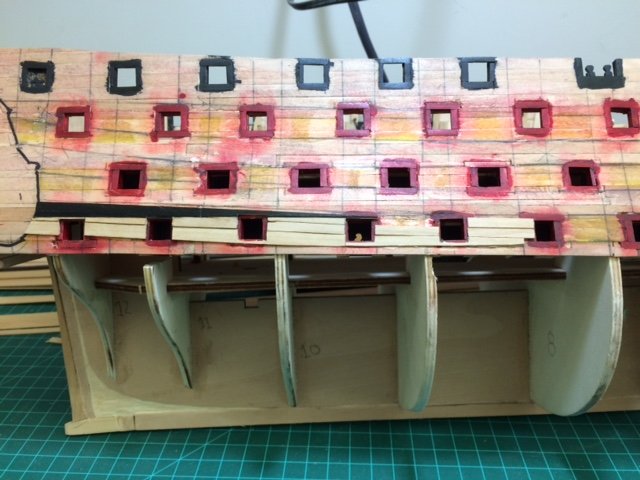
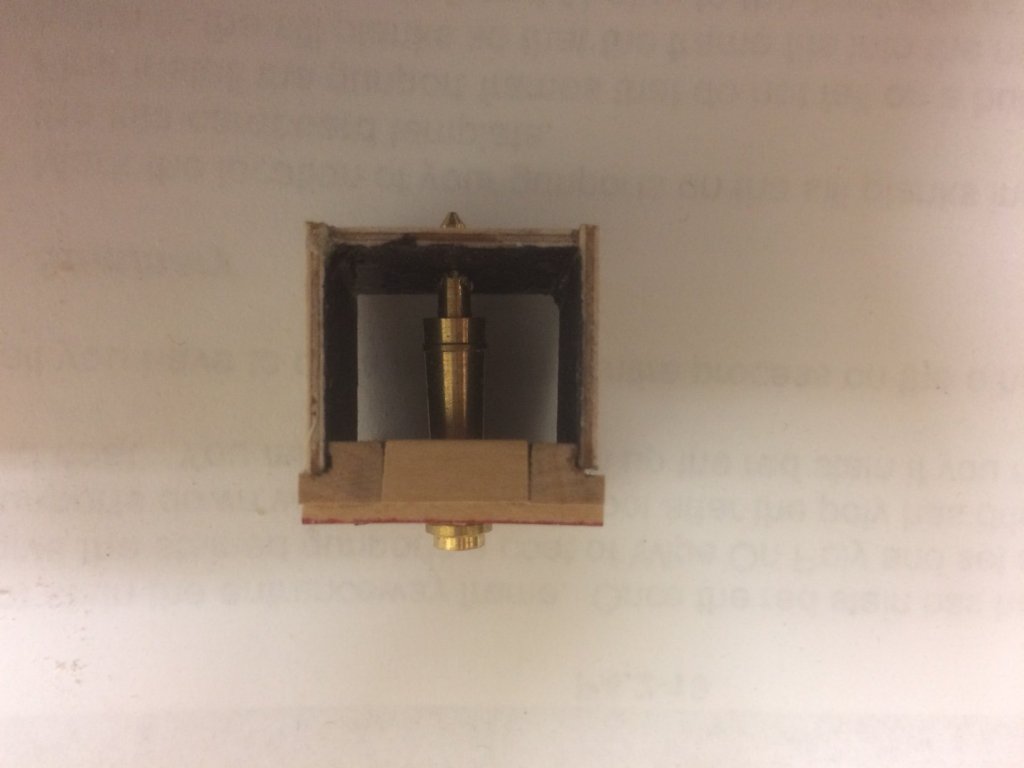
Greetings, All gun ports are in; filled, sanded, and painted. Thus ends Chapter 4. Into chapter 5 The ship is all lined out. The wales stripes and moldings are on as well as the butt joint location lines. Now it’s time to mill some .045mm and 1/16th in. strips. I am going to use the India Ink as an ebonizer- 2 coats followed by a coat of wipe on poly before any trimming for painting with wood. I tried a Sharpie black but it left a purple hugh to the black. Not at all satisfactory. I wish the red from the Sharpie had come out better. The only good thing is that only 1/32nd of an inch will show. I also used India Ink on the quarterdeck gun ports and the timber heads. Now for a complete hull coat with the Wipe on poly and on to the planking. Now for some decisions regarding the dummy cannon: Should I blacken them or leave them brass? Should I mount them before I close up the lower hull? I want to use epoxy for this. Looking at the top view of the cannon, note they sit a little proud of the hull. I get this affect by not seating the mounting pin all the way to the rear. I actually like this look. I know, my ship, my rules. But, some input would be appreciated. Might save me from making a mistake that will show further down the road. Regards
-
Dave, It's all coming together beautifully. This is the most complete rigging I have seen on any model. Your model will become an heirloom treasure. I'll be back on Endeavour after a little more rope making after taking a break on Victory. Regards
-
Patrick Taking a break right now to do some serious work on my Panart 738 Victory. Then it off to rope making for the Endeavour and we will go back and forth between the two.
-
Graham, I building the Panart 738 1:78 Victory using Bob Hunt's Practicum. It is a total kit bash using ebony and boxwood. I devised a little jib / press to make copper plates by stamping them. I'll post the drawing if I can locate it. I really envy you folks that can do extemporaneous metal work. Something I now regret not having learned in shop class. Can't do Scotch but Bourbon fills the bill nicely Plate on!!!! Regards
-
Nice and neat. I hope when I get there I can come close to your result. I don't know a bout being therapeutic. Sounds more like a root canal without novacaine.I will probably work on other stand alone pieces or make rope for the rigging during the breaks from coppering. Trgards
-
Patrick, Your model is coming along really well. The sculpy carvings are perfect. Keep up the great work. Regards
- 449 replies
-
- 3
-

-
- sultana
- model shipways
- (and 2 more)
-
A very handsome ship indeed. If you are looking for accuracy, the Anatomy of a Ship HMS Victory is an excellent source. You can scale the drawings exactly to your kit scale by photocopying. Makes things a lot easier to work in full scale.
-
Finally, the port side gun ports have all been installed, sanded and filled where needed. All that's left to do is the final sanding and adding the red and black color to the appropriate ports. I am going to wait for the color until after the starboard gun ports are at the same place. Maybe I will only have to do the color one time this way. Ever the optomist . Now for some decisions regarding the dummy cannon: Should I blacken them or leave them brass? Should I mount them before I close up the lower hull? I want to use epoxy for this. Looking at the top view of the cannon, note they sit a little proud of the hull. I get this affect by not seating the mounting pin all the way to the rear. I actually like this look. I know, my ship, my rules. But, some input would be appreciated. Might save me from making a mistake that will show further down the road. Regards to all I'm will try to re-post photos 7222--7227 as well as the current group.


-
Take a look at my rope walk in the making rope forum. I got real ambitious. Regards
-
E J Coming along great. Keep going I love looking at your work., Inspirational Regards
- 608 replies
-
- 4
-
-
- la couronne
- corel
- (and 1 more)
-
Your rigging is wonderfully neat and crisp. I wish I could come close to you results. As a recommendation, I would rig all the lines that reside on the center line of the ship and move out from there that includes the lifts for the yards that belay on the foot of the masts. Working over the shrouds is horrible, frustrating and exhausting.. Regards
- 708 replies
-
- 1
-
-
- victory
- constructo
- (and 1 more)
-
Very nicely done all the way through Regards
-
Here come some photos. There are a bunch. More to come I can ever find the middle gun deck photos Enjoy
-
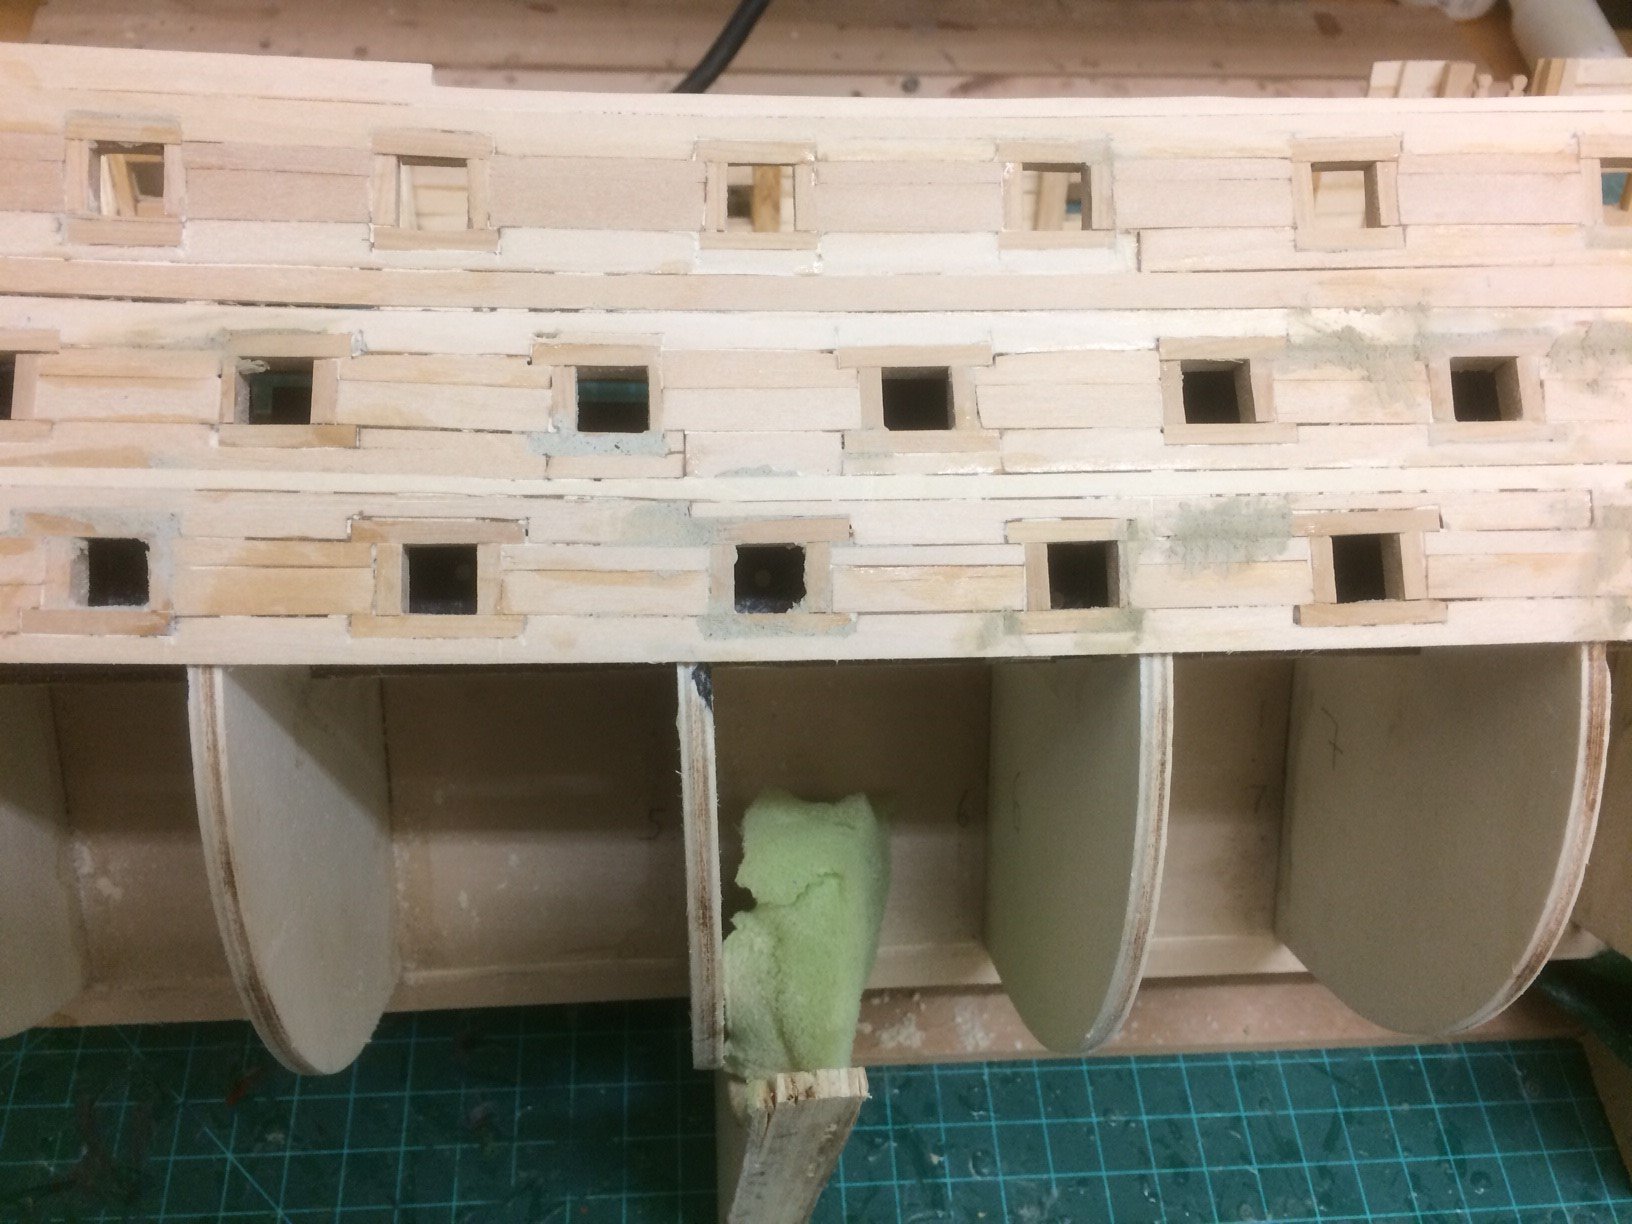
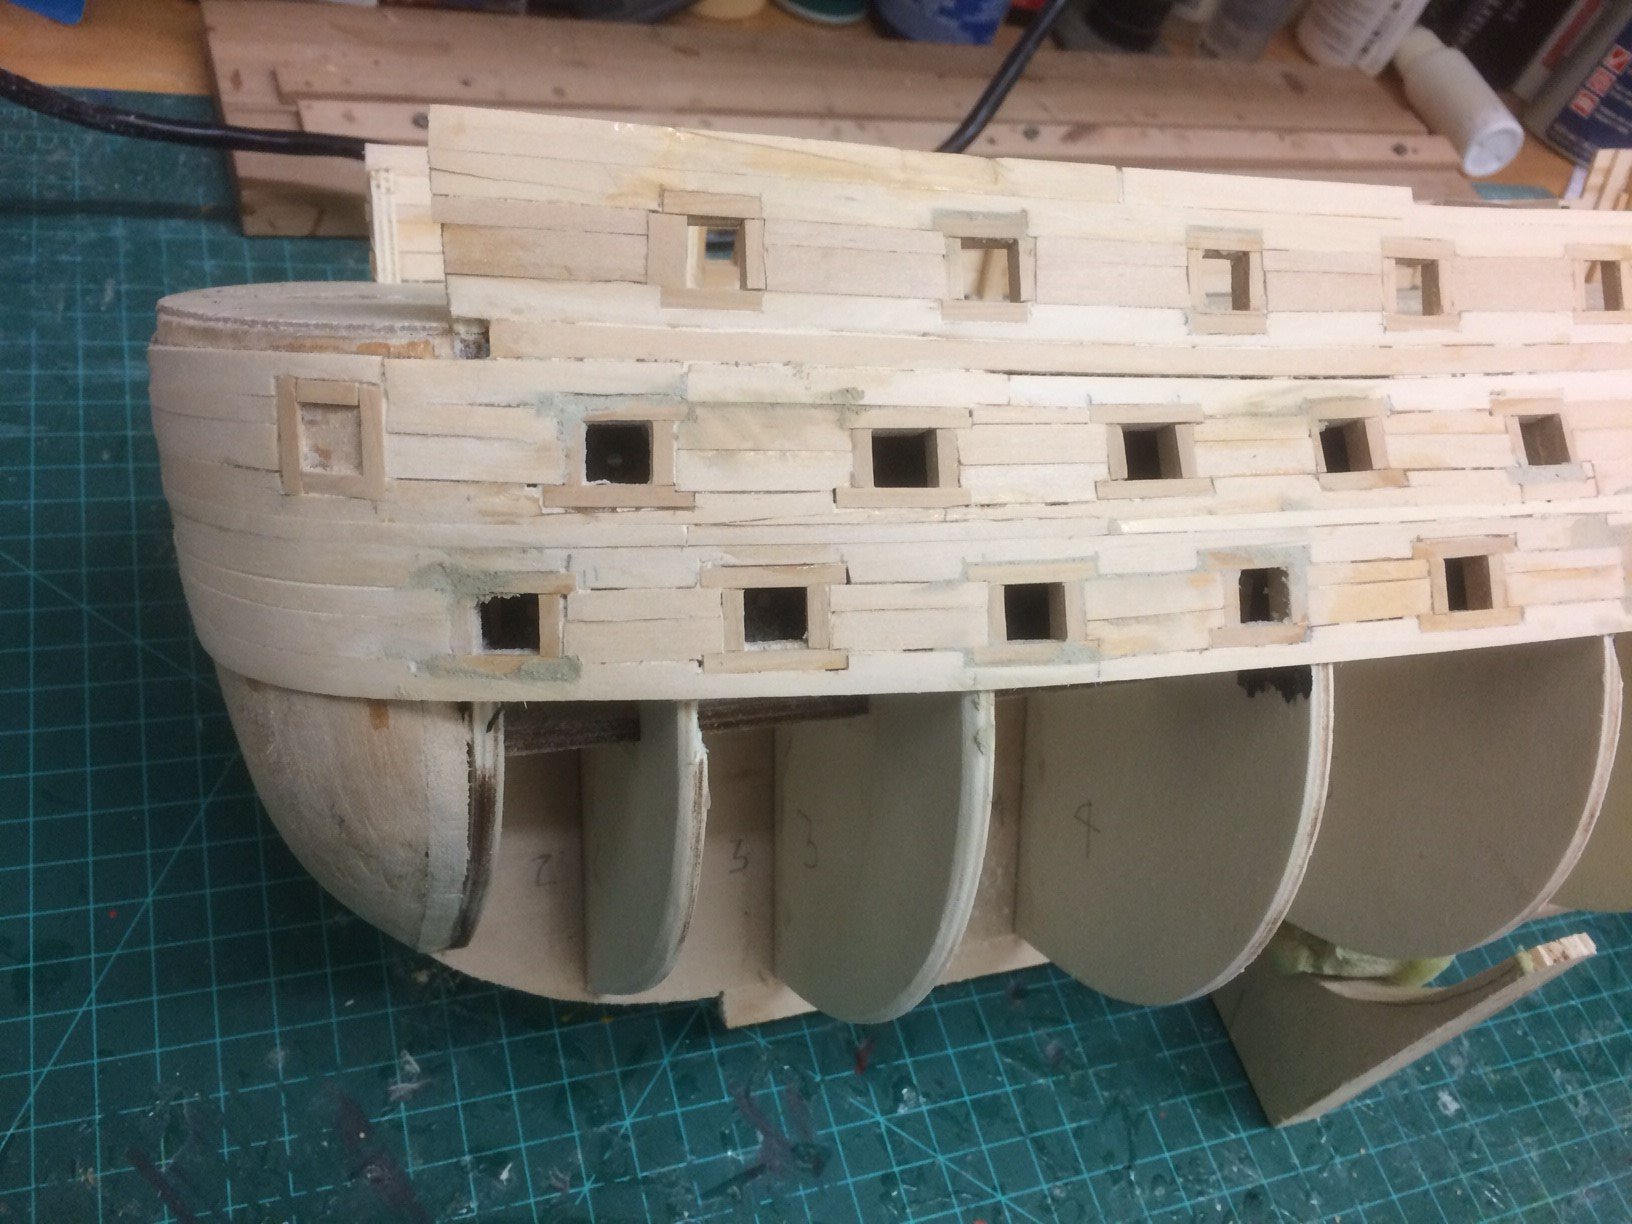
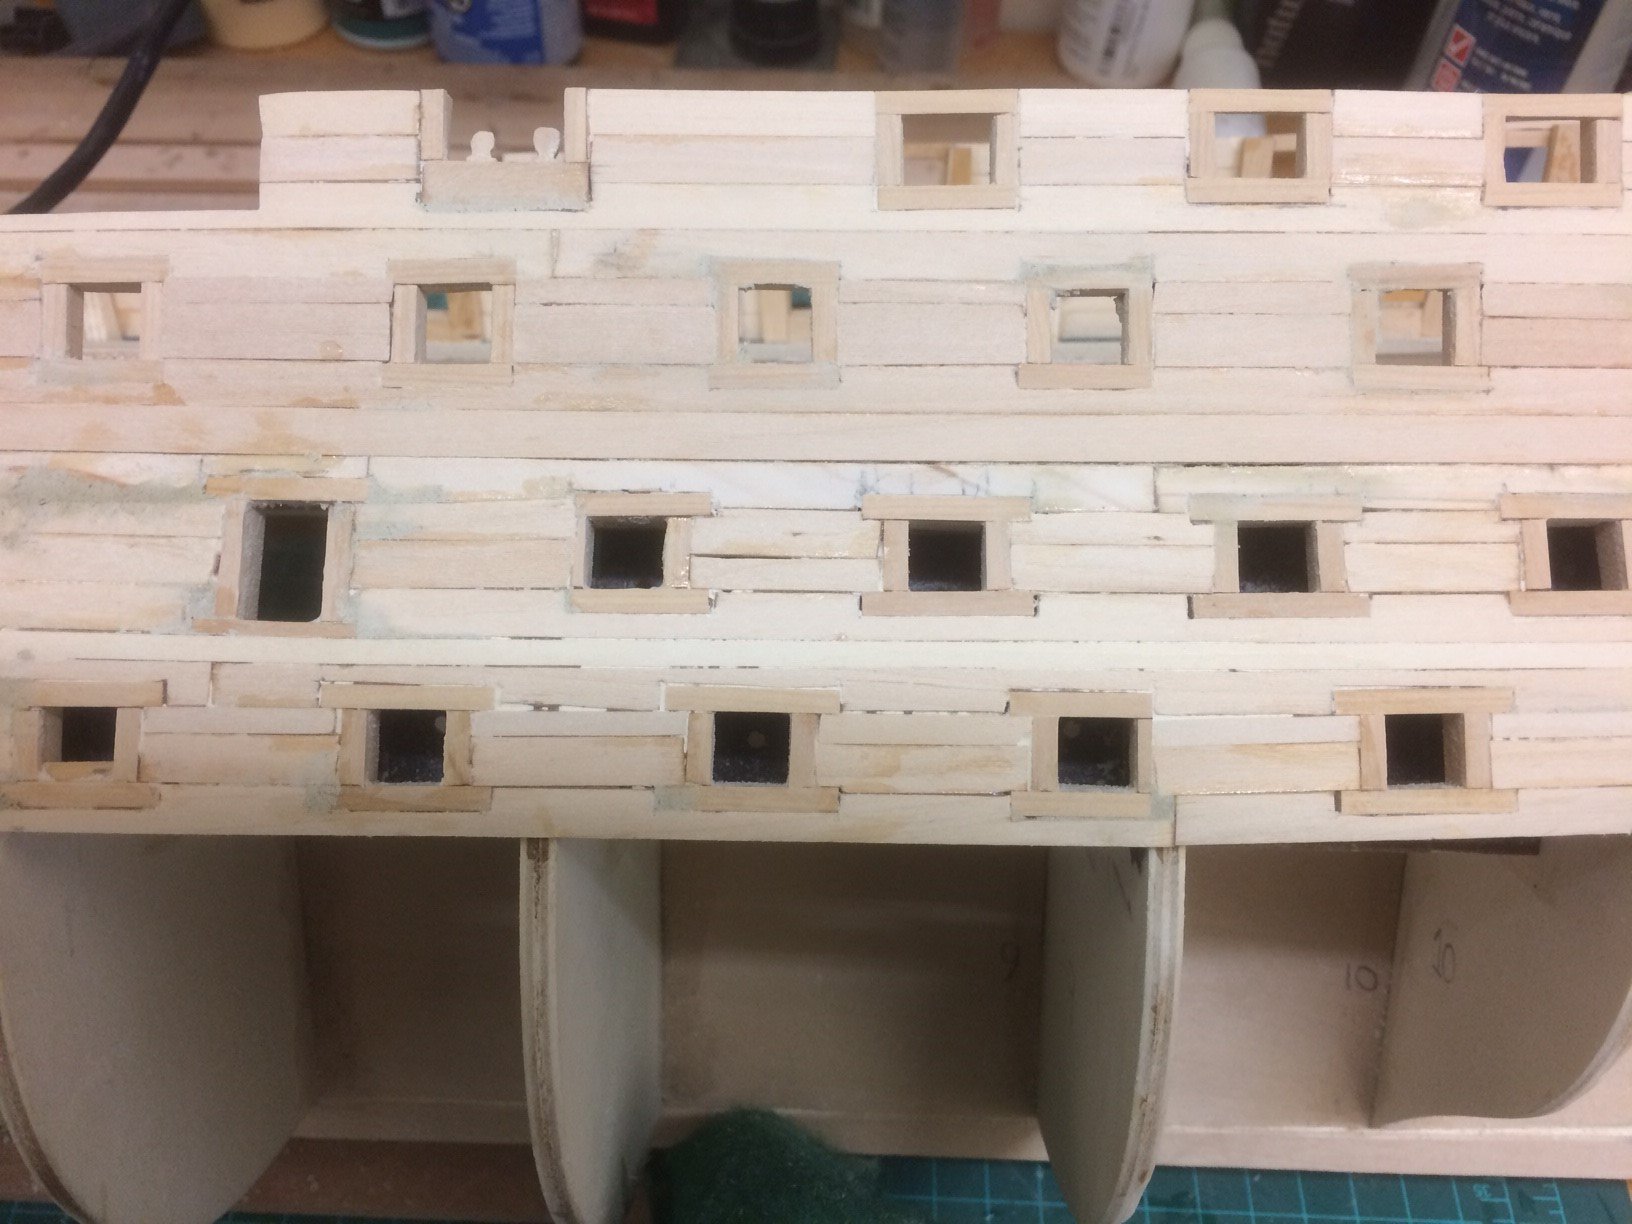
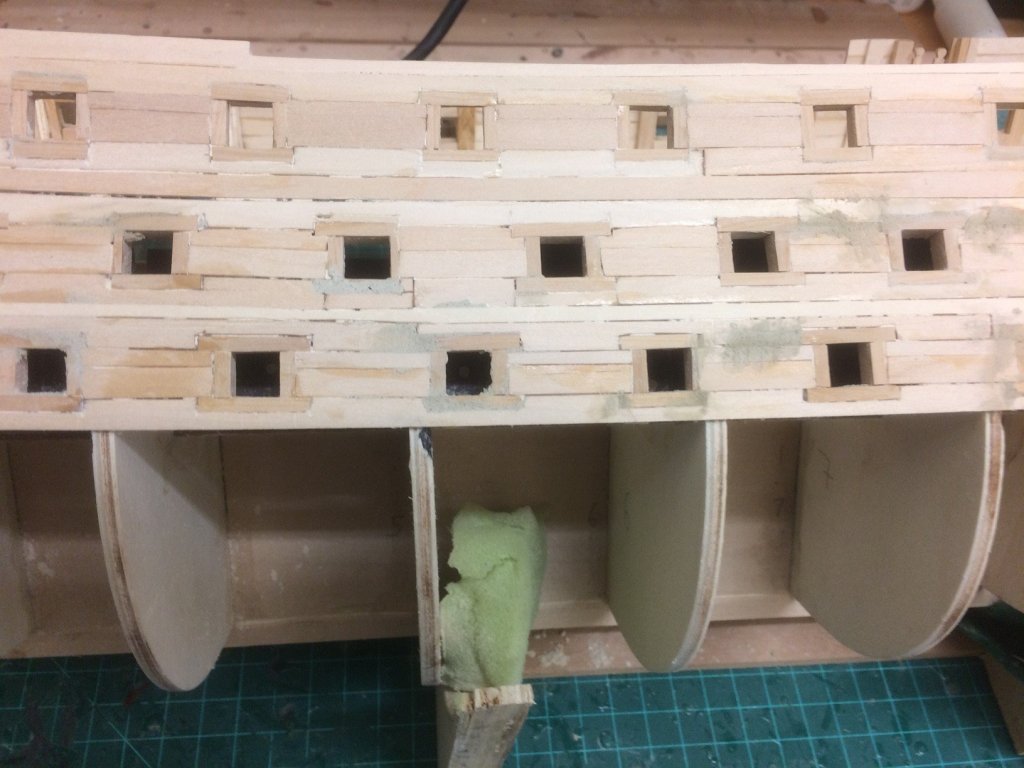
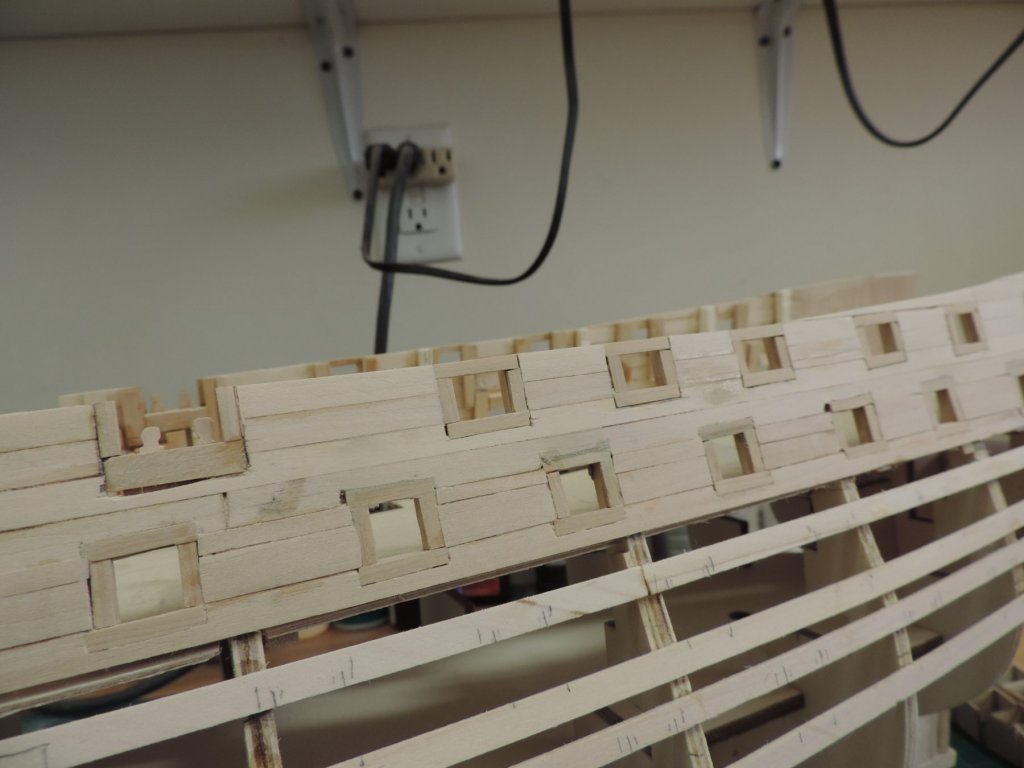
Greetings, Port side middle gun deck gun ports installed. Filling in planking between the gun ports will complete this side. Not perfect, but not too shabby either. Filler and sanding will take care of most of the irregularities. Photos to follow.
-
Great work Jesse. Your deck is becoming very active with all he detail. Not being a lather, although I recently got a midi, somewhere I read that old hacksaw blades make good profiles for turning small parts. Do you know anything about this? Especially how to cut the profile.Thanks Regards
- 1,306 replies
-
- 6
-
-
- syren
- model shipways
- (and 1 more)
-
Hi David, Beautiful rope work as usual. I think that number one photo may be more correct. It avoids the chafing at the top of the shrouds. On the other hand, photo number two has a straighter run without a bend over any wood. Decisions, decisions. Regards
-
You can make a template from card stock from the side view plan to get the correct rake of the mast. Place this where the mast goes and align the drill bit parallel to the template.
-
Very nicely done!
-
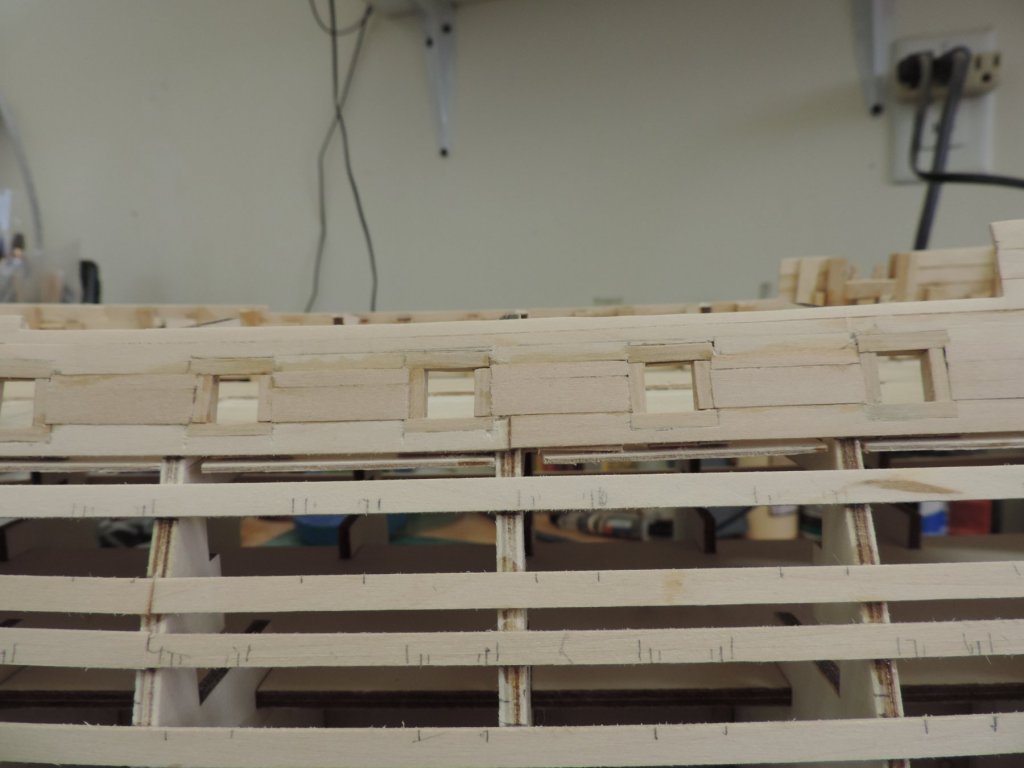
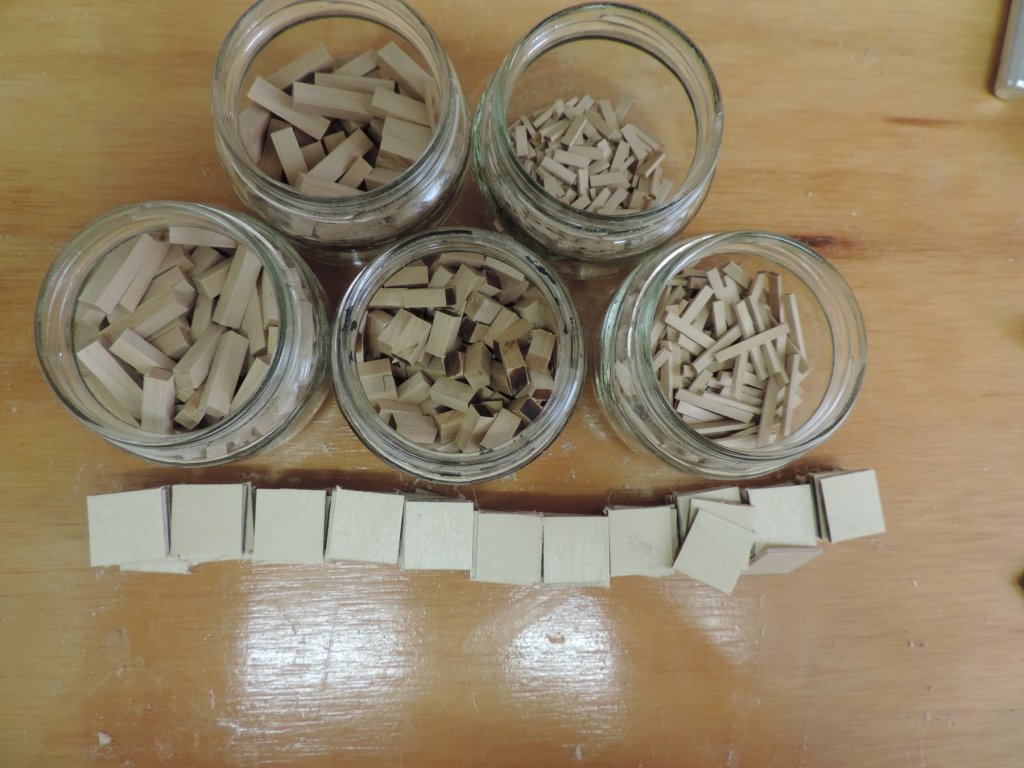
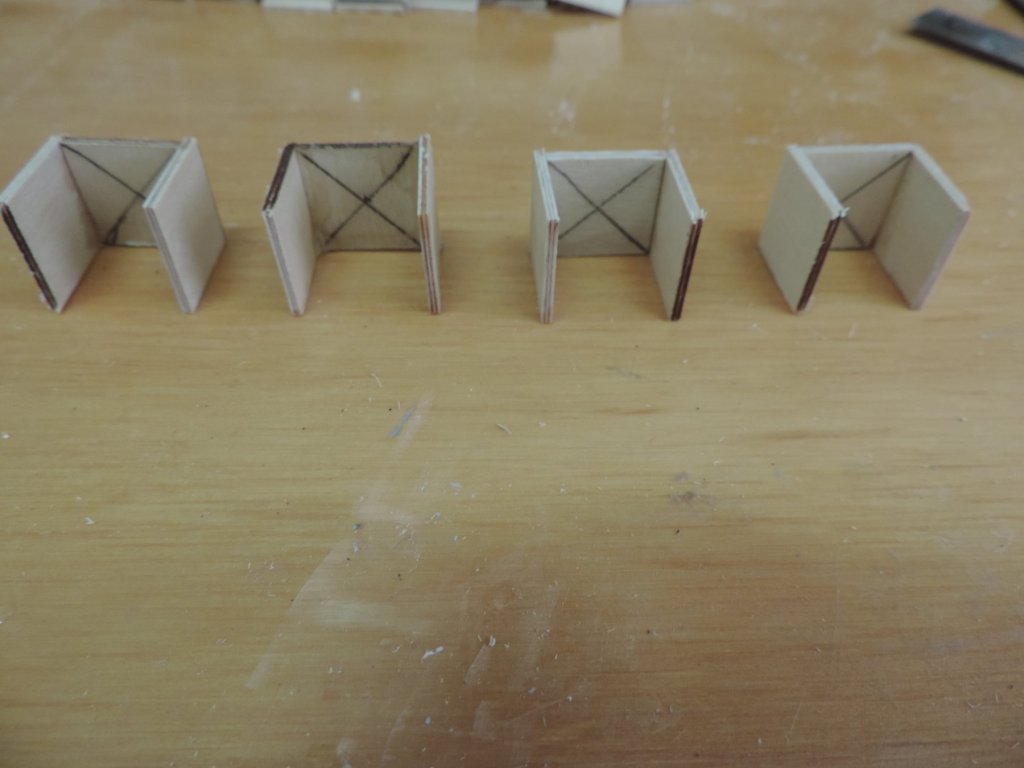
Chapter 3 is done!!!!!!! Main deck and quarter deck gun ports installed and sanded to 320. Camera showed some additional filler to be added. Got a full eight hours in for the first time ever. It's amazing what you can accomplish in a full days work. I even skipped lunch. Very unlike me to miss a meal. A question in my mind is whether or not to delay applying the red and black color to the gun port frames until middle and lower deck gun ports are installed to keep them from getting messed up with the continuous handling? Or, do it now? Also do you wipe on poly before and after or after adding color, or both? Also milled all the parts for the middle and lower deck gun ports as a diversion. I made up several of the boxes for the middle and lower gun decks. I think I am correct when I say that the critical measurement is the opening length and width of the gun port which is 13/32 inch on the upper and quarter decks. This should carry over to the lower decks. I actually kept the die for the gun ports but the center piece is a 1/32 " to narrow. I want to see if this can be adjusted. More on this after the testing.

-
Greetings, Another update. I completed the port side of the main deck gun ports. I thought they came out rather well. Slimming down the interfering bulkheads and cutting one off is a real pain. I can't wait to see how much trouble this is going to be on the quarterdeck and middle and lower gun decks. I had my first service problem with my Byrnes saw in it's 15 +/_ years service. The switch went out. First, the polarity reversed and I continued to use it even though it wasn't safety smart. Then it died. 30 minutes to buy it and 15 minutes to install the replacement switch. And, away we mill. I need to get a start milling the .045 in planking. There's a lot to do. A little wood filler in the gaps and a good sanding should take care of most of the defects. Most everything will be covered the second planking. The rest of the markings have been added to the upper sills. It is worth noting; maybe: At first glace the gun ports on the three decks appear to be symmetrical. Not so. I was looking at the Corel template and they had some of them offset. I thought it was poor manufacturing. Not so again. I took a look in AOS and sure enough there are offsets between the decks. Next up completing the gun decks and quarterdeck gun ports p/s. This is going to take some time. Next update might be a while. Regards to all