HOLIDAY DONATION DRIVE - SUPPORT MSW - DO YOUR PART TO KEEP THIS GREAT FORUM GOING! (Only 69 donations so far out of 49,000 members - Can we at least get 100? C'mon guys!)
×


ca.shipwright
-
Posts
483 -
Joined
-
Last visited
Content Type
Profiles
Forums
Gallery
Events
Everything posted by ca.shipwright
-
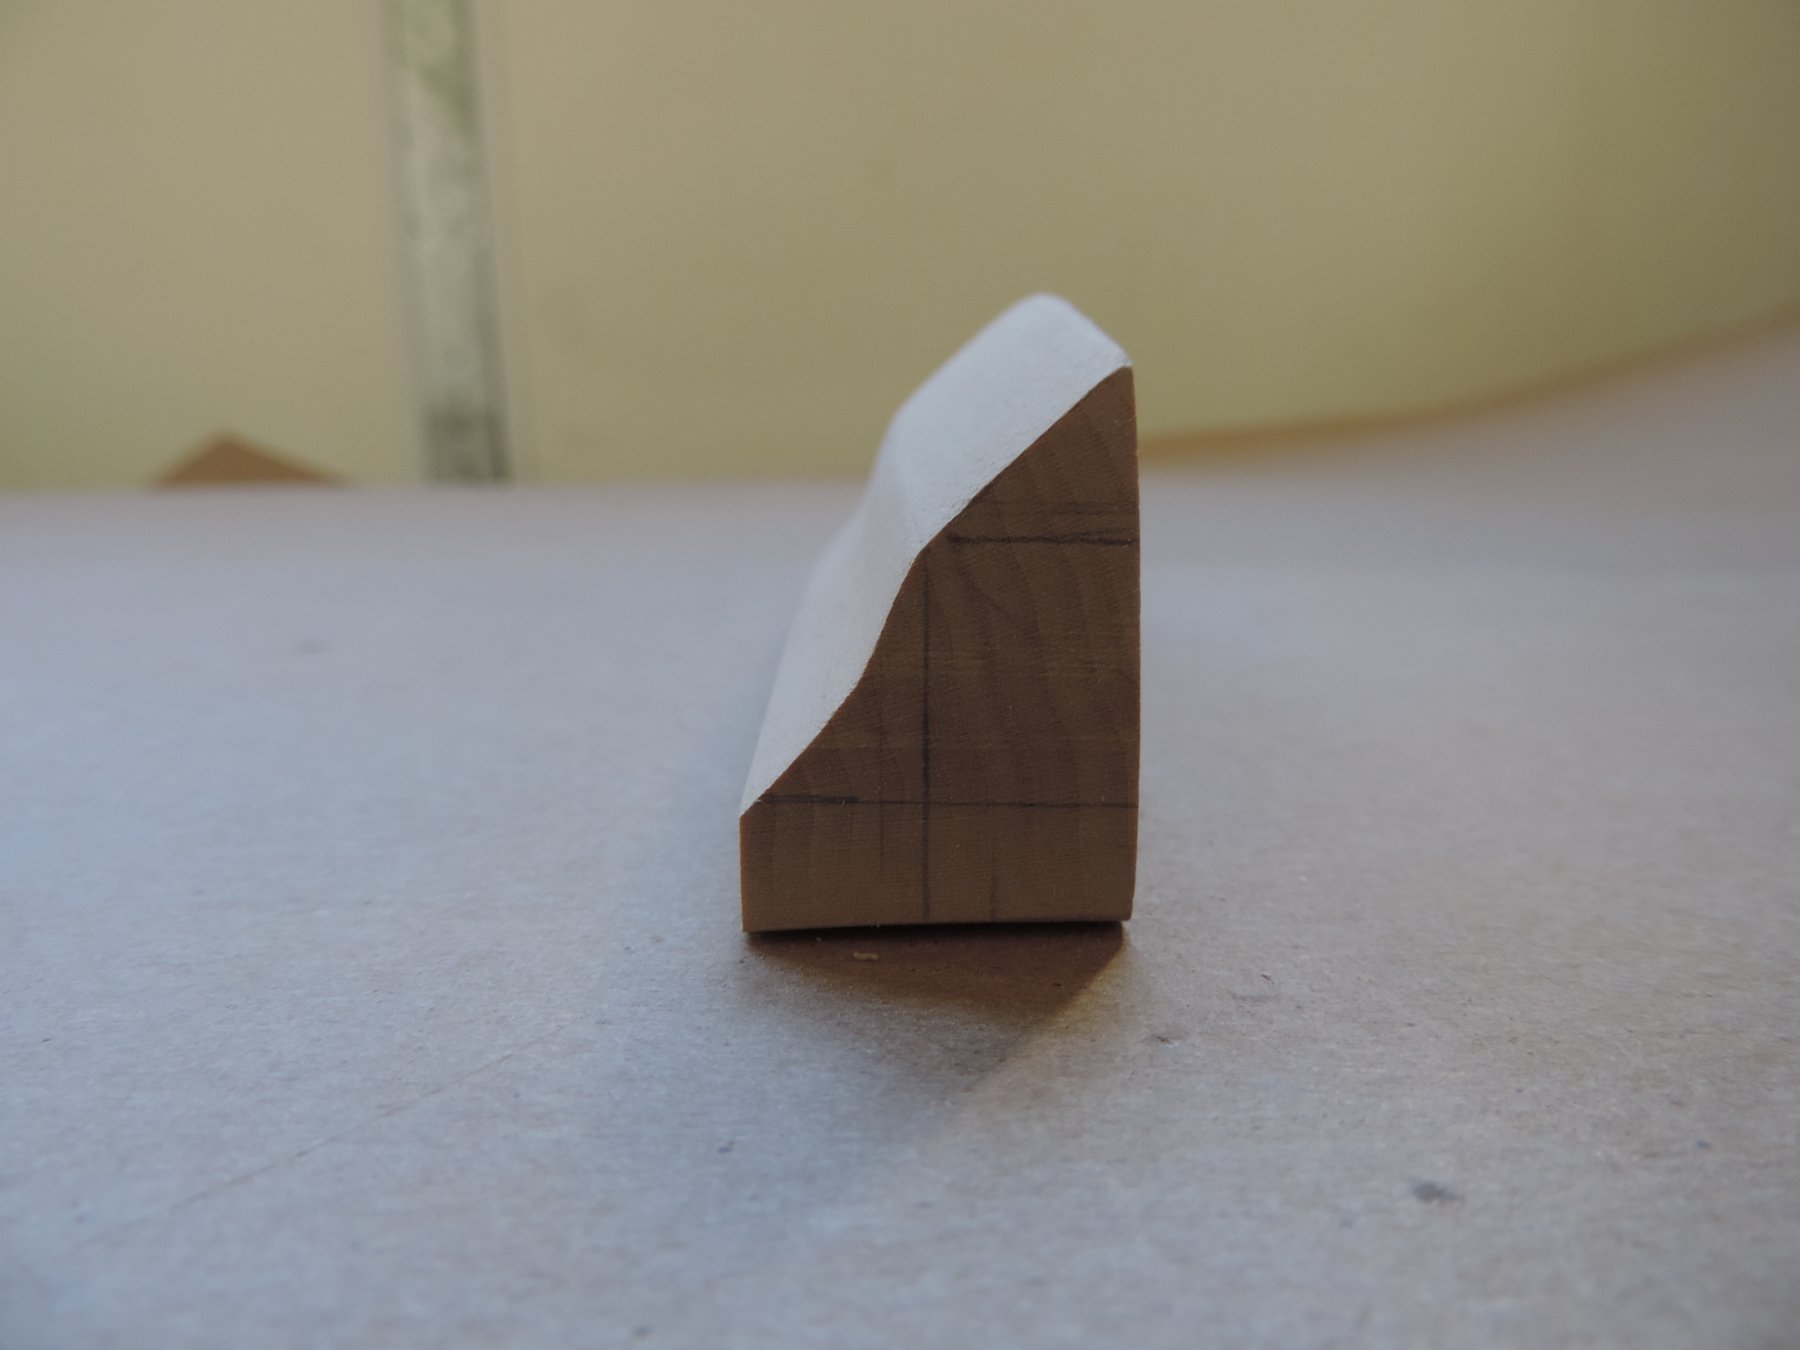
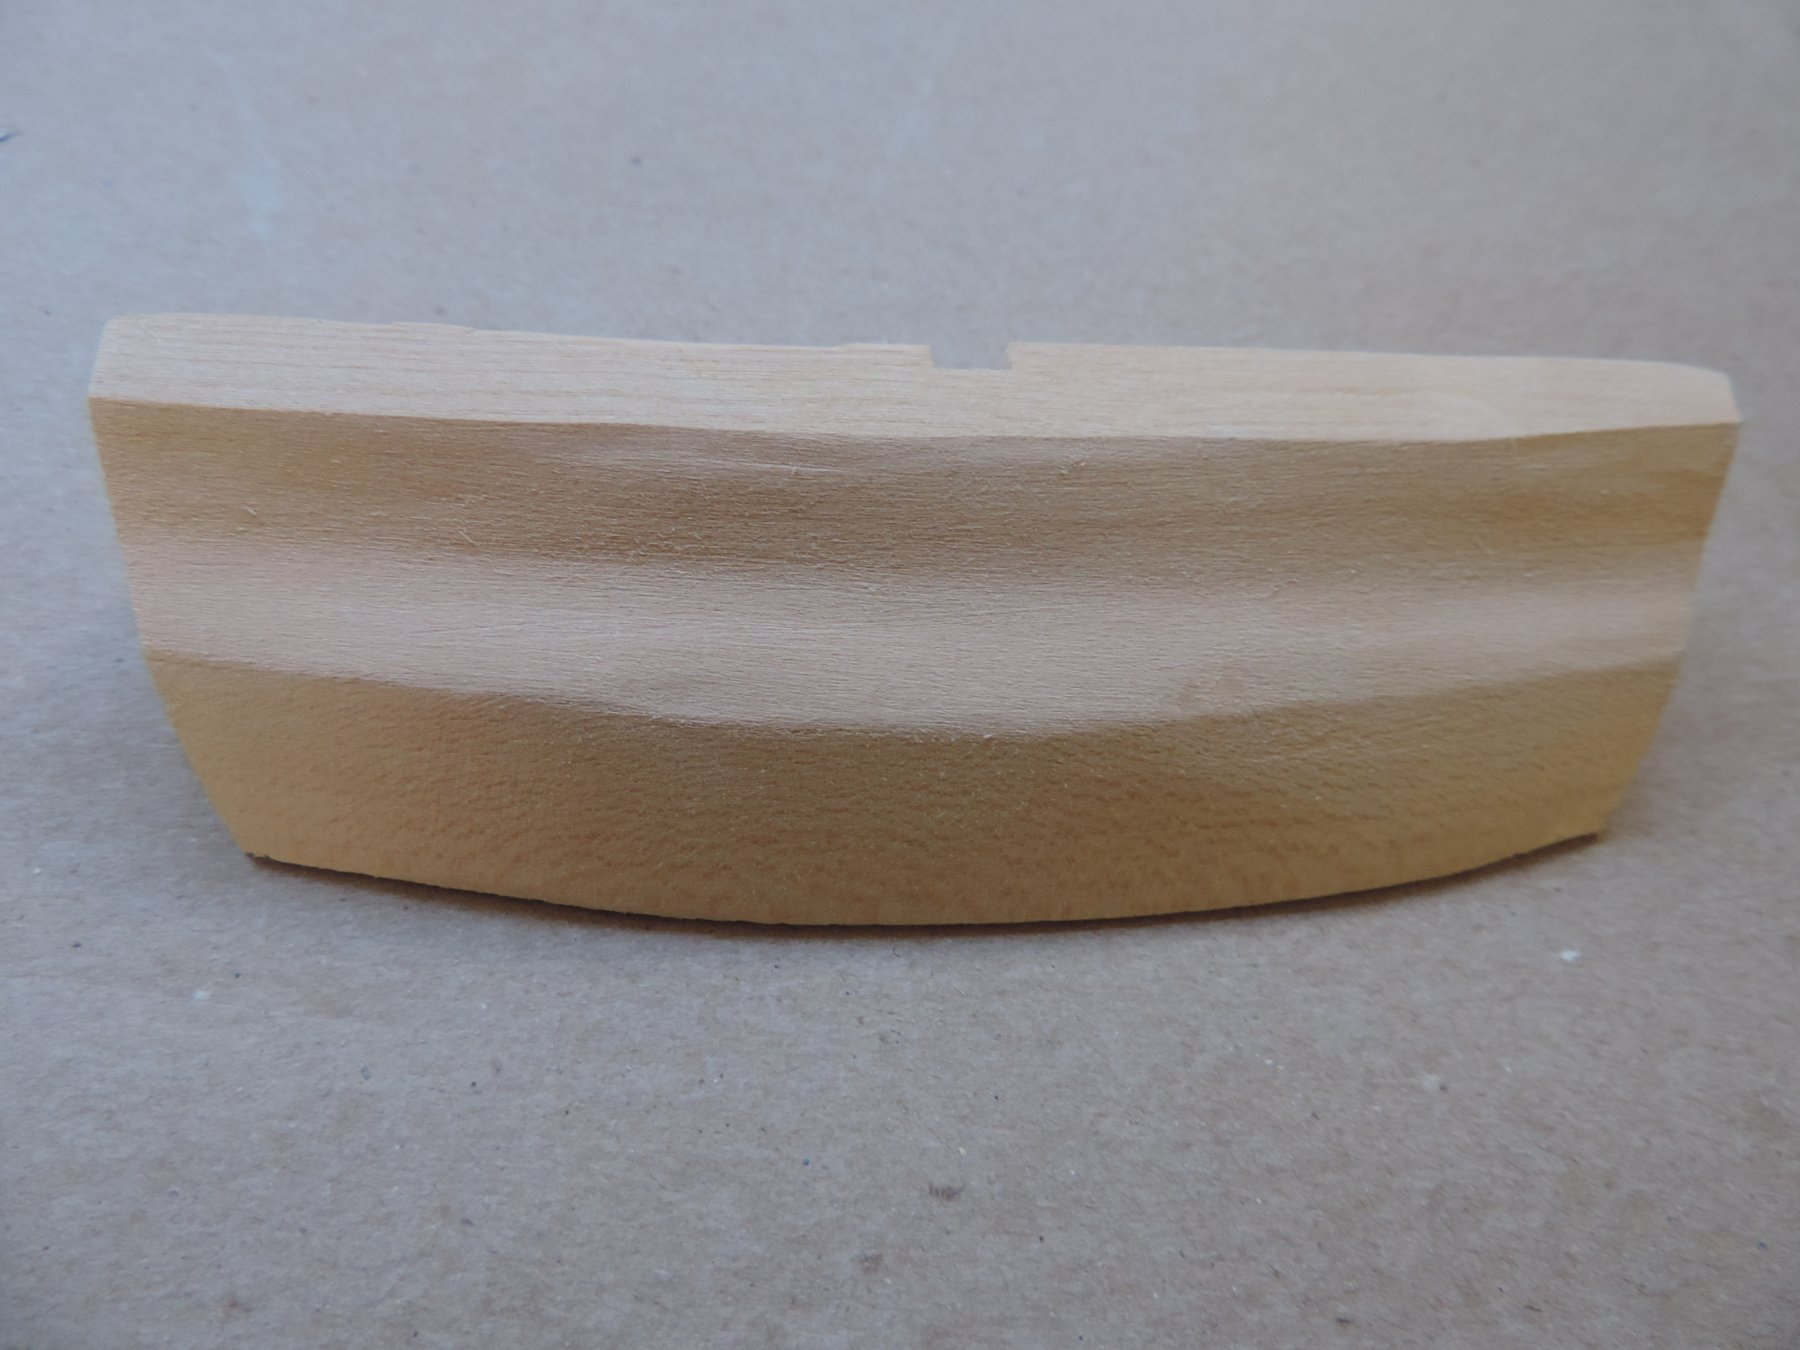
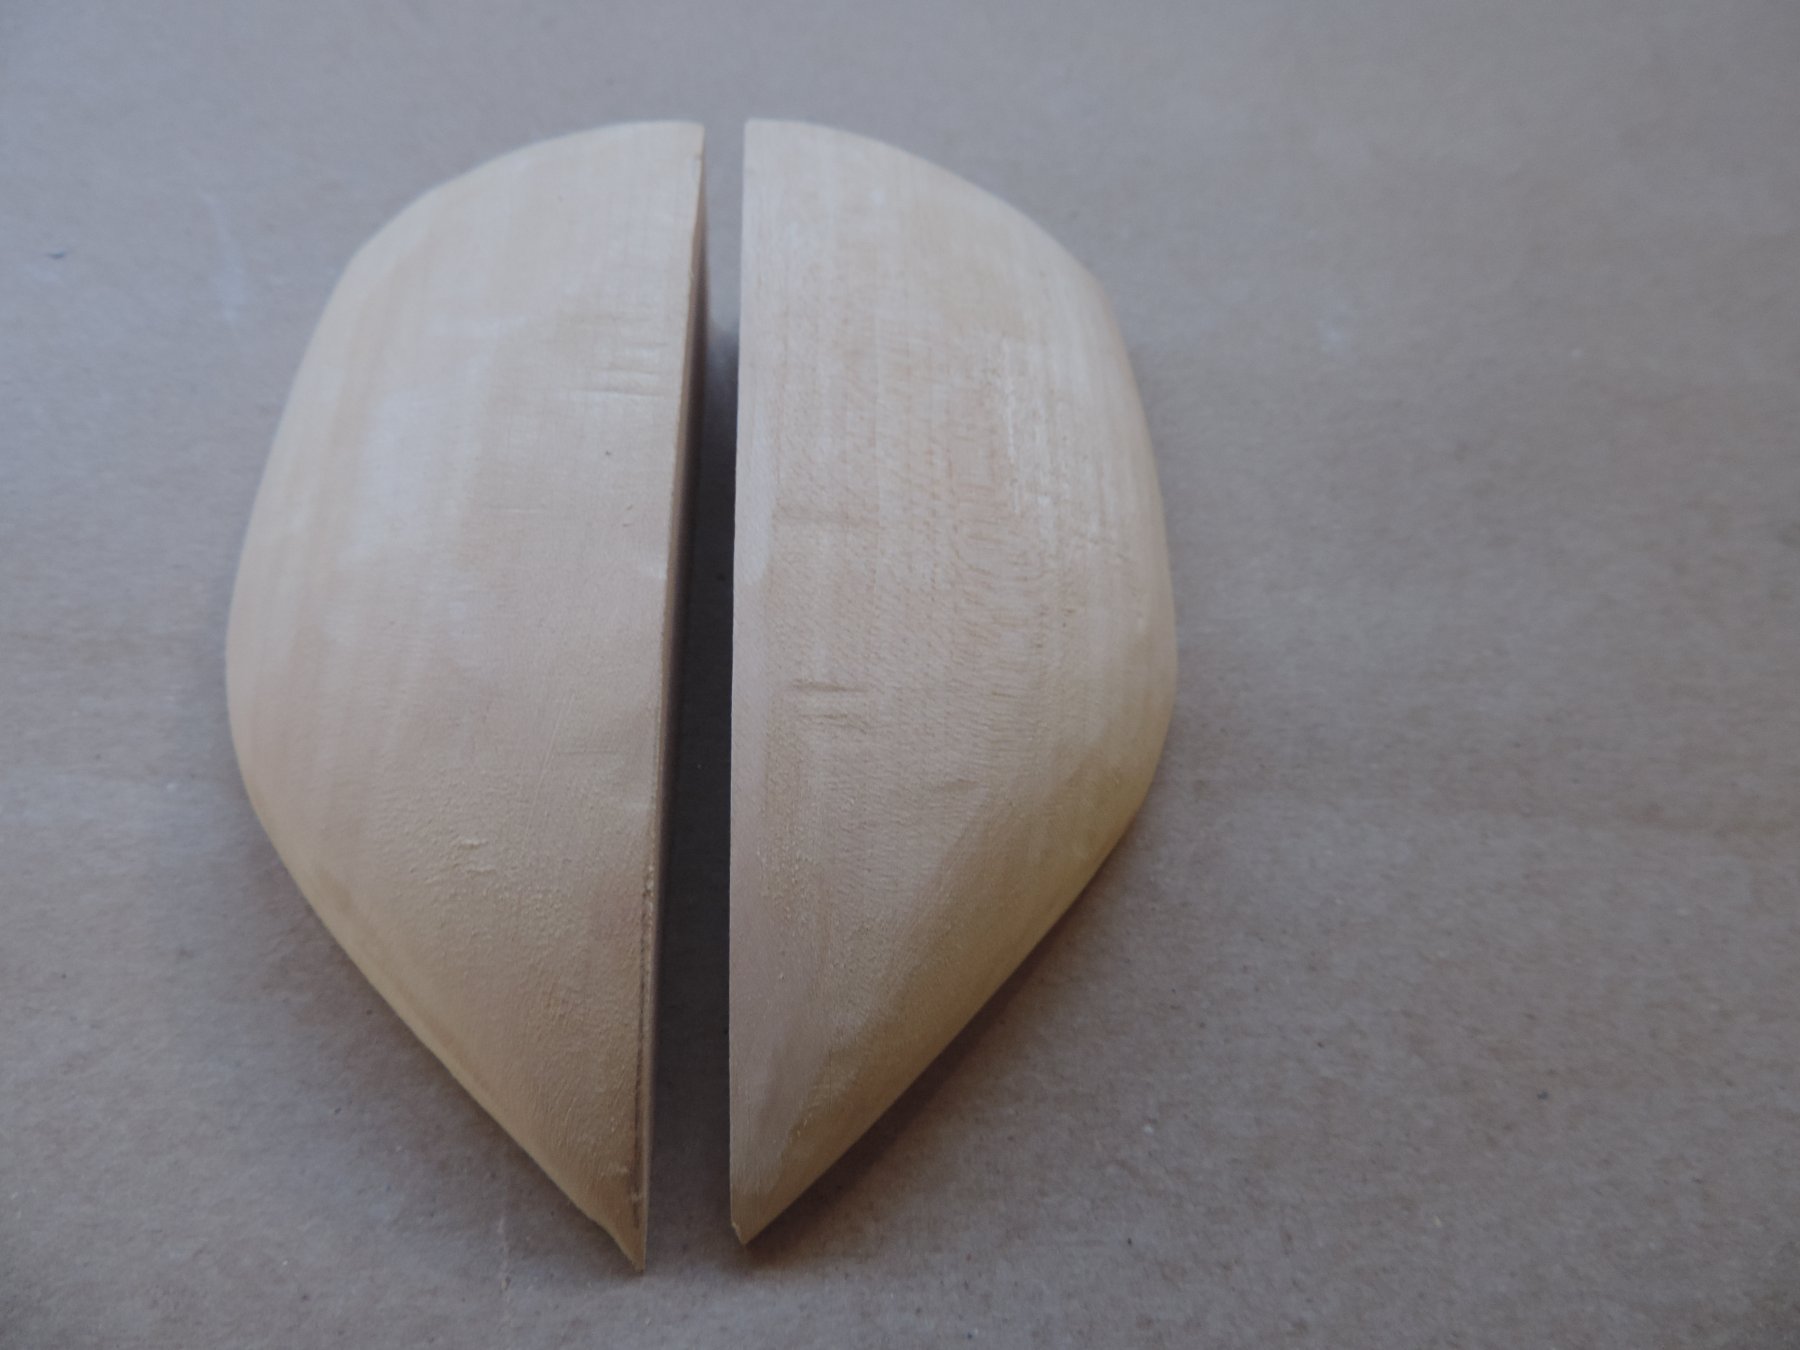
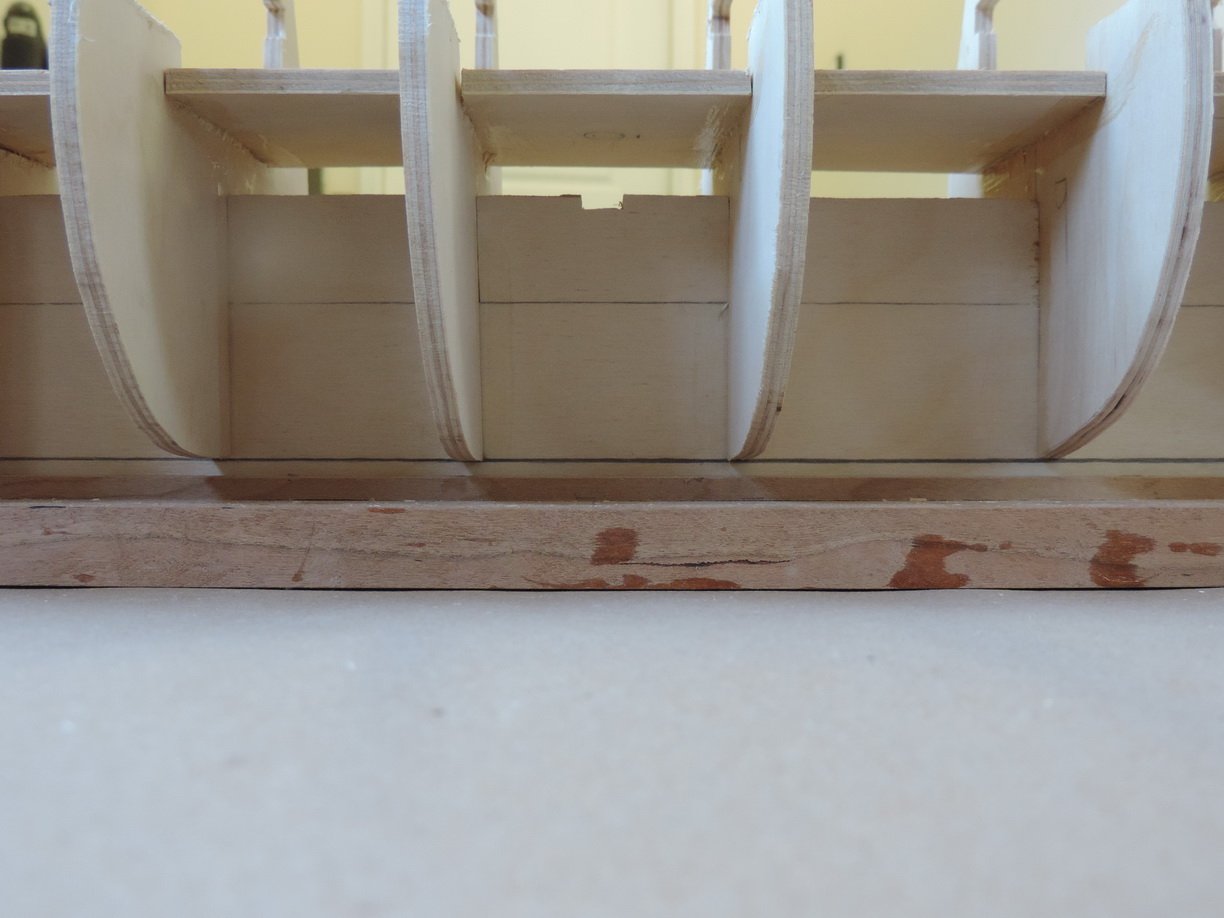
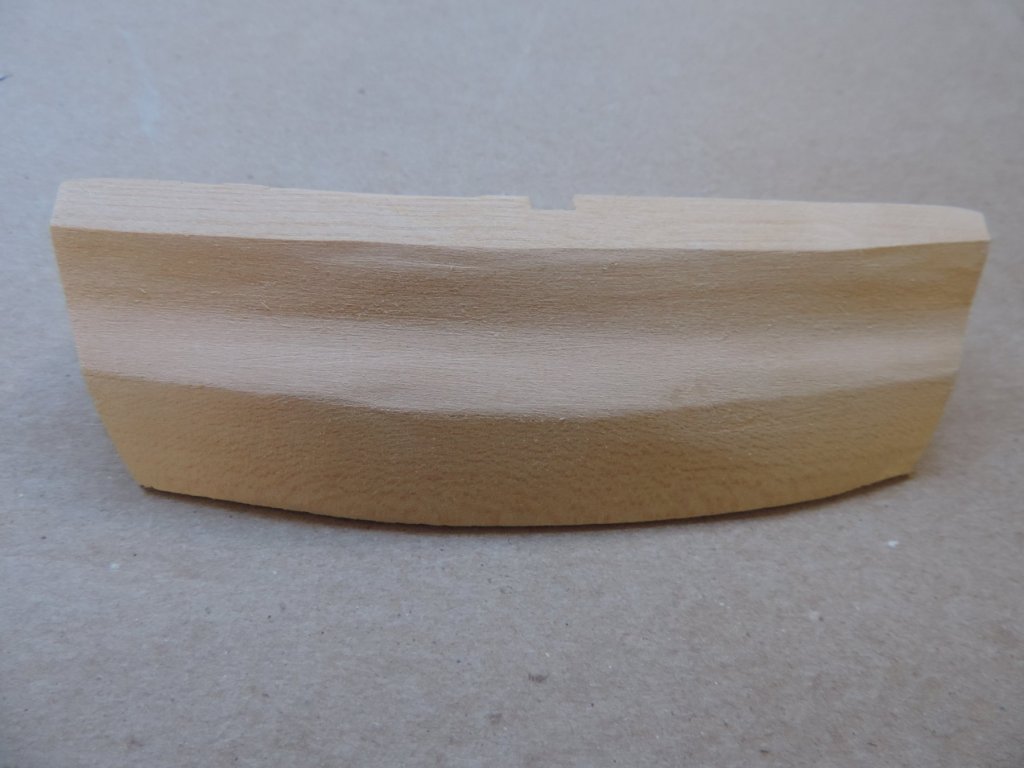
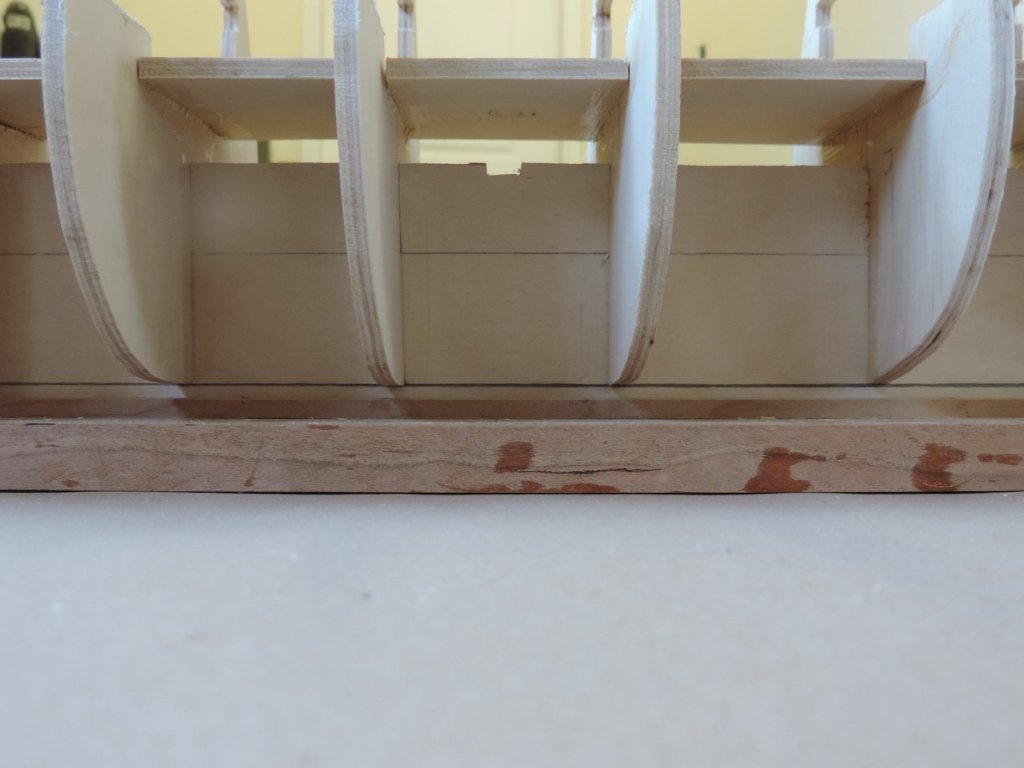
 Greetings, As a follow up to the previous post: Score bulkhead extensions 2, shipwright 0. Now for an update: Had a good weekend in the shipyard. That leaning #2 bulkhead (see previous photos) irritated me so much, I spent half a day digging into the assembly to straighten it out. I used ethanol to loosen the Welbond and a dental burr to widen the slots. Worked like a charm. I was able to complete the bow filler block, the wing transom, the upper/lower counter block and the stern rudder post. All came out very well in my humble opinion. Pictures below
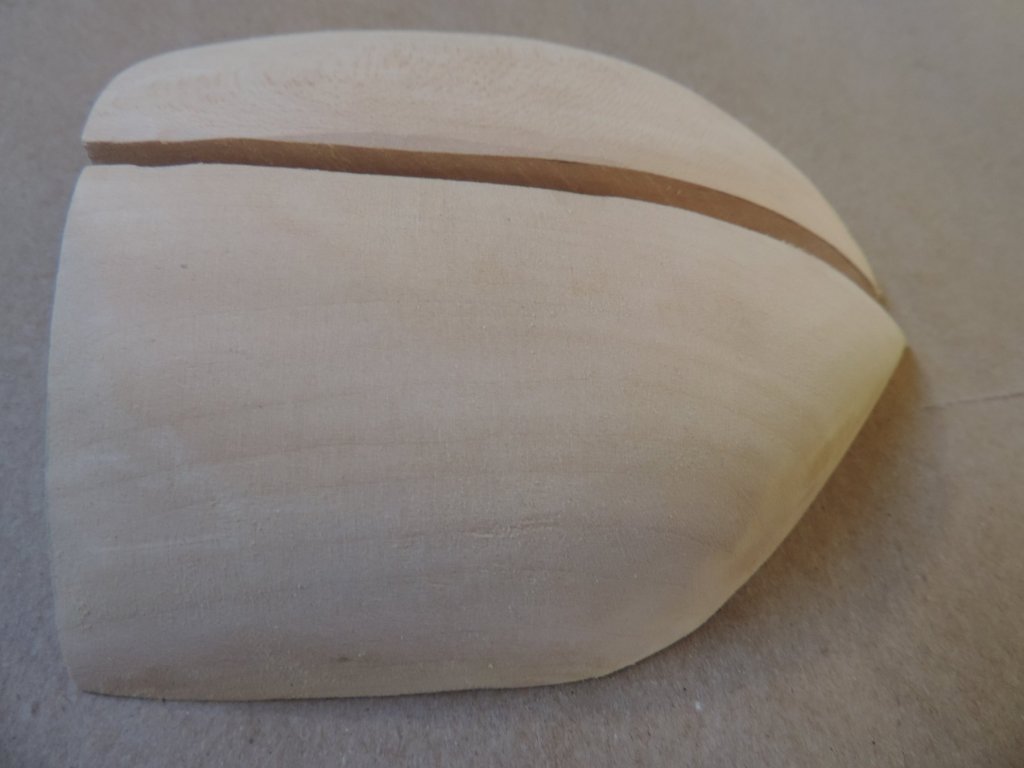


-
Nicely done!
-
Dave, Your usual outstanding work. Regards
-
Fantastic job. The aft cabin roof's color is superb. How did you do this? Regards
- 194 replies
-
- 1
-

-
- armed virginia sloop
- model shipways
- (and 1 more)
-
Perfectly simple solution to the mast rake drilling. It never pays to overthink the problem. Nice work. Regards
- 449 replies
-
- 4
-
-
- sultana
- model shipways
- (and 2 more)
-
No matter what the bulkhead extensions are made of; basswood, balsa, Baltic ply or probably even oak, you're going to break some. Get over it.
-
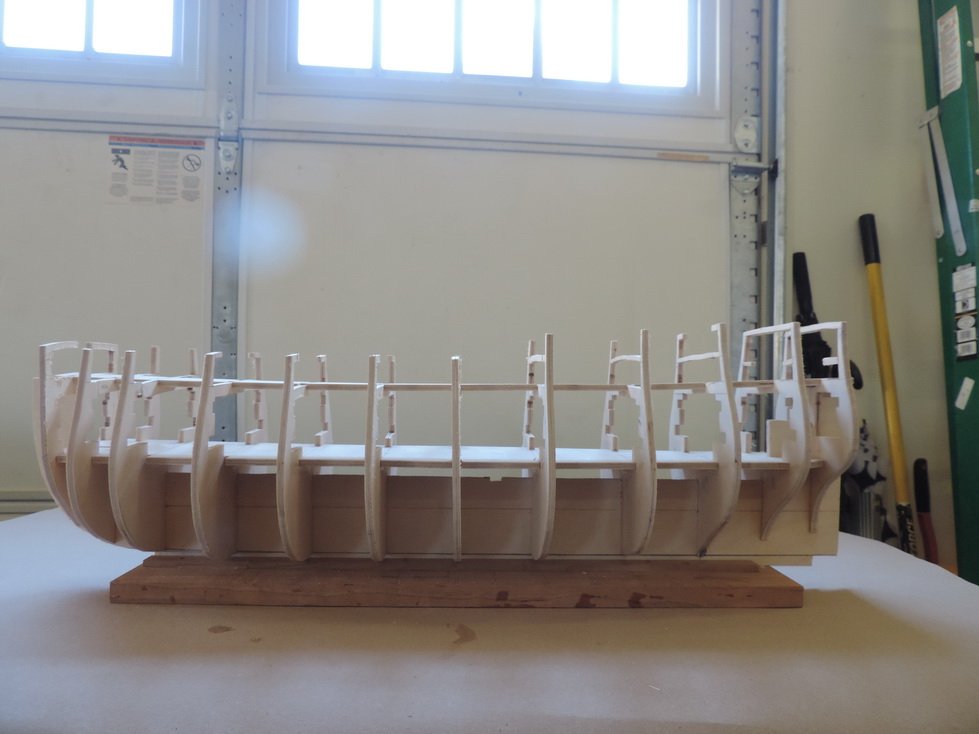
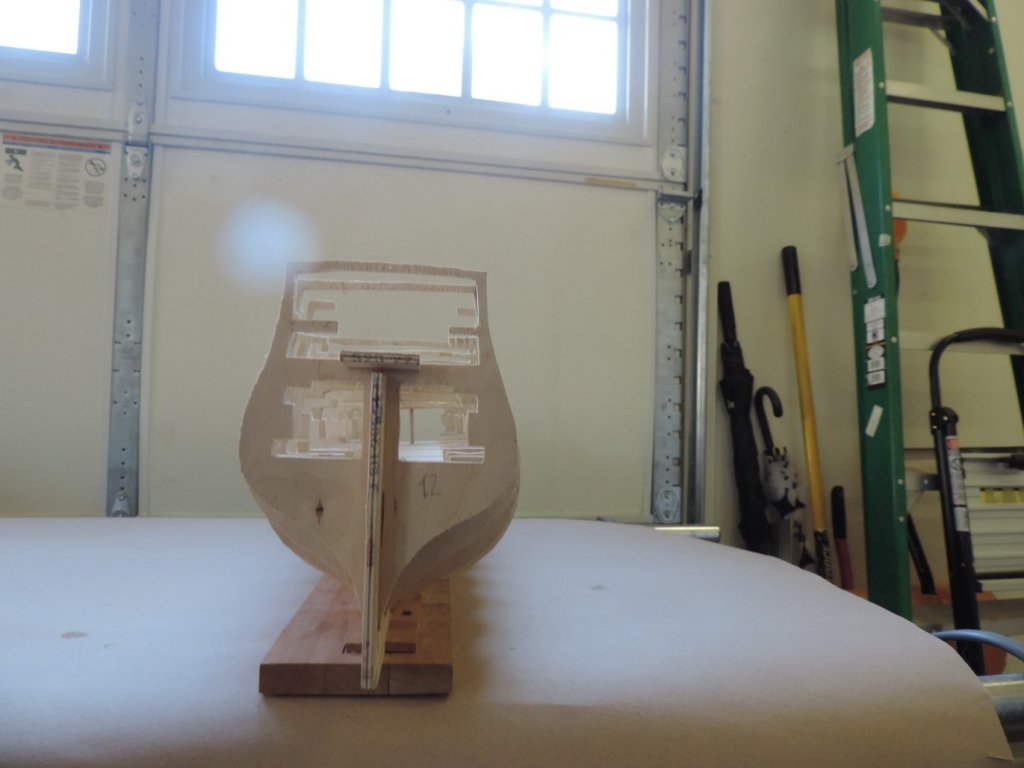
Back again, The frame is now all glued up. Not too shabby. BH #2 slightly tilted forward. I'll move the slot for the sub-deck and that should take care of it.
-
OKKKKKKKKKKKKK, Let's see how this works. But really could use the preview. This is where I found most of my errors. Thanks for all that you do Regards
-
Back again, All of the bulkheads, center keel and hold downs have been fabricated. I used a Forstner drill pit to get big access in the lower portion of the bulkhead cut out. I had to make the top hold down 3 times in order to get the slots to line up. Somehow my template did not come out correct. I took a strip and placed it over the plans and took the slots off that way. I also gave up on the scroll saw and cut the slots on the table saw, standing the strip on edge with a backer board and the blade set to the depth of the slot. Two passes gave the required width. Only messed up a couple of the slots. I should have done both hold downs together in one pass. In a perfect world I would have done the center keel as well but the stem and stern are too high. I dry fitted the whole assembly and much to my surprise, all of the bulkheads landed on the bearding line on both sides. This was a major event and I gave my self a Stella Artois at-a-boy. Next the glue up and some pictures. Regards to all
-
Making Rope
ca.shipwright replied to ca.shipwright's topic in Rope Making/Ropewalks's Discussions about Rope Making
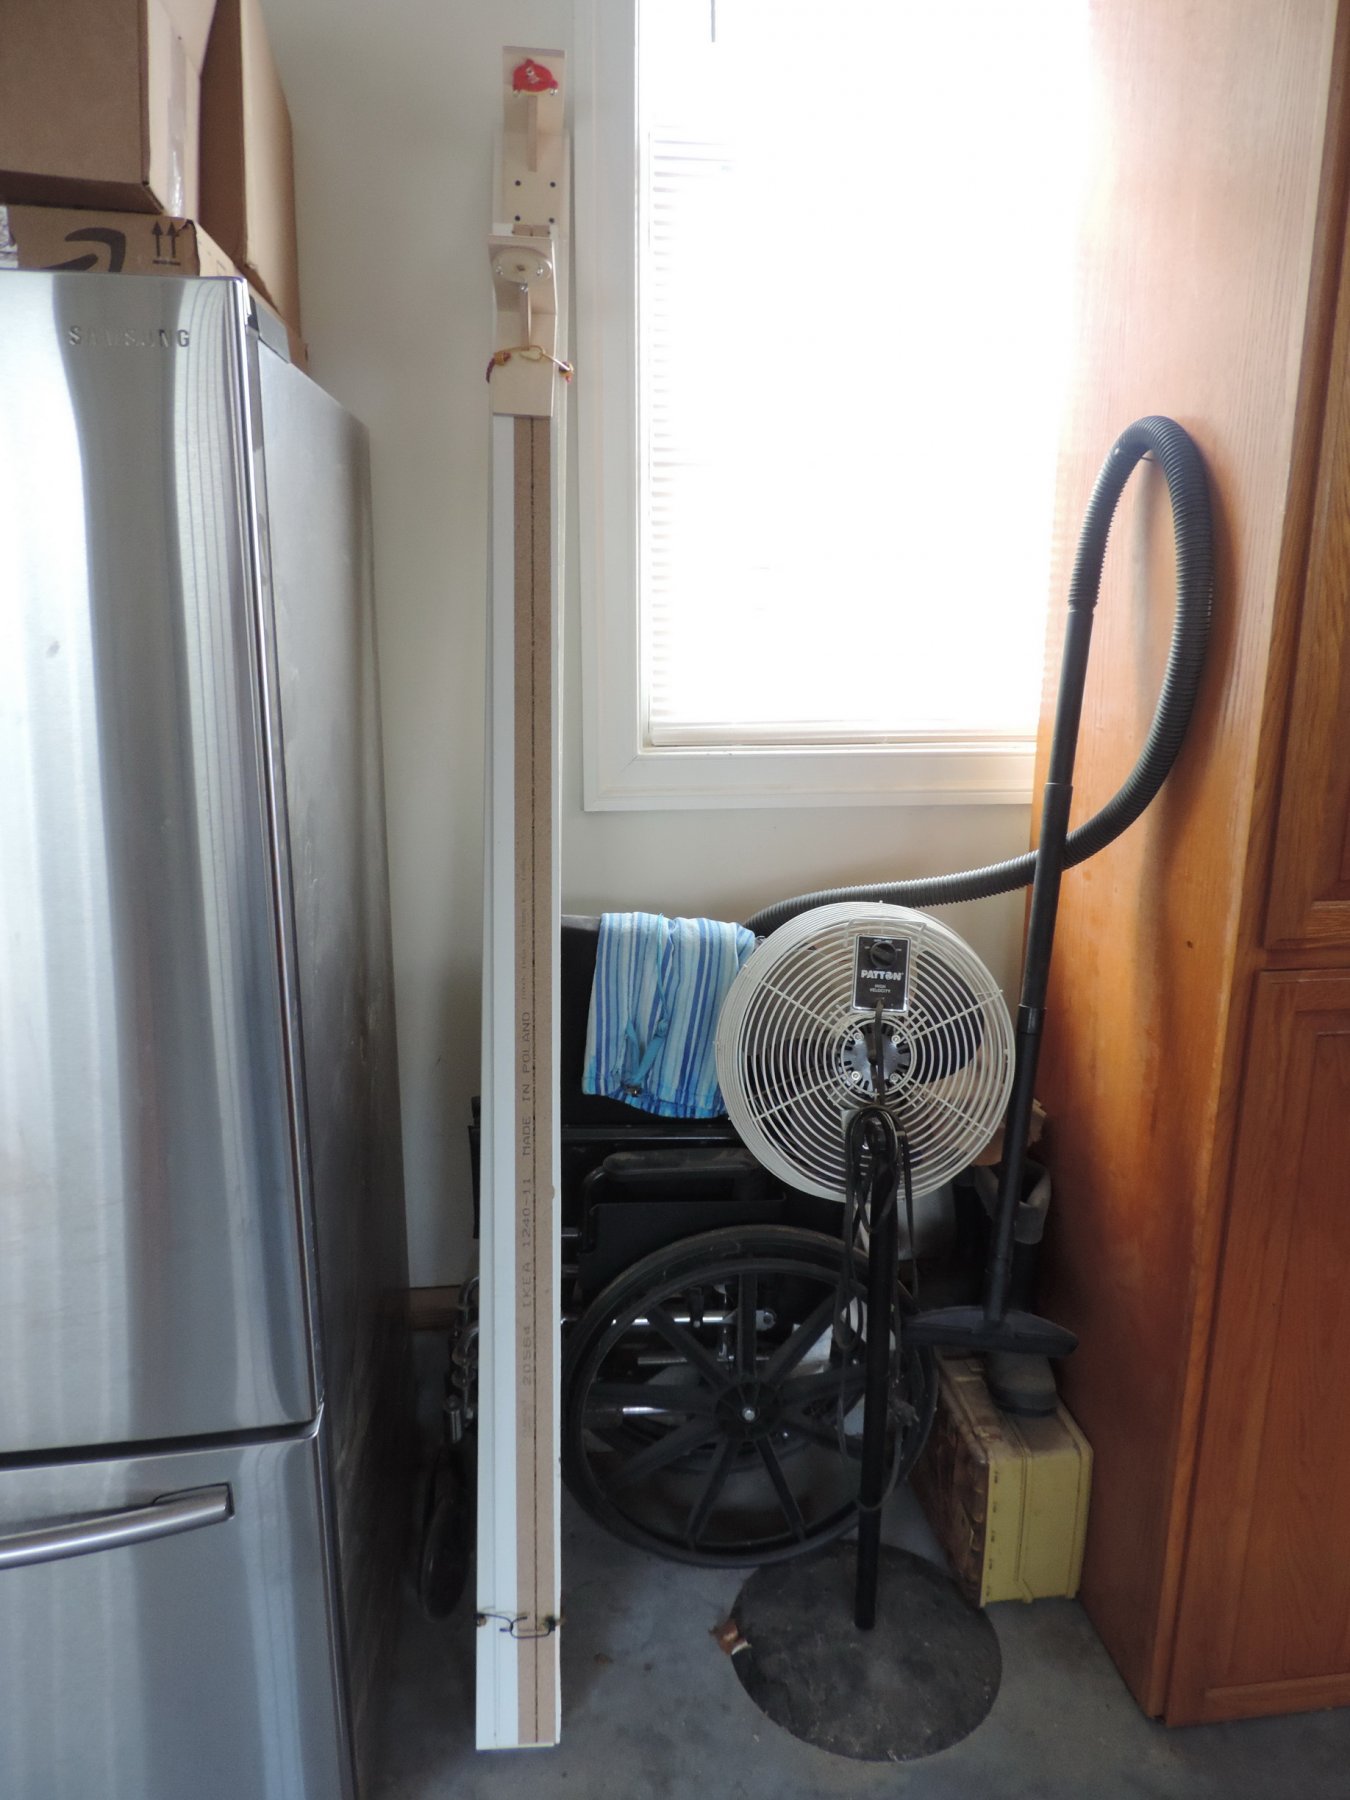
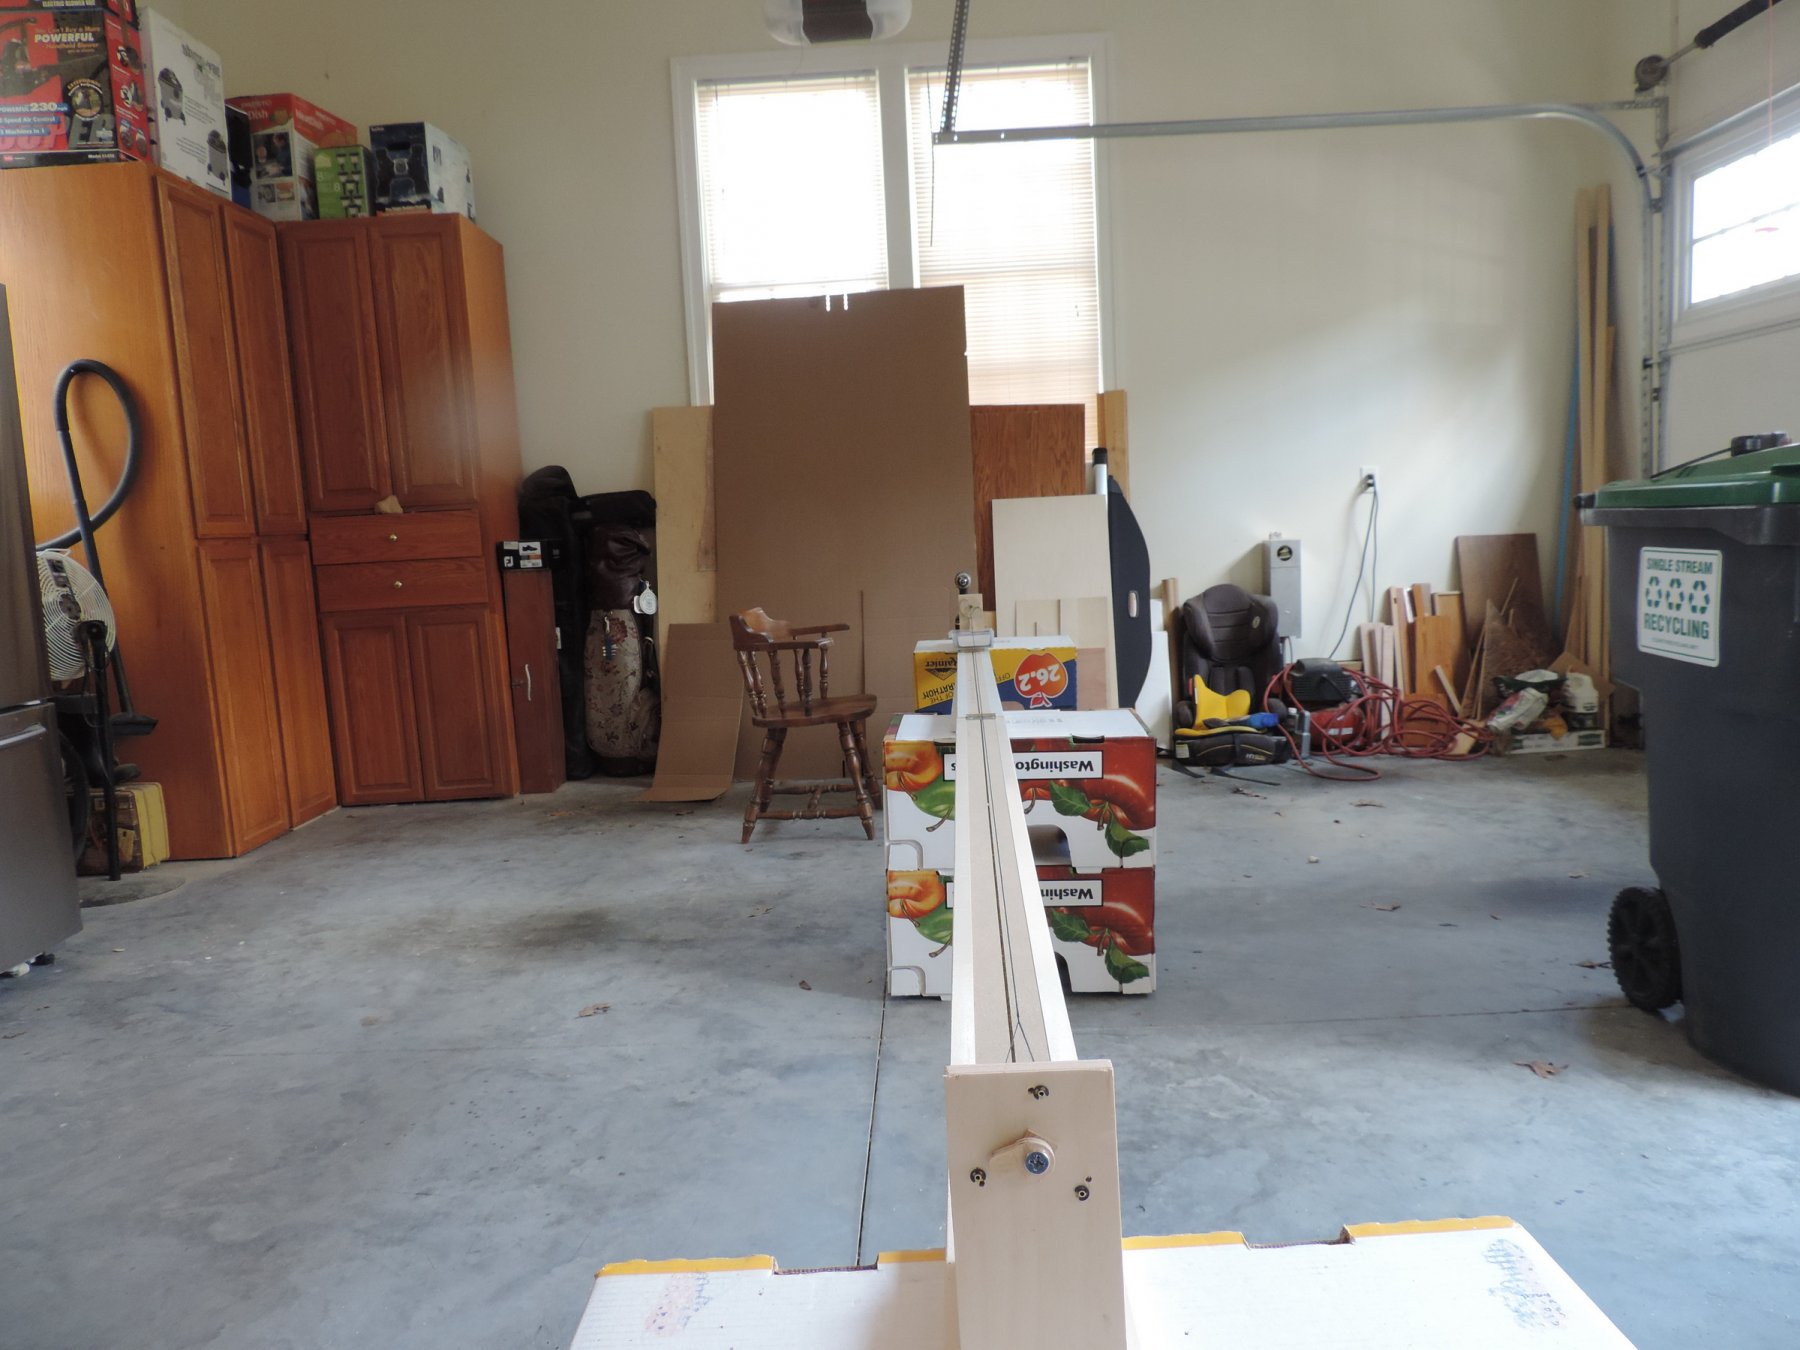
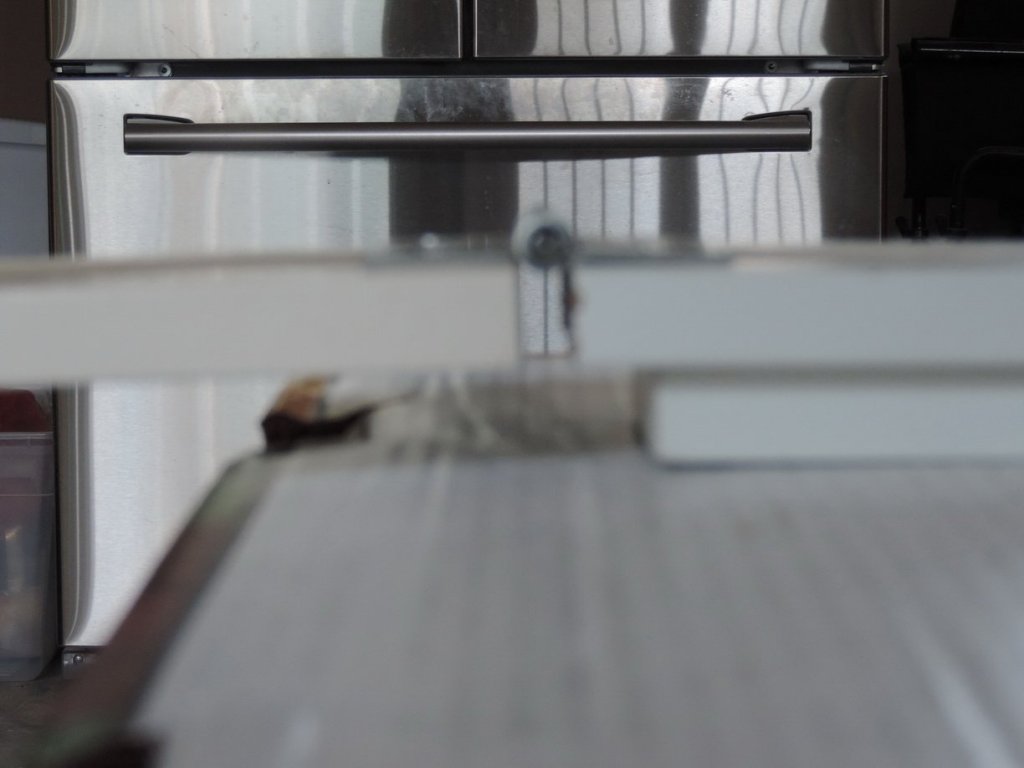
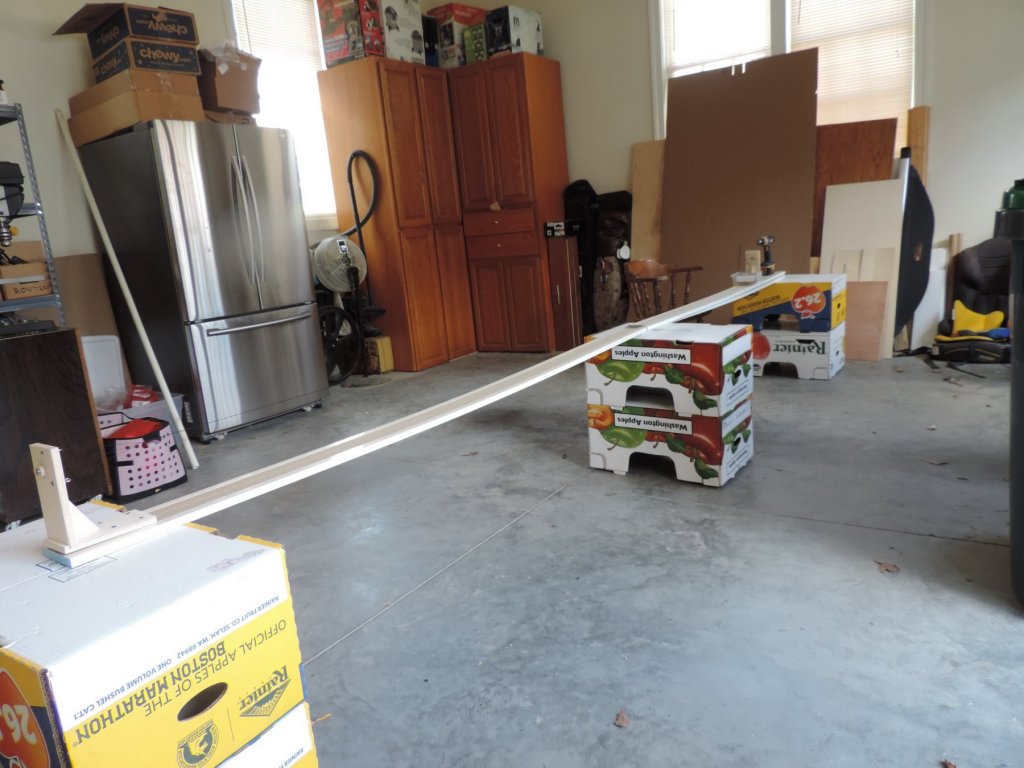
Back again with an update on the rope making journey. I decided that I wanted to make really long pieces of rope, so I took the 3 slats of the Ikea kickboard and tied them together with door hinges so they would fold like like Kleenex. I knew that this length would not lend itself to finger power. I epoxied a large Phillips Head screw into each of the brass barrels and powered the whole thing with my electric drill.I broke off the original handles because they kept hitting my hand and that hurt. It was raining today so I had to use the garage where I only had room to extend out to two slats. The third slat is tucked under the second. The driveway will suffice for all 3 slats. Fold them up and tie with bungie cords and they take up no space then a pair of skis. Regards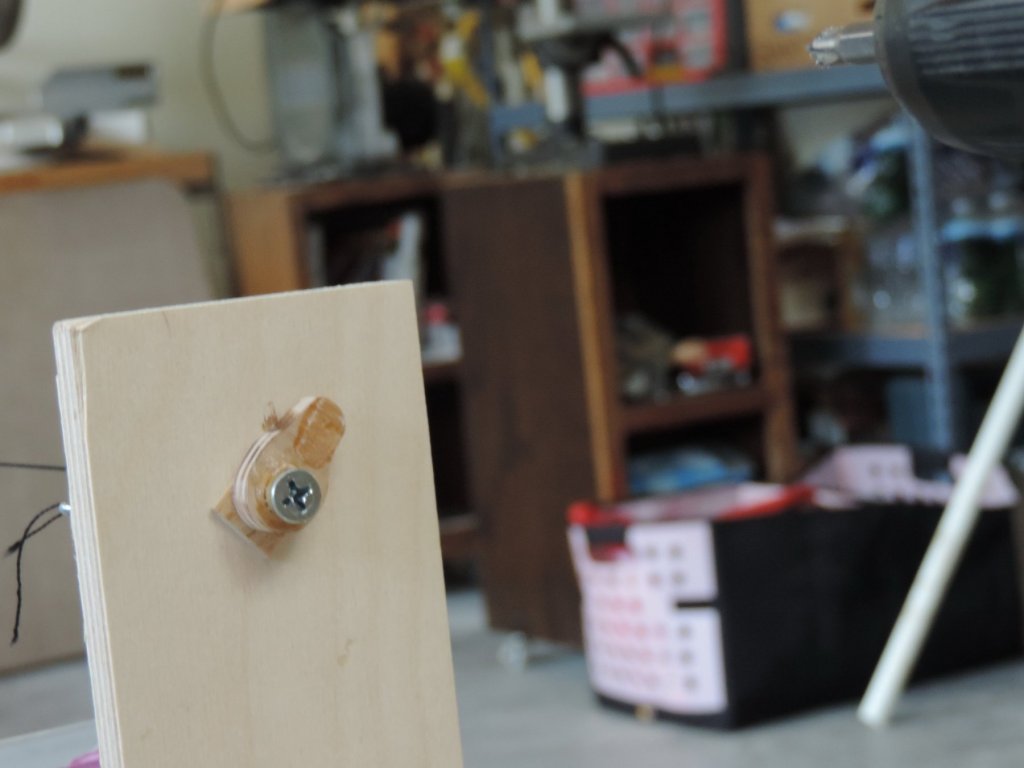


-
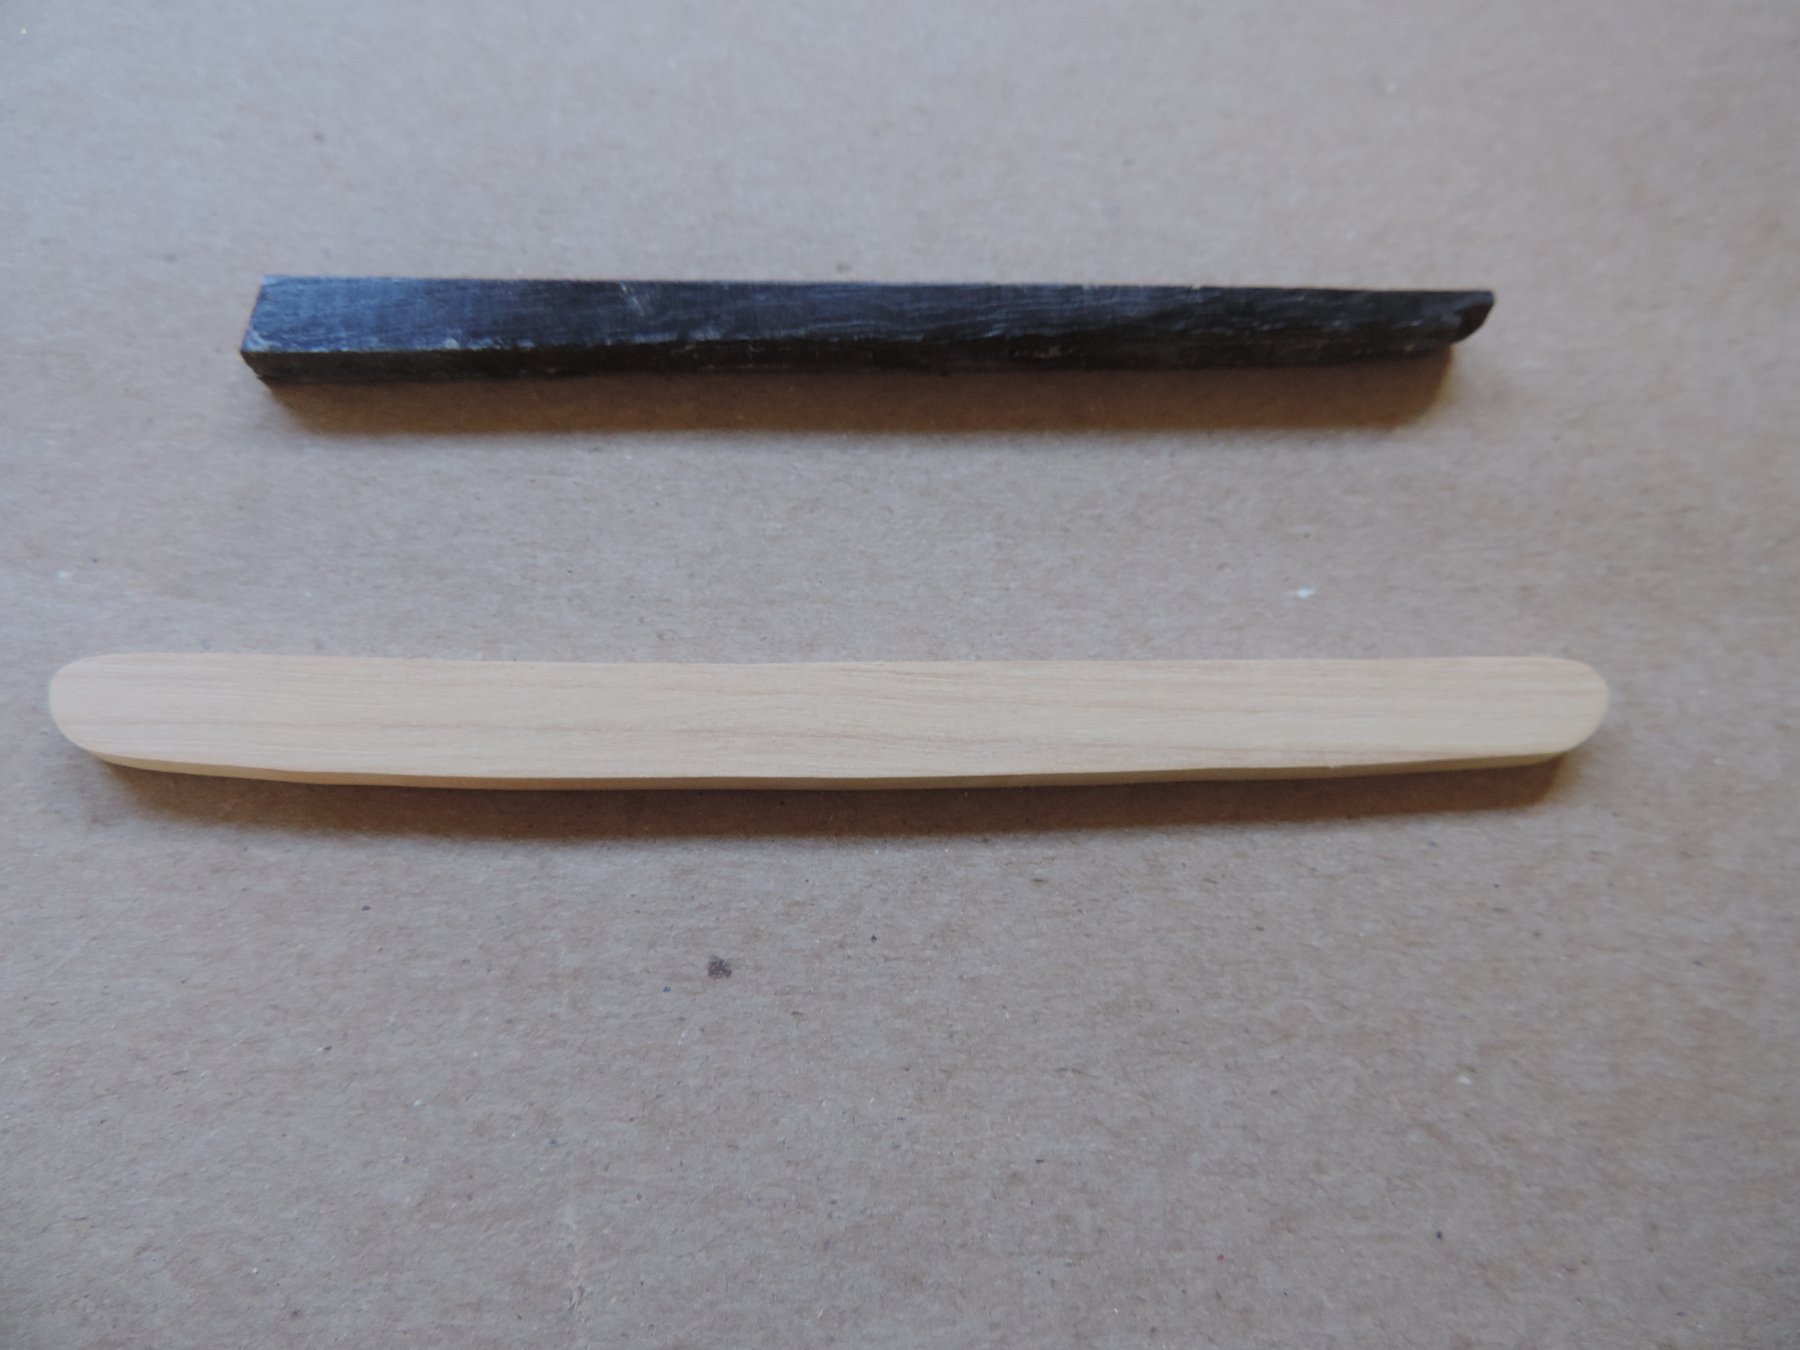
My Victory is a kit bash using the Practicum by Bob Hunt. In this practicum he uses ebony for black and boxwood for the light stripes. The planks follow the sheer of the ship while the stripes parallel the keel. This makes you construct a plank that is partially light and partially dark. Bob calls this "paint with wood." Unfortunate;y, I am allergic to ebony so I am ebonizing some boxwood using India ink. This works pretty well. Regards
-
Interesting about the sail plan sheet. It look's like the more you spend, the less you get. However, I have not been a big fan of sails on a static model. I have always built them bare. But, looking at you fine work may cause me to reevaluate my position. And, your next build? Regards
-
Beautiful job. Great photography. I am building the same kit as a kit bash. I definitely will use your log as a resource. Thanks for posting
-
Hello Rich, Just ran across your log and quite impressive it is. I have just started my Victory by Panart. for the third time; being unhappy with the results of the first 2 trials. I had the fantastic experience of spending 2 days aboard HMS Victory several years ago with 2 friends who were also building the model. It was a 4-day boys' night out trip to Portsmouth and the NMU in Greenwich where we actually held MR Steele's plans in our hands that the staff had pulled out for us. Those who like history always speak of a profound moment when observing something of significance. Mine came on the Victory when I realized that the serving vessel on which I stood was older then my country! Awesome! Good luck with the continuation of your build. Regards
-
I did speak to John Garcia. The offer was a little low. Decided to try on my own. Thanks
-
The Syren has sold
-
Hi Derek, You can copy and paste your build log into Bob's forum if you use Mozilla Firefox as your browser when you open MSW/NRG. Write once, post twice.
-
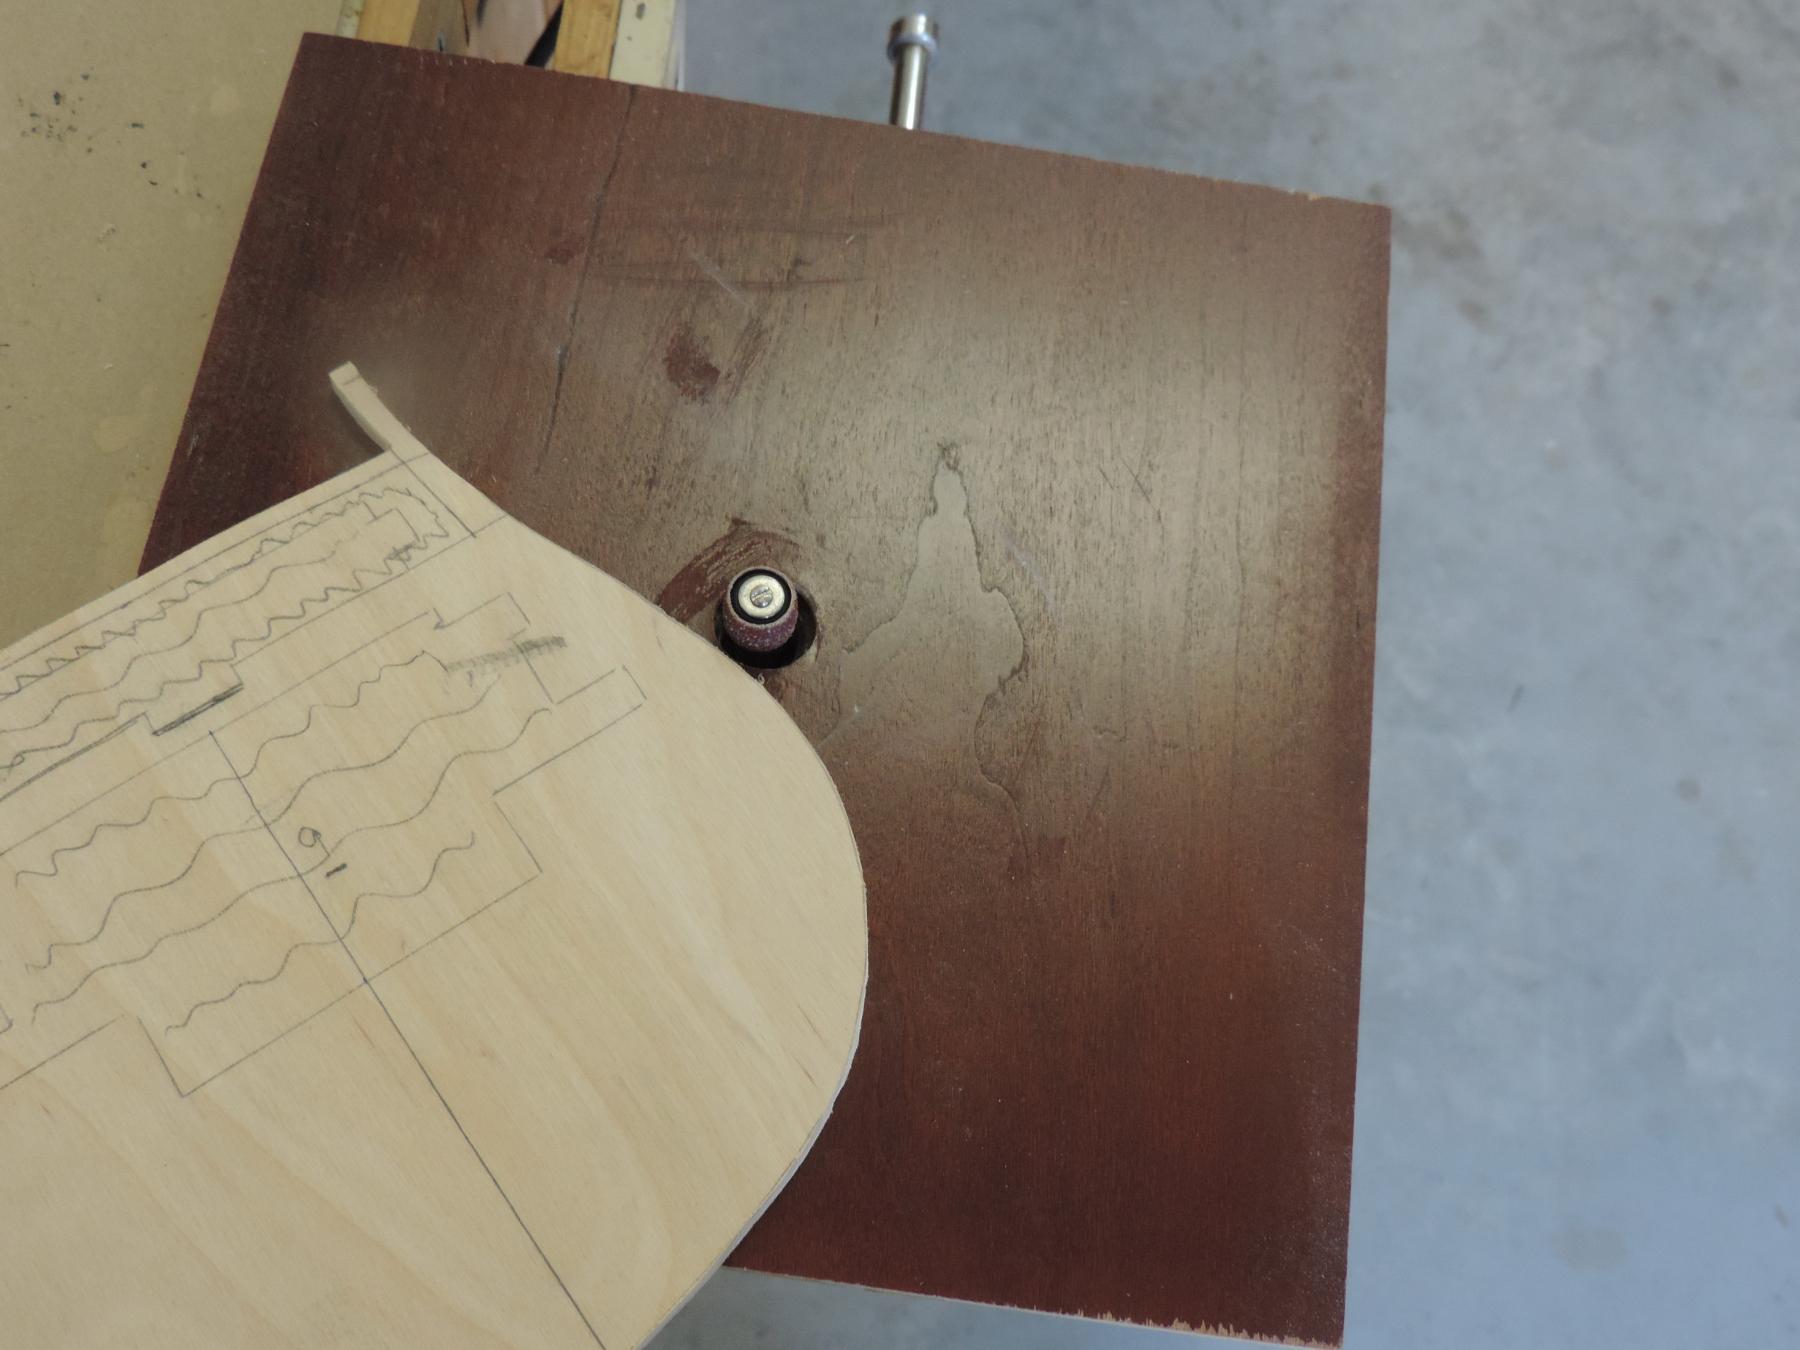
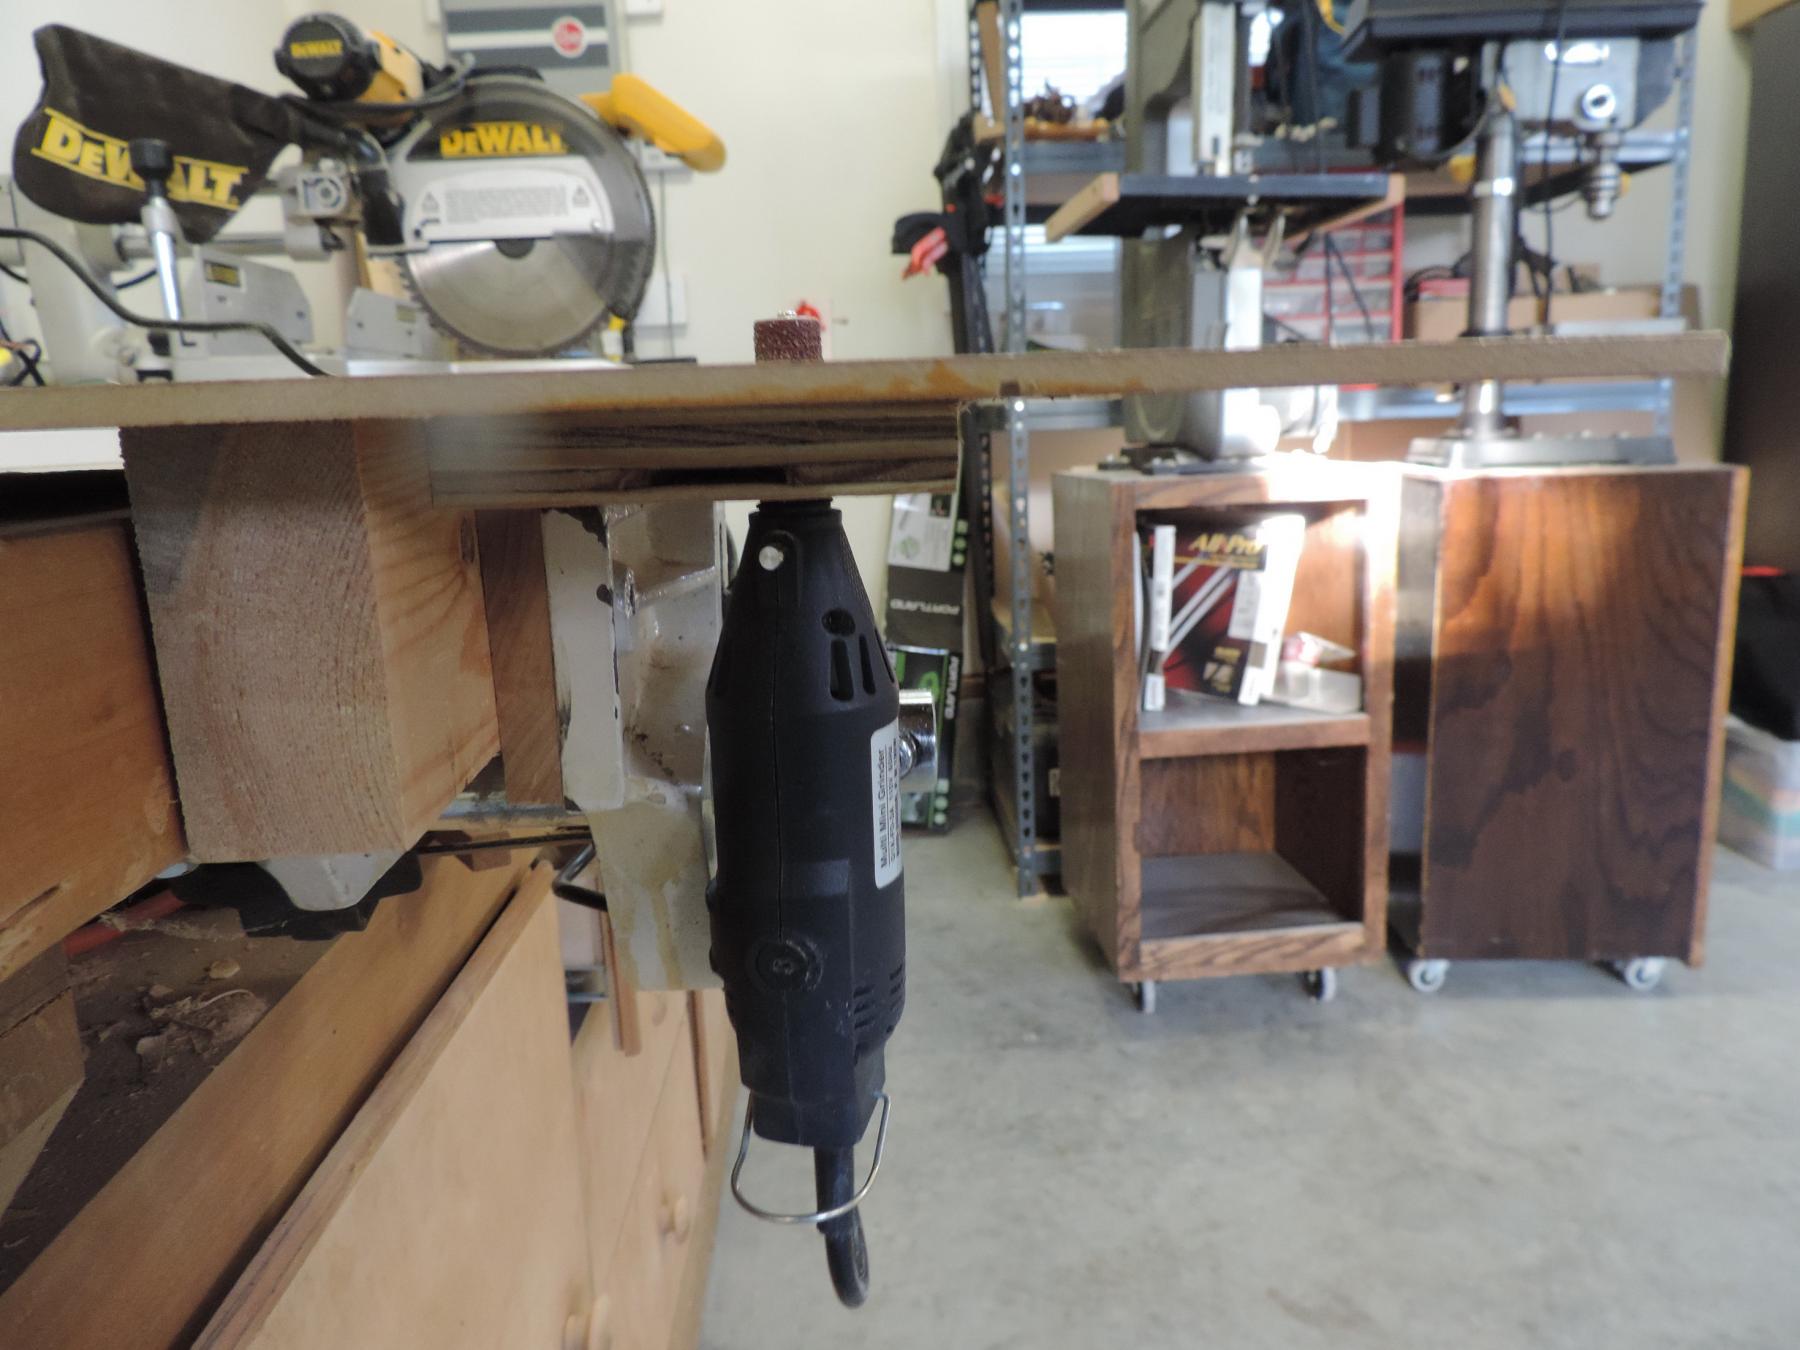
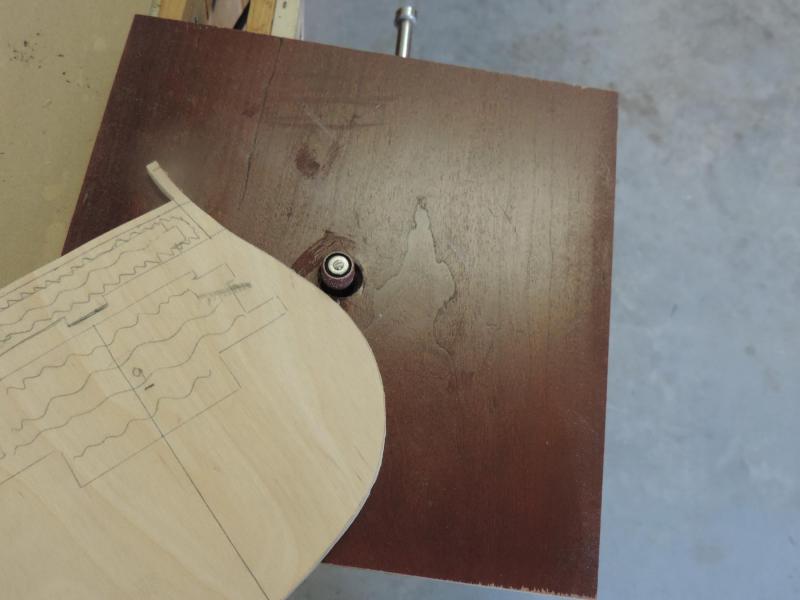
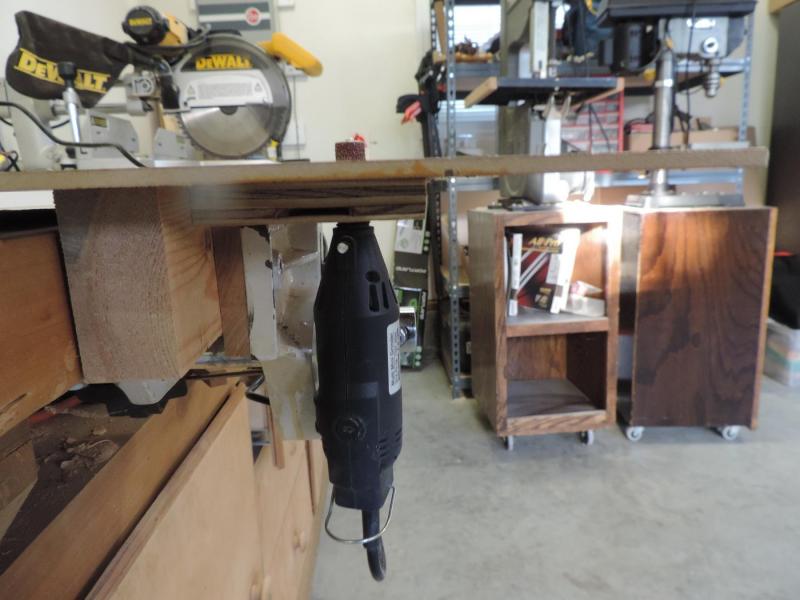
The previous post shows a homemade shaper table clamped in my woodworkers front vice. A generic mototool drives the sander. Thank you whomever you are; I can't rember where I saw this, for posting and sharing this apparatus. It works great. Regards from the "Plagerizer - in - Chief."
-
EJ, I'm looking at the third bulkhead from the stern in the next to last picture above. It appears that there is a "break" in the planking run- a sharp bend over the aft edge of this bulkhead. There is really no way to fill and sand to correct this unless you plan to fill all the way to the stern bulkhead A better solution is to remove the planks on this bulkhead and sand the bulkhead fair so that the planks flow out the aft edge smoothly and into the next bulkhead and further on to the last bulkhead at the stern. One of the advantages of using full length planks for the under skin is that you get a very good idea of how the hull fairs out. I think most modelers take the view of getting the under-planking done, in whatever way floats your boat. Keep in mind that when the plank a real ship, they have frames every foot or so. They are able to get a true fair using the shorter planks. The gap between bulkheads is too wide to use scale planking- you cannot truly see the fairing required. Having said all this, I really hope that the picture referenced above is a victim of some type of parallax and you won't have to any of the above. Please, no criticism is intended. Your modeling is fantastic. My Panart Victoy has almost the identical framing as the LSR. Regards
-
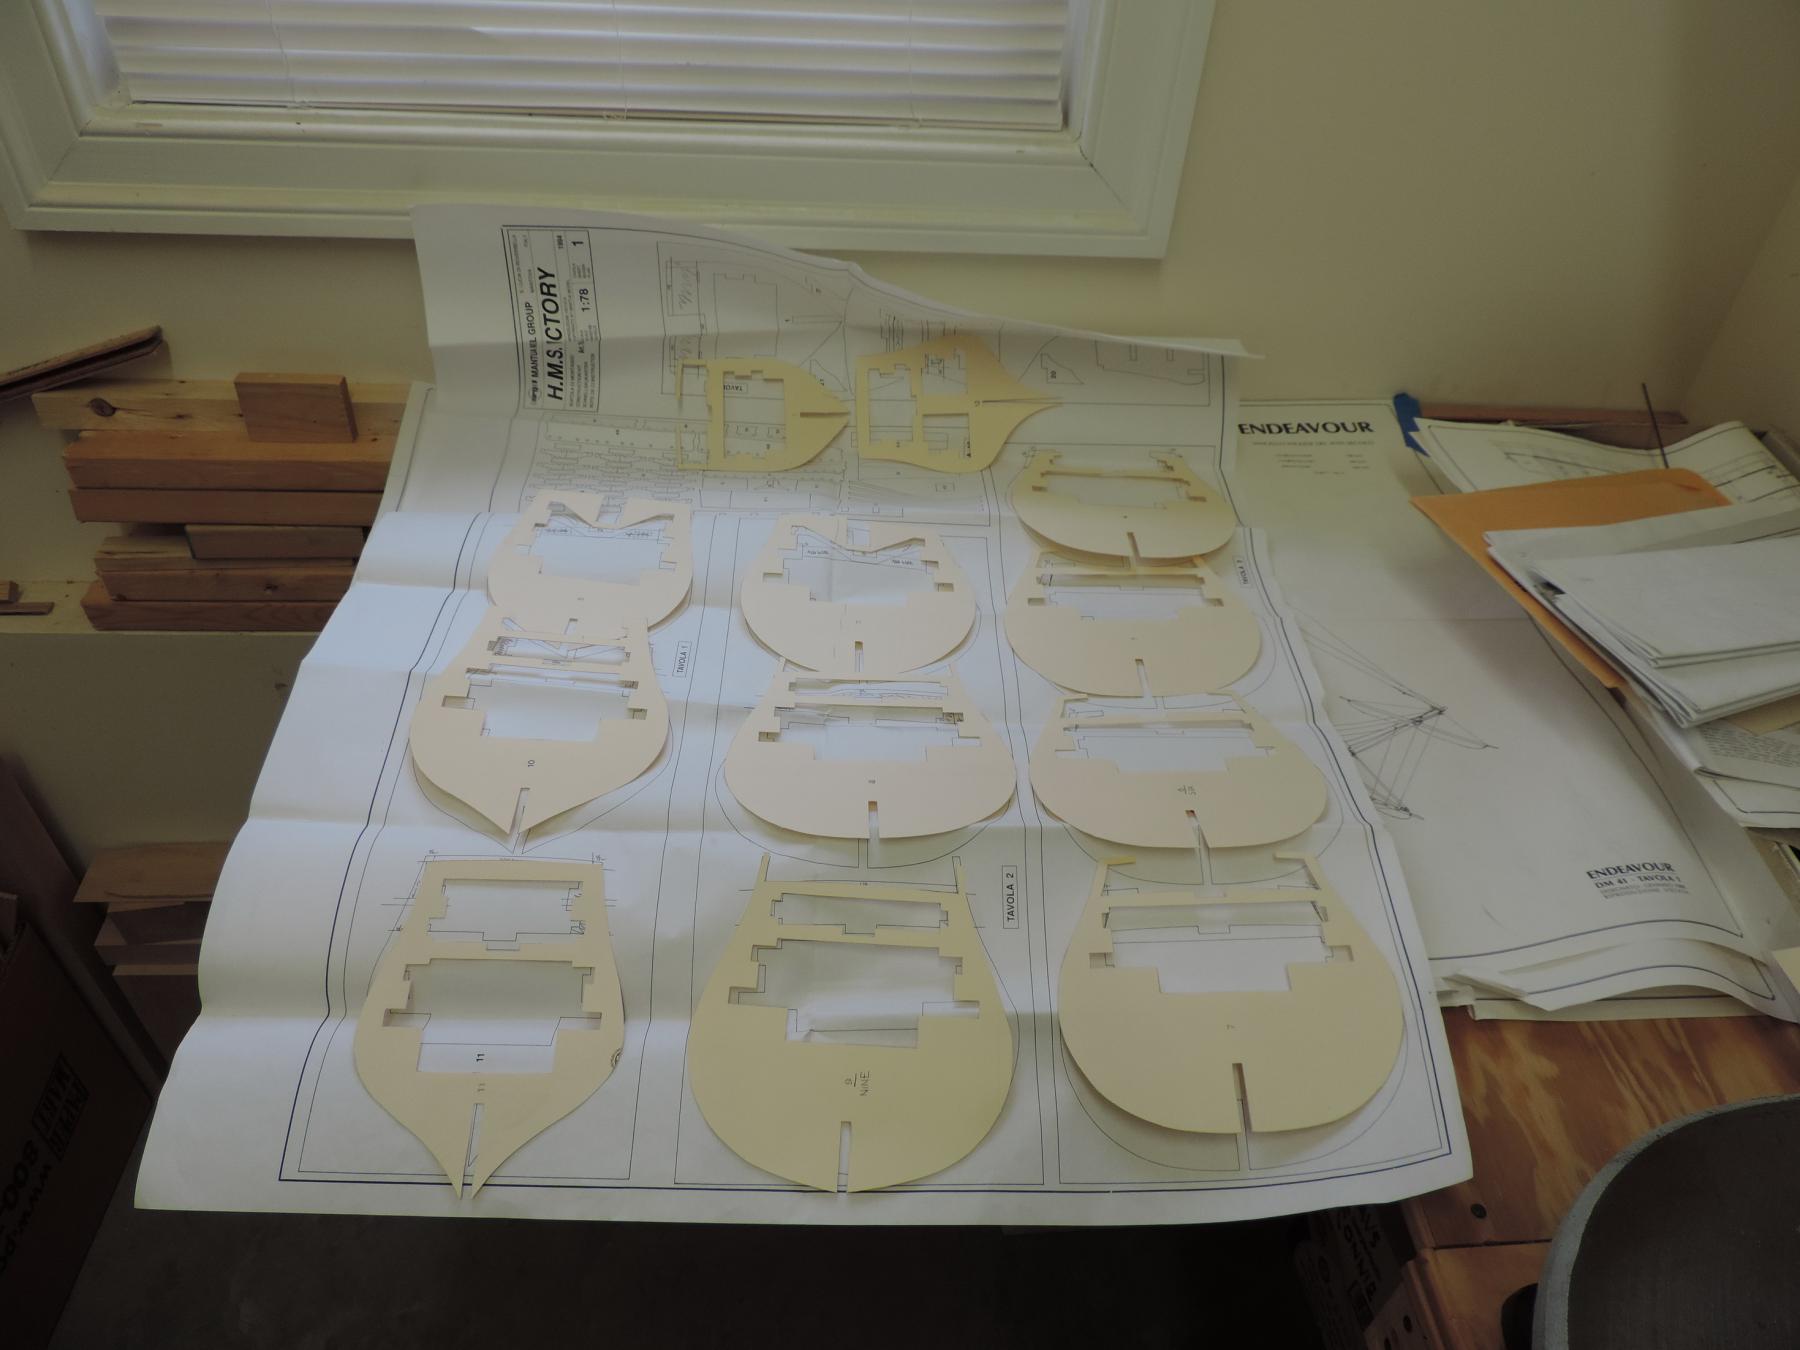
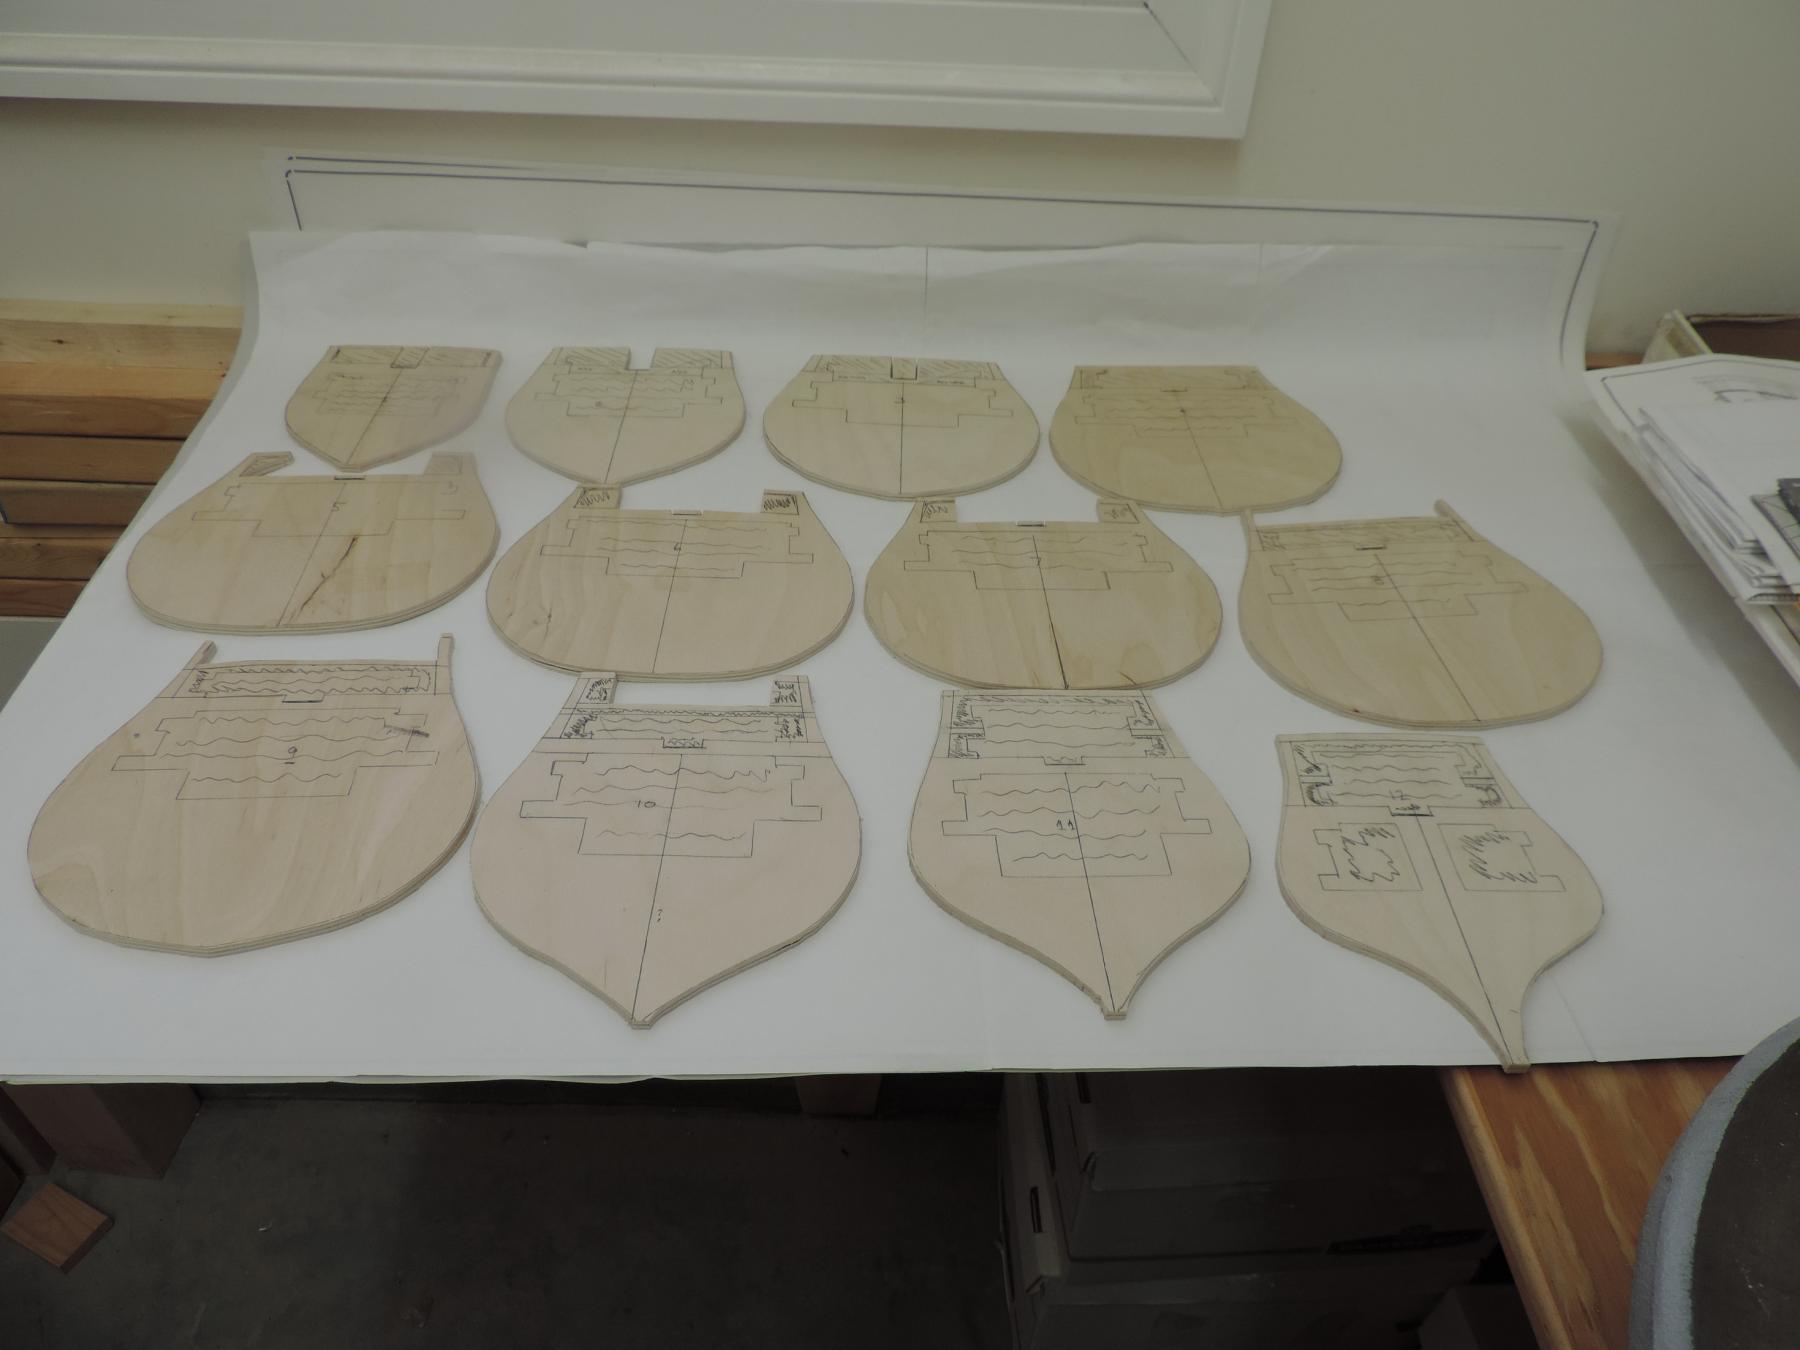
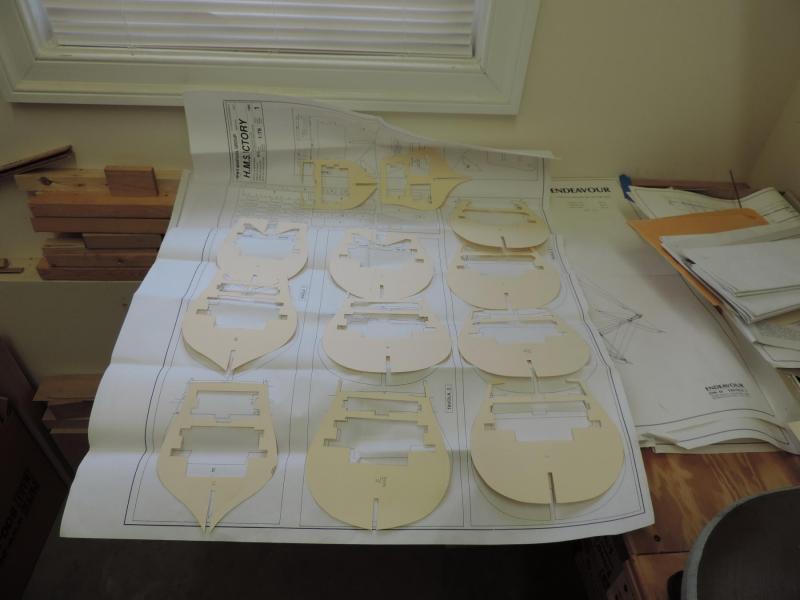
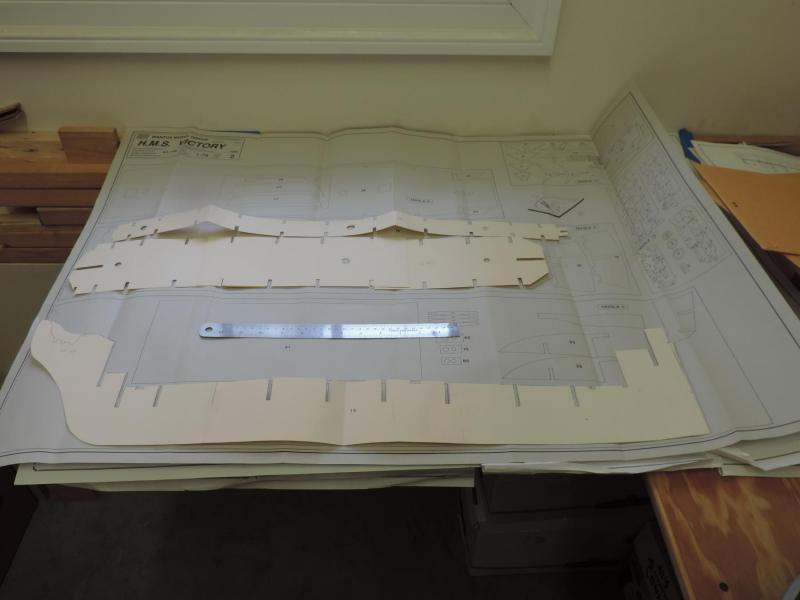
Greetings everyone, A further update on the Victory. We traced all the bulkheads, center keel and bracing on 6mm Baltic Birch plywood using the cut out templates. I opted not to glue them down on the wood because I can see the line better than the edge of the paper when I cut. I rough cut out the profiles on a band saw which is way more powerful then my Delta scroll saw. Baltic Birch is very dense. All good so far. One immediate challenge is slots in the center keel, bulkheads and braces. The Mantua plywood is 5 mm. The Baltic Birch is 6mm. This is going to require some adjustment in the slot width- need to widen it 1 mm. What I have done is use the forward line of the slot as a base and widen it towards the rear on the center keel. As for the bulkheads themselves, I put a center line on all of them using the center of the width of the upper and lower center cutouts as the reference. Now I will run up the center line from the bottom and nibble away on each side until a test piece of the plywood fits snugly. Using an extended line from the center keel slot, will allow me to keep the bulkheads vertically perpendicular to the keel. Fore and aft will be done using a 90^ clamped to the bulkhead and center keel. I am going to glue the bulkheads to the center keel, and the bracing with Wellbond glue (dissolves easily with alcohol). I used the homemade shaper to sand the bulkheads to the final profile. Worked like a charm. I think someone in the Endeavour group posted this.Thank you for sharing it. I drew all of the bulkhead modifications on now so I can complete the cutting with one set up of the scroll saw.Next up, is cutting out the center portions and modifications of the bulkheads as per the Bob Hunt's practicum. For those of you not familiar with this practicum; it is designed to kit bash this model by completely finishing the main gun deck and aft cabins, not just the midship portion as per the kit's design. Some photos attached. Regards

-
Yanc, I am totally in awe of your build. I showed it to my wife and she said, "that's a big one. It must be easy to build one that big". The I pointed out the details like the fleur de leis embedded in the blue trim and "oh my"'. I can't wait to see her sail. Regards
- 213 replies
-
- 3
-
-
- la couronne
- 74 gun
- (and 2 more)
-
David, Thank you. I now remember seeing this a while back. Regards
-
Darrell, I did some testing with the India ink and Wipe-on-Poly satin. Before the satin was applied, the 2 coats of the India ink came out dead flat black. The one coat of satin brought just a hint of gloss. This lacks that depth or oil like sheen that Ebony has. I am going to try another coat of satin and also try some gloss Wipe-on-Poly to see if I can deepen the luster. Regards