KeithAug
-
Posts
3,867 -
Joined
-
Last visited
Content Type
Profiles
Forums
Gallery
Events
Everything posted by KeithAug
-
 Nils - thank you - very useful. Pity about the cloth, i always find it difficult to get the right stuff.
- 180 replies
-
- 2
-

-
- pilot boat
- Elbe 5
- (and 3 more)
-
Thanks for sharing. its always goods to see something unusual.
- 31 replies
-
- 2
-
-
- Sailing Canoe
- Finished
- (and 1 more)
-
You seem to be cracking on at quite a pace Jon. i agree the deck accommodation does seems to be on the ample side.
-
Almost over before it started, looks lovely.
-
A little gem Javier.
-
Cap San Diego by mikegr - 1/160
KeithAug replied to mikegr's topic in - Build logs for subjects built 1901 - Present Day
Coming along nicely. -
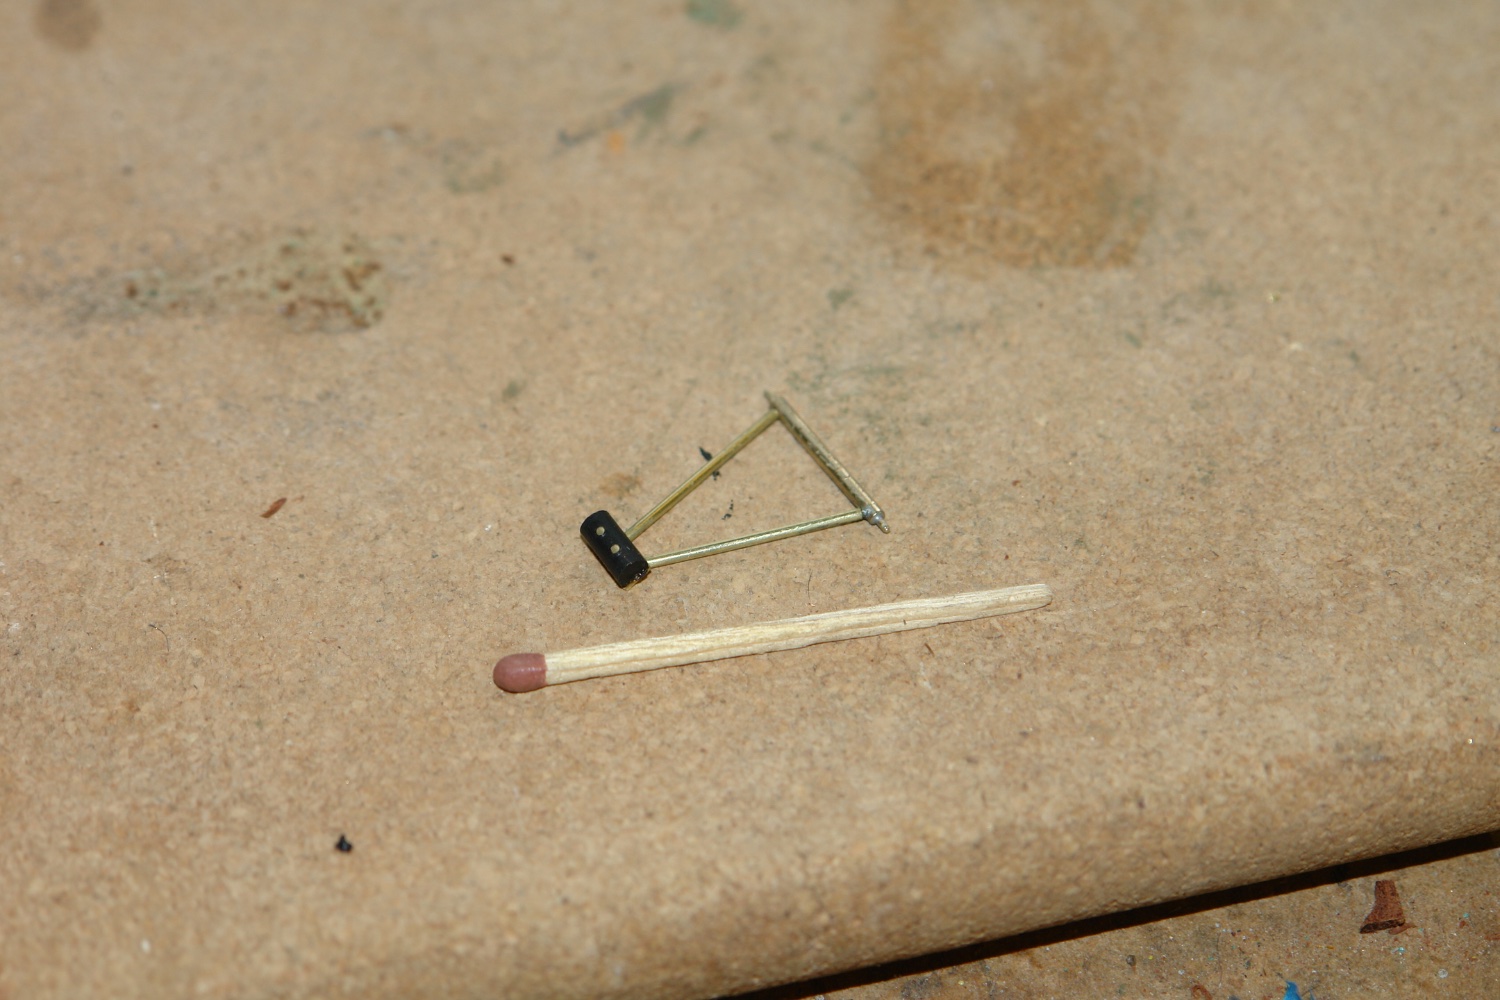
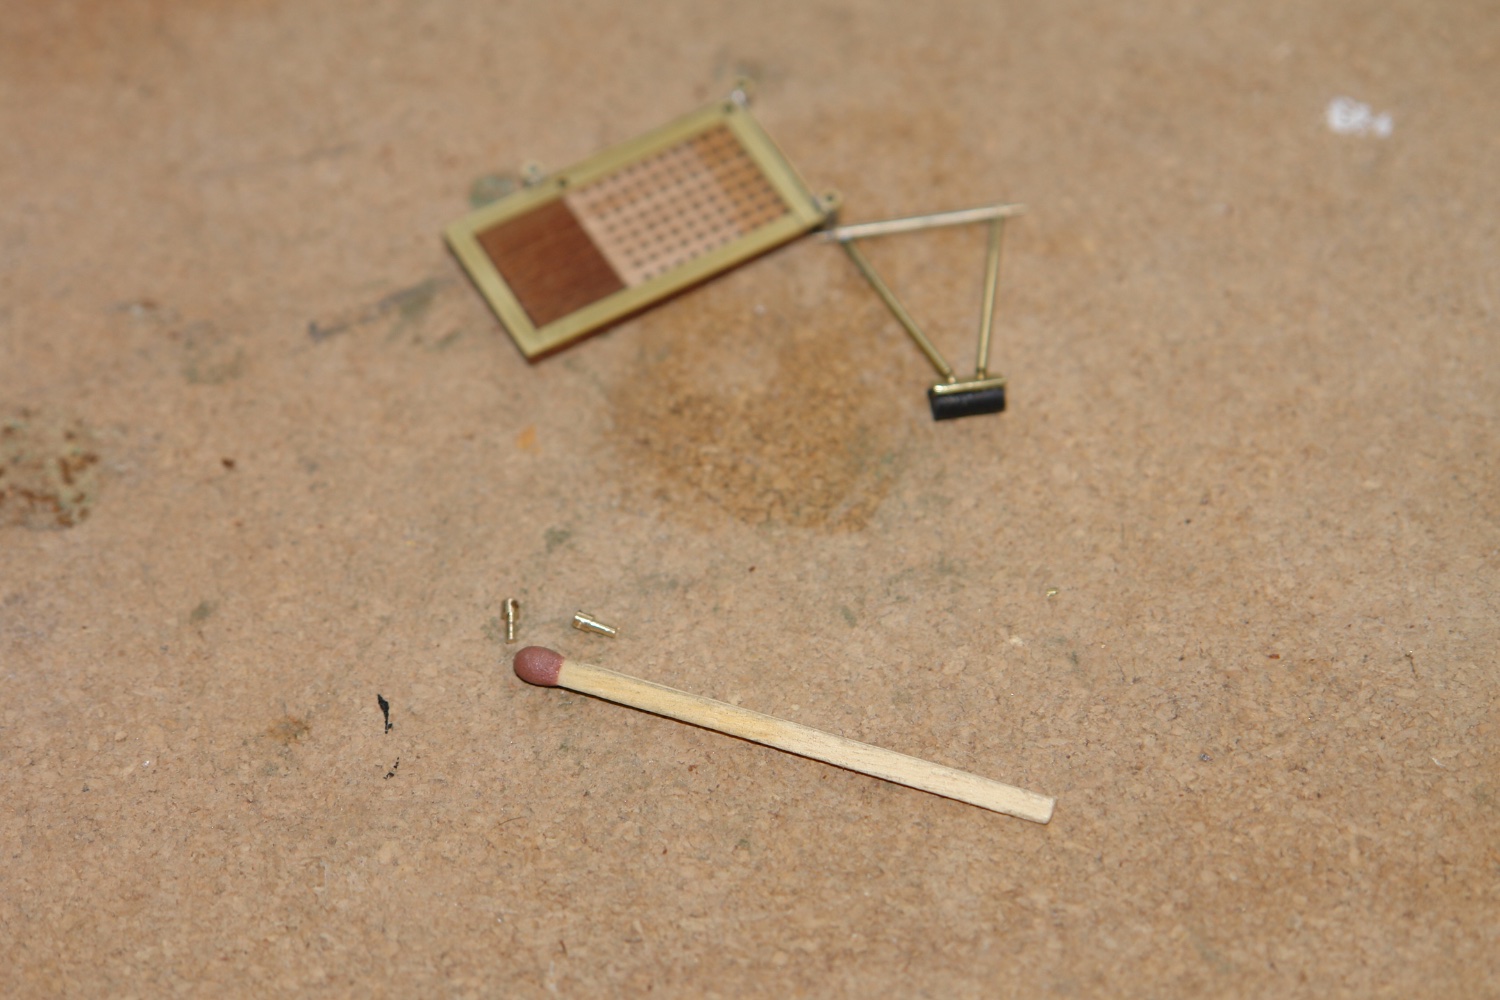
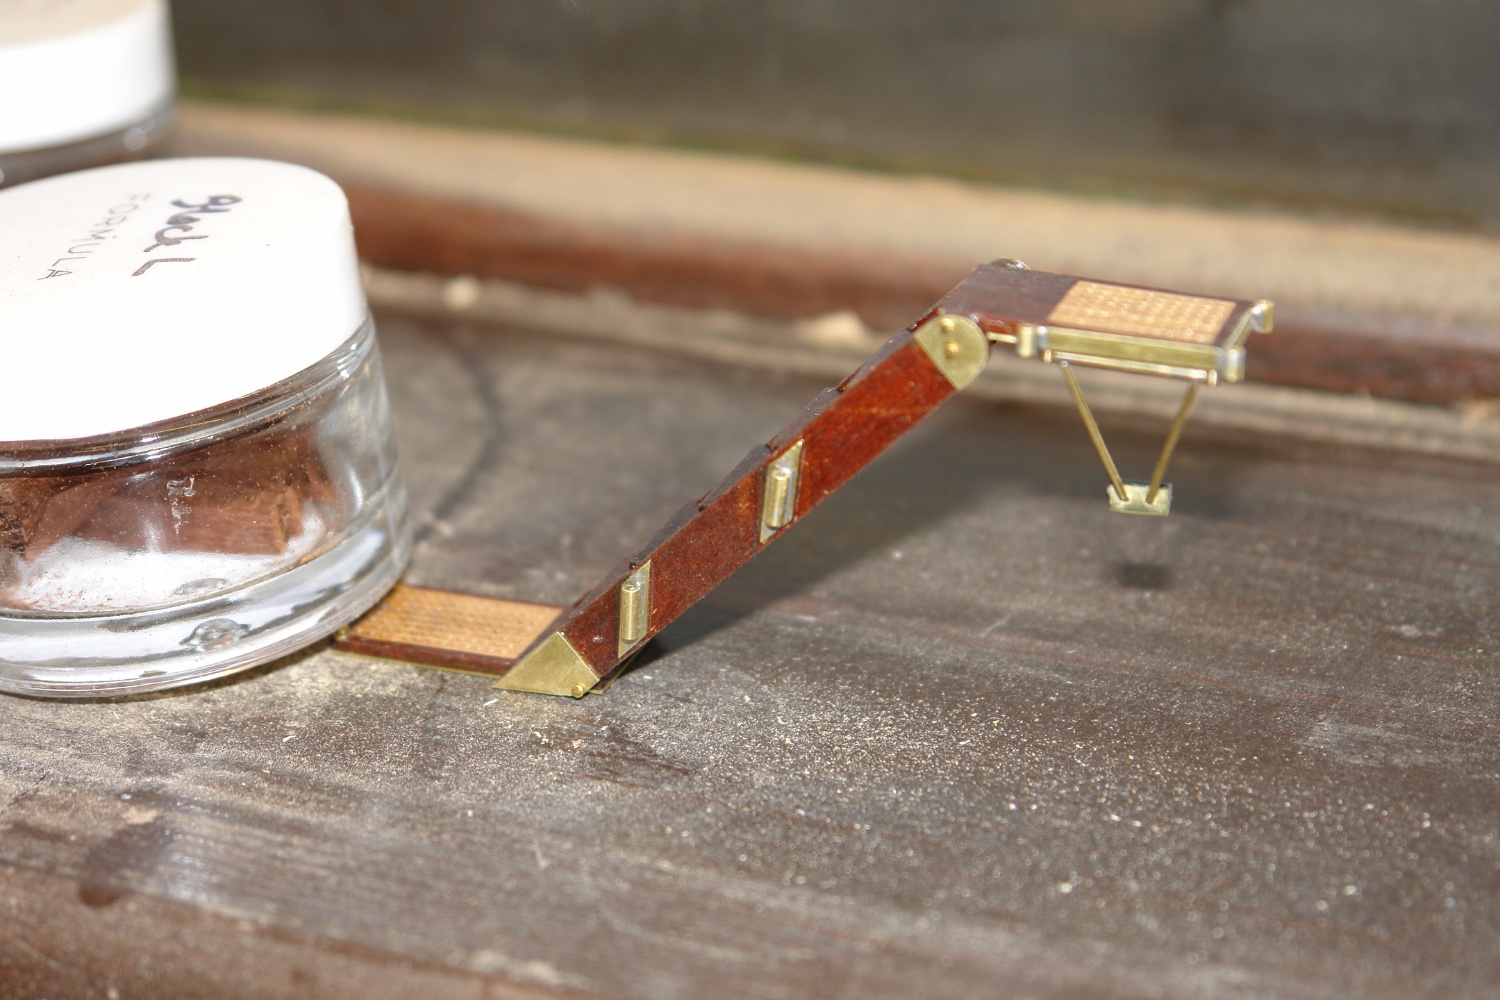
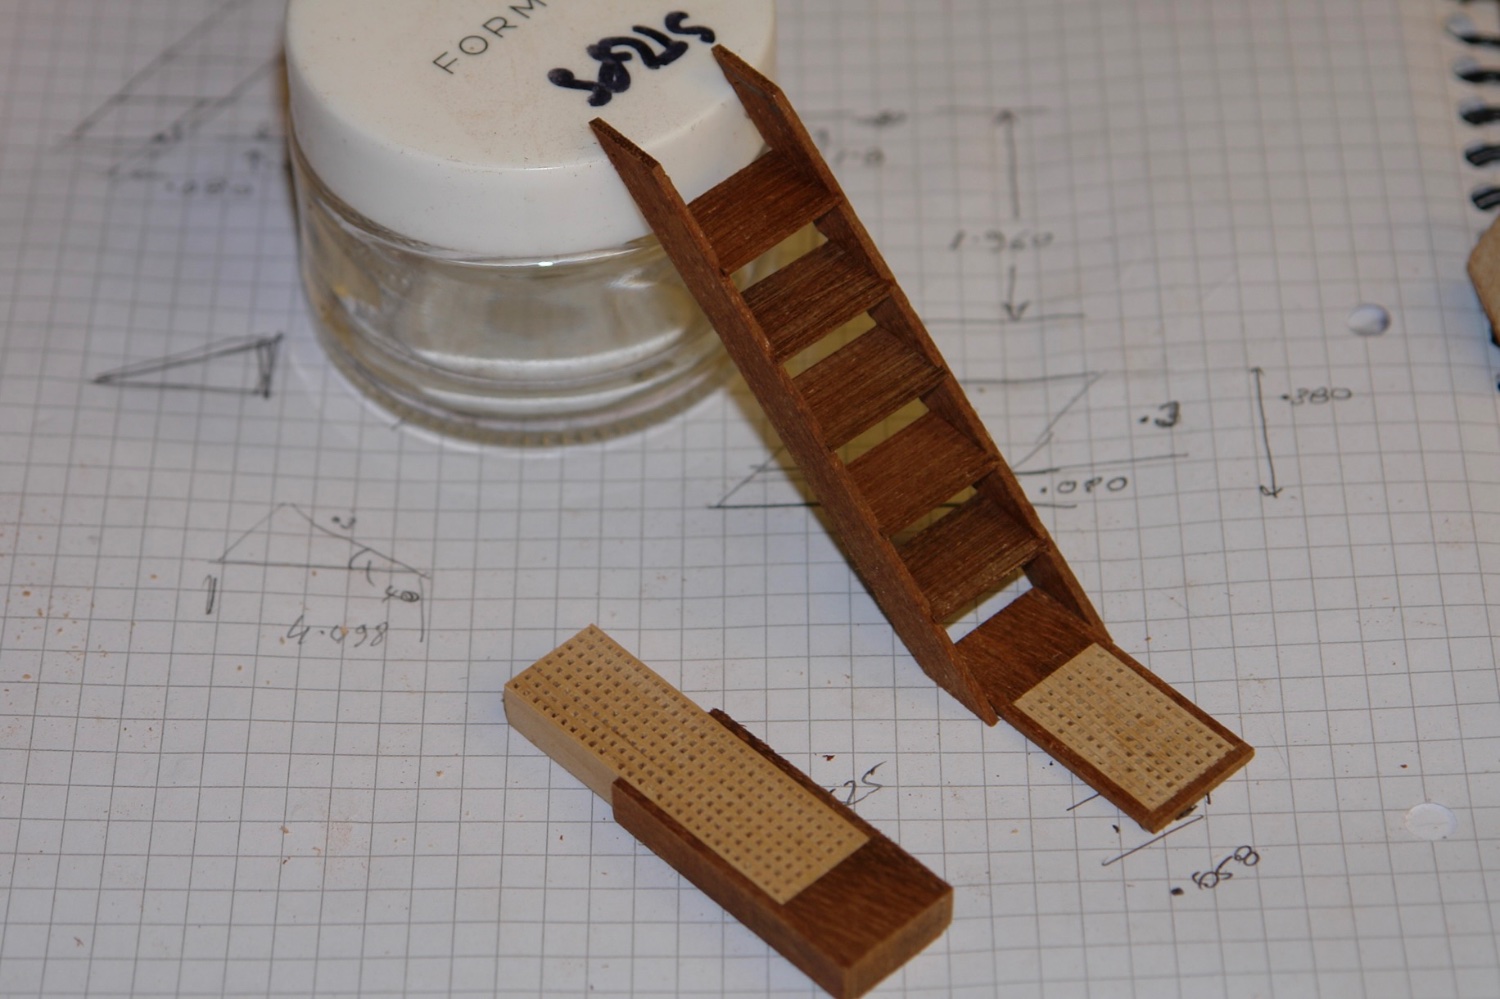
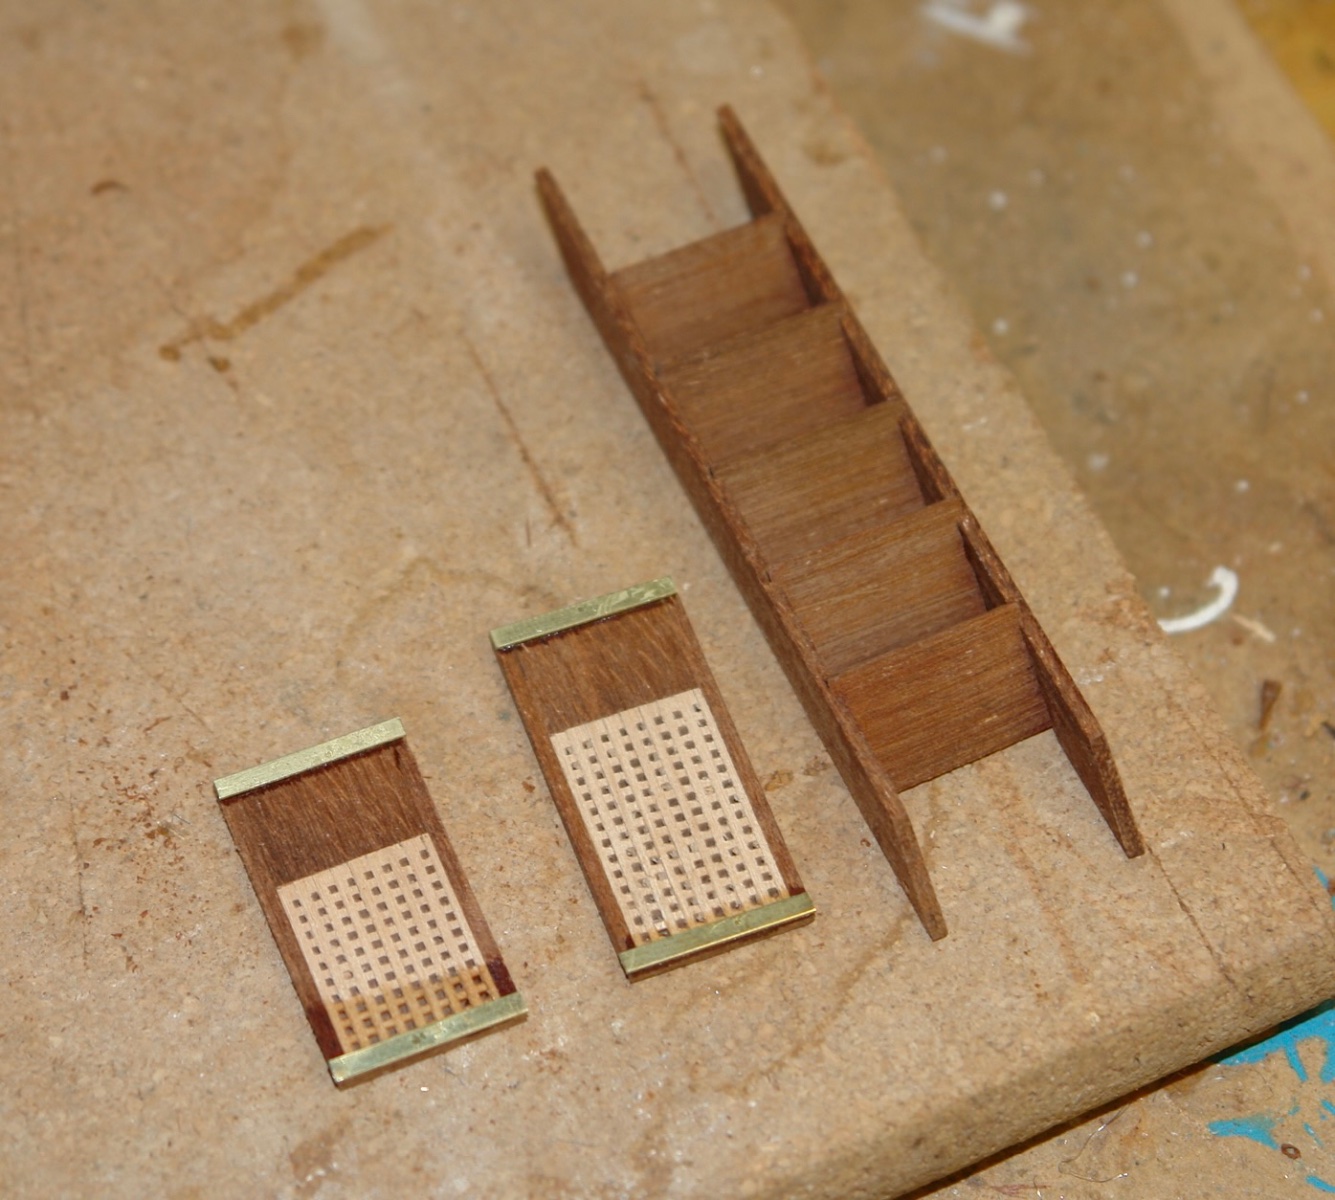
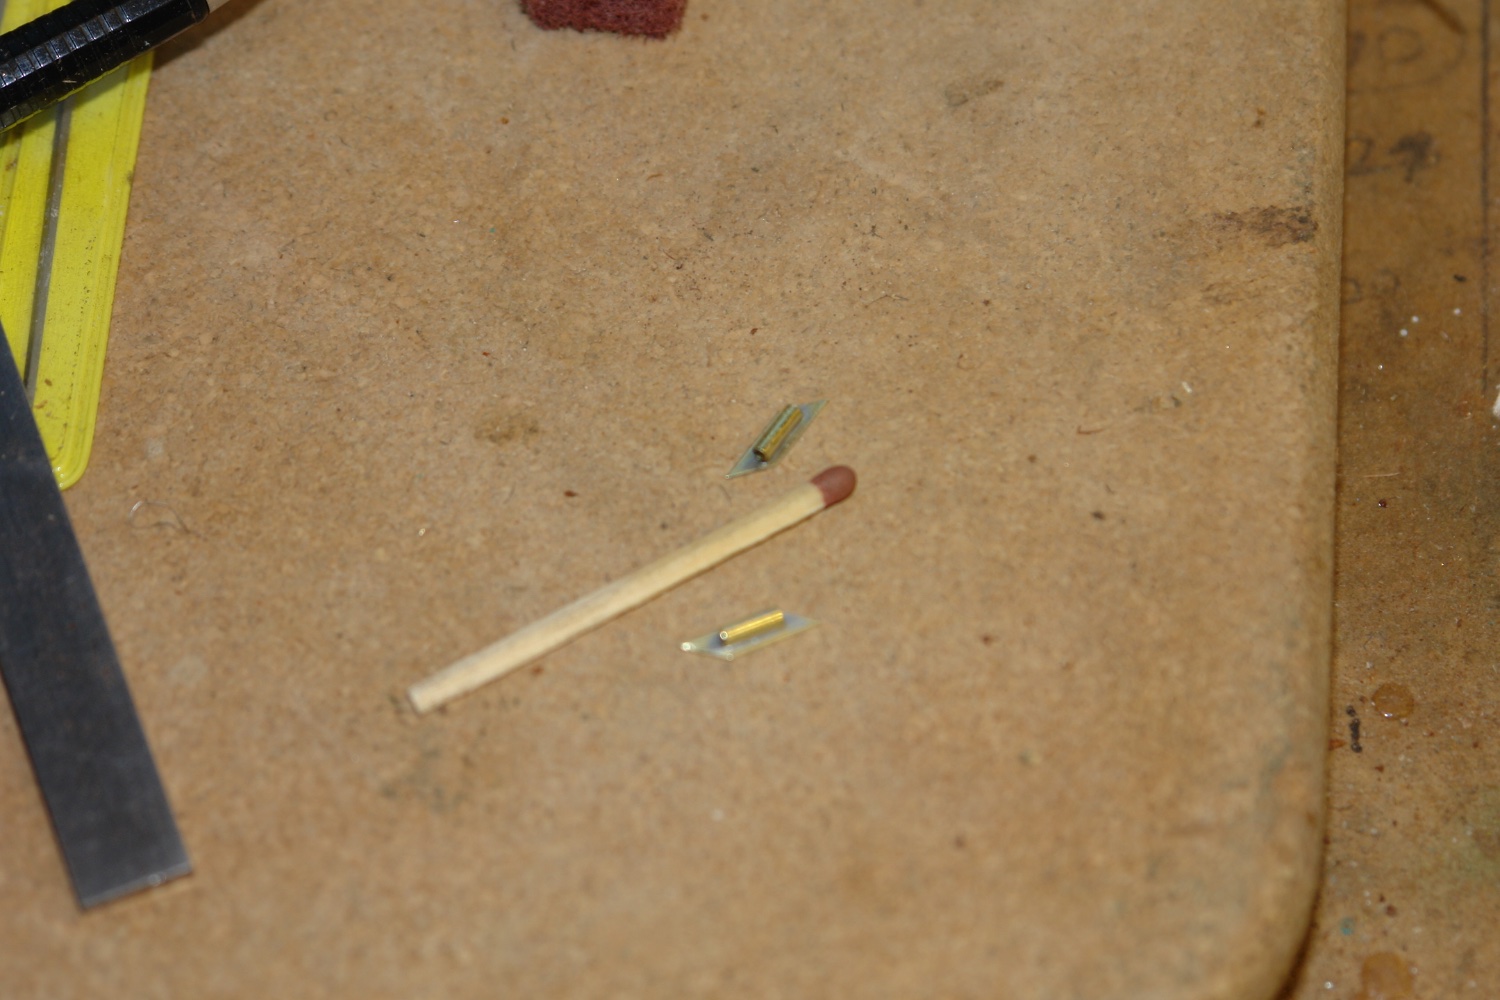
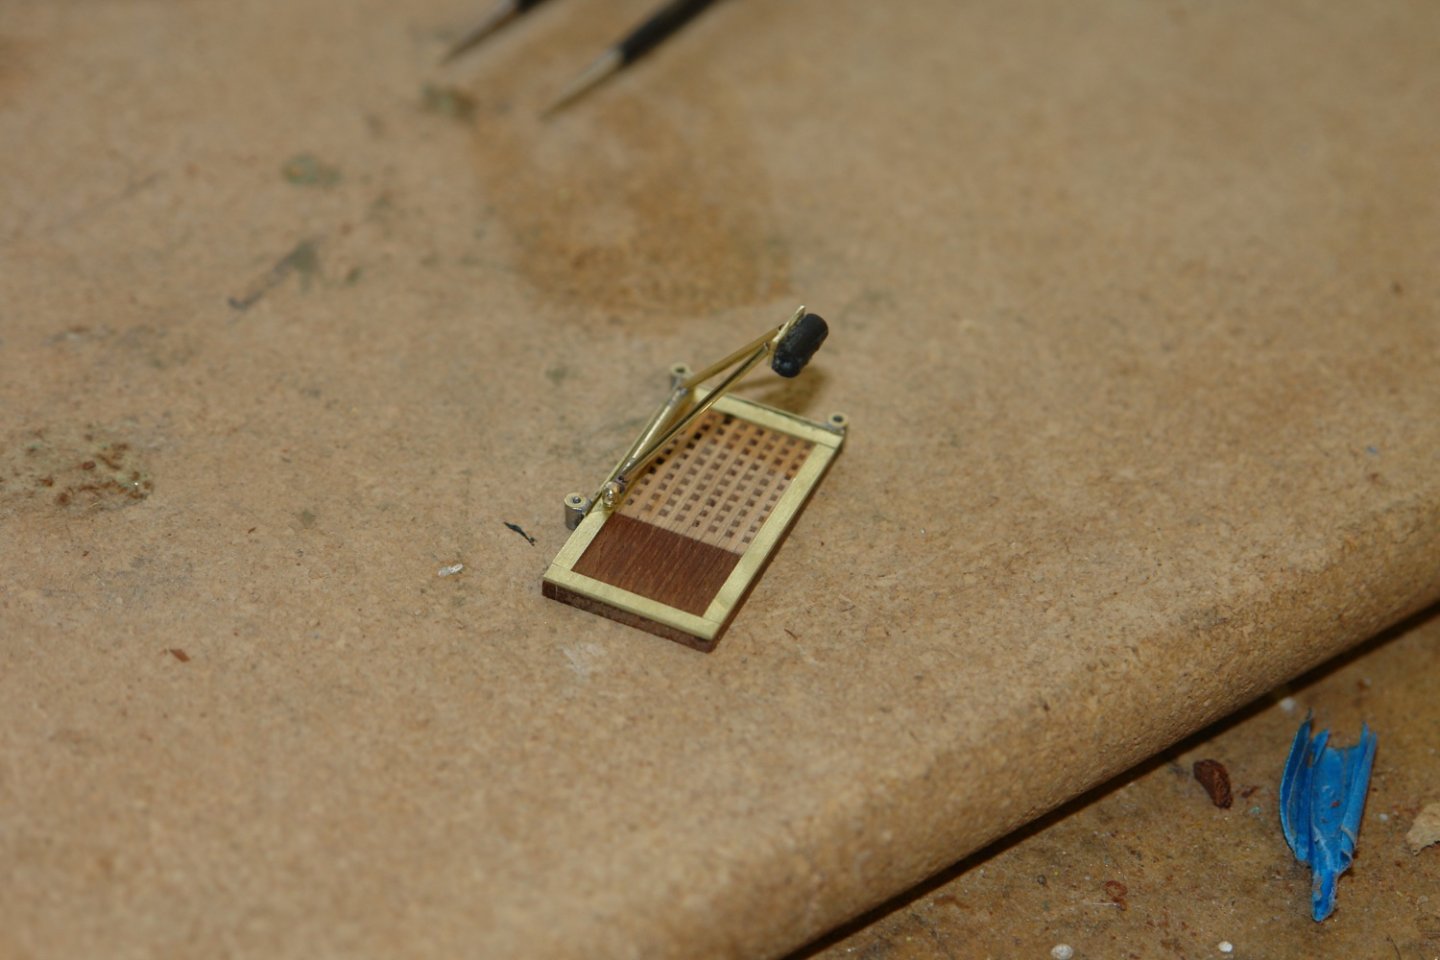
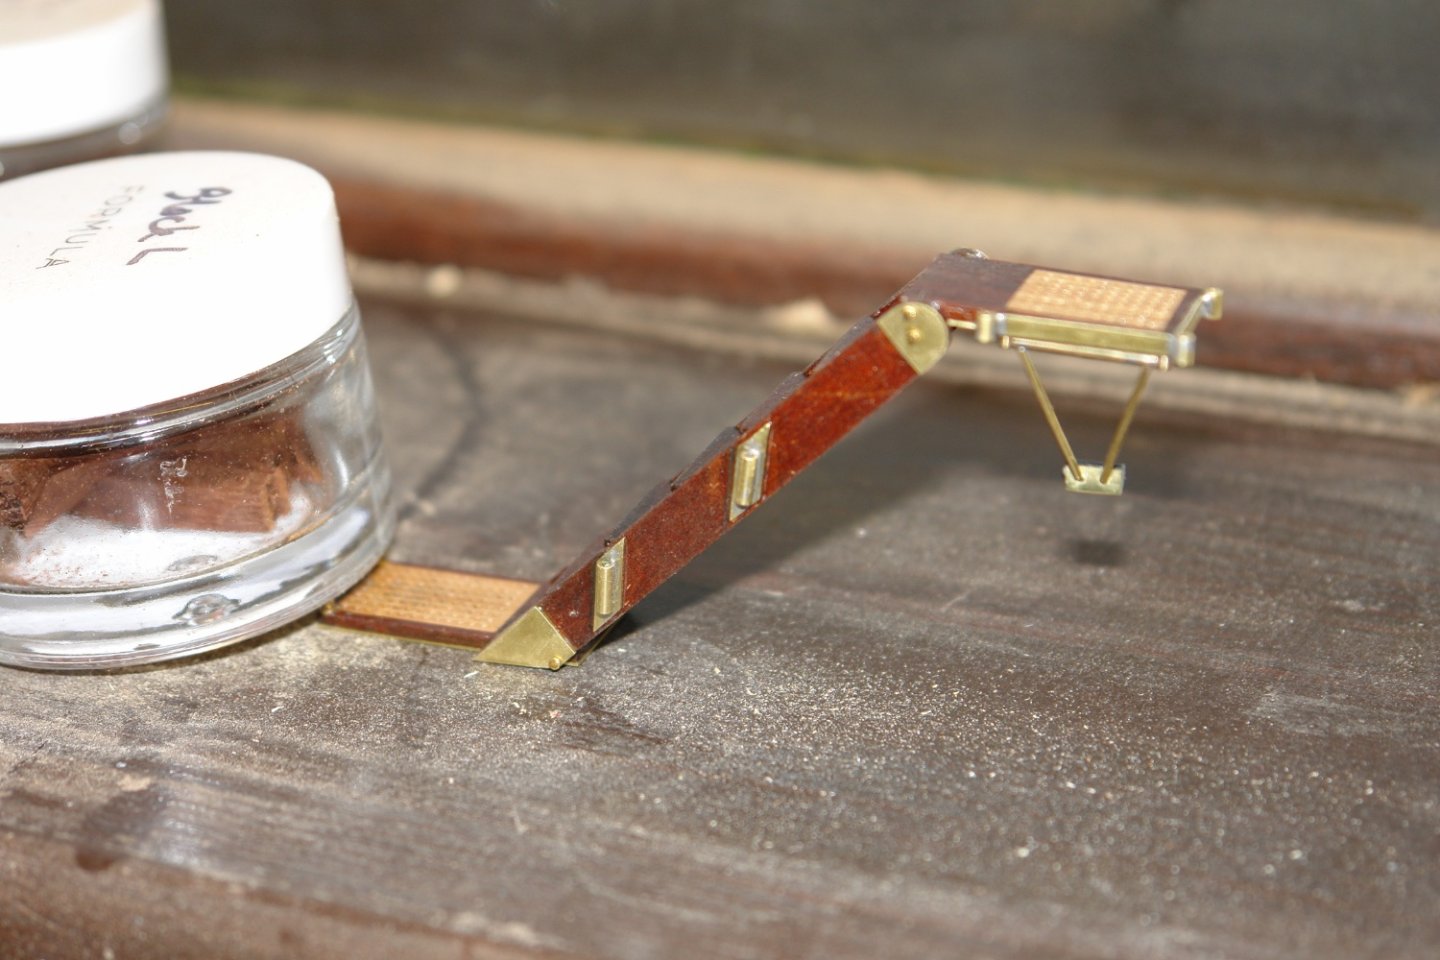
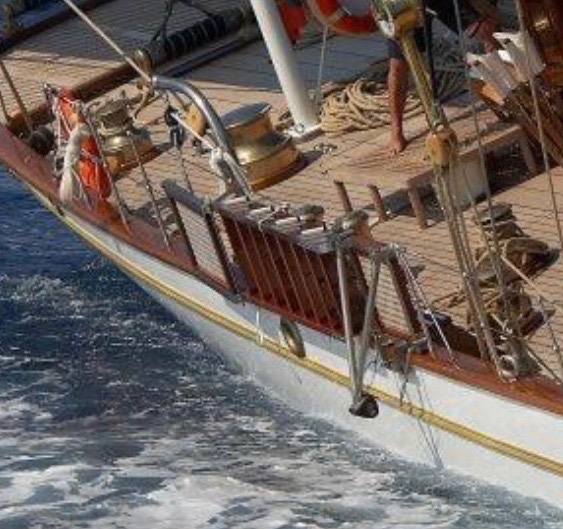
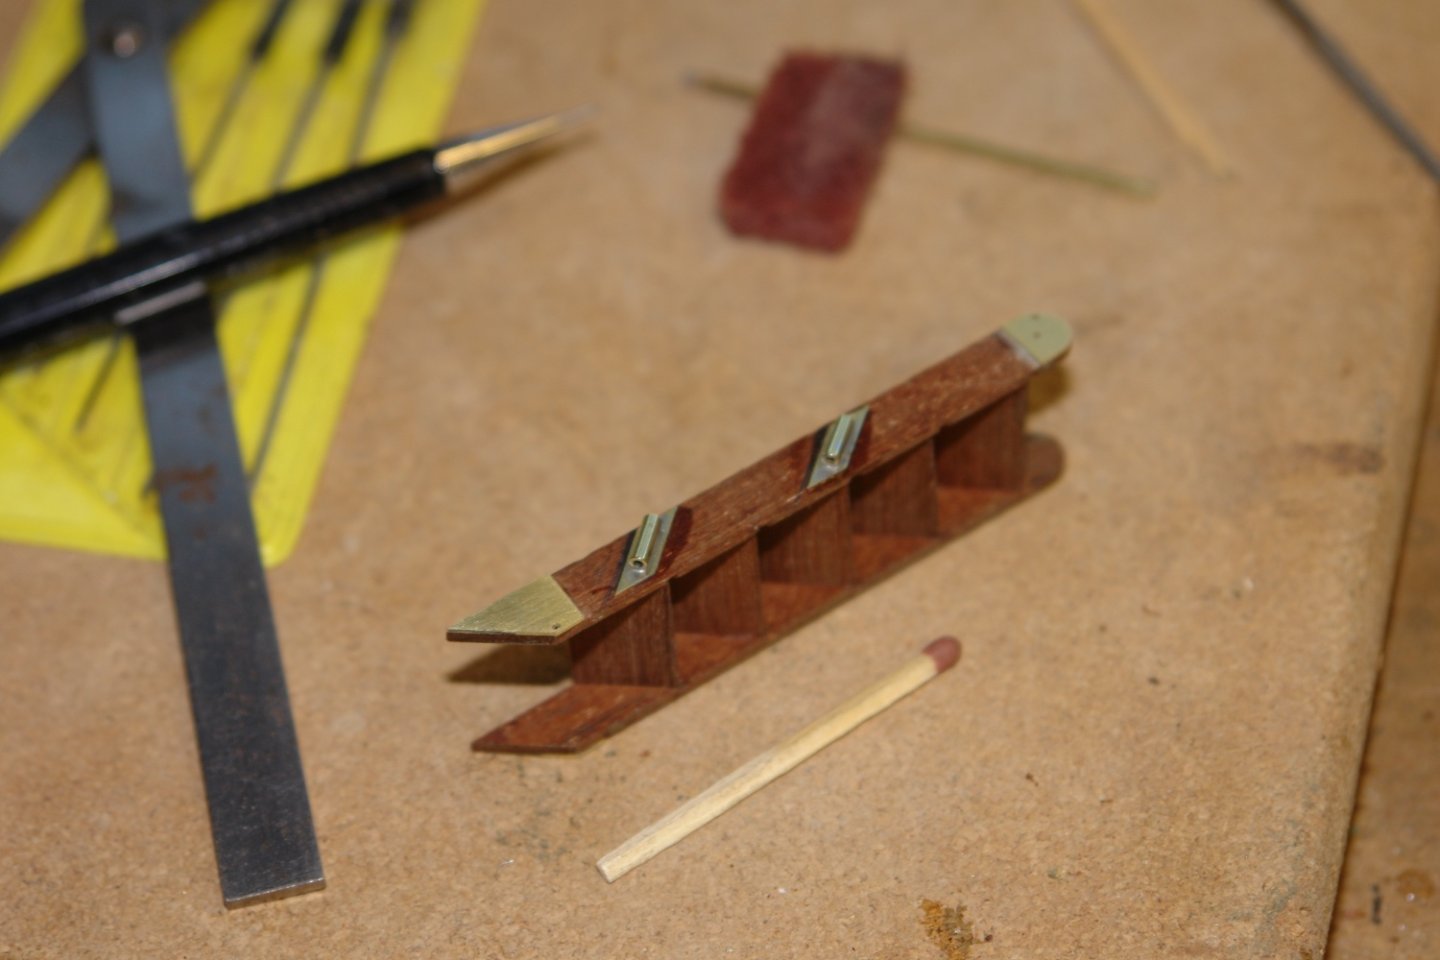
Nils, CPDDET, John, Steve and Pat, thank you for commenting. Its been pretty warm here - touching 33c Monday and due to get hotter. Not warm by what many of you see but certainly unpleasant enough here. I finished the steps by making the support piece. It is a triangular frame pivoted at the wide end with a rubber buffer on the pointy bit. It swings into place on 2 hinge pins (next two the match head) These pins mount on to the frame on to the underside of the top platform. The upper and lower platforms were attached to the steps by pivot pins. Here the steps are photographed in the working position. The steps are folded flat for stowage on the rail.


-
Eberhard, sorry to hear your covid news. It is starting to feel like my wife and I will be the last ones standing. No doubt our turn will come soon. The planking looks excellent, very impressive.
-
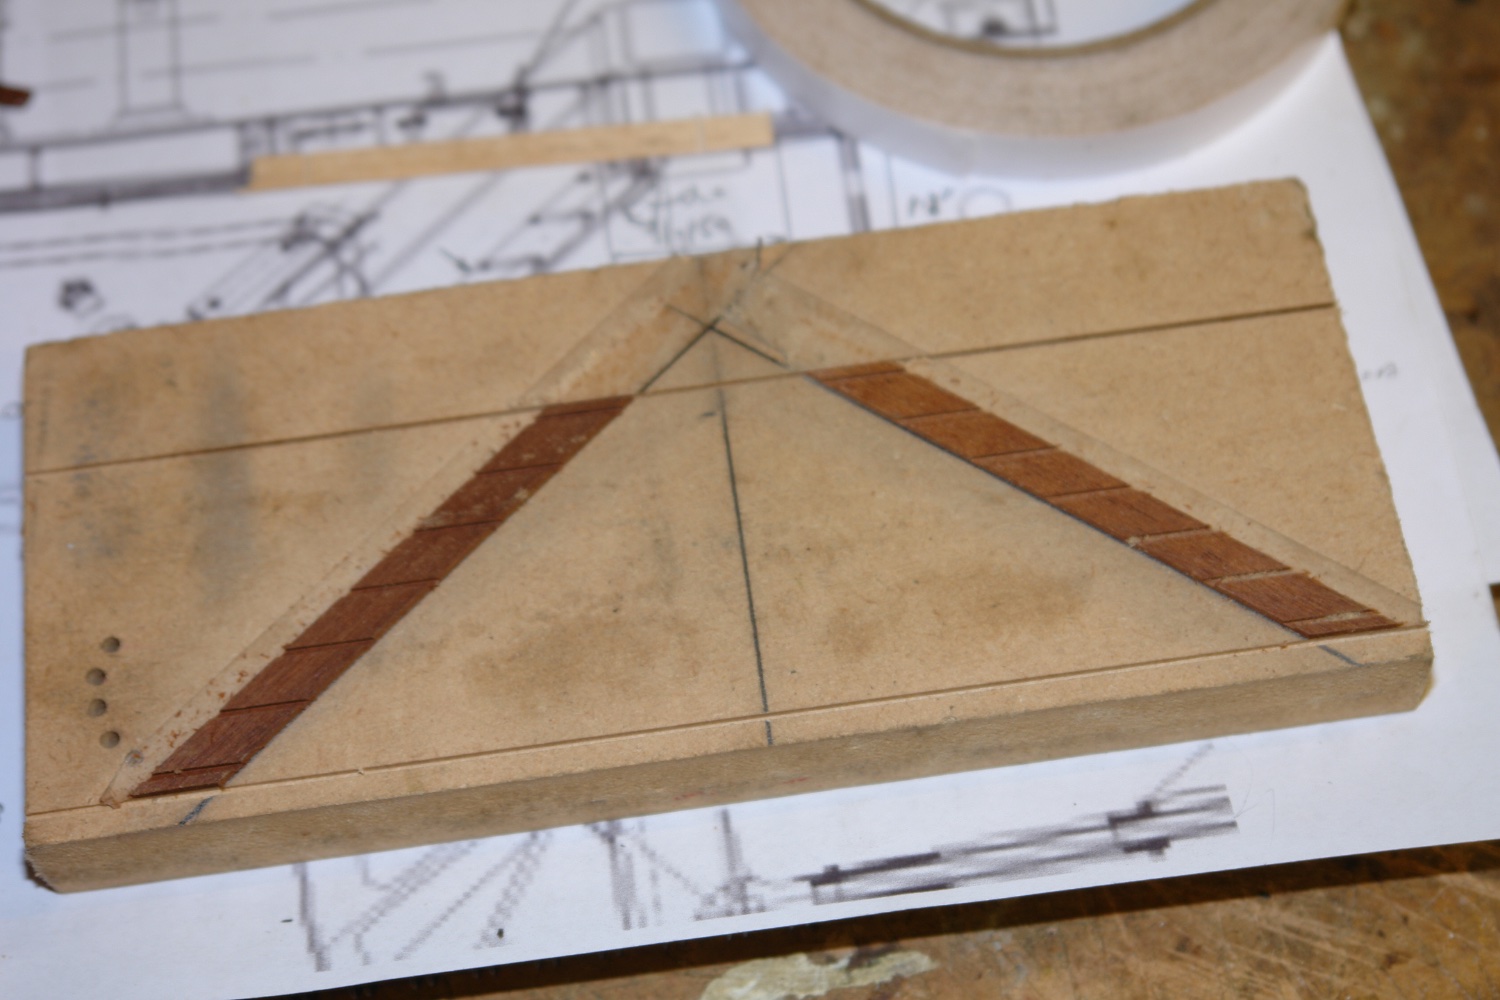
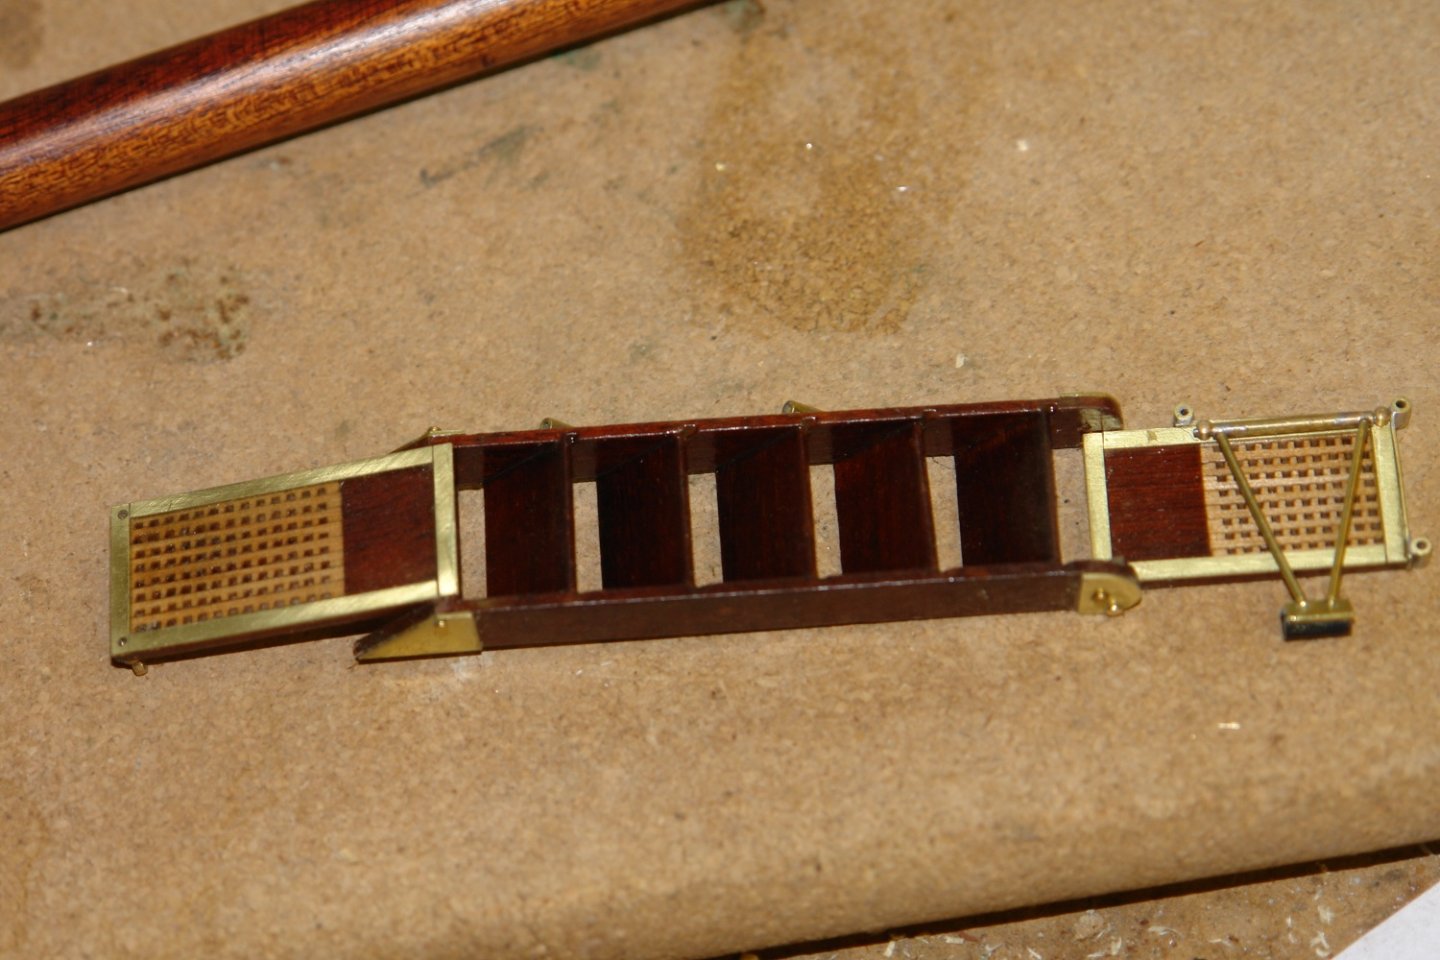
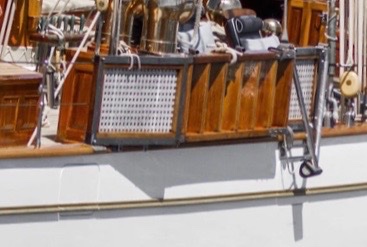
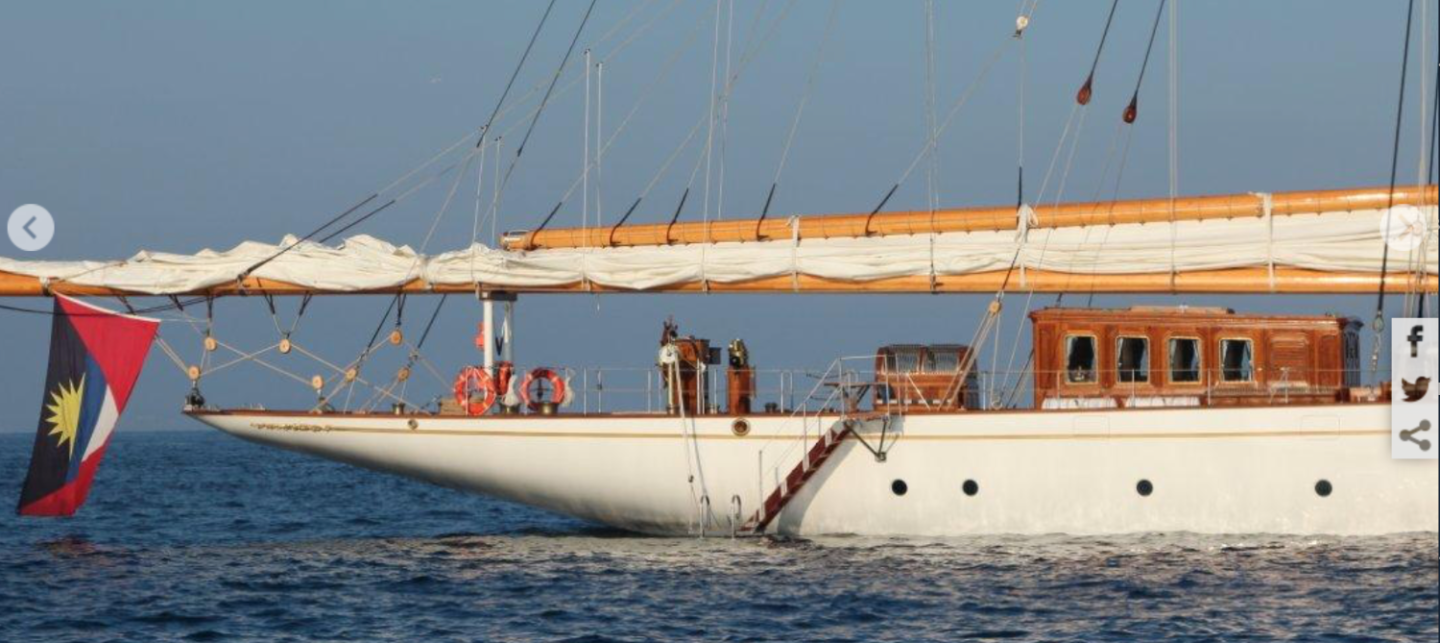
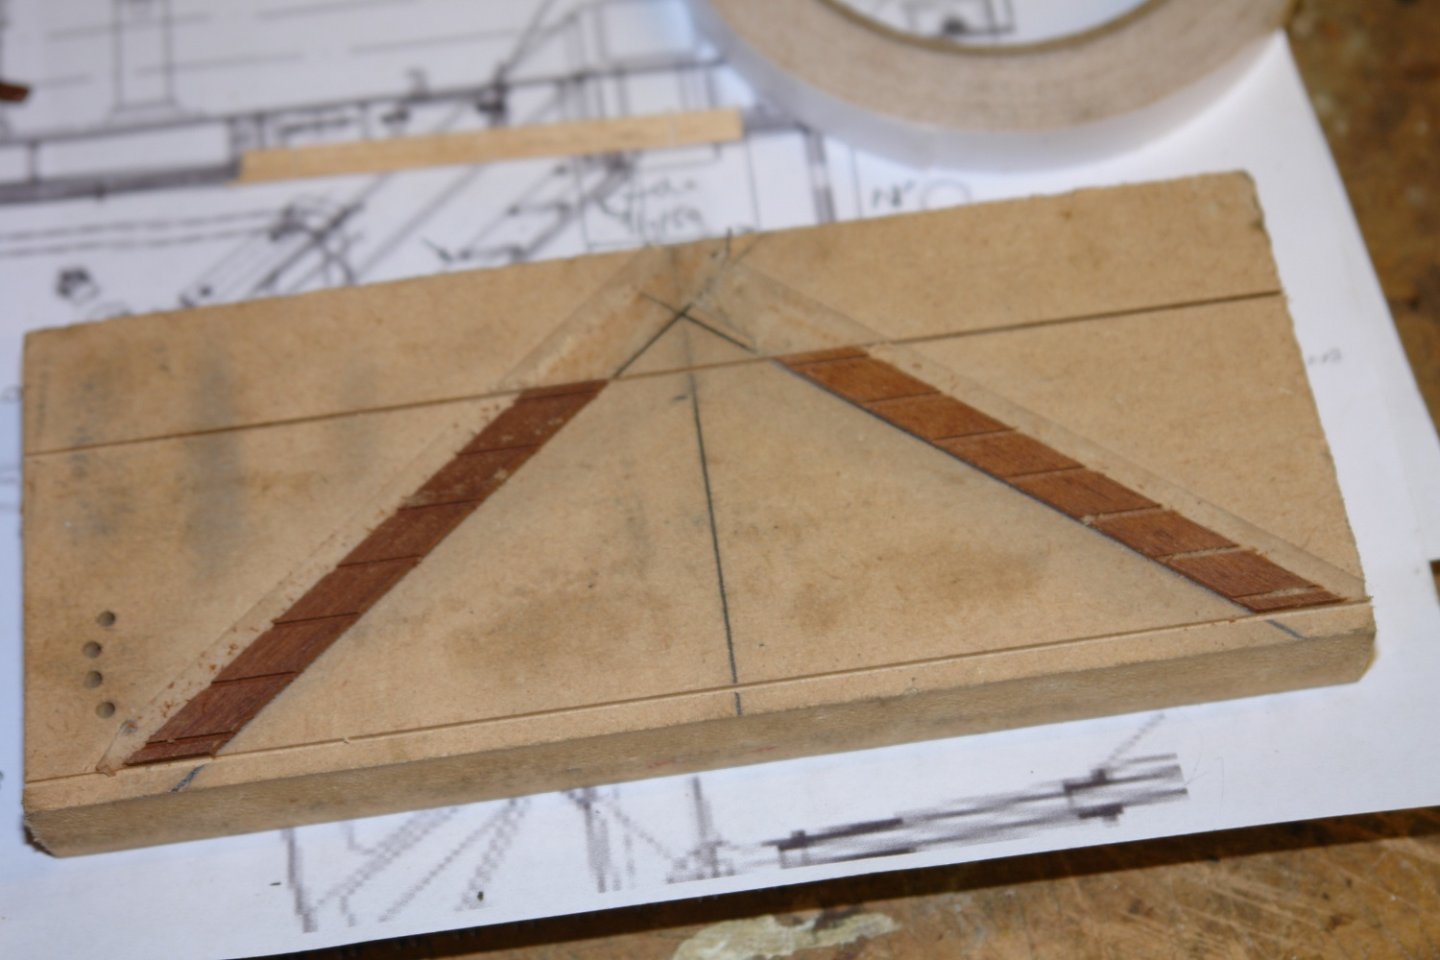
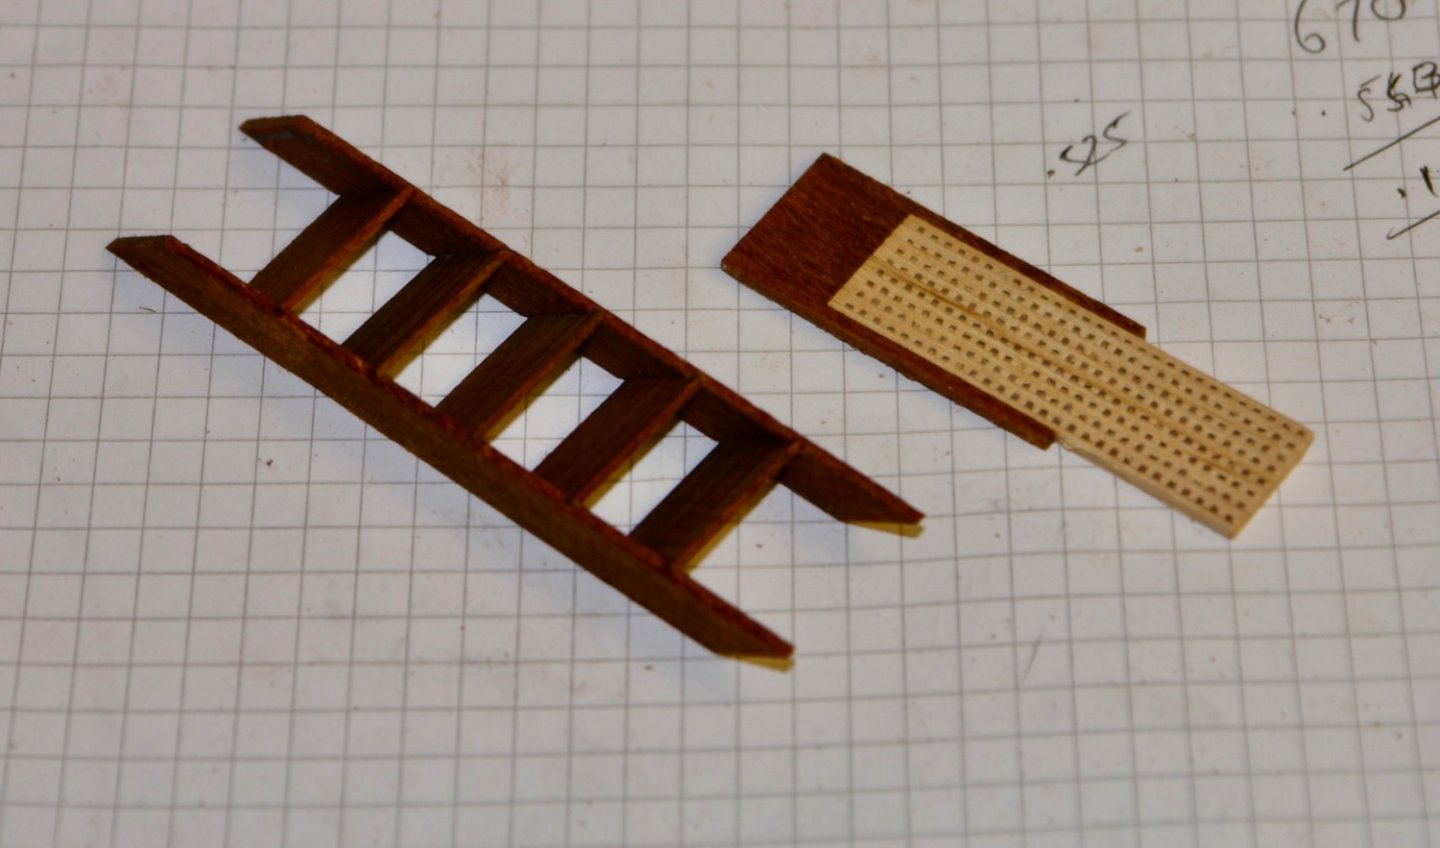
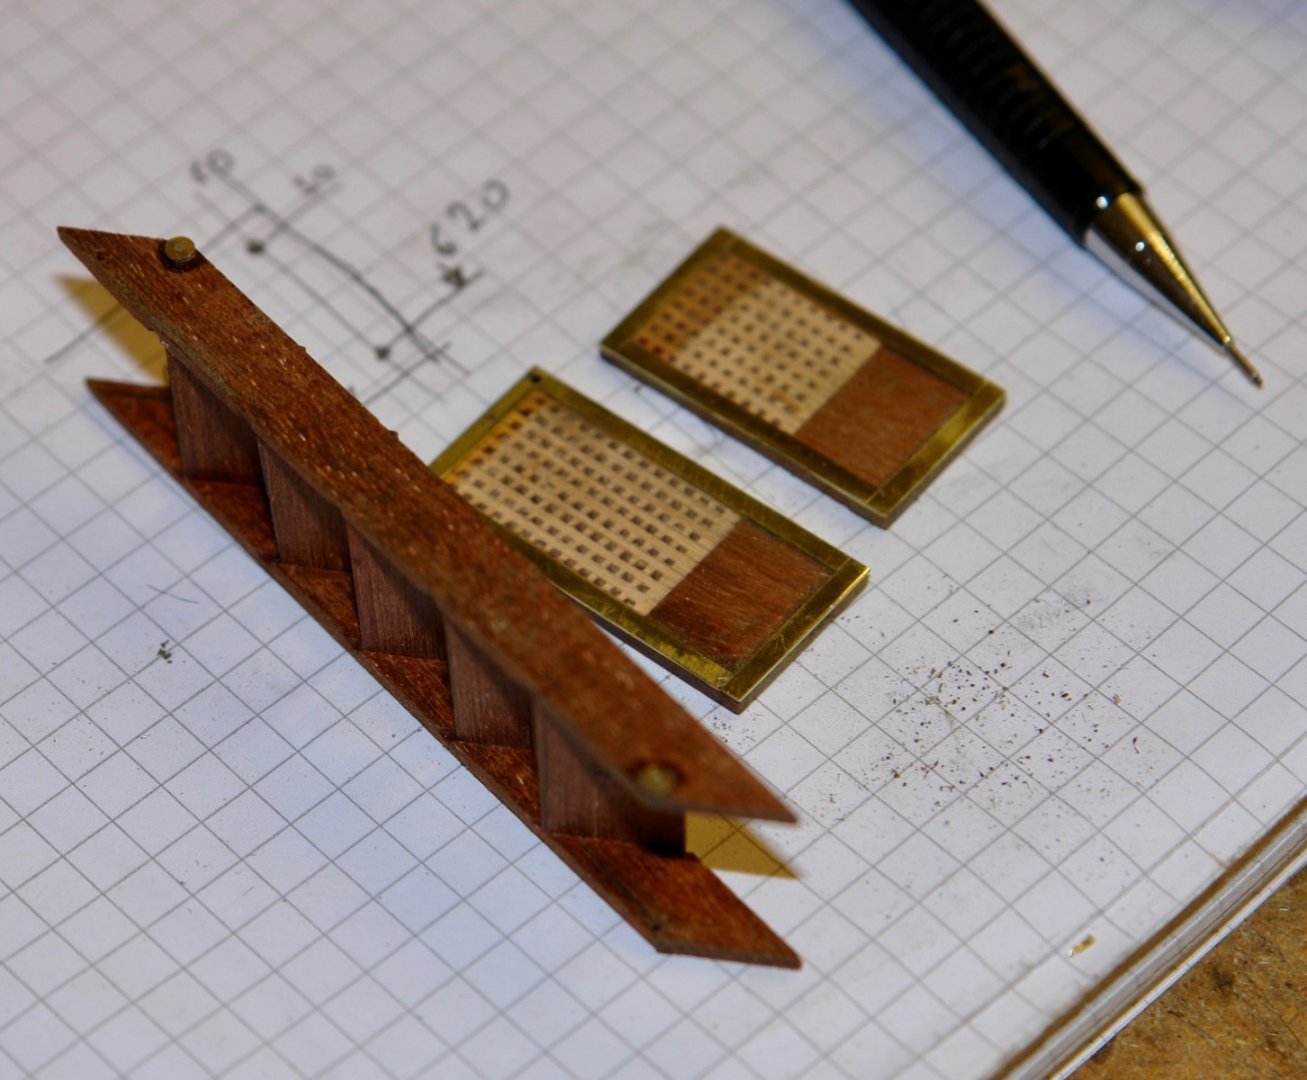
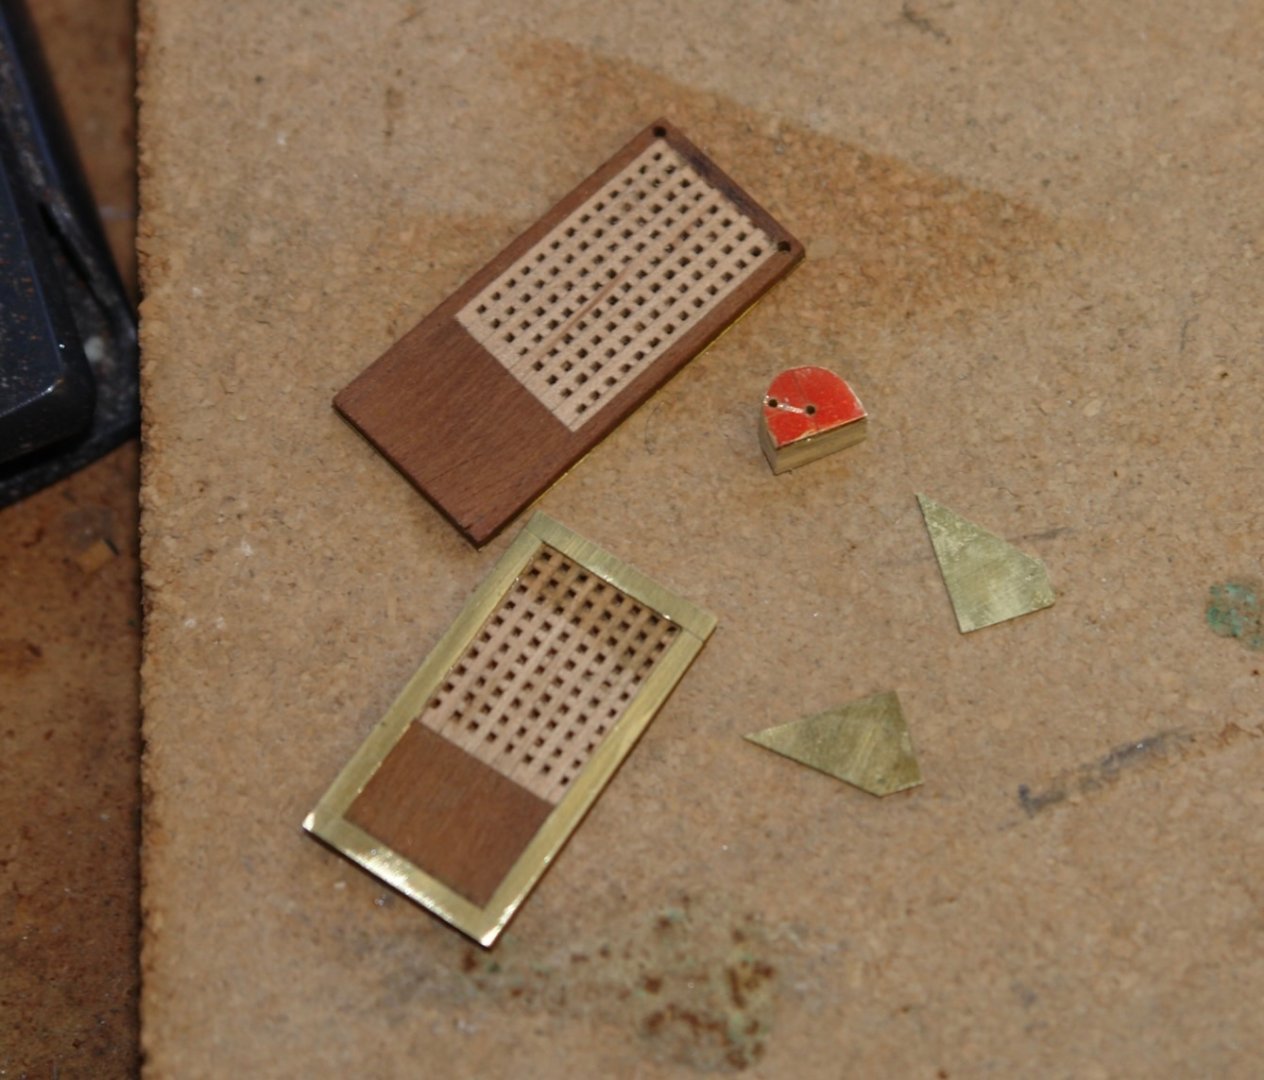
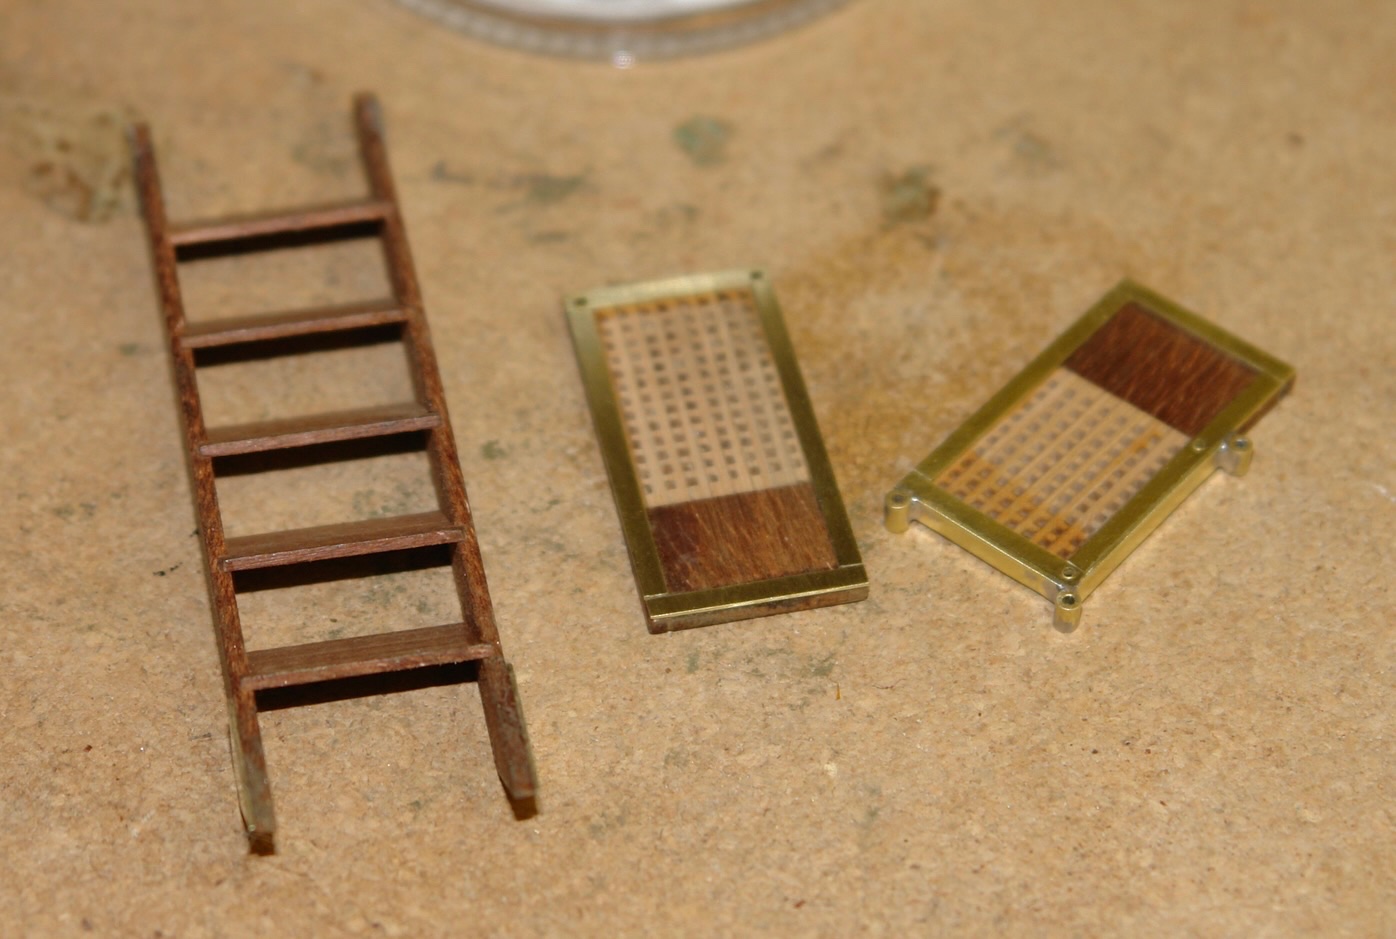
Pat, Mark, Keith, Greg, Brian, Andy - thank you all for your kind comments. The weather has been good here for a couple of weeks which means most of my time has been spent in the garden. I did find a bit of time for the boat and concentrated on the boarding steps. These fold up to store on the starboard rail. I started by marking out the angle of the steps on a sheet of MDF before attaching mahogany strips to this with double sided tape. The strips were then slotted to half their depth using the table saw. The slots were .040" wide by .030" deep. The strips were then removed and 1mm thick steps were cut. The sides and steps were then glued together. The bottom and top steps are extended to form a platform and both are hinged to fold flat. These upper and lower steps include a grating section and fortunately I had grating material available from earlier in the build. The upper and lower steps are heavily braced with metal strips. The step sides are also reinforced at the ends with metal plates. These reinforce the pivot points. The top platform has mounting holes for the demountable stanchions. These were made from tube and soldered in place. One side of the steps has mounting brackets for more demountable stanchions. I now need to make the support frame that braces the upper platform agains the hull.


-
Well that was an extensive and excellent update Brian. Why did you decide not to use brass for the ships bell - not withstanding the question the bell looks excellent.
-
Nils - I bought a Canon TS8050 several years ago and found it to be quite temperamental, possibly due to my incompetence. I hope you have more success. Good start on the sails - as you say the printing looks excellent.
- 180 replies
-
- 2
-
-
- pilot boat
- Elbe 5
- (and 3 more)
-
Fixing mistakes is all part of the fun, although it is interesting to note that 3D printed stuff can be porous. A good learning point to share.
-
Hello Keith - good to hear from you again. I had a can of emulsion paint for abut 20 years. I picked it up the other day and the bottom fell out. I now have a pair of delightful lilac trainers.😀
-
The final ladders are much better. Congratulations on your persistence.
-
Ras - yes they do look pretty crude. Are you planing to try and use them or make your own? The latter might be easier.
-
Greg - thank you - yes dust is a problem. Germania will require a good clean when finished - and more cleaning thereafter. As for the bedroom the best bet is employ a cleaner or remove glasses before entering. (Anti-static polish helps a little).
-
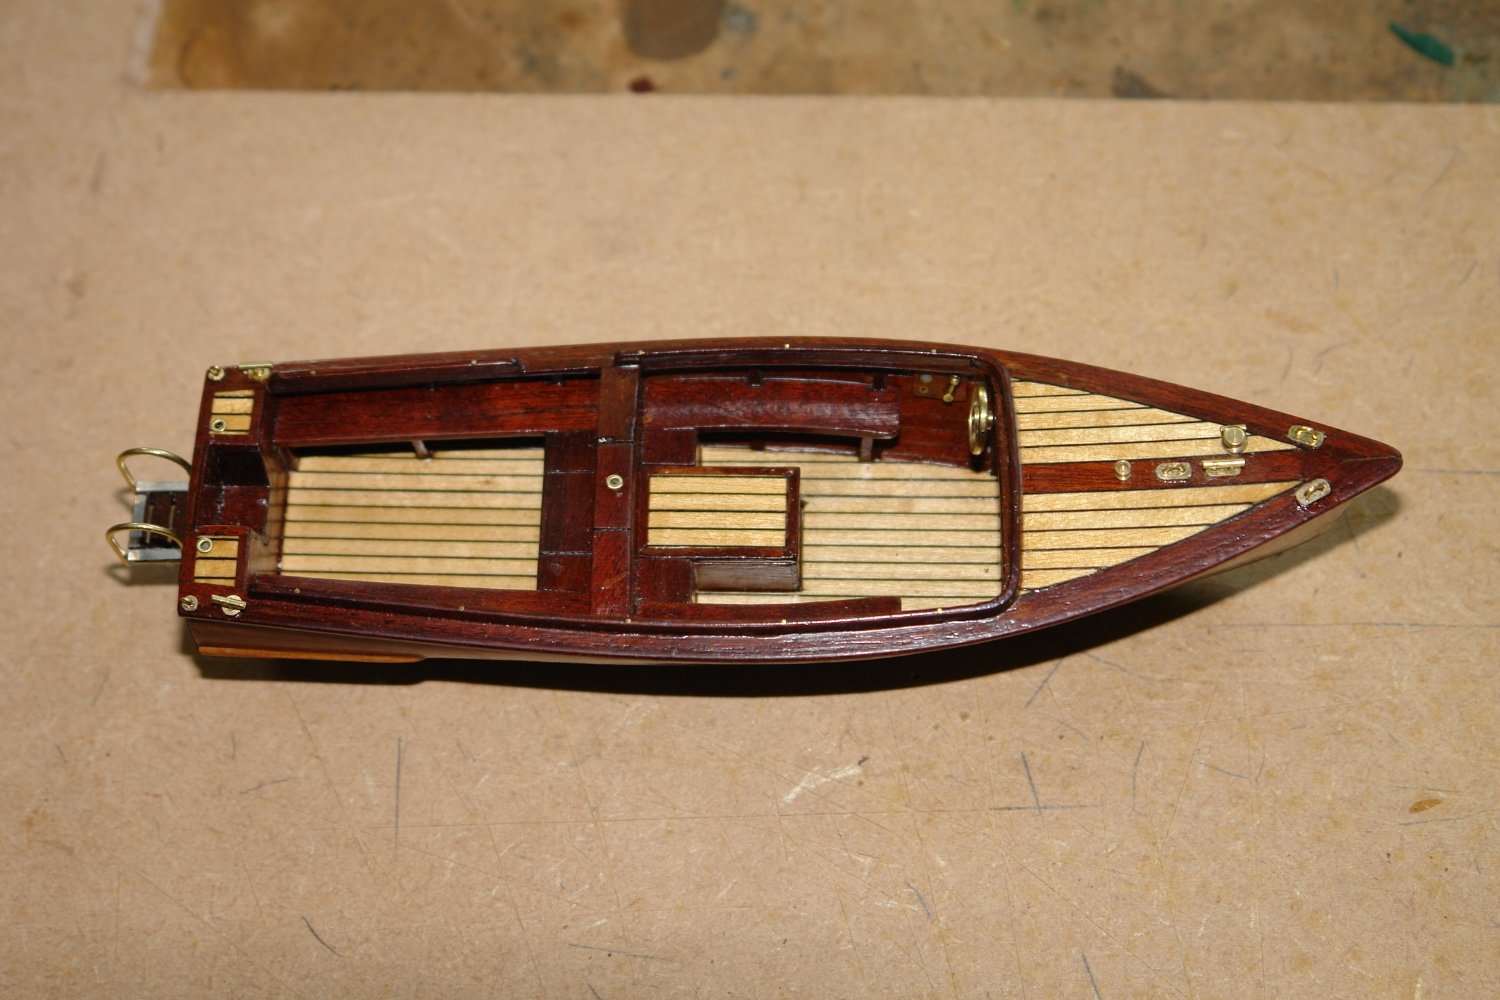
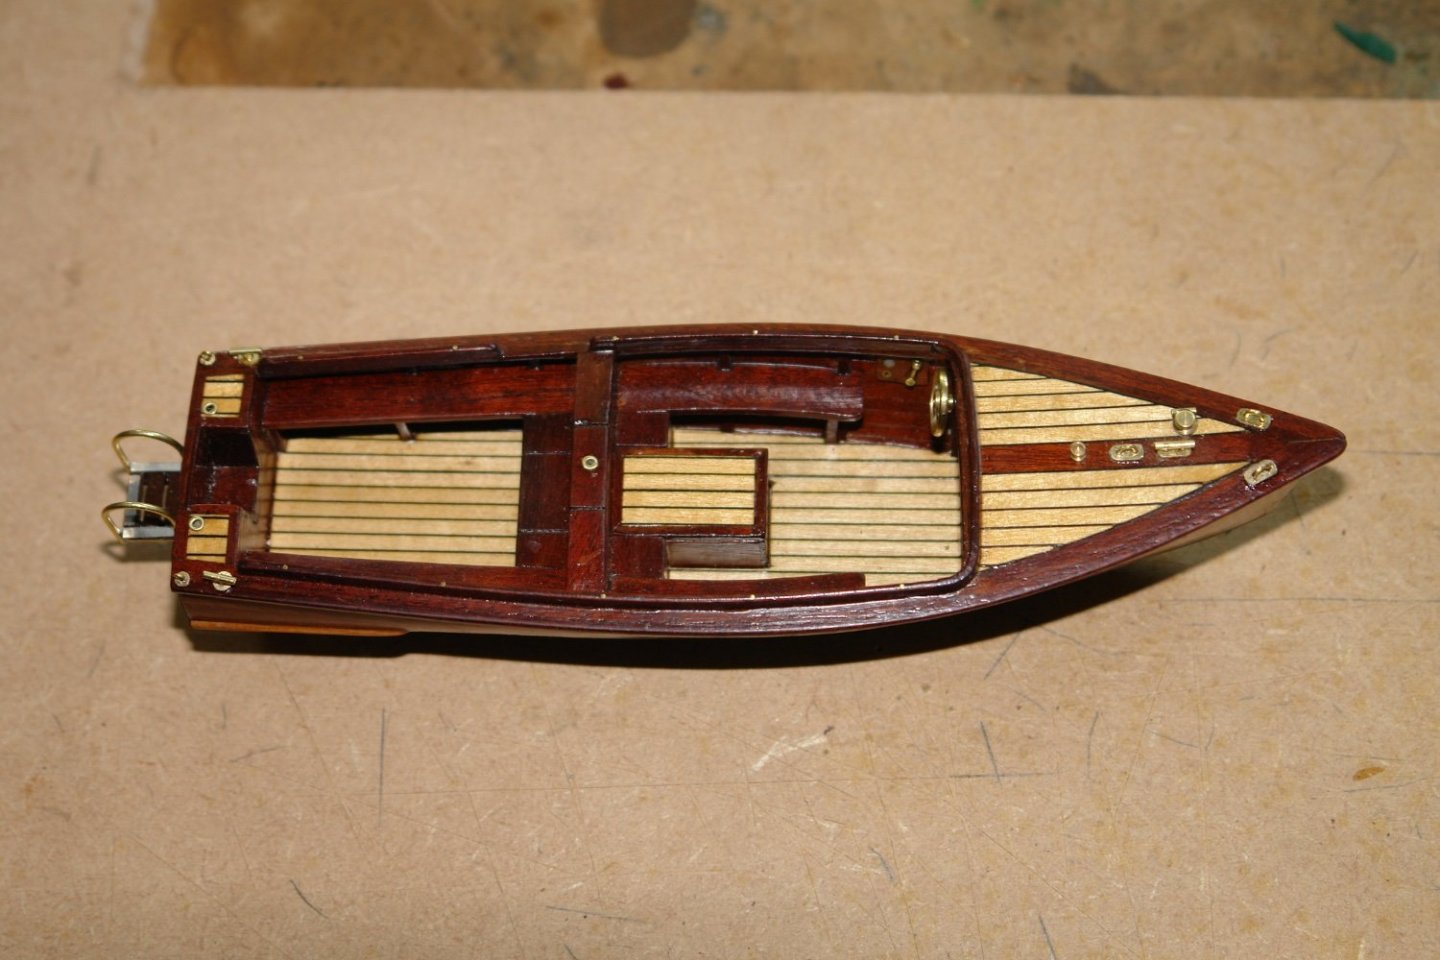
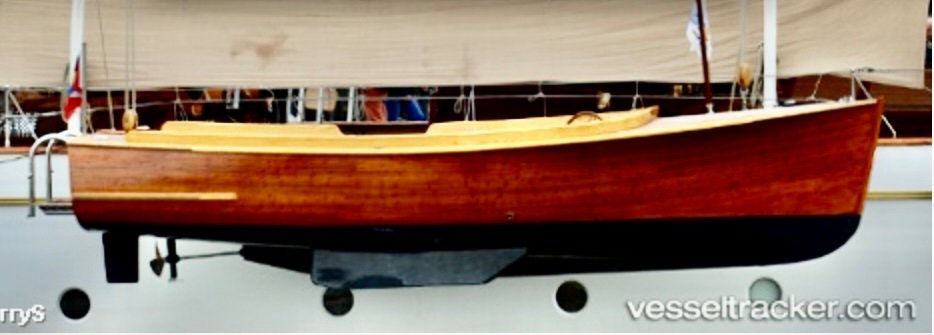
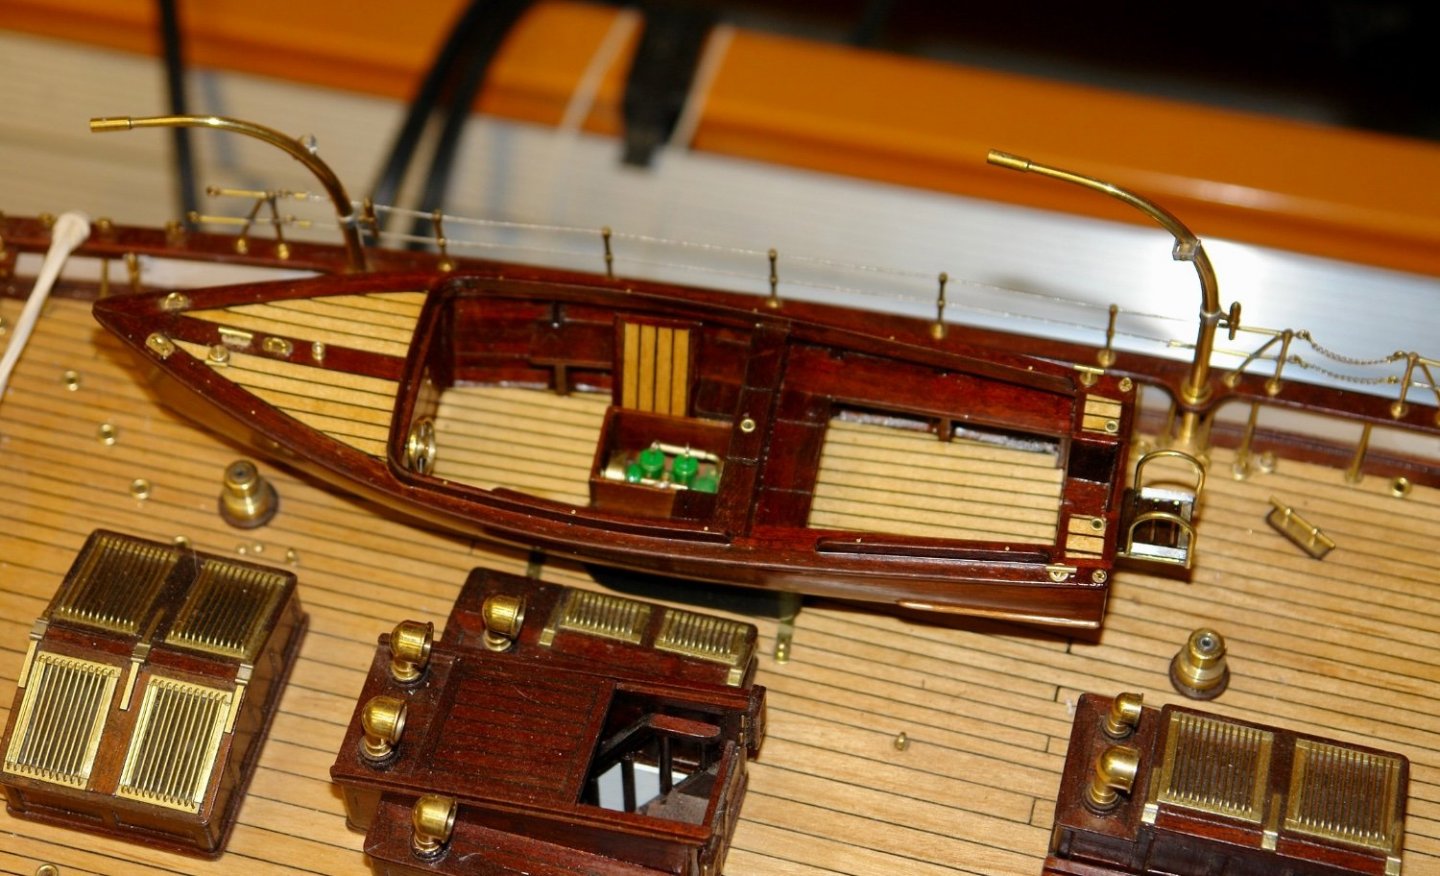
If you recall I hadn't finished the aft "swimming step on the launch". I made the bits a few weeks ago so it was a quick assembly job. The real thing. I took a few liberties with the deck wood (as well as the engine and wheel - as mentioned previously). I still need to do the lashings and a mooring lines.

-
No apologies needed Brian - I'm glad you made it before the end. Eberhard, Chris, Druey, Greg, Pat, John, Bean and Nils - thank you all for visiting and leaving comments. Thanks to everyone for the likes and visits.
-
Chris - I have to agree. I had to work hard to convince myself to include it. Thank you Eberhard.
-
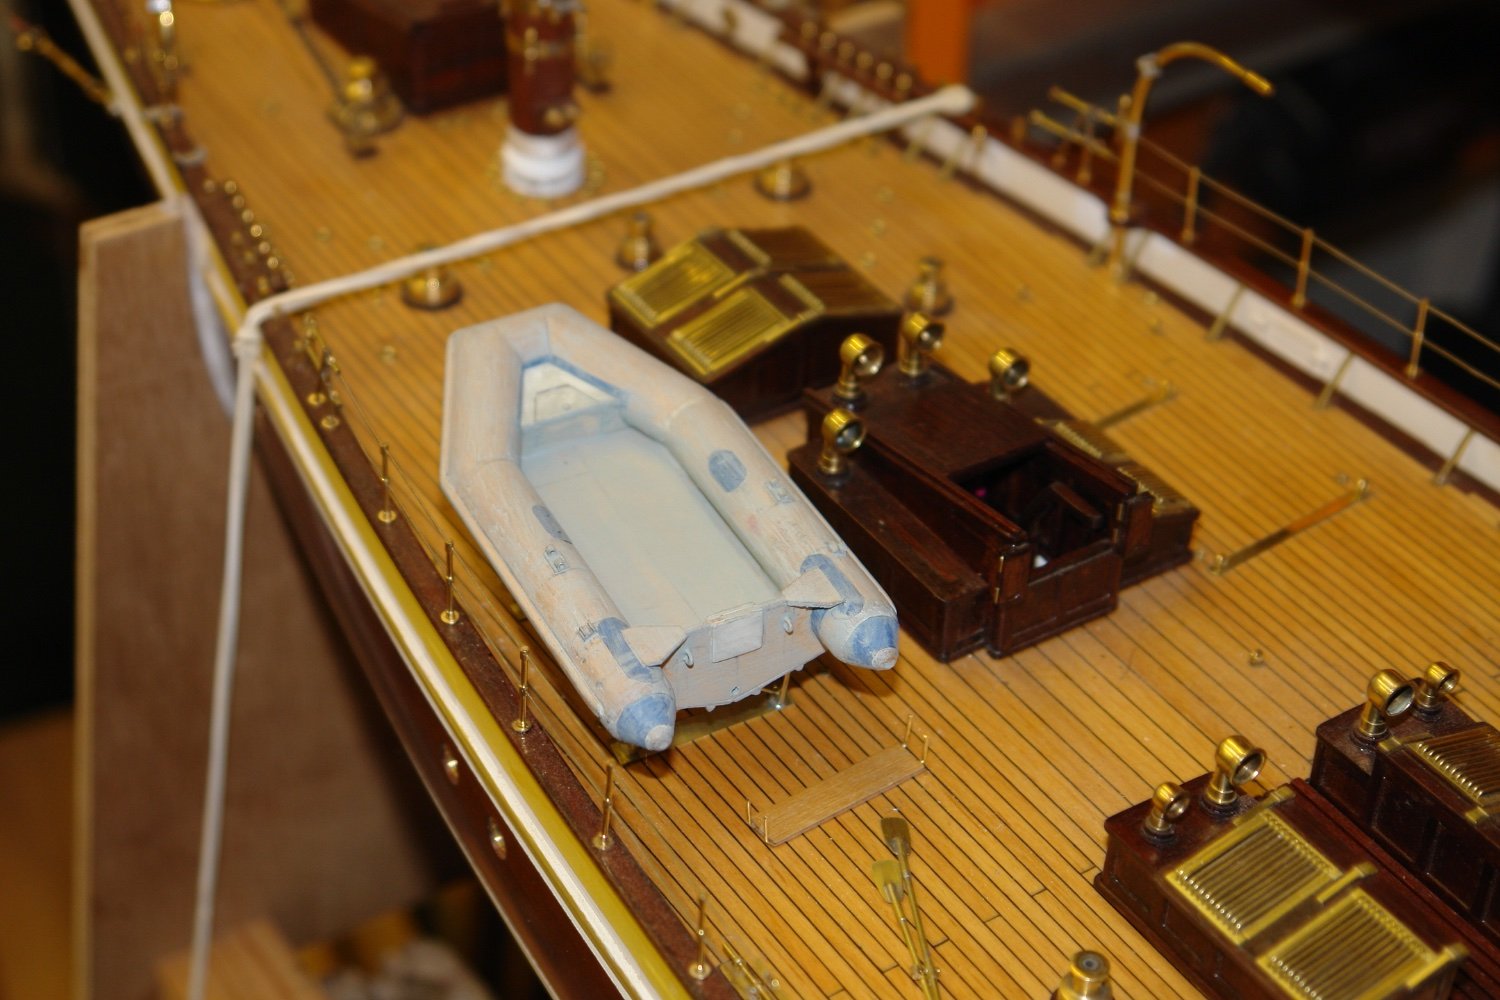
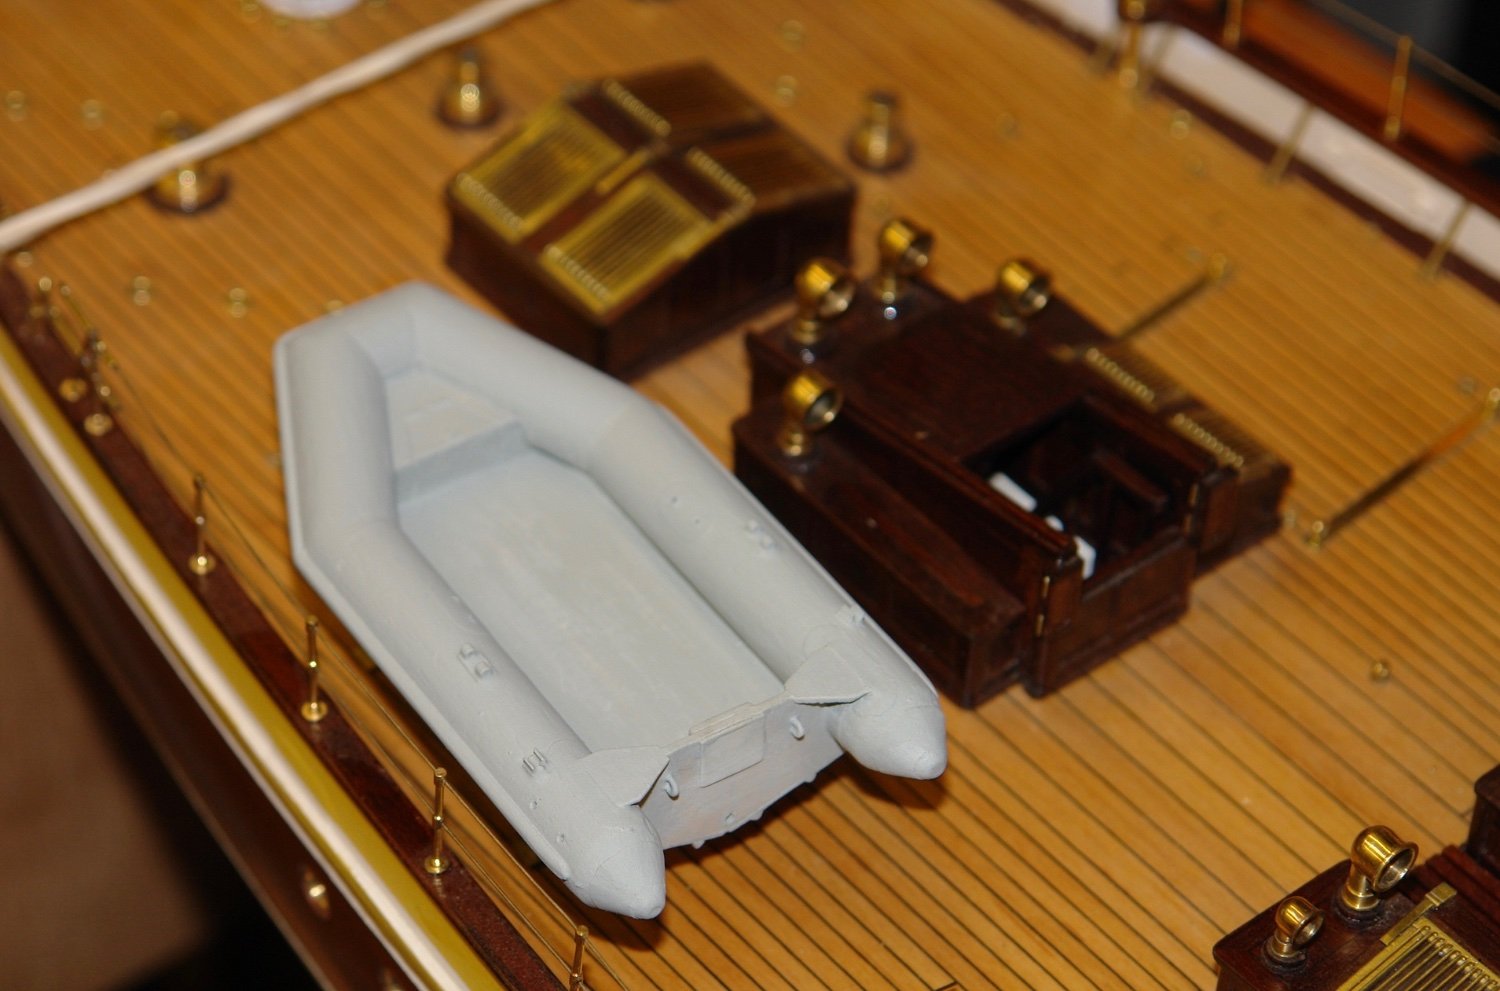
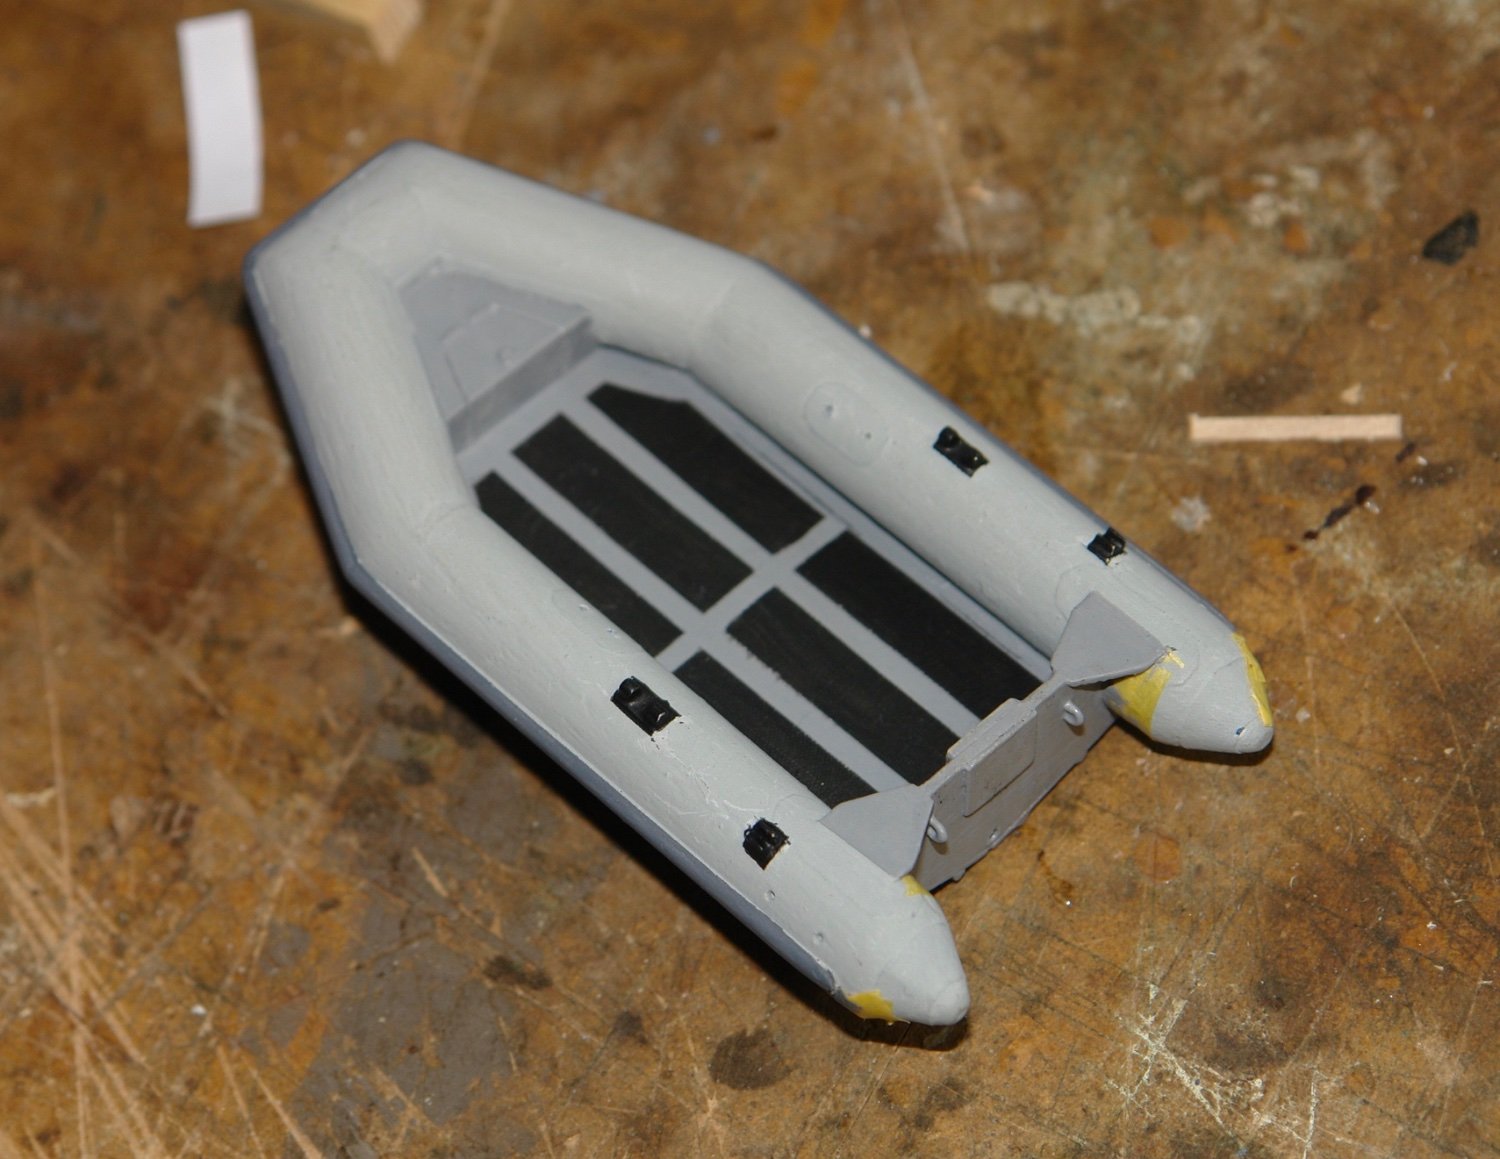
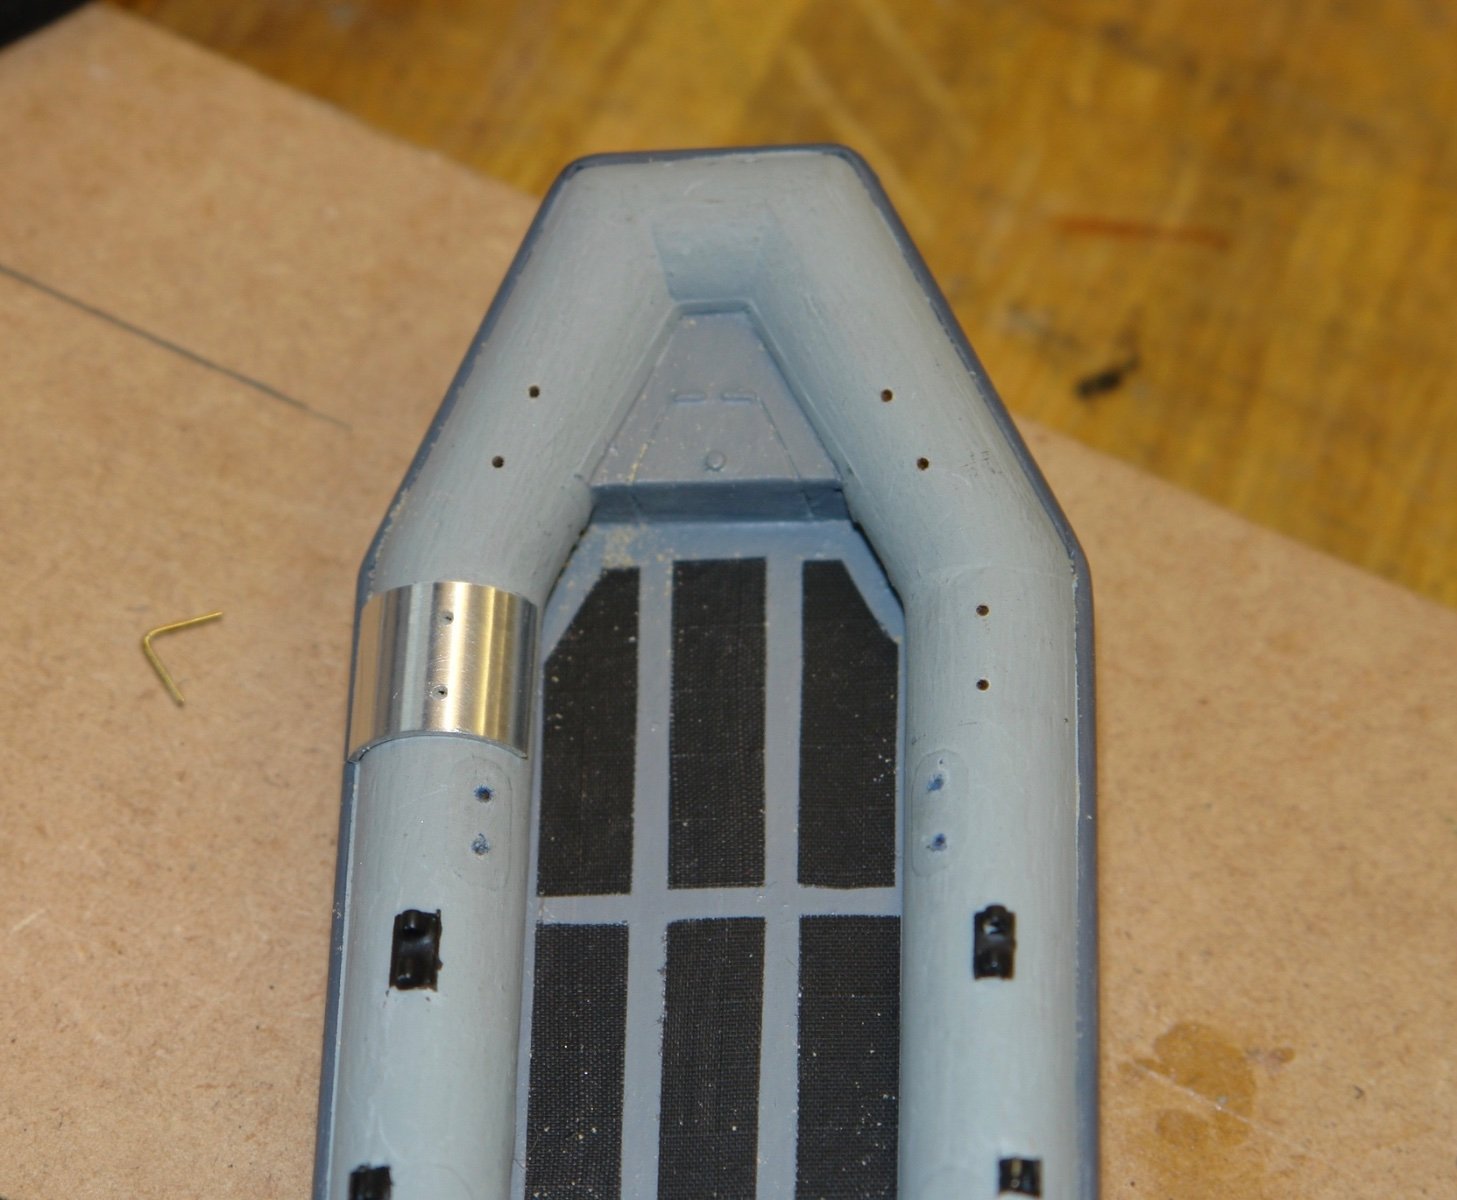
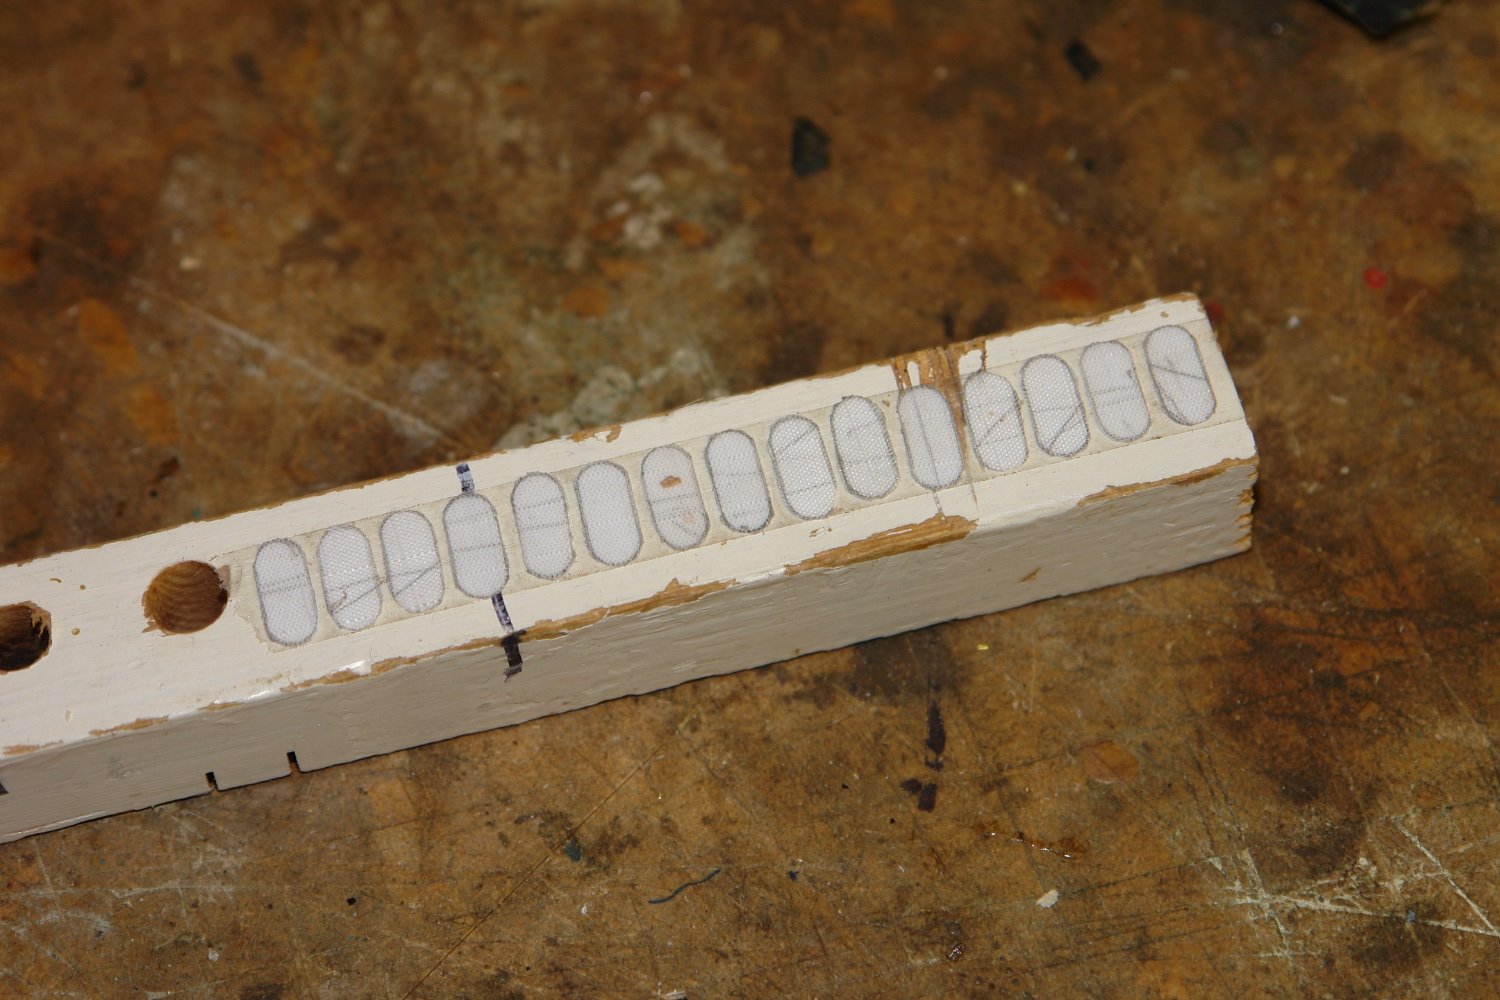
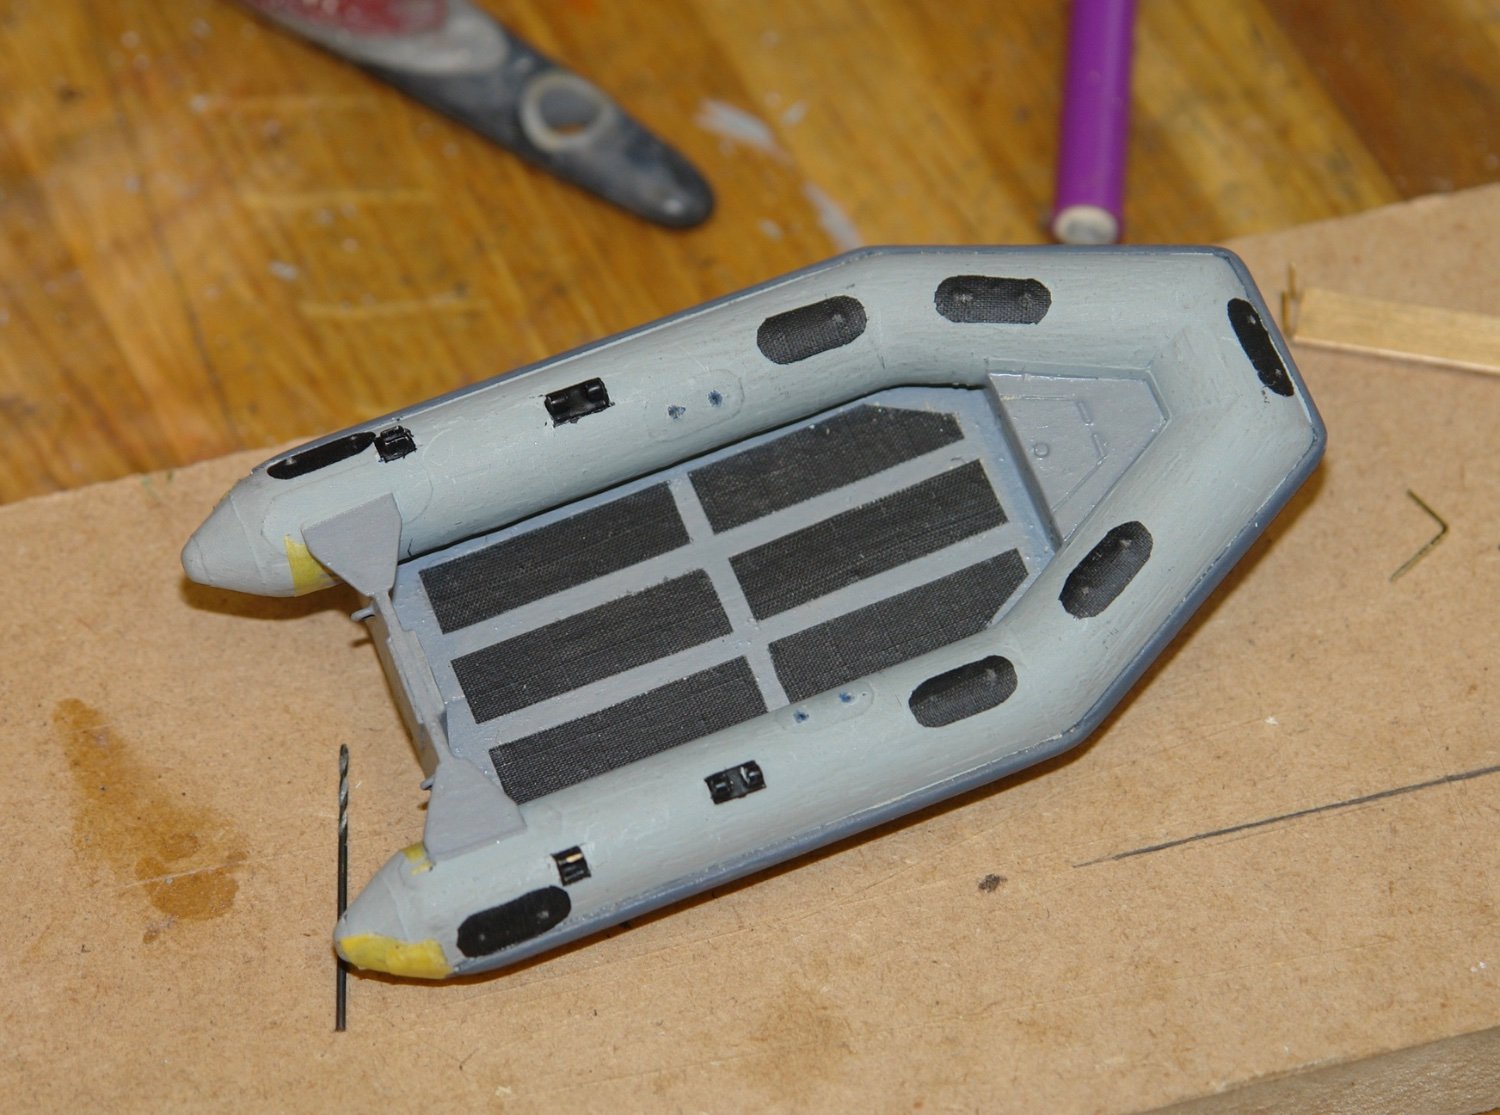
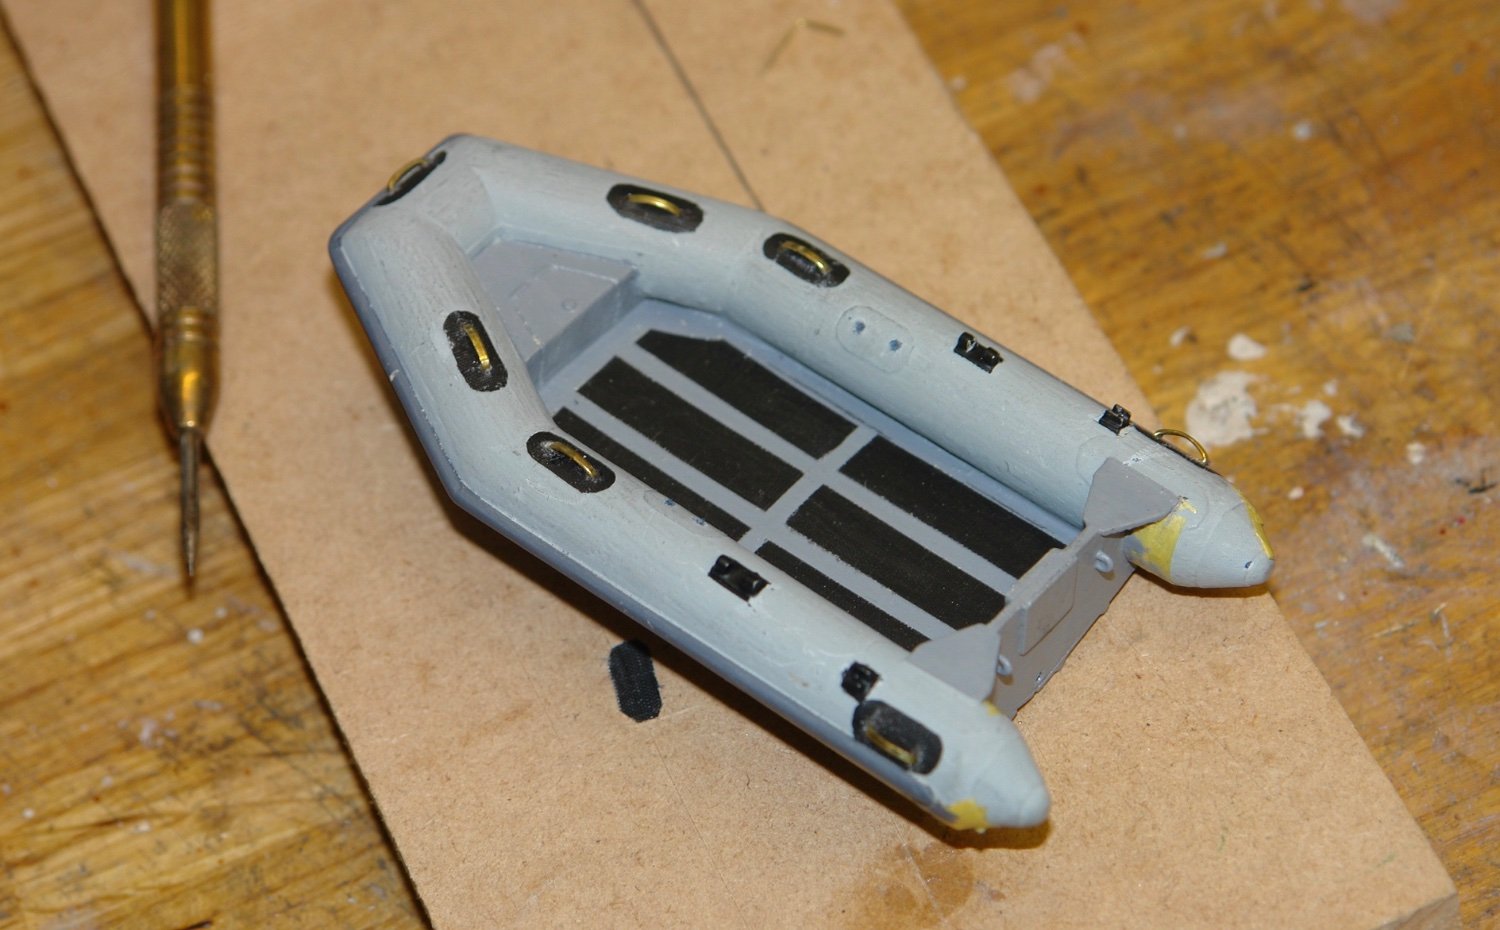
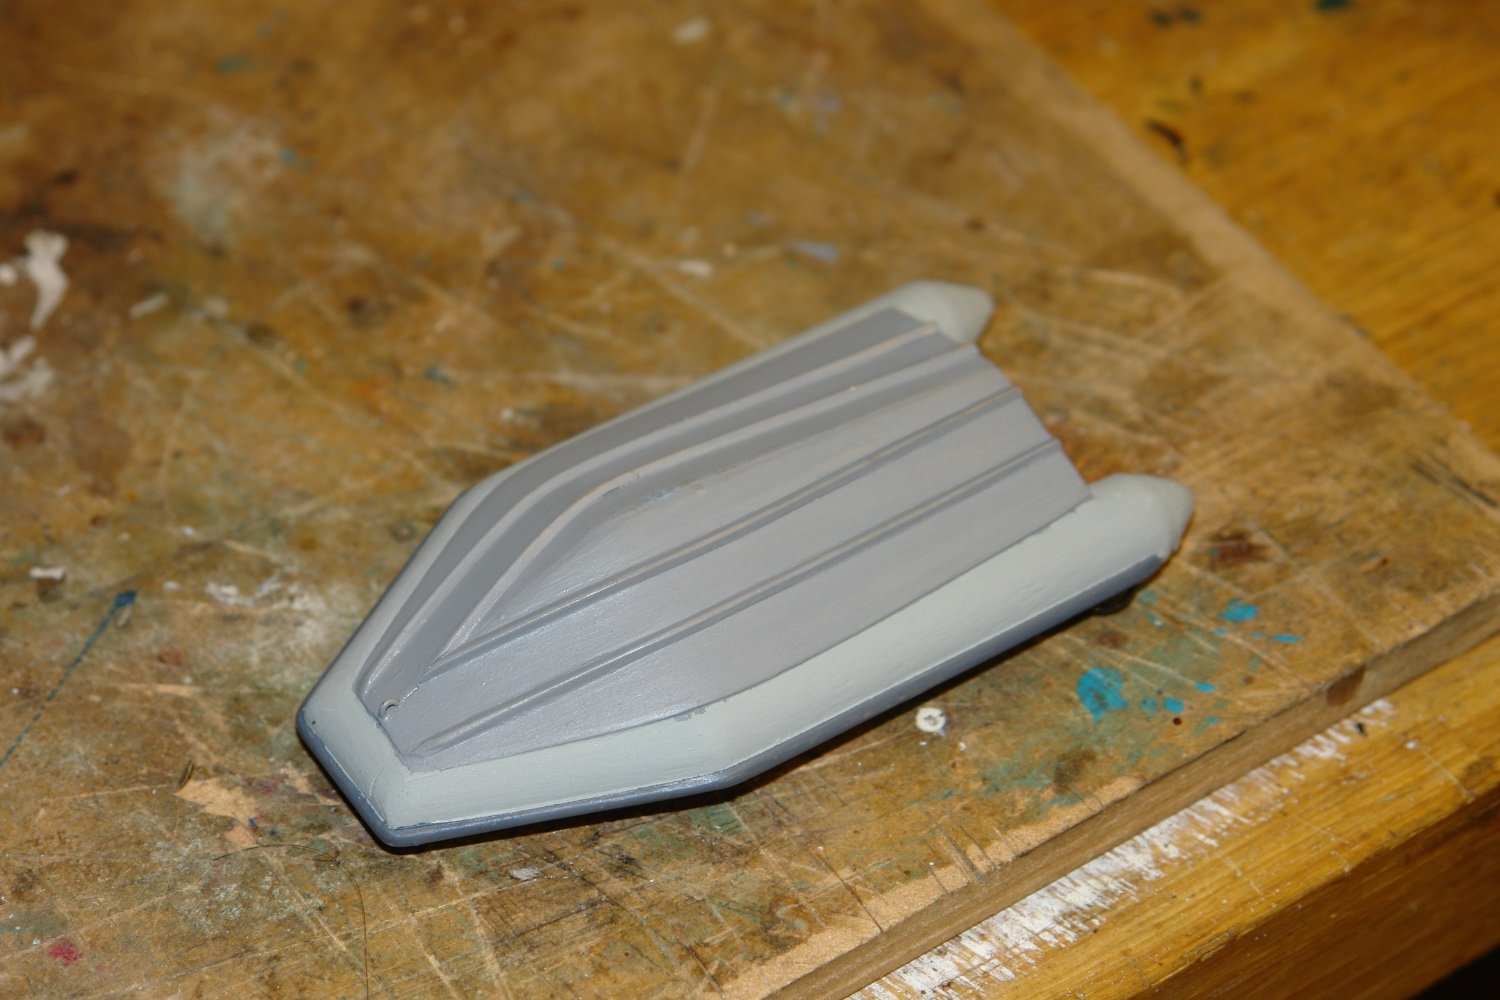
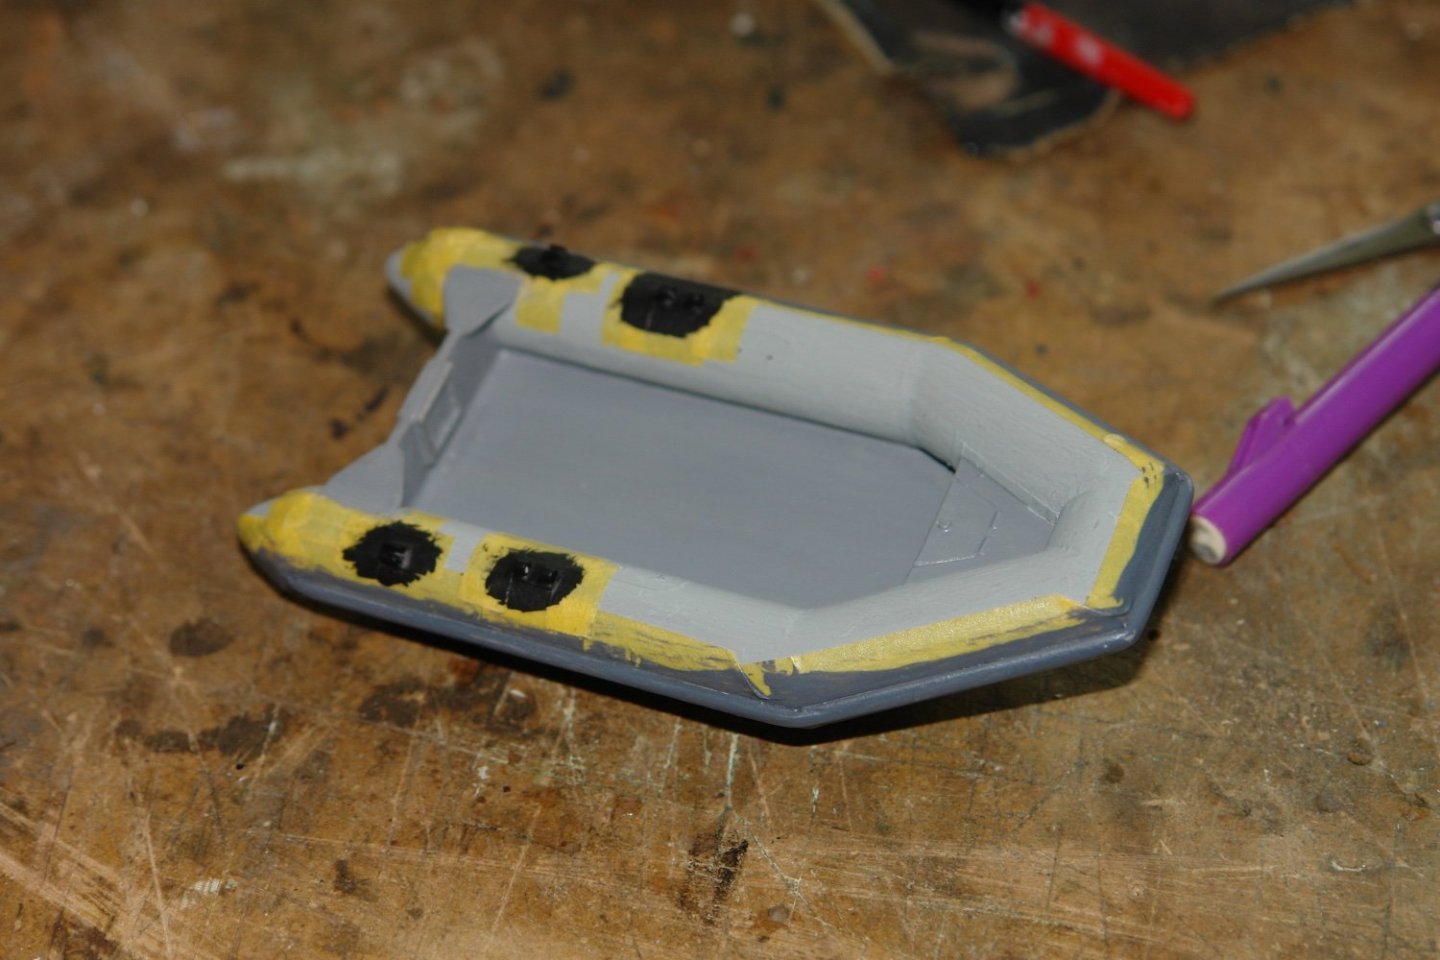
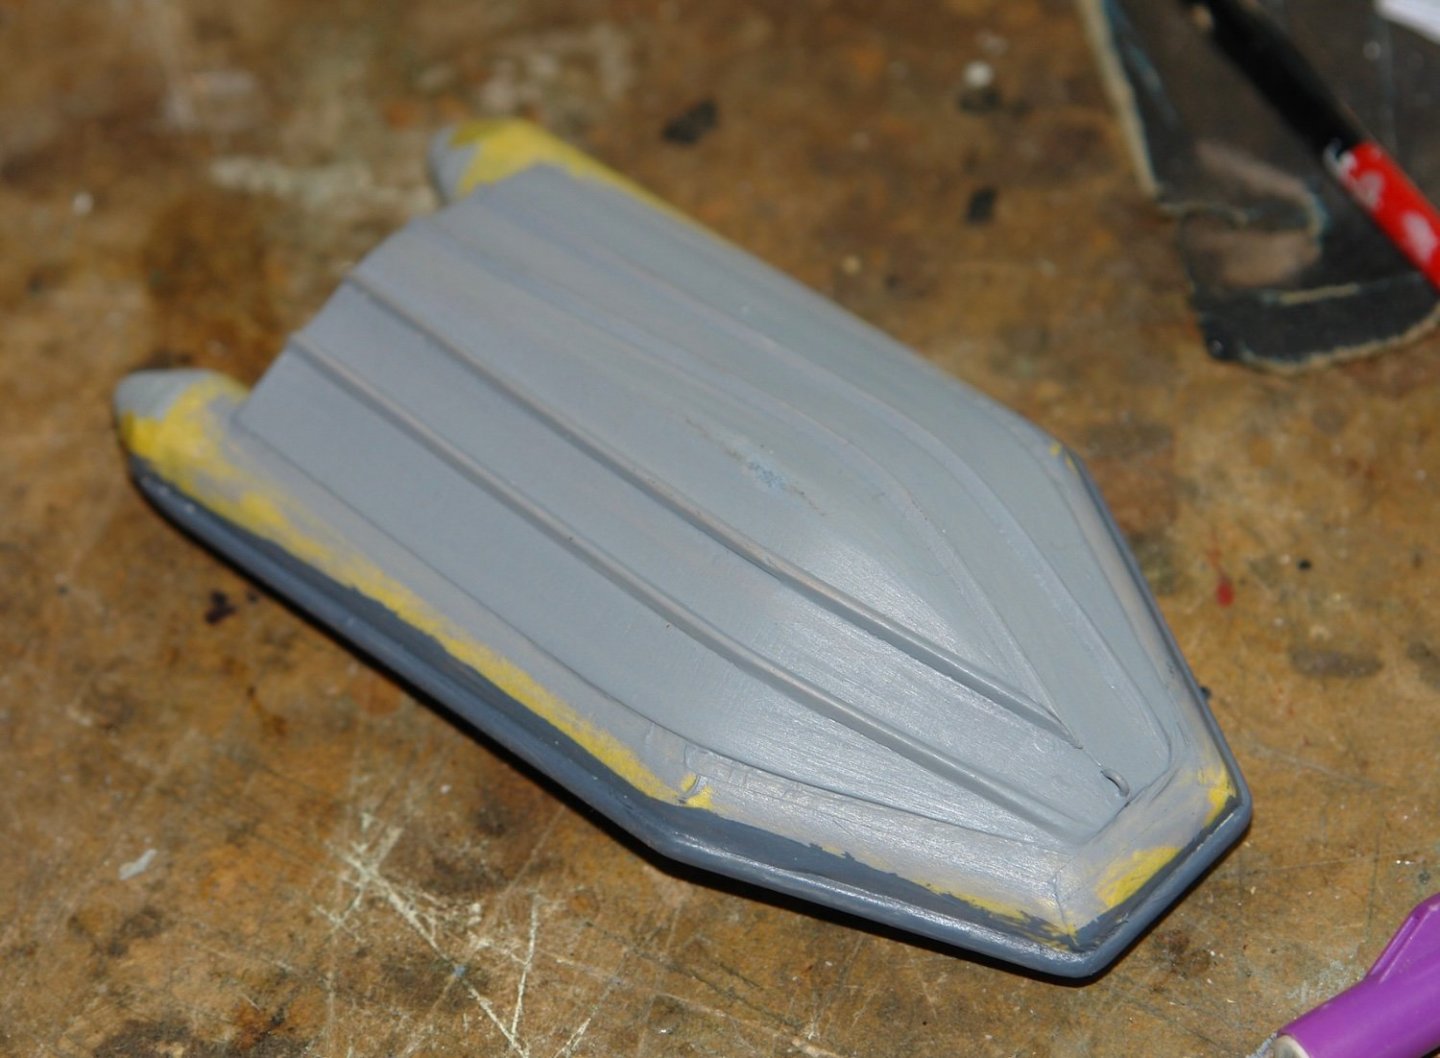
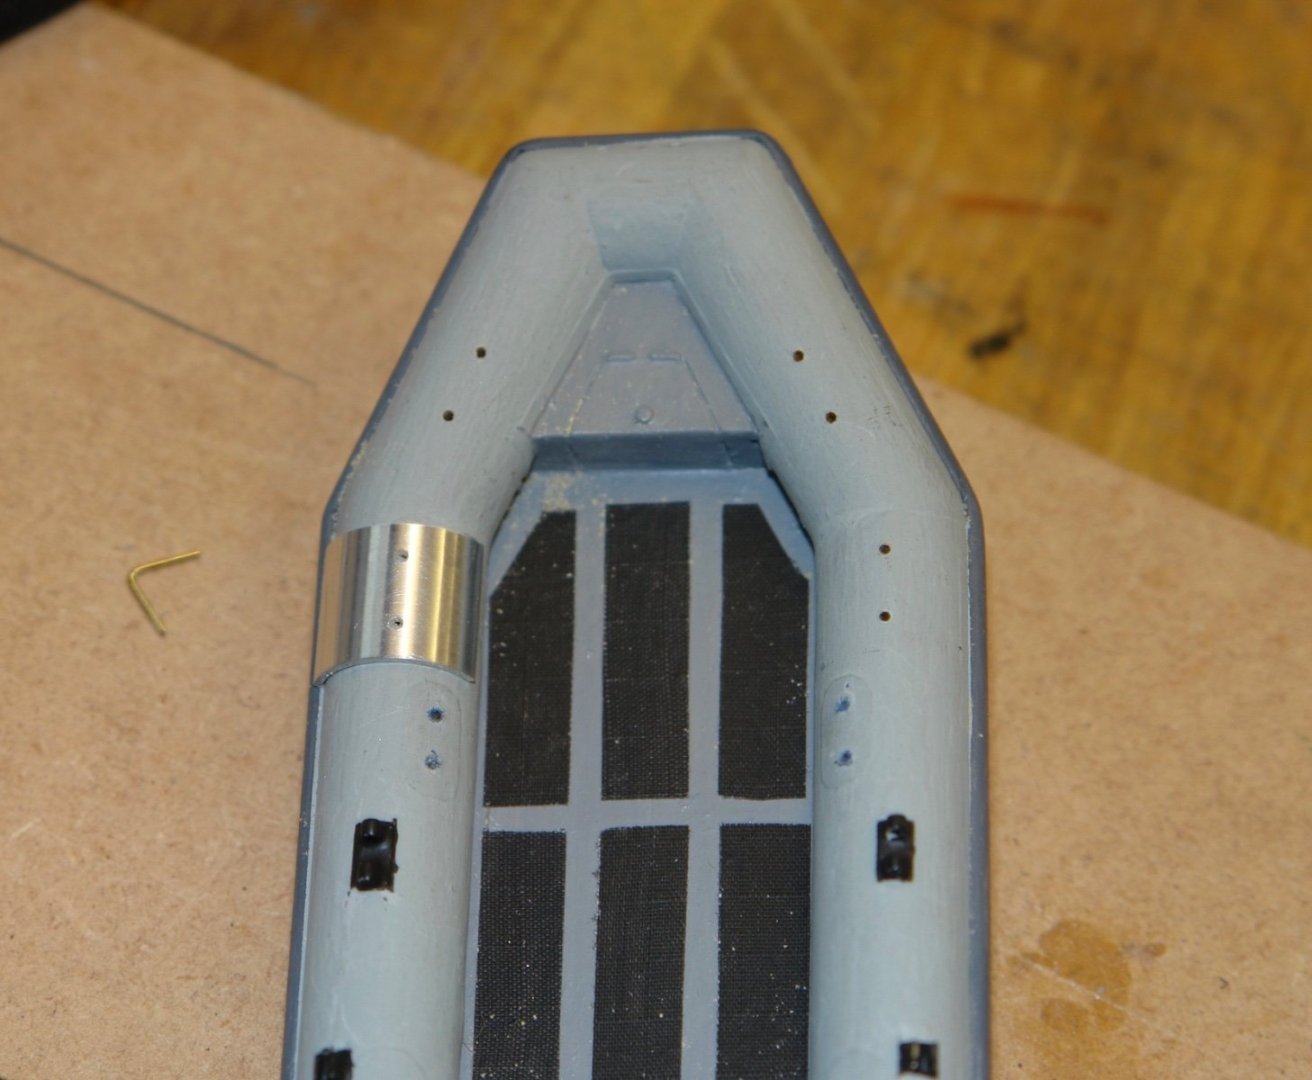
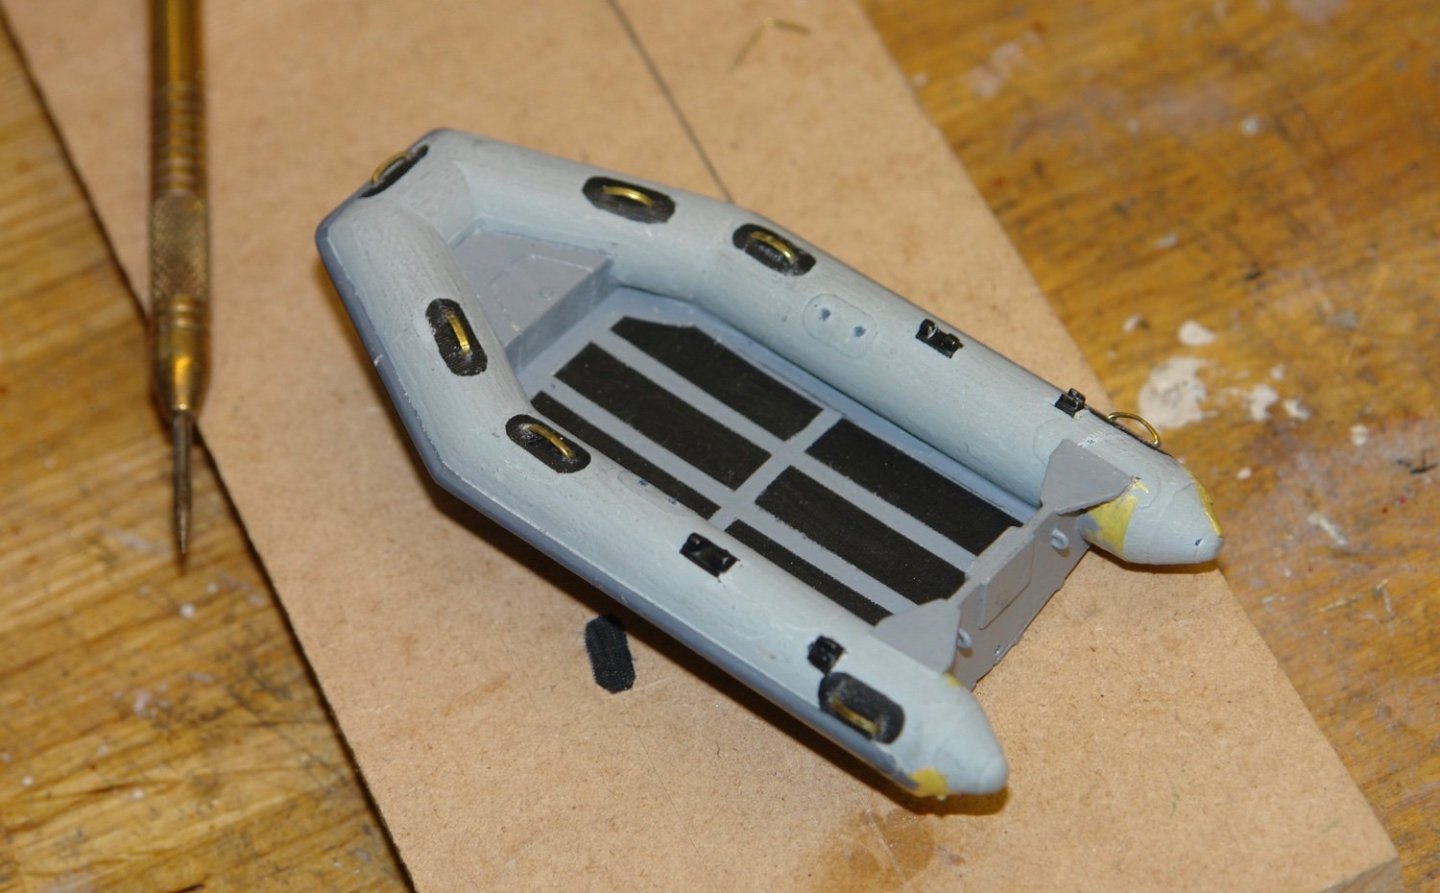
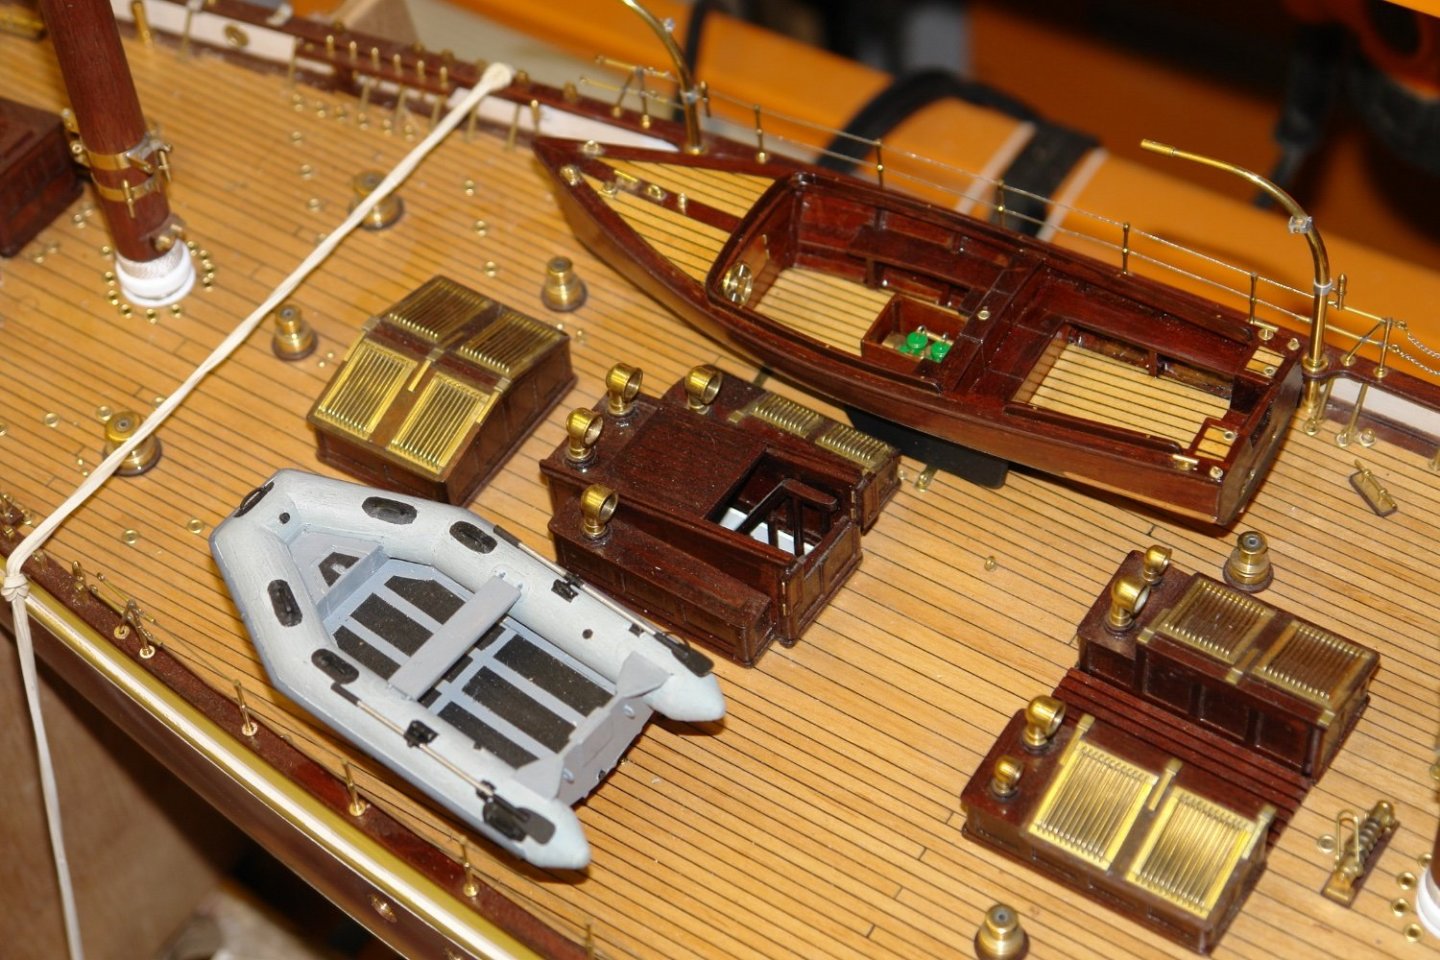
Thank you Pat and Keith. A bit of time was spent on the dinghy over the weekend. I started with a few coats of thin enamel paint with sanding between coats. Then I did a bit of masking and applied black paint to rowlocks and oar clips and shades of grey to the bumpers, deck and solid bottom. Anti- slip strips were required for the deck - made from sail repair tape blackened with permanent marker. Grab handles were needed on the sides and I made a drilling jig out of a piece of aluminium tube to get the attachment holes correctly spaced. Fabric reinforcing was cut from sail tape. This was also coloured and applied. The handles themselves were made from flattened .031" wire. These were attached and painted black. A further bit of anti-slip matting was attached to the locker and the oars were glued permanently in place. 3 black inflation valves were also added.


-
I have realised the great advantage of the 3D approach to model making is that if the worst happens you can just print another one. I may become a convert. Nice model.
- 54 replies
-
- 5
-
-
- Liberty Ship
- Finished
- (and 2 more)