KeithAug
-
Posts
3,993 -
Joined
-
Last visited
Content Type
Profiles
Forums
Gallery
Events
Everything posted by KeithAug
-
 Nicely done Bedford - which is as per normal
 -
lovely job Dan - pity about the writers block - only seems to happen to professionals.
- 238 replies
-
- 4
-

-
- leviathan
- troop ship
- (and 2 more)
-
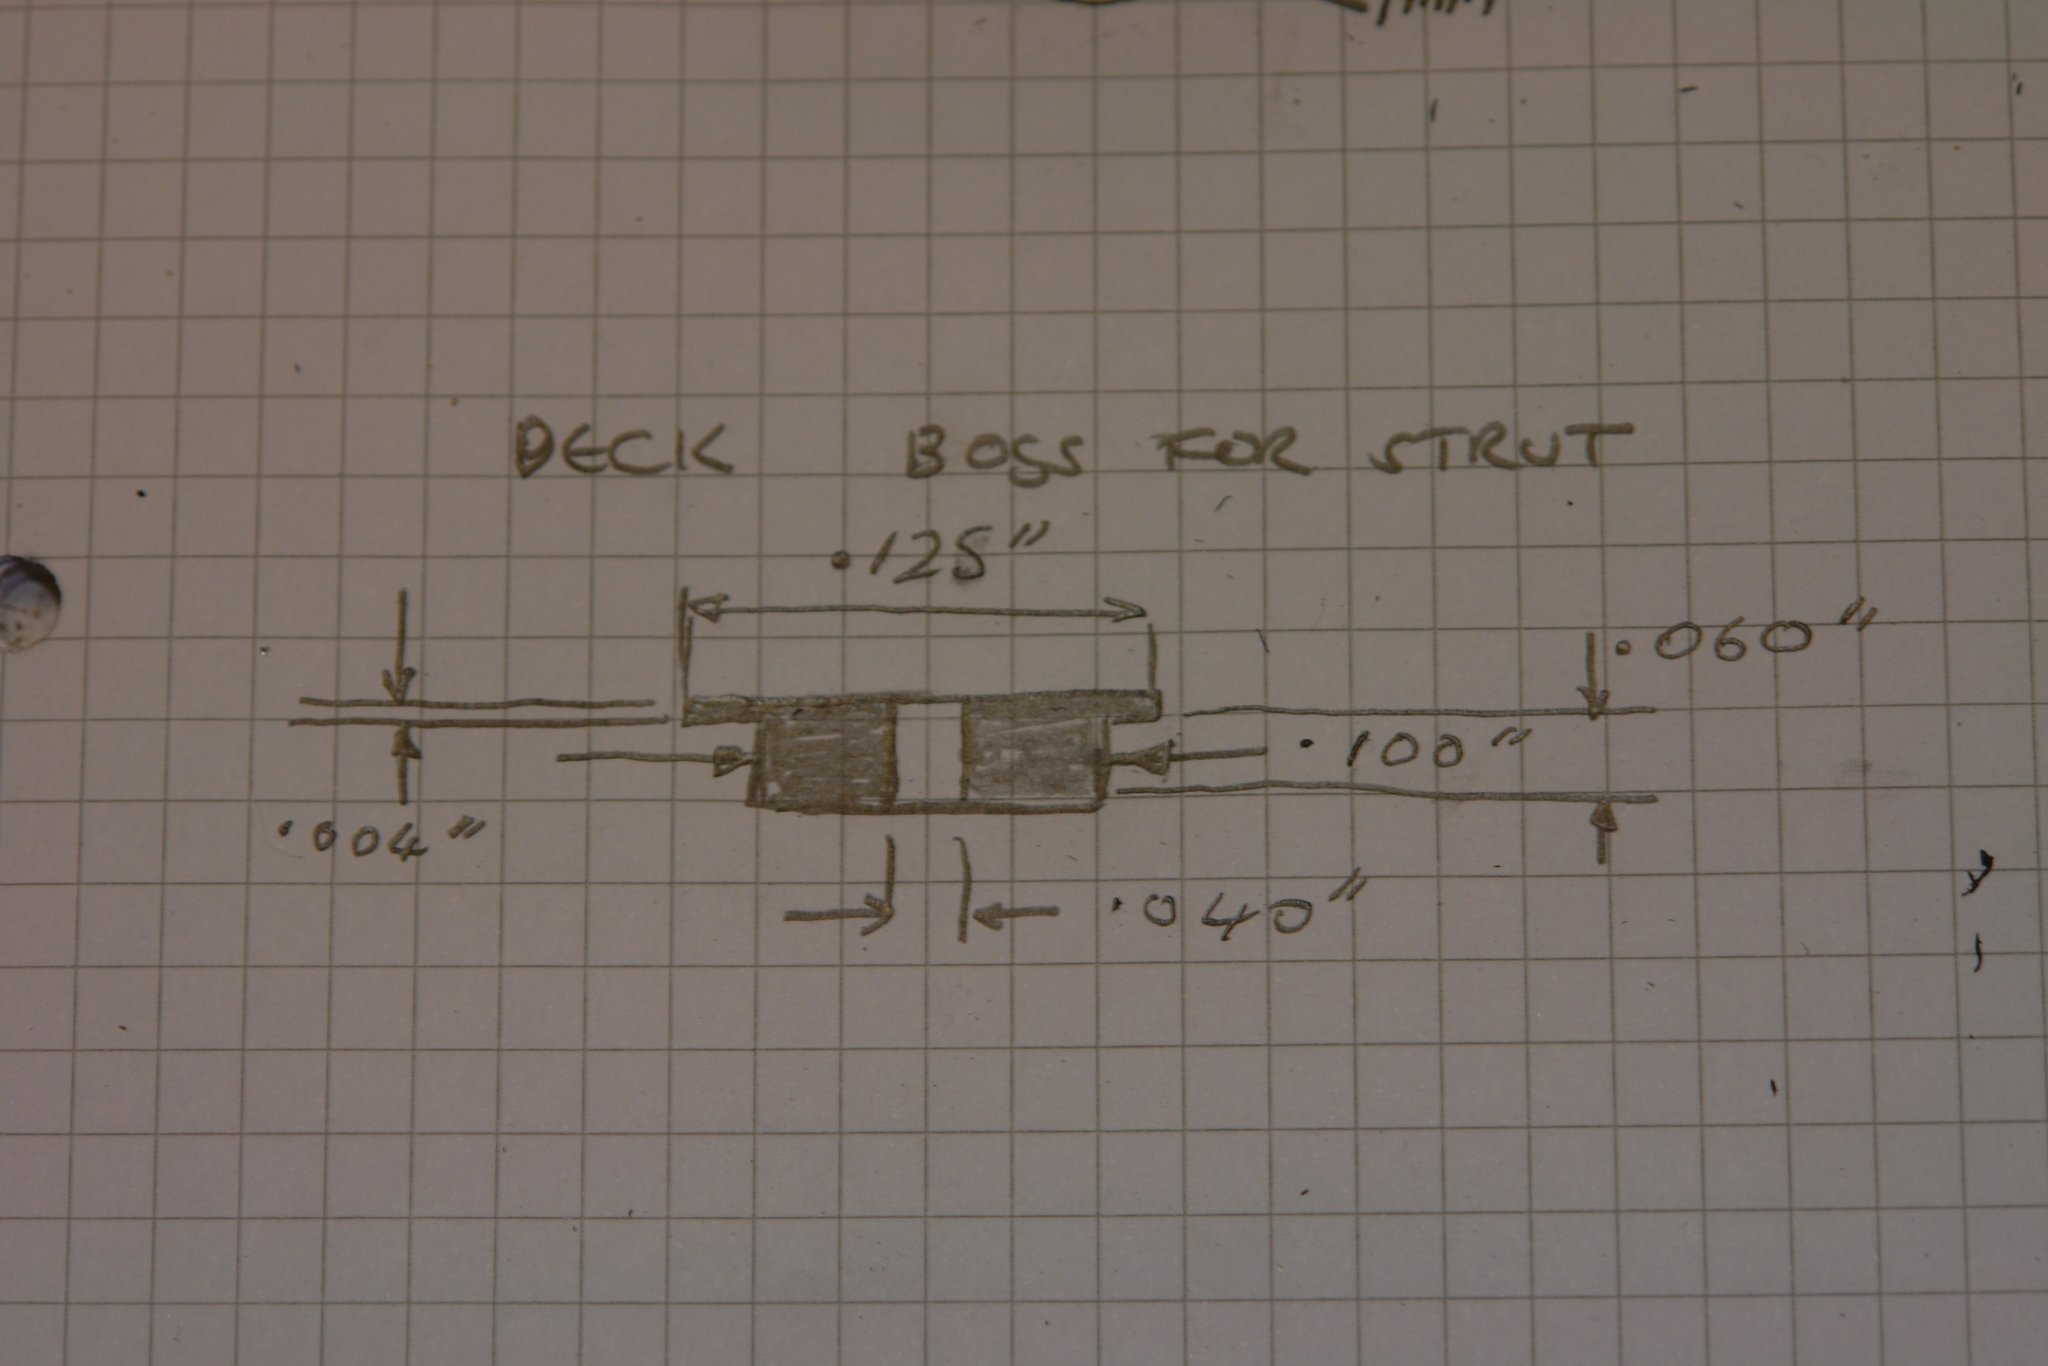
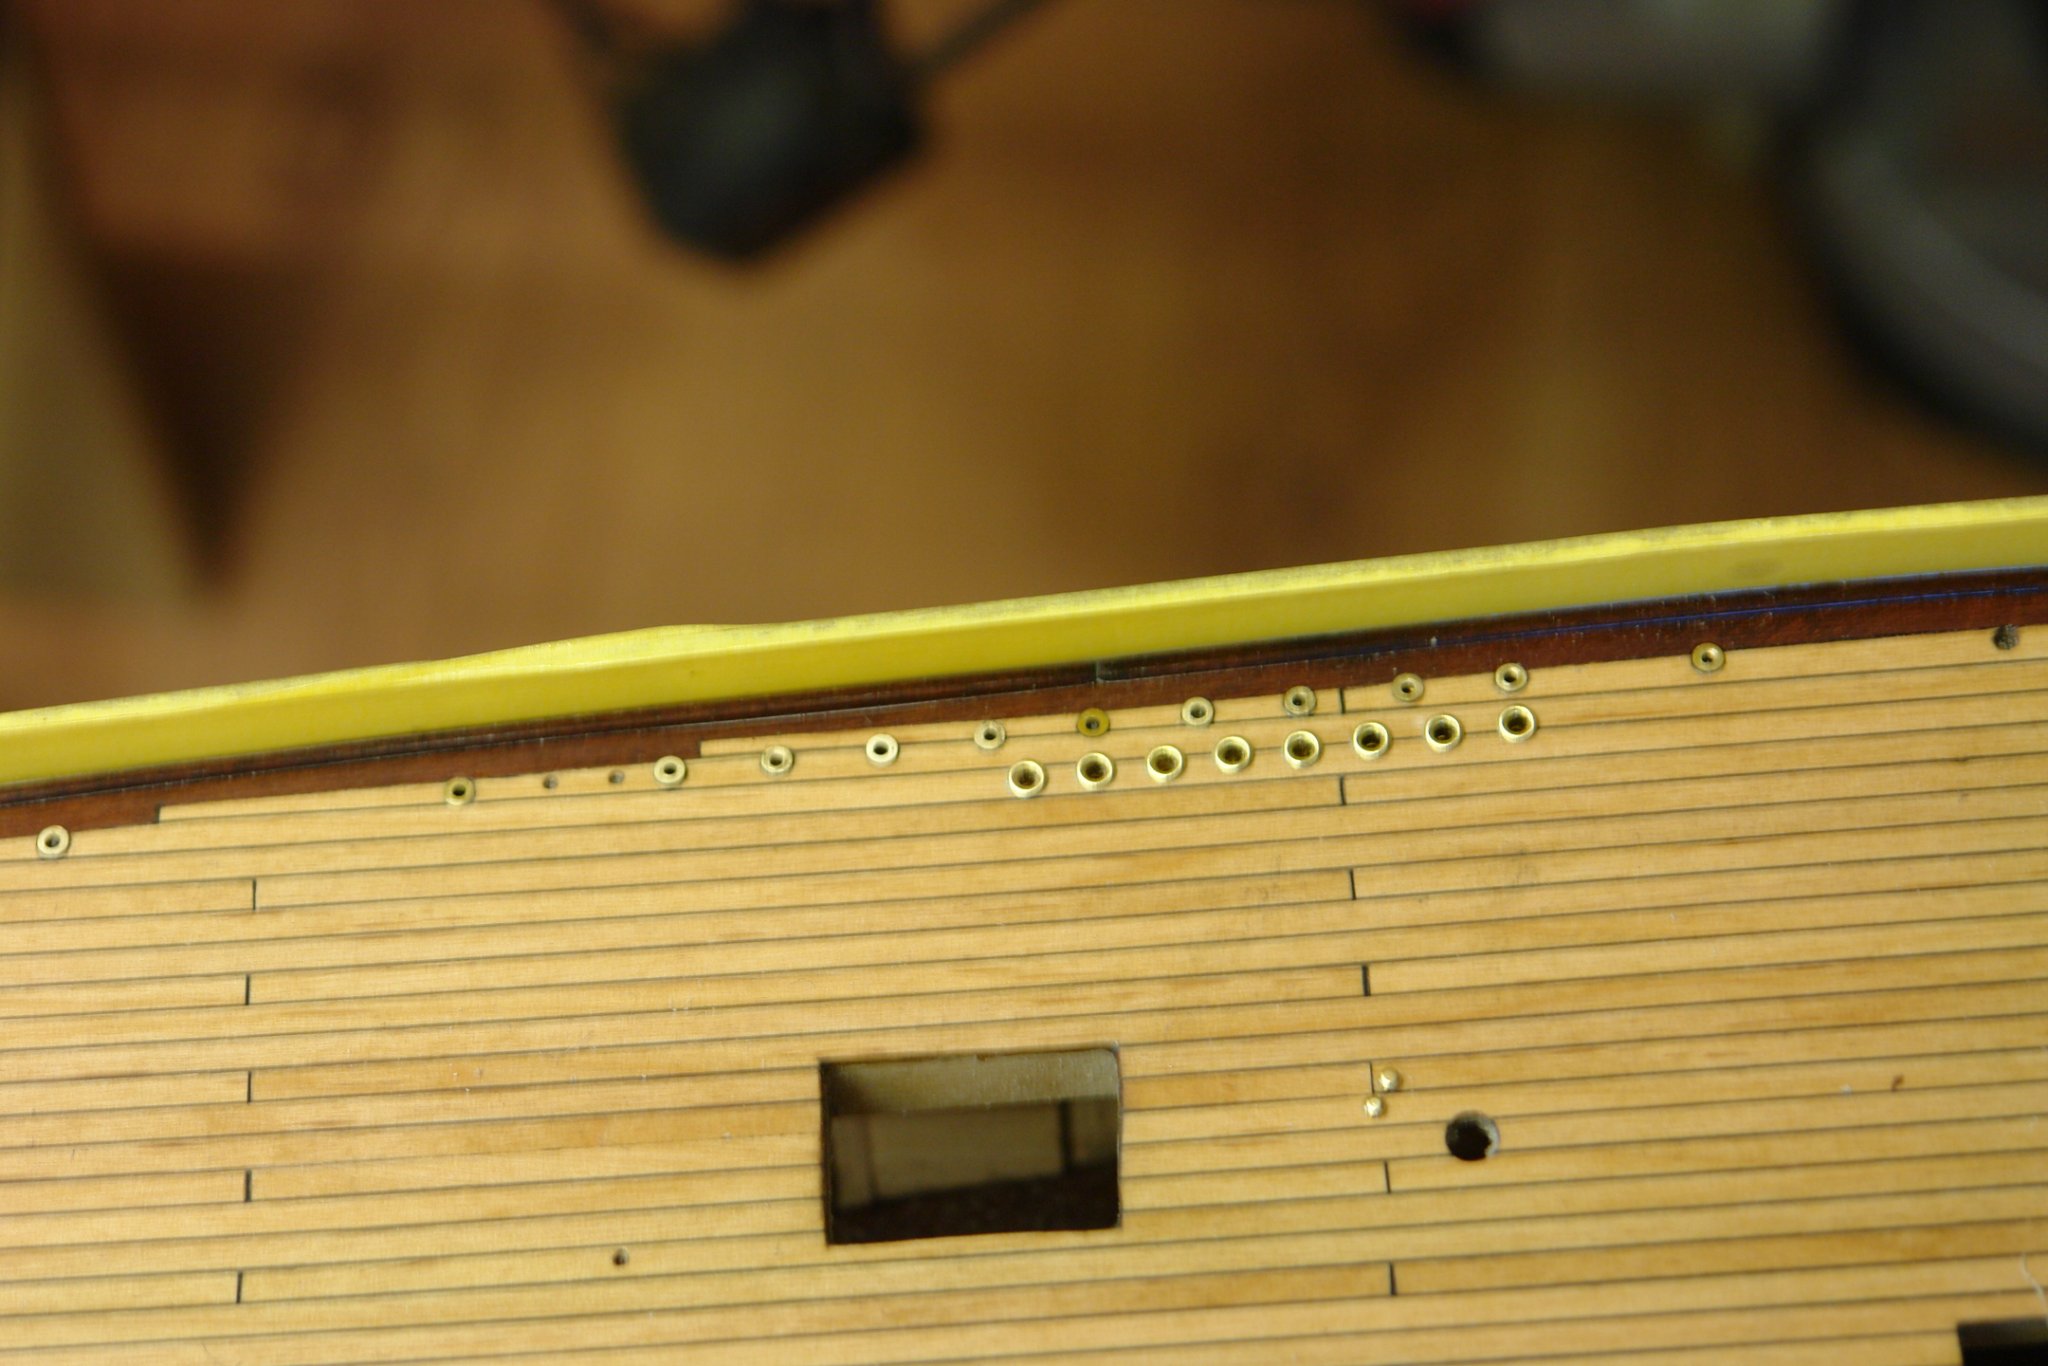
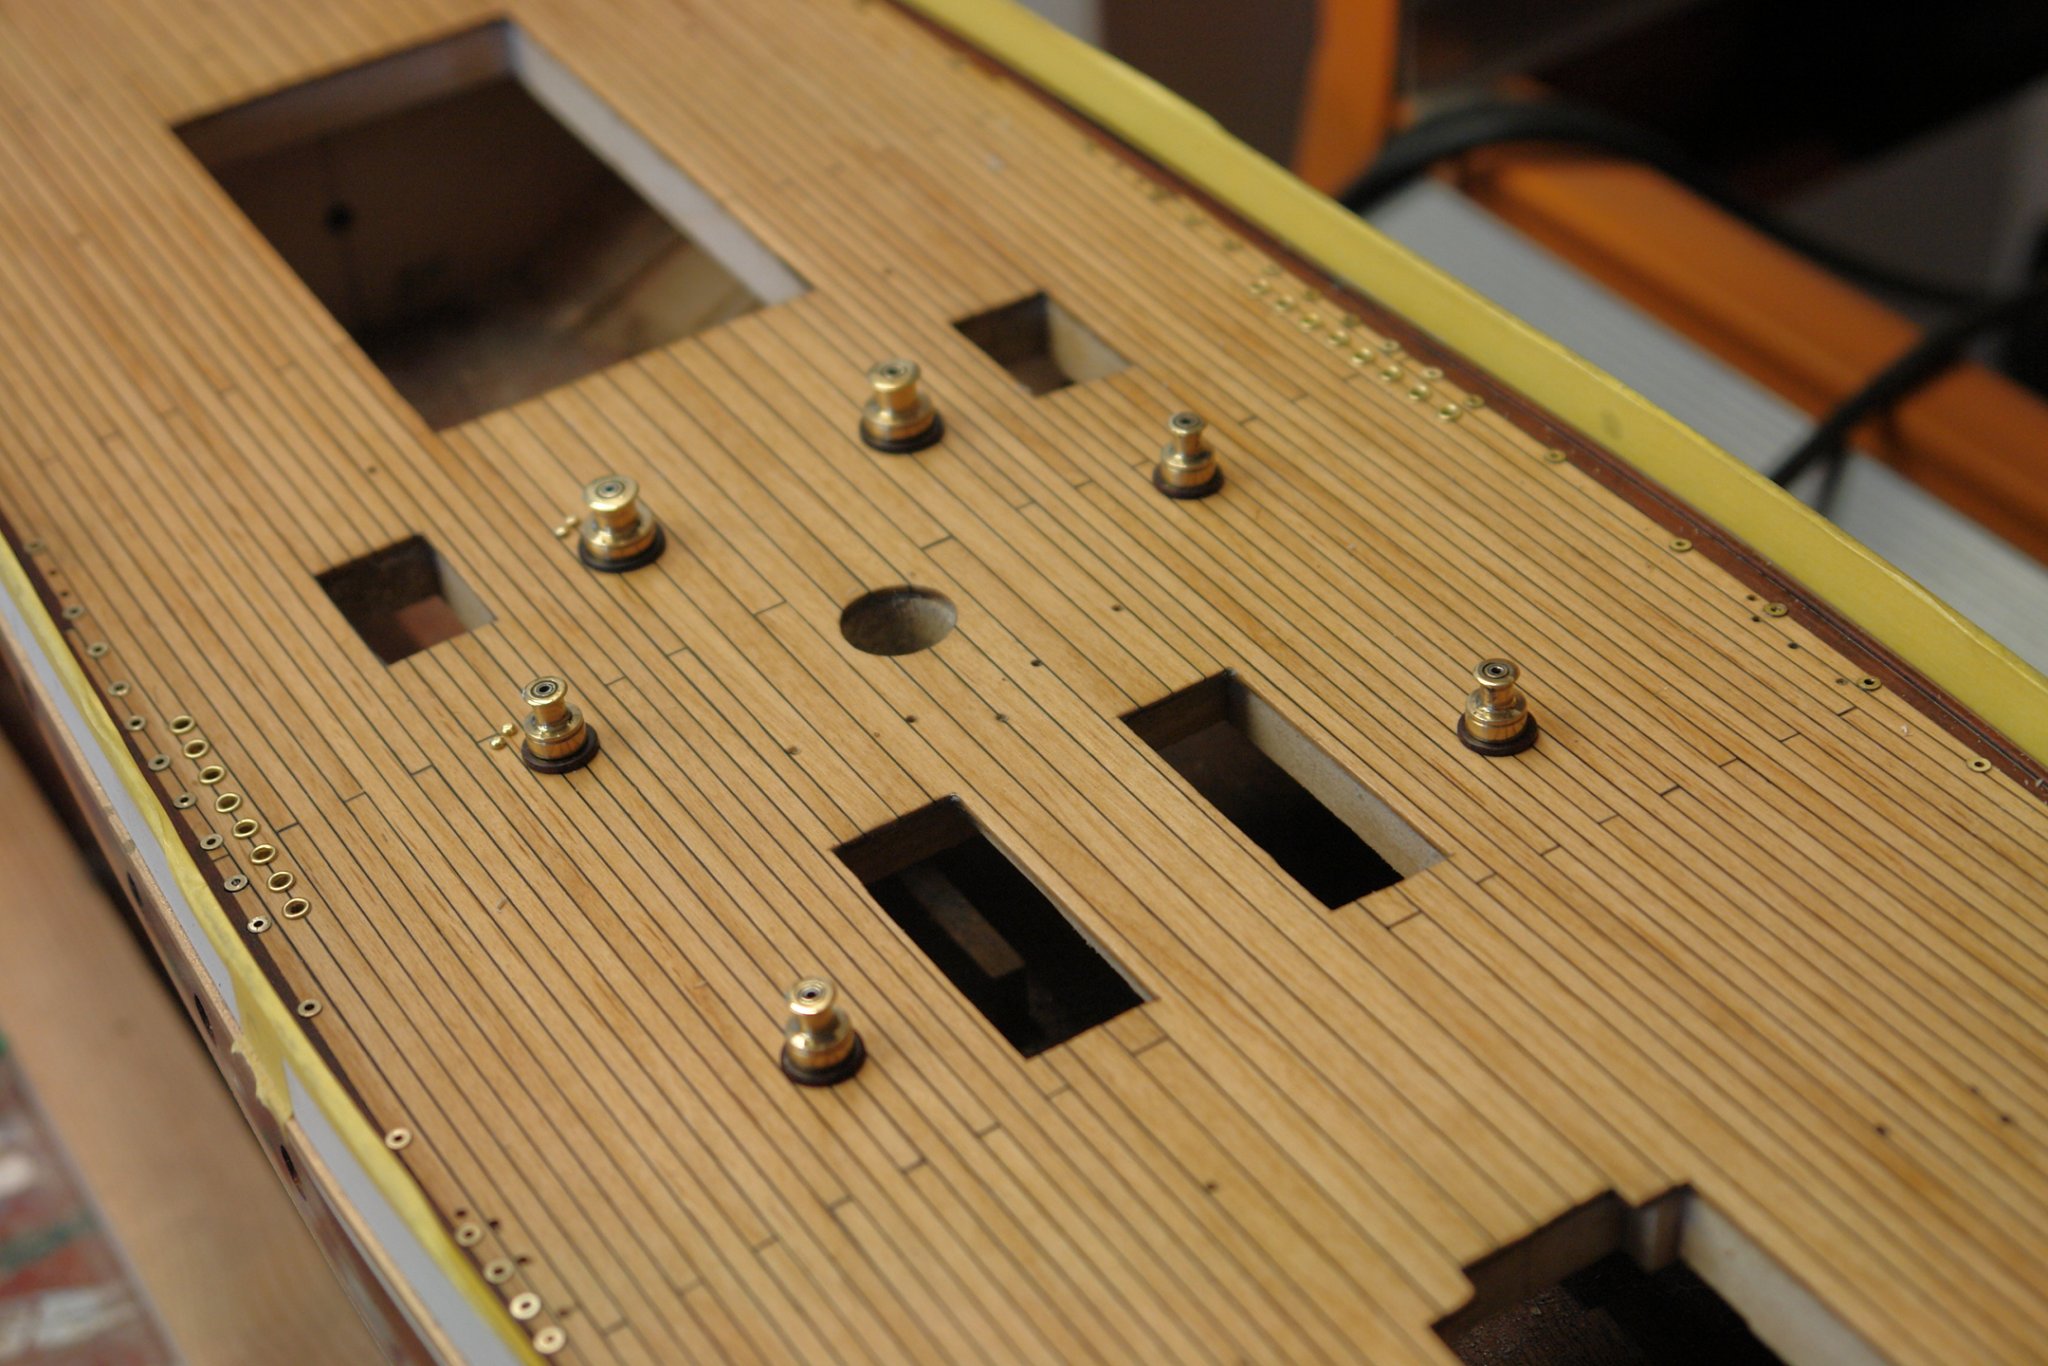
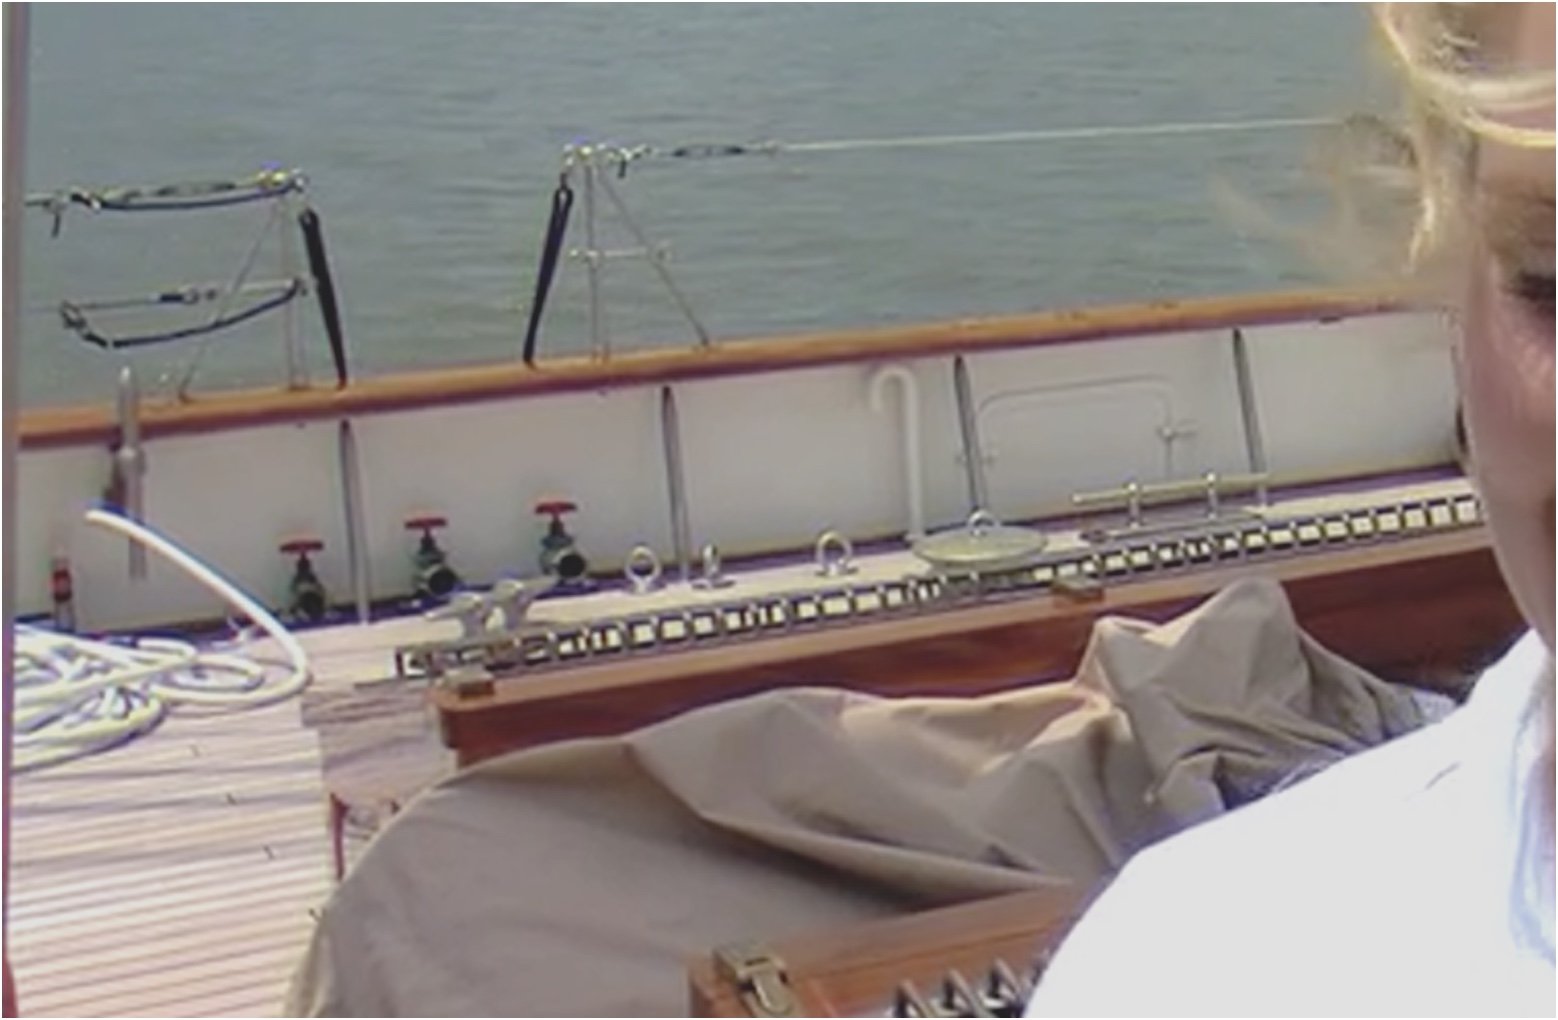
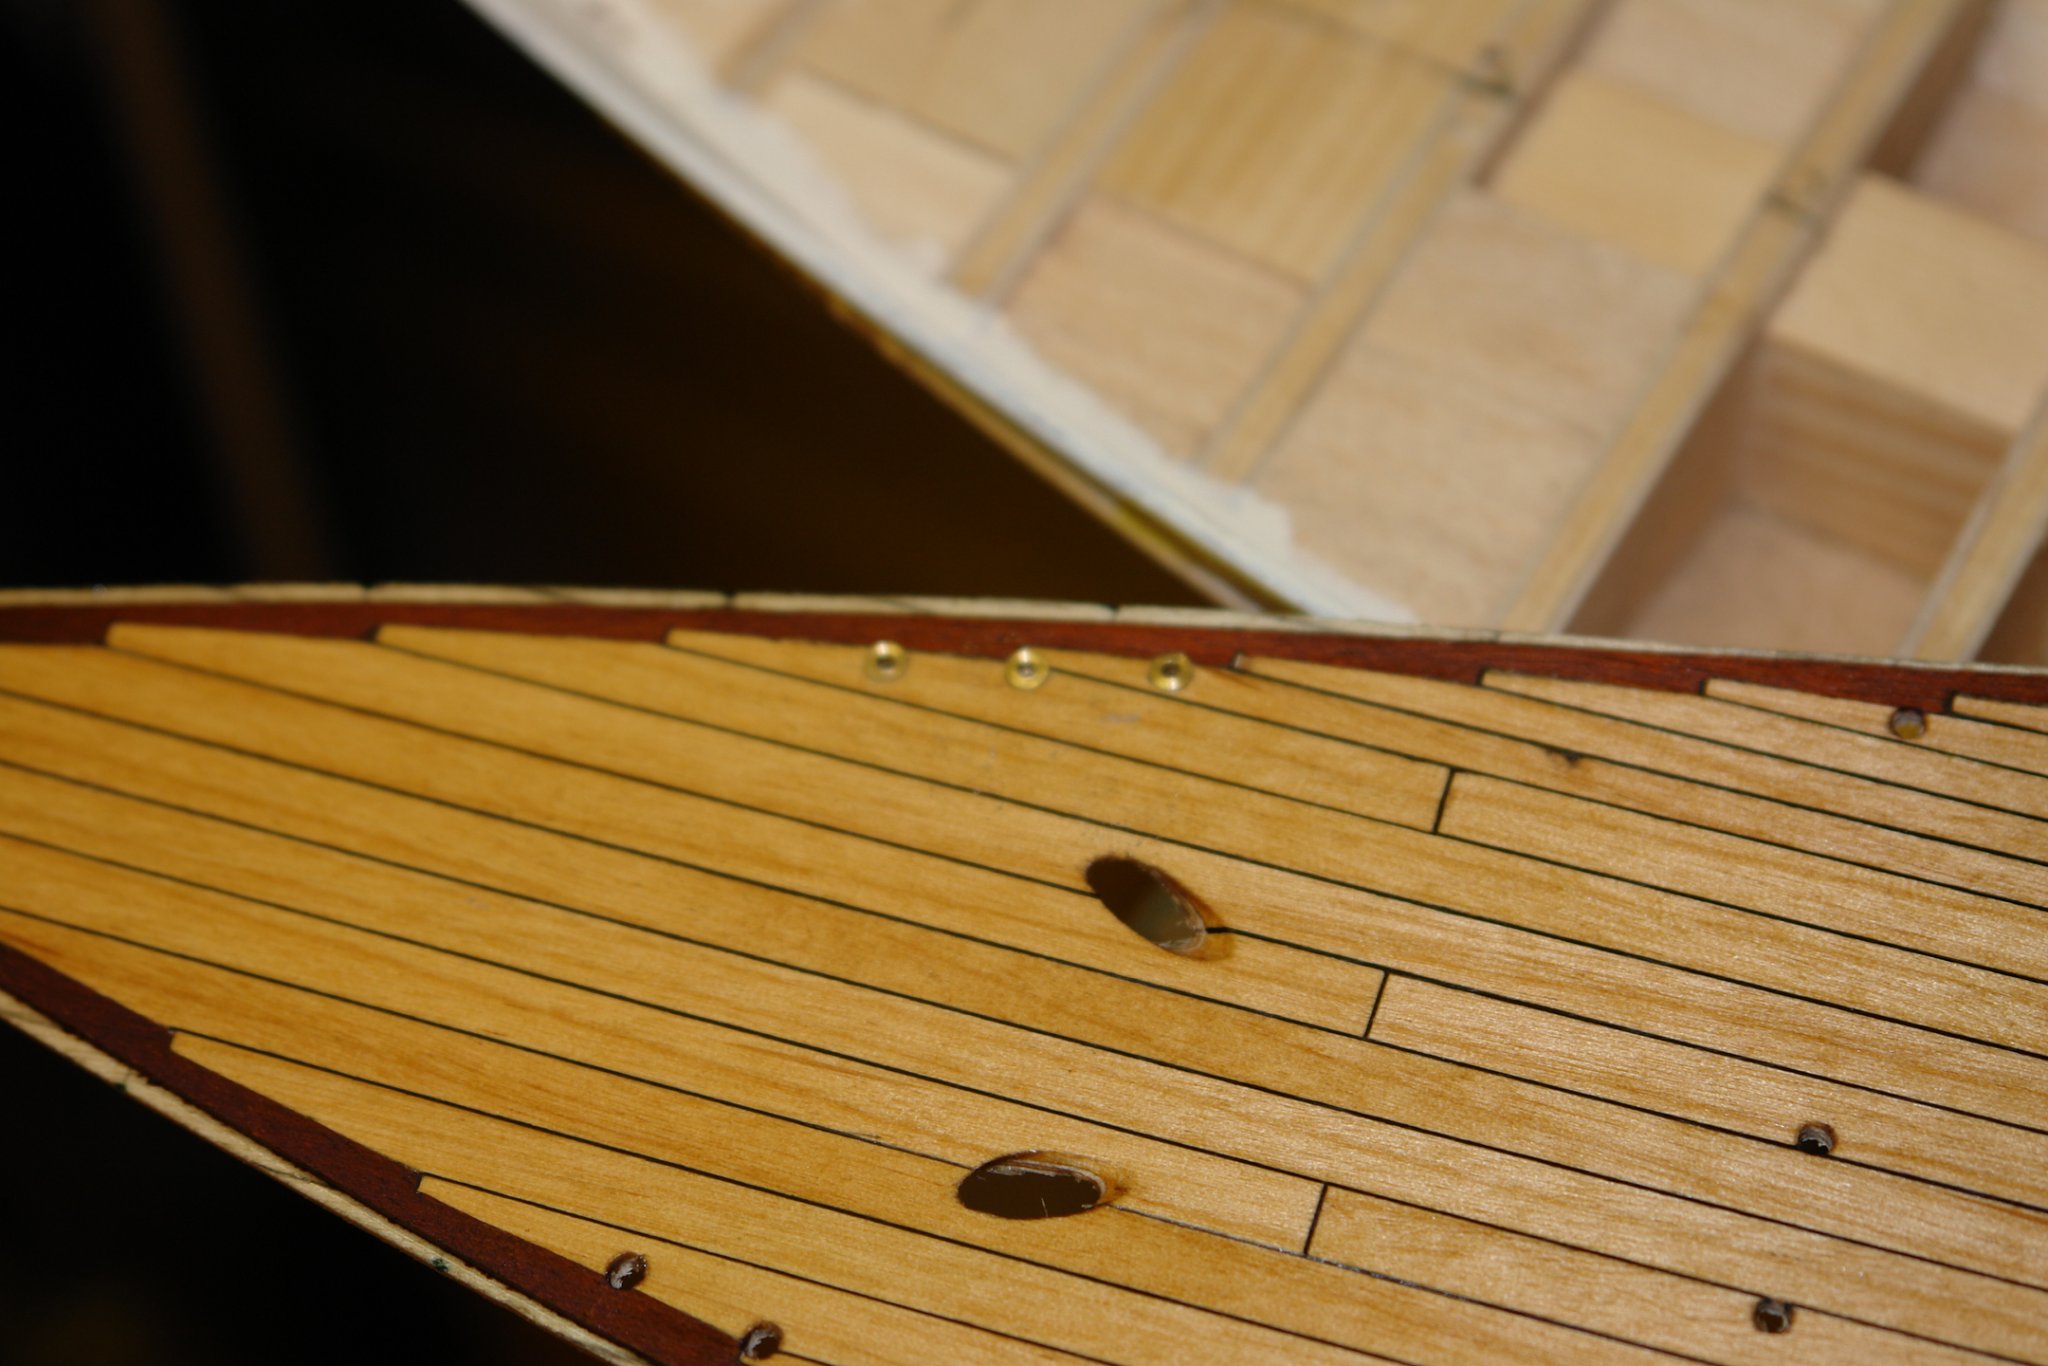
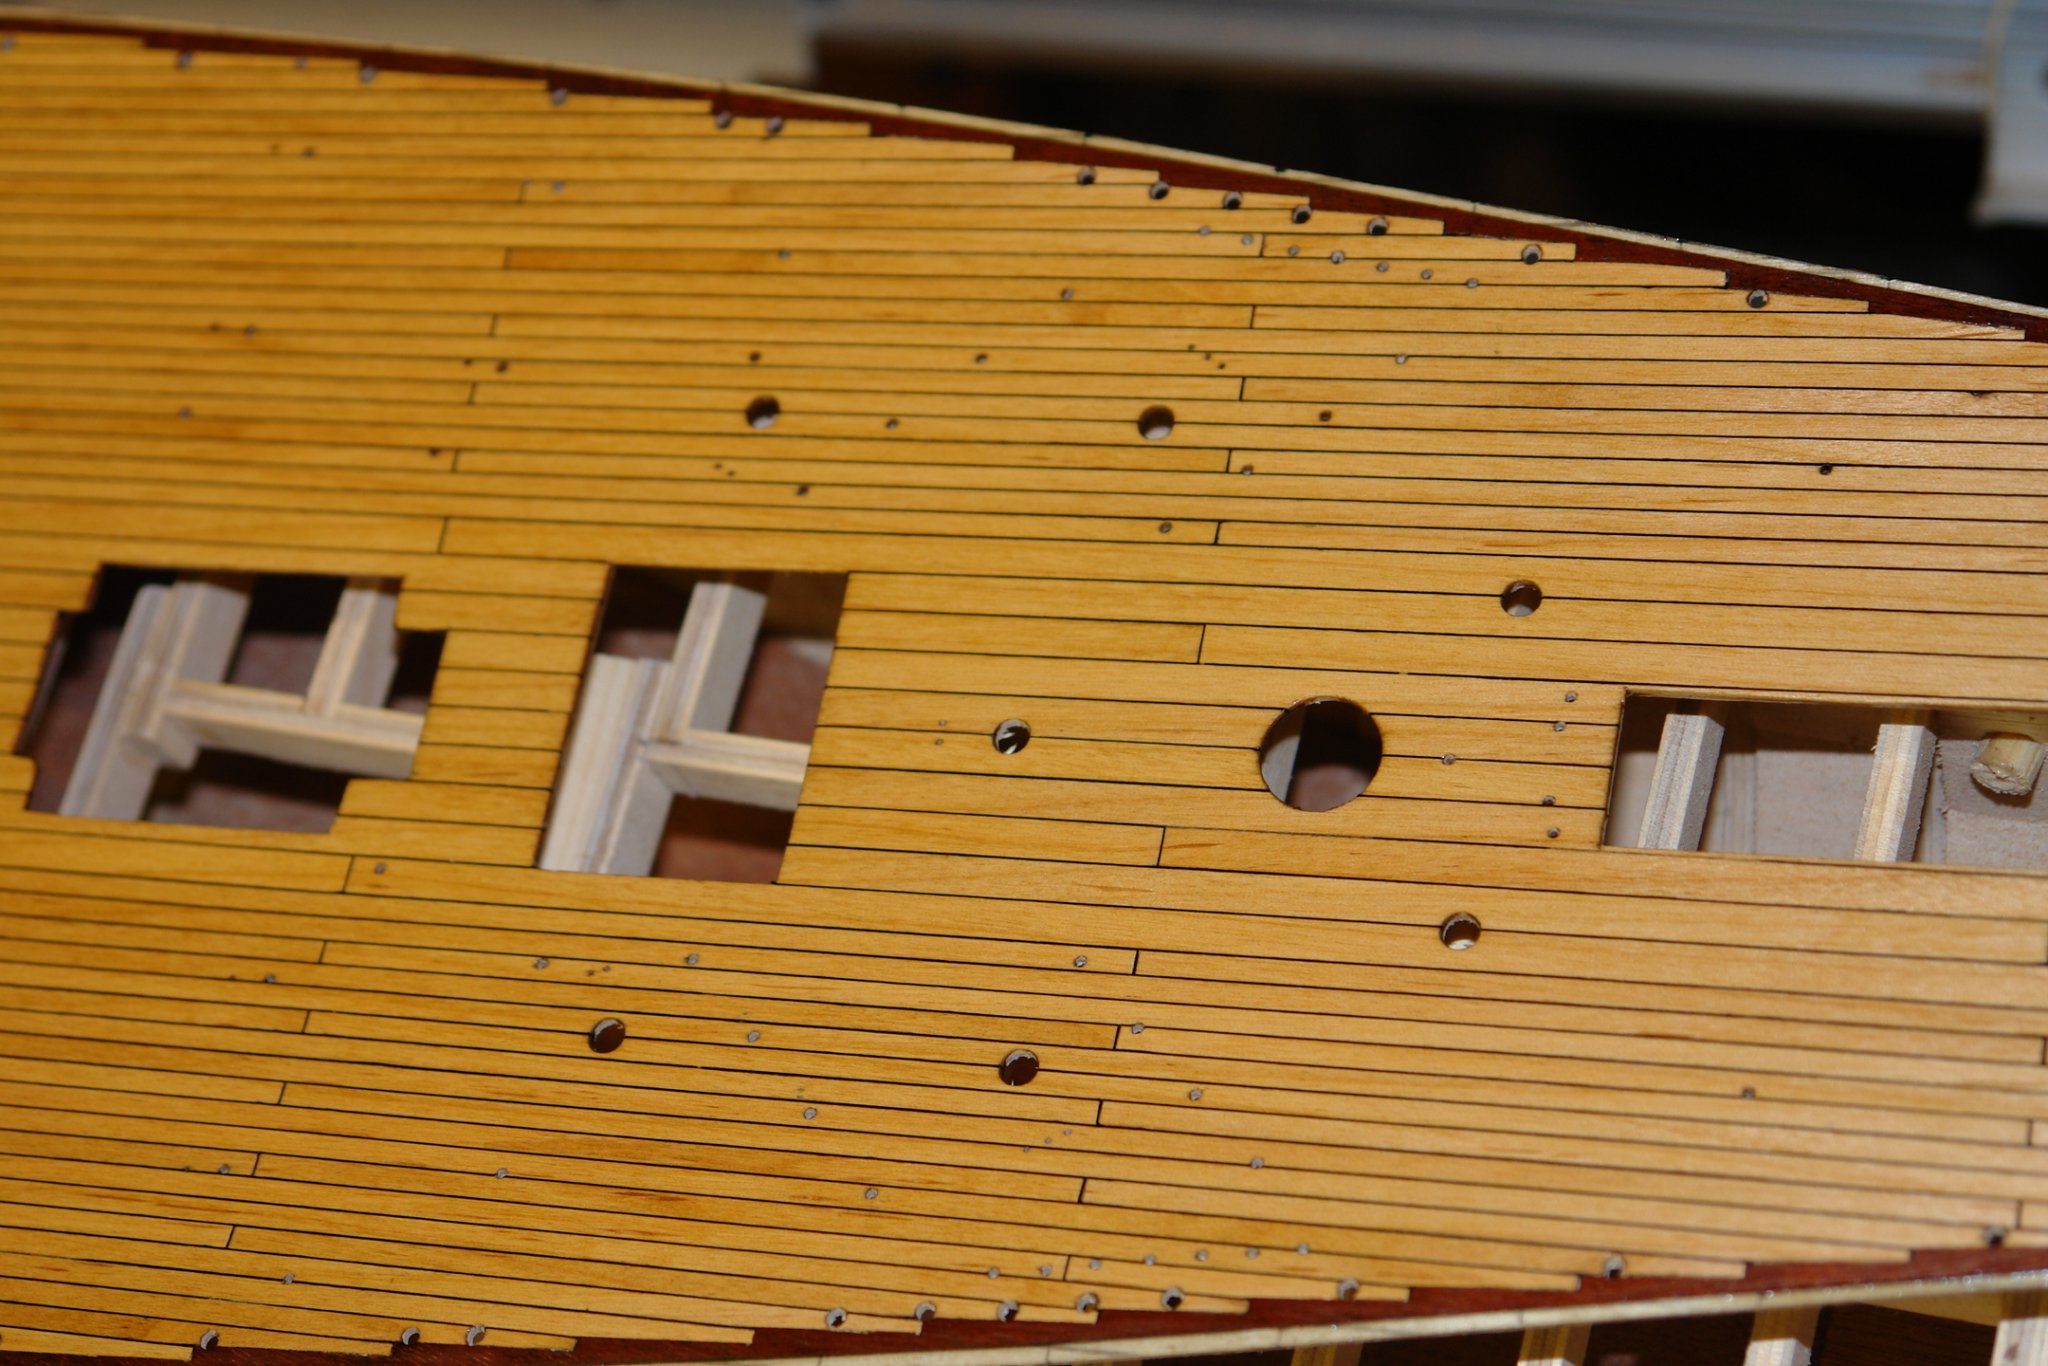
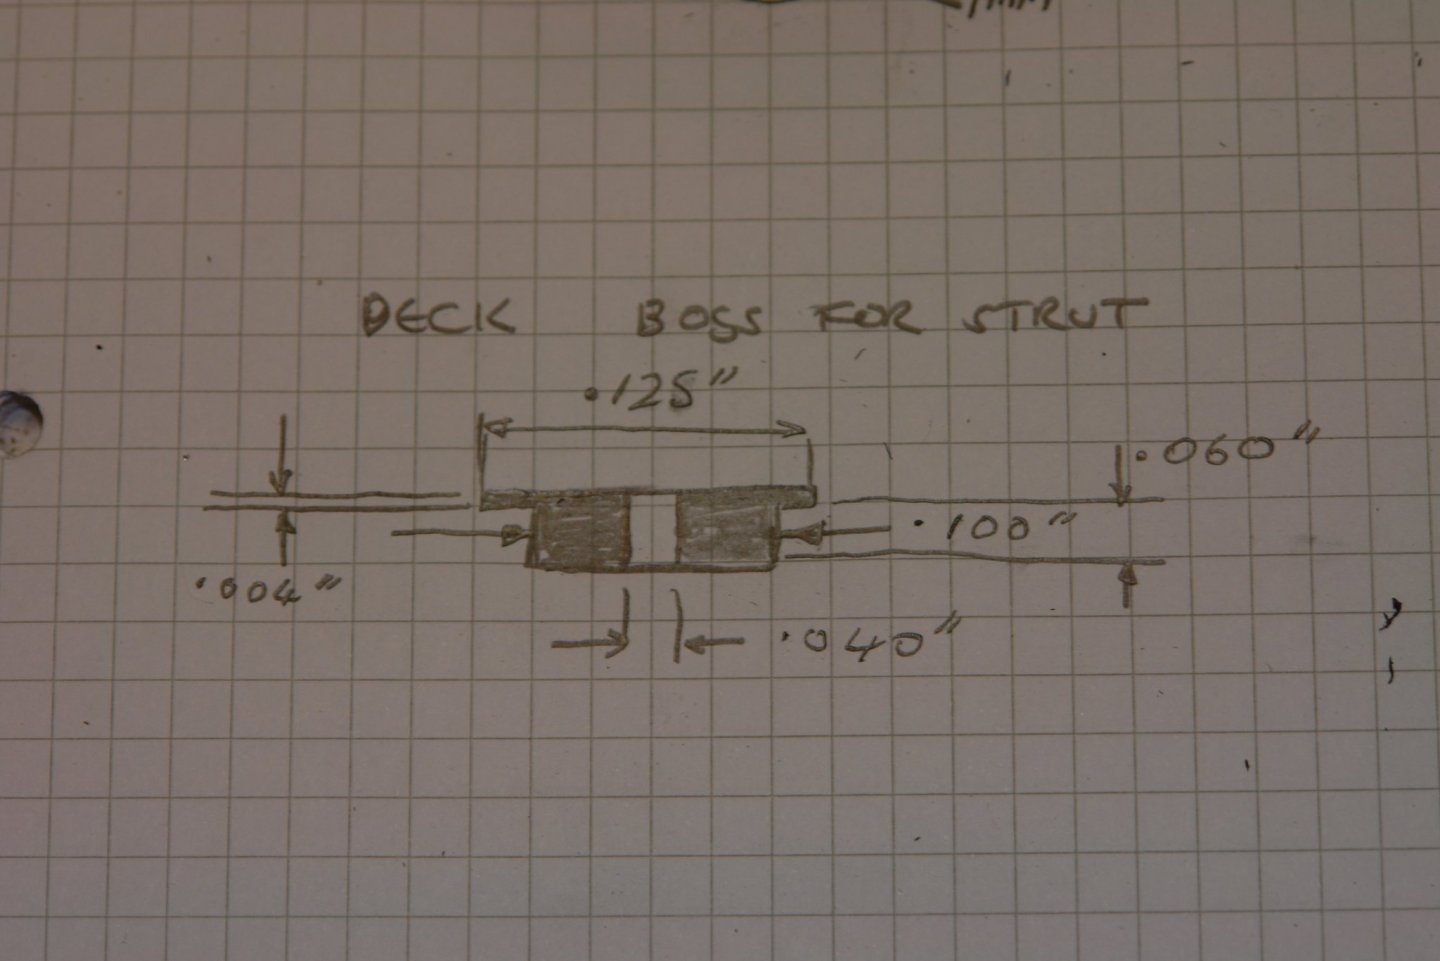
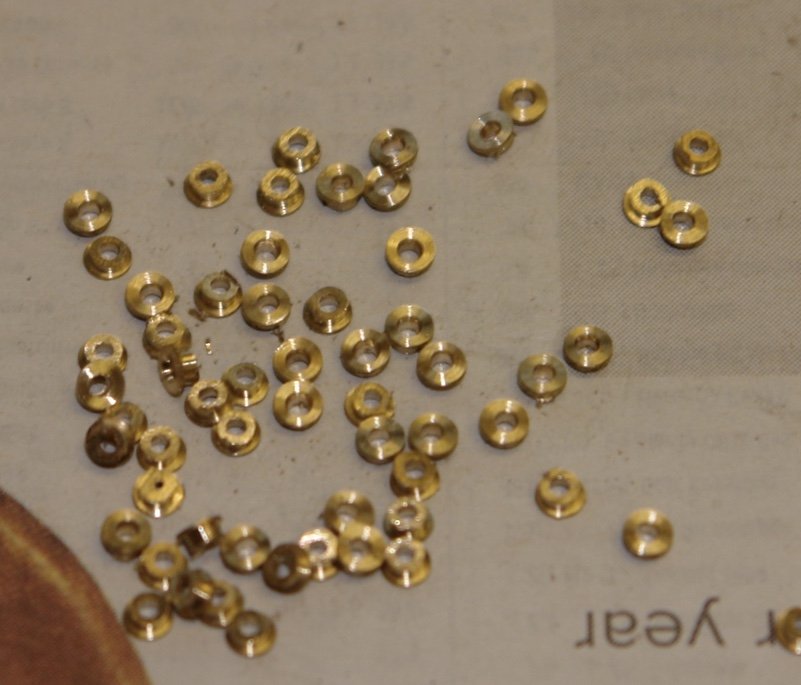
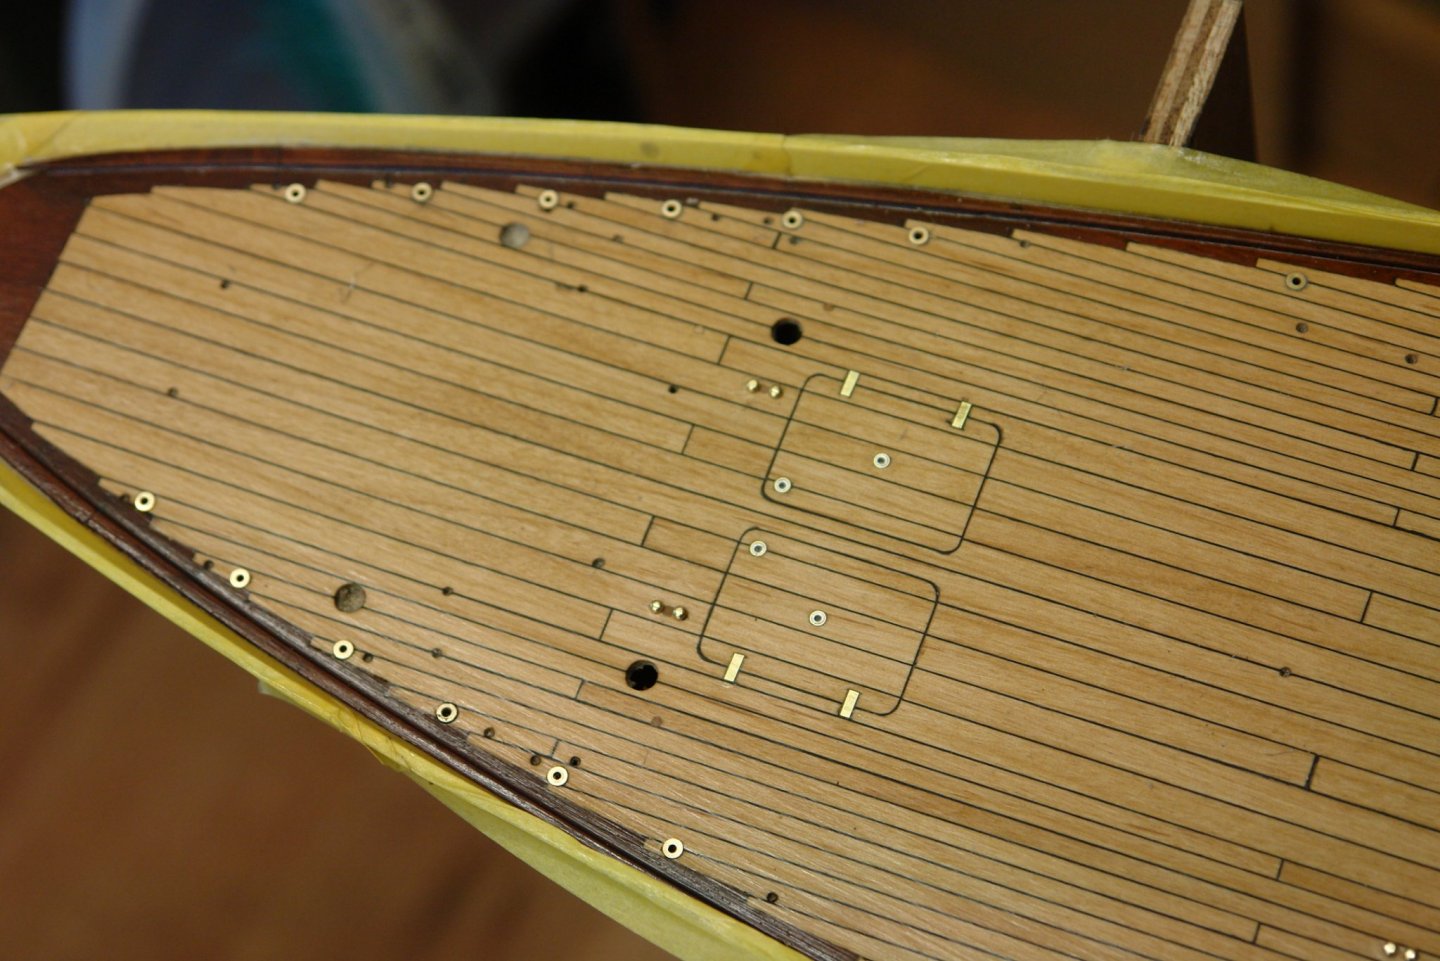
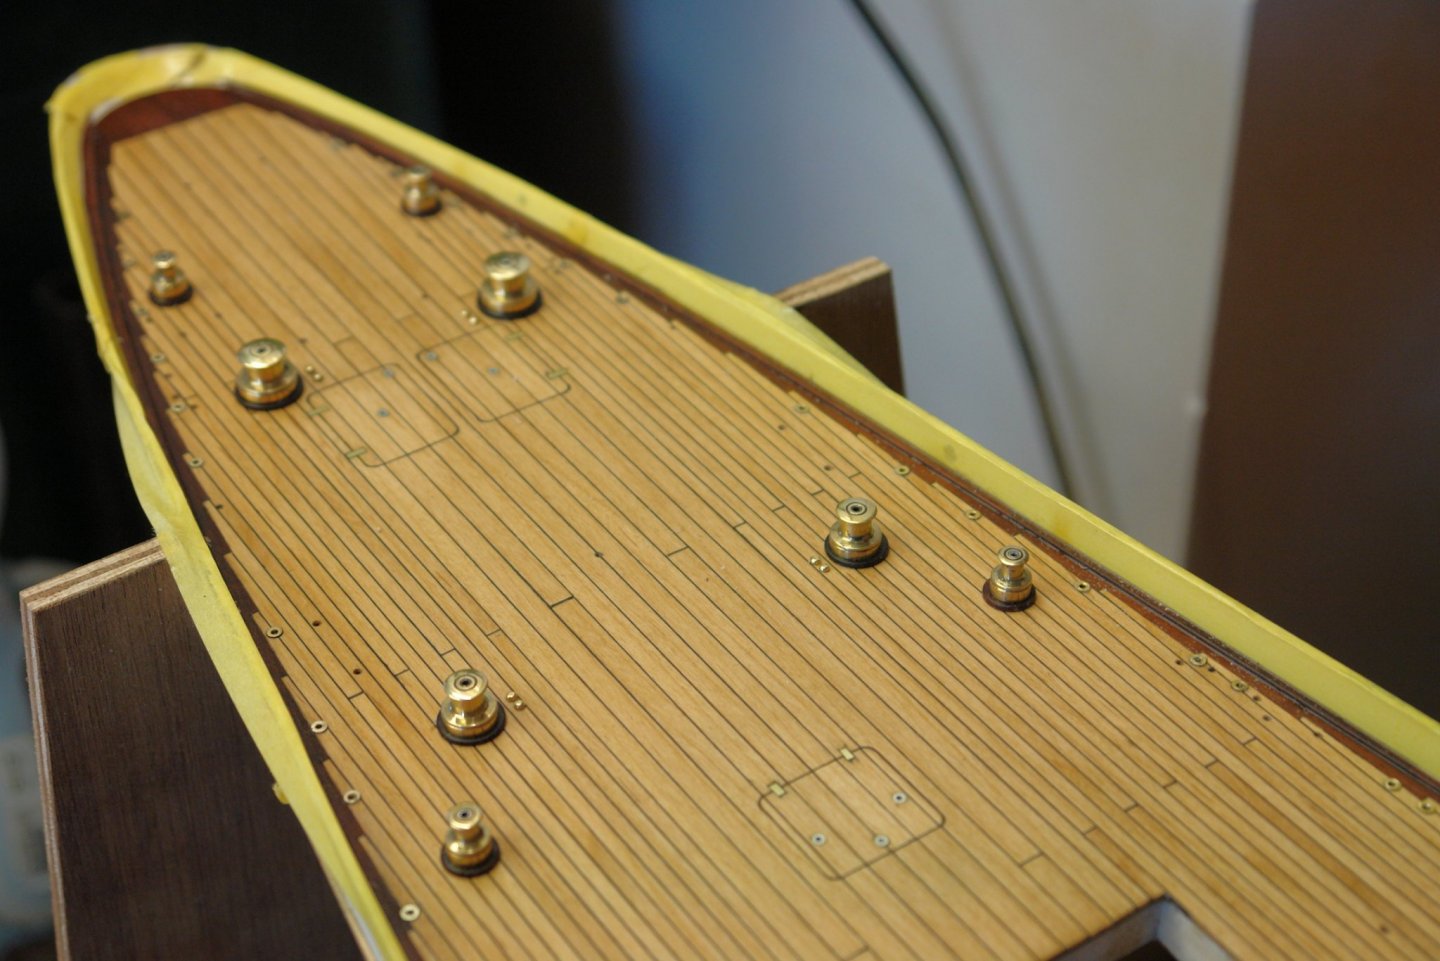
Yes Keith - Potholes. Don't worry Druxey - I have started filling them. There are 100 bulwark strengthening struts. I will make them in 2 parts - the deck boss and the strut itself. The bosses were scaled from photographs as follows:- I embarked on a long production run. A couple of days later and I had 100 - all of which I then polished with 5000 grit wet and dry paper. Dedication would have got the job done quicker but after about an hour or so's production I was brain dead. I had to do a number of sessions. I then started gluing (CA) them in the previously drilled deck holes. I also glued the winch plinths on to the deck. Then temporarily put the winches in place. Sometimes it pays to make a few more fittings than are needed. But I never seem to learn the lesson!!!!!!!!!!!! A number of eyelet positions on either beam are dedicated to lashing points for the tender / dinghy's. These have a different type of deck fitting - smaller than the others. I made them from brass tube. A lot of work for little progress --------- but that is the reason we all love the hobby.


-
Nice improvised lathe Paul. Even has 2 speeds. Tool rest securing screw look a bit basic but if it works that's fine. Tailstock almost looks over engineered.
-
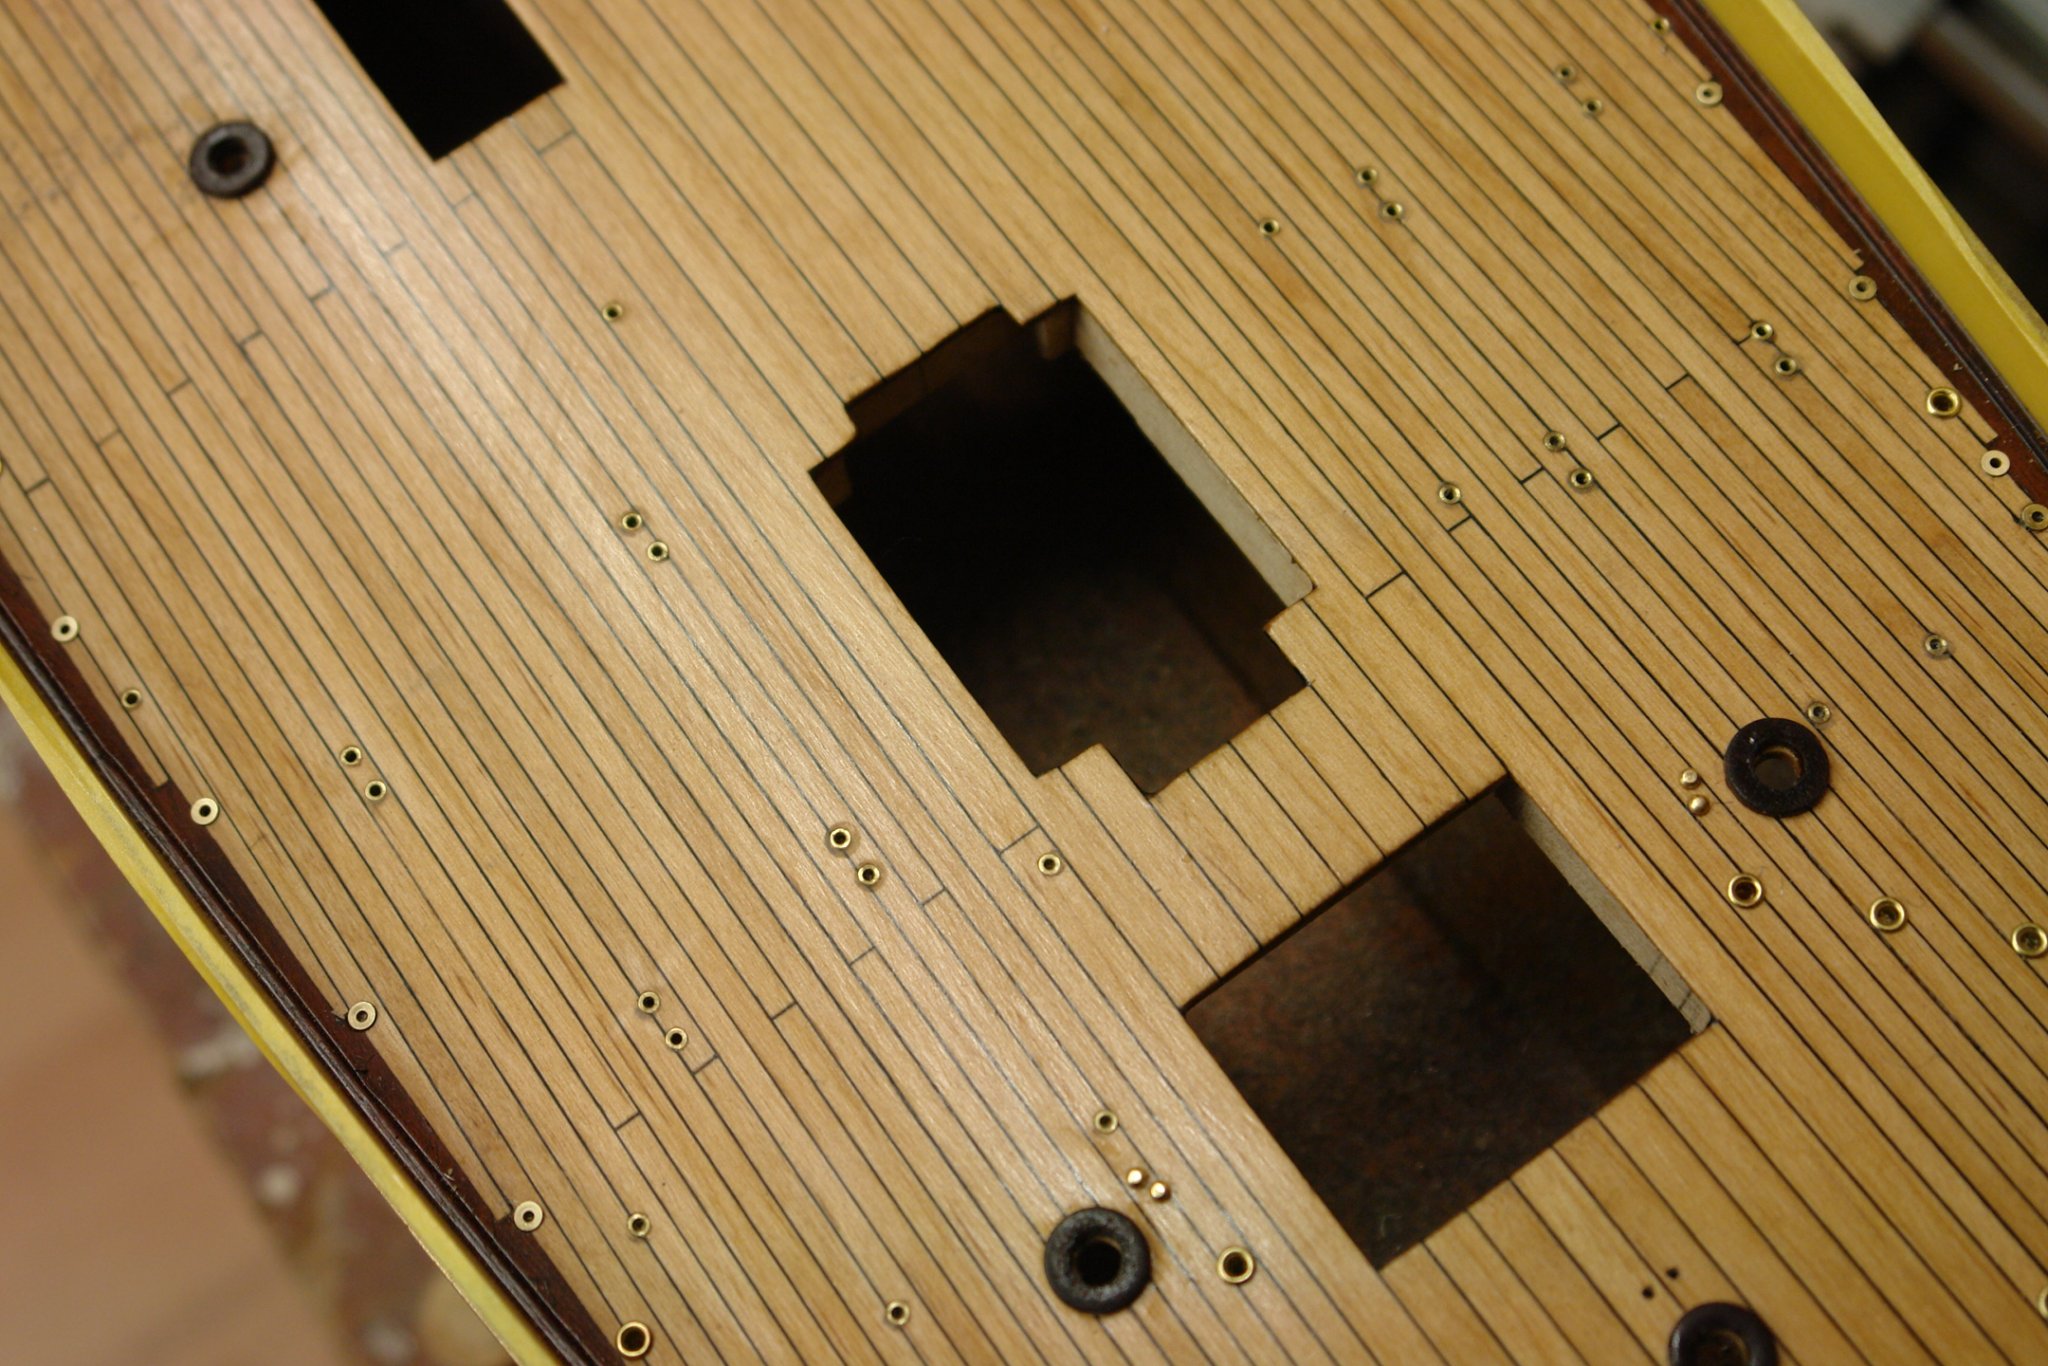
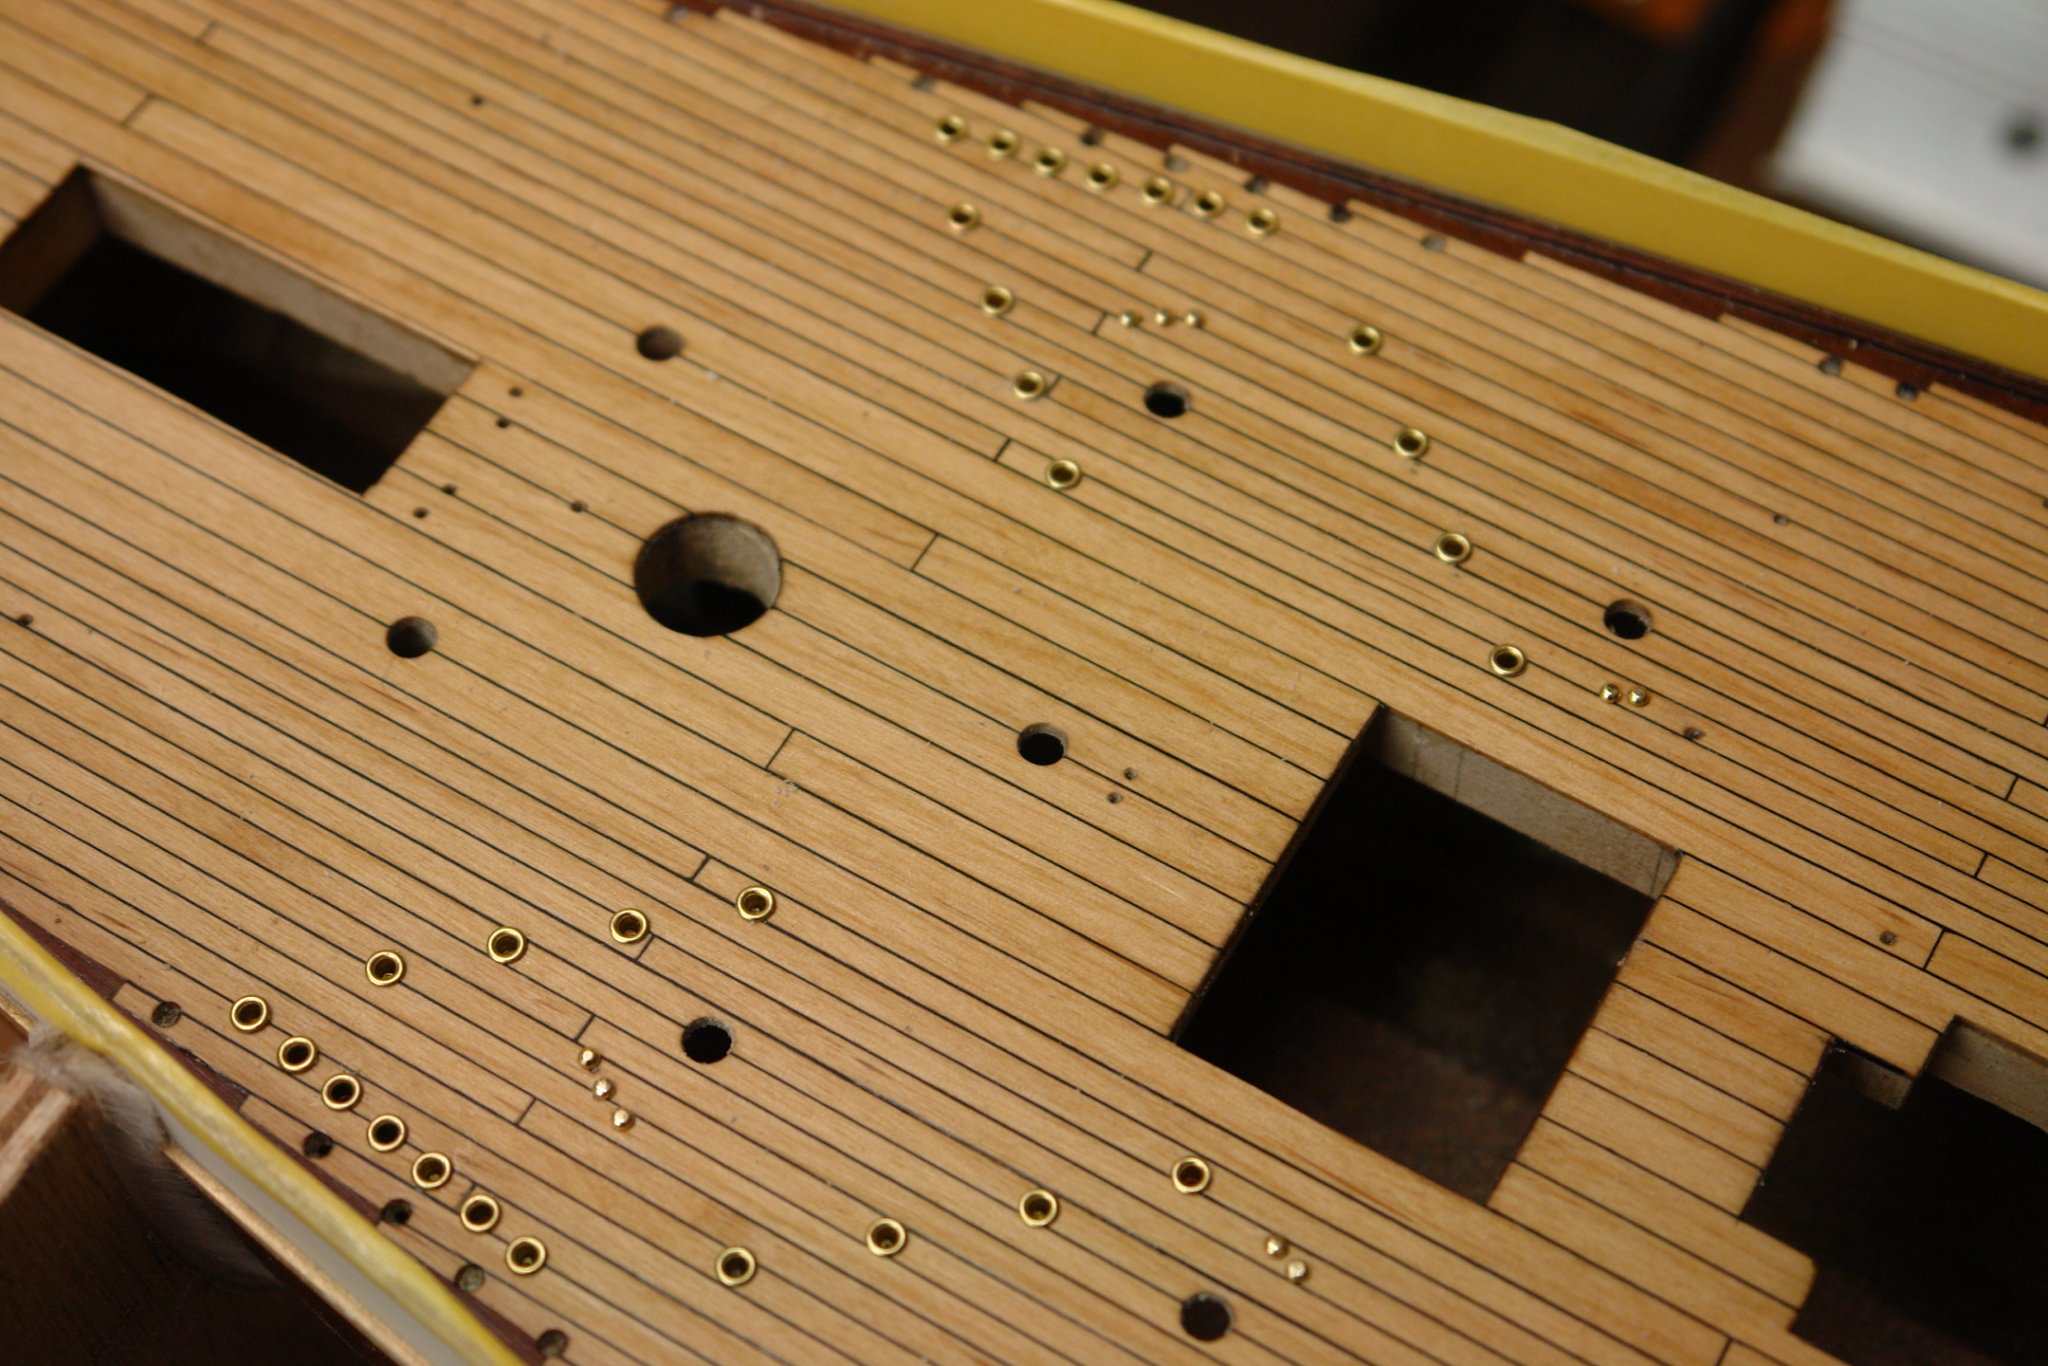
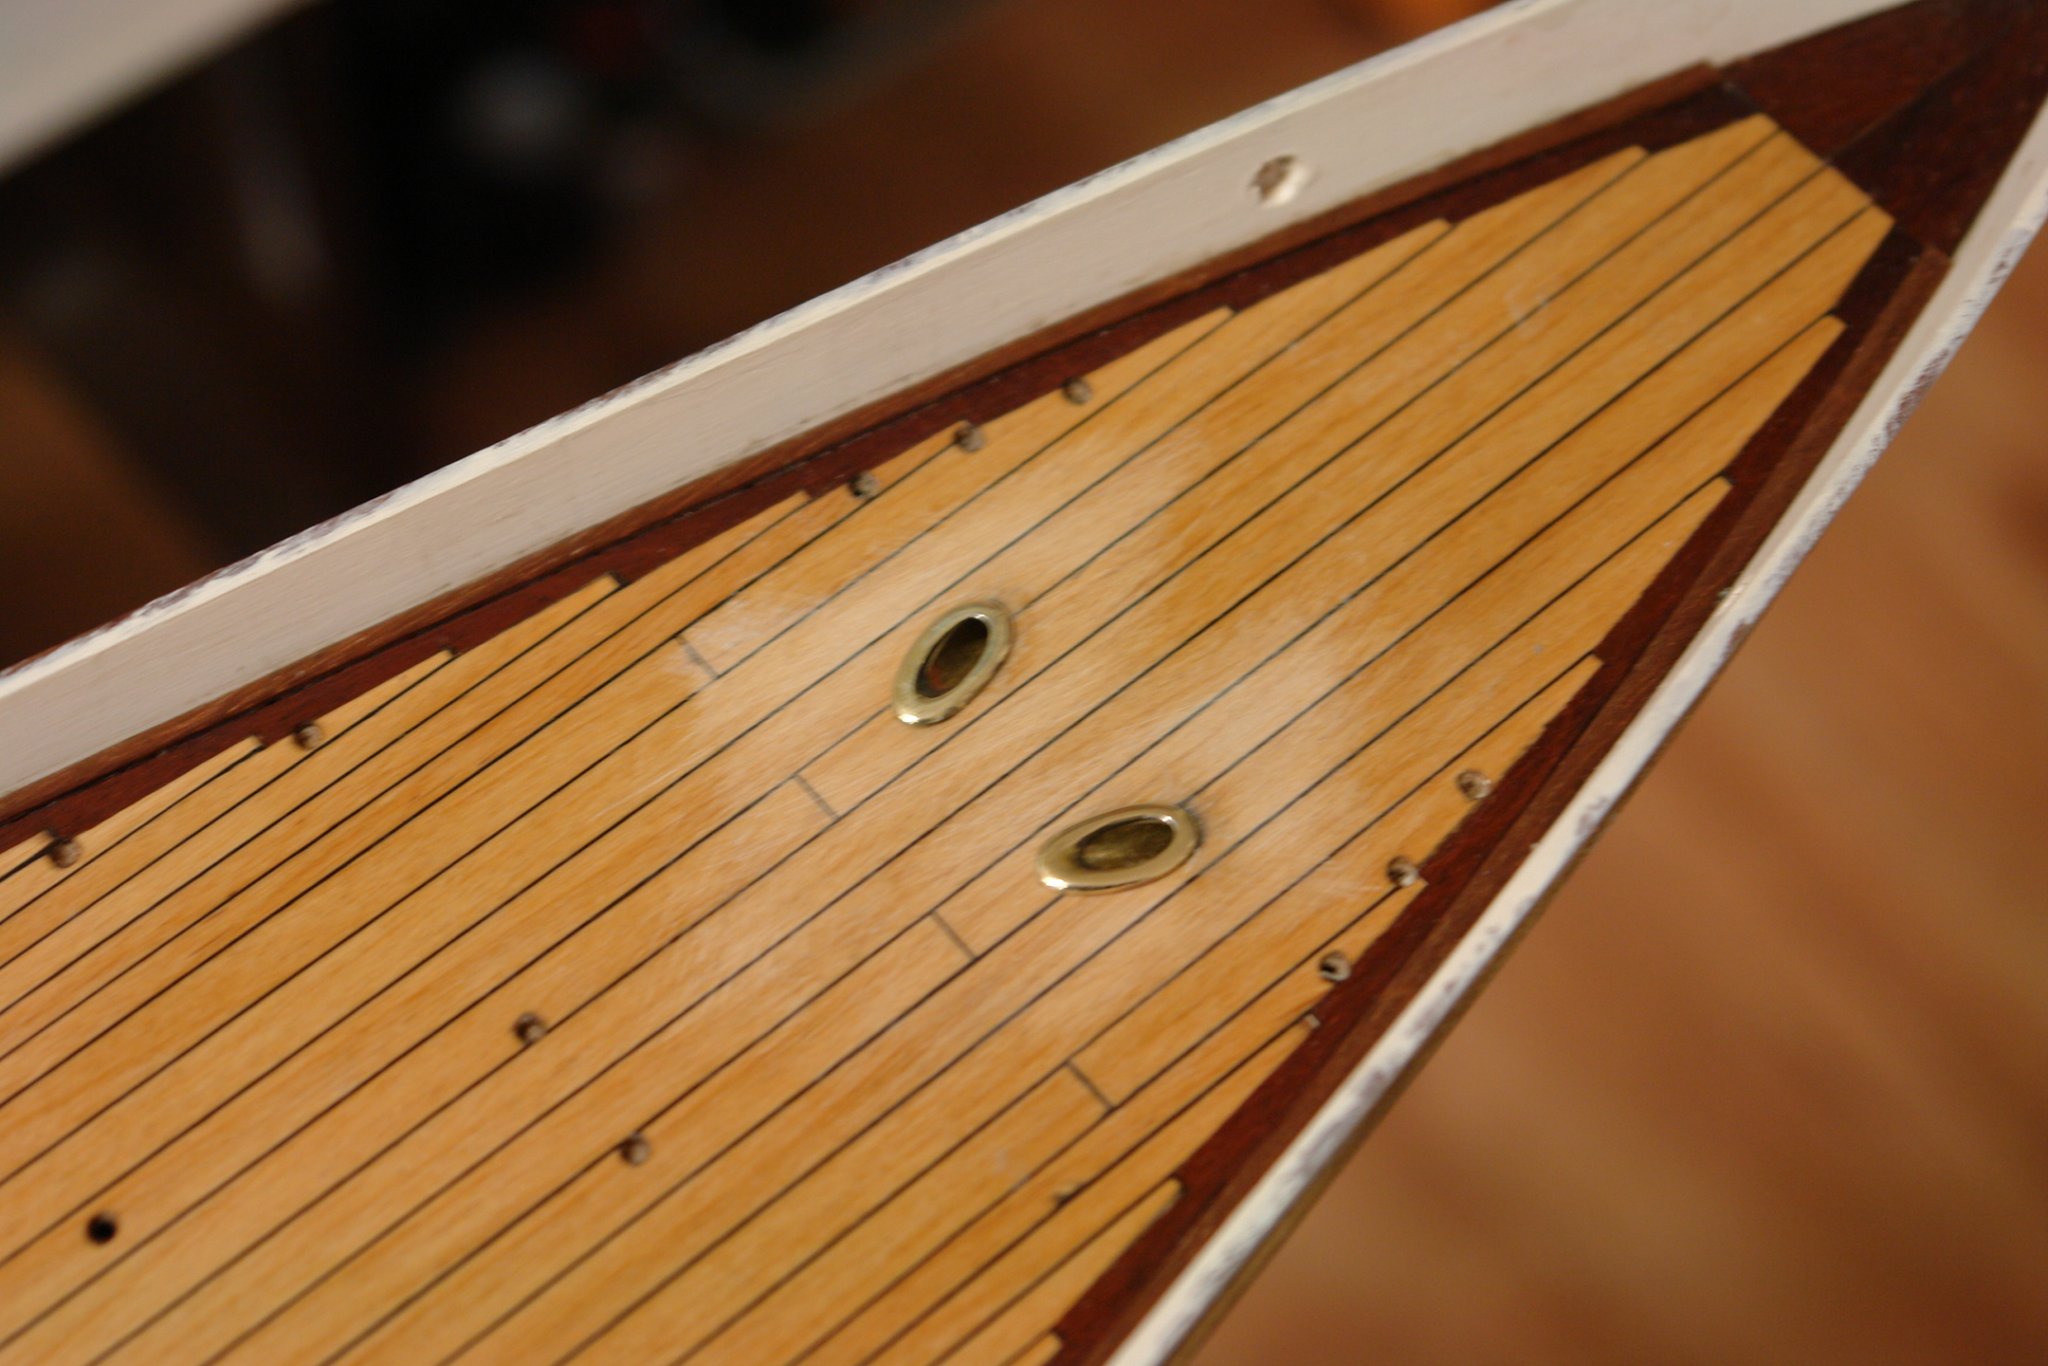
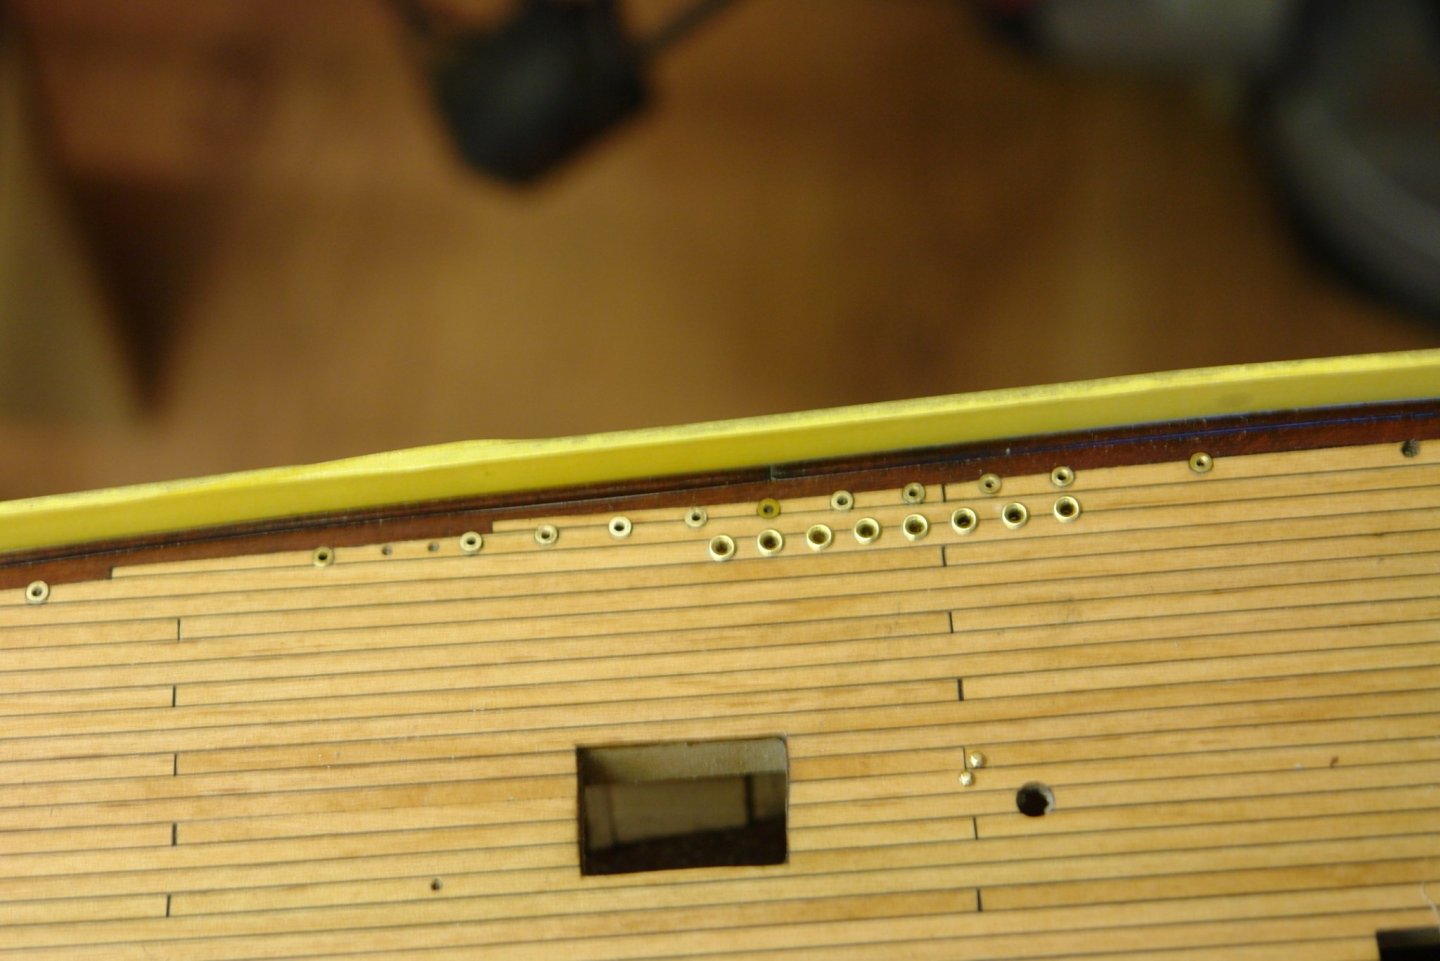
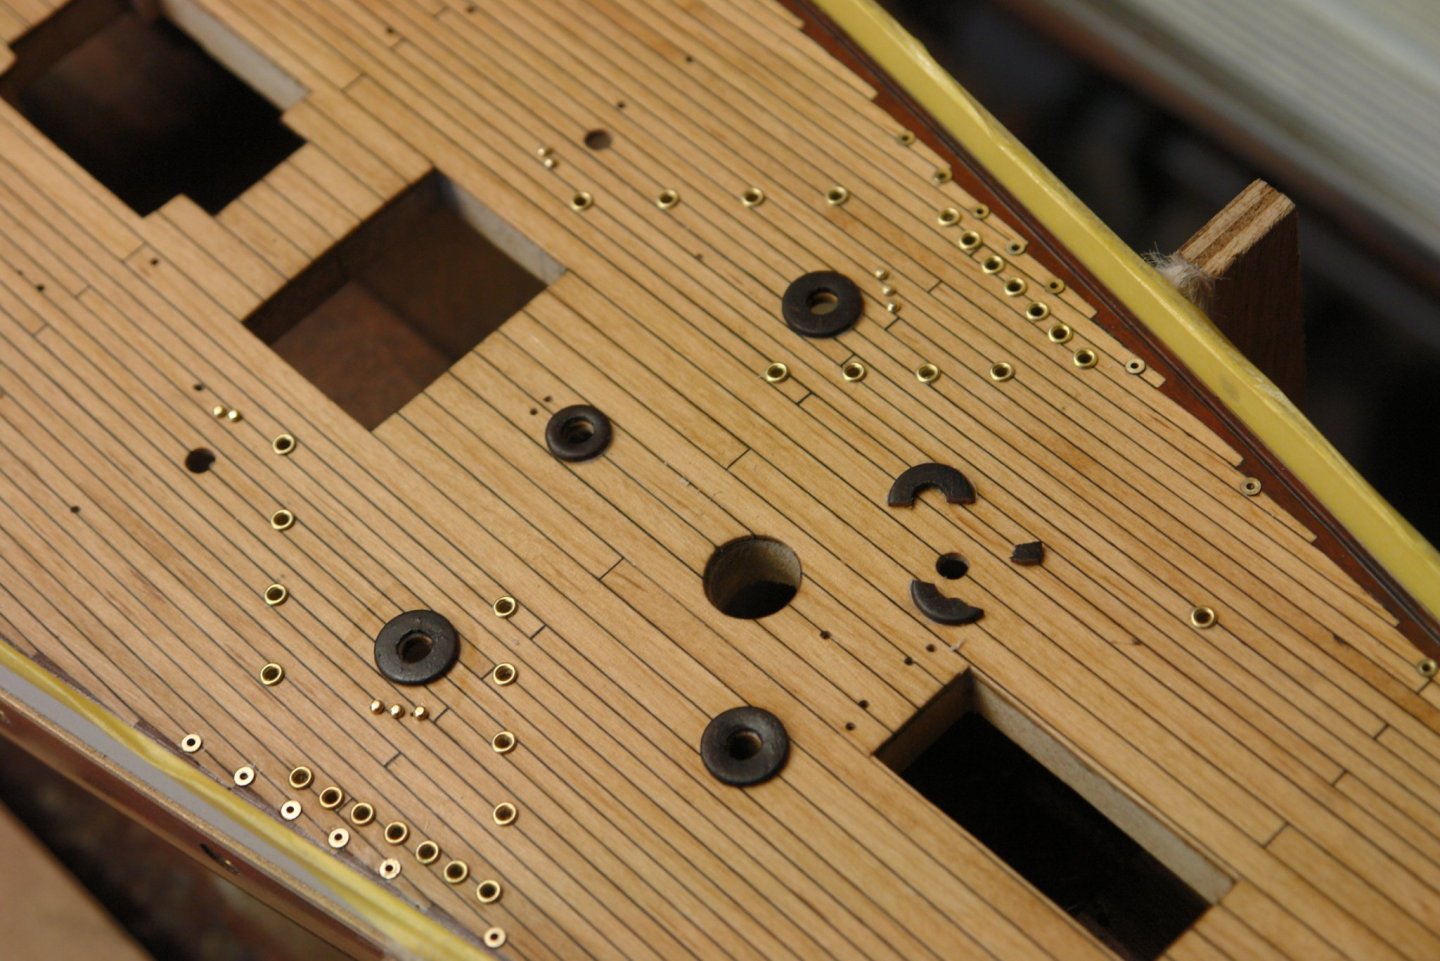
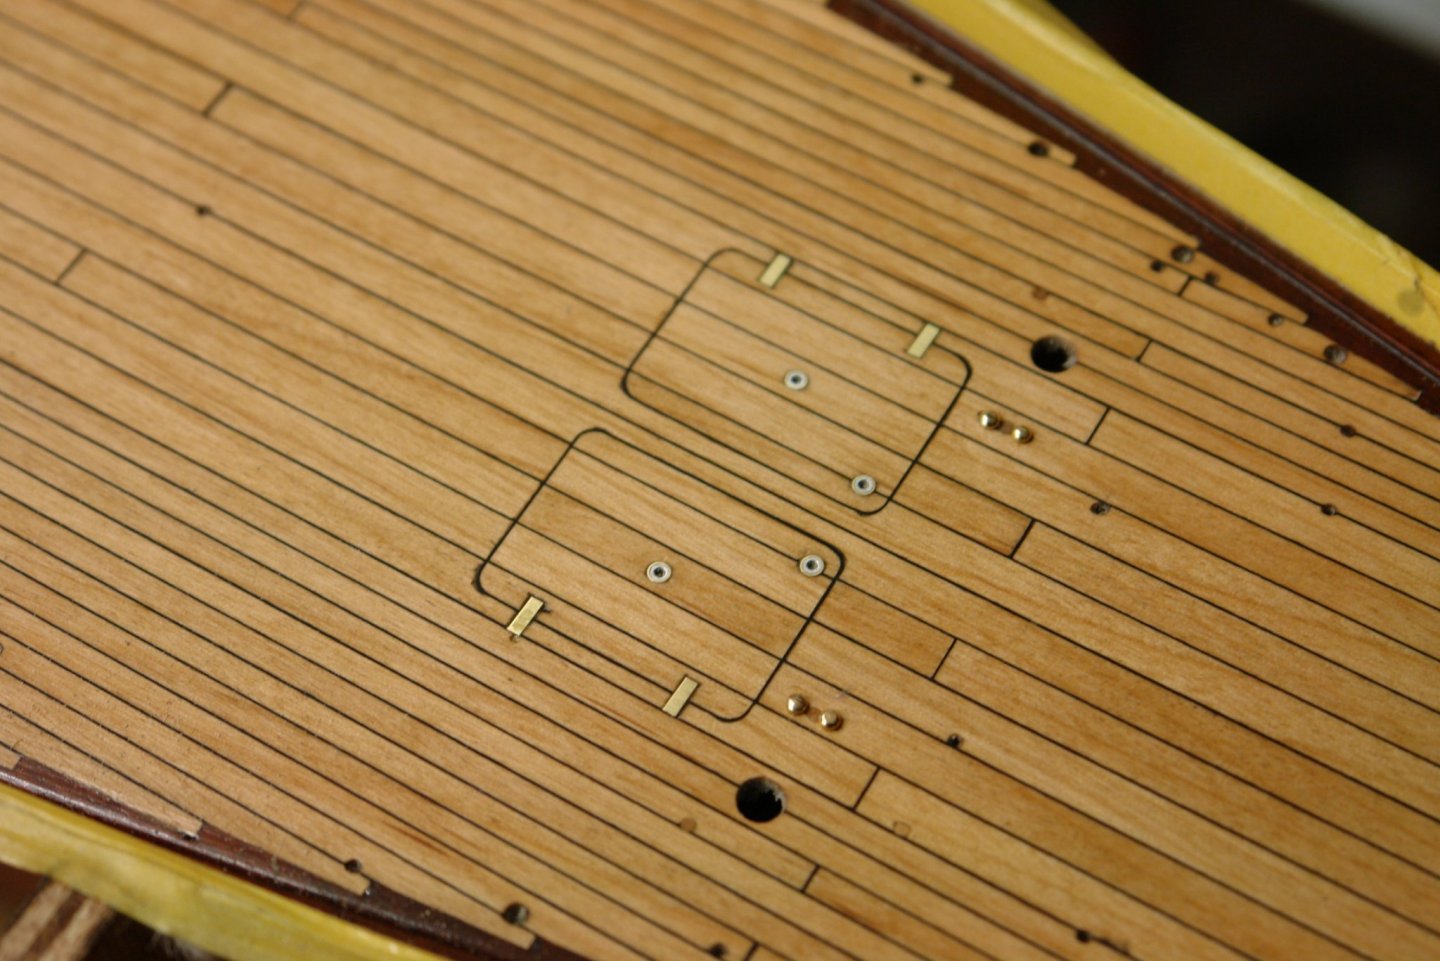
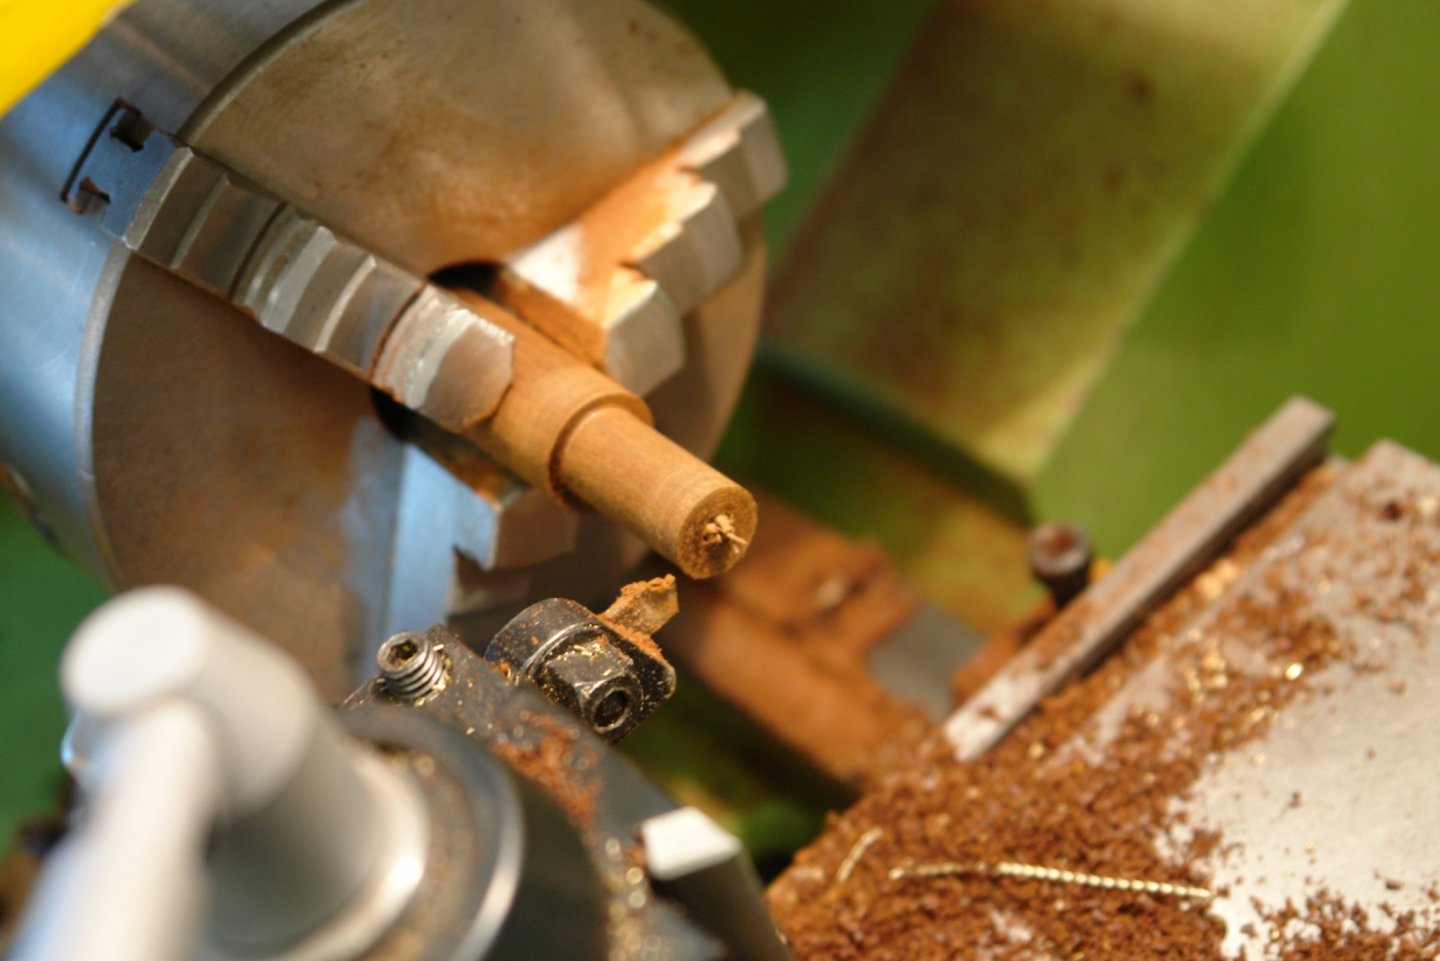
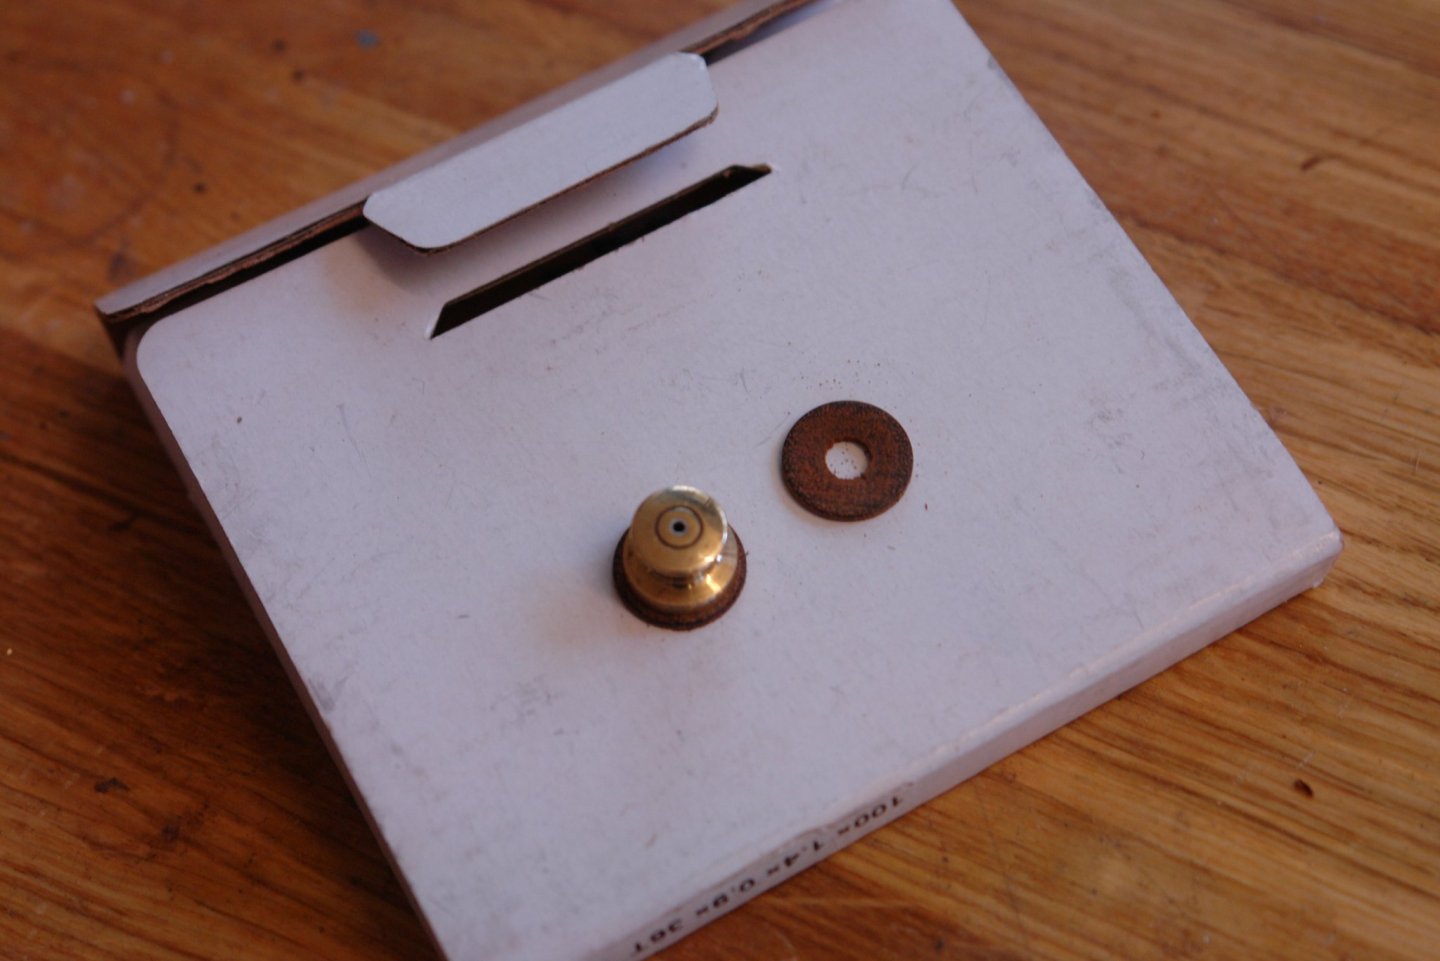
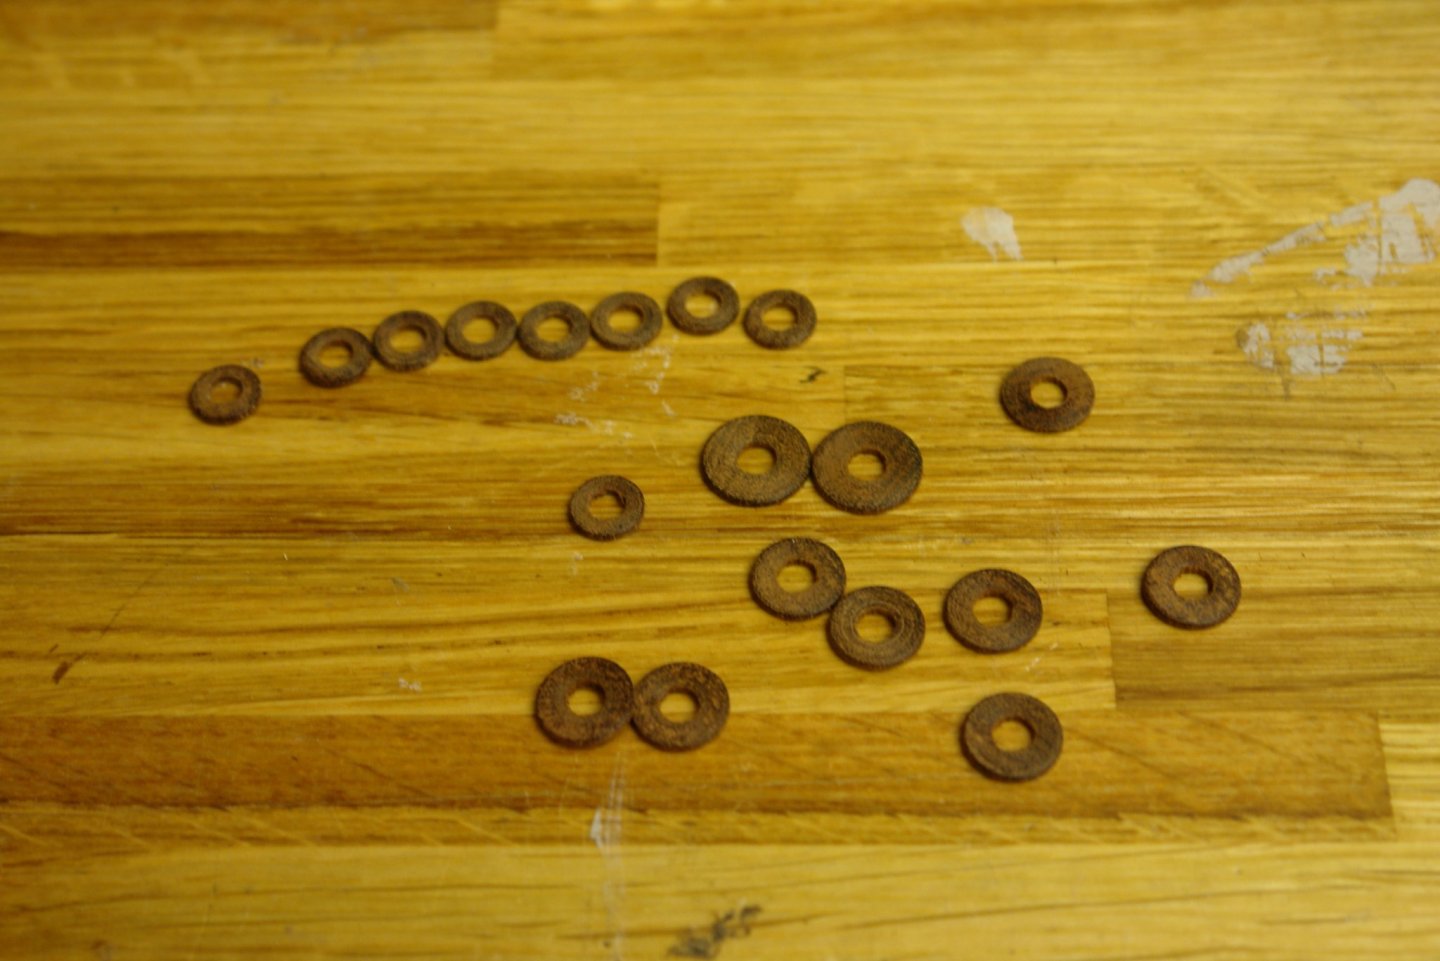
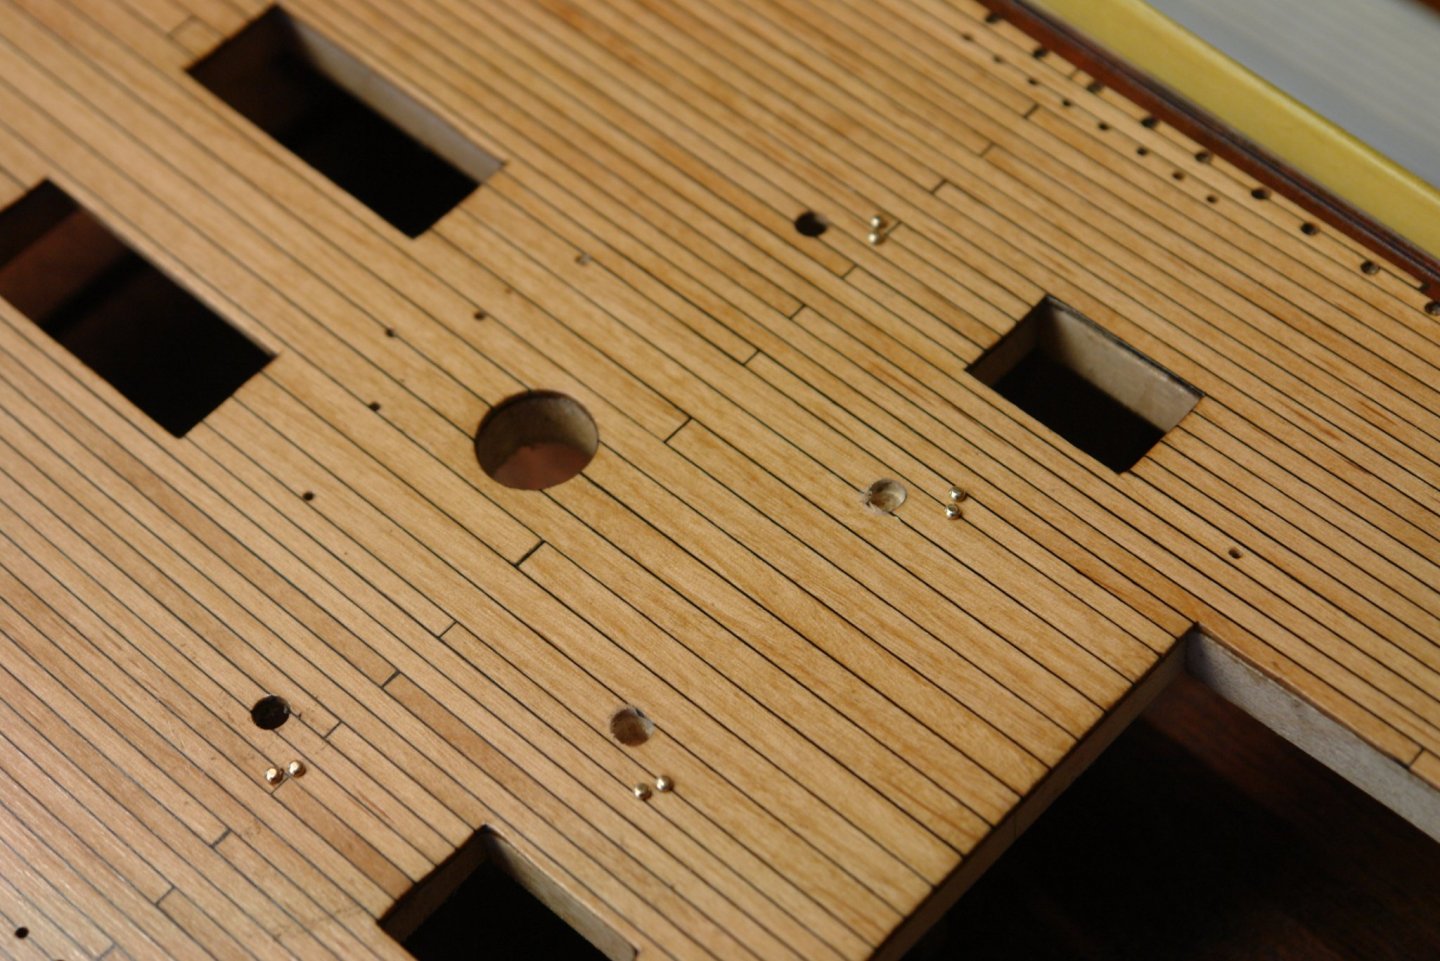
Thank you Allan. More bits of deck detail progressed today. The deck hatches appear to have recessed pull rings. I simulated them by inserting a aluminium tube in a brass tube and then parting off short lengths and gluing them in place before sanding back flush with the hatch. There are a multitude of points on the deck where eyebolts can be fitted. These take the form of a boss with a female screw into which the eyebolts or blanking plugs can be screwed. I am using small eyelets to create the boss and I will machine eyebolts to fit into these. I will need to make over a hundred eyebolts. The first step was to glue the eyelets in place with CA glue. I have done about 85% and will complete the rest later in the build. I got bored with eyelets so diverted on to the previously made winches. The winches sit on plinths - about .040" thick at scale size. I turned these from mahogany. I had been concerned that turning might be too severe an operation given that I was parting off across end grain. I sharpened the parting tool and hoped for the best - need not have worried all was well. Some time later I had a full set of "washers". I will give them a few coats of poly before gluing them in place.


-
lovely lacing Bedford - very impressive.
-
Oh dear Keith you must be suffering from early onset perfectionism. I do like these transitional warships.
-
It seems to me that you made remarkably quick progress Gary. I'm not quite sure why you needed to pin in the bottom of the winches - isn't the spigot on the bottom of the winch long enough to locate them? Obviously I din't encounter the problem because I made replacement winches.
-
Michael - thank you - I don't tend to use lubricant on brass unless I am making particularly flimsy parts and wanting to reduce cutting forces to a minimum. Bedford - You are welcome - I think we all learn from one another. Pat / Bedford - I should have said that the steady in the chuck isn't mounted with the cut away vertical. The top edge needs to be rotated about 20 degrees towards the front of the lathe. The act of cutting pushes the workpiece upwards and the rotation of the steady towards the front of the lathe means that this upward force is resisted.
-
Gary - In my sailing days we used to call it a Blob Knot - but your terminology would have been better. The overall views show her to be a little gem.
-
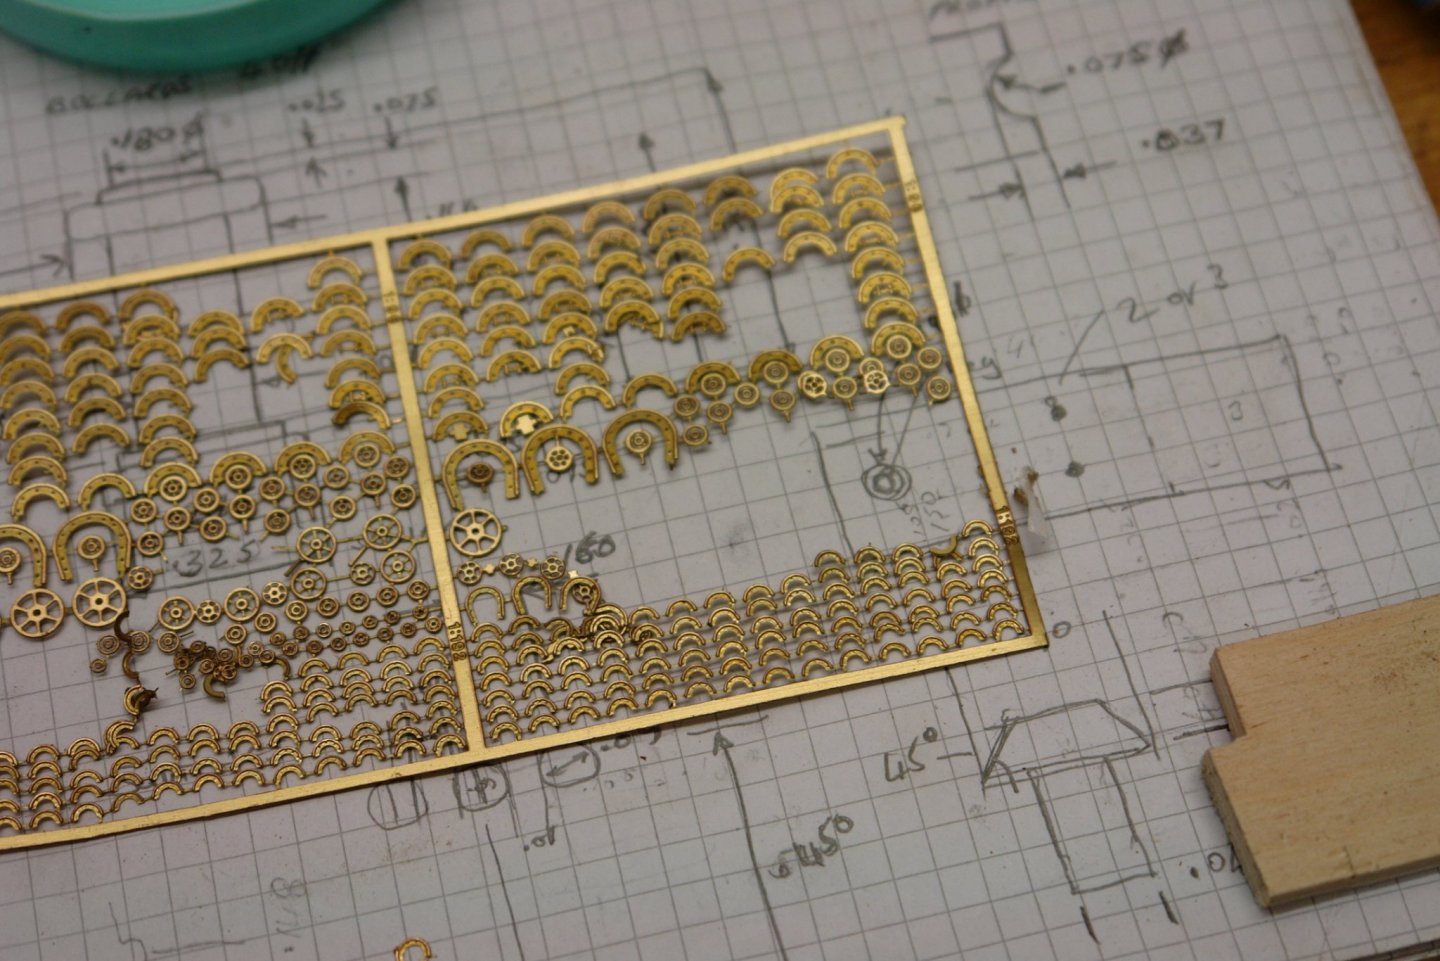
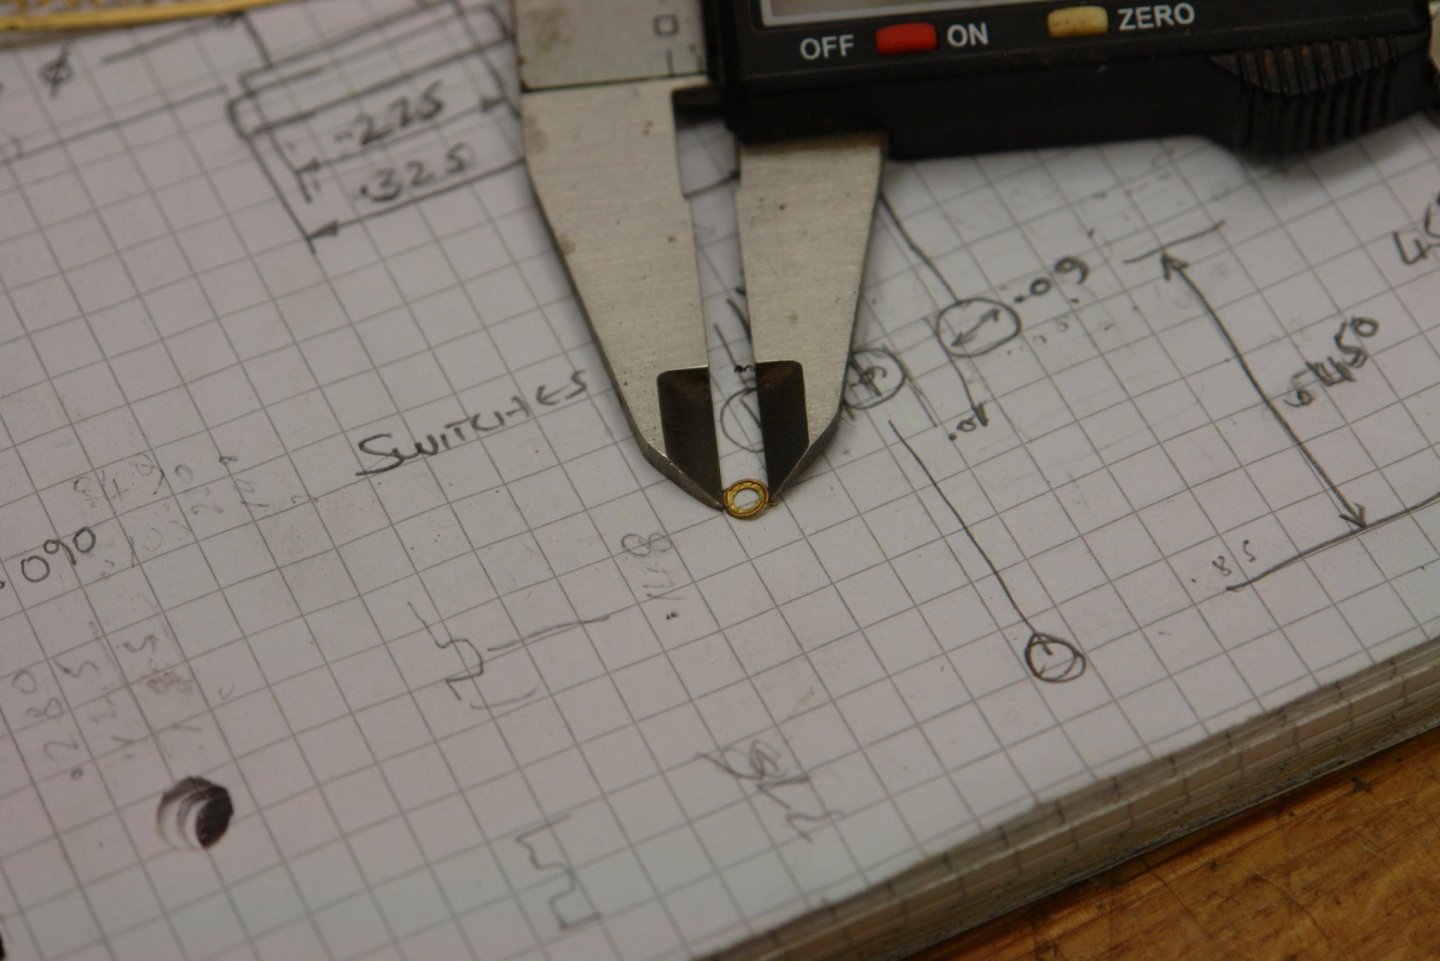
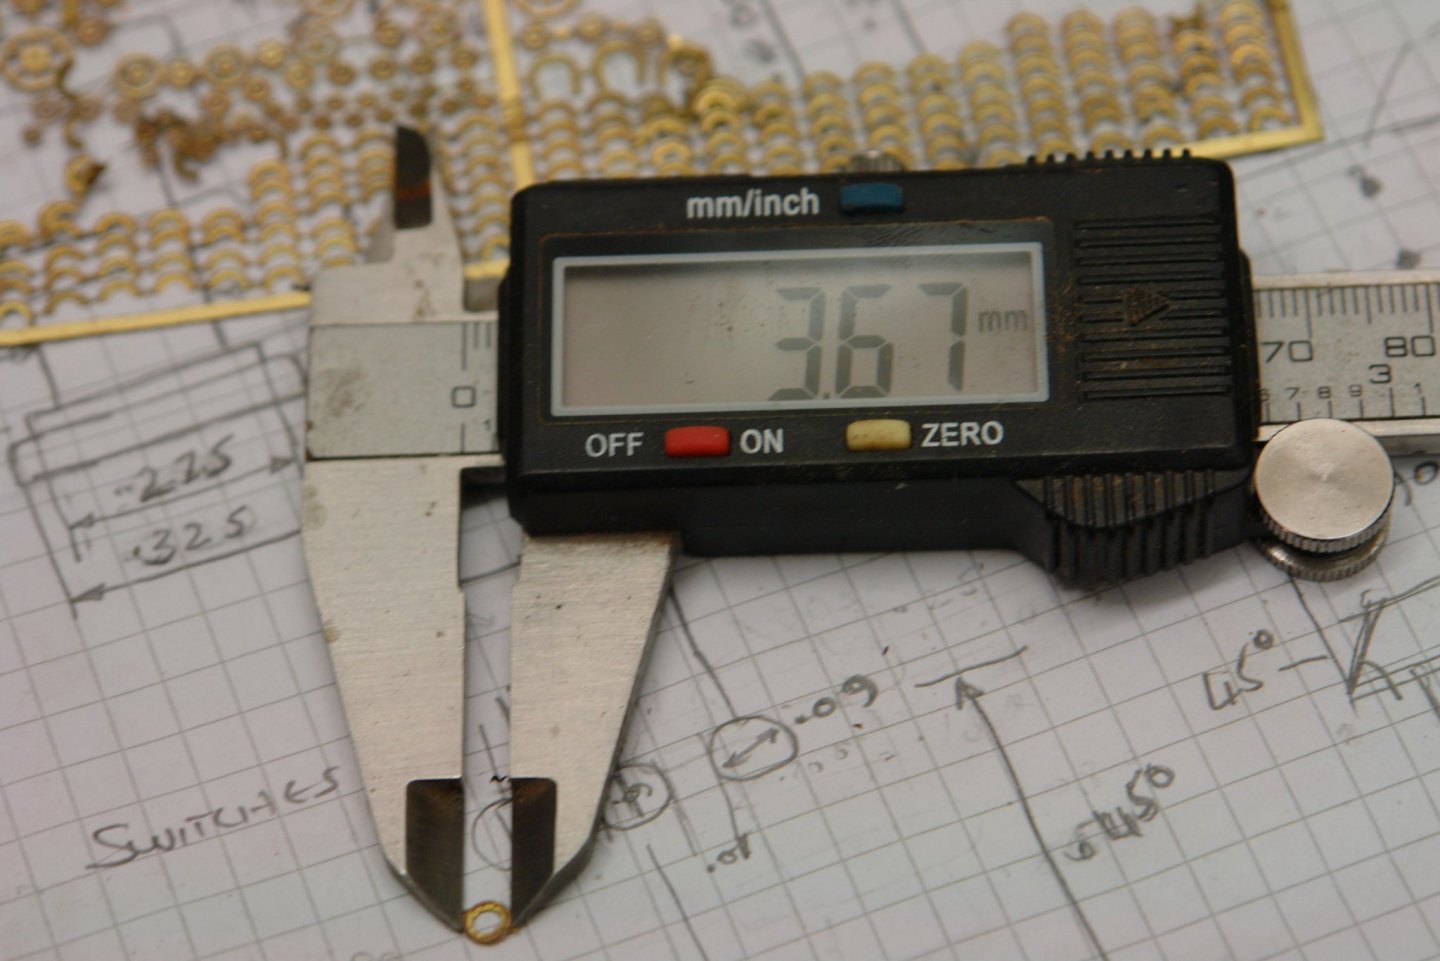
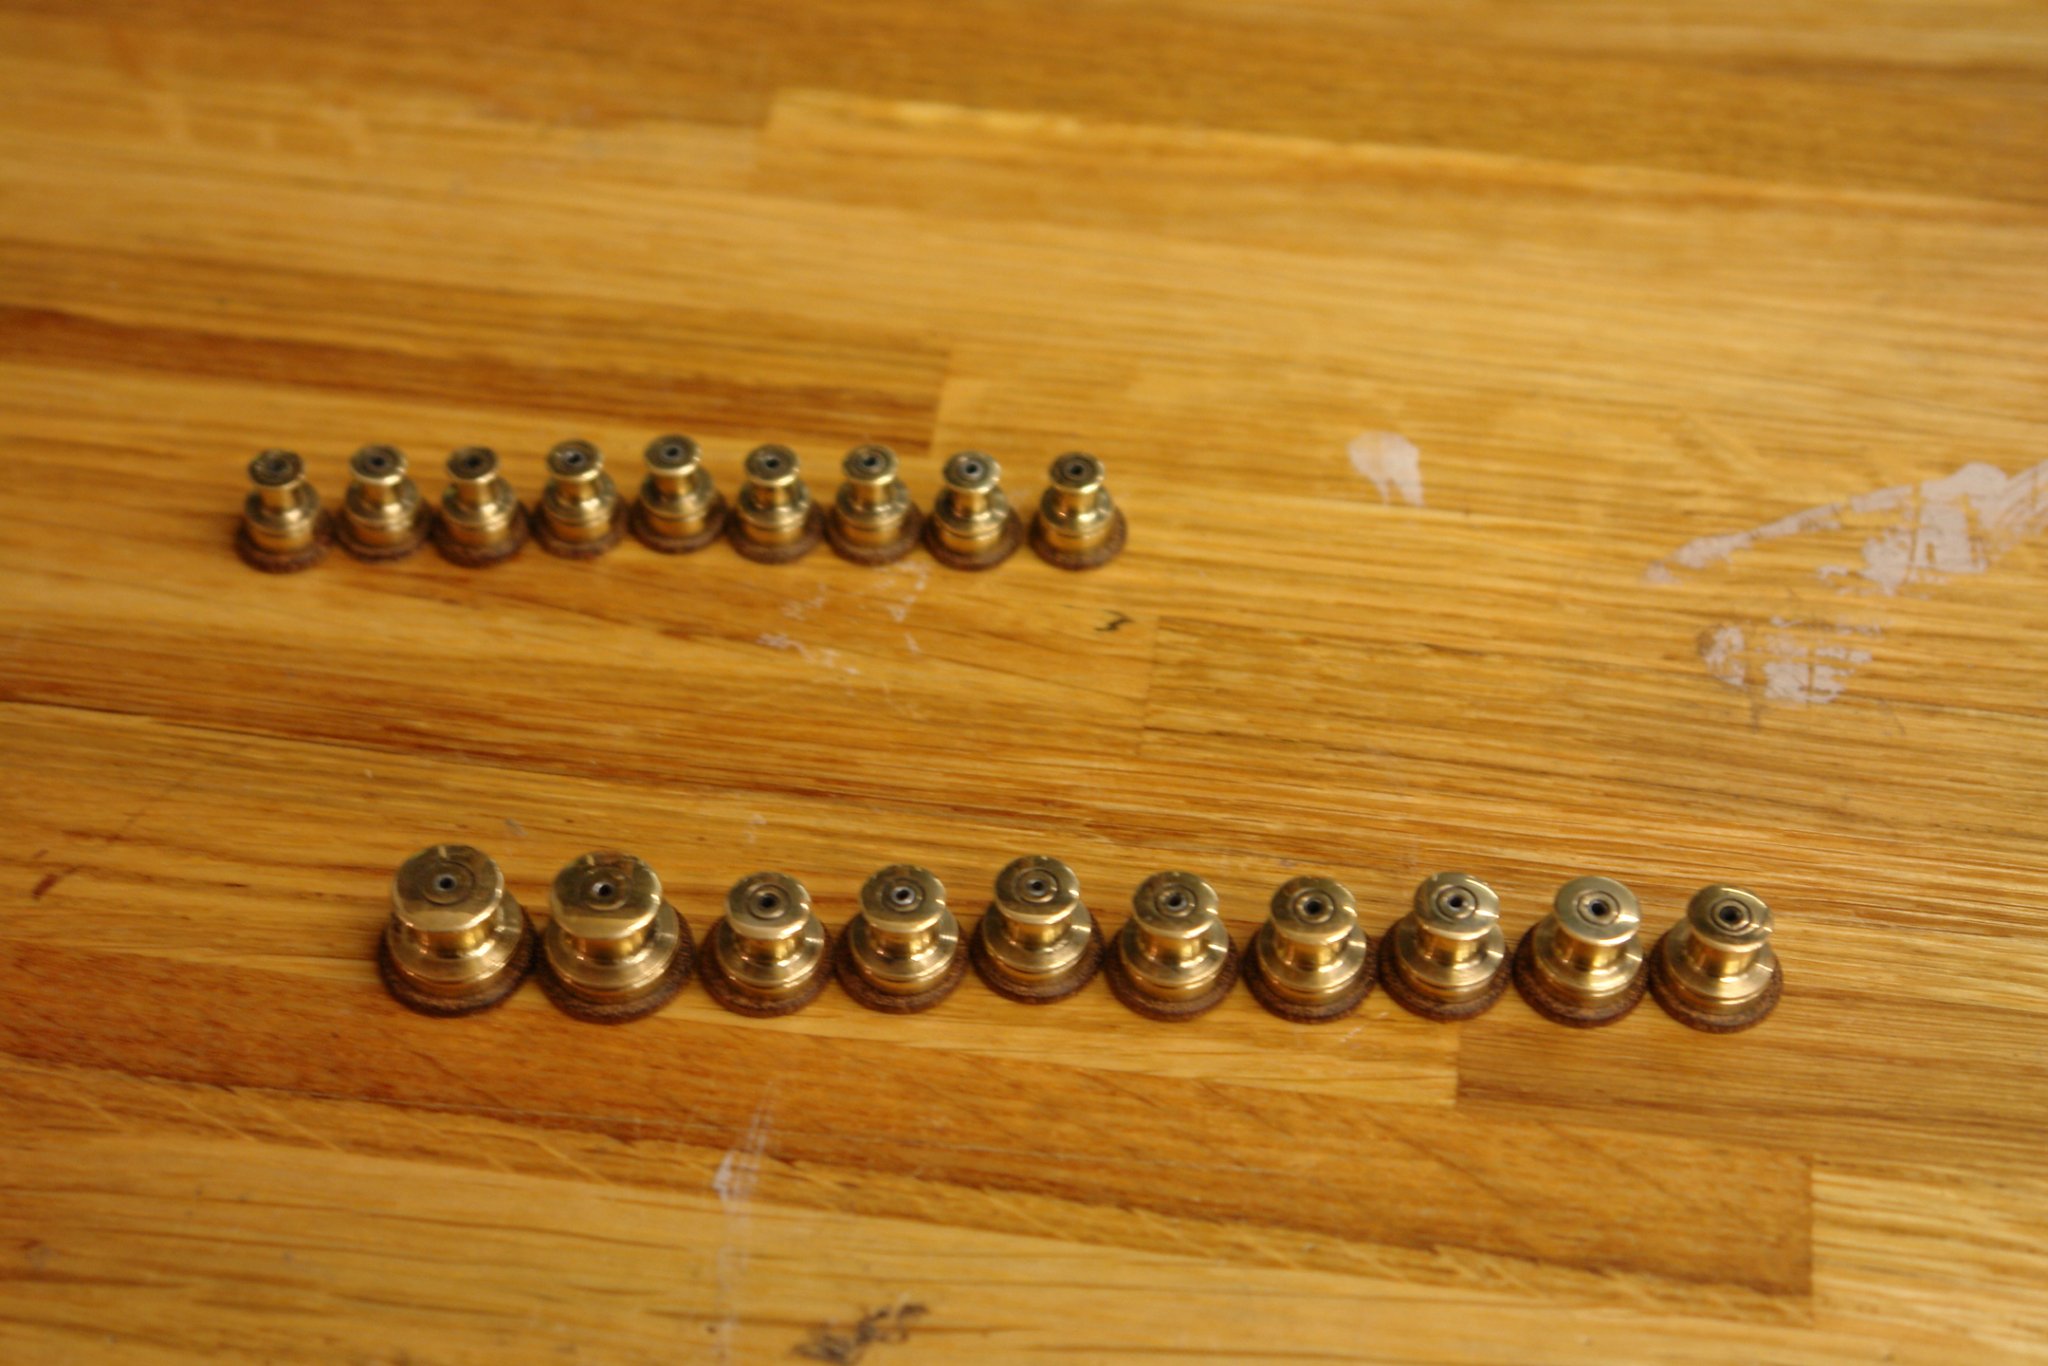
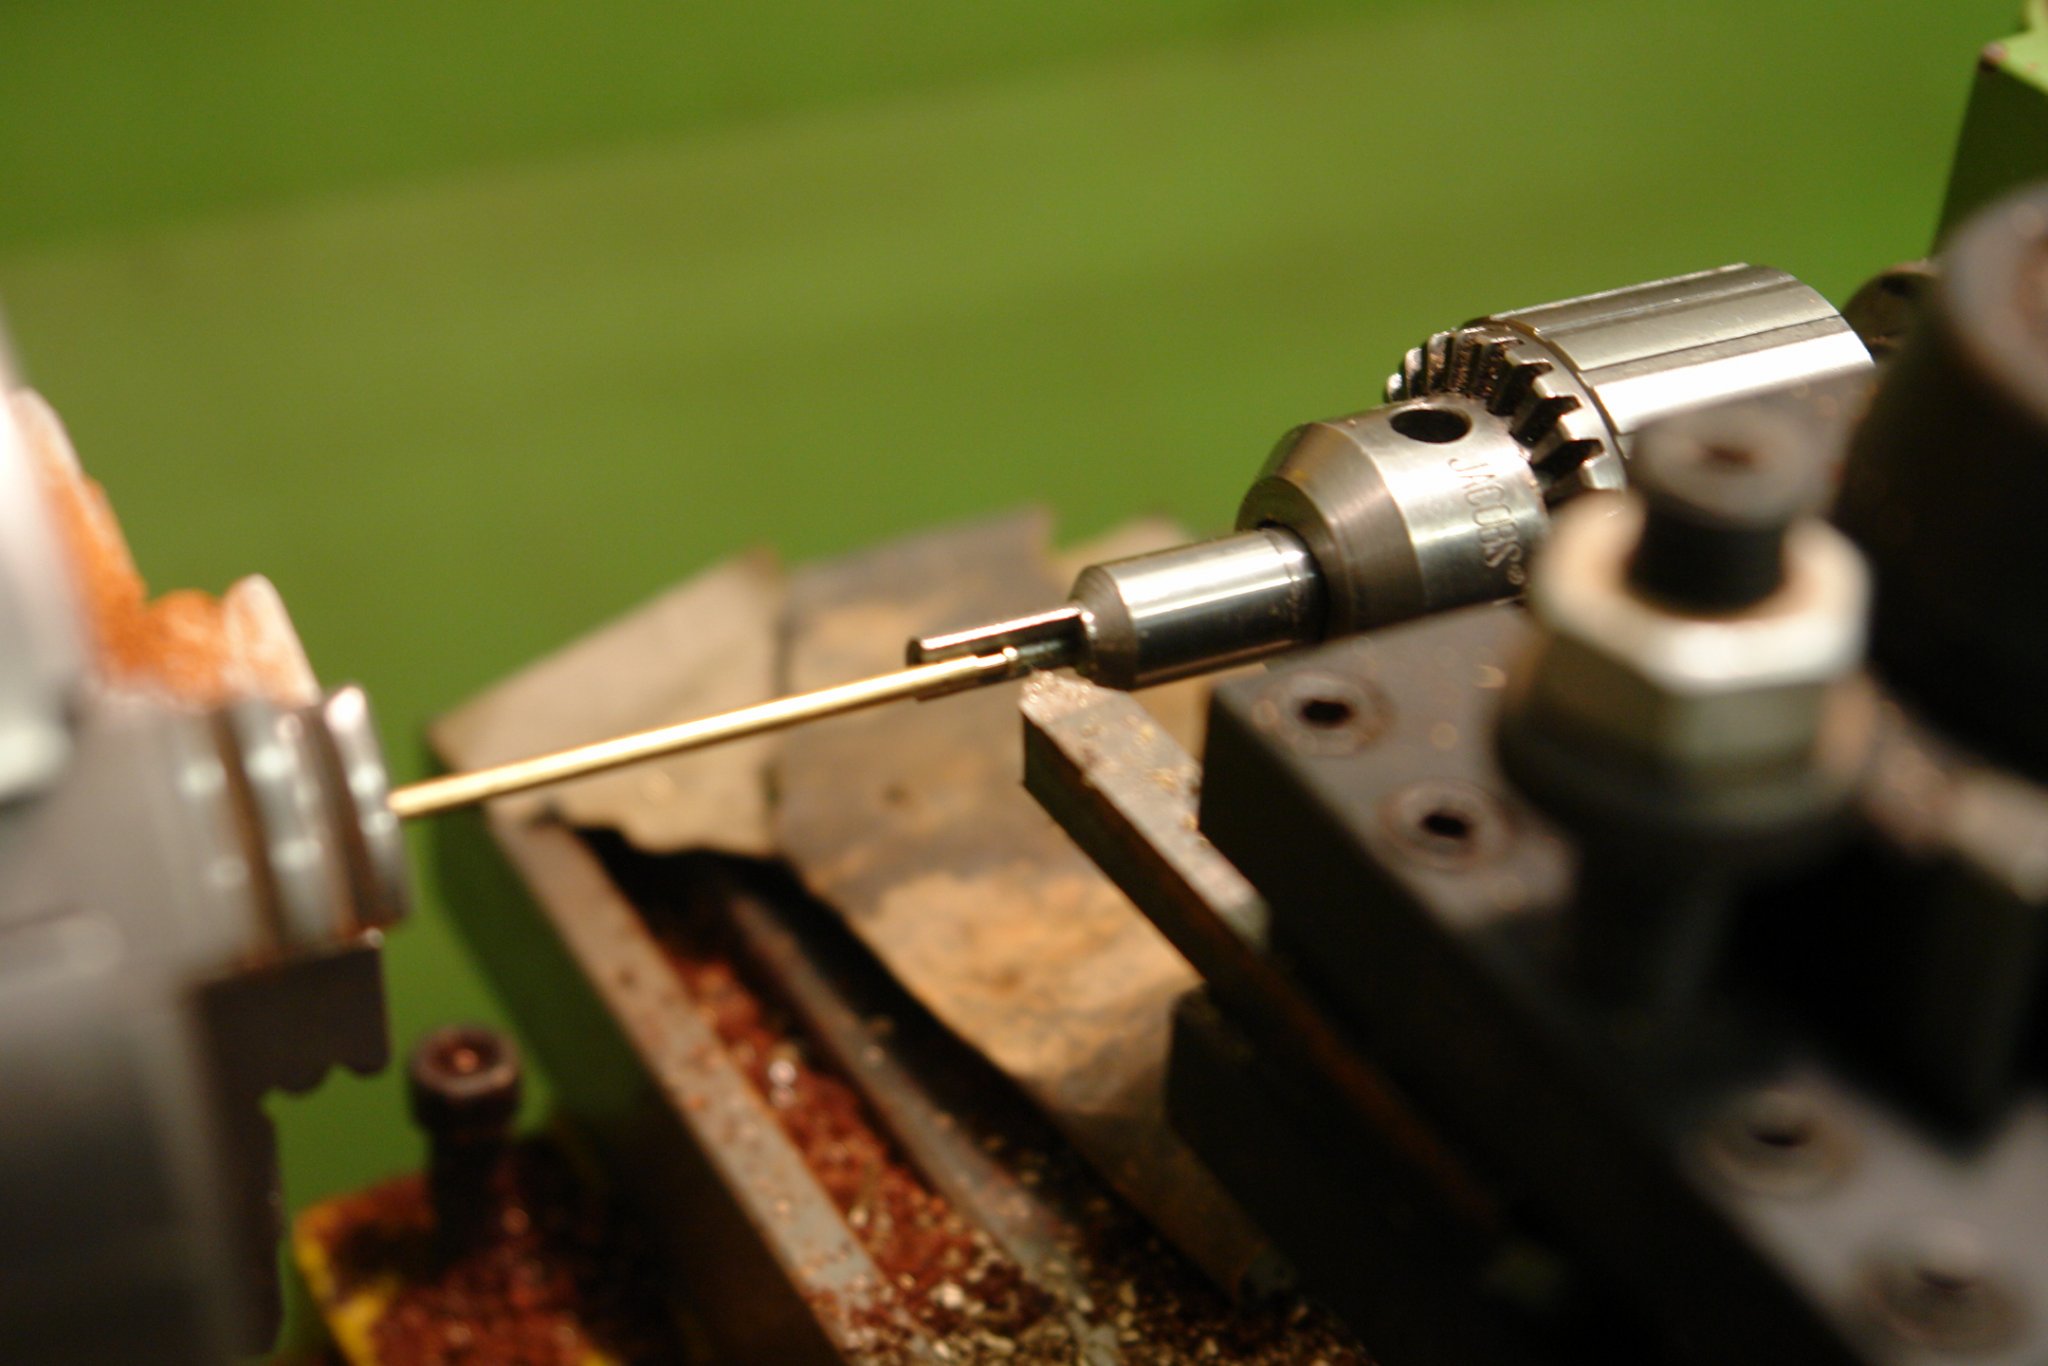
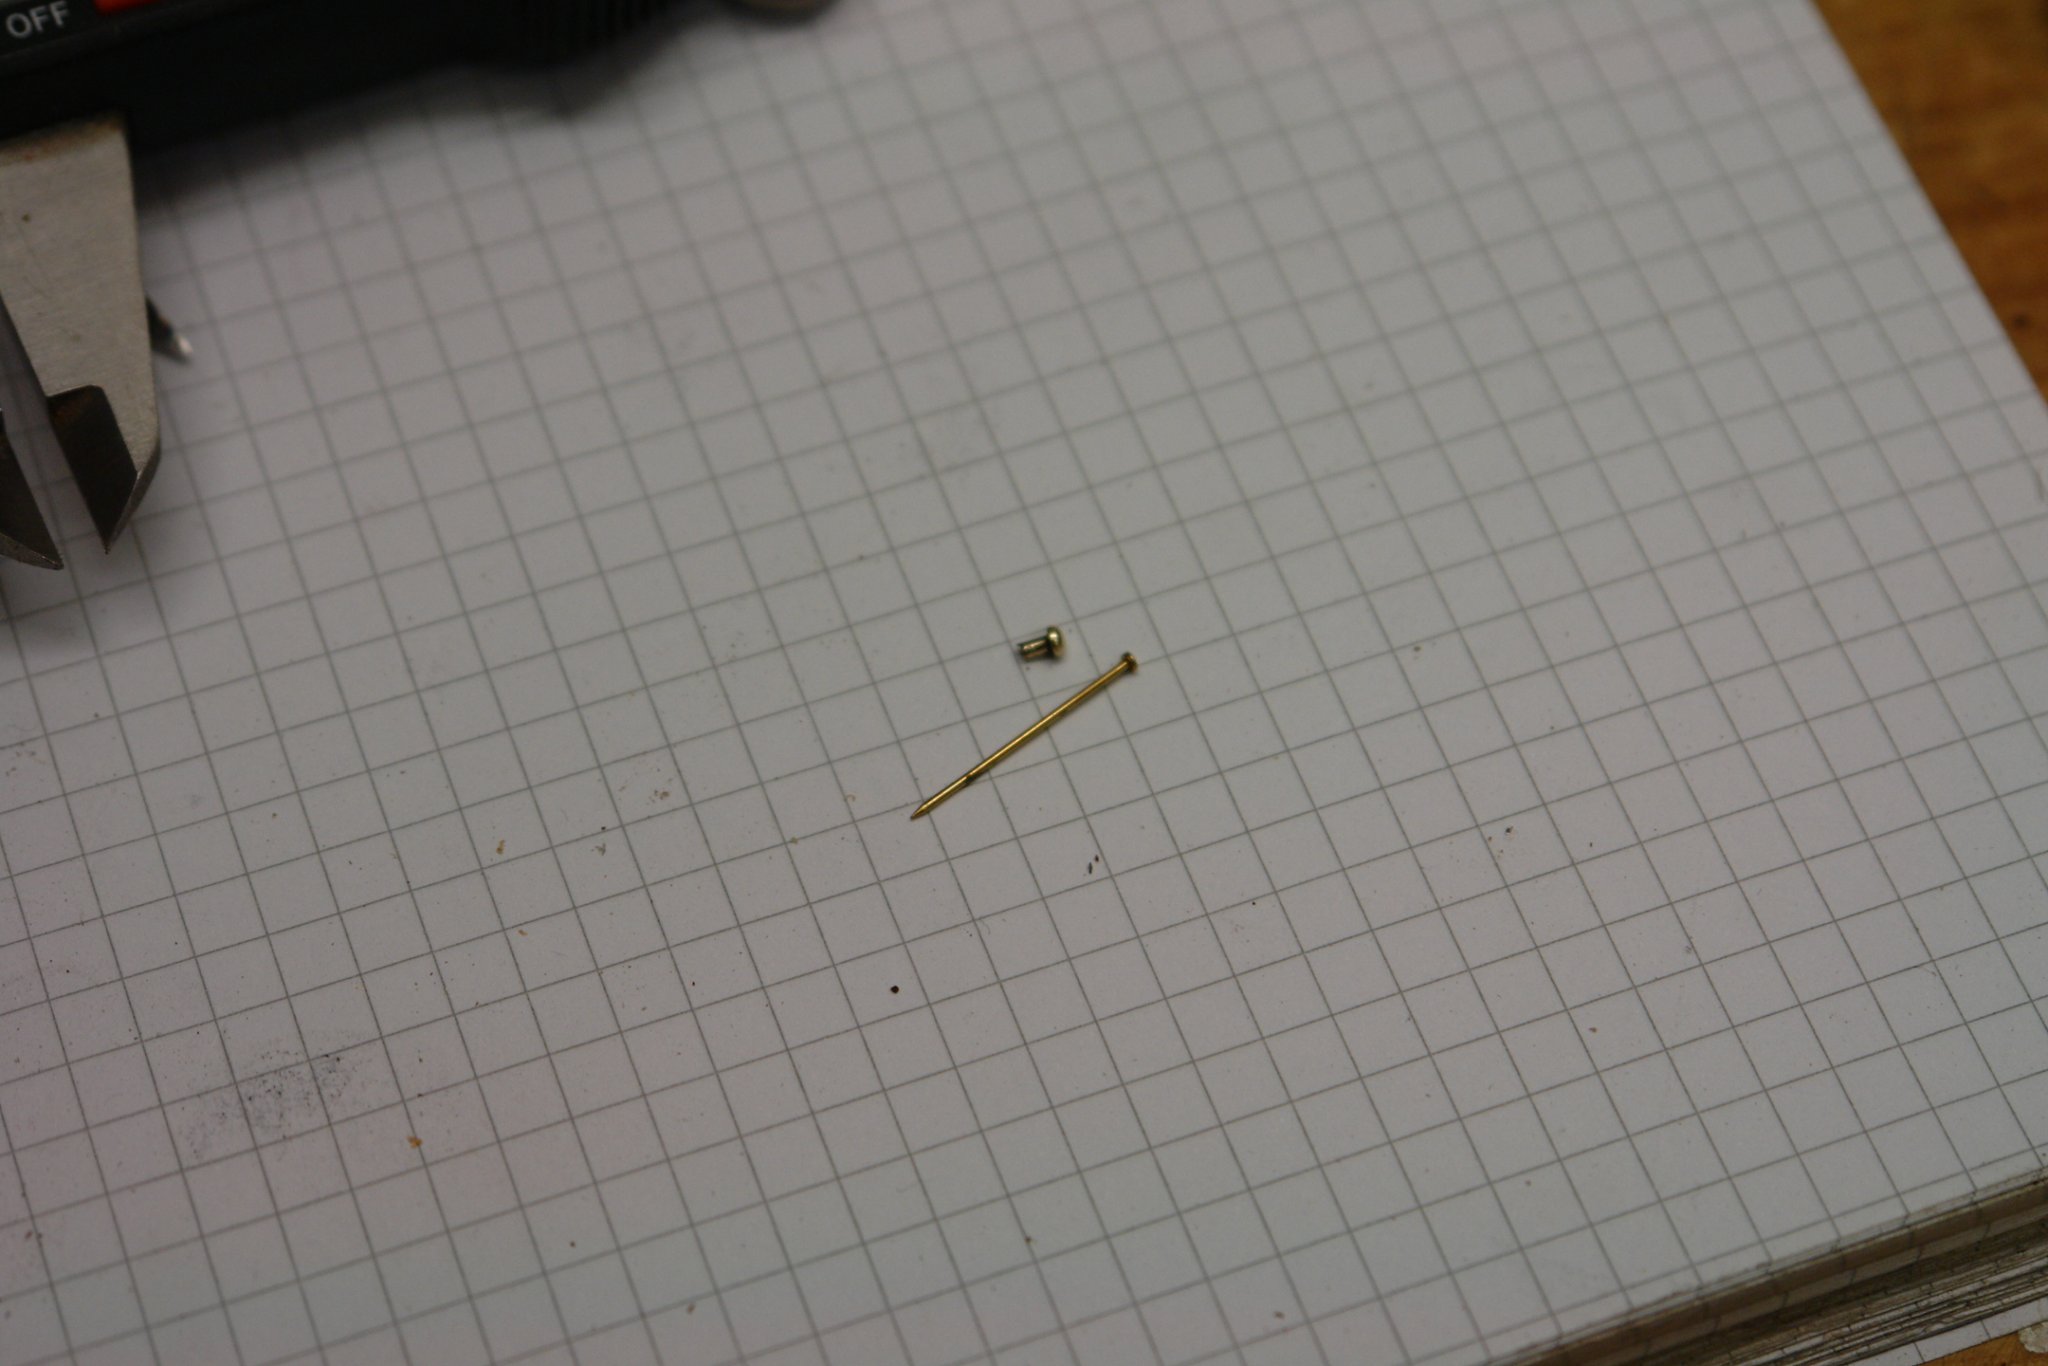
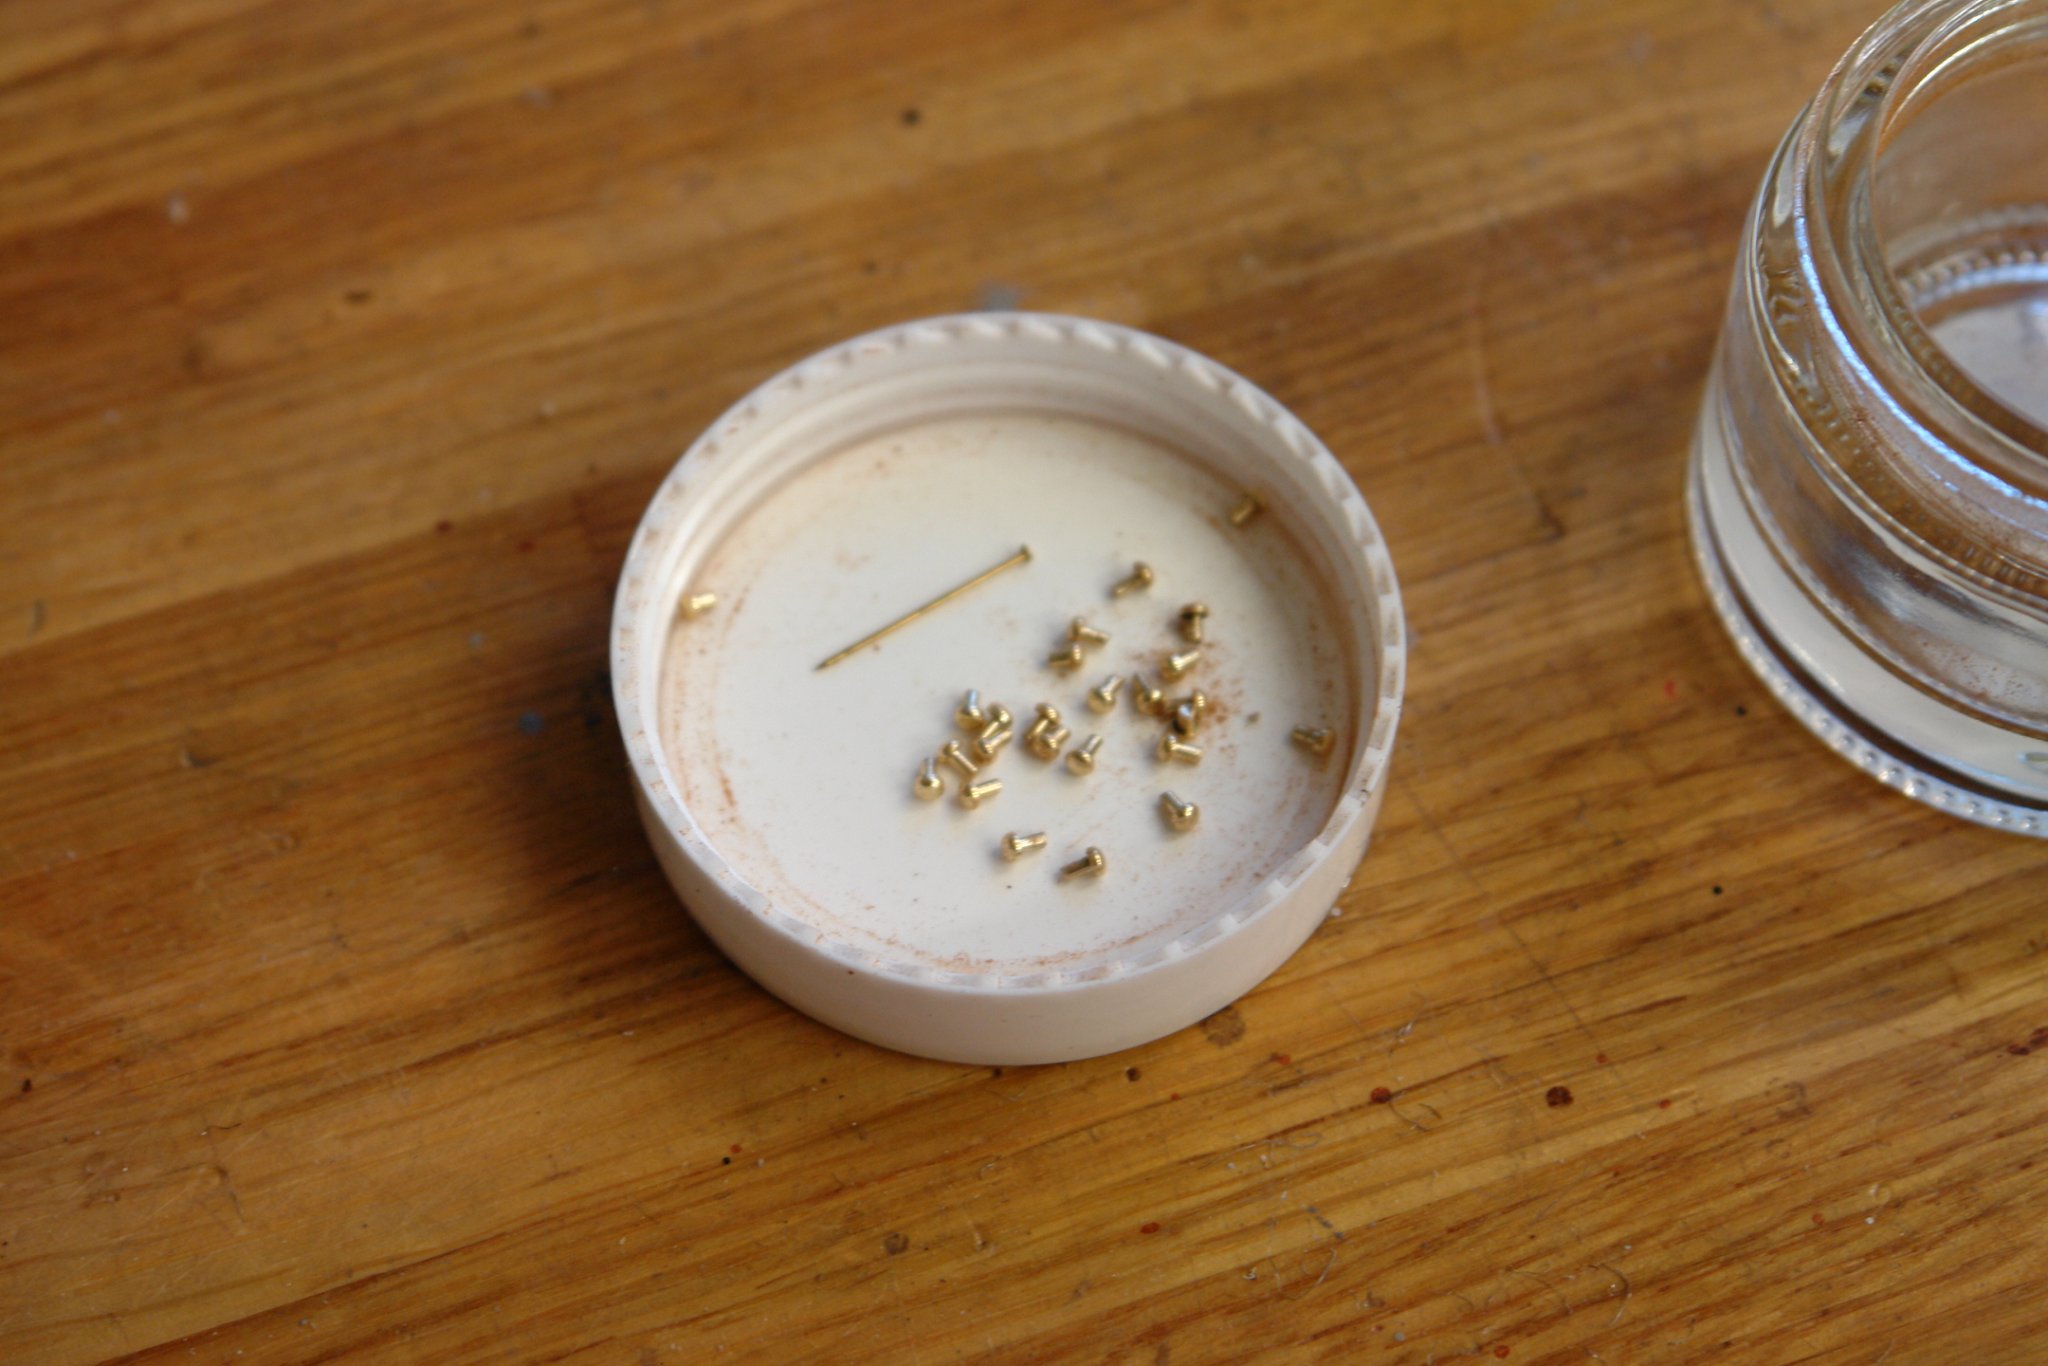
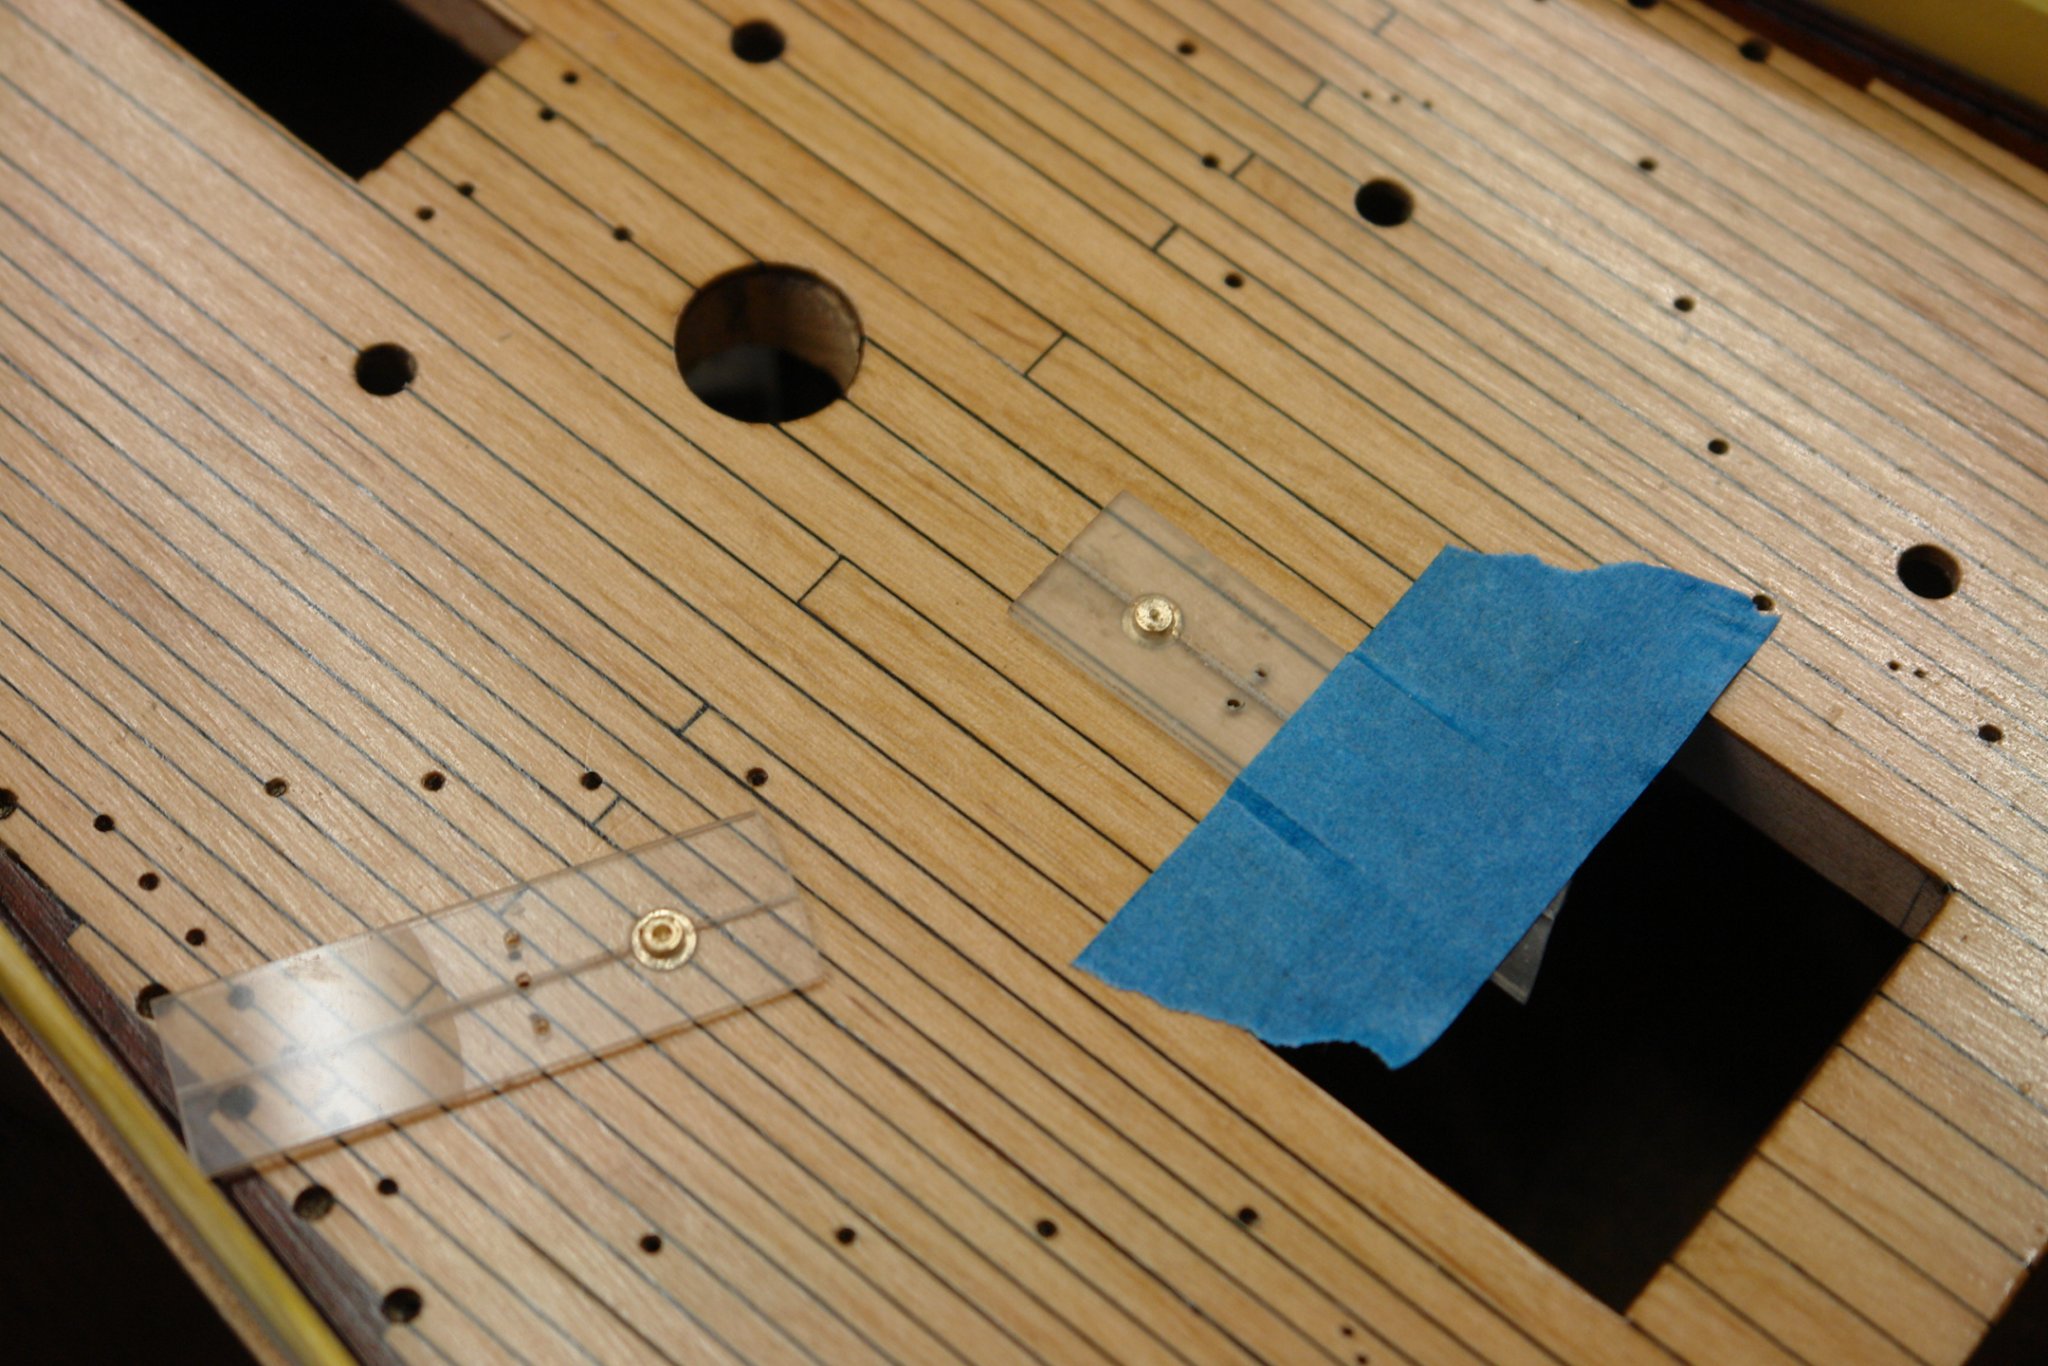
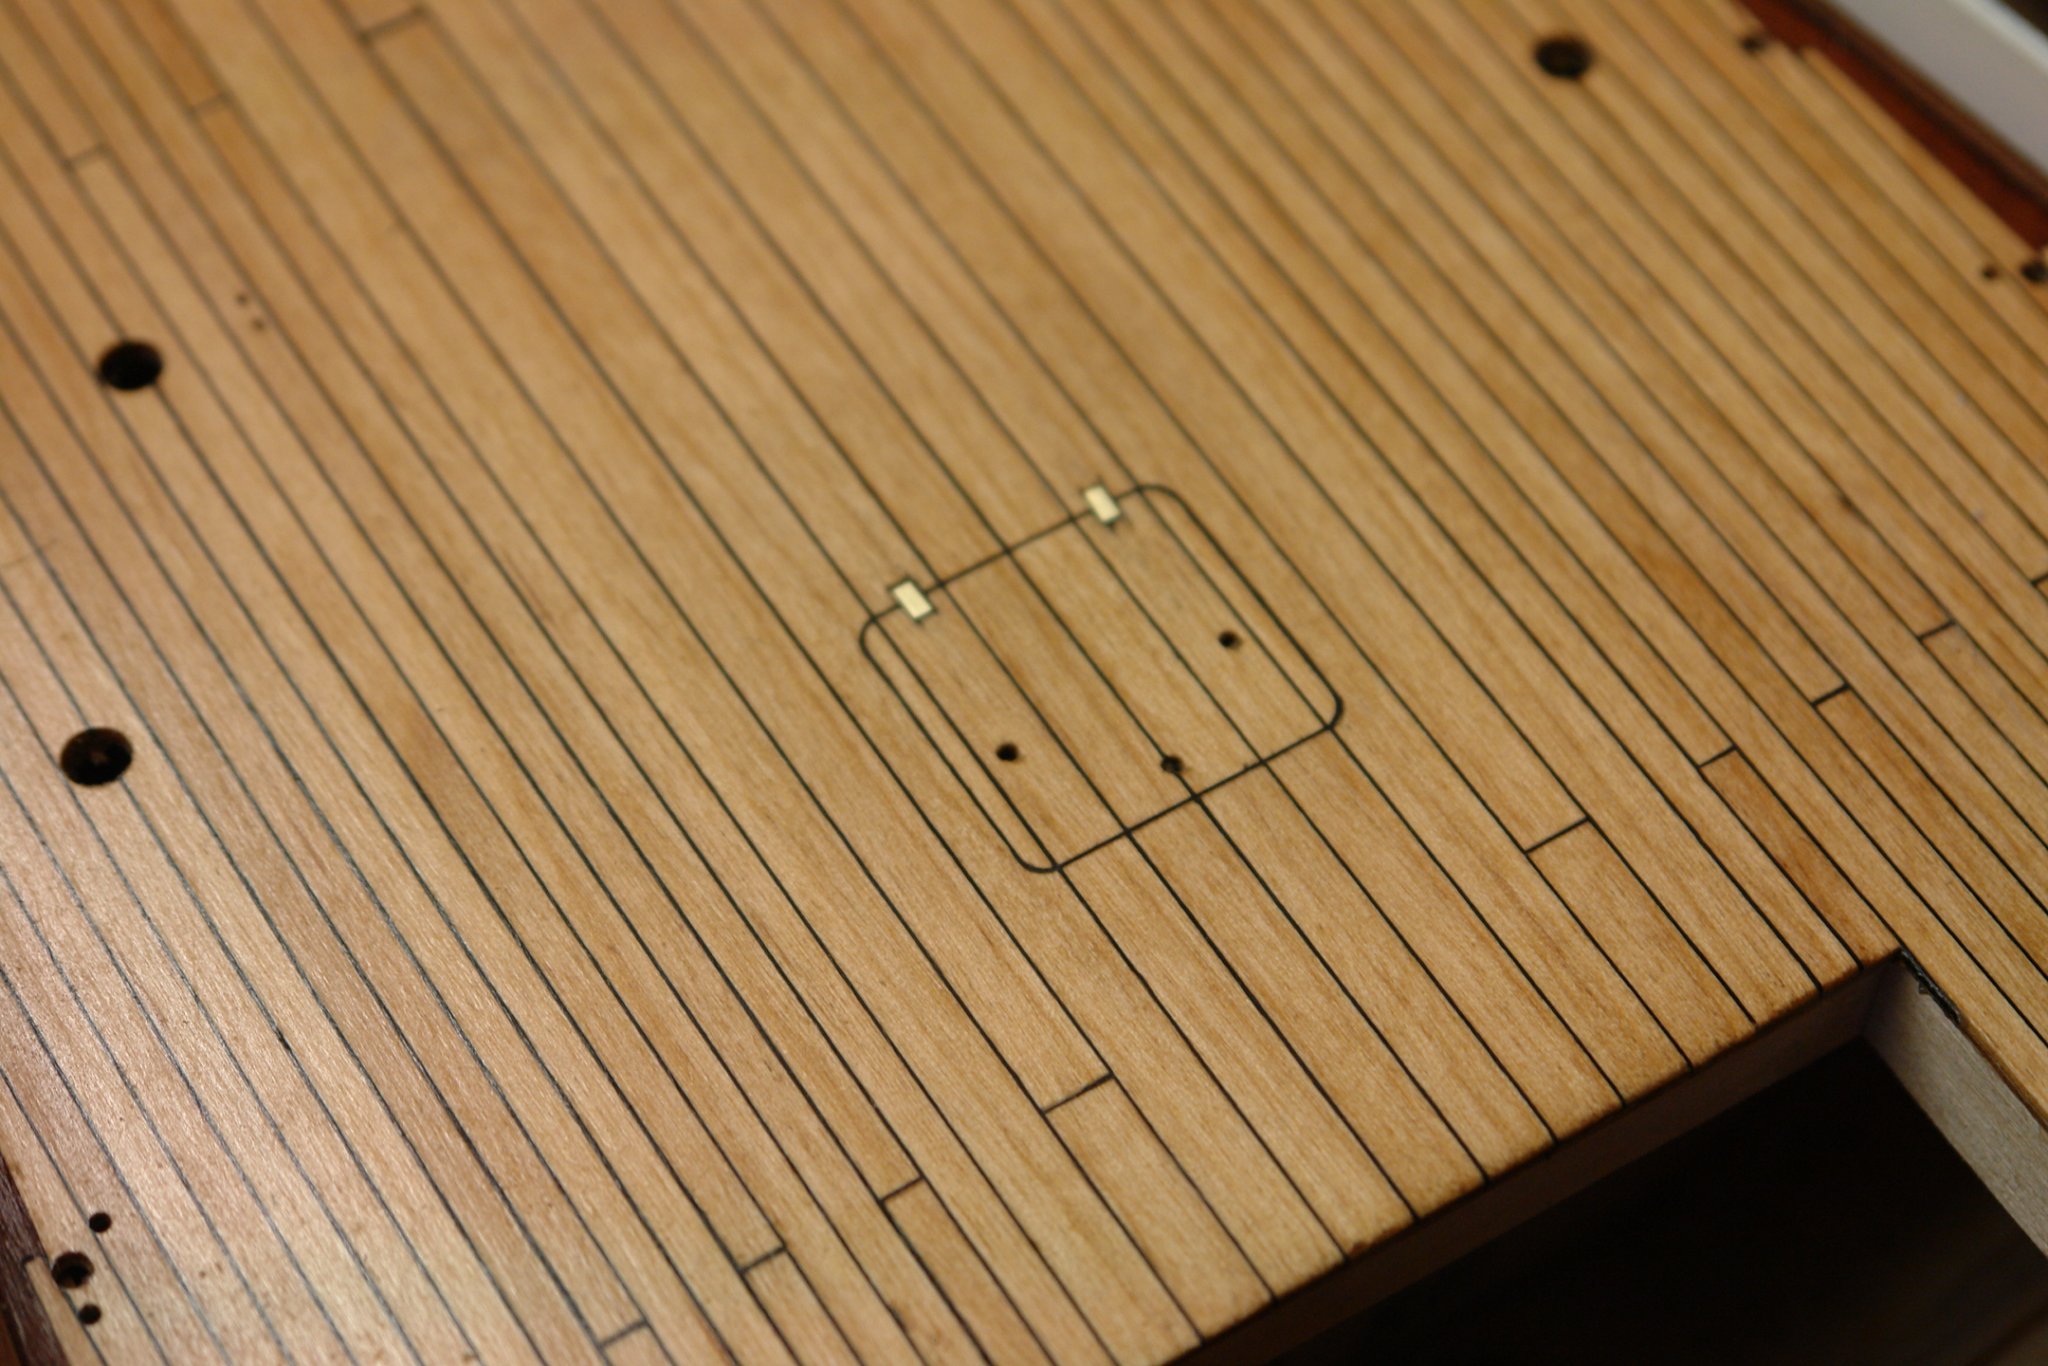
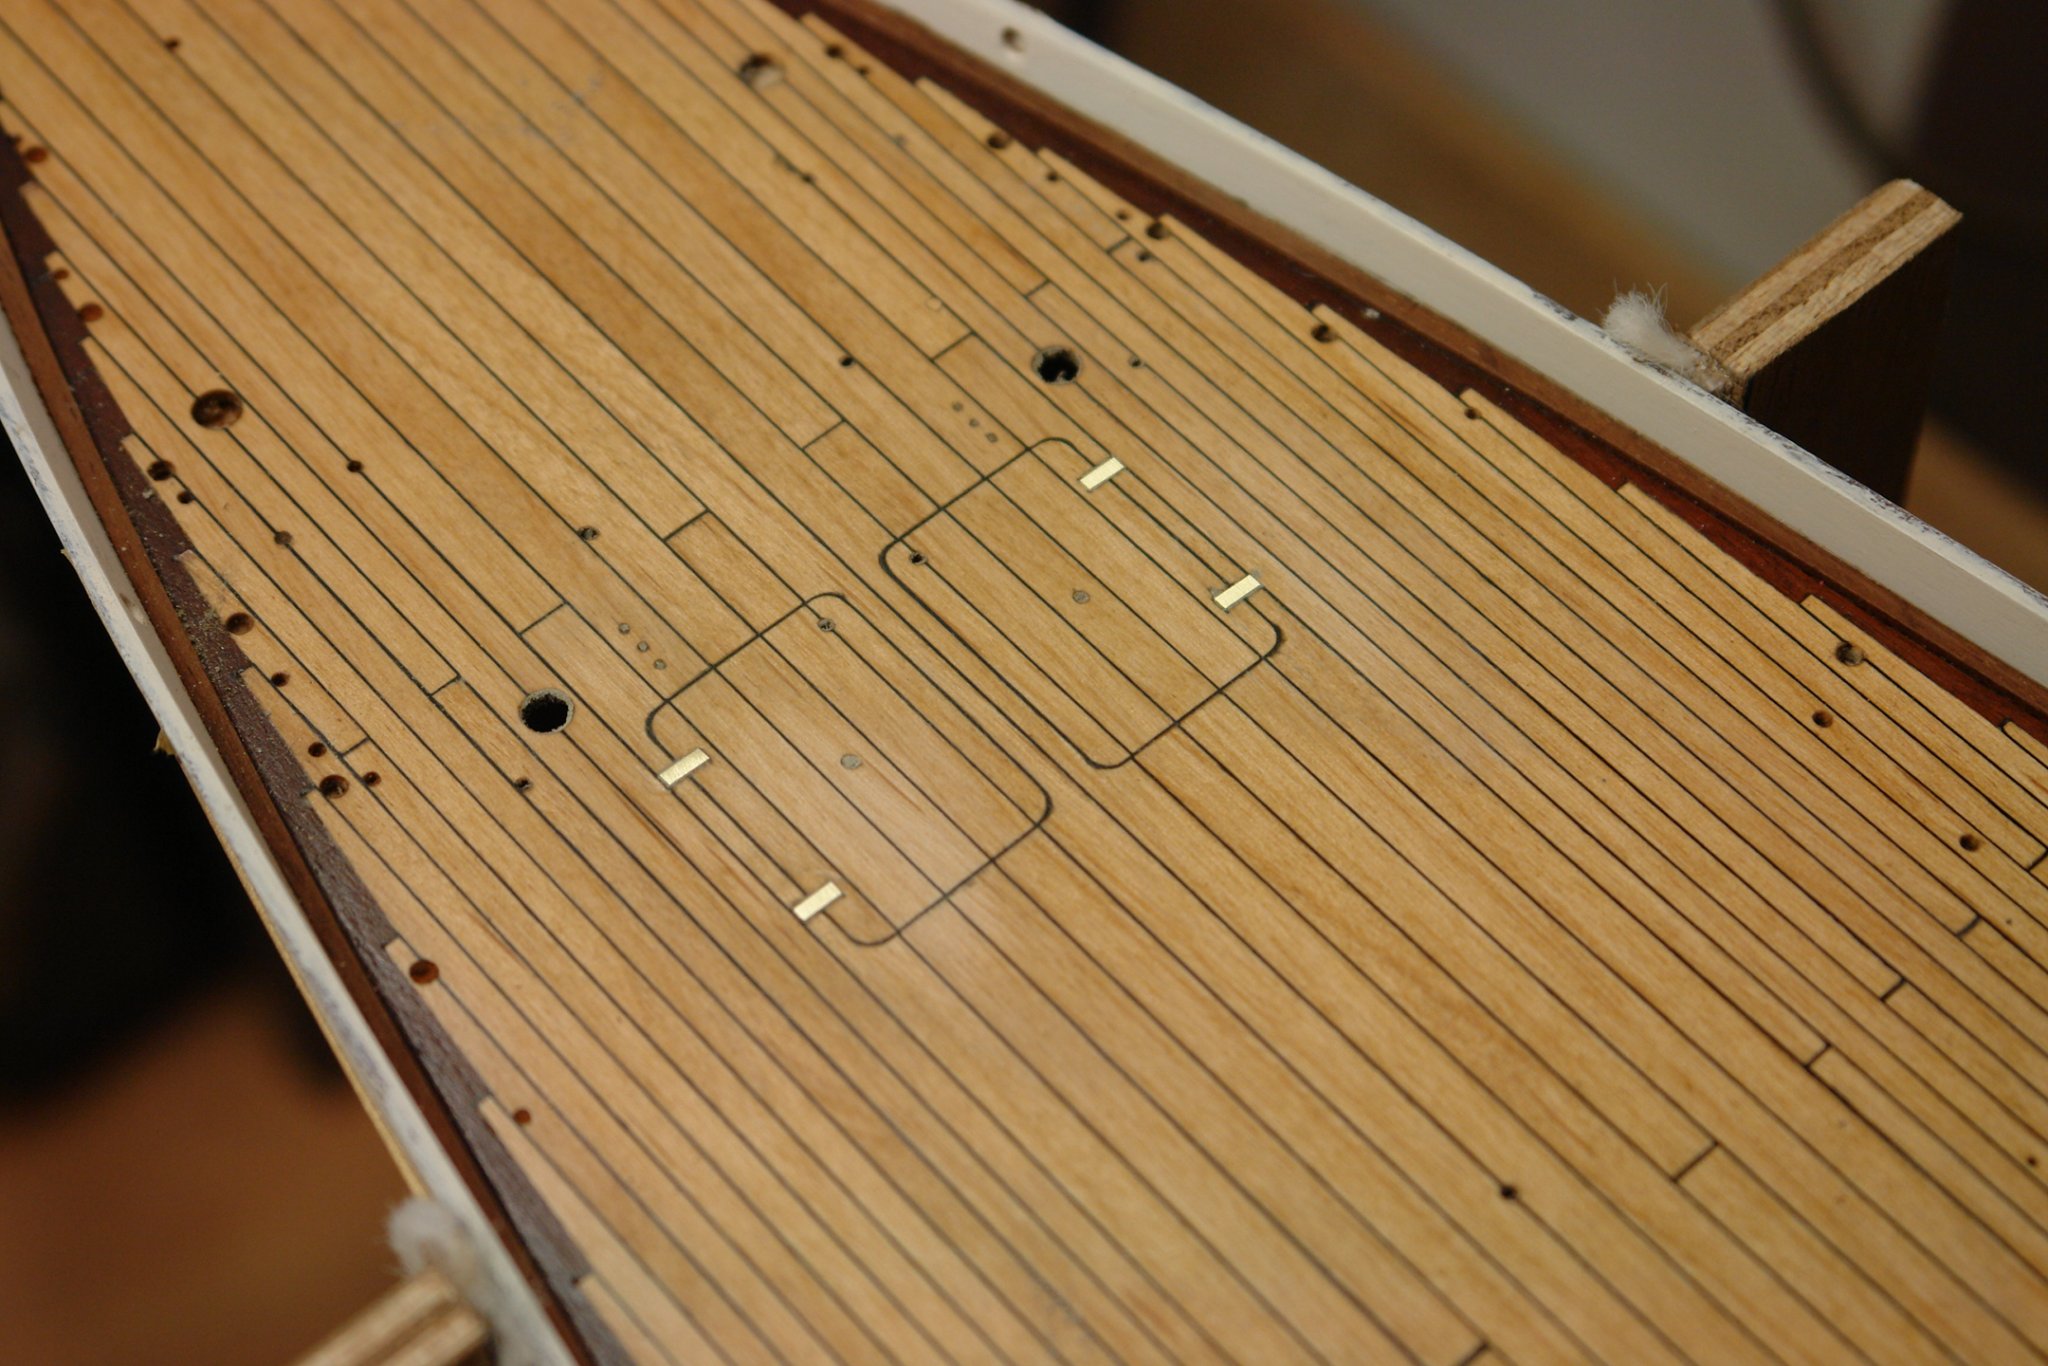
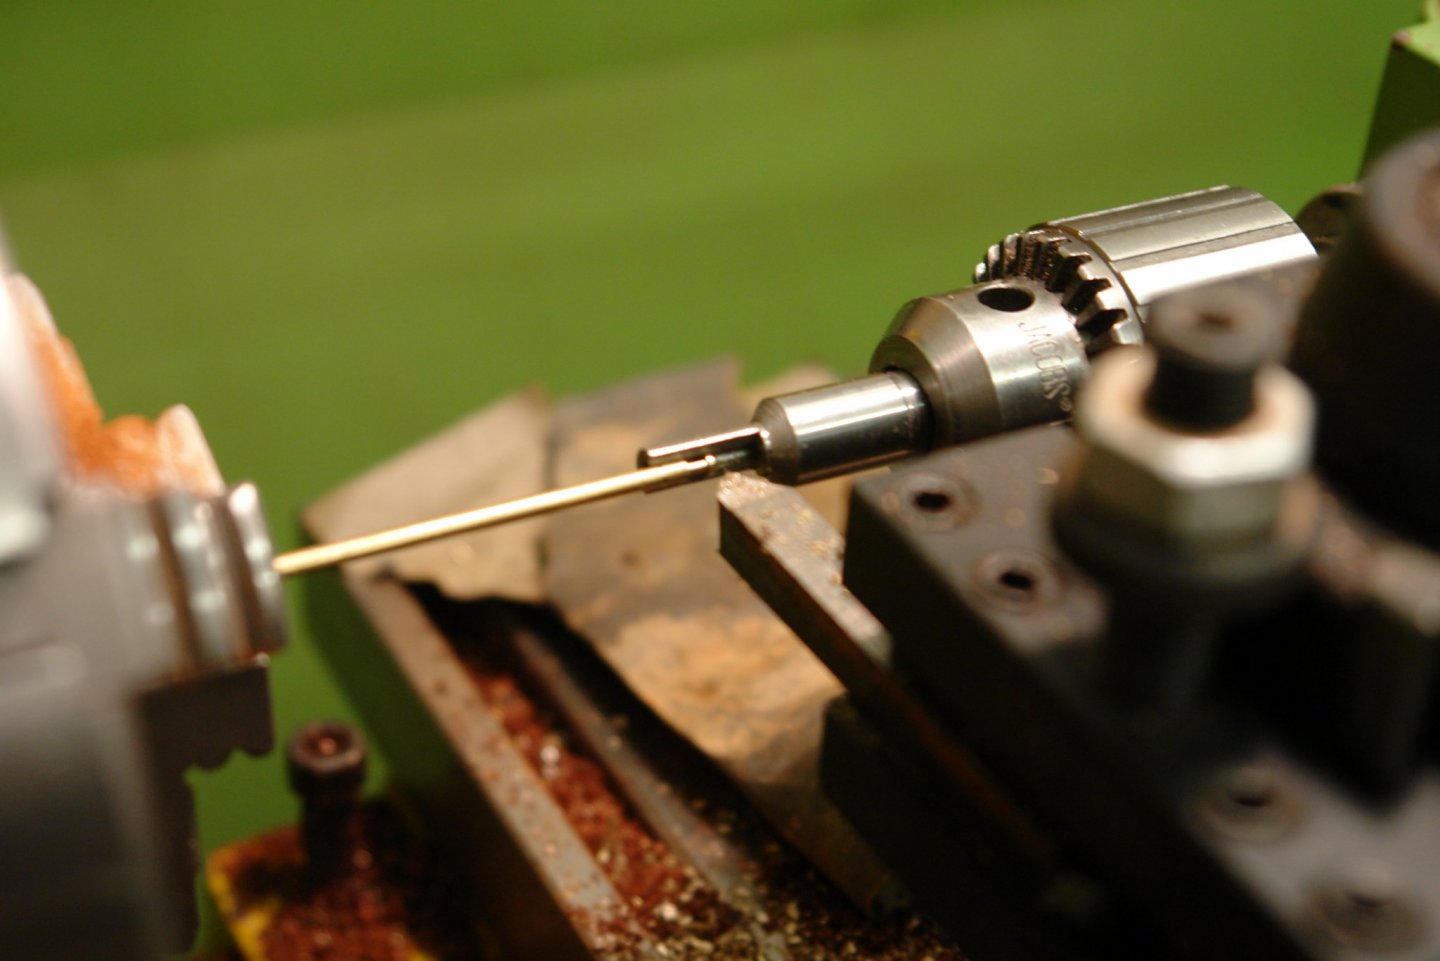
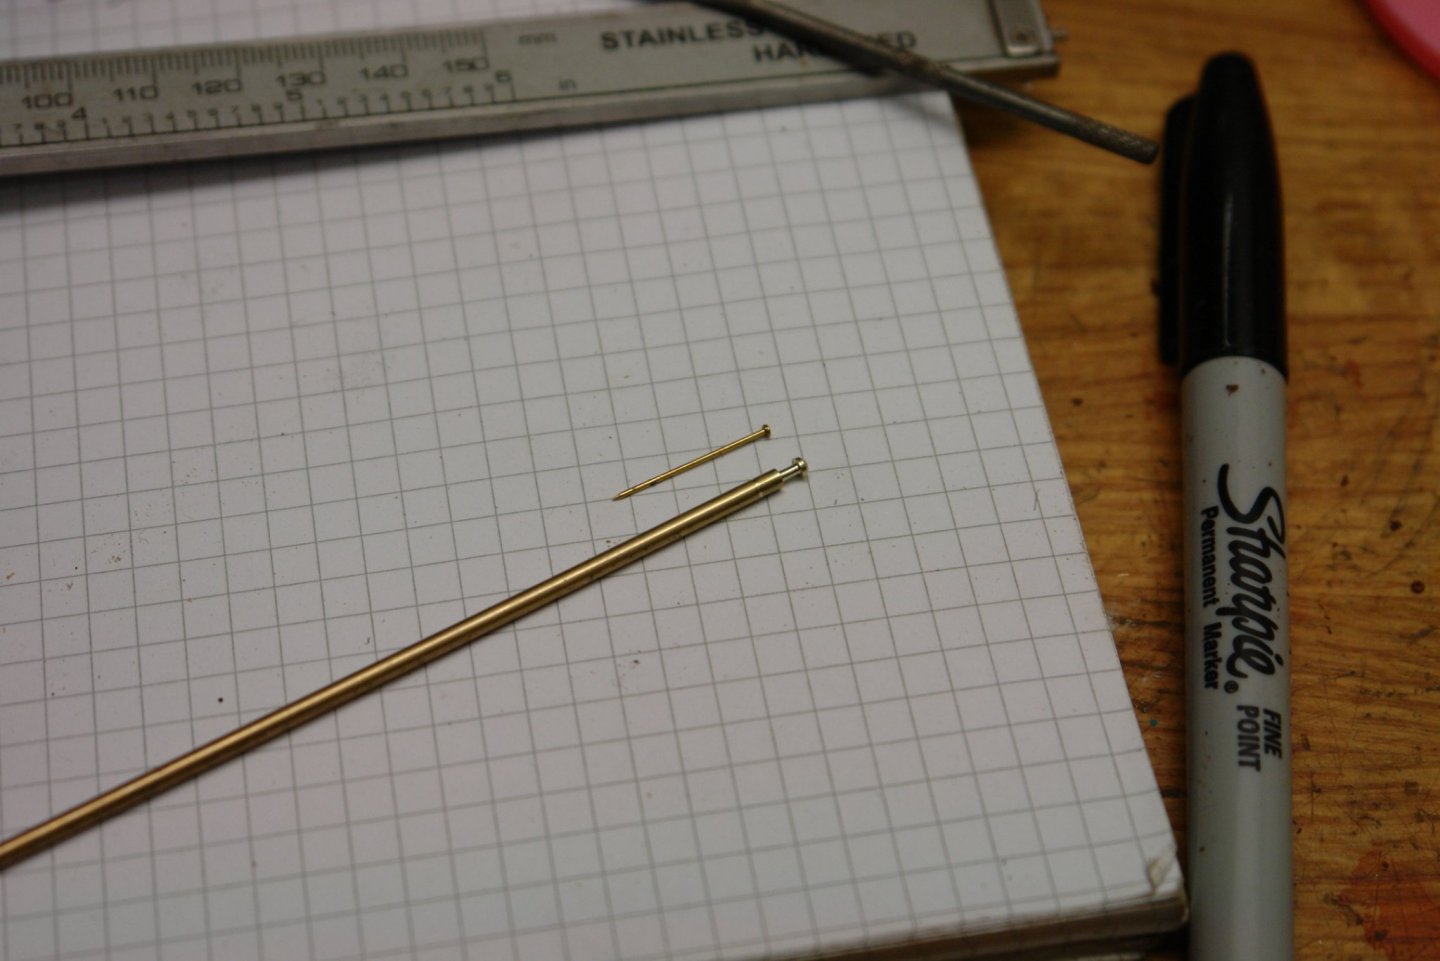
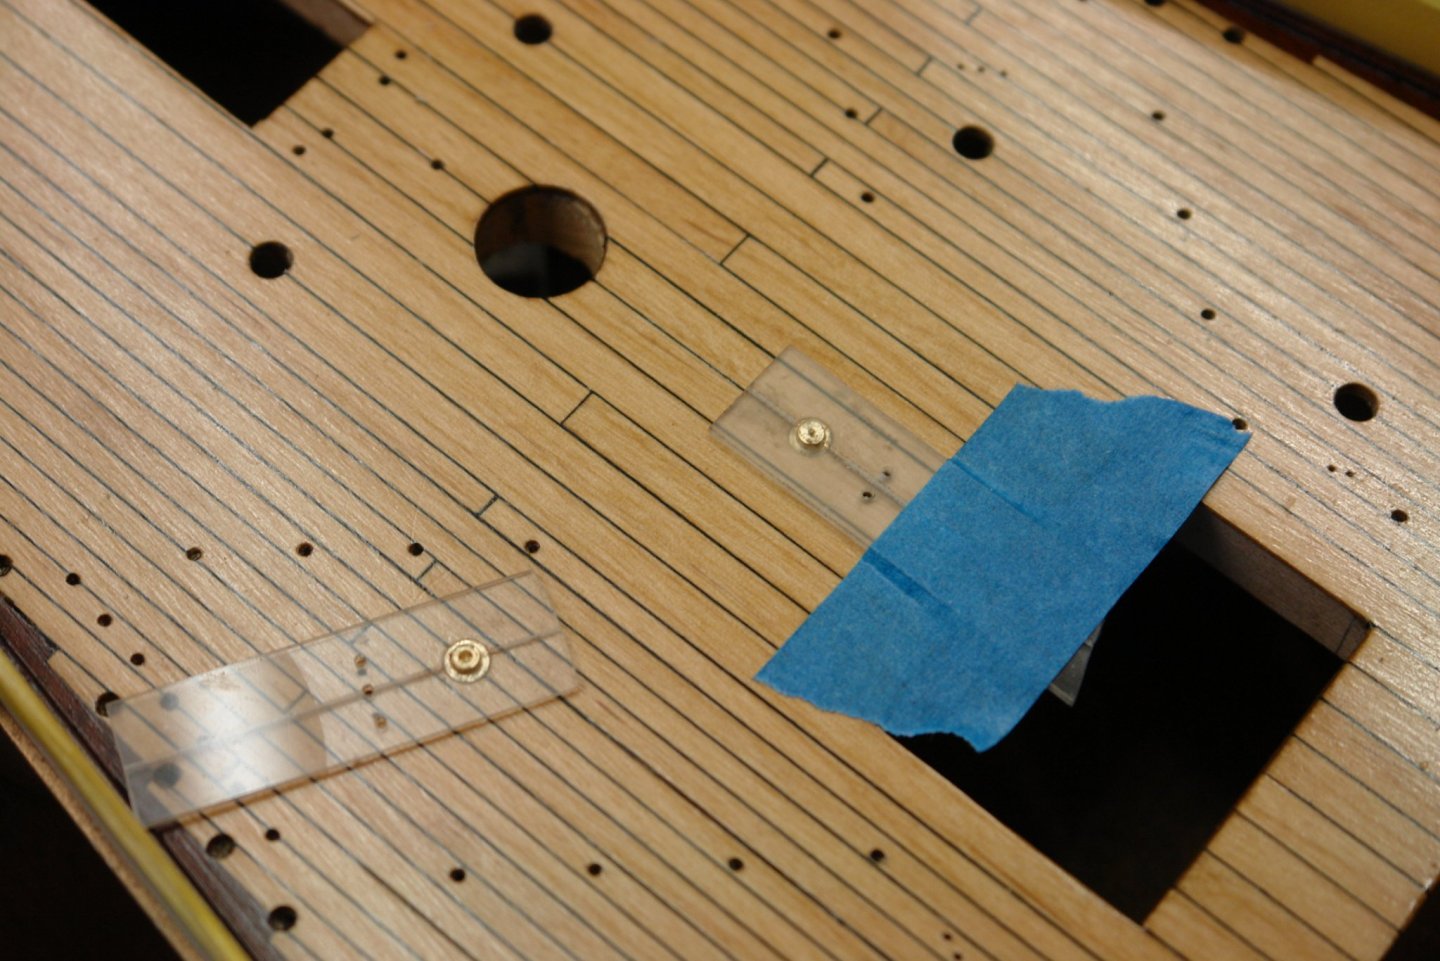
Eberhard, Druey, Keith - trank you for the feedback. Also thank you to anyone who has visited. From the plans and and photographs I have deduced that Germania has a mixture of manual and powered winches. Most of the powered winches have a pair of switches associated with them - presumably 2 speed. One pair of winches has 3 switches - presumably 3 speed. The switches seem to be of the covered type. At 1/36 scale they are quite small .090" diameter x .030" high. I decided to turn them from 3/32 rod. I needed to make a steady to support them while turning - the easiest way to do this was to make a chuck mounted steady from round bar - drilled to 3/32" and then cut axially (a little under half diameter) on the mill. I turned down the mounting stem to .060" using a parting off tool and cut the cone using a 45 degree chamfer tool. I needed to make 28 switches so I recorded the cutting settings on the lathe - at least this stopped them getting lost. I didn't part the switches off. I'm a miser and cutting them off with a jewellers saw is much less wasteful. It took about 2 hours to produce the switches. I made a pair of templates to drill the switch holes. The brass peg locates in the hole drilled for the winch spigot. The switches were glued in with CA glue.


-
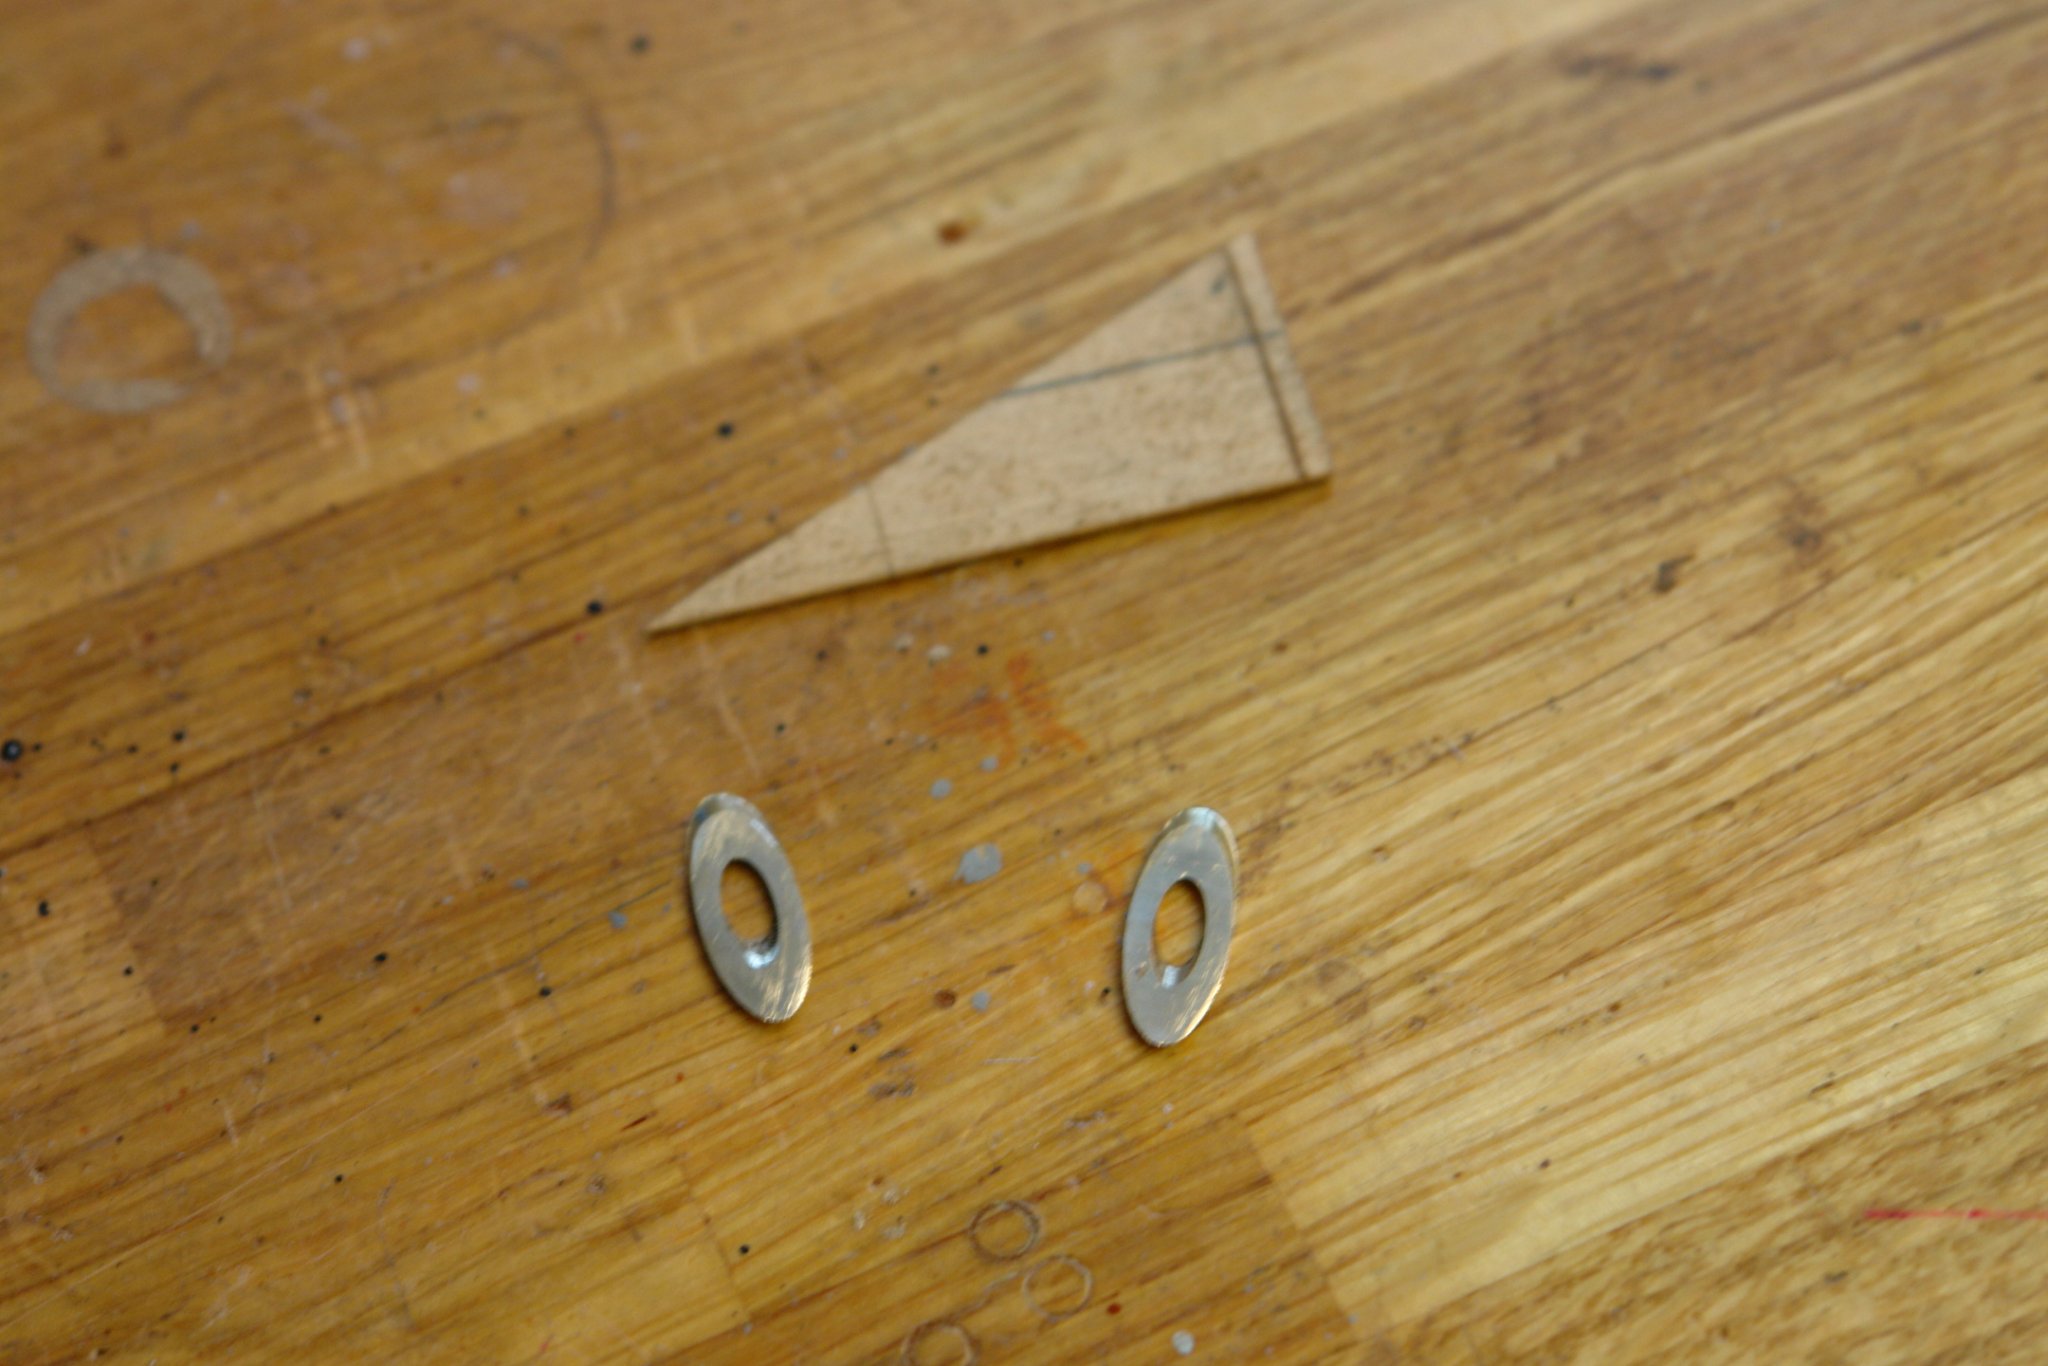
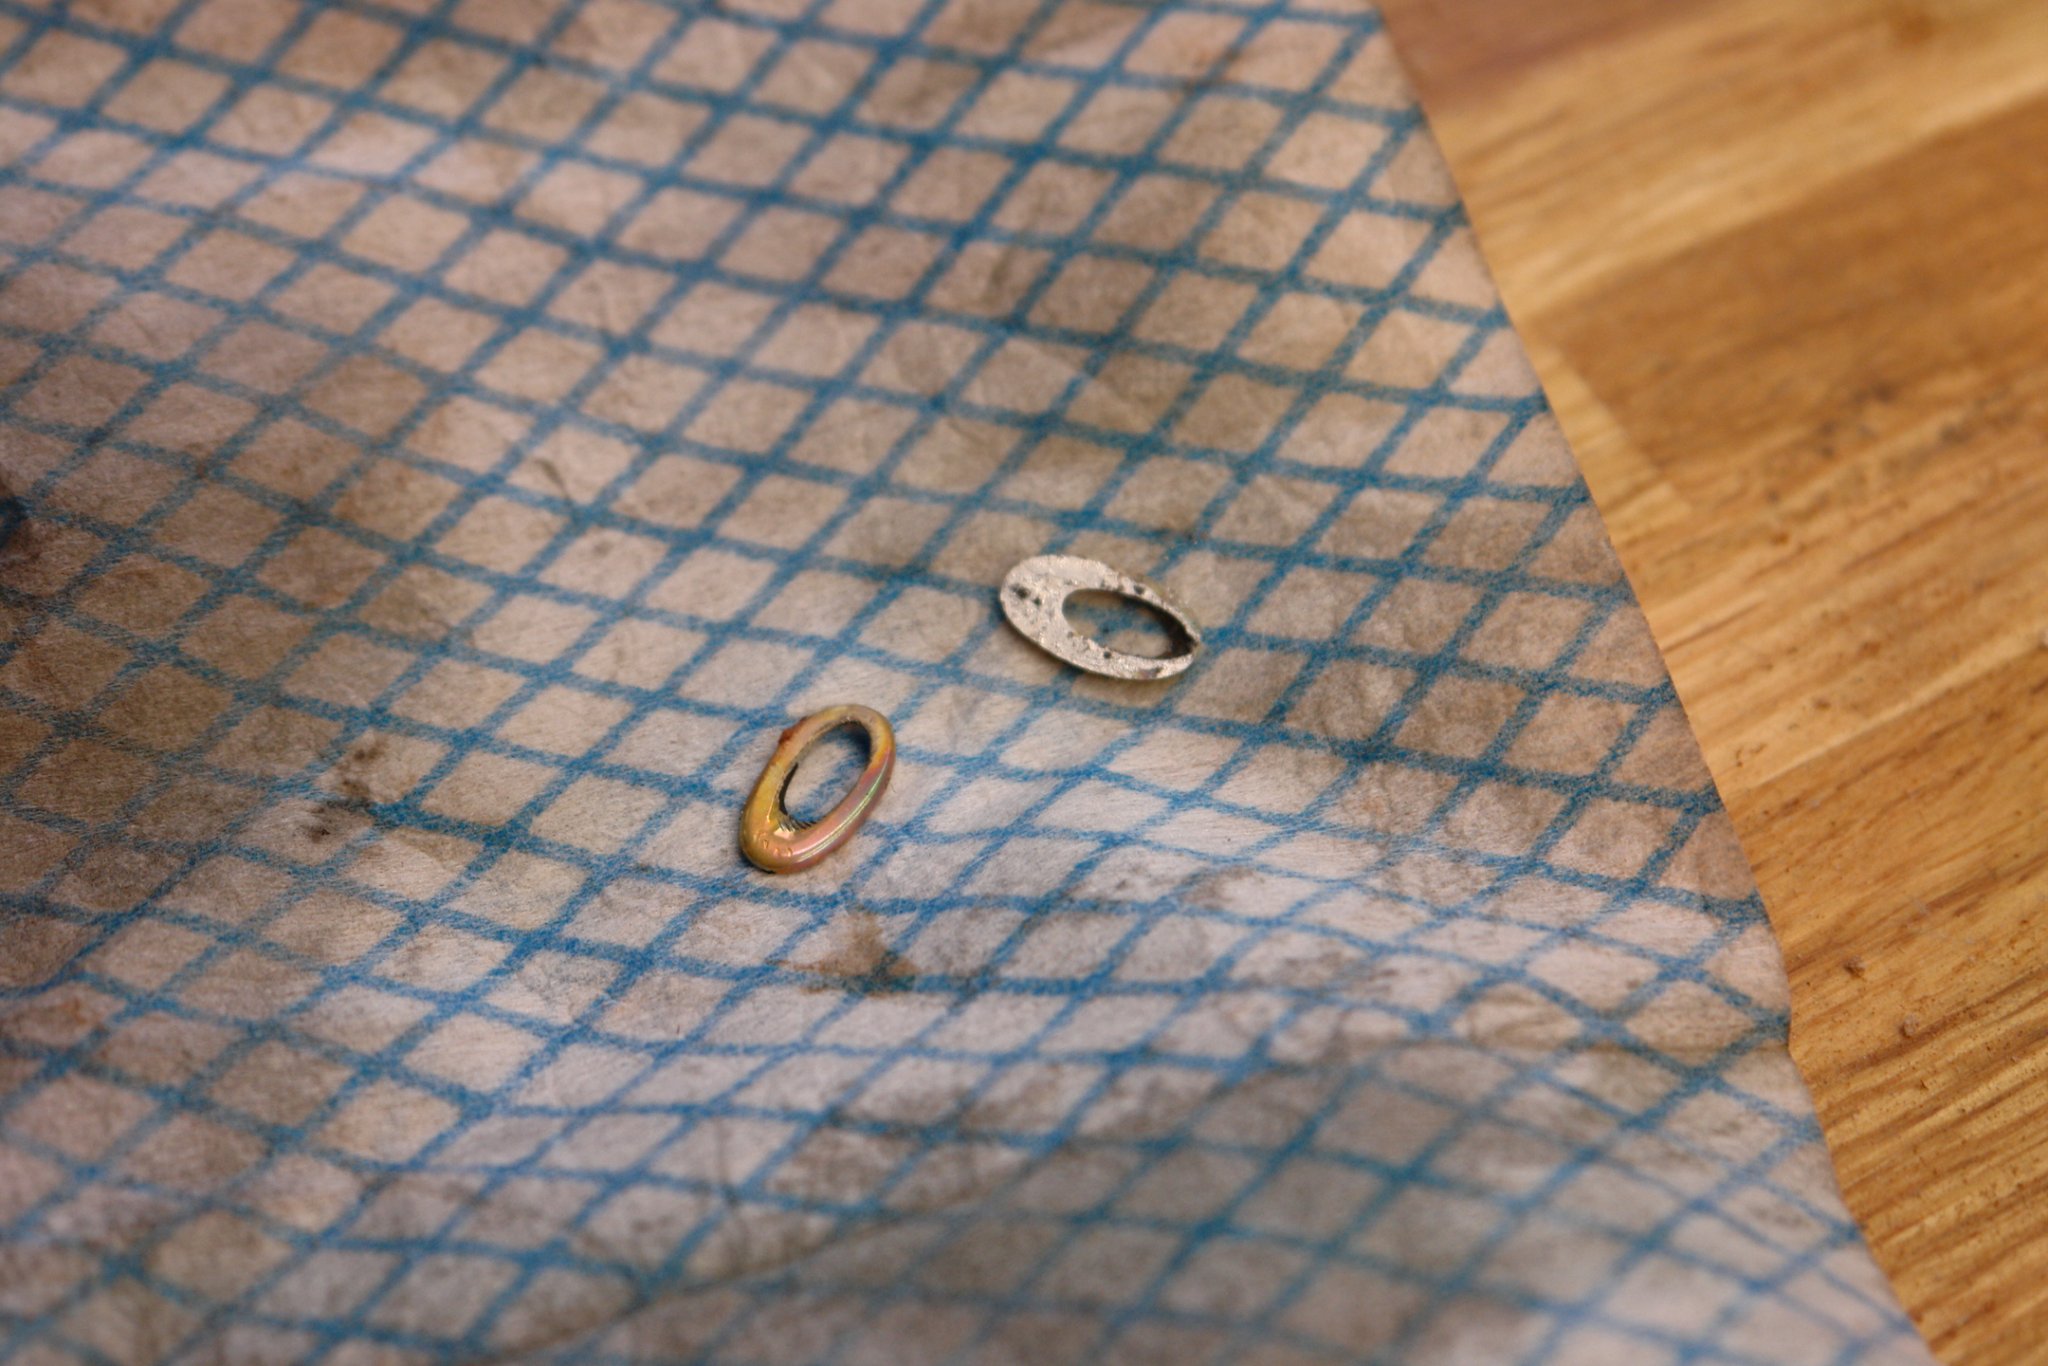
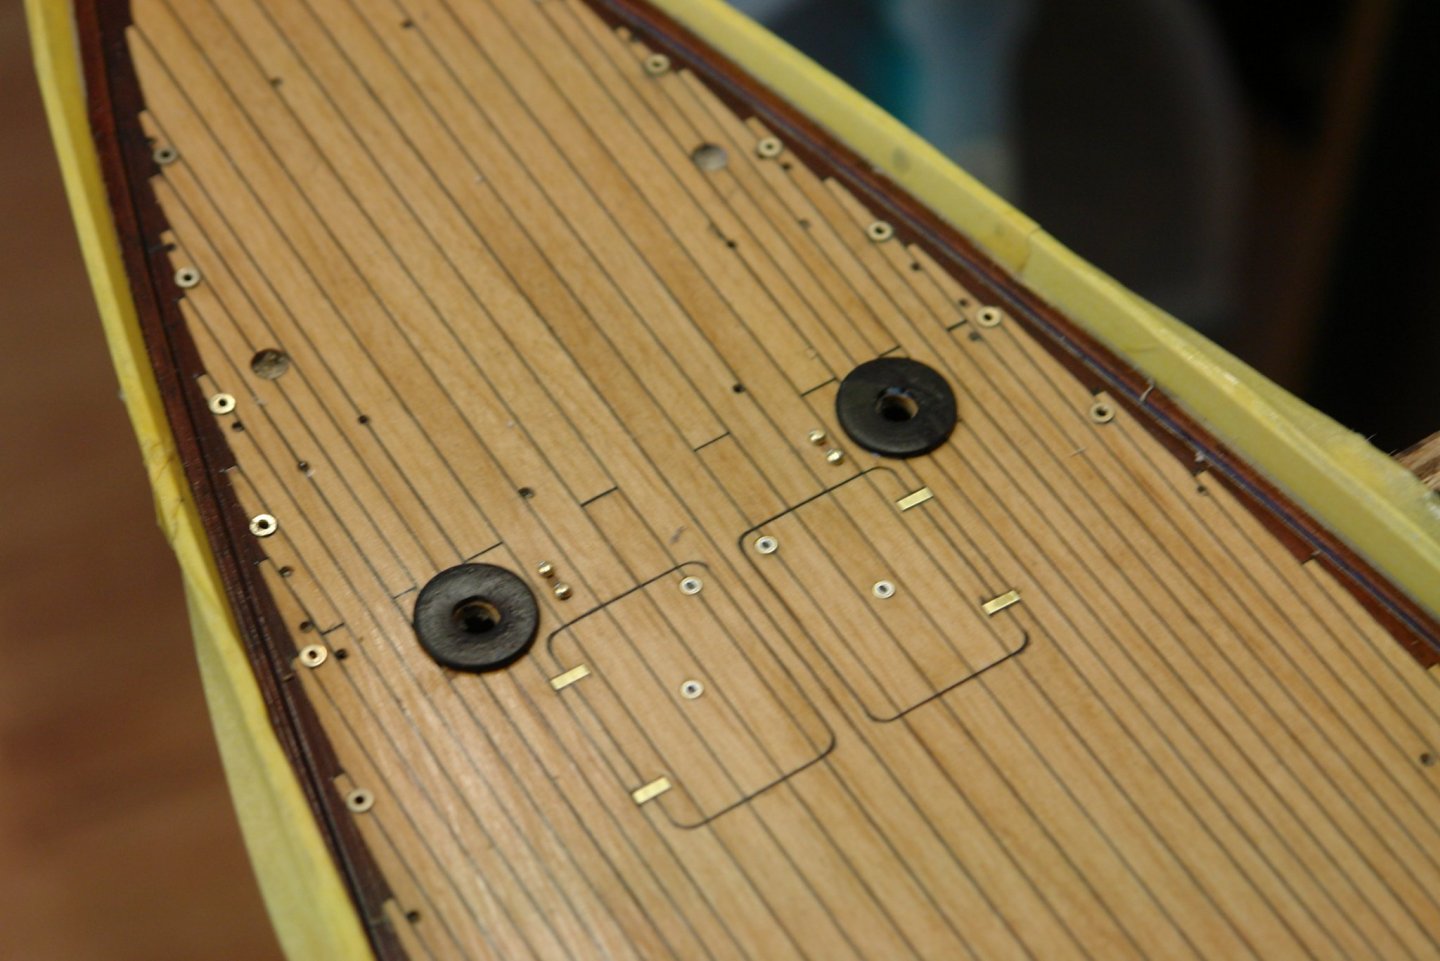
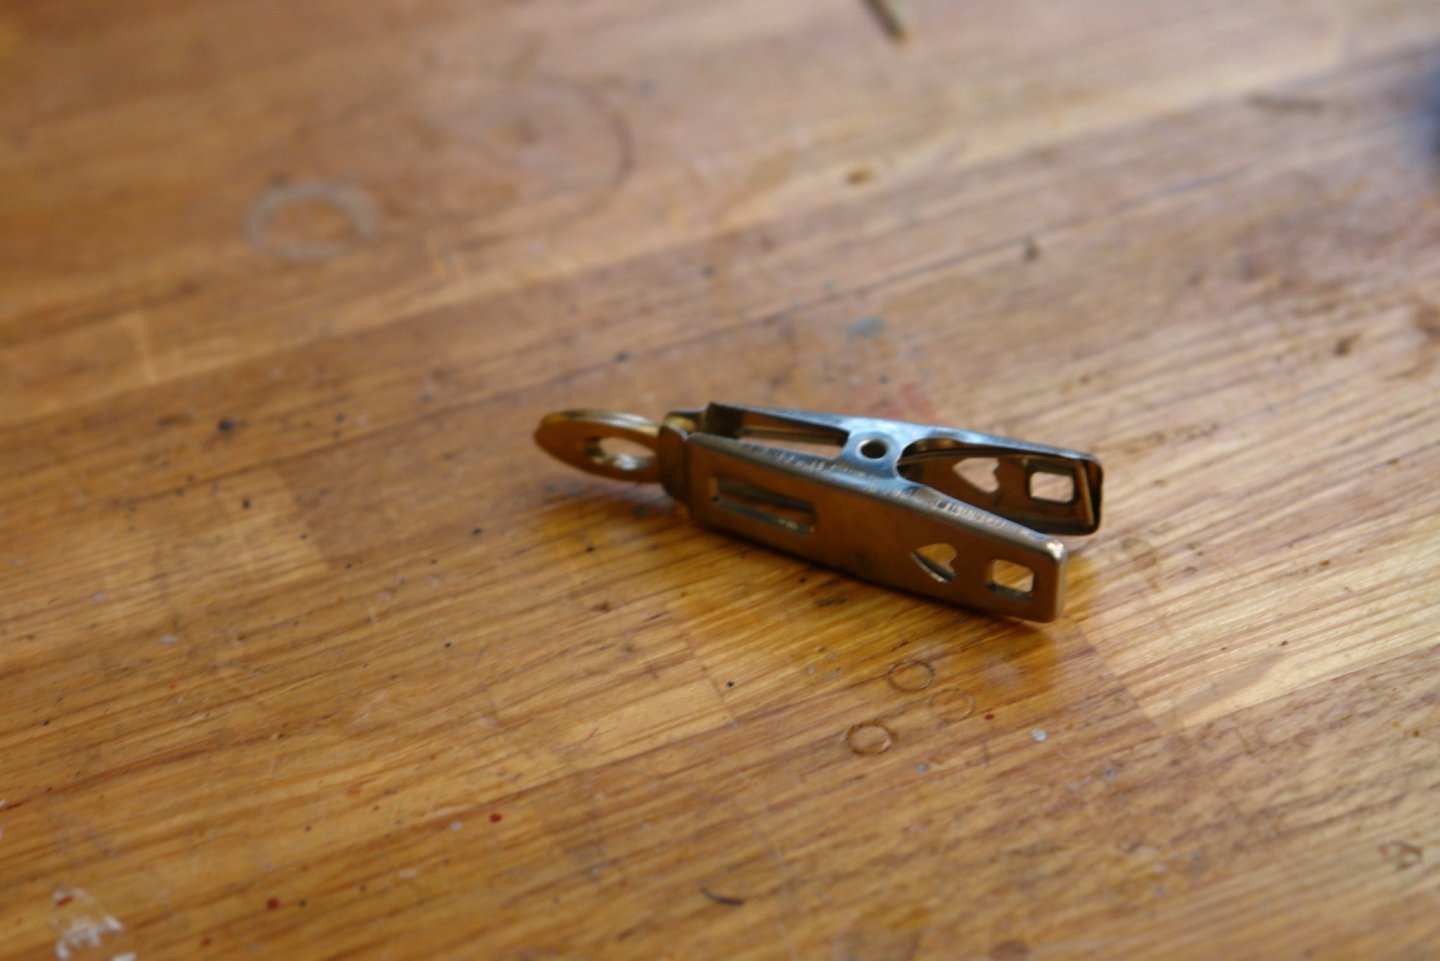
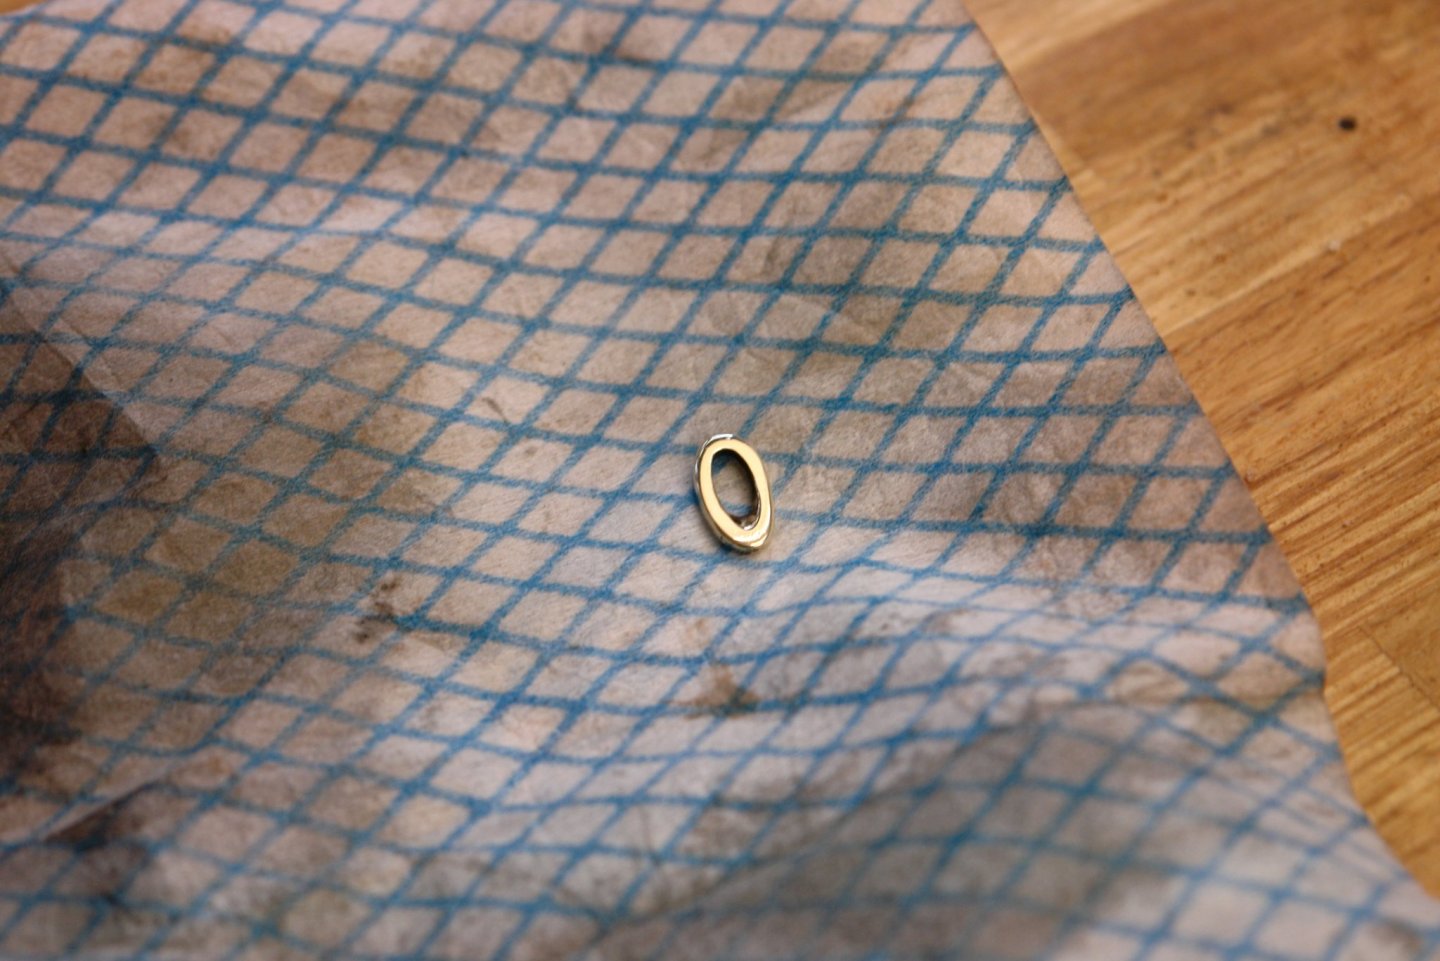
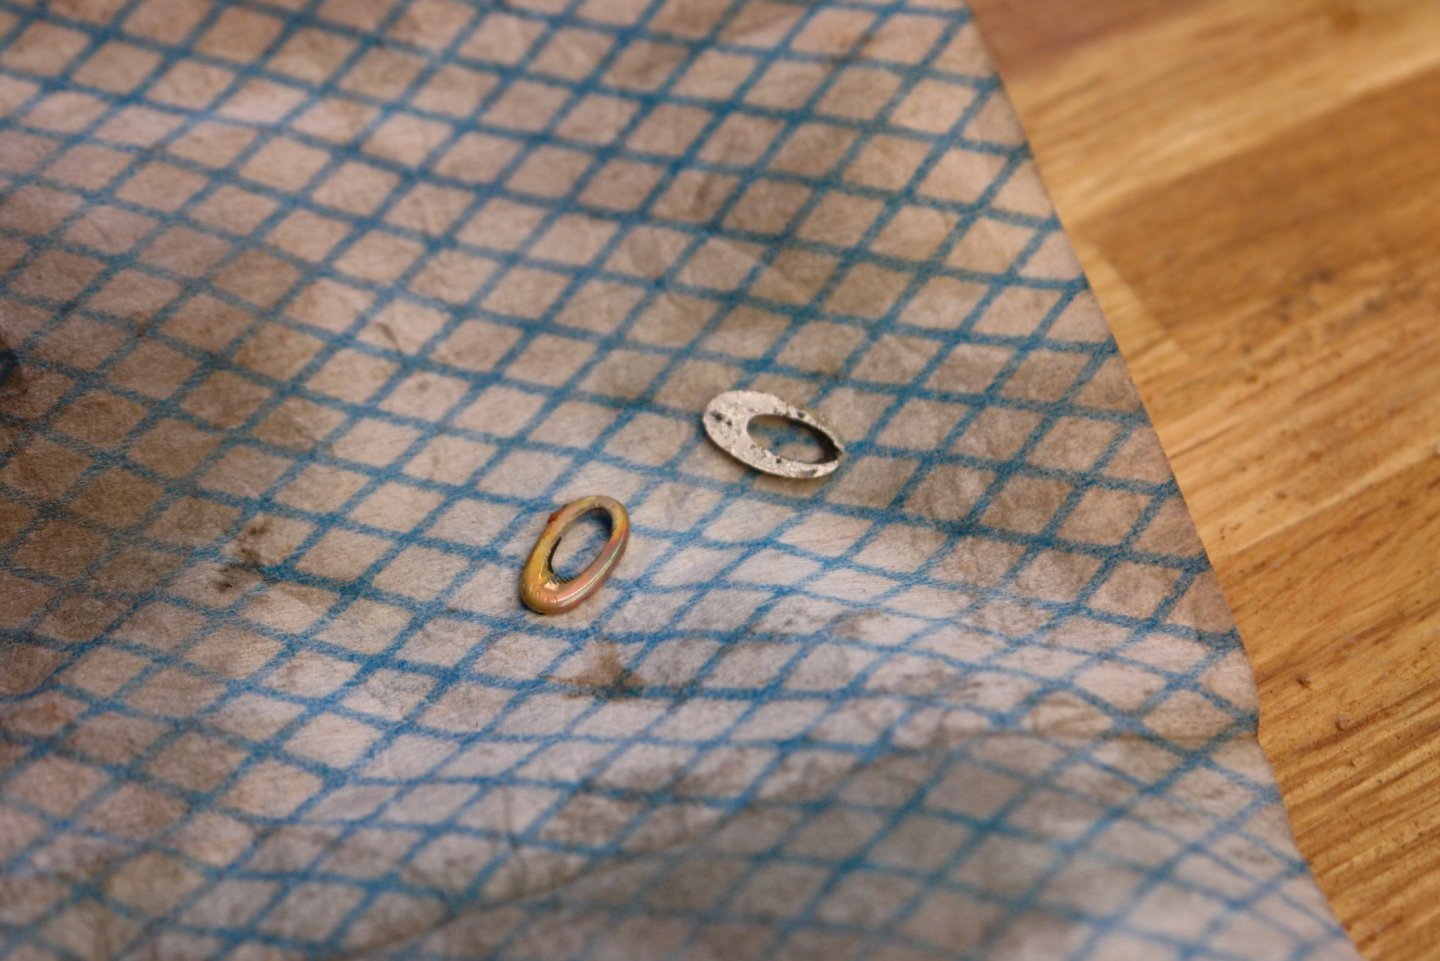
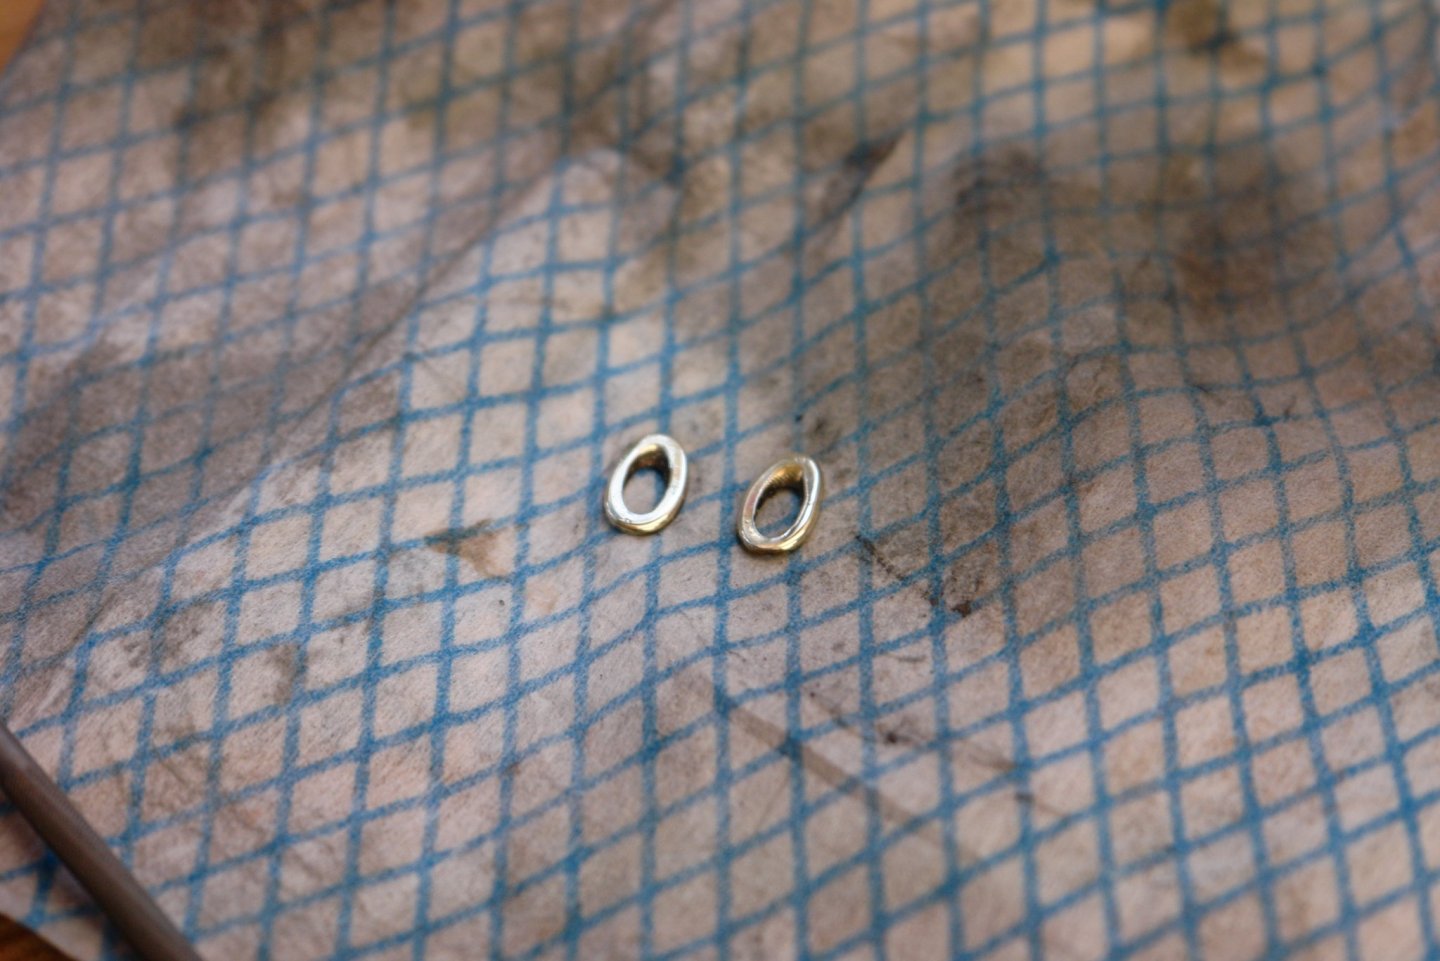
I made the wear / reinforcing rings for the inboard end of the hawse pipes. I cut a template for the angle between the deck and the centre line of the pipe and then used this to set up the angle of a 8mm bar in the mill. The bar was pre drilled with a 4mm hole to match the bore of the hawse pipe and 2 off 1mm wide slices were cut off with a slitting saw. To make them identical I flipped one and then aligned it with the other and held the 2 in a clamp for soft soldering. With the 2 soldered together I filed them to size and polished them. Then I heated and separated them before giving them a final polish. I put them in place to check that they looked ok. I also sorted out the hinges for the aft deck hatches.


-
Vaddoc - Sorry but no. And Snap - I had 10 x 0.6mm drills in their box - I snapped the lid shut just as the retraining strip came loose allowing all the drill tips to be nipped in the lid jaws. All the drills broke. So I claim a record of 10 broken with a fraction of a second.
-
Beautiful oars you have in Auss.
-
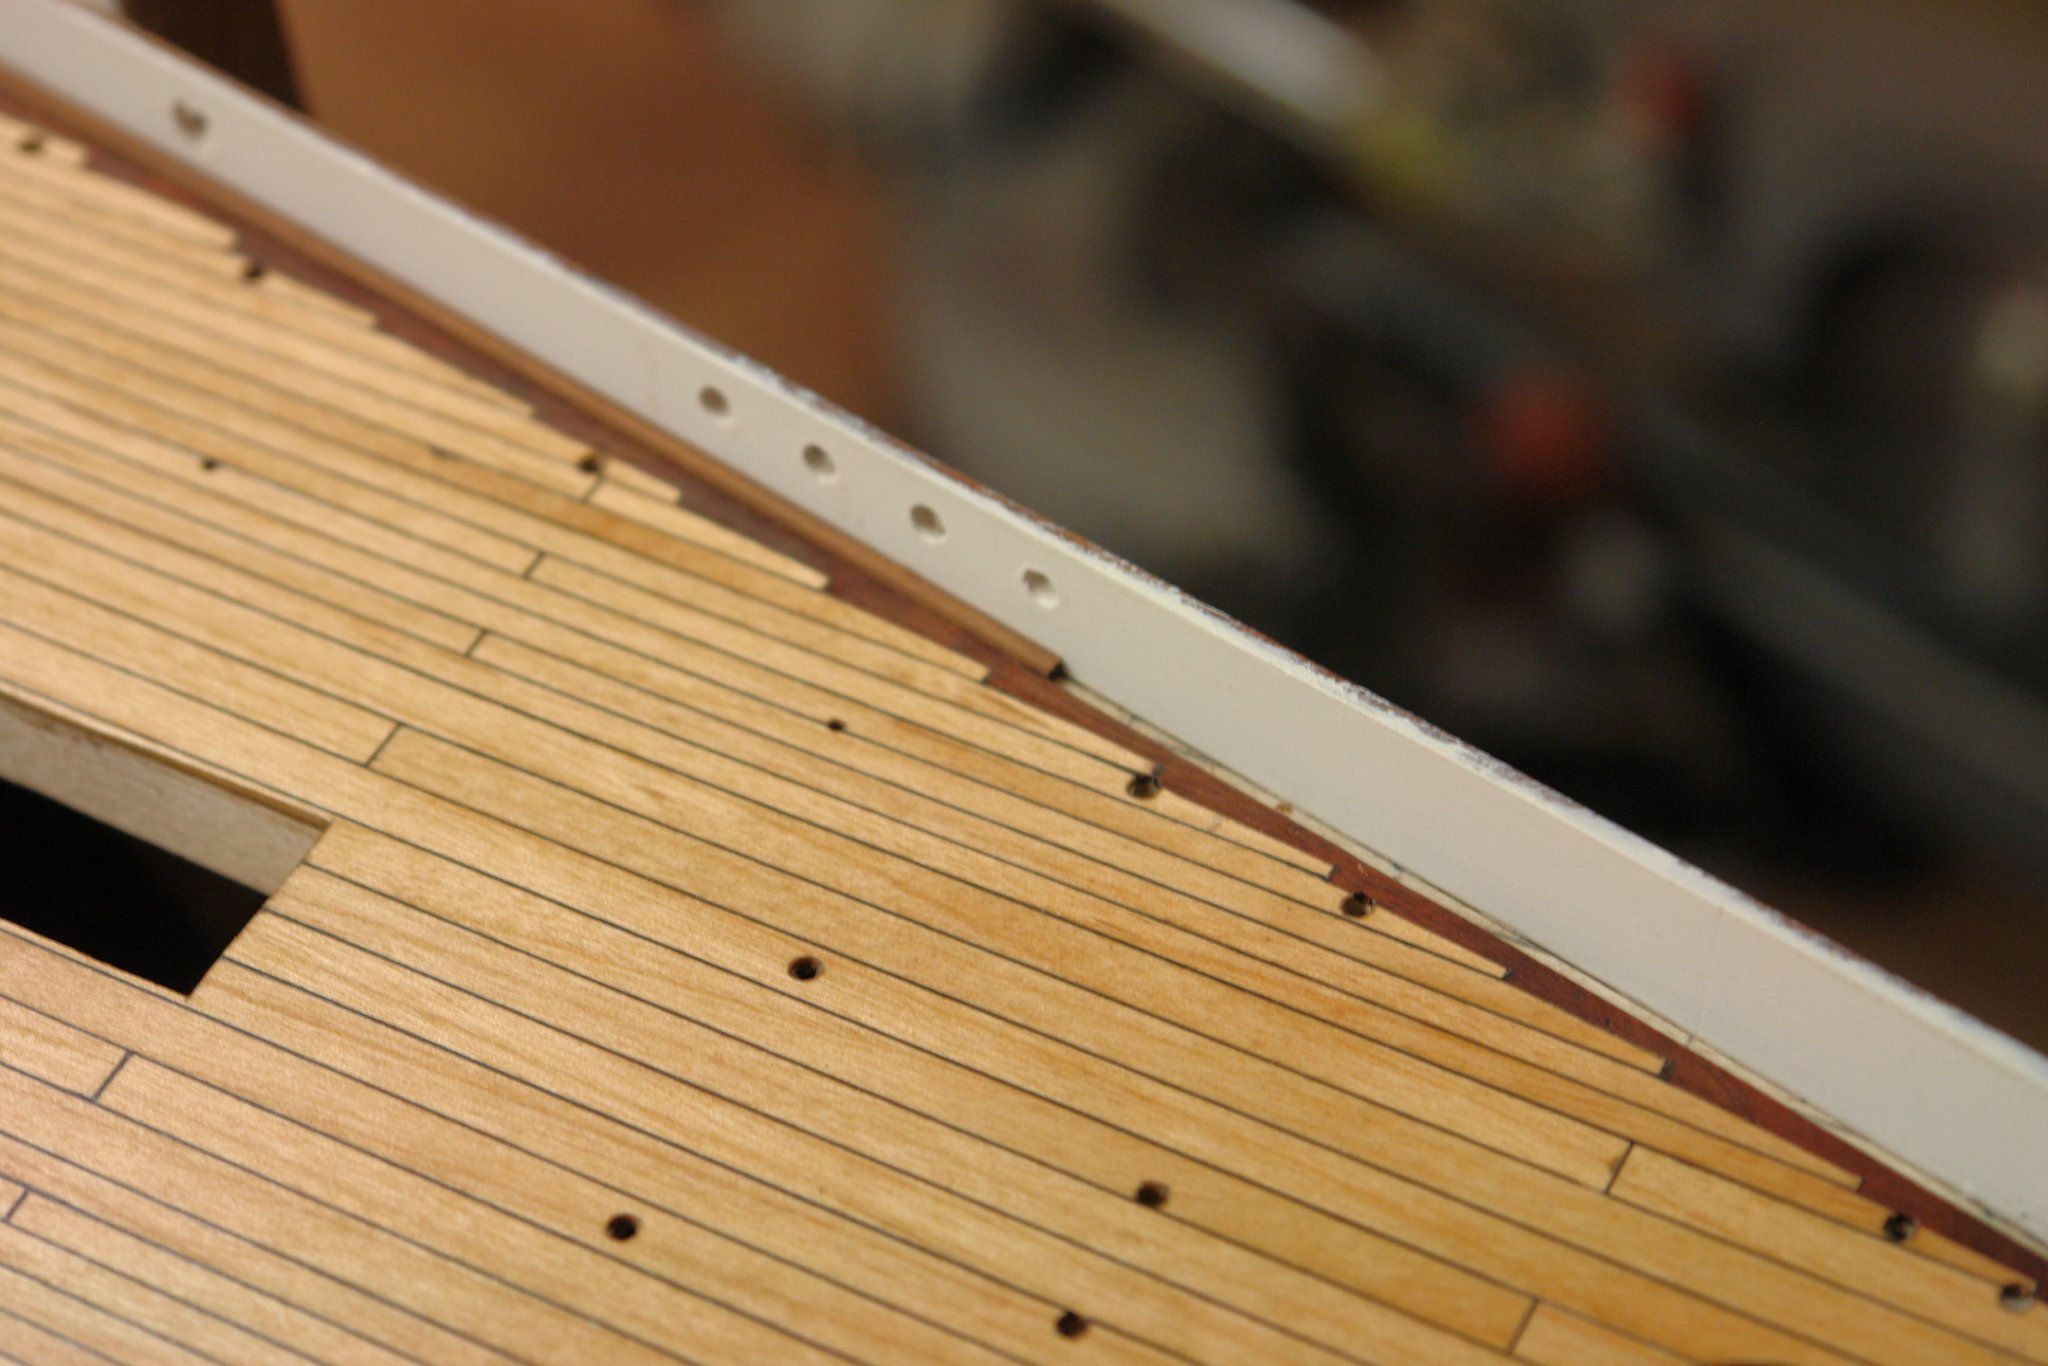
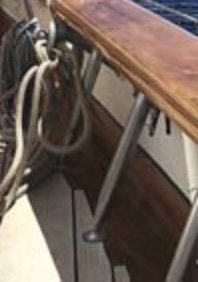
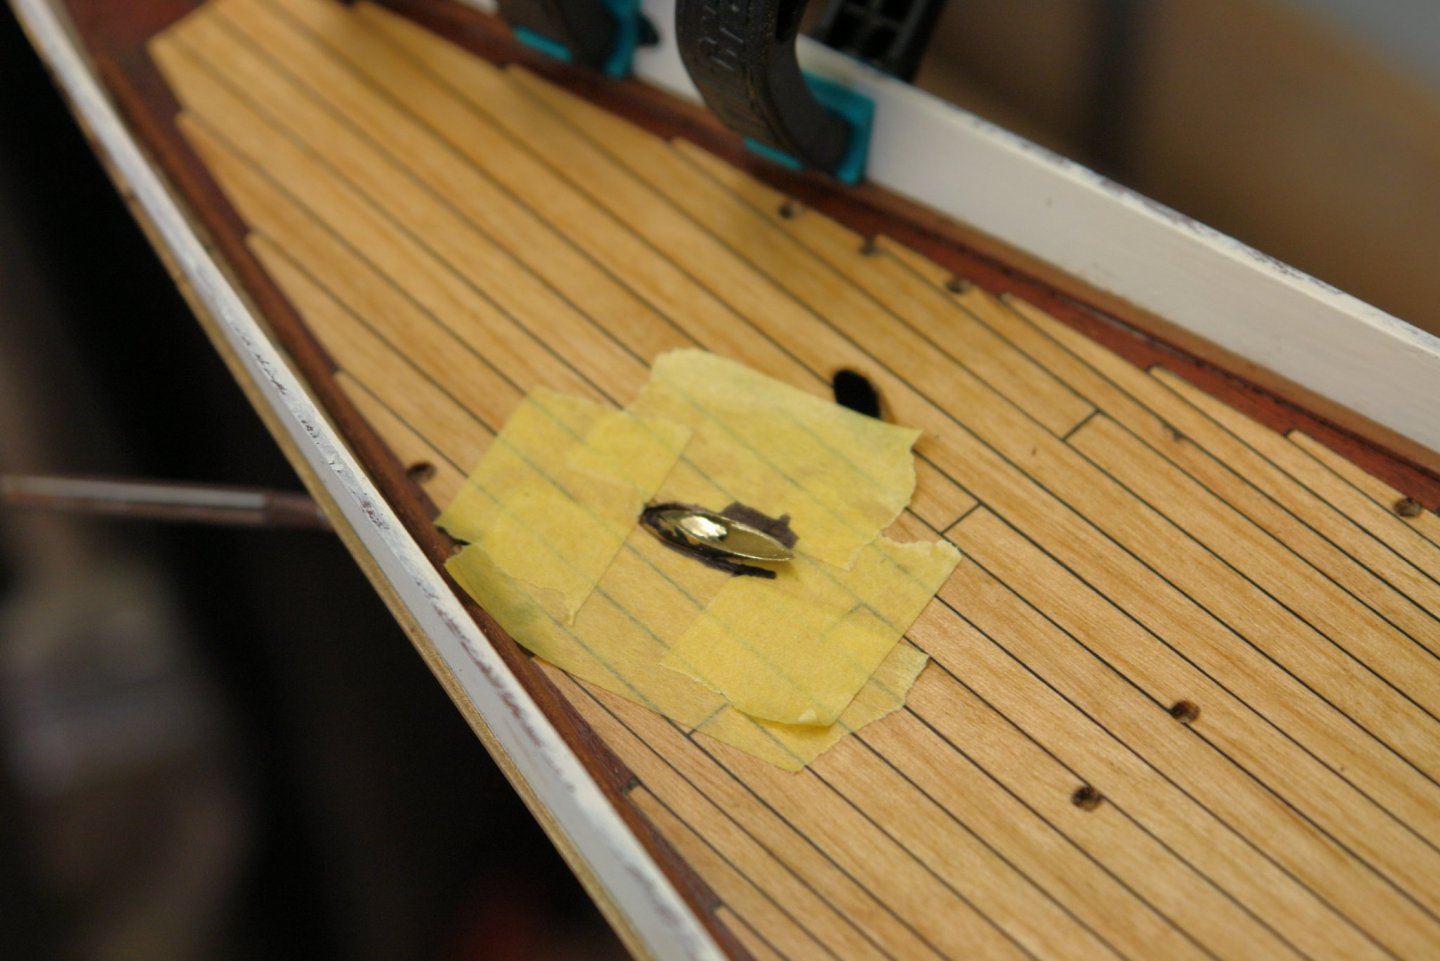
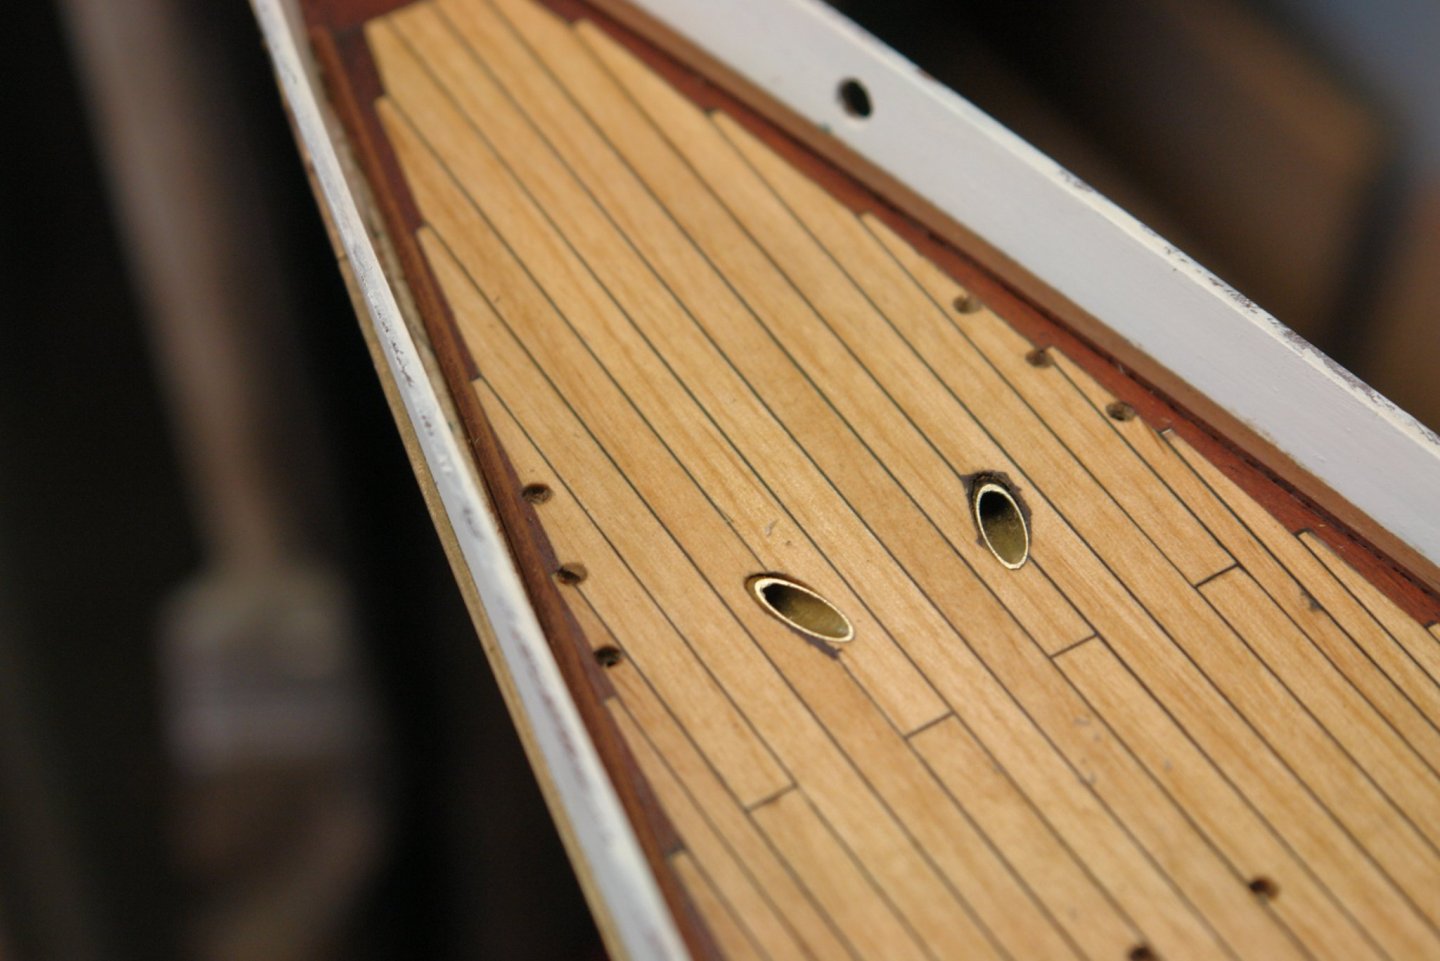
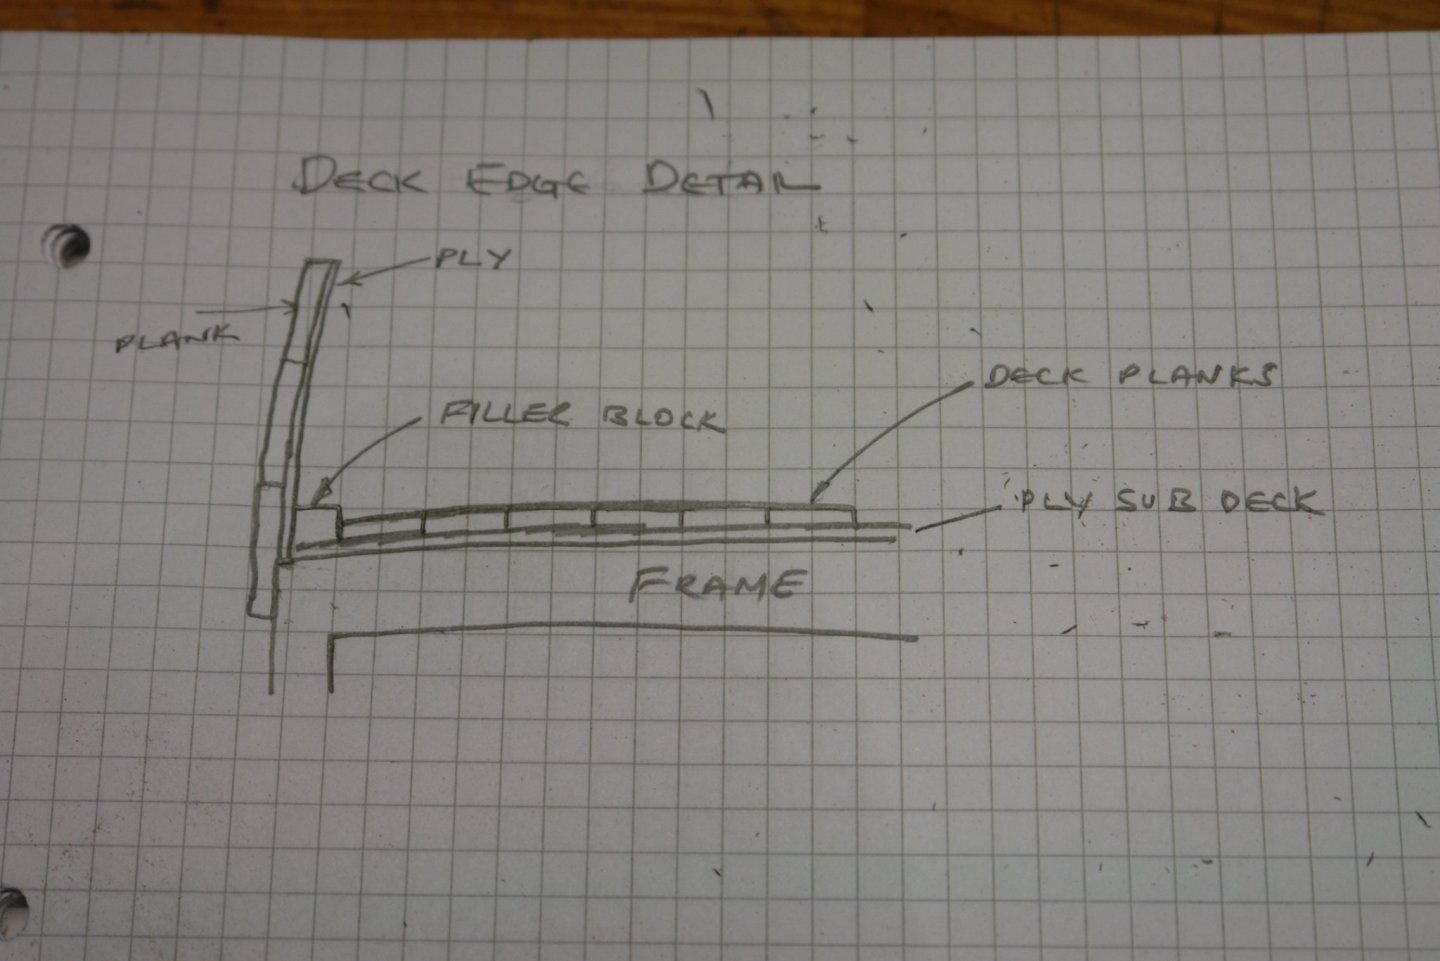
Thankyou Pat. You may remember that I had left a gap at the deck edge to be filled in later. Later arrived today. The deck edge detail has the deck plank to bulwark infill sitting proud of the deck. Having left a gap at the deck edge I had the opportunity of reproducing this feature. Specifically the final construction details will be as the attached sketch. The infill strips are nominally .080" square - sanded as required to give a snug fit to the bulwark. I should have explained earlier that I had previously painted the inside of the bulwark white. As built the bulwarks were painted brown. However sometime later they were painted white. I liked the white better so white it was. I also installed the hawse pipes. First marked and cut roughly to length. Then careful filed to just over length and installed with 2 part epoxy - before finally being emery papered flush with the deck. The deck cut outs turned out a little big but this will be hidden (hopefully) under the rubbing / reinforcing rings that sit around the pipe


-
Just to add my observations - and possibly confuse matters. When I bought my lathe and mill I first considered a combination machine. In the end I bought a separate mill and drill and ever since I have congratulated myself that I made the right decision. The problem is that in the normal course of machining a component I frequently find myself hopping between turning an milling operations - easily done when you have 2 machines but not that easy when you have to change over a combination machine from turning to milling operations and then back again. In my view the only reason to consider a combination machine is either lack of space or money. One of the fundamental aspects a competent machine should have is mass. With mass comes the strength to resist the forces that are created by the cutting operation. Mass and strength combine to reduce deflections and vibrations - improving machine accuracy and surface finish. In this respect steel (or even better cast iron) have significant advantages over aluminium. Youngs Modulus for steel and cast iron is far better than that for Aluminium and this means that deflections are proportionately lower for a given load. You can make small parts on a large machine but you can't make large parts on a small machine. Better to get a bigger machine than you think you need. I do hear a lot of misinformation about Chinese machines, particularly ones supplied by reputable home based distributors and manufactured under their own supervisory inspection regimes. Earlier today I was reading the 3 jaw chuck spec sheet for Sherline Chuck and it said:- Due to the nature of the design of a 3-jaw chuck, it cannot be expected to run perfectly true. Even 3-jaw chucks costing five times more than the one made for this lathe will have a 0.002" to 0.003" runout. If perfect accuracy is desired in a particular operation, the use of a 4-jaw chuck or a collet is recommended. Both are available for your Sherline Lathe.https://sherline.com/wp-content/uploads/2015/01/1040inst.pdf I couldn't actually find a quoted accuracy for the Sherline Chuck but the implication is that it is somewhat more than .002" to 003". The statement about chucks costing five times more prompted me to check my lathe chuck. I found that the runout eccentricity was just under .002" while the axial error was so small I couldn't measure it, and this from a 7 year old Chinese lathe. Chinese machines can be very good value for money.
-
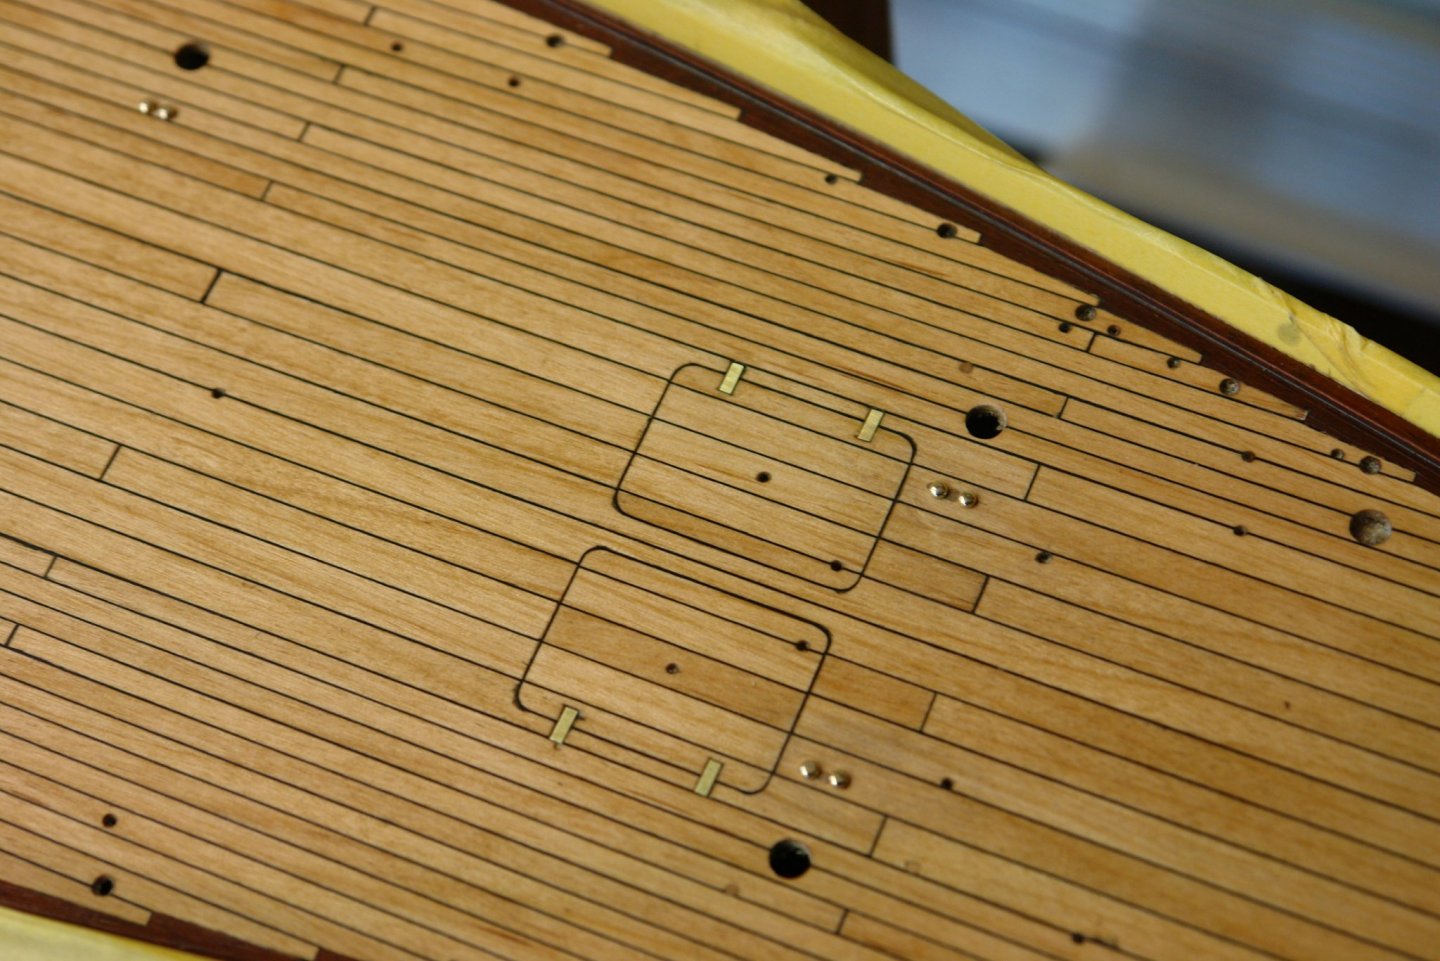
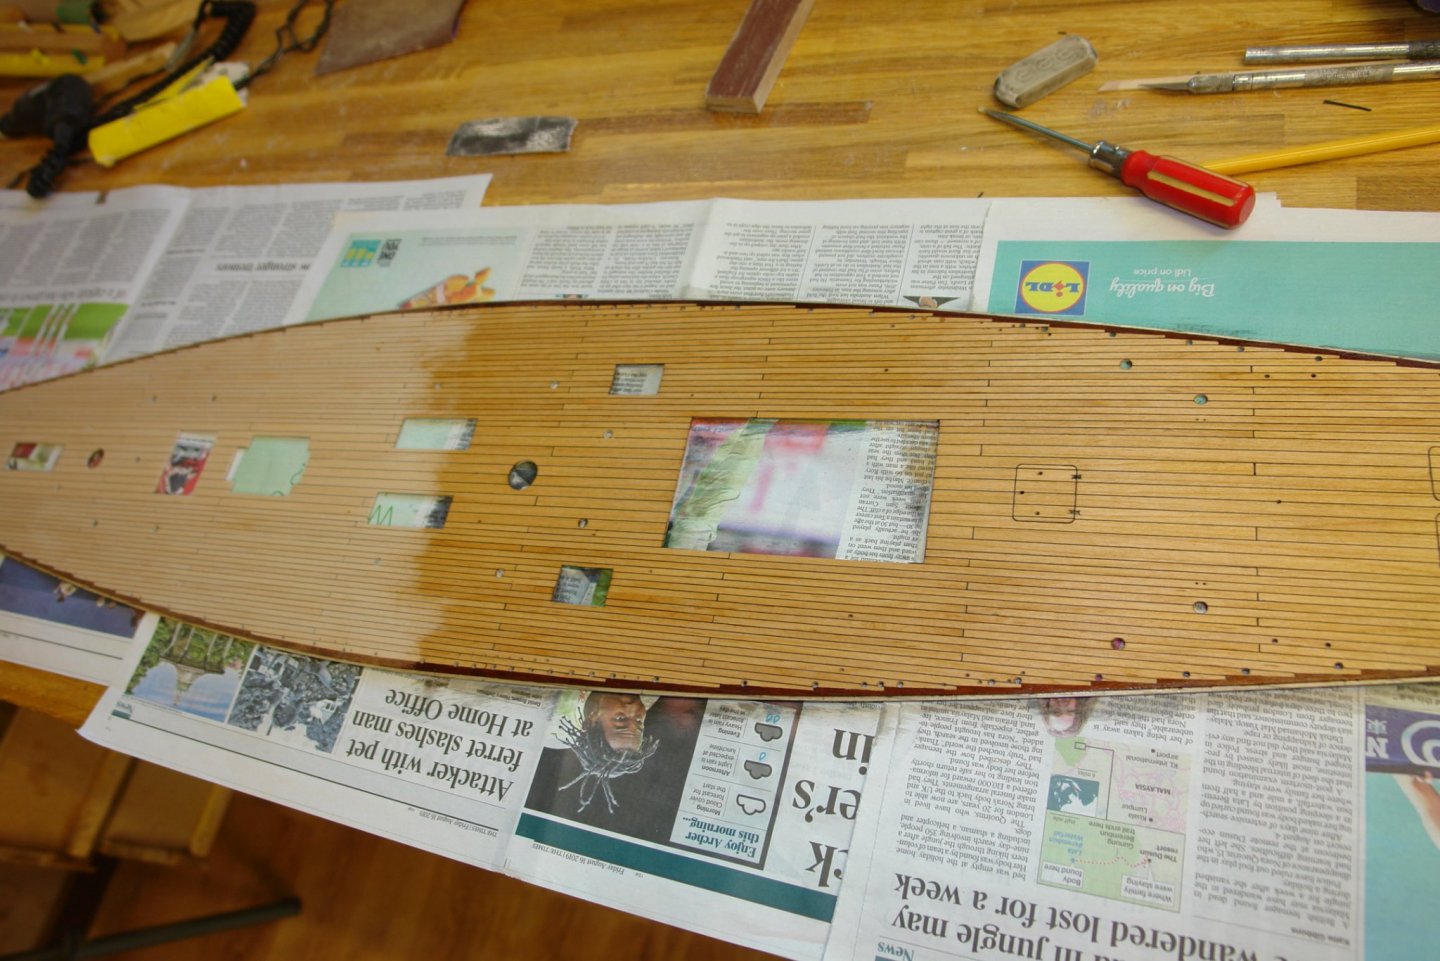
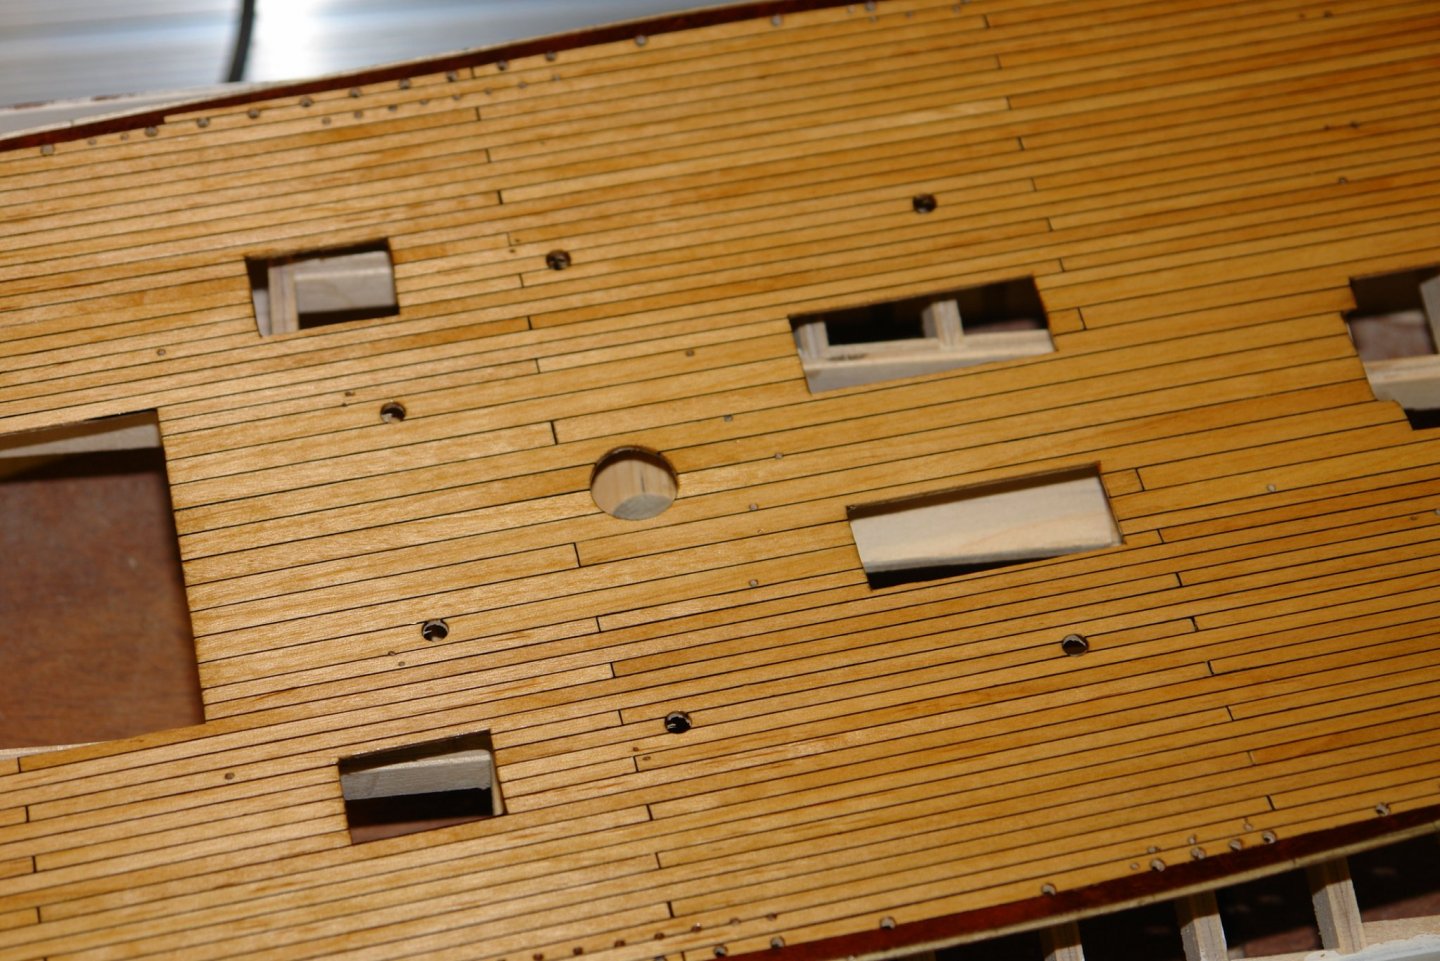
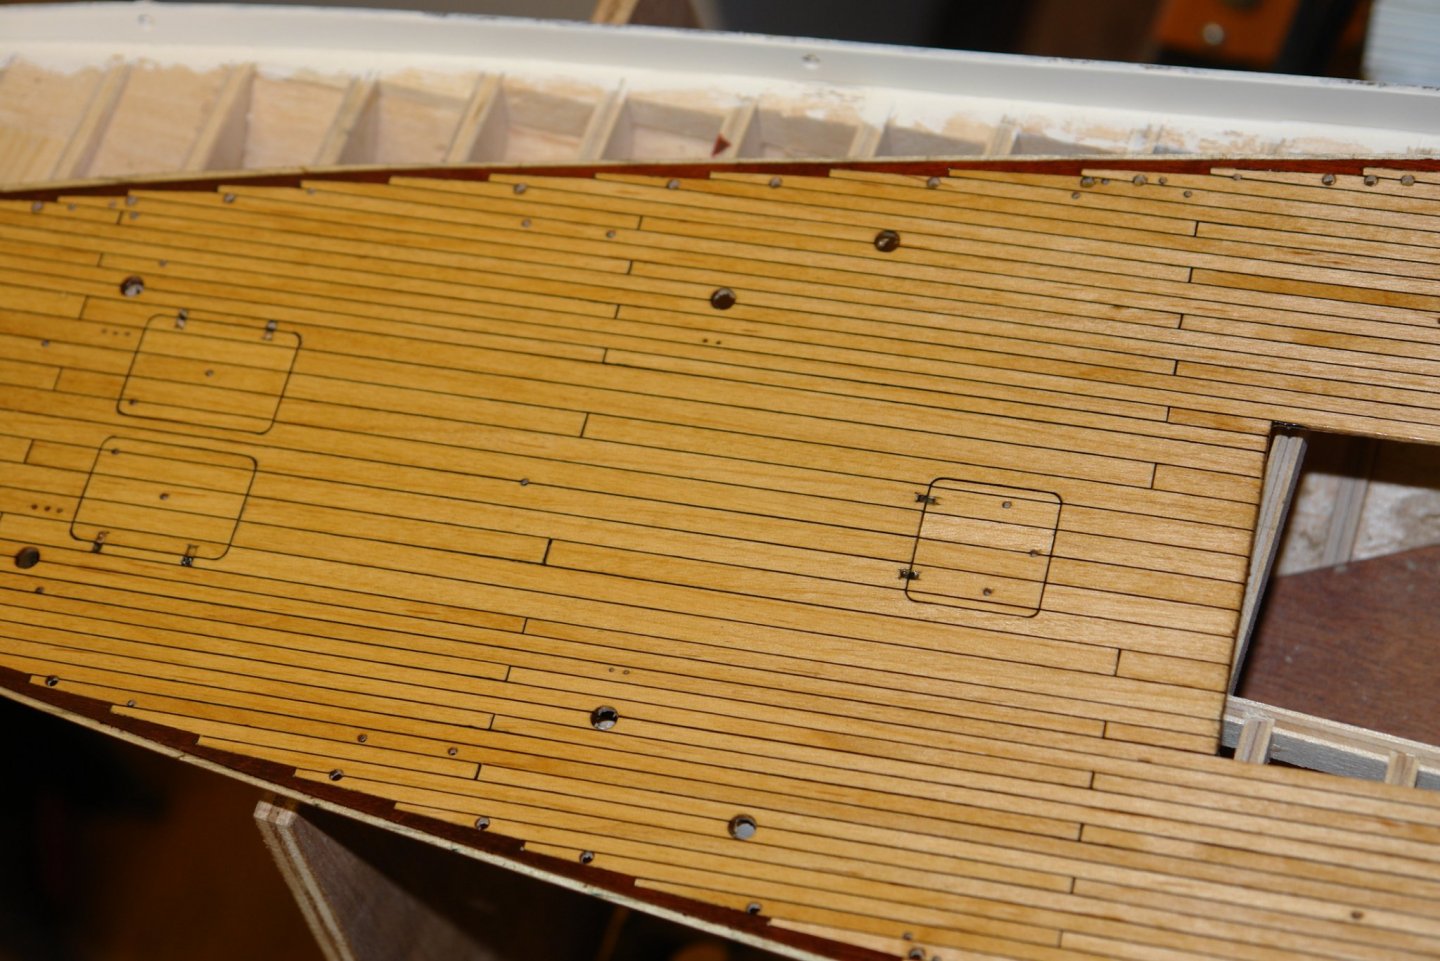
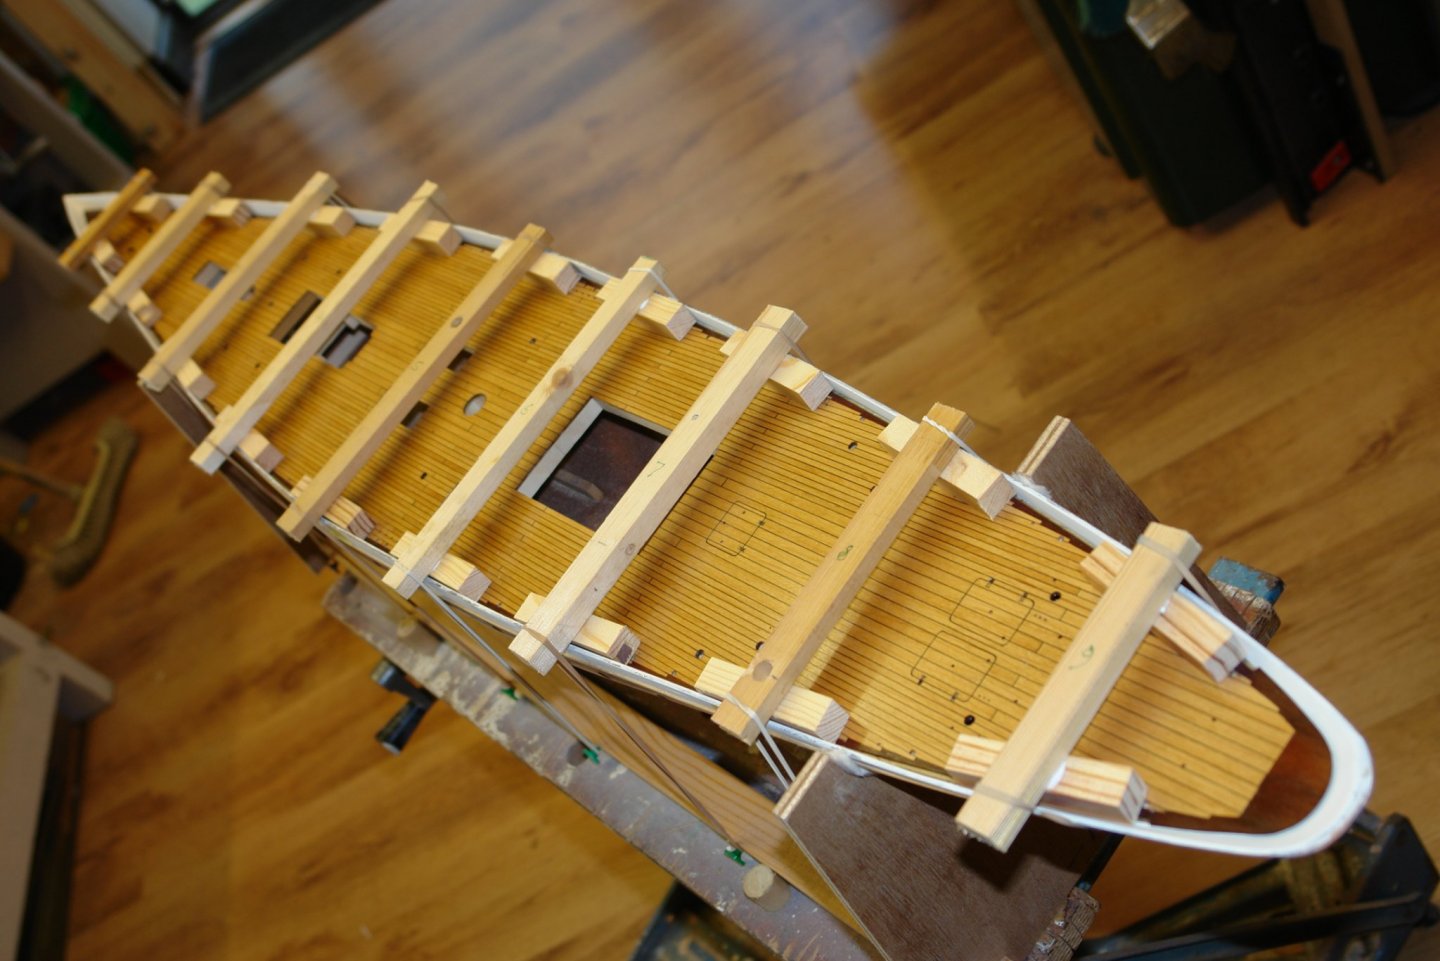
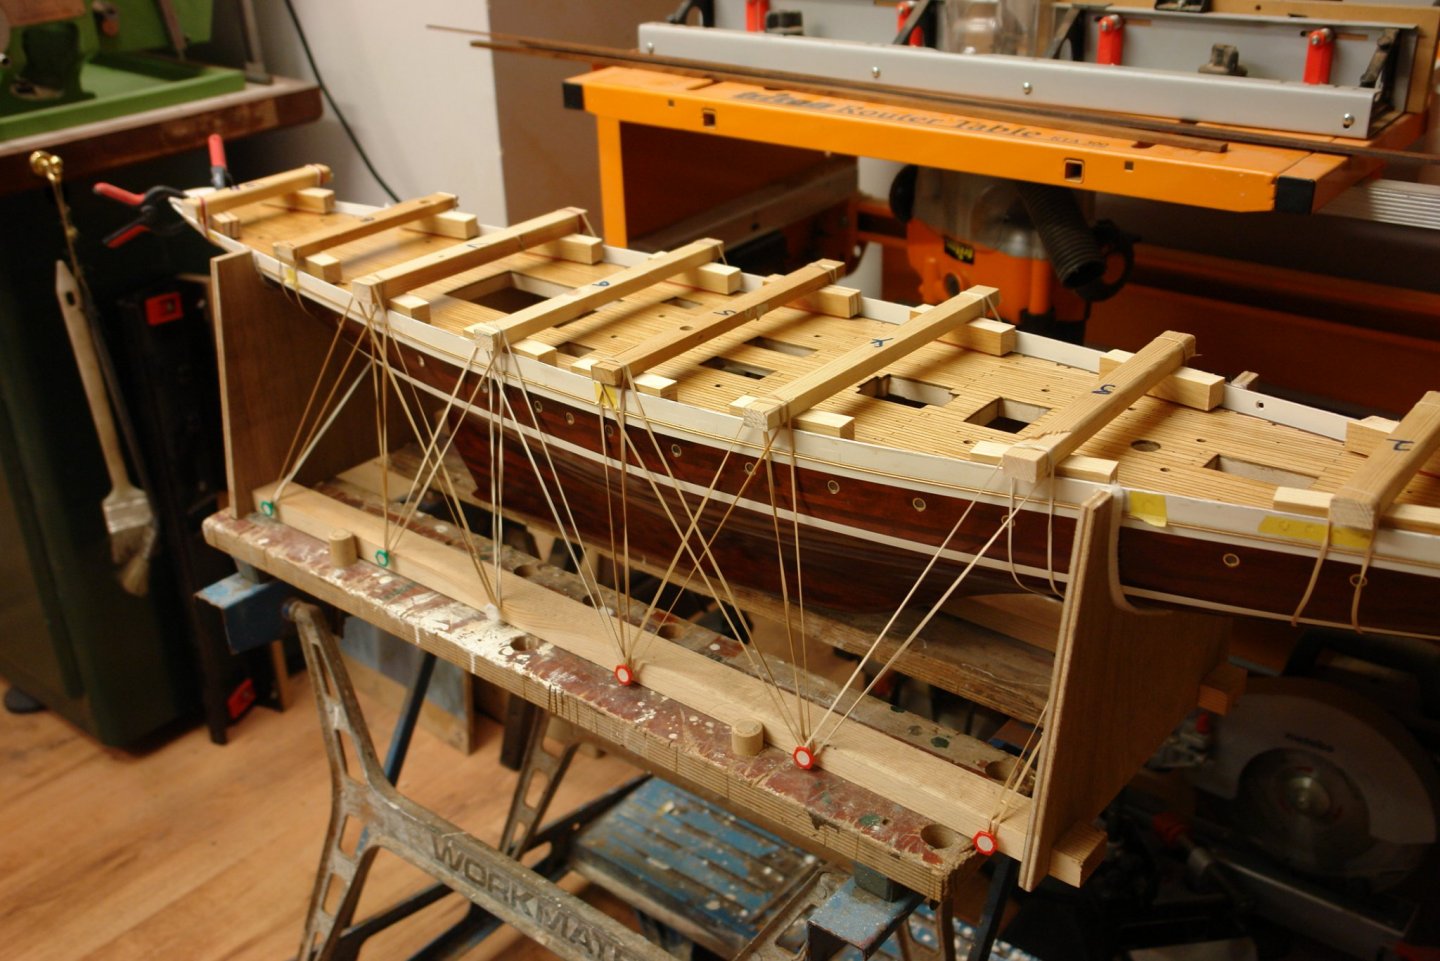
More forward progress since the last post. The workshop was cold today and rain poured down all day. The sort of day it would have been better to stay in bed. I got fed up with drilling holes so got the paint can out. The rest of the deck holes can come along later. The deck has been given 4 coats of clear poly and in consequence has darkened up significantly. The next photo is taken mid way through the 1st coat. The next sequence shows the deck at the end of the 4th coat. More coats still required. I also had a go at the deck bosses for the bulwark reinforcing struts. 100 of these bosses are required - more on that topic in a later post. I decided it was time to mate the deck with the hull. The deck has to follow the convex shape of the frames while taking on a slightly concave shape fore and aft. I had checked the deck flexibility while planking so I was fairly sure it would bend without breaking or cracking. I also knew that I would need a lot of pressure to hold it in place while fixing. To apply the pressure at the deck edges I manufactured a set of hold down beams with spreaders at the deck edges The pressure was applied by many elastic bands. Liberally applied PVA glue was used to secure the deck.


-
Steve what size are your eyebolts please - Outside diameter will do. I have a load to make at 1/8" outside diameter and I sort of wondering what might be possible.
-
Svein. A very interesting subject which I will be pleased to follow. Just one observation - With the balsa being soft and easily damaged are you sure that copper wont get damaged (badly dented) during the construction process.
-
Eberhard - could you use porthole eyebrows - 2 for each porthole. I bought these more than 30 years ago - and they do have rivets. 2 together Size Any good? - how many do you need?