


UpstateNY
-
Posts
466 -
Joined
-
Last visited
Content Type
Profiles
Forums
Gallery
Events
Posts posted by UpstateNY
-
-
-
Welcome Elijah, Bigmac and Roger and thank you all for the kind comments and the likes. You won't be disappointed with the Confederacy kit, it's a real beauty and hopefully I will do her justice.
Fairing the hull right now...taking it slow and checking things as I go, but I hope to have an update worth posting soon. Please ignore any reports of unseasonable dust storms in the Saratoga Springs area....

Cheers,
Nigel.
- CaptainSteve, Jack12477, Elijah and 2 others
-
 5
5
-
Looks great Phil...your hard work is paying off!
On the portholes, perhaps do some tests using some scrap wood to see how both options look and then decide...
Cheers,
Nigel.
- Turatopgun and Elijah
-
2
-
HI Phil,
My 2c from reading other logs here is I would get the hull fully assembled and sanded so it ready for painting. I would then line out the positions of the portholes and anything that requires drilling into the hull by taking reference lines off the plans using dividers and then making the holes and dry checking the fit is snug so all is ready. I'd drill the holes very undersized and then use sandpaper glued to a tapered dowel to gently widen the holes to the correct size to avoid rip out. I'd then sand, seal, prime and paint and finally glue in the other items as needed. The rubbing strake I would probably add before painting given I'd expect it to be the same color as the hull.
Hope this helps!
Cheers,
Nigel.
Edit...just seen Grant added a key point I'd missed!!
- Elijah and Turatopgun
-
2
-
-
-
-
Hi Dave,
Wonderful work and as Mark says really fast! I can't believe how rapidly you are able to create these lovely carvings.
As for the item in his left hand...my 2c is it looks like a royal orb so perhaps it really is the king himself!
Cheers,
Nigel.
- SawdustDave, GLakie, mtaylor and 5 others
-
8
-
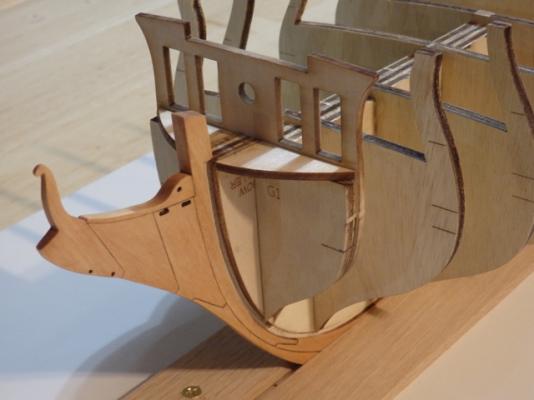
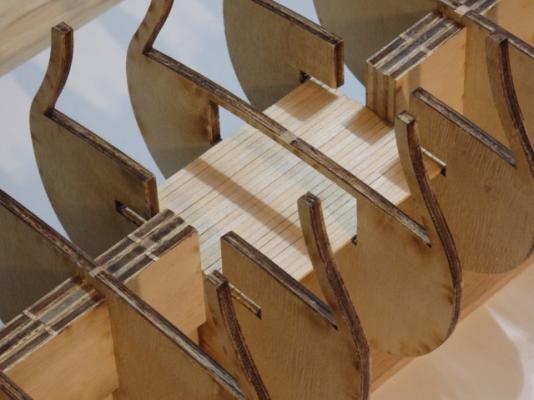
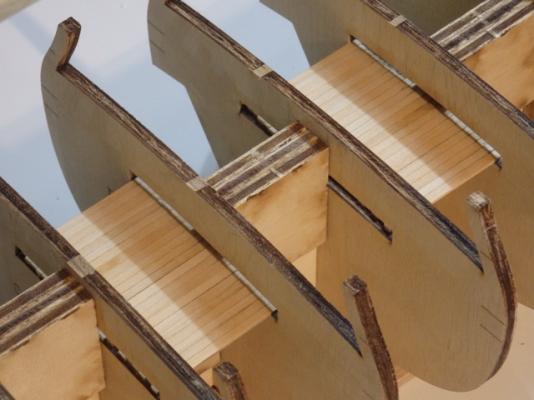
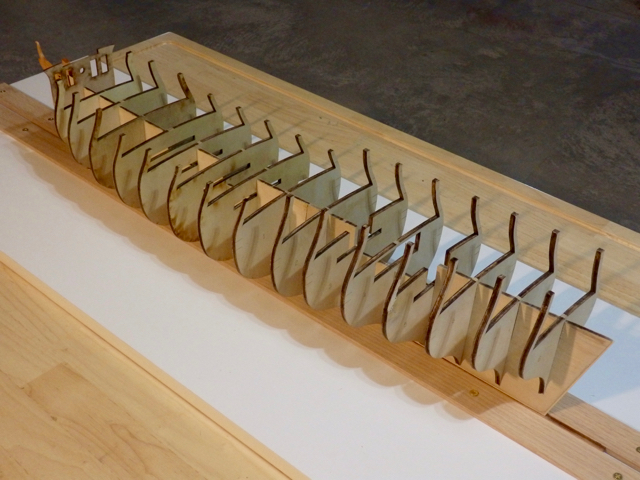
Hi All,
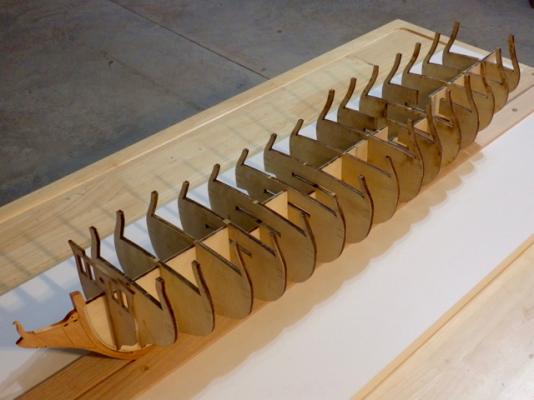
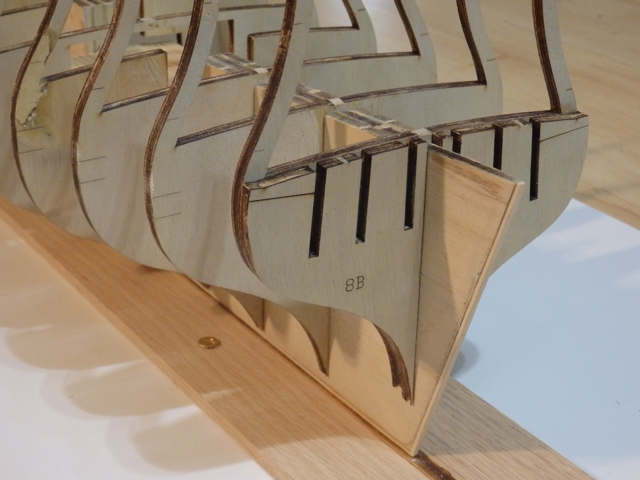
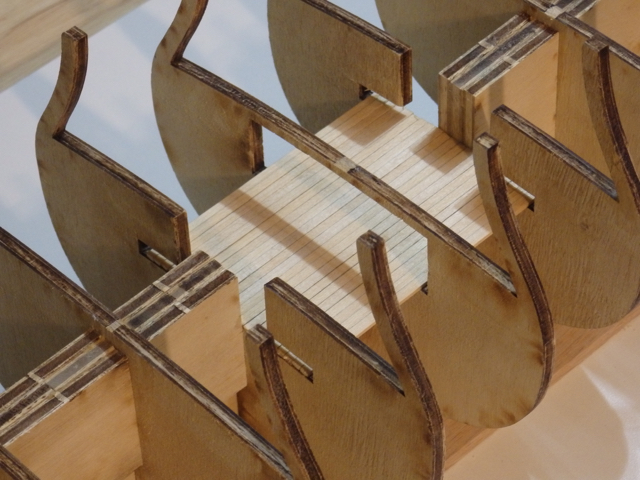
Well all the bulkheads are now glued in after checking each one was square the bulkhead former. The numerous bow and bulkhead fillers along with the stern half bulkheads were then scrapped to remove the char and glued in. I took a lot of care with the bow and stern pieces to try and make sure the alignments were correct. I then planked the three sub-gun deck platforms with the caulking simulated using a soft pencil. I tried to select basswood strips of the same color and texture as Chuck points out in his instructions, but a couple still seemed to come out darker once the wipe on poly dried. These platforms will be hardly visible in the final build, but I'll perhaps need to be a bit more selective down the road once I start planking the hull and main decks to get a consistent finish.
Thumbnails below...thanks for reading.
Cheers,
Nigel.


-
-
Lovely work Nils...really looking forward to all those wonderful deck details going on. Those capstans are really something!
Cheers,
Nigel.
- Omega1234, mtaylor, Mirabell61 and 1 other
-
4
-
-
-
-
Hi Ed,
Well, I thought the windlass and capstans were awesome, but those pumps are something else...just wonderful to see!
I am also greatly enjoying reading your YA Volume 1 right now and so a small plea...more color pictures in Volume 2 please. It would be a shame not too see these decking items in their full glory!
Cheers,
Nigel.
-
-
-
Hi Janet,
Like is for support as I am so sorry to hear of your health problems...please take care of yourself.
My best wishes for a speedy recovery.
Cheers,
Nigel.
- shiloh and mattsayers148
-
2
-
Hi Phil,
Great to see you starting a build log and your build looks great..I'll follow along if you don't mind.
I am w Dave here regarding Chuck instructions as they have always worked well for me. If you don't mind the suggestion, you may want to check your hull fairing before you get too far into the planking...I see some laser char left across the bulkheads in your pictures. Using a batten to check the planking will contact the bulkheads fully across their width will make the planking go a lot easier. Just a thought as now is the time to do some touch up fairing by sanding off any high points!
Looking forward to your next update...enjoy!
Cheers,
Nigel
-
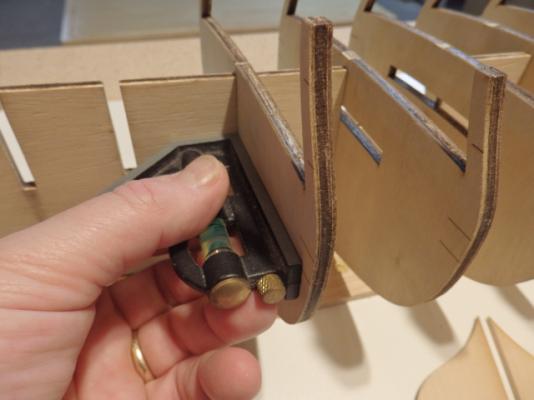
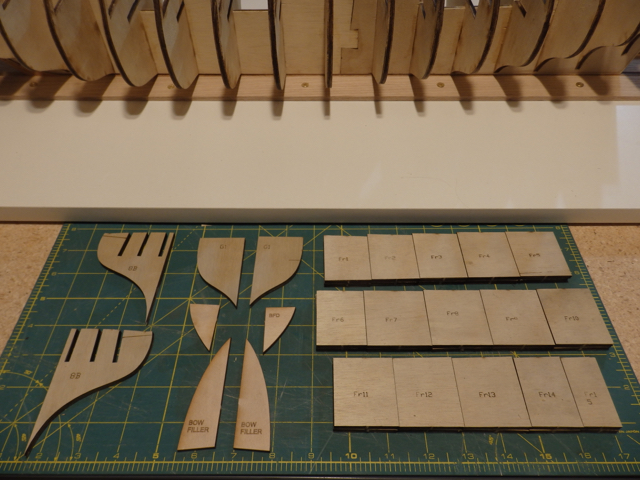
Hi All,
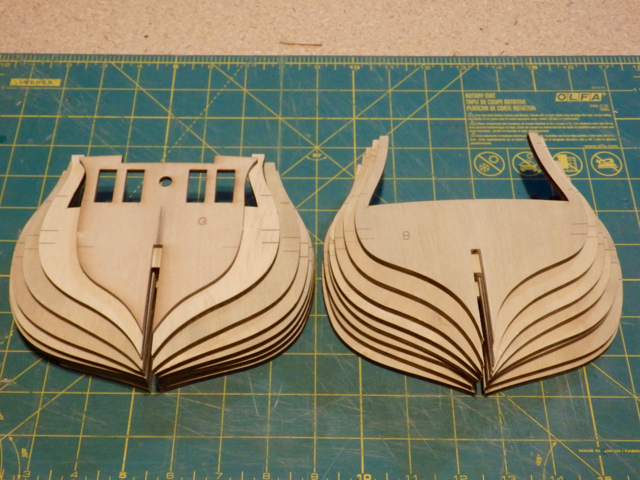
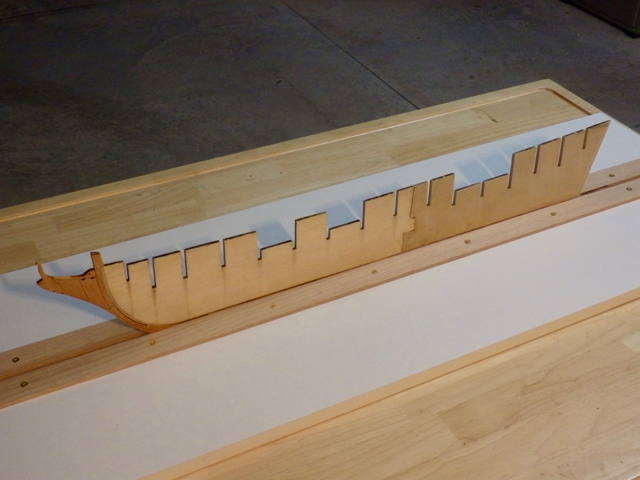
A little more progress over the past week. The 16 (!) bulkheads have been scraped clean of the top layer of laser char. The char was very sticky and thick. I prefer to scrap using the back of a dull Xacto blade rather than sand to minimize the dust. I left a thin char layer as recommended to help guide the fairing of the hull later in the build. Bulkhead and former slots needed a lot of filing to enable the them to engage evenly using just gentle finger pressure...initially the bulkheads would not slide into the former slots at all.
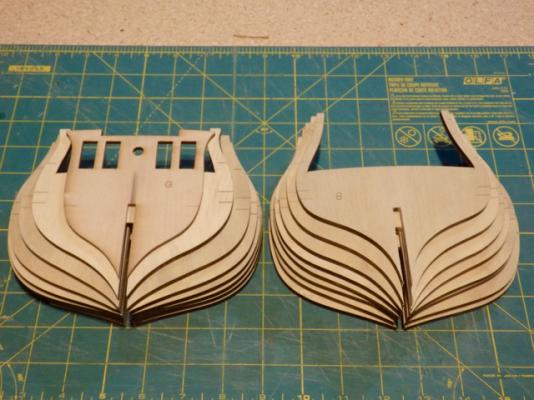
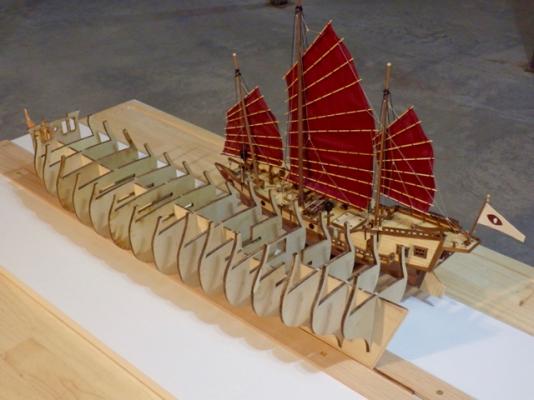
Images are below including the last one which is just for fun showing just how large this build is when compared to my Red Dragon! The Dragon seemed pretty large when I was building her, but she is completely dwarfed by the Lady Confederacy. So...lots of fun to come....
Thanks again for all the kind comments, the likes and for just simply stopping by!
Cheers,
Nigel.


-
-
Fun build Popeye and really enjoying following along. Of course sorry to read about all the painting woes, but sure you'll figure it out!
Cheers,
Nigel.
-
-


Montanes by mtdoramike - FINISHED - OcCre - 1:70 scale - next donation project
in - Kit build logs for subjects built from 1751 - 1800
Posted
Hi Mike,
I like that contrast between the woods..looks great.
Cheers,
Nigel.