HOLIDAY DONATION DRIVE - SUPPORT MSW - DO YOUR PART TO KEEP THIS GREAT FORUM GOING! (Only 20 donations so far - C'mon guys!)
×


amateur
-
Posts
3,516 -
Joined
-
Last visited
Content Type
Profiles
Forums
Gallery
Events
Everything posted by amateur
-
Wow, it takes some time to realize the size of this ship. Can you tell how you made the sails? they lookvery convincing. Jan
-
You need quite a notch to get a strong connection. So large that it is visible (at least it was in mine.) using a parrel and a drop of glue was enough for my yards Jan
-
Hi John, that is deceptive: he has quite a number if things to do. Railing stanchions for instance. But, you’re right: less work than rigging ratlines for a three-masted man-of-war. Jan
-
Mamoli went down, not because of poor design, but because of fire: their productionfacility burned down. I guess that the square-business holds for almost all pre-laser kits....Mine (corel) wasn't much better. What I don't like at the Mamolis is that their research was lousy. Kits could have been much better representation of the ship without too much effort..... Jan
-
Here
-
Doris did Now I need to think: where..... Jan
-
HiVossie, it is even weirder: the botteloef is not a bowsprit in a normal way. Therefore, next to this botteloef (and its extension 'opsteker'), these ships often had a separate boom as bowsprit. the botteloef is intended to have the fore sail forward as much as possible, as that improves sailing qualities. (And that is also the reason that some owners had the botteloef extended using such an opsteker: getting the fore sail even further forward. ) Jan
-
As Carl already said: funnel looks better now. could you do a pic with a referenceobject for size? I am a bit lost when I look at those parts. You call them big guns, They look huge, but I suspect that is pure delusion. Jan
-
Strict rules on plank length, shift-patterns etc. were not around when the Revenge was build. Archeological evidence suggest there is quite a margin to fudge
-
I thought your metalwork in Varyag was stunning...... this one is even better. Why isthis one on hold? Jan
-
I like the red, but as it is quite heavily shaded in with black ,the overall impression is (at least on my screen) a bit on the dark side. Jan
-
Hi Anna, Nice going! Whether to use paint, lacquer or oil is largely your own choice. I prefer paint/lacquer (just the normal smallest tin of non-coloured 'histor blanke lak' sold by Gamma ) that way the wwood is protected. I never tried oil. From what I have seen here: oil goes into the wood, lacquer remains on top. So any errors with (too much) glue tend to show up with oil, and lesswith lacquer). Paint is another story: some like the wood to show, and use different types of wood to have variation in colours. Other refer to the ships that are modelled, and that are never unpainted, and therefore use paint to resemble to original as best as possible. Up to youo whichever gang you belong (and you can always turn to the others ). When using paint, you can use the standard stuff from the home deco, but it works easier with modelling paint. tamya and Humbrol sell small tins waterbased enamel/paint in a broad range of colours. Originally for plastics, they stick very well to wood and metal as well. I guess Shamrock still sells them. In al cases, it needs some ahead planning: you have to paint when everything is still reachable. Nothing so annoying a a spot you can see, butnot reach with yourbrush. But on the other hand, glue will not hold on paint, lacquer and oil. So, don't put the stuff on too early. Jan
-
New member from Maastricht, The Netherlands!
amateur replied to Anna's topic in New member Introductions
Hi Anna, Welcome to MSW! Jan -
Digital painting. Ideal when science discovers that it was actually red and yellow in stead of black and white. Why thoses small pieces above and under the upper gunports? Jan
-
The Groene Draak was a wedding present from the Dutch people to Prinses Beatrix and Prins Claus. Not a very 'royal design', on the contrary, it was based on the rather common flat bottomed working ships there used to be. Jan
-
Weird..... I would think the oldfashioned way (just strips) work better. Jan
-
Hi, I do not have much experience, but thekits I did, used presawm frames. These were not lasercut, but just machine sawn. The deviations were, to say the least, on the large side. I guess there is a drawing that shows you how it should look. These drawings are not included for nothing..... one of the major issues in the machine cut frames is the centerslot out of the centerline, and/or not of the correct length, resulting in the frame sitting too low or too high. Basic rule measure twice (at least), glue once. with respect to your other question: The kit makers have standardsizes of wood. Planks/dowels etc, notmade to the specs of your model, but the other way round: the size of the model is determined by the size of the wood available. In most cases the wood provided in the kit is the first standard size available above the measure you need. Sometimes that is really close to the final size, sometimes you need some resizing. In the kits I did, mastsizes and available wood did coincide rather well. Jan
- 23 replies
-
- 1
-

-
- constitution
- mamoli
- (and 1 more)
-
Hi Marcel, Welcome to MSW! Is your Groene Draeck a kit, or based on a drawing? Jan
-
Interesting car in the background. never knew that Citroen did this kind of stuff.. Kit, or own modification? Jan
- 122 replies
-
- 6
-
-
- tamiya
- King George V
- (and 2 more)
-
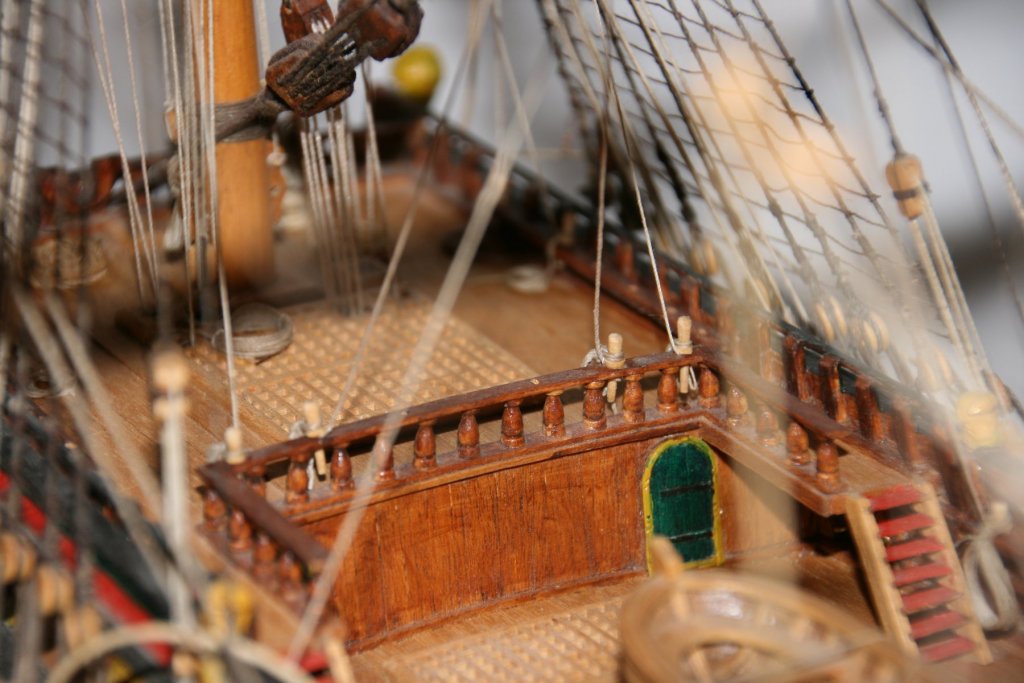
Actually, the space is still rather large: I can reach all places with my hands, tweezers are needed to belay the lines, but still, I had expected worse. It is mainly because she has no sails: therefore the number of lines is reasonably limited: no bowlines, no buntlines. That is quite a number of lines (and very tiny blocks) less Jan
- 139 replies
-
- 1
-
-
- corel
- prins willem
- (and 1 more)
-
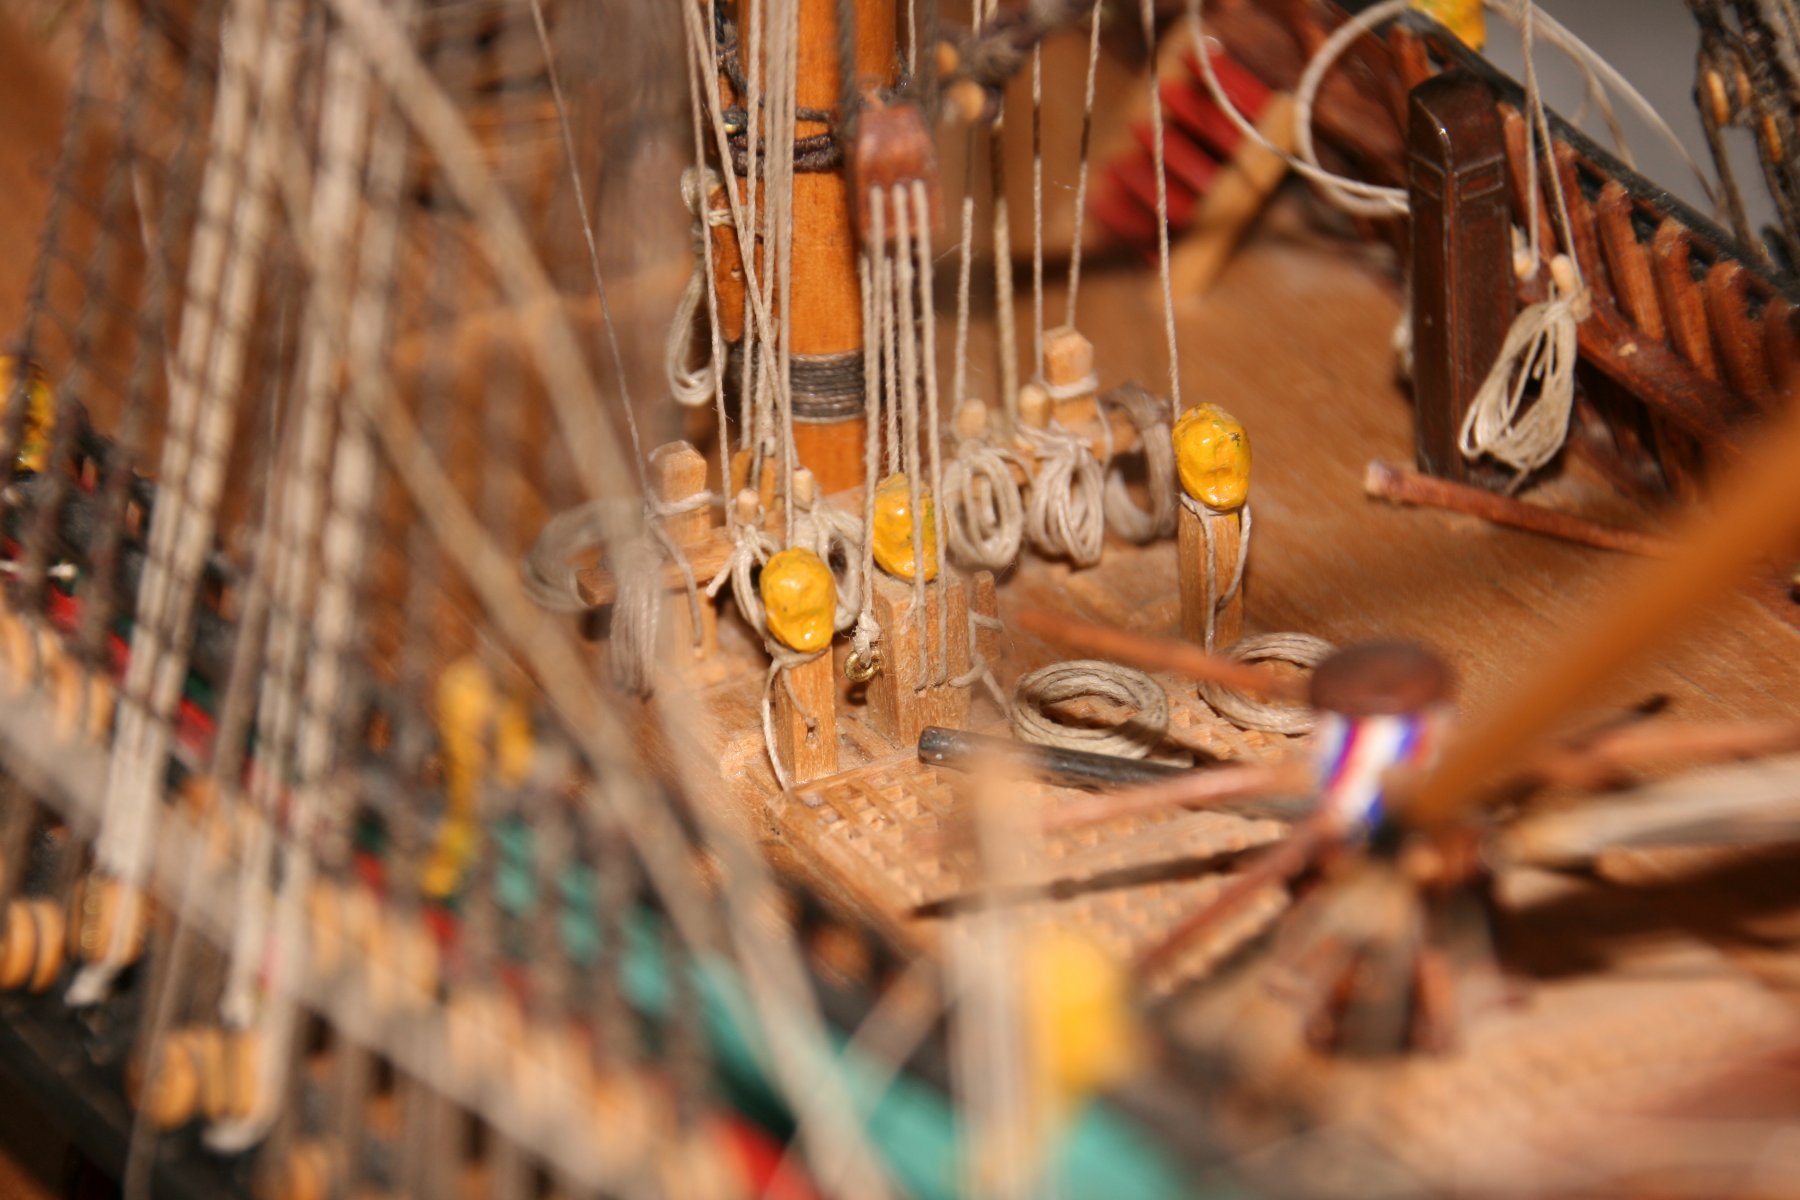
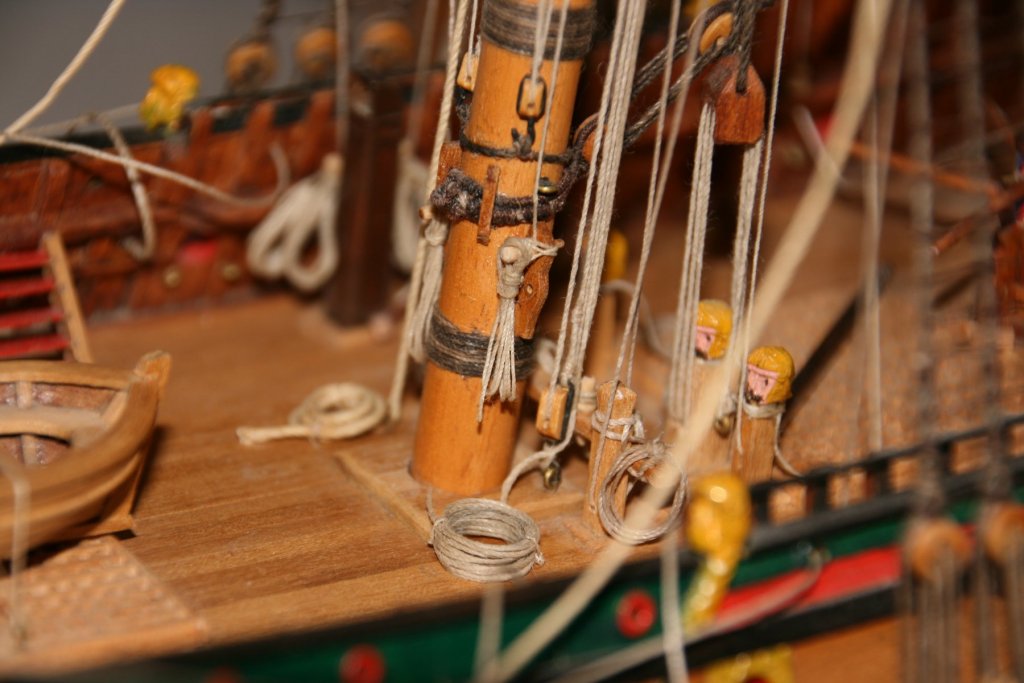
As daylight didn't quite return, I took some pics with a flash. Flash and close-up results in suboptimal pics, I know...... I am a bit struggling with the Amati-line: it was sold as 'pure natural', but white glue doesn't have much of an effect on it: when the glue sets, it holds the rope-coils together, but as soon as I apply some white glue to it to fix it onto the deck, the line becomes springy again, and goes all over the place. Difficult to get naural coils in that way: I need to harden the glue completely around the dowel, resulting in coils that are completely circular on the inside, and a bit too high. The hanging coiols are formed in the way Edt showed them with Yound America: again: the rop wants to go in every direction, So I need the coils completely glued down. The Corel stuff (although looking a bit polyester-like (glossy), does handle quite a lot better in forming the ropes and gluing them down. Two pics of the Focsle: The space around the main mast: (yes, there lies a drill-bit, to hold the rope down to its place while the glue sets....) And one of the foot of the mizzen: Perhaps I can do some more today, but without sunlight in my working space, and with rope that doesn't want to do what I want it to do, it is slow going. Jan


- 139 replies
-
- 12
-
-
- corel
- prins willem
- (and 1 more)
-
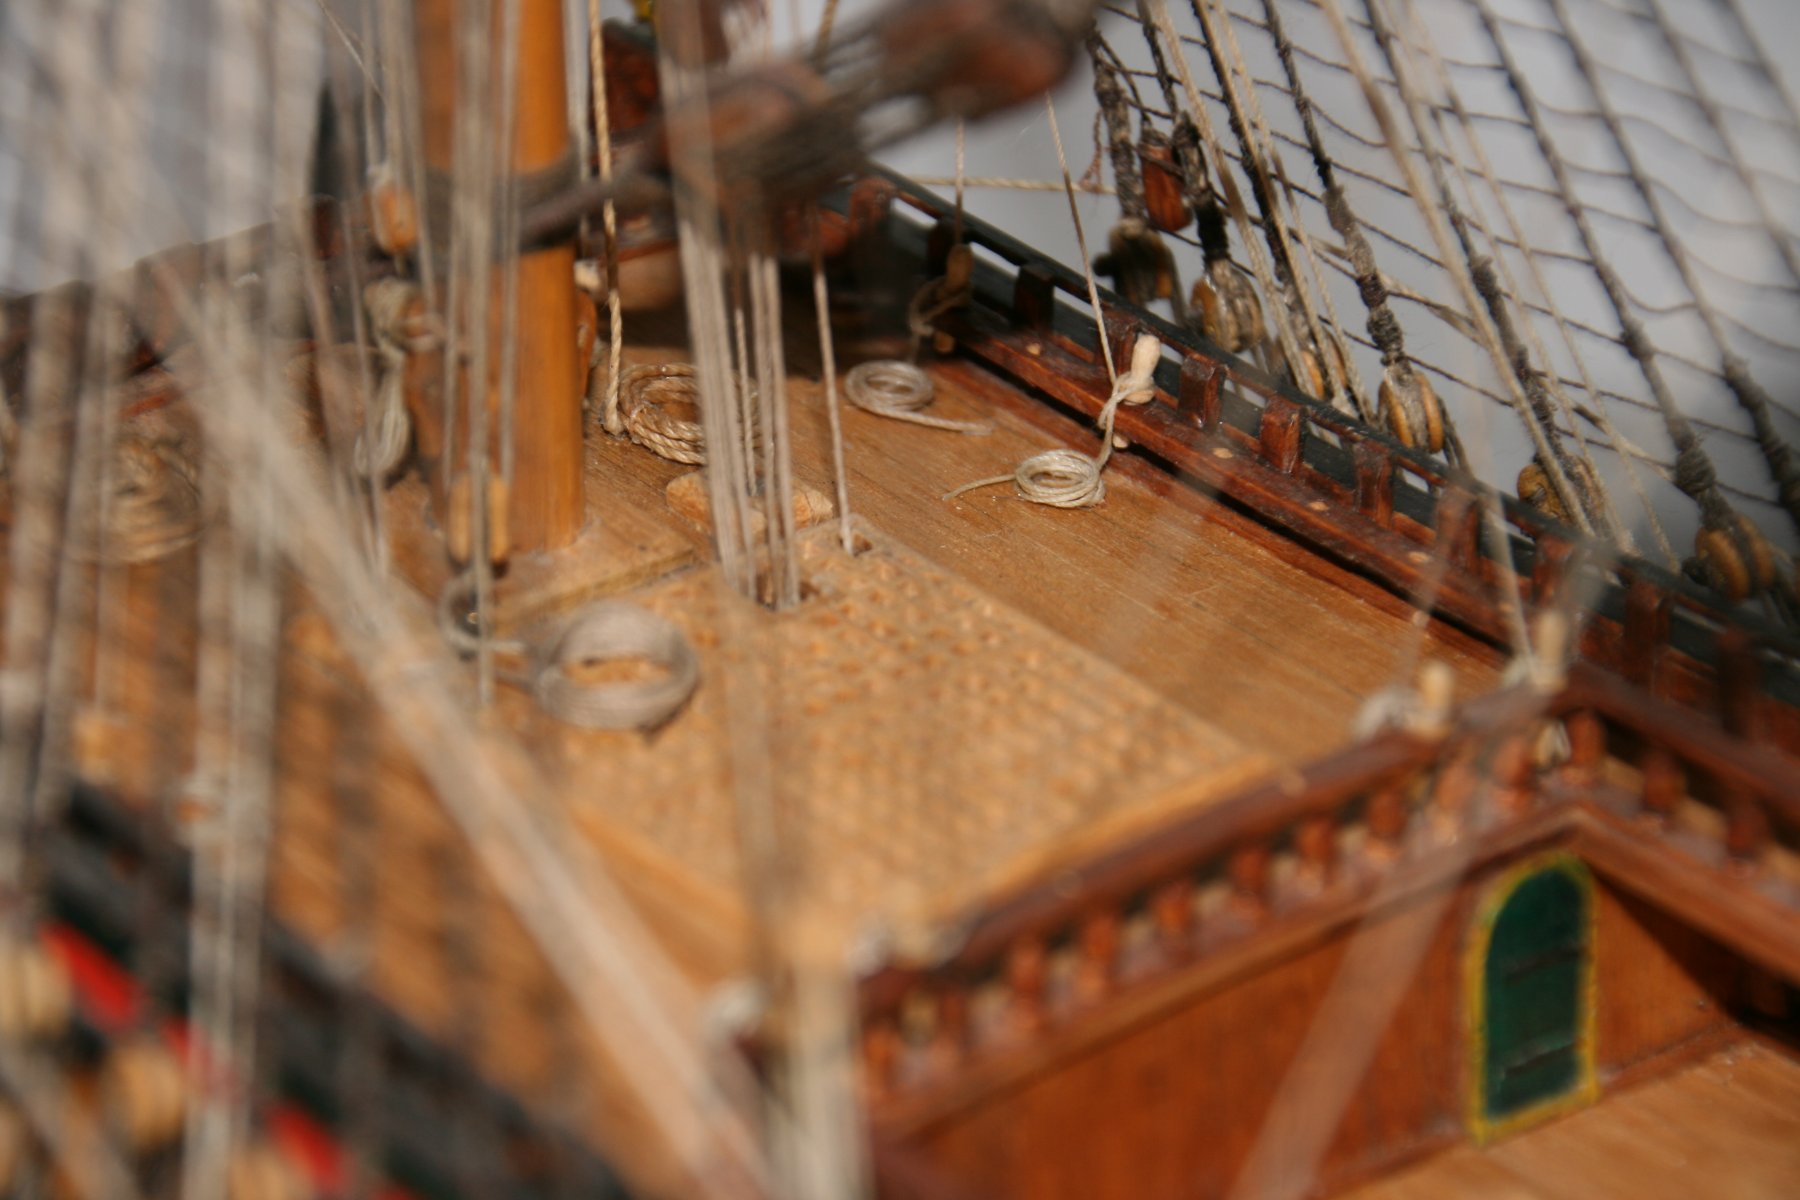
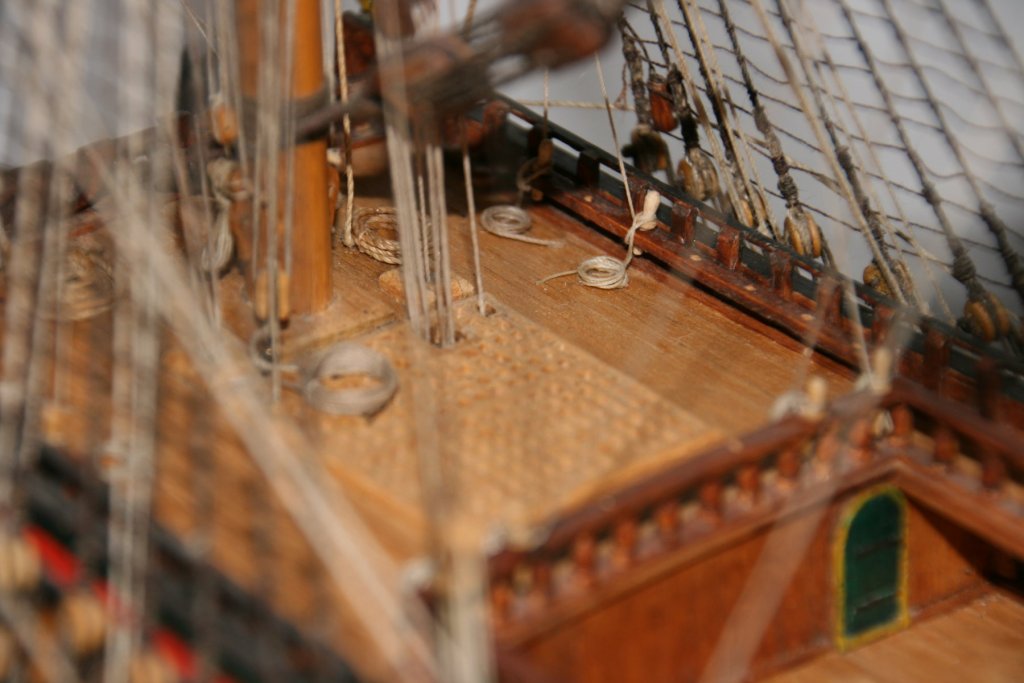
As some family members did claim the table in theliving, I turned to this lady yesterday. I managed to finish all the rigging of the fore, and almost all of the main mat. The clutter of loose ends around the mastfoot is gone, and replaced by some (not soneat looking) rope coils. As soon as prperdaylight returns, I will get you some pics. In the meantime, I turn my ate tion to the mizzenmast. Deviatng from the Coreldrawings was fun, but in the end, I think there is not much added value of that. Increasing the number of sizes of the rigging lines did pay of: Corel used three line sizes, I used 9 different sizes. I should have made a prper administration of what I used where, because remebering over a ten year period didn't quite work: there are some minor inconsistencies. Pics will follow. Jan
- 139 replies
-
- 2
-
-
- corel
- prins willem
- (and 1 more)
-
Hi Ab, I still dont know whether I want to go scratch with card. I have seen your buildlogs, and the results from card are great, but I started this ship from a kit because I can't see myself build it just from a drawing..... On the other hand, I very much like the smaller dutch ships, and card may be a way of building those. Jan