
HOLIDAY DONATION DRIVE - SUPPORT MSW - DO YOUR PART TO KEEP THIS GREAT FORUM GOING! (Only 20 donations so far - C'mon guys!)
×


amateur
-
Posts
3,516 -
Joined
-
Last visited
Content Type
Profiles
Forums
Gallery
Events
Everything posted by amateur
-
I don't think that in a real ship you can hitch a shroud to a rail, without the use of any clamps of pins. So, I guess there is no 'real' answer to your question. You can check how these lines were belayed (most probably) bijy looking at the way it is done in Mediterranean ships, like Tartanes and Chebeques. Those ships have a toggle set in the line just below the lower block on which the line is belayed. (like the one you have above the blocks). (in your case I would go for a half hitch (with the hitch actually between the rail and the ships hull.) Nice model btw Jan
-
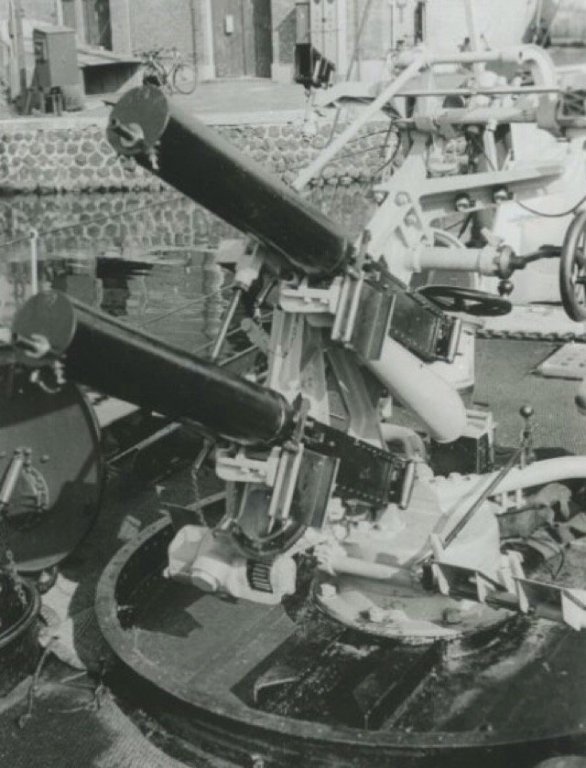
The funny thing is... there are no pics of these small gun-platforms. the drawings suggest double anti-aircraft guns, but the descriptions of the armament do not mention them. No way that the small cardboard pieces come togethet to something like this (G16, an old WWI torpedoboat) It is tempting to scratchbuild., at least simplified: pedestal, side, two watercooled .50 brownings. Jan

-
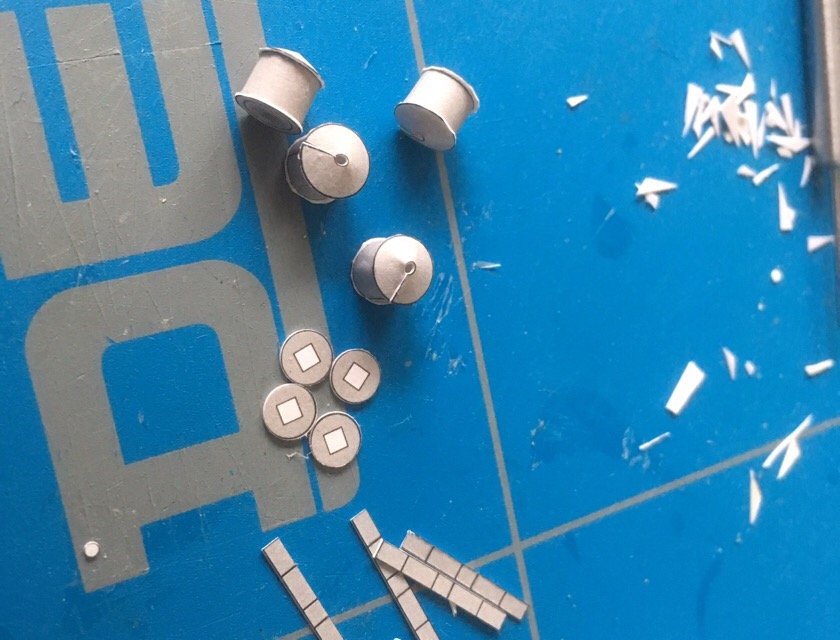
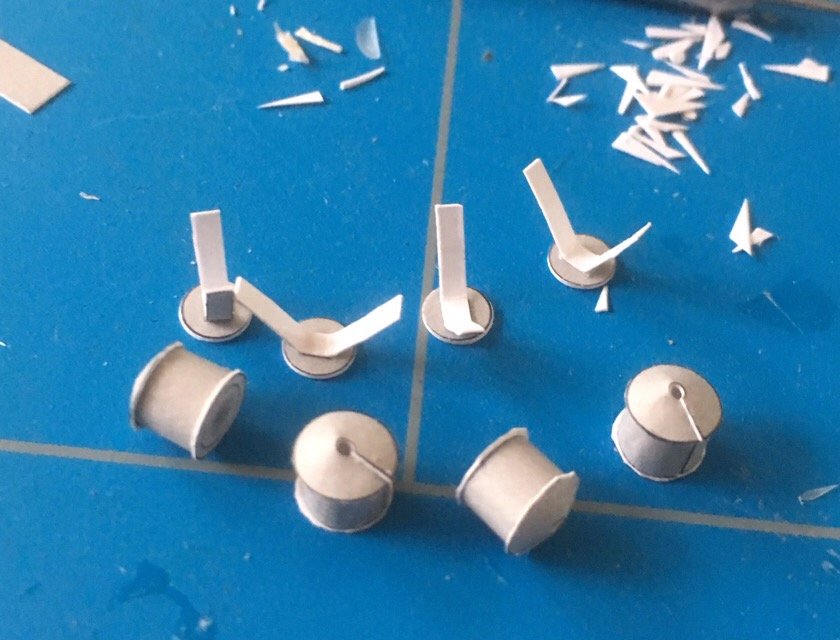
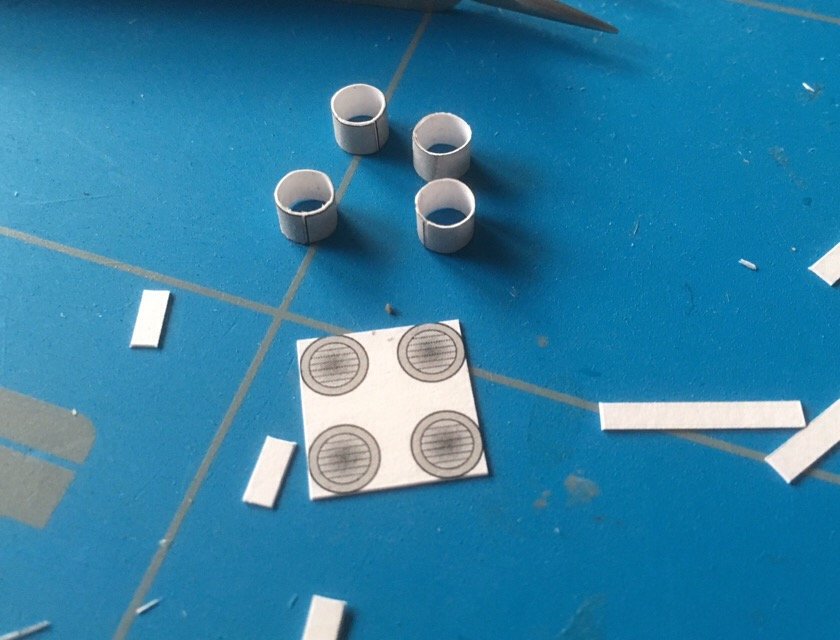
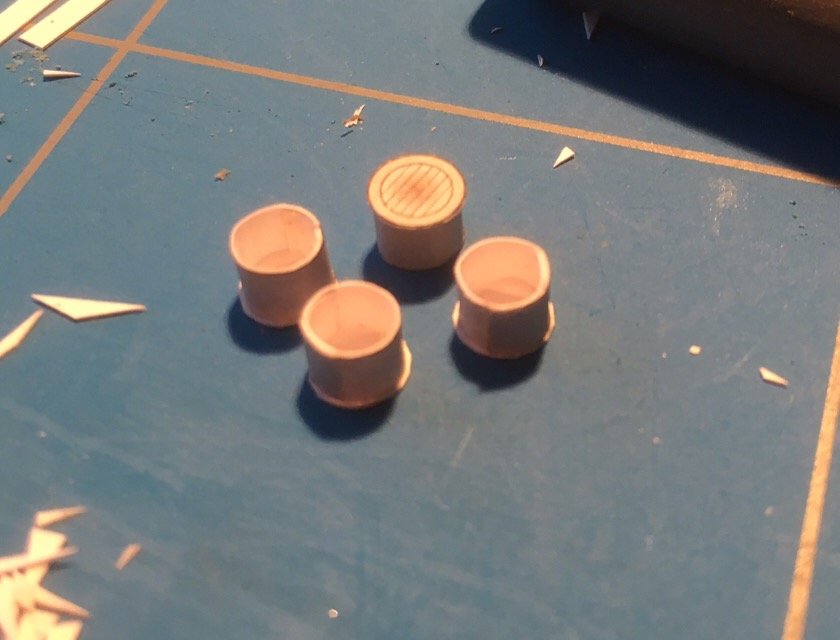
This afternoon I finished the searchlights. I experimented with larger strips, but eventually, I decided not the thicken the cilinders: i left them as they are. and the next fiddly bits. No idea what they might represent. Gun -mounts?? They are gping to be placed in the angled platforms on the conning tower. Might be gunmounts, but at scale 1:250 they are strangely high.... ideas welcome Jan


-
Ah, missed this thread, I just asked you a question on the config you are going to build. You already answered it Jan
- 345 replies
-
- 4
-

-
- graf zeppelin
- trumpeter
- (and 2 more)
-
Graf Z never made it to the sea. (Only to be destroyed by the Russians). What configuration are you going to build: a 'what if'-version: weathered, battle damaged, or the 'as-build', unfinished, nicely painted, and without planes? Jan
-
Nice work on a nice ship. I like these ships so much more than those three decked hms something give us a shout when Zeehaan is started, we’ll be there. Jan
-
Think: panelling and weathering all the individual planes, placed in a neat starting row on the deck. If someone is up to that job..... Jan
-
Put on your optivisor; it's there to see for everyone. Although the builder himself claims to have lost interest in this one, he delivered a little gem (again) Jan
-
But then pops up the next question: how did they get the hawser off the windlass? Get the whole hawser out of the hold, or get the hawser off the anchor-ring? Both seem a lot of dirty work to me. Jan
-
The V108 is doable (especially when you have ccoyles easy to follow instructions at hand) there are some free downloads at papershipwright, but they are a bit fiddly (more tha v108), but there is Dan cerberus-build, you can refer to in case of emergency (don't tey to match his quality, that is beyond our possibilities ) Jan
-
Or a decision to start over anew :) ? Mine is still gathering dust. Need stronger optivisors to continue :) Jan
- 14 replies
-
- 2
-
-
- digital navy
- V108
- (and 1 more)
-
Does the book give a caption on the painting? might be helpfull in tracing it... Jan
- 2,696 replies
-
- 3
-
-
- heller
- soleil royal
- (and 9 more)
-
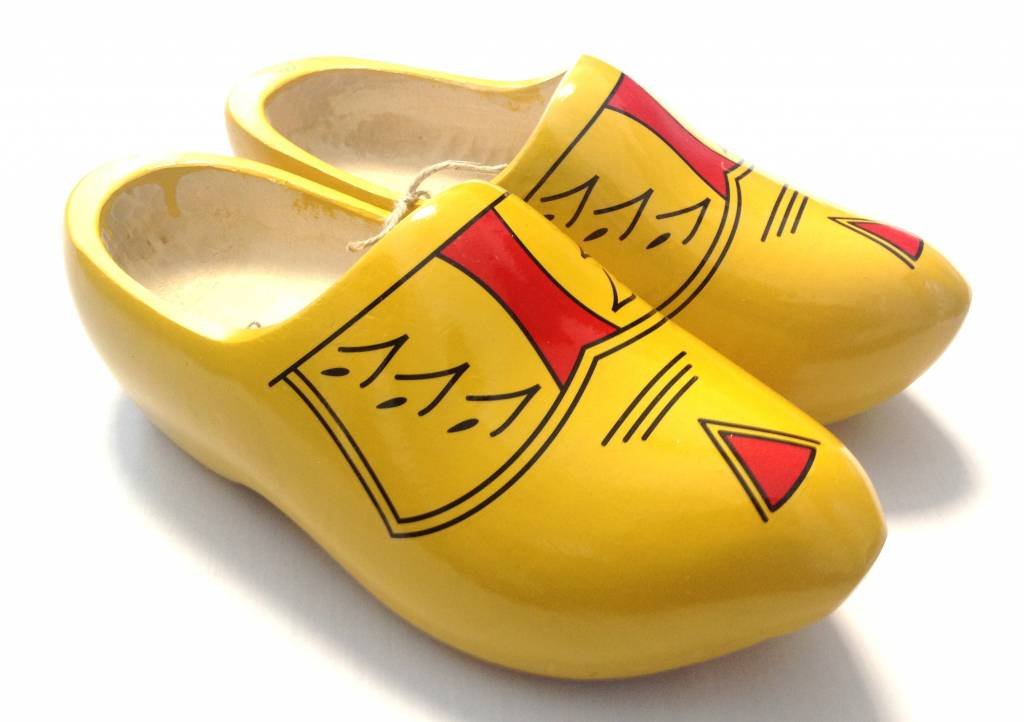
Actually, yellow painted clogs are not that uncommon
-
I thought so: she will carrying a relatively large number of guns, and the captains quarters are rather undutch in their lavishness. But perhaps I jumped too quickly to conclusions, and she will be some other type of ship (although: yacht?? mortar could be, but her deck-layout is a bit atypical for a mortar, and she is not watertight enough for a sub, although she might qualify otherwise ). Jan
-
Just a question: dutch flatbottoms always have leeboards. Will this be the first ship-of-the-line carryimg leeboards? And if not, how wil she ever be able NOT to break the line?? Jan
-
Yup, I was going to type more or less the same. No evidence what so ever that she will float. Jan
-
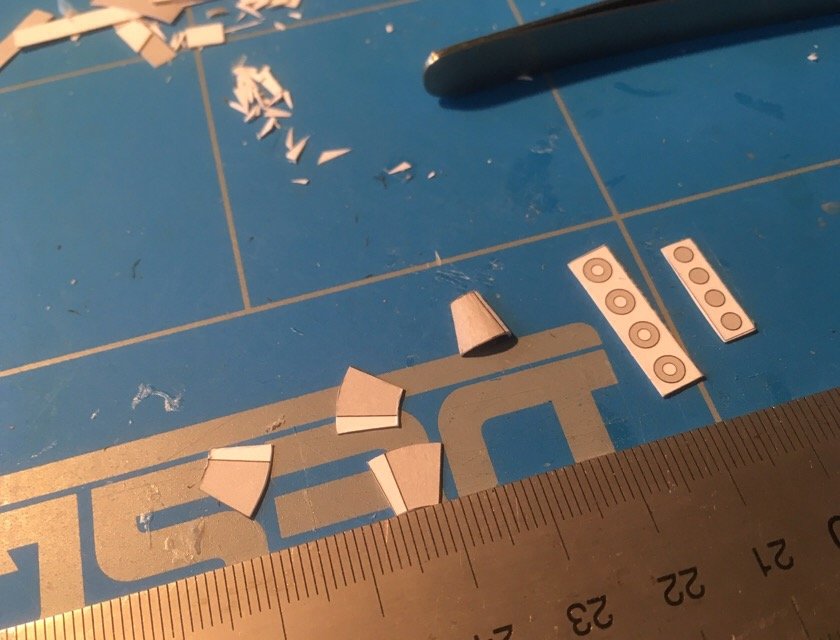
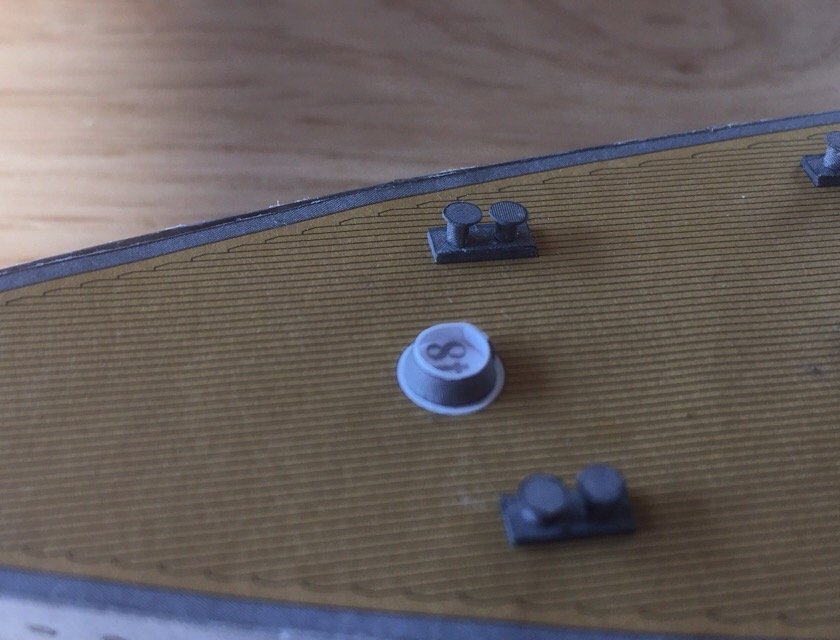
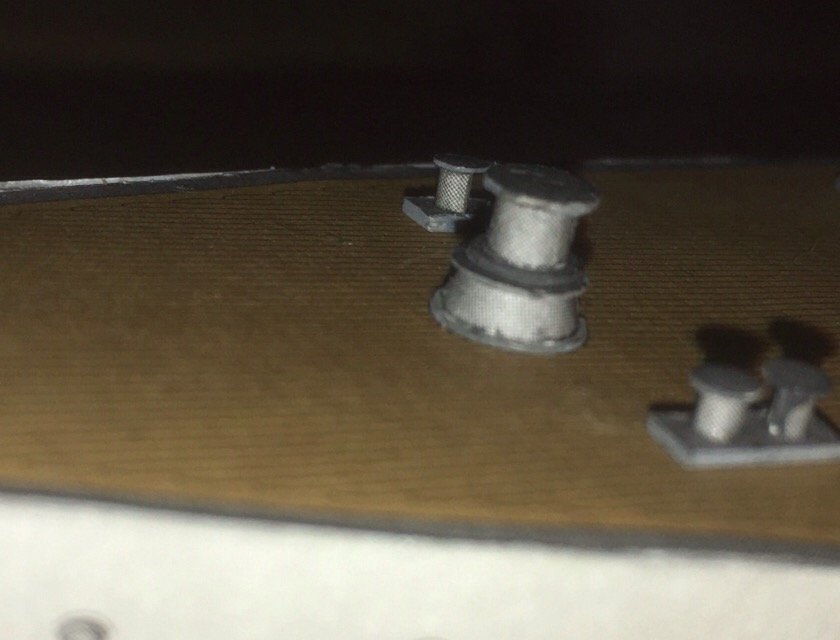
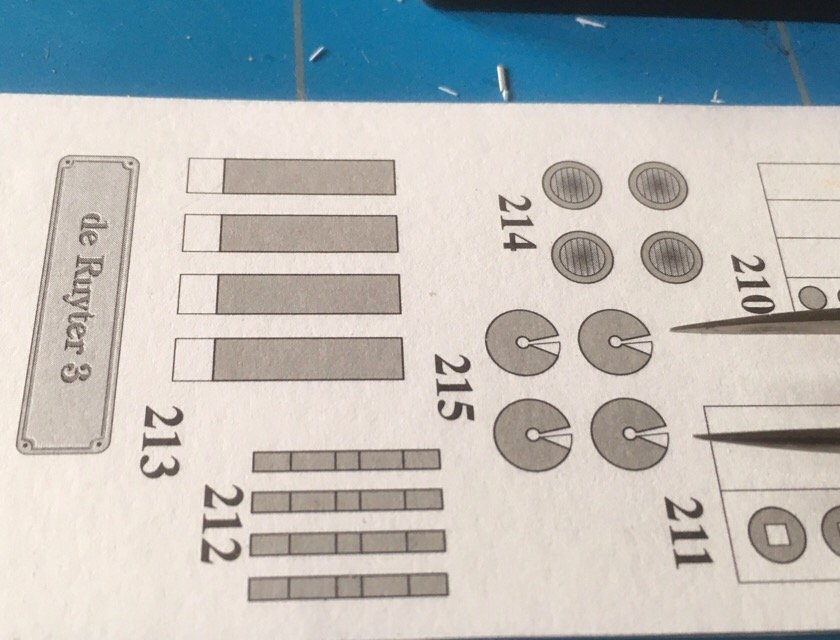
Today I did some small parts (actually: nothing left but small parts) first I did an air-inlet. The kit show a very high one, the original drawings a low one, and both appear in pictures of the real ship. I think the low one looks more convincing (as it does not block the guns) the stairs are a bit weird: the kit shows them as flat on the deck. I choose to do some surgery: shortening the "stairs" and making a small grey strip from spare stock to cover the white area. Not very convincing stairs, but better than a grey square flat on the deck. next the small stuff on the deck: bollards and a capstan. The capstan is not designed very well: the white area on the deck is too large, or the capstan too small. Again the spare grey comes to the rescue: a made a base for the capstan, to cover the ugly white. The remainder is standard, and fits reasonably well. finally, I started the searchlights: four of them, all equal. and that was when I decided to stop: sun down, getting darker, and again the need for surgery: or a redo: the front of the lights is too large, or the housing too small. Next job will be cutting new grey strips to thicken the lights somewhat, to get rid of the ugly overhang... Jan


-
In thecapstan perhaps? As far as I can remember, early capstans did not have removable bars. Jan
- 756 replies
-
- 3
-
-
- galleon
- golden hind
- (and 2 more)
-
There is no liner on the lids, it is the patina of the cnservation fluids. Jan
- 2,696 replies
-
- 2
-
-
- heller
- soleil royal
- (and 9 more)
-
Ja, die voelde je op je klompen aankomen (sorry guys, dutch, and not translatable, but very to the point in this thread)
-
Chatham had docking facilities, but I don't know how they were used. And the story goes that Portsmouth had its first dock around 1500. No idea whether that was a dock as we know it now, or just a place where they could geet to the underside of a ship. Jan
-
I did a not so extended search, but thepictures by Nooms show them as rings (just like you did onthe previous one). The blocks for the 'blinde' are not on the stay, but on the preventer, at least, according to Reinier Nooms. https://artsandculture.google.com/asset/twee-schepen-een-boeier-en-een-galjoot/gAFvr6_AryFkuw?hl=nl&ms={"x"%3A0.47083735115099623%2C"y"%3A0.5291626488490038%2C"z"%3A9.213338350082639%2C"size"%3A{"width"%3A0.916224034672209%2C"height"%3A2.071658709627955}} Jan
-
alternative: a flower-pot?? hanging next to your door, with some nice red pelargoniums in it??? Jan

-
But how did you acquire a dutch clog over there? Jan
