amateur
-
Posts
3,535 -
Joined
-
Last visited
Content Type
Profiles
Forums
Gallery
Events
Everything posted by amateur
-
You can ask @Dan Vadas to build some out of paper JSC has a german catapult-ship that includes the B&V 138 at scale 1:400. Some rescaling at the photocopier, and you're done certainly cheaper than that kit Jan
- 345 replies
-
- 3
-

-
- graf zeppelin
- trumpeter
- (and 2 more)
-
I like the planes on the deck (even inpaimted ) It gives a good impression of the size of the ship. Btw: if not using PE, how are you going to do the windowstruts and antannae of the planes?? Jan
- 345 replies
-
- 4
-
-
- graf zeppelin
- trumpeter
- (and 2 more)
-
And it wouldbe interesting to know when the messenger-system came in use. My guess would be that a Spanish galleon of around 1600 had a very basic anchor handling: just the anchor rope around the capstan, and nothing else. Jan
-
Hi Danny, I would rather like the in-between: 50 tiny parts is beyond my cutting capabilities, but they could have done more than four, or at least made the graphics more life-like, in stead of flat grey.... But again: nowhere else to go for Dutch ships. Jan
-
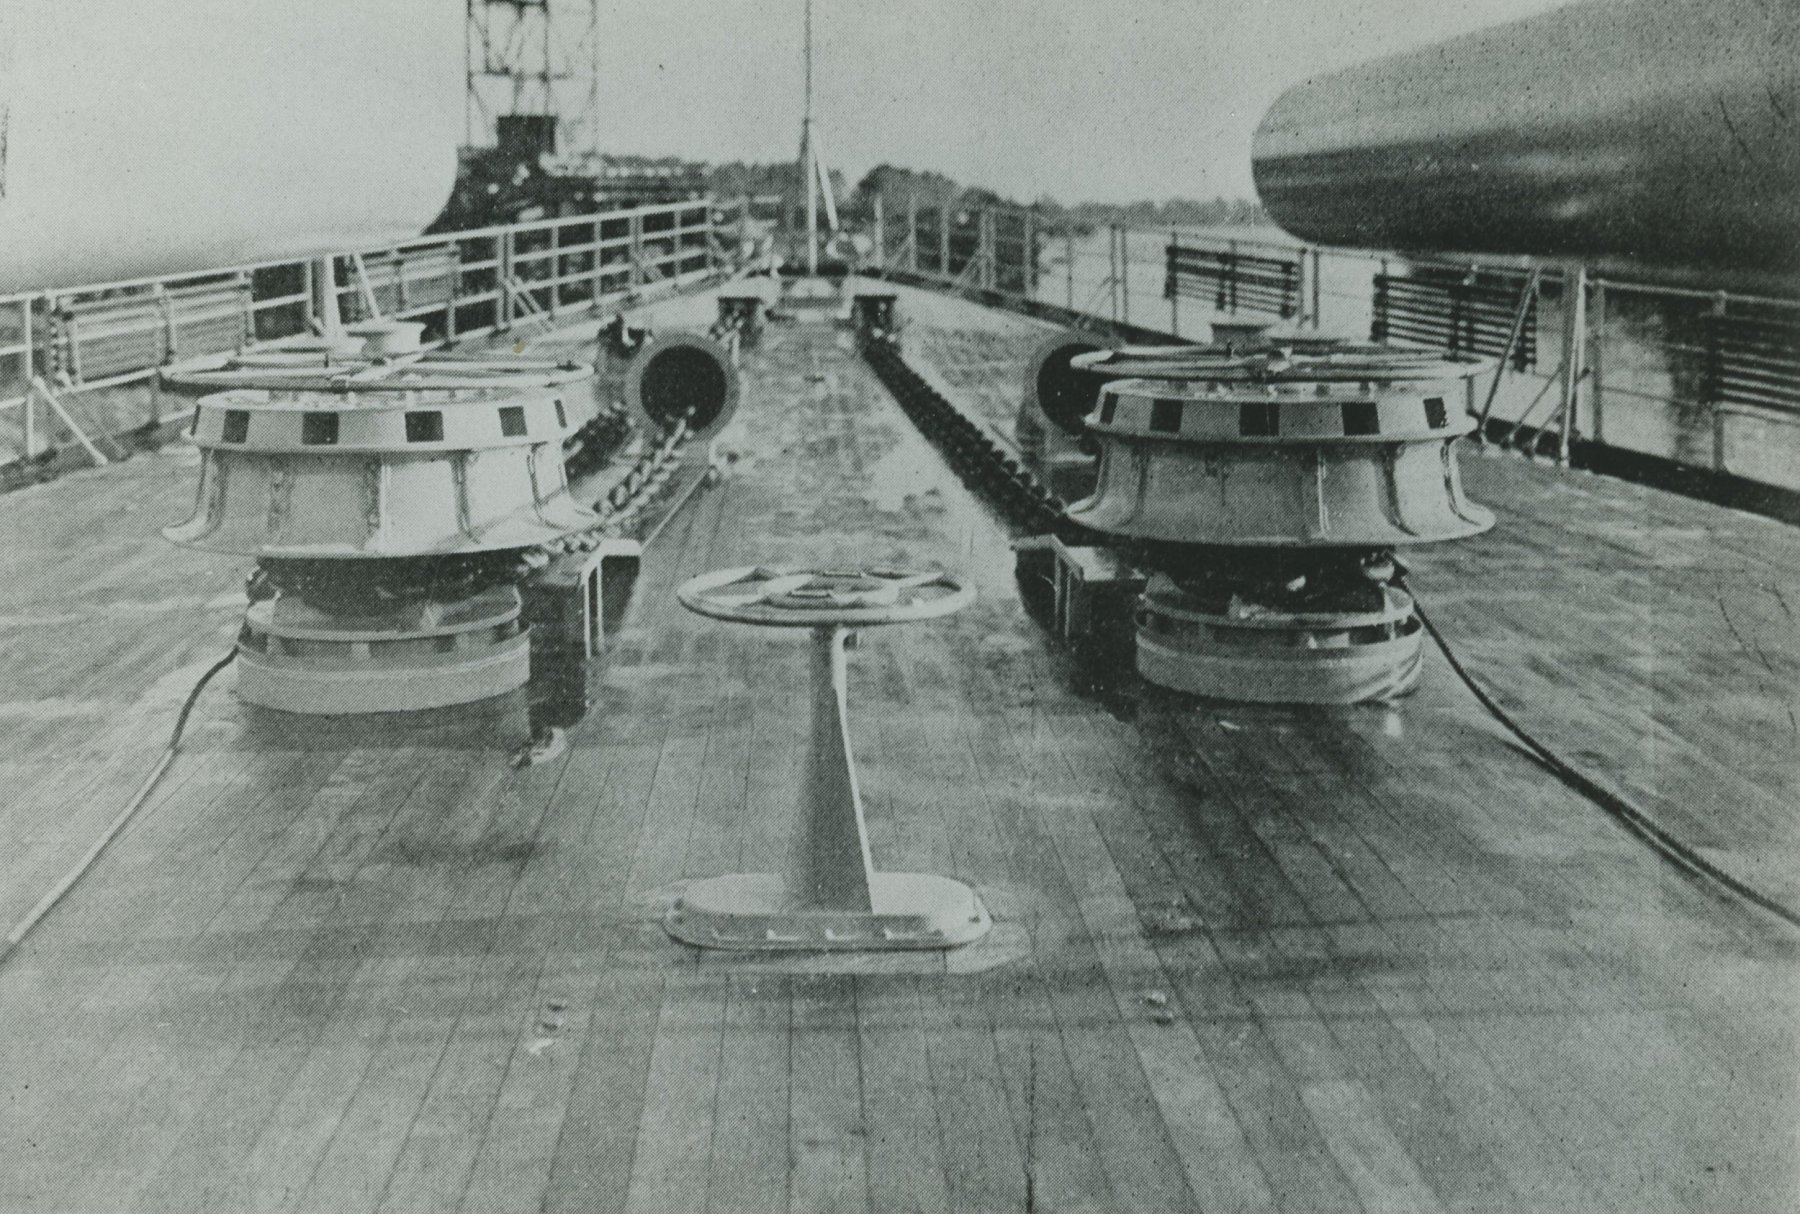
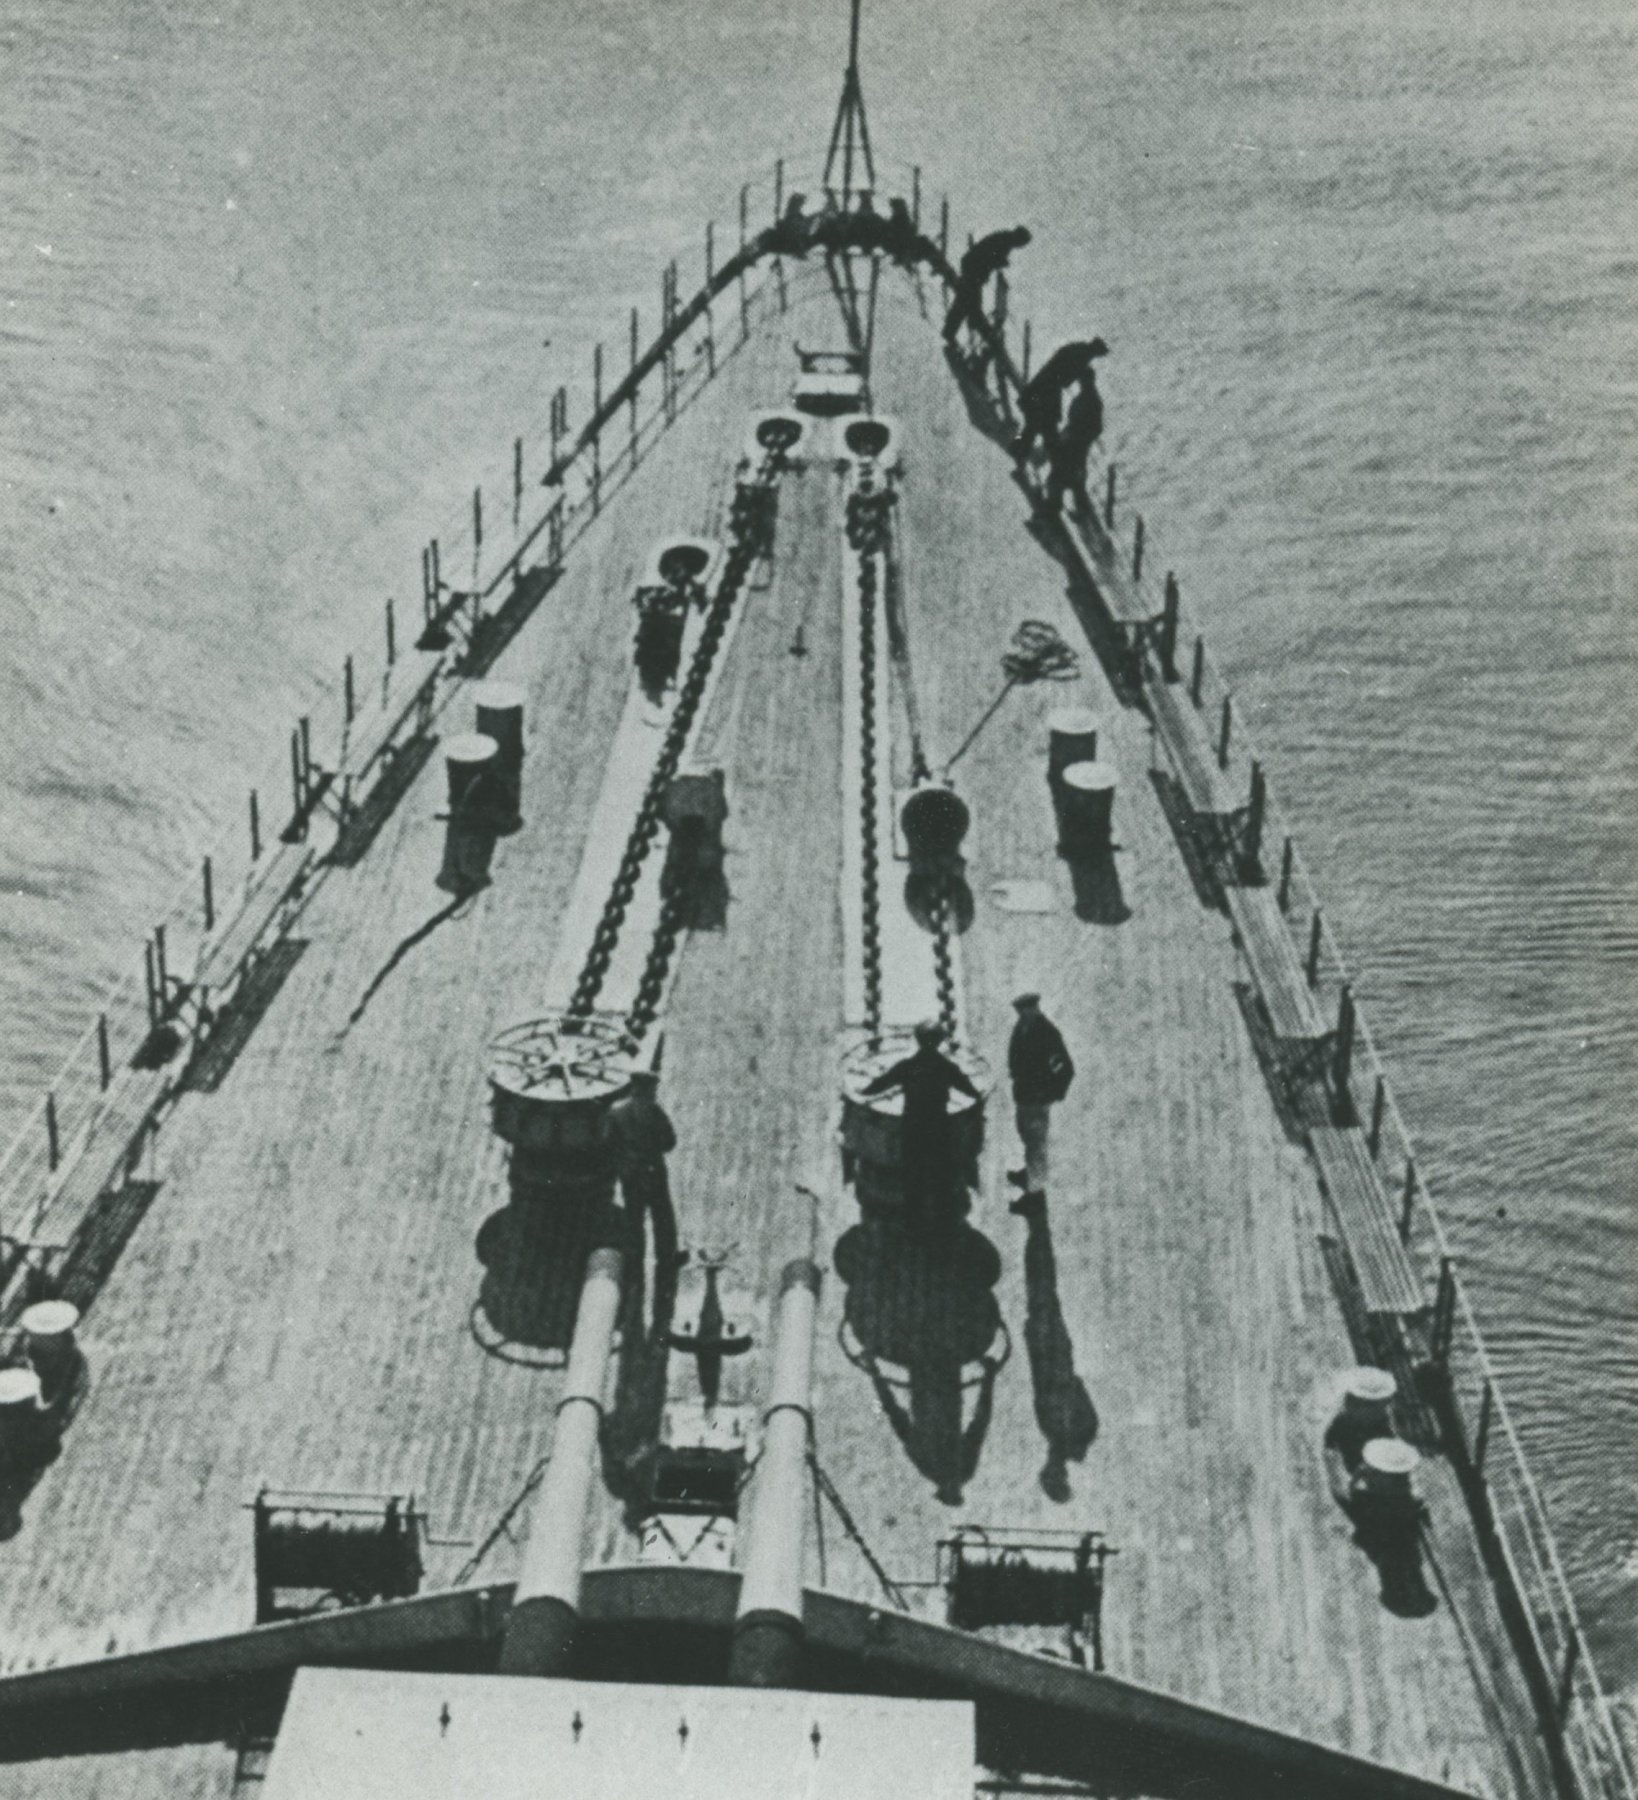
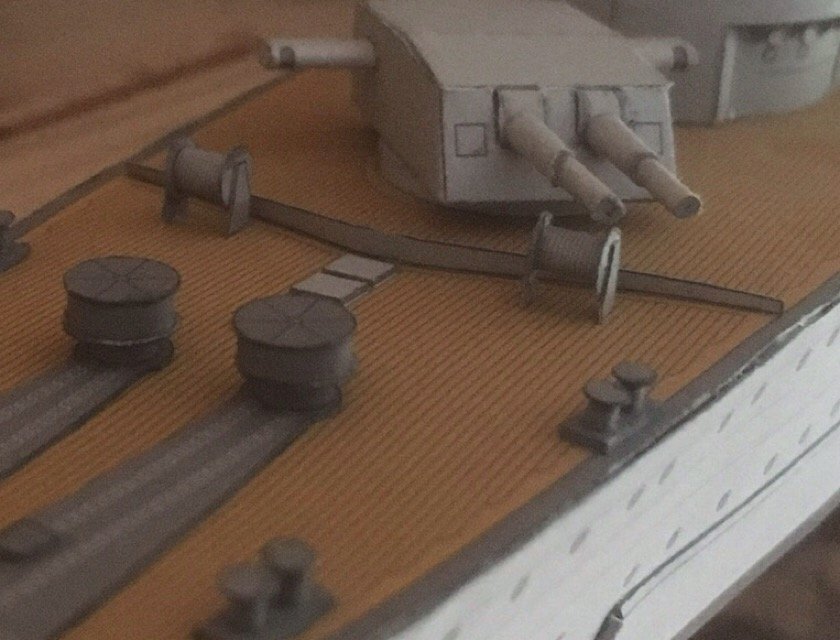
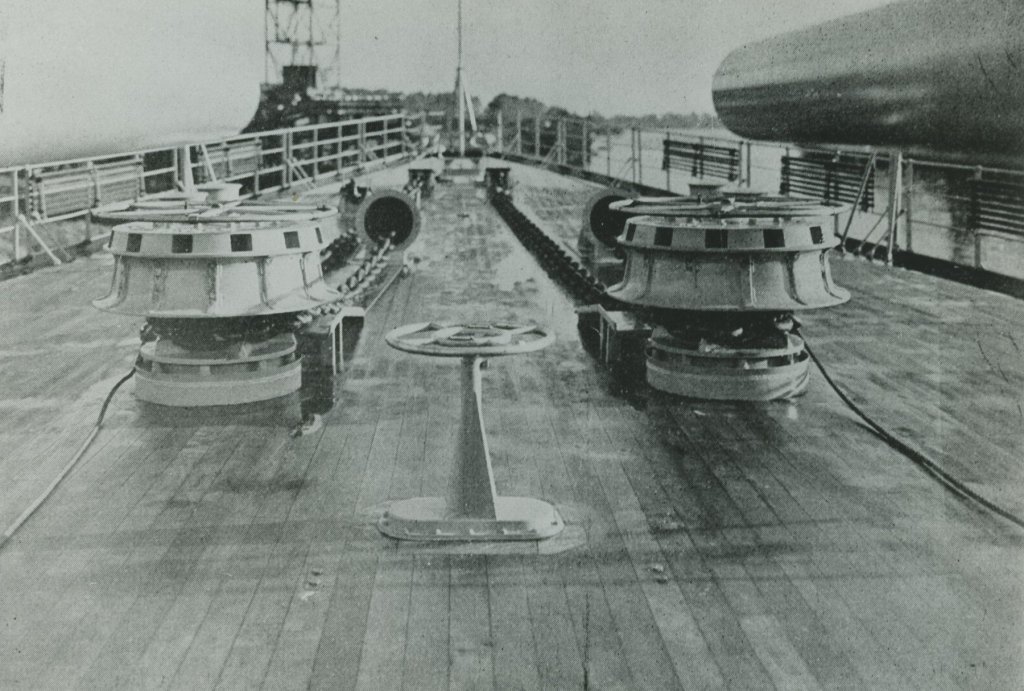
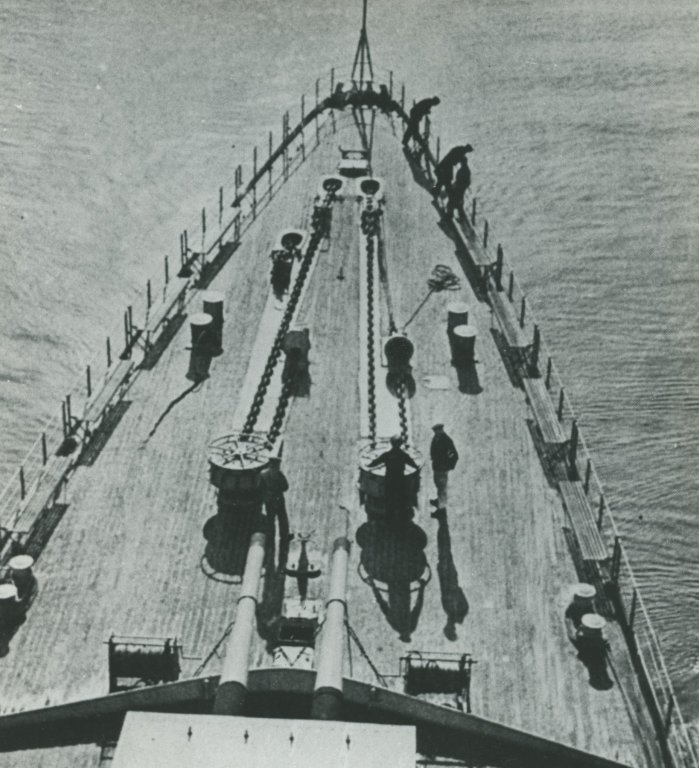
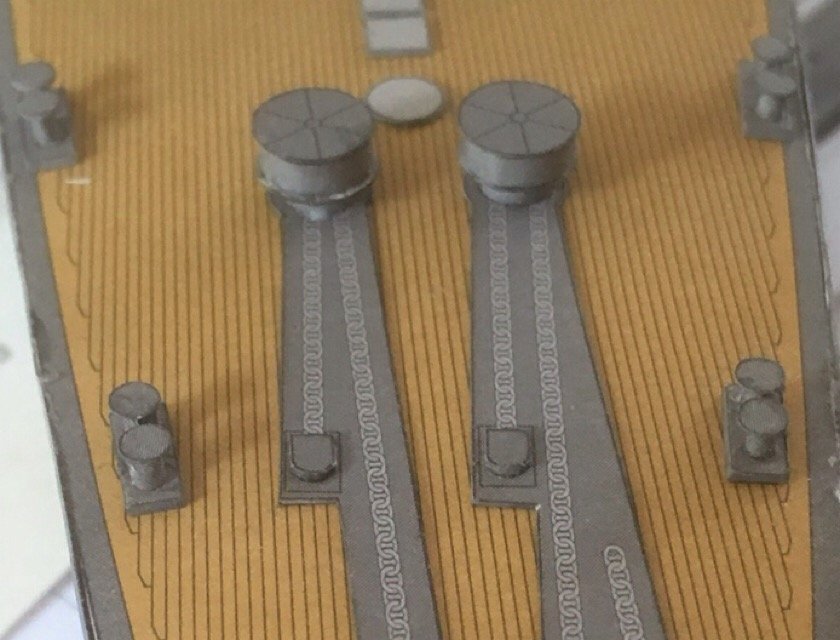
Here you can see how muchJSC simplified the capstans. Also: the cabledrums were smaller than the model suggests. and in the last pic you can also see again that the guns were rather small for a ship that was supposed to be the strongest of the fleet..... jan
-
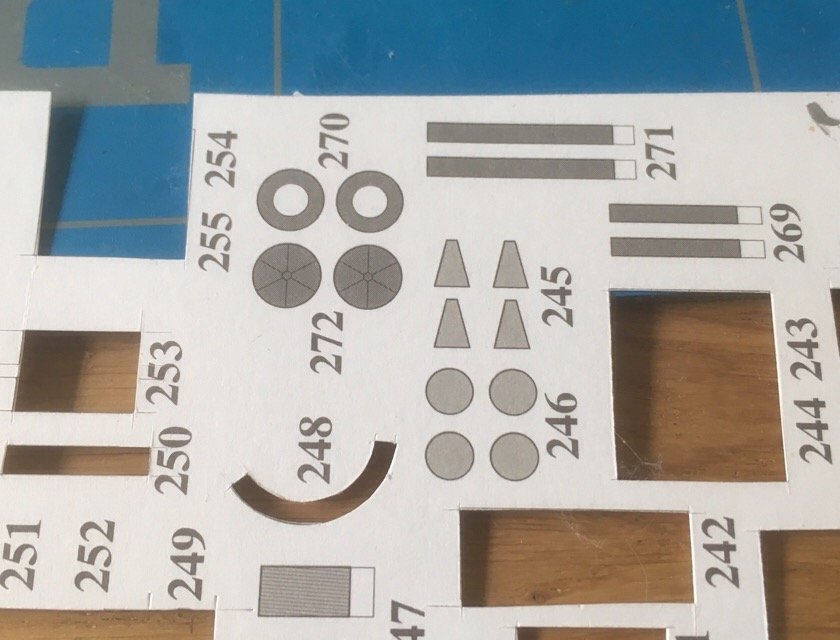
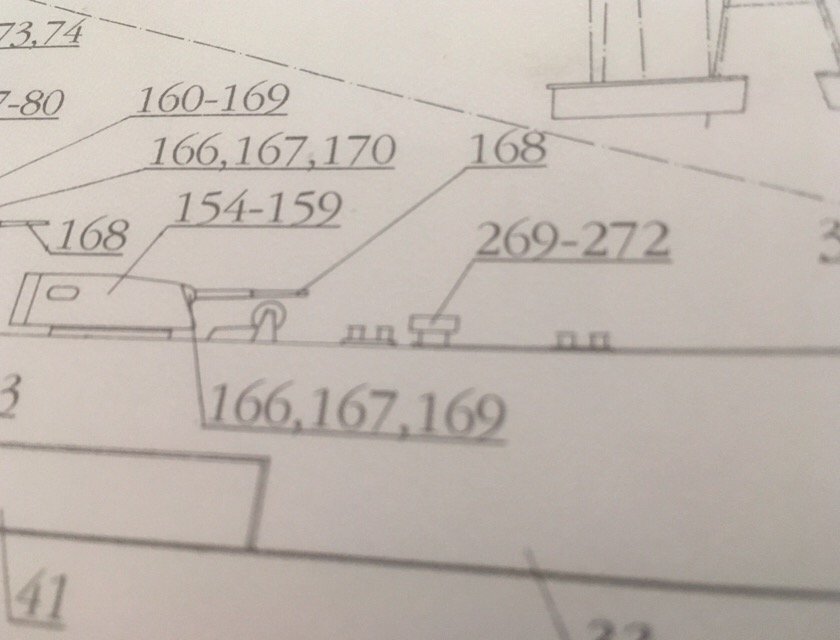
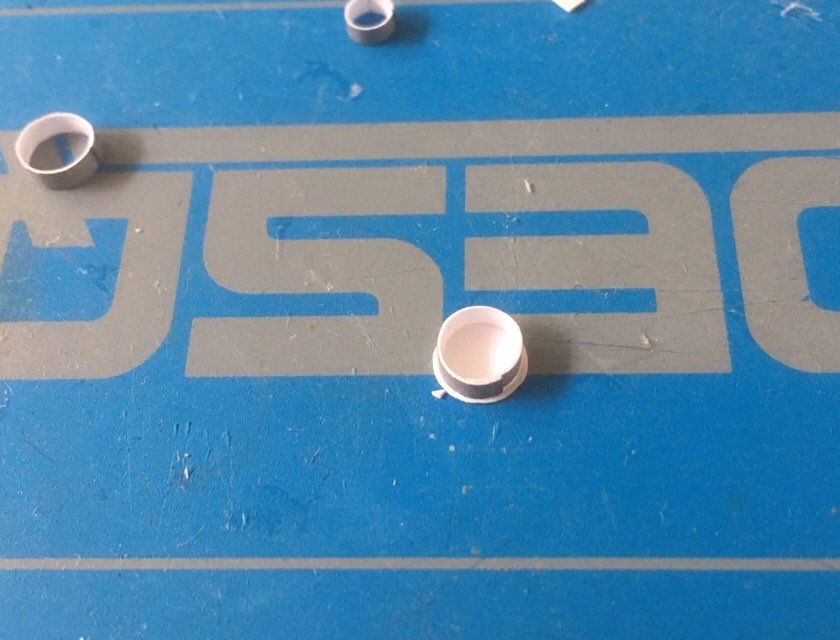
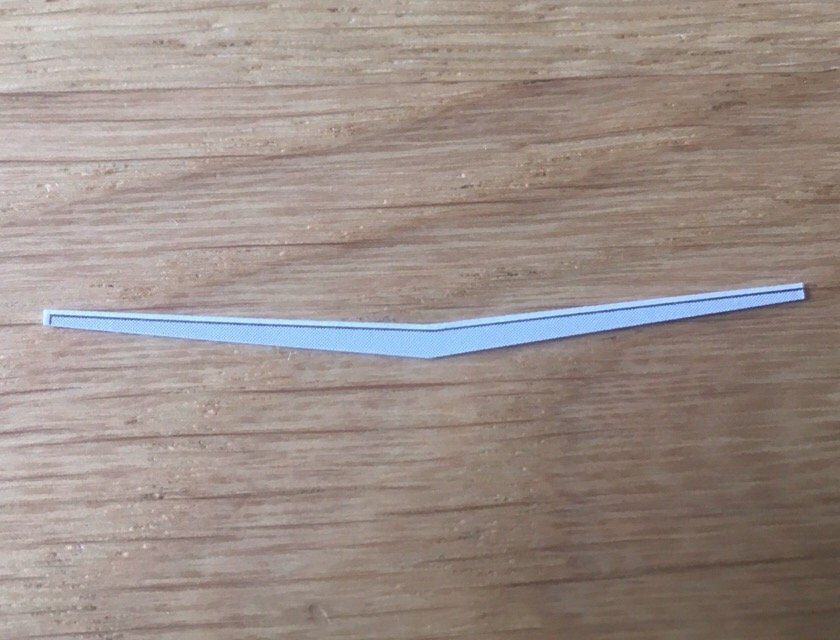
Two months already .... time to get some glueoutof the bottle. Today I did the anchor"chain" and som small stuf on the front deck. I have to say: Scaldis has kept it rather basic, and still got me confused... these are the parts and this is the instruction (actually, this is how scaldis does quite a lot of its instructions: top-view, side-view, and the taxt says: puts parts 296-272 together and place on deck. Yeah.... so what to do: was part271 too small, or 270 too large, orwas it intentional? Nobody knows, and no way to check. I decided that it was intended so. The final result is not bad. placed on deck, it looks a bit flat, and not very inspiring. I don't have ideas how to spice thisup, so it is left as provided by Scaldis: Next part (thebreakwater) was again misprinted. JSC prints the parts two-sided. The problem is: they dont printa grey square onthebackside, wirh some margin for error, the justprint the part in reverse. Problem is: they have both sides off by almost a milimeter, which is rather annoying. And here the present state: breakwater stil drying, one cabledrum (unnumbered in the instructions, but printed) done (And no, the picture is in focus, the part ended up a bit fuzzy: the card used by JSC is rather fibrous: the print tends to crack up, and painting tends to loosen fibres along the edges. Not suitable for very crisp edges.... (I thoughtit was my poos handling, but I have come across otherbuildlogs of this one, and they struggled with thesame issues). Another problem: the card isnot very stiff, and althouogh I backed it up using 160 grams paper, the deck remains wavy, especially visible when you glue parts on it that should stand at 90 degrees to the waterline (eg capstans ) Jan


-
Hi Carl, Sure you aren't giving compliments to the Pontos beta-builders? Salty promises us the pompoms for tomorrow Jan
-
Sometimes I think it is not in the vision, nor the hand-eye, or something like that that does make you fit for the job. (although it may be helpful to have some basic levels at those too). I am completely blown away by the level of patience and determination you guys have with this PE-stuff. That is why I have so much admiration. I would rather quickly come to the point: what the heck, from a distance of around 1.5 meter everything looks OK. Jan
-
Not a very nice thing to see.... It looks as if the glue failed between two parts. Hope your replacement will be a bit stronger. Jan
- 306 replies
-
- 1
-
-
- schooner
- la jacinthe
- (and 1 more)
-
But this is advertised as 1mm copper. https://www.vandijkenelektronica.eu/nl/wikkeldraad/1408-wikkeldraad-1mm-035-ohm-16m.html Or do we talk different things? Jan
- 193 replies
-
- 6
-
-
- wilhelmina vii
- fishing
- (and 1 more)
-
Hi Ab, nice ships! Well worth finishing (some time in the future). I never came across 'wad konvooiers'. It does look like a 'statenjacht-like hull, but it is two-masted. How will itbe rigged? Squeare, like a two-masted hoeker, or...? Jan
-
Where doyoubuy your riggi g line and blocks? (or do you make them yourself?) Jan
- 306 replies
-
- 2
-
-
- schooner
- la jacinthe
- (and 1 more)
-
Some interesting stuff also on Modelsnmoore.com jan
-
Loking for soft copper wire, you can also ty the electronic business: (try wikkeldraad in dutch). Available in various thicknesses Jan
- 193 replies
-
- 6
-
-
- wilhelmina vii
- fishing
- (and 1 more)
-
Somewhere, there usedto be a fairly large archive of pictures of the original bluenose. Just can't find it anymore...... jan
-
Hi Kees, Good to see you back on the workbench! As usual, your detailing and execution are wonderful. Question: is this red the final colour, or will there be a black (?) top-coat Jan
- 193 replies
-
- 5
-
-
- wilhelmina vii
- fishing
- (and 1 more)
-
Why do you need castings? These anchors look perfectly perfect to me.... Your metalwork is outstanding! Jan
- 306 replies
-
- 7
-
-
- schooner
- la jacinthe
- (and 1 more)
-
You can find the puc quite easily in the www: google for ‘taanhuis’ Jan
-
In the exhibit in the Zuiderzee-museum, they told us that the tanning of the sails is more important for the small working craft: out in all weather, regularly lowering sails (during fishing, loading/unloading), not much time to dry the sails. (same holds for the fishing nets). Sail-rot was less of a problem for the 'long-distance sailers, so the disadvantage of dirty work, and stiffer sails did not balance the advantages (longer sail-life). But: just a tourist guis telling us something. Don't know what his level of expertise was..). (and painting /tallowing the sails was not part of the exhibit. In Dutch texts sometimes a reference is made to Iron Sulfate, that was added to the tanning mixture, as a pigment to get a nicer shade of red). Jan
-
The Dutch also imported catechu from the Indies for this process. They used quite a lot of it, as not only sails, but also rope and fishing nets were treated this way. I have never seen ochre used in all presentations I saw on this process: the cooking of the nets ans sails in the bark-solution results in a reddish brown colour. Jan
-
Depend the quality of the model, and the budget of the buyer, but there are quite a lot of models of vic around. Prices range froma coup,e of dollars, to absurd (asking) prices, but I guess most go for fairly low prices. Jan
-
Beautiful ship! question: does the colour differences remain over time? the socalled wallnut in the European kirs also show rather large colourvariations. These tend to disappear over time, as the wood changes colour due to the influence of sunlight. Jan
- 1,784 replies
-
- 3
-
-
- winchelsea
- Syren Ship Model Company
- (and 1 more)