


amateur
-
Posts
3,441 -
Joined
-
Last visited
Content Type
Profiles
Forums
Gallery
Events
Posts posted by amateur
-
-
Now I'm in to the boeier (but can't promise anything without permission of the treasurer
") )
)
Jan
- flying_dutchman2, Chuck, Canute and 3 others
-
 6
6
-
Hi Chuck,
I would very much be tempted for the boeier, especially while you choose a slightly older design, and not the rather yachtlike, modern Frisian version. You are right: no kits exist of this type of ship (Billing boats had one in the seveties, more or less decent, but that has gone by now)
(for those who didn't know: the exact Boeier in the first pic is part of the museum collection of the Rijksmuseum in Amsterdam, dated 1817. The other one is in the scheepvaartmuseum, and labeled 'boeier voor de Keizer'. Both show a model of a boeier build as a gift of the Dutch king for the Russian Tsar in 1815. That makes it a bit more decorated than the normal one).
The model shows a specific feature not present in the modern Frisian boeiers: they are clinked build, and not carvel. Planking using straight strips will be completely impossible
. Very interesting as a build, and a welcome addition to kits in the Dutch market.....
However, the scale would be a problem, as both my bench and my house do not allow for something big. With respect top size 20" (around 50 cm) would be my maximum. I'm afraid that 1/2" results in something larger. Price is of (slightly) less importance.
I would also like an indication on the type of wood you consider: so far most of your ships tend to be boxwood. However, boeiers take part of their appearance from the specific tan of the oak used for their build. I guess a boeier in boxwood would look a bit bleak. (and coloring boxwood into oak is a bit of a shame to the boxwood....)
So far, I didn't vote.
Jan
- PeteB, Seventynet, Canute and 3 others
-
6
-
I like the look of your metalwork.
(and of course, but that goes without saying, the quality of your woodwork
)
Jan
-
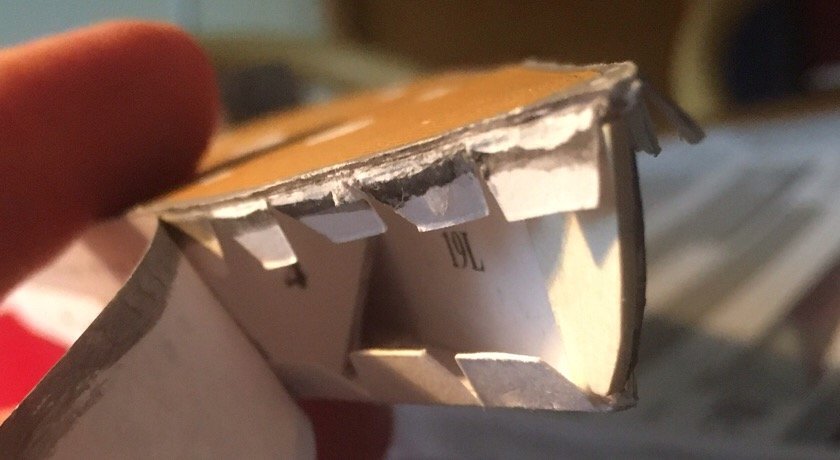
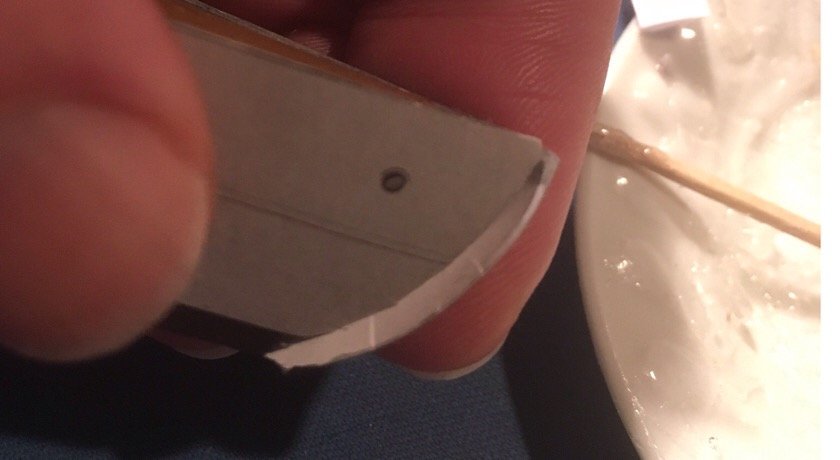
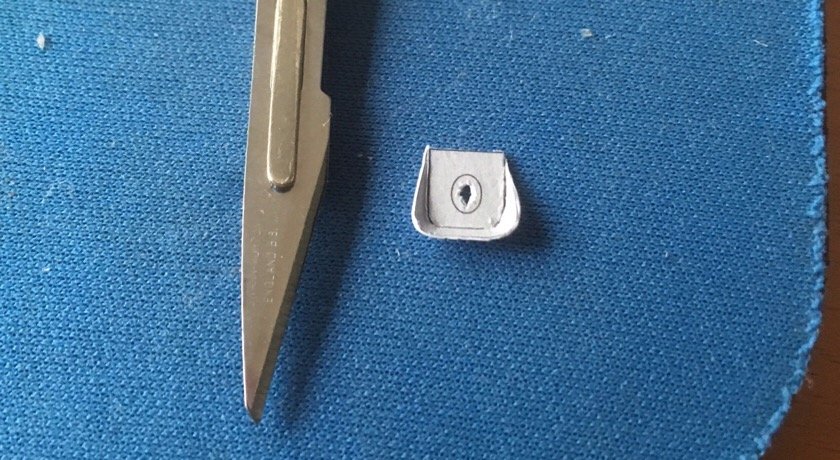
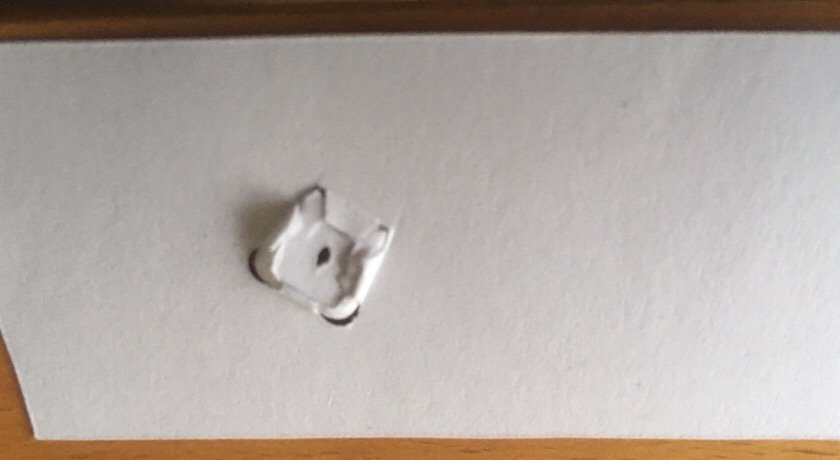
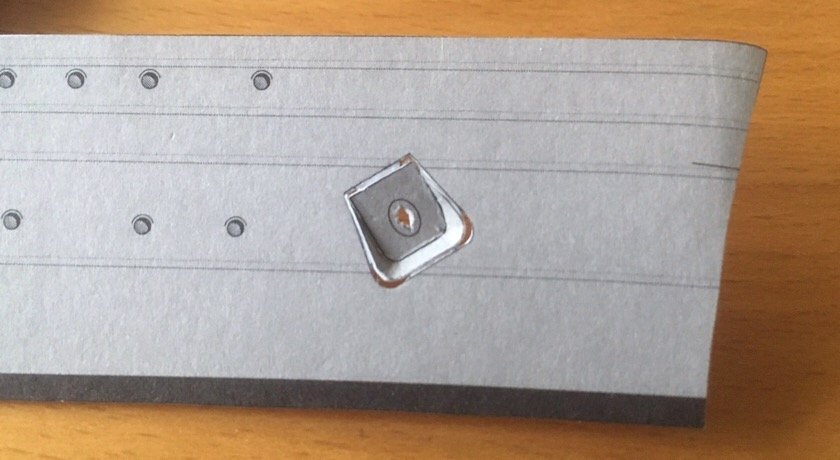
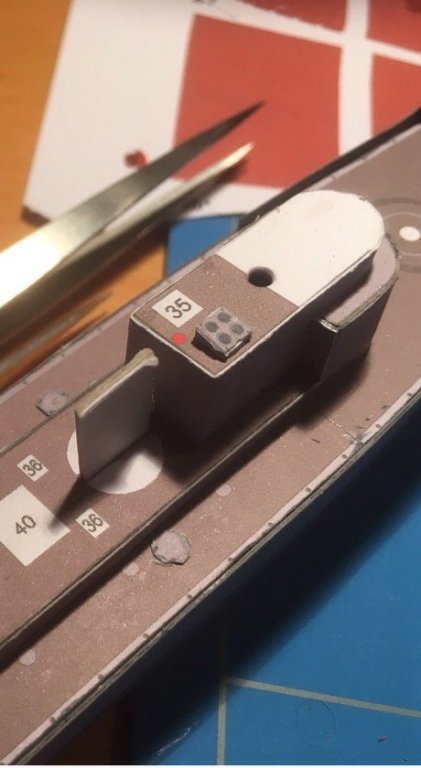
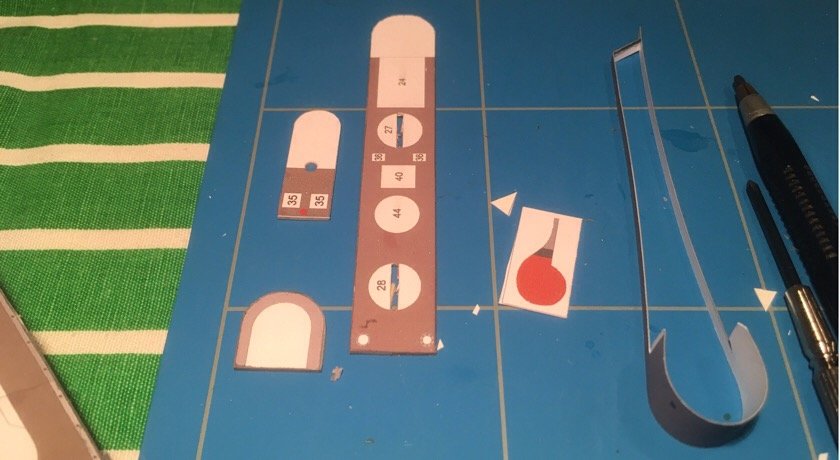
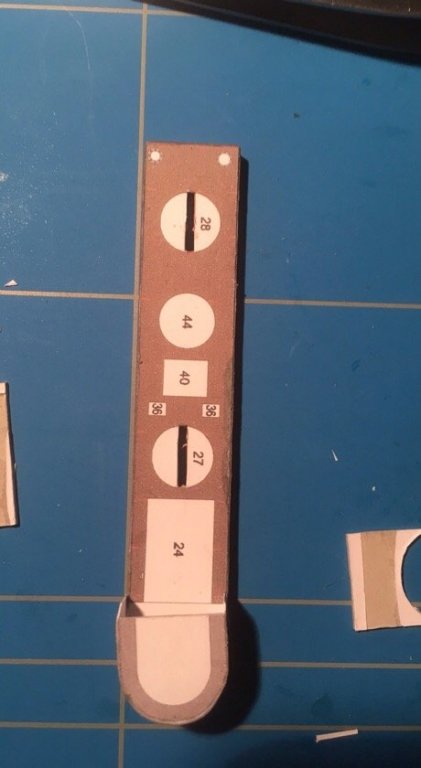
I had some time today.
I did the forward funnel, and that large air-vent, ot what is called....
I also did two other small parts, but my cellphone would not focus properly on something under 5 milimeters.....
all in all a couple of hours work....
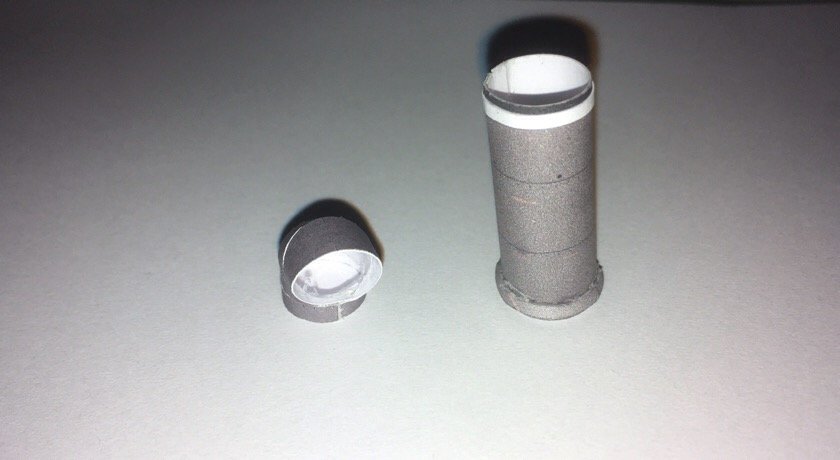
have to think over the ladder on the funnel, have to do some inide painting.
my printer did, unfortunatedly, not print the locator marks very clear. Is a bit of a problem when centering the parts....
jan
-
I suspect that there are still loads of tiny detail thingies all around the ship....
But serously, if this is the quality you reach from a kit you are not happy with, wewill be utterly blown away when you start a kit you do like
Jan
-
That's a very nice statenjacht!
one small point: given the position of your sails, the port-side leeboard should be up, the other one down (the leeside should be down, the windside up)
Jan
- cog, aviaamator and Angarfather
-
3
-
-
-
-
-
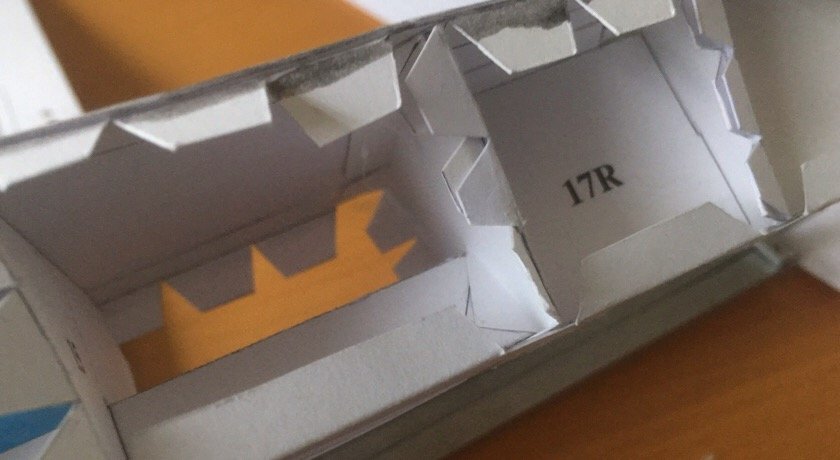
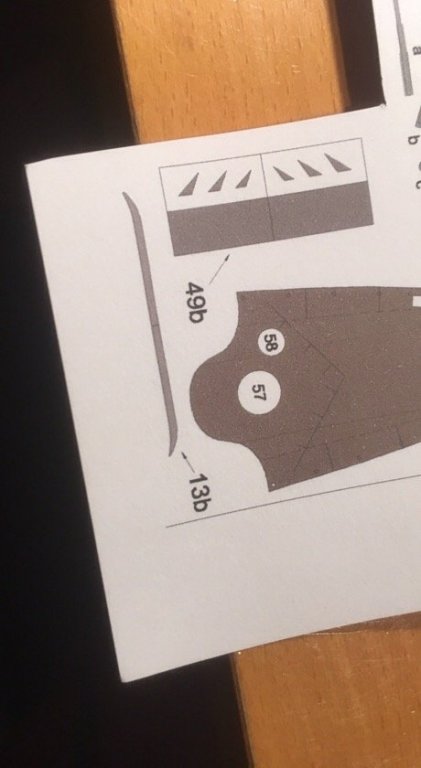
Yes, I know, it is on the design drawings. Hoever, I can't think of any function for it.
in the crossection it can be seen that it is kind of and H-profile (and not a small deck)
it is not connected to anything inside, and there are two rather large eyelets fastened on top. (On some pics you can see a line going down to these eyes.

Jan
-
I really don't know. It is not on the Java, a cruiser build in the same period.
and yes, it is a non-removable item.
perhaps I should go through the wholebunch of drawings available i. The online naval archive....
Jan
- zappto, Piet and popeye the sailor
-
3
-
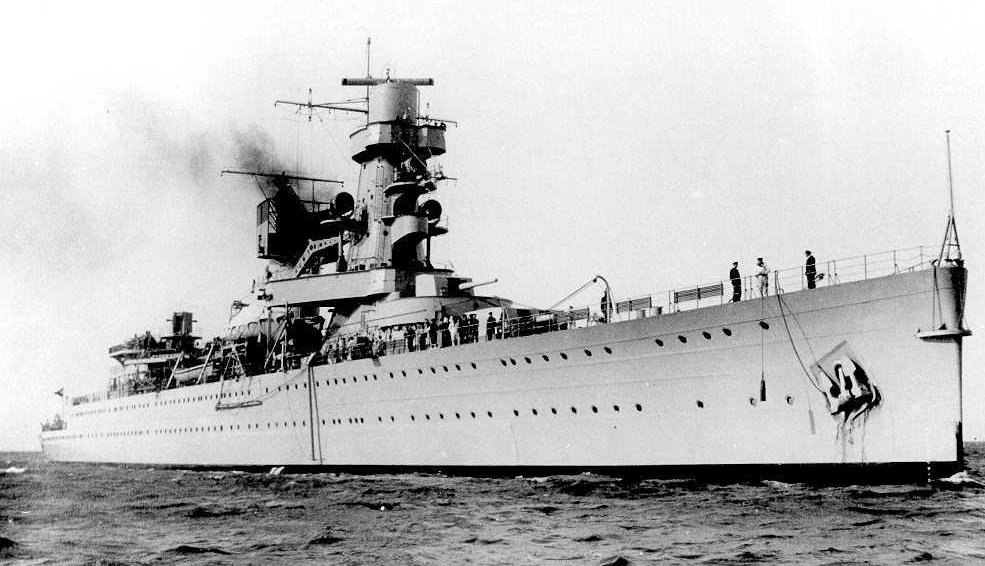
The second pic shows her on the other side in camouflage
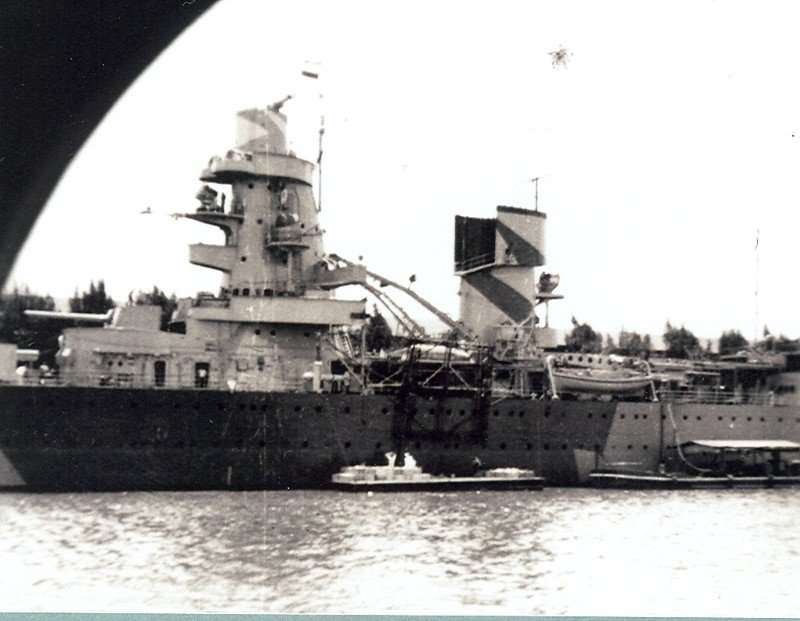
Maritiemdigitaal has a stunning amoh t of pic of De Ruyter (including many of the build), some during see trials (before the change in the funnel)
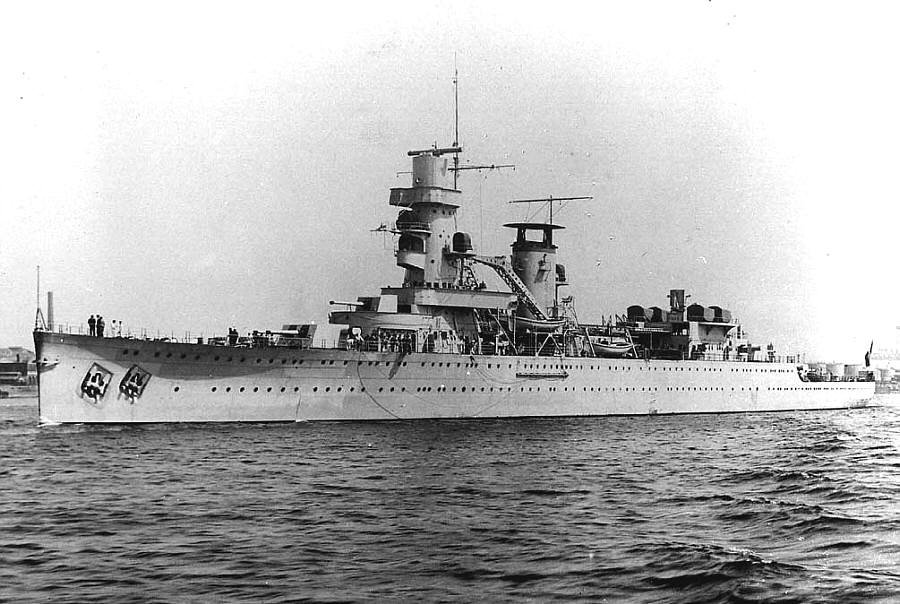
but none in camouflage.... somediscussions suggest that the camouflage was only added when she entered the combined fleet in the Javazee, but I haven't yet found proof for that.
btw: I also haven't any clue of the function of that little platform at the bow....
Jan
-
Hi Piet,
thanks for the pic. Scaldis has two versions of the kit: one in plain grey, one in camouflage livery. I will not go and try to repaint my grey one into the camouflage version.
there are some (but very little) pics of De Ruyter in camouflage. I couldn't find anything definitive on the question whether ornot she steamed into the Javazee with orwithout her camouflage.
Jan
- Canute, mtaylor and popeye the sailor
-
3
-
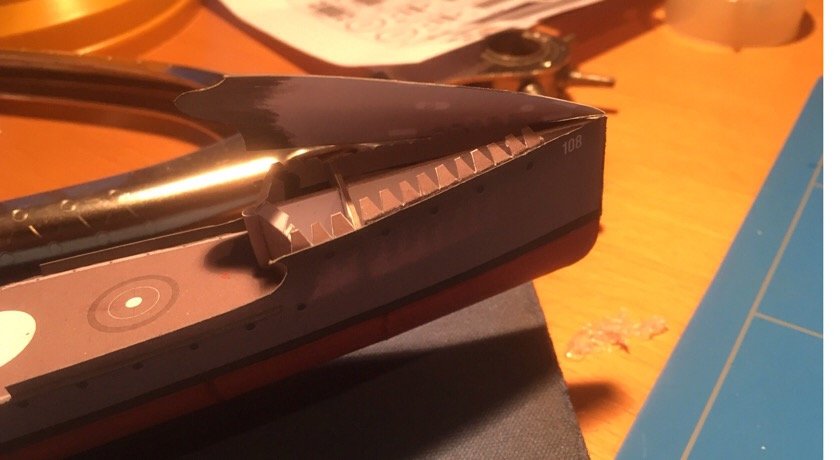
Site down, so time to build.
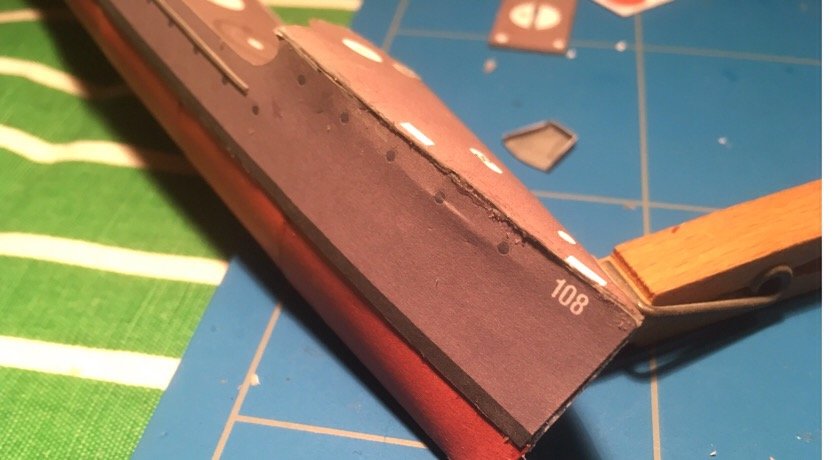
Yesterday I started the skinning of the hull.
first the deckhous between the two decks. The difficult thing were the porthole covers. Just over one milimeter in diameter, far smaller than my smalles punch....
edge-colouring proved to be beyond my capabilities. (Luckily there are some spares, breathing is dangerous while cutting these things)

next came the first part of the skin. As the point were the skin and the deck meet comes critical, that was the point where I started. Some tweeking of the tabs was needed, as the deck did not quit fit over the part with the tabs. Ithined them at the point of the fold. (The tab looses its function by that, but the deck proved thick enough for theglue to hold. The skin proved slightly too long. (So: I shouldn't have shortened the deck, but actually enlarged the part with the tabs, the pic is of thestartboardpart bedore shortening, to getan idea of the'overlength)
next came the front part. After some deliberation, and reading in other buildlogs, I decided to do the hawseholes first. (Luckily, the other buildorder wouldhave proved almost impossiblefor me). I tried to open the hole, but that was nogreat succes.
Themess onthe backside, but the outside looks Ok. There will be a part over the gap around the hawsehole (it is in the lasercutted set, but I not add that yet, as it needs to be painted, and I don't have yetfound thenestcolour mix)
The other side has two. Fun
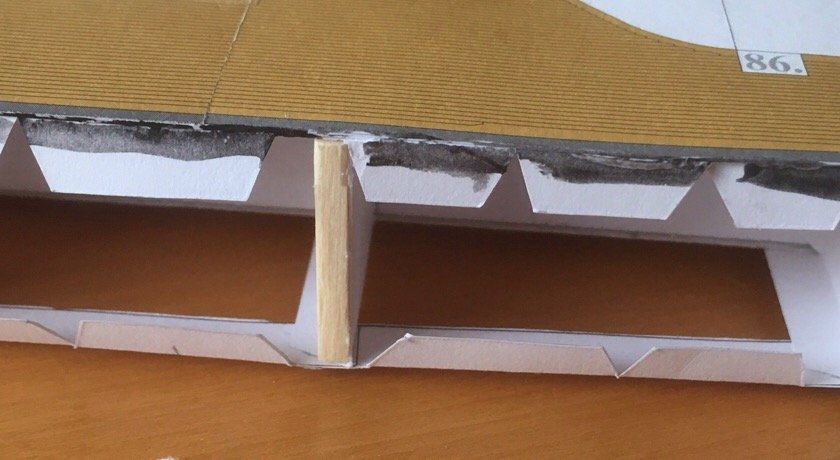
Next the attachment of the skin on the hull. The first front frames turned outsignificantly smaller than the deck. So I redid them using 160-grams card. (I could justglue them over the existing ones, no need to cut the redundant tabs away). Amidships the frames were slightly wider than the deck, so I cutthe tabs away and replaced them with a wooden strip (matchstick actually).
Here the results:
Nextthe skin. The edge colouring wasn't uto standard, so somewhite shows trough.
the skin didn't take the inward curvature like I would have liked. Problem is that that part annot be reached from the inside.
finally (this afternoon) the remainder went on. Itturned out too long. All in all I shortened the skinparts by a centimeter. That ismore than the 4 mm leftover the kits provides for. Luckily thecut didn't go through a porthole :).
Next the ship got some weight on it to prevent it twisting while the glue hardens.
Notime tomorrow, so,thenext update willtake some time.
Jan
-
-
What type of CA do you use?
I only know the thin, rather slow setting glue in nasty little tubes.
Jan
- Canute, popeye the sailor and mtaylor
-
3
-
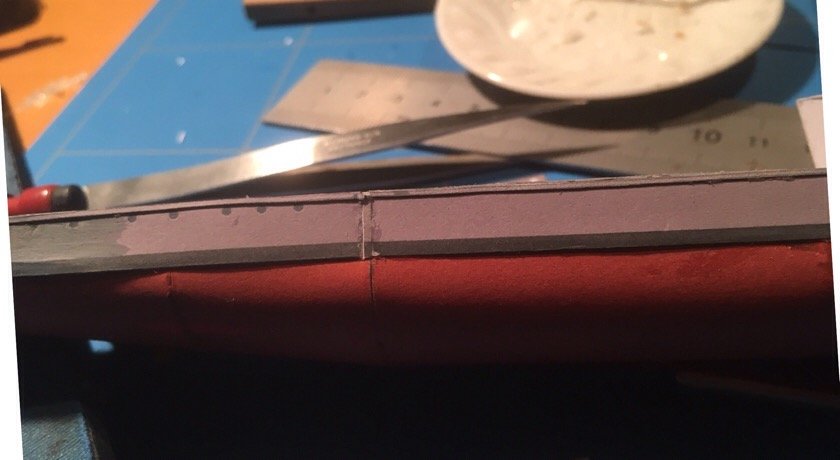
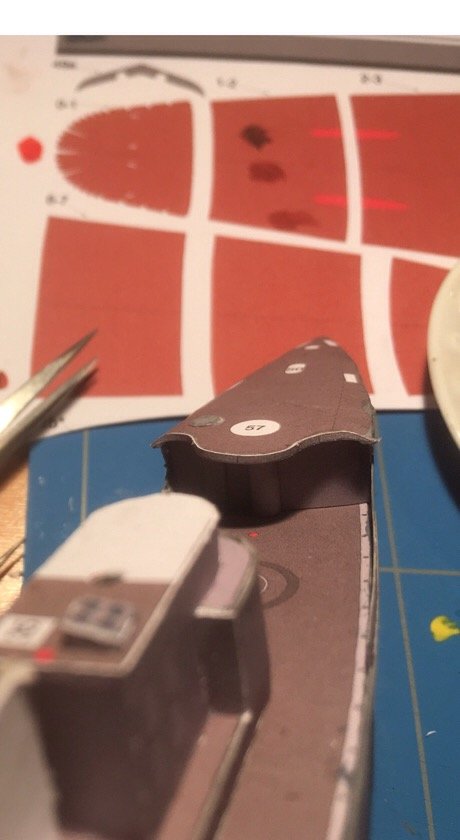
Todays wether wasn't that good, so the planned day out turned out to be a short day.....on the bright side: some building time.
the superstructure turned out relatively OK ( the rounded side of the deck slighly oversized, so i was short of .5mm. Used a spare piece to fill in. Viewed without close-up lense it is passable
")
next up: strip around the fore deck.
Around 1.5 mm wide, 5 cm long.
glued in three pieces (starting from the centre) it covers the ugly paper edge of the deck. I still need to add the column under the deck.

And another trying part (at least, for me..,)
close-ups should be forbidden.....;) it looks pretty OK in real life, as do those 4mm hatches for the coal bunkers.
Jan
-
-
-
Hi Dan,
The framing card is just under 1 mm thick, making the laminated card just over 1 mm thick. There is no probl m there. (In my other build, the framing card is a bit thin: same thickness as the other parts). Thicker card would not have prevented this: there is no frame where the hull cracked.
the other points you make are my learning points here. (And no, you don't sound toocritical: it is more 'factual')
one learning point is the (handling) of glue: the waterbased glue softens the paper (and it loosens the colour layer). That's what happened here: too much glue, sofftening of the tabs, therefore the gap didn't close. I thought that a little more pressure would close the gap, but I put too much pressure on...
but as I said: it is my first of this type of model, so it is intended as a practice model.
perhaps I should redo it after I finish this version.
Jan
-
I got the deck closed, but unfortunatedly, the pressure needed for that made the hull crack (just under the glueing tab attached to the hull)
and I will redo the superstructure. The parts are ready, but the paint on the deck edge needs to dry before I start gluing (waterbased glue, so it will not grab on a wet / damp surface)
both decks are rounded the same way, so I hope that there will be no twisting this time. No building time tomorrow, so plenty of drying time
Jan
-
-
It always looks so simple when other people show their magnificent progress.
So here is one to cheer you less-gifted modellers up
when closing the hull on the other side, it provd that I had 1.5 mm short. I printed the part again to cut a piece of the required length. Guess what: my printer gave an other colour, but next to my not-so-well-executed paint job, it doen't matter too much
more of a problem was the first oart of the superstructure. In his tutorial Chris showed how it should look. Well, this is how it turned out.
as the base and top floor were severely out of line, this part will be scrapped. Hope my printer will provide me with something comparable...
and finally: the front deck: the first tabs are glued, but I am not quite sure how to procede. (And on this macro I see the next problem coming: the tabs are not lined up properly....
Well, it is only intended as a practice model
Jan


RKR Varyag by RGL - FINISHED - Trumpeter - 1/350 - PLASTIC - Slava-class cruiser
in - Kit build logs for subjects built from 1901 - Present Day
Posted
unbelievable, how you turn simple grey plastic into a proper warship.
on my screen I have some difficulty to get the exact shade of grey: it varies between steel-like, bluish towards a very flat light grey. Can you give a hint of the real life color?
jan